


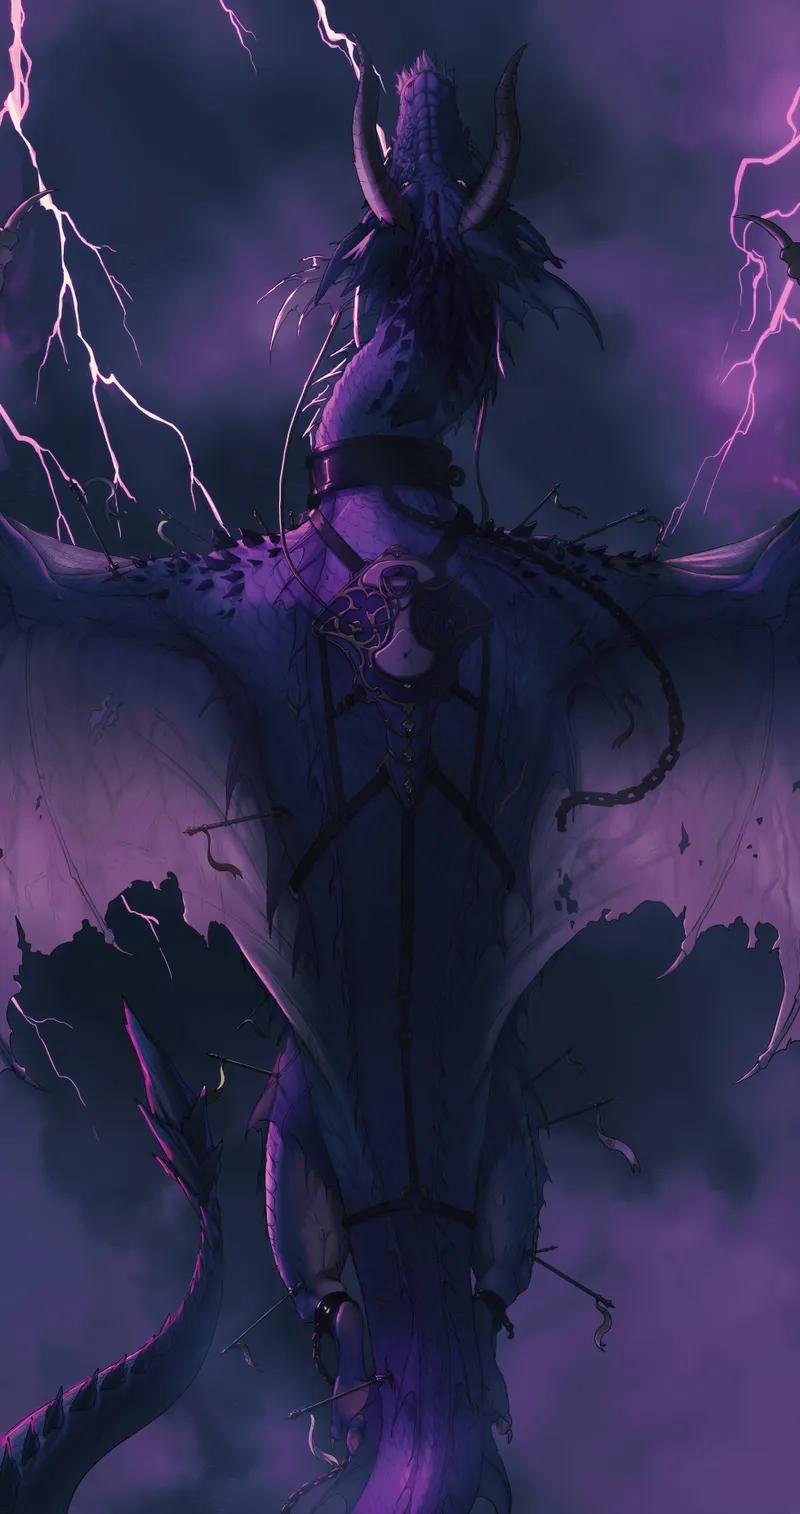
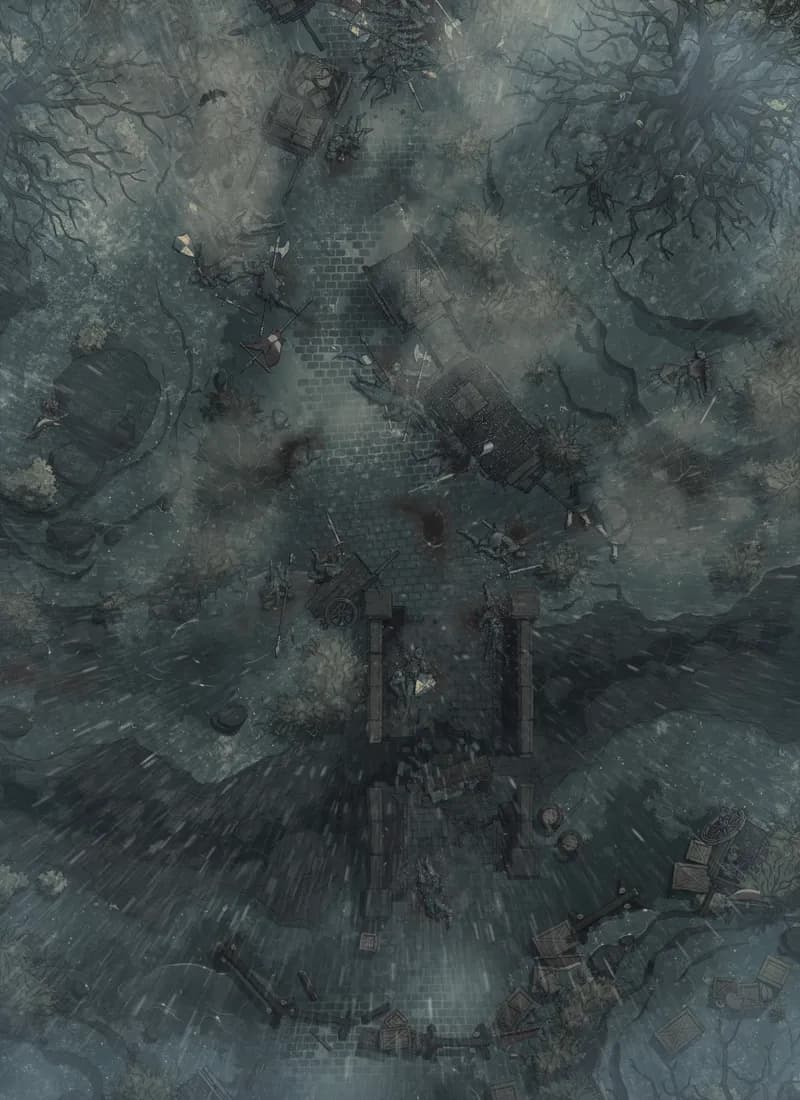
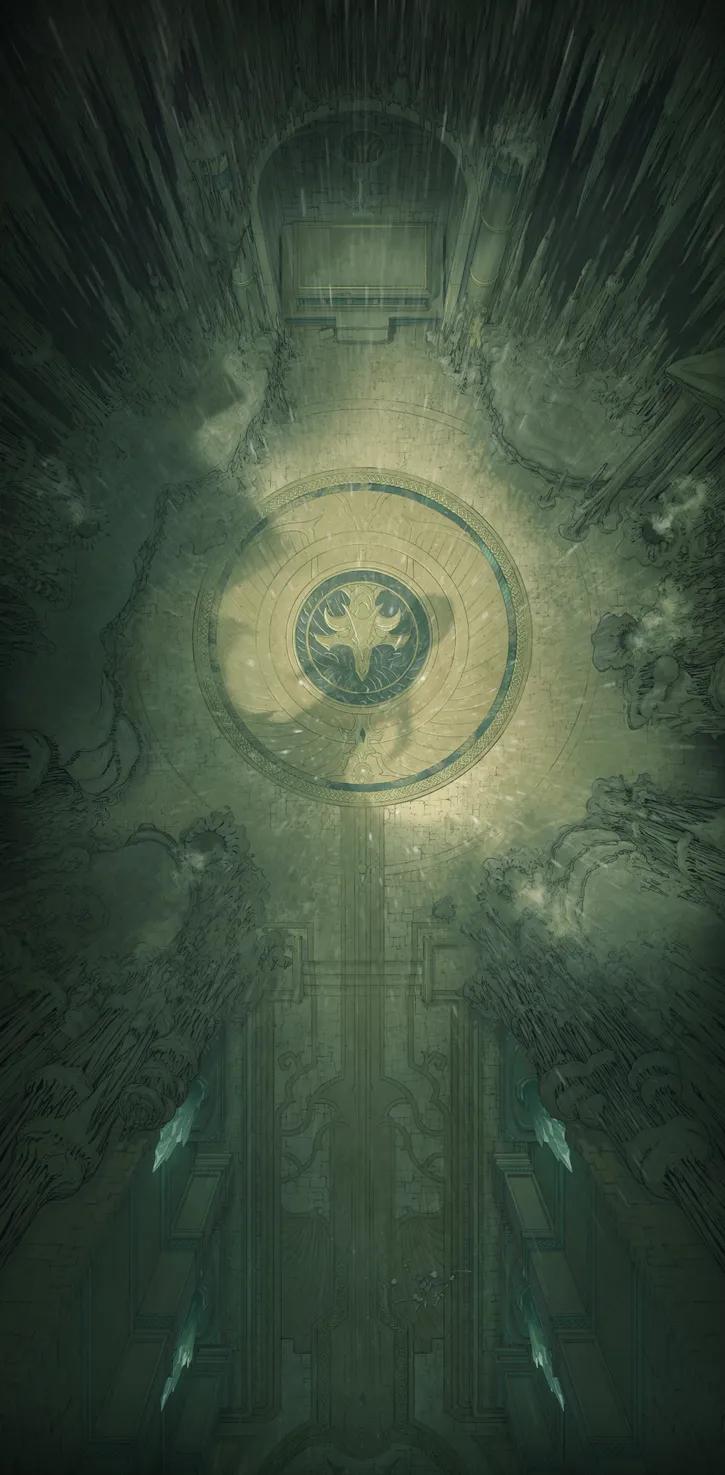
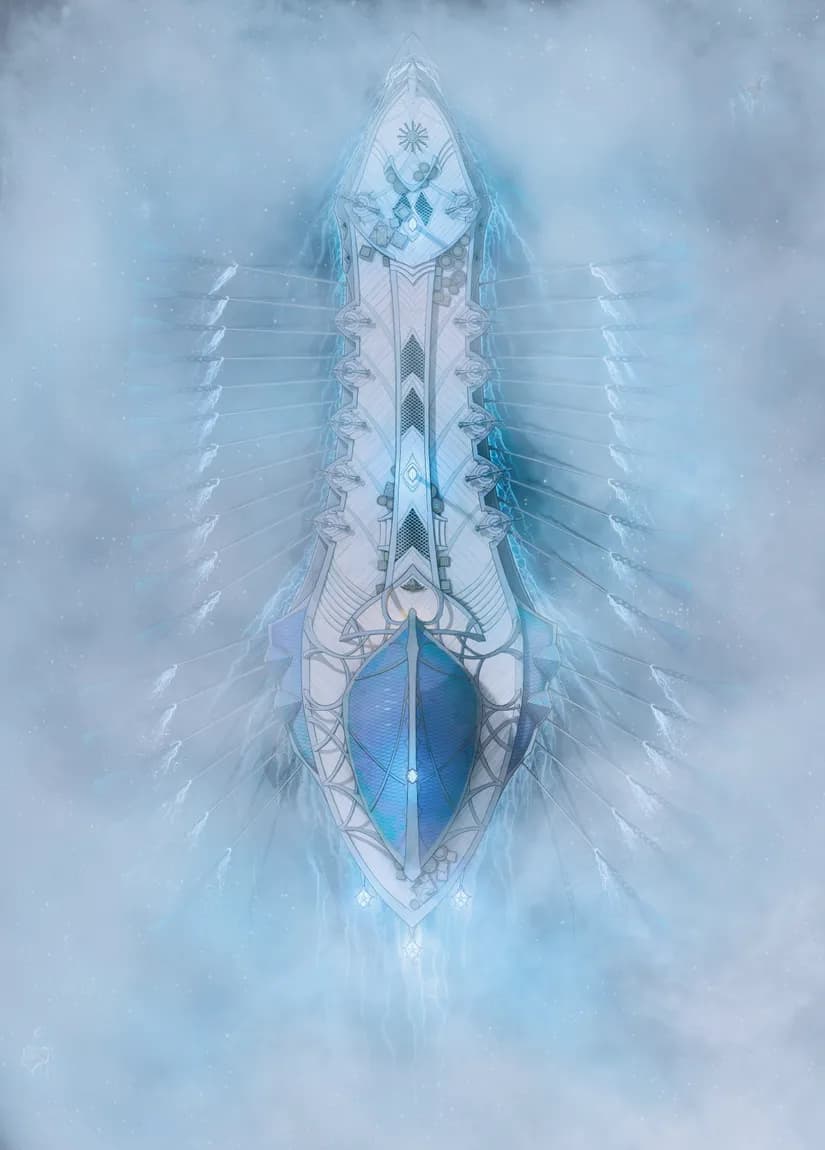
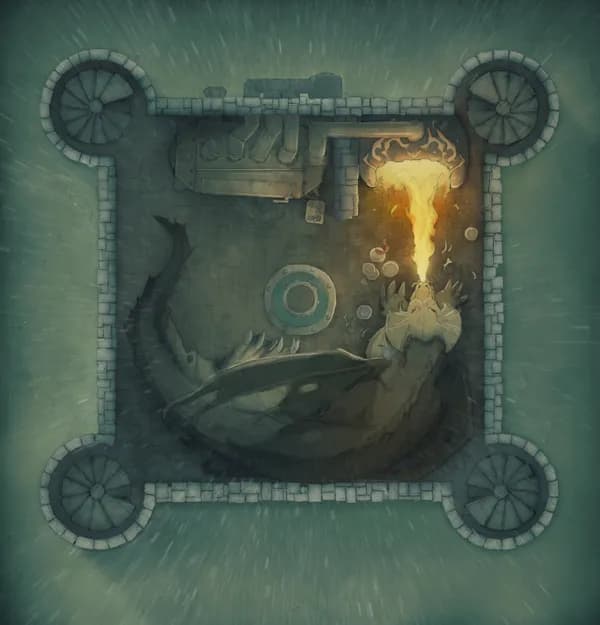
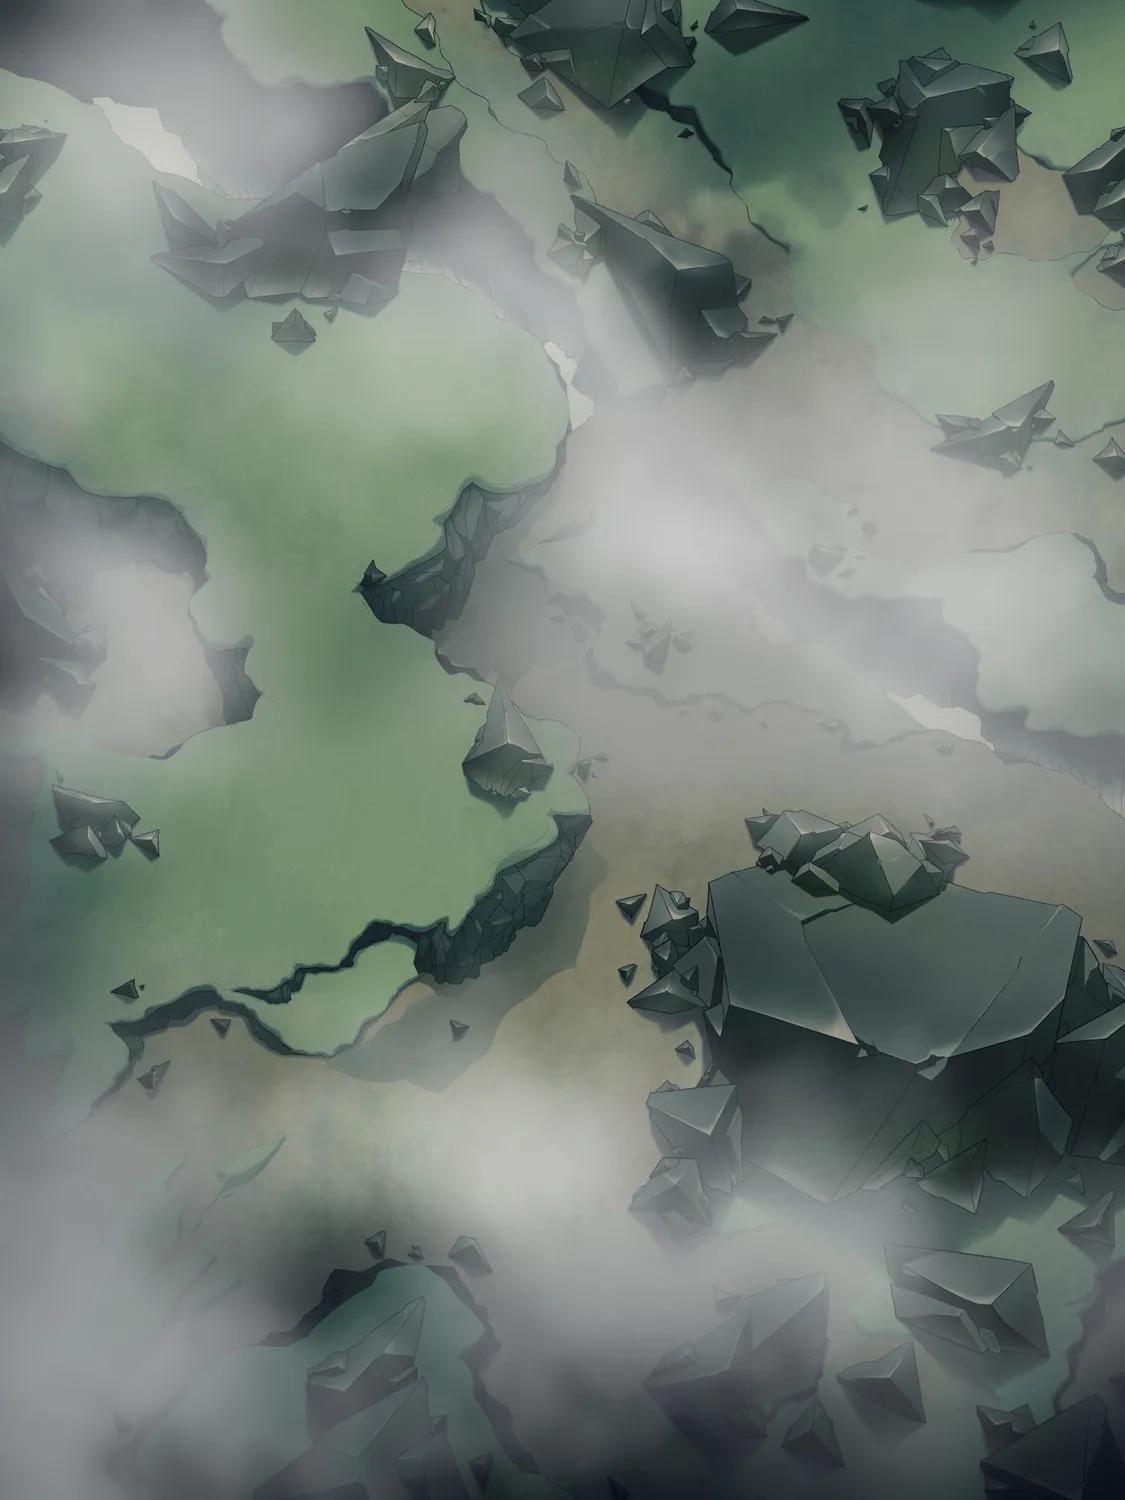
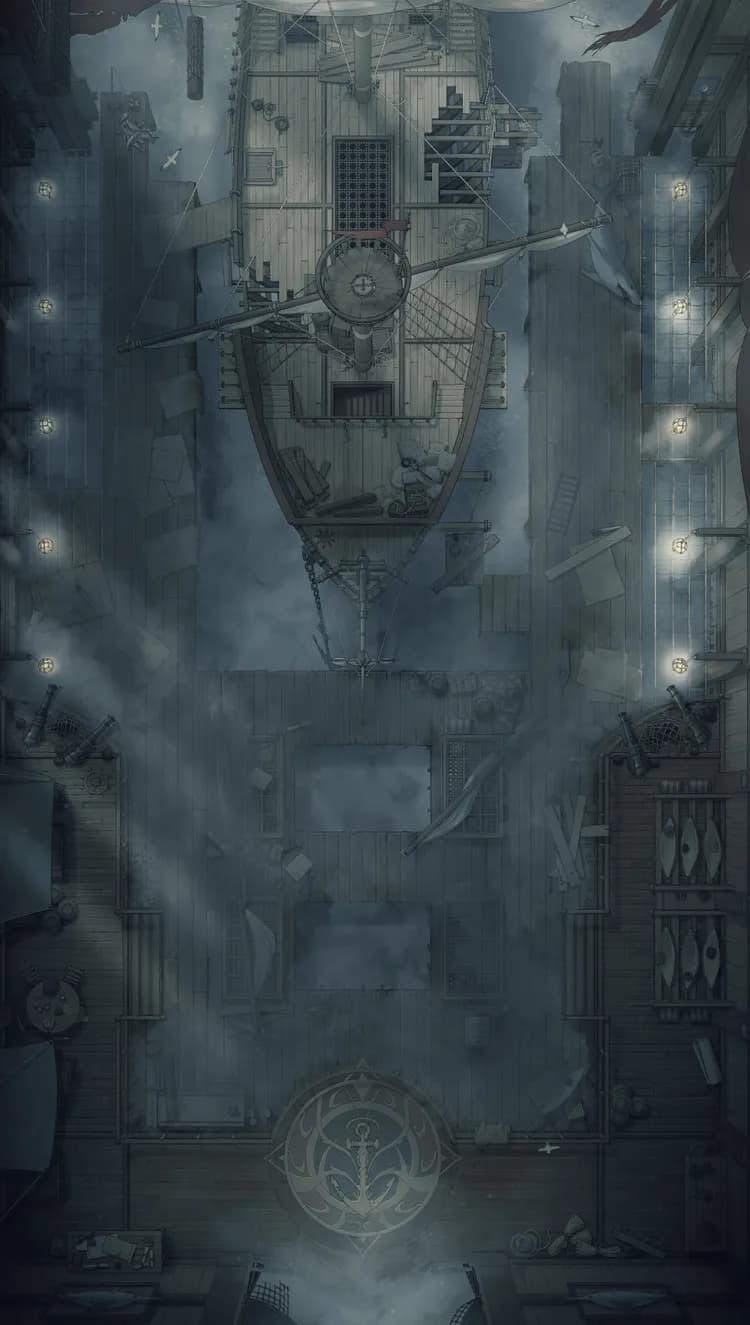
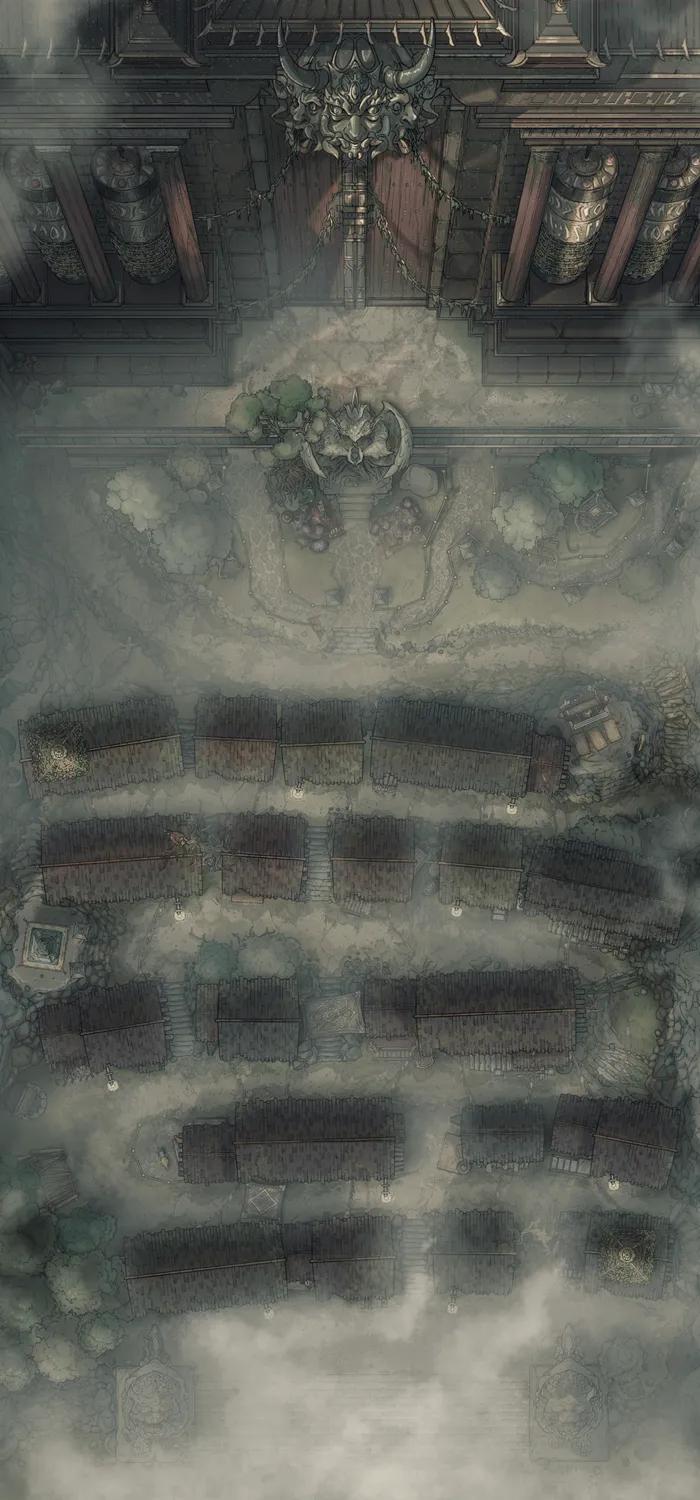
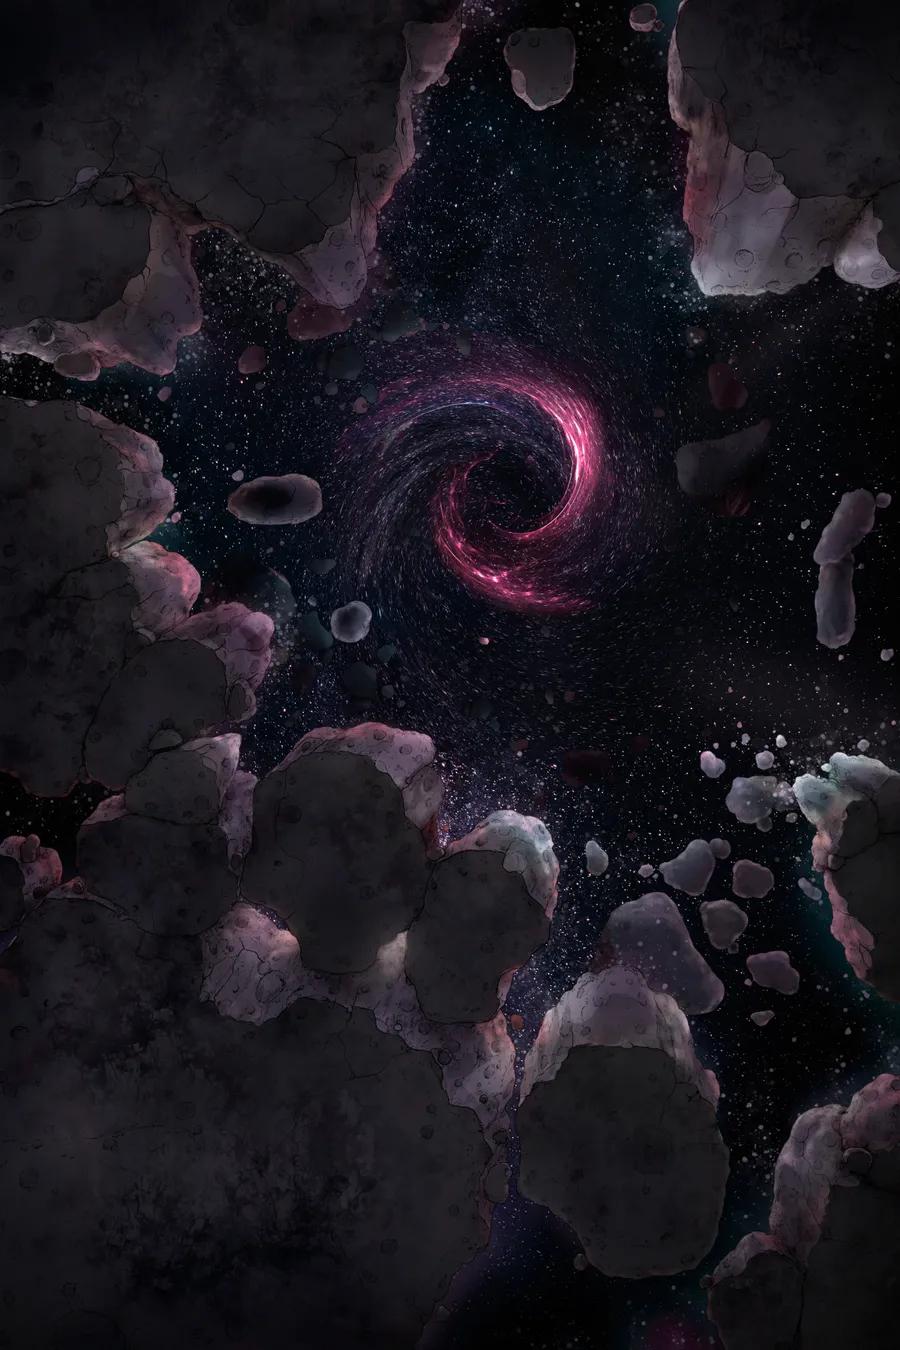
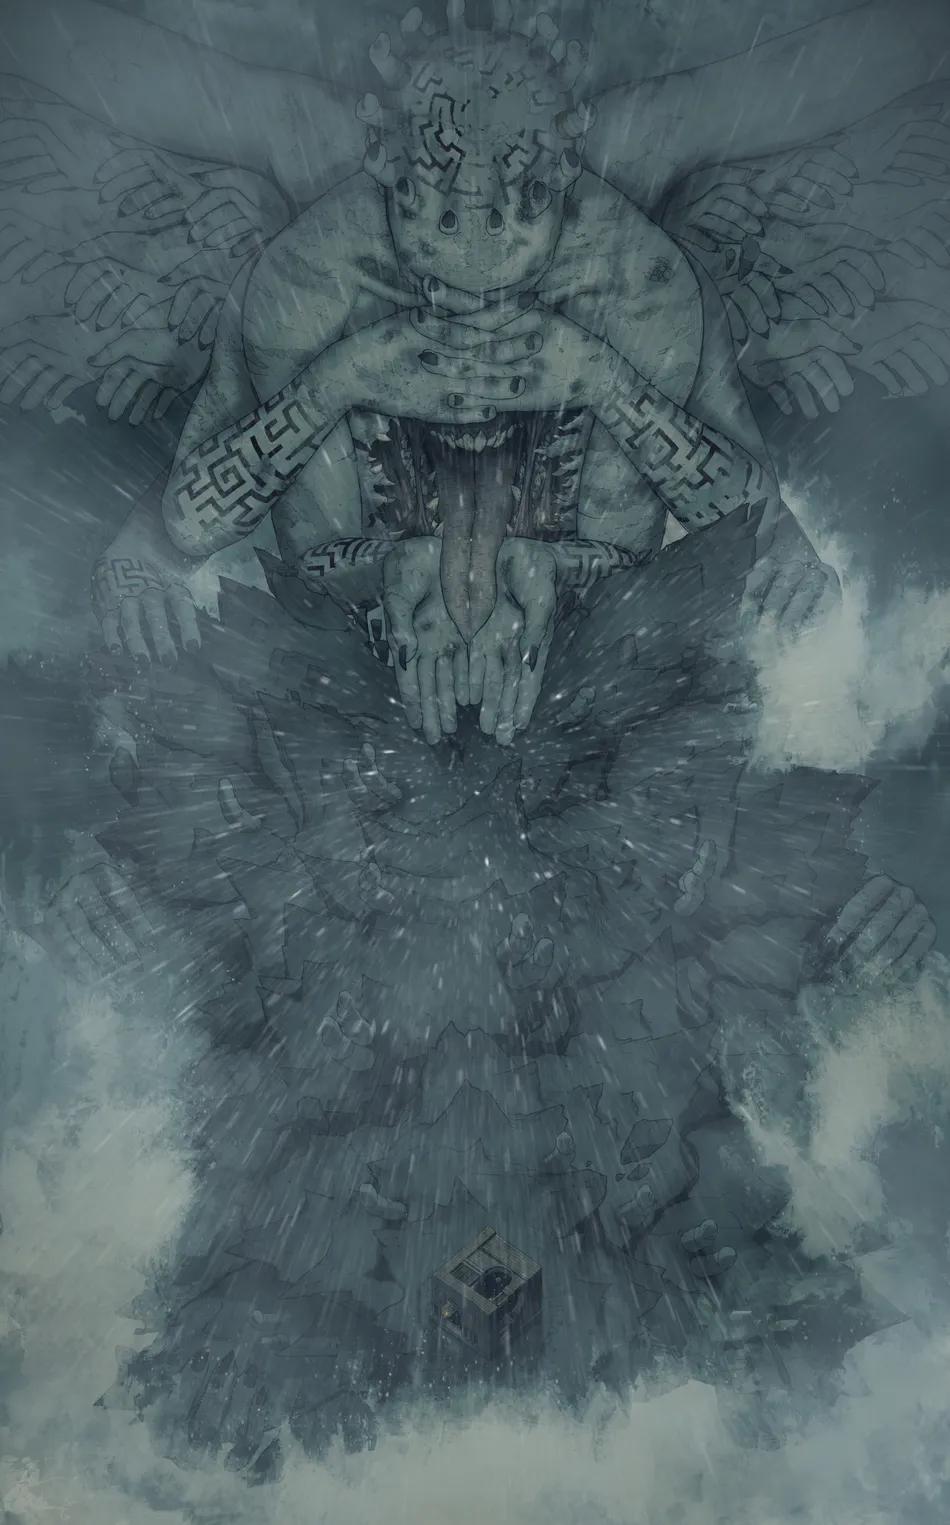
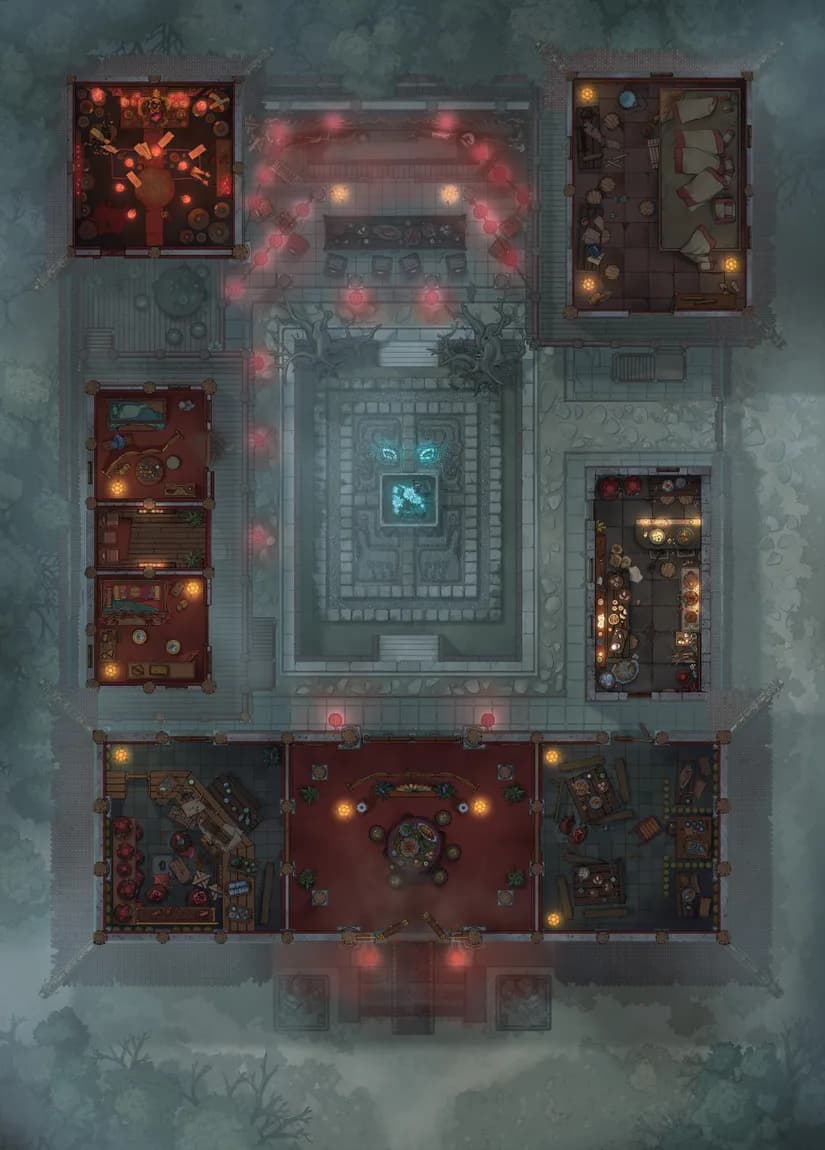
Chained Dragon
Chained Dragon
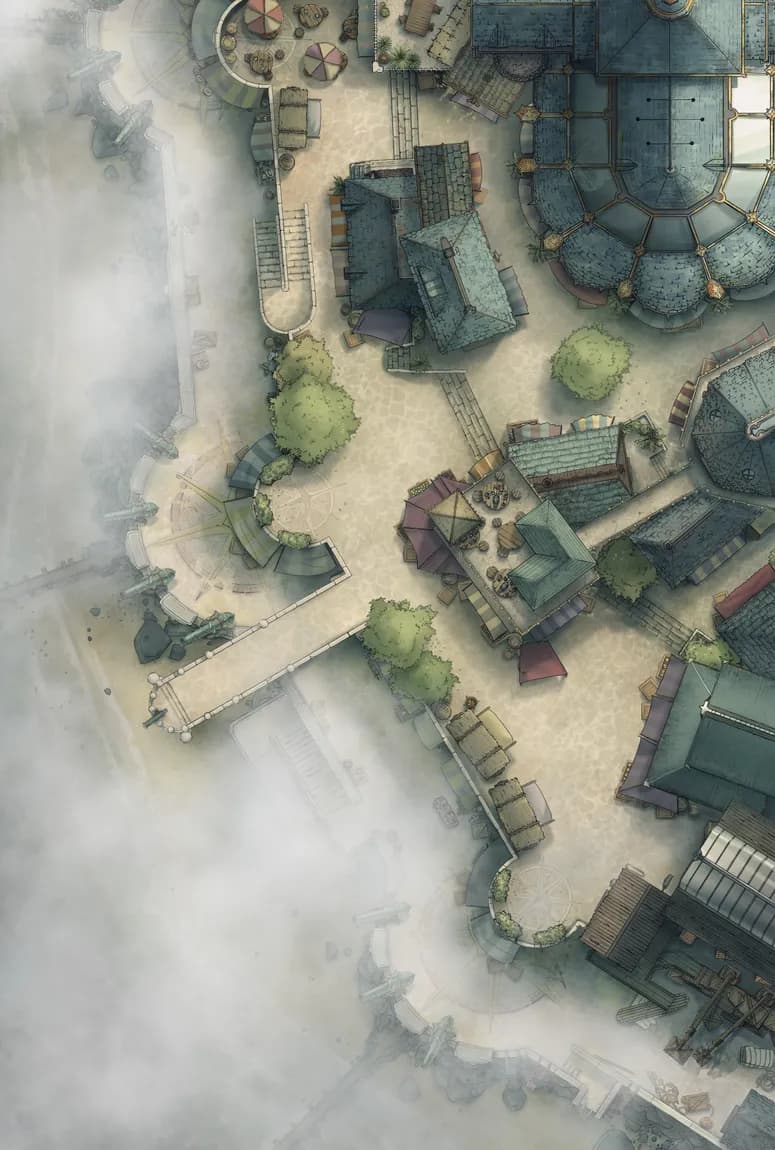
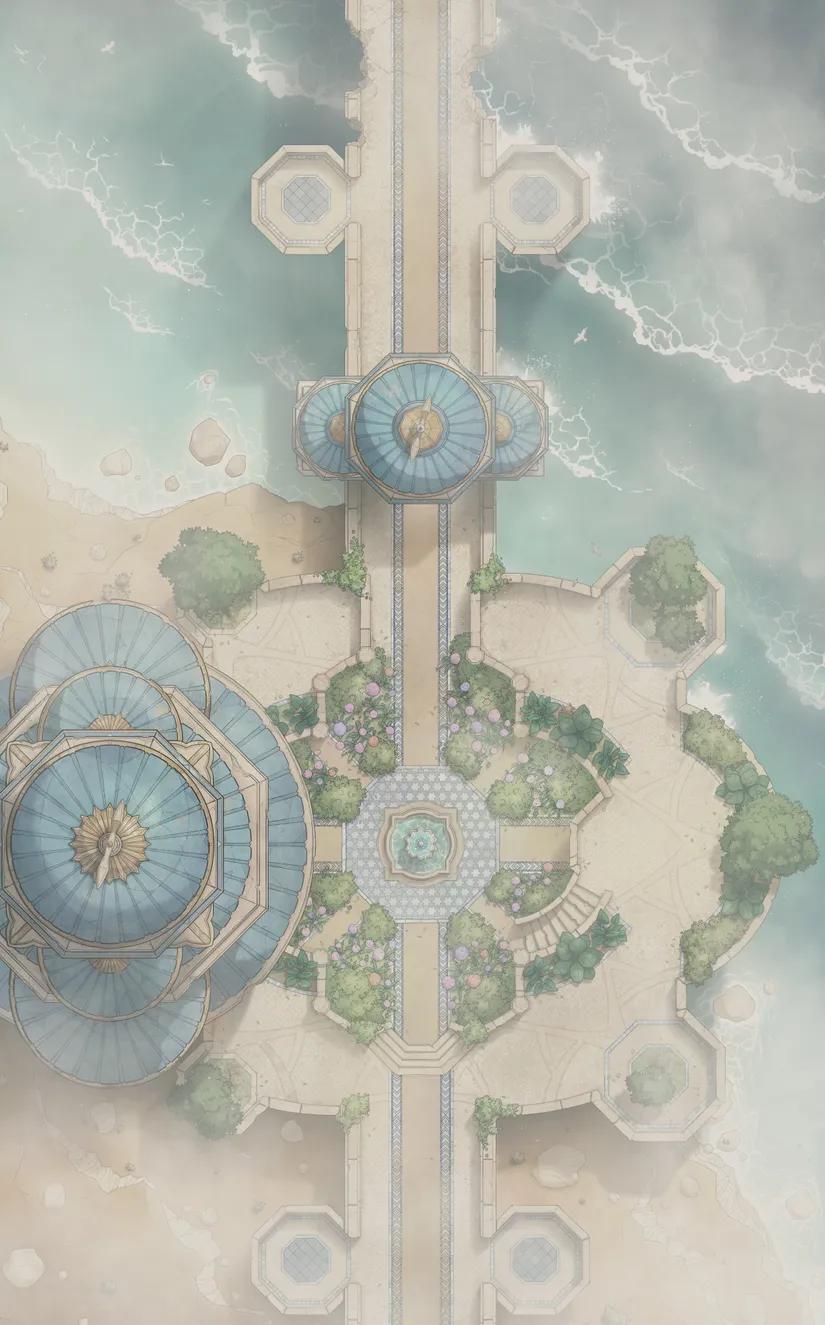
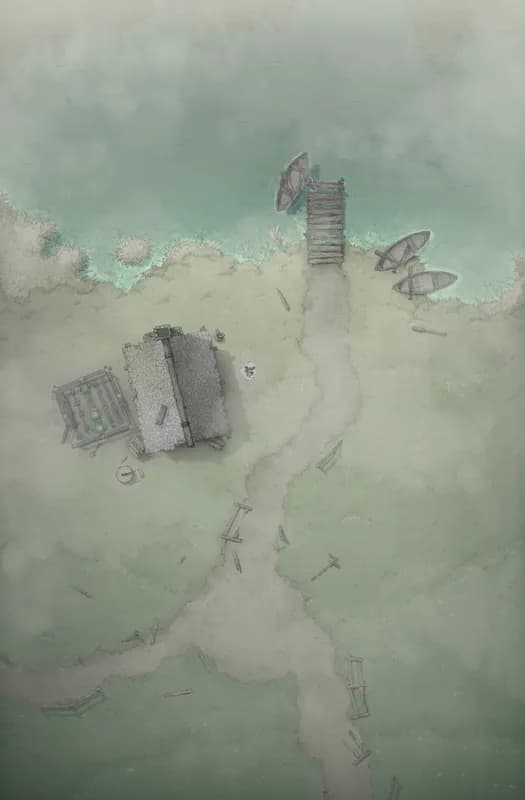
Colossus Port (+3)
Colossus Port (+3)
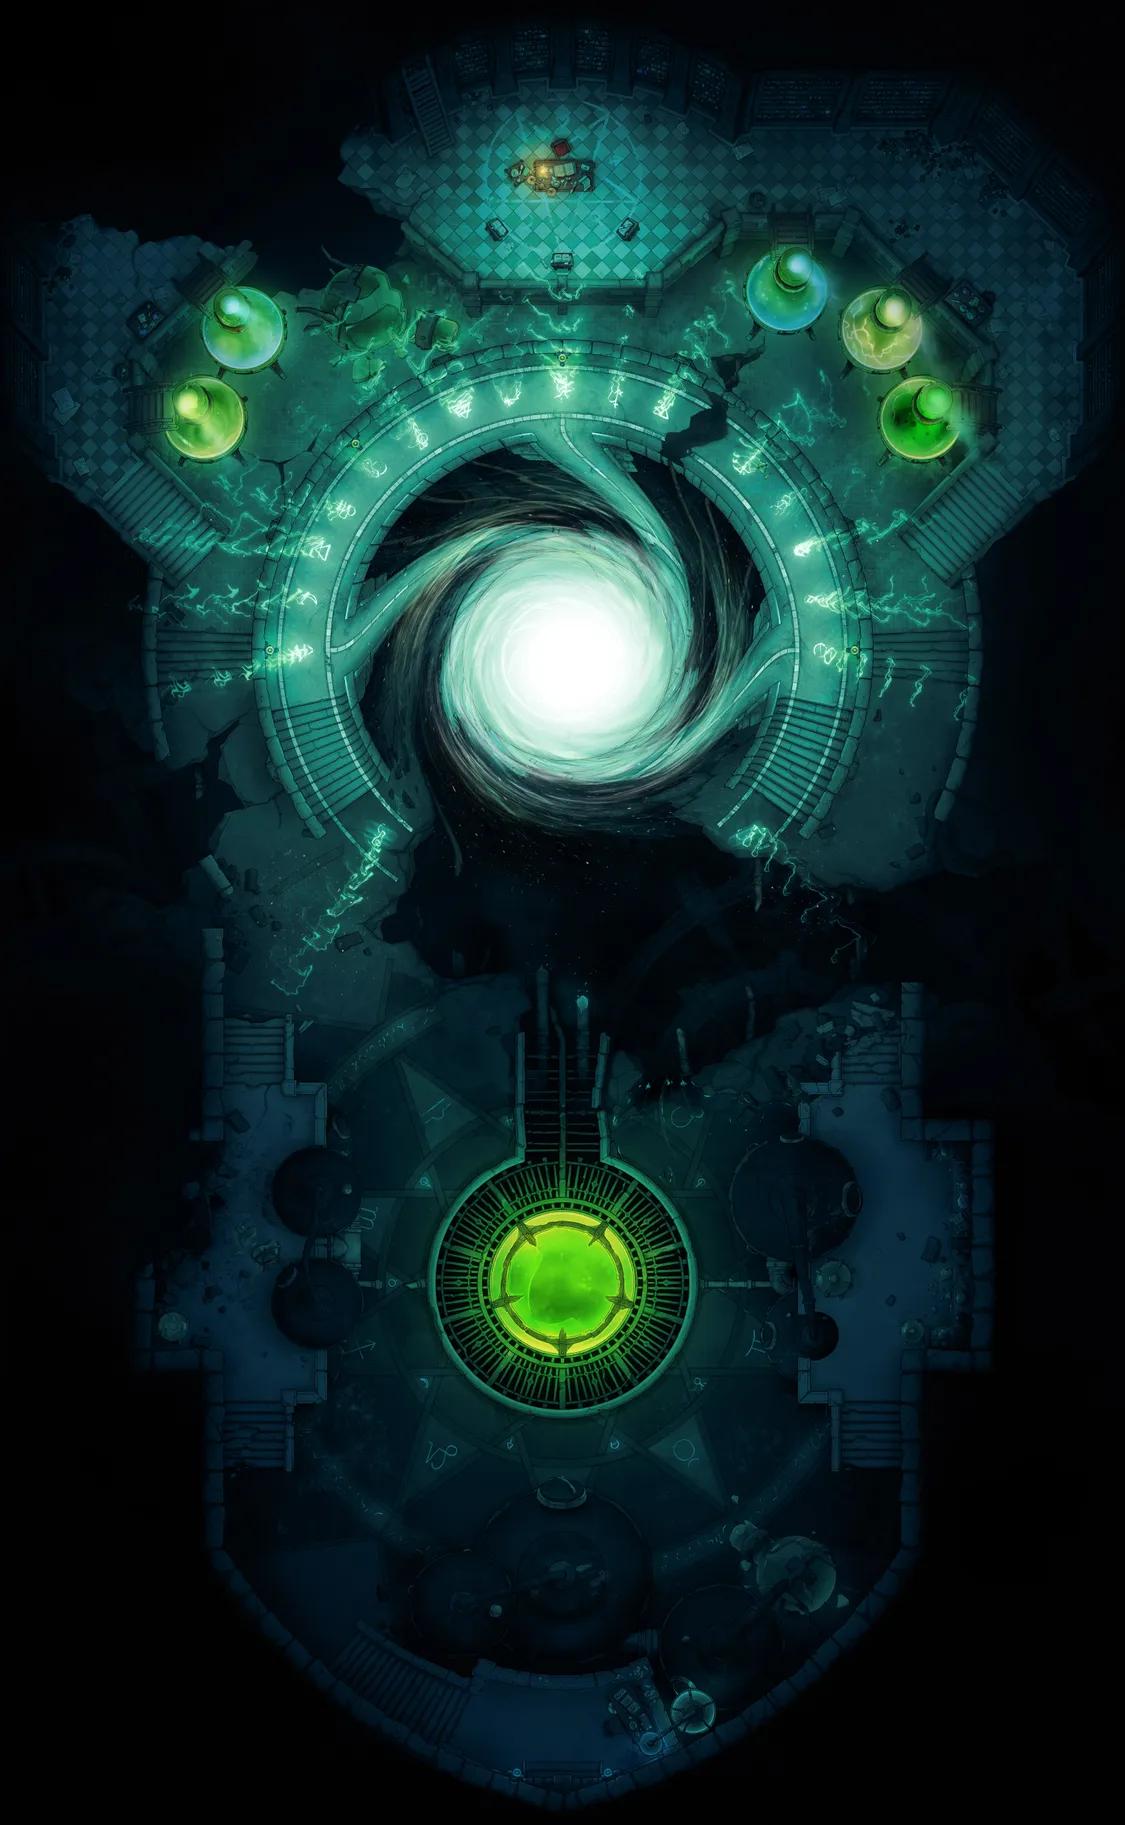
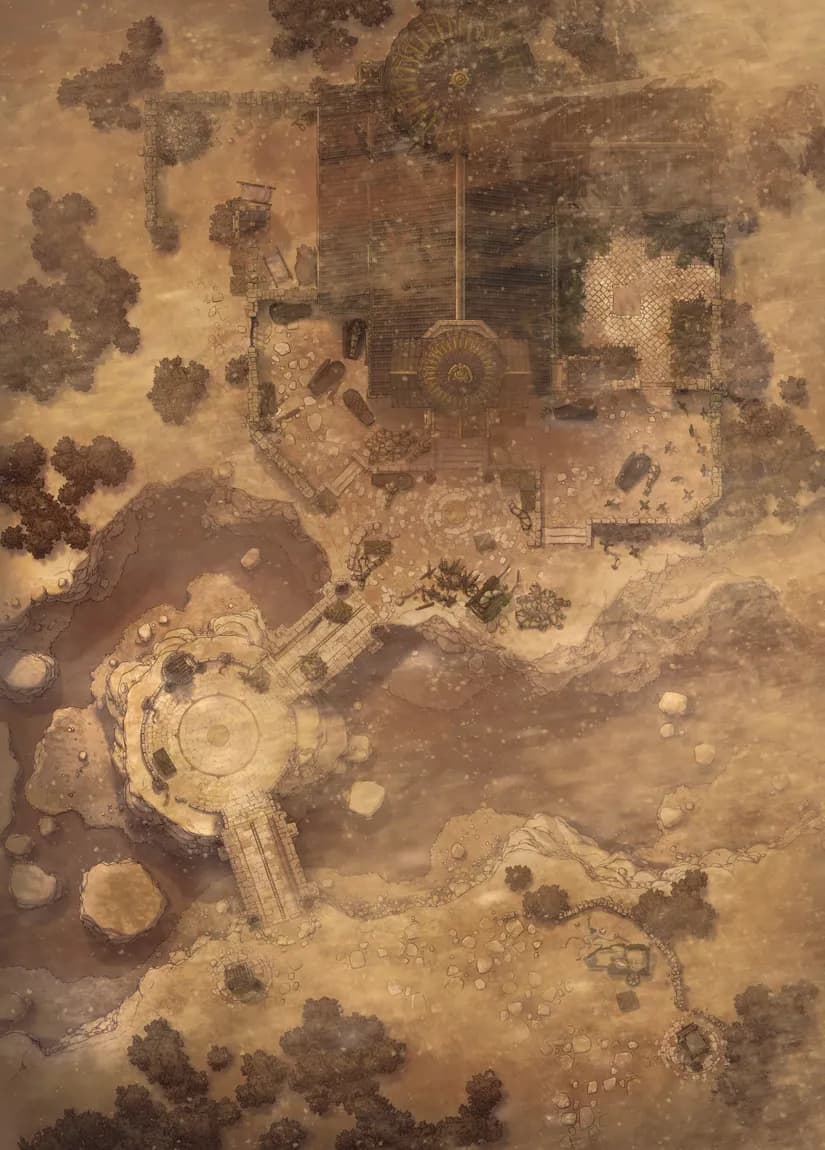
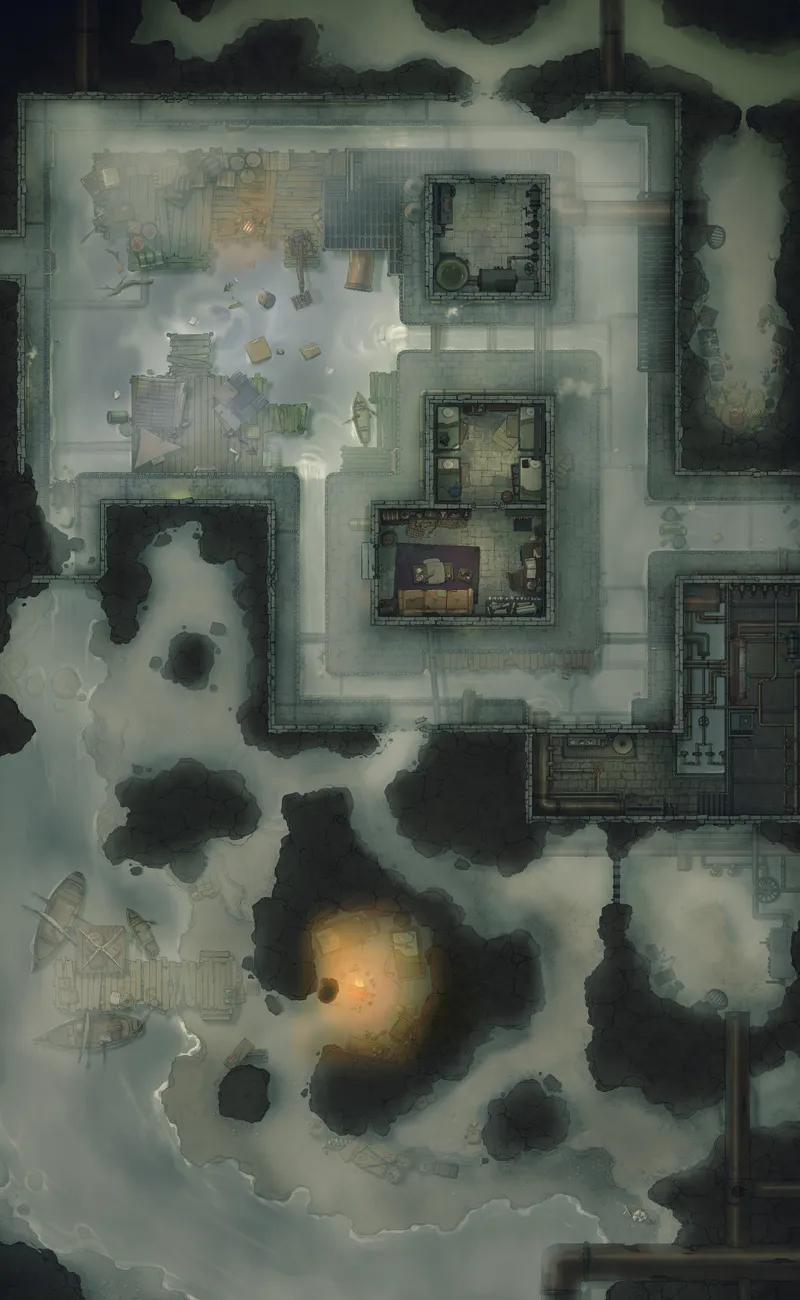
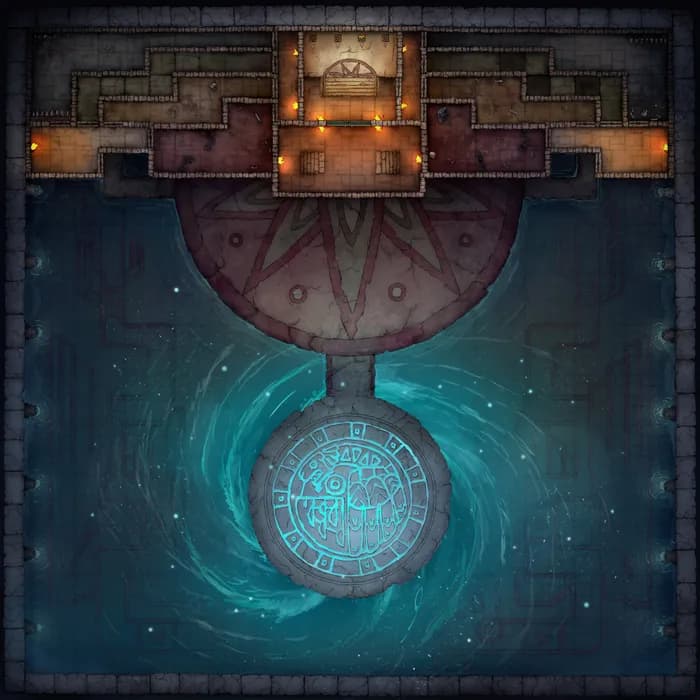
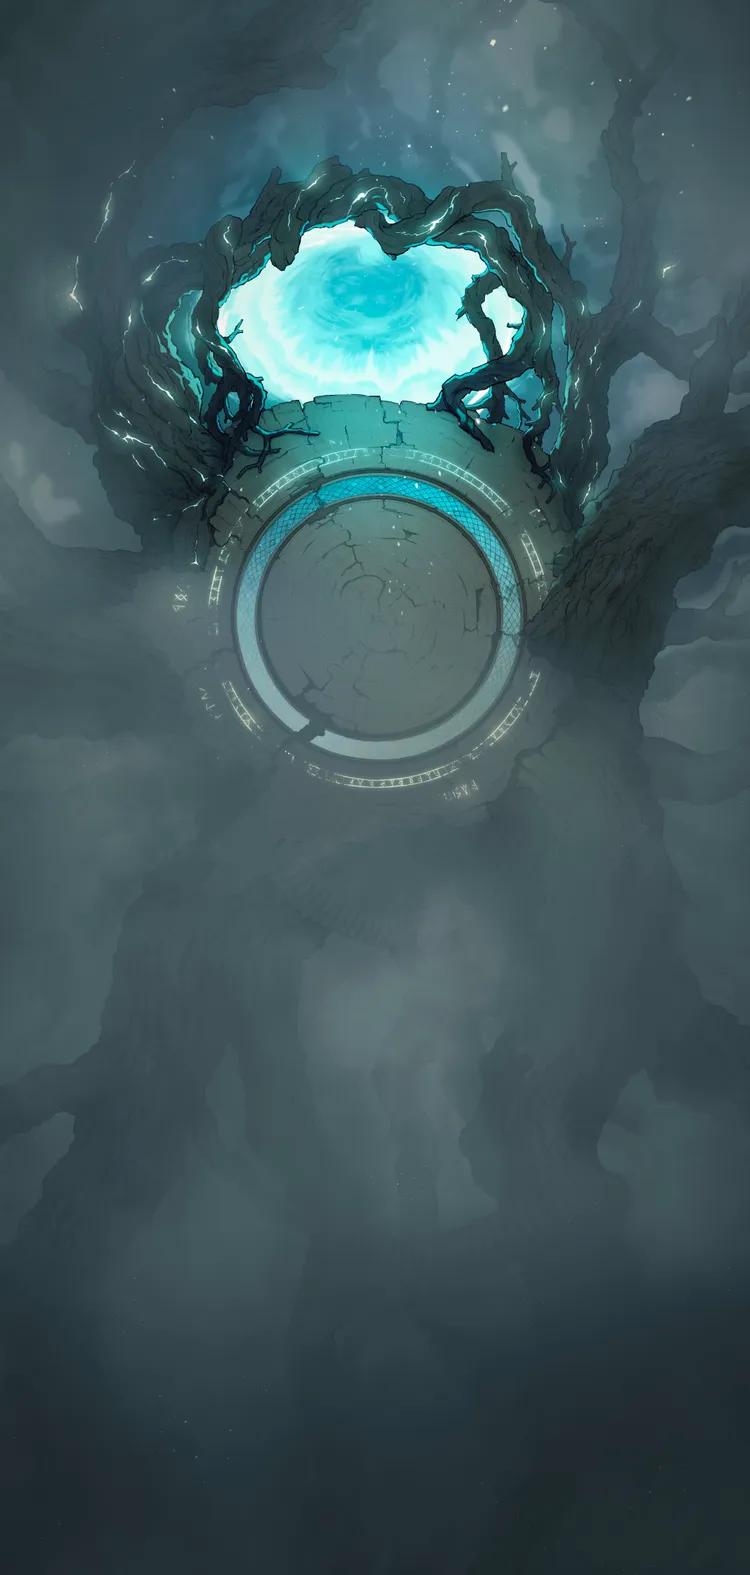
Elven Magitech Portal (+7)
Elven Magitech Portal (+7)
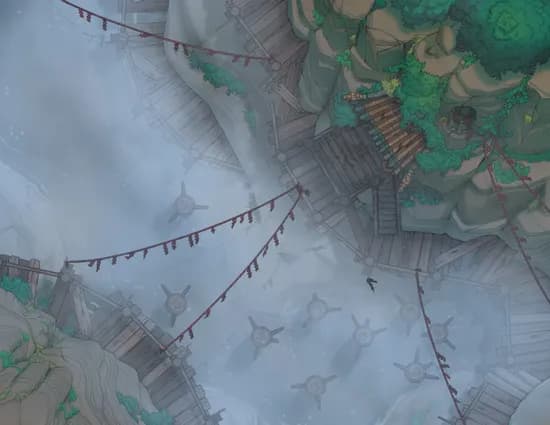
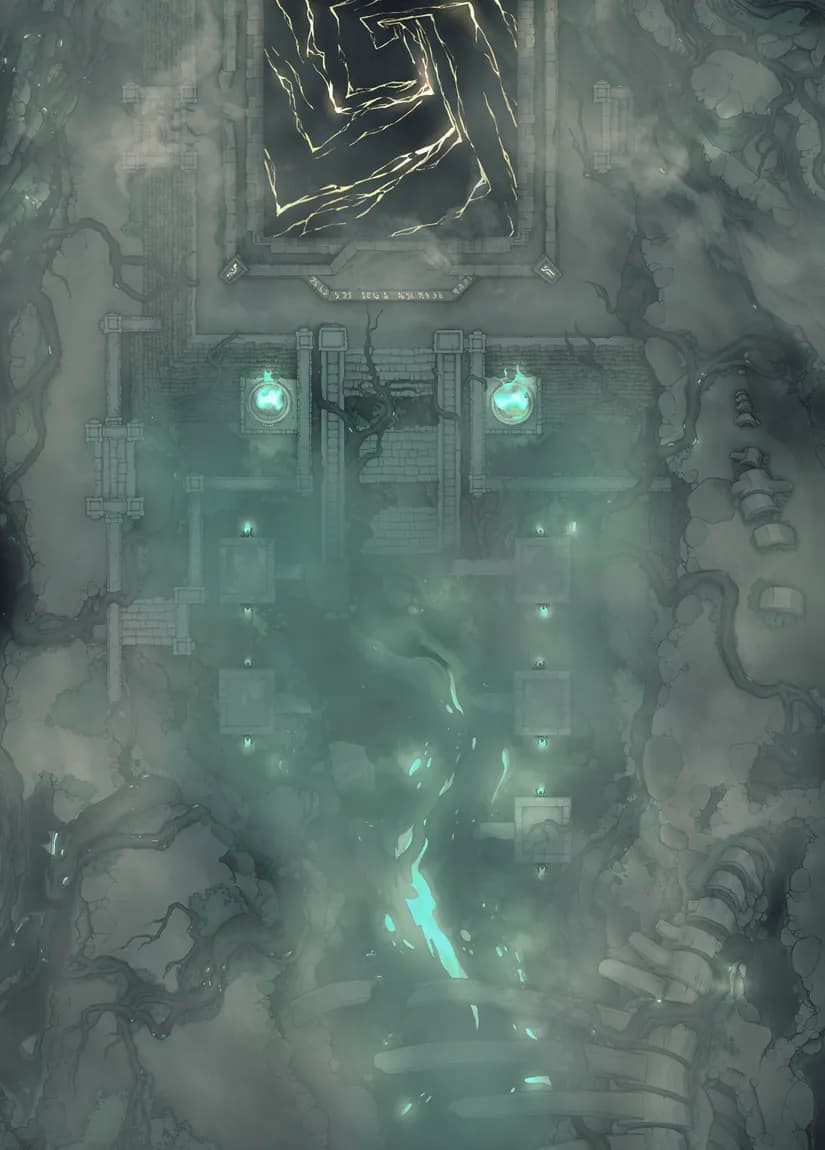
Midair Dragon Flight (+7)
Midair Dragon Flight (+7)
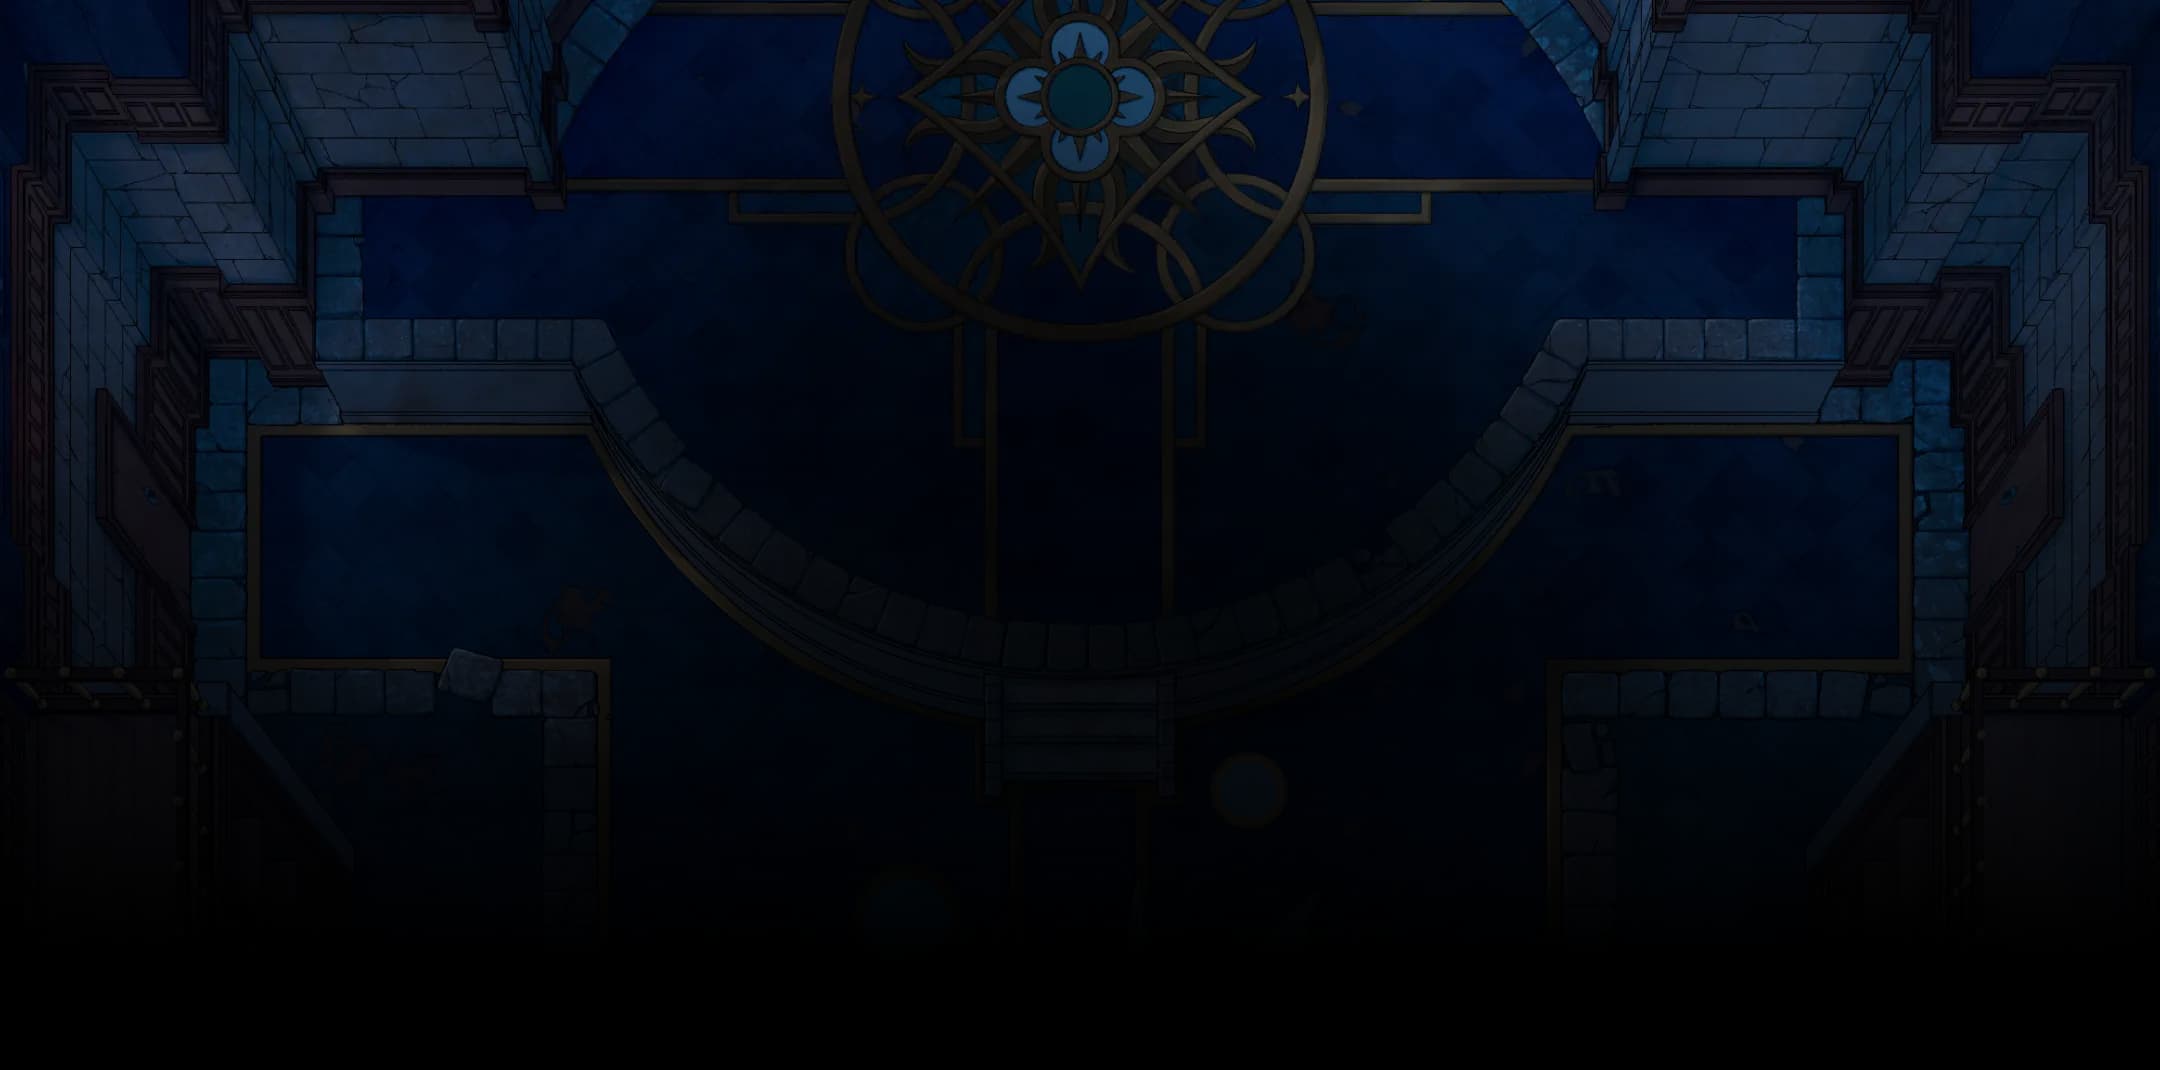
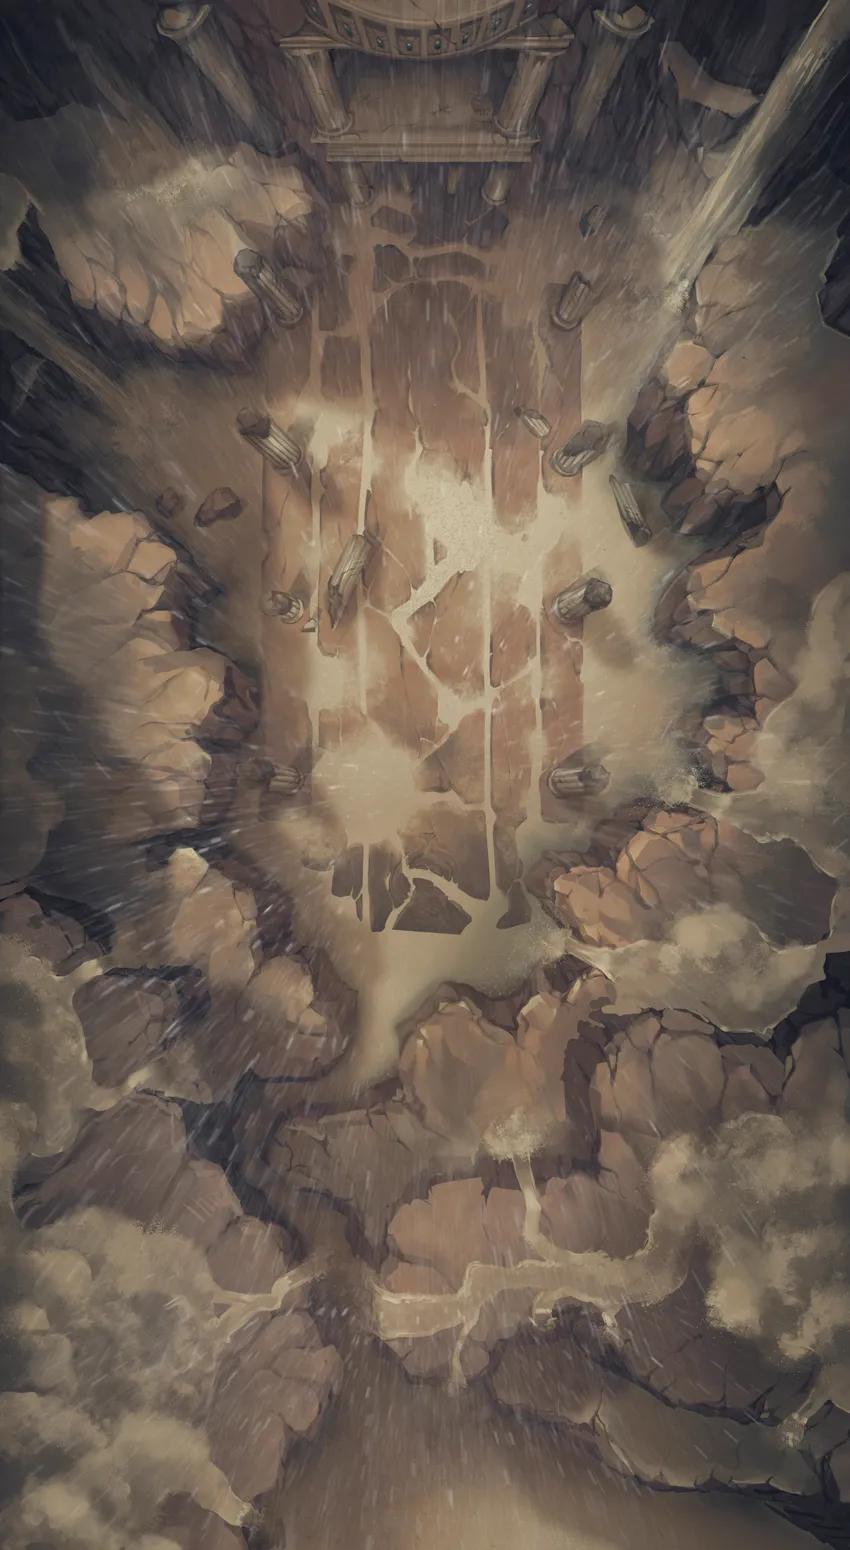
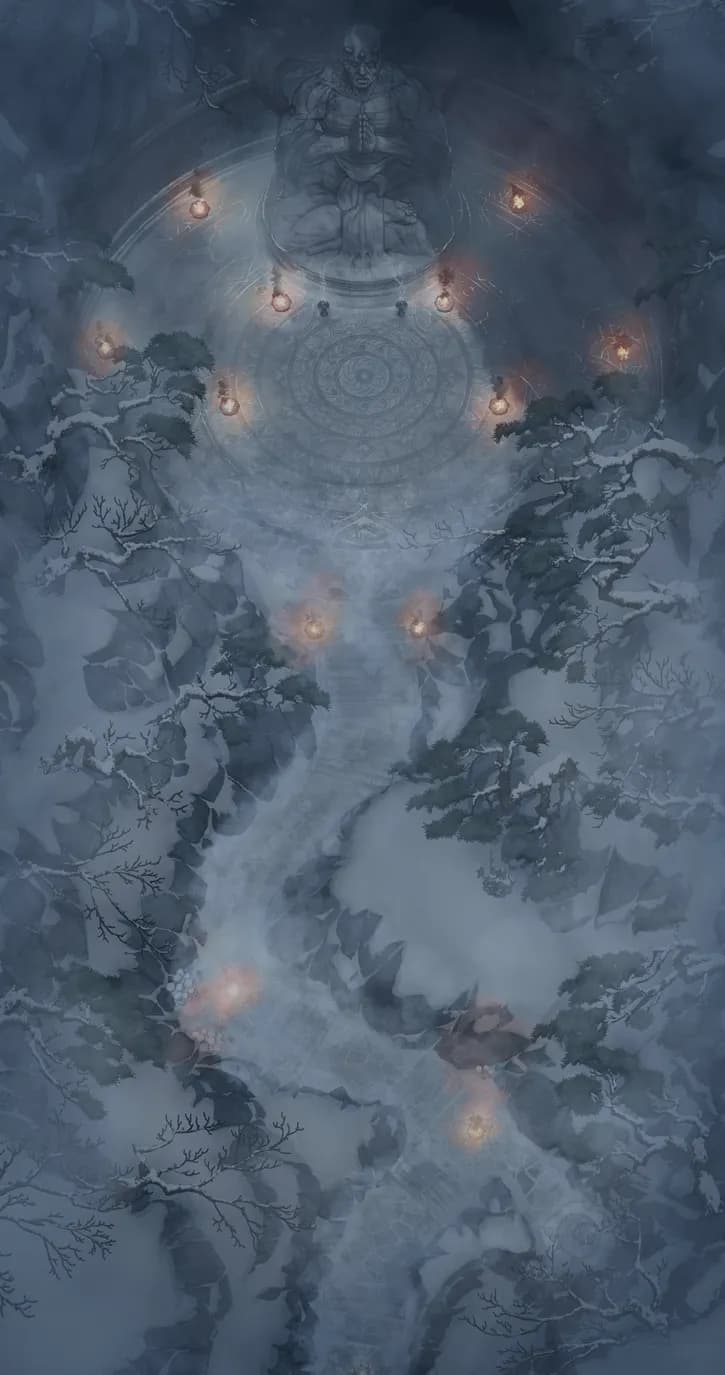
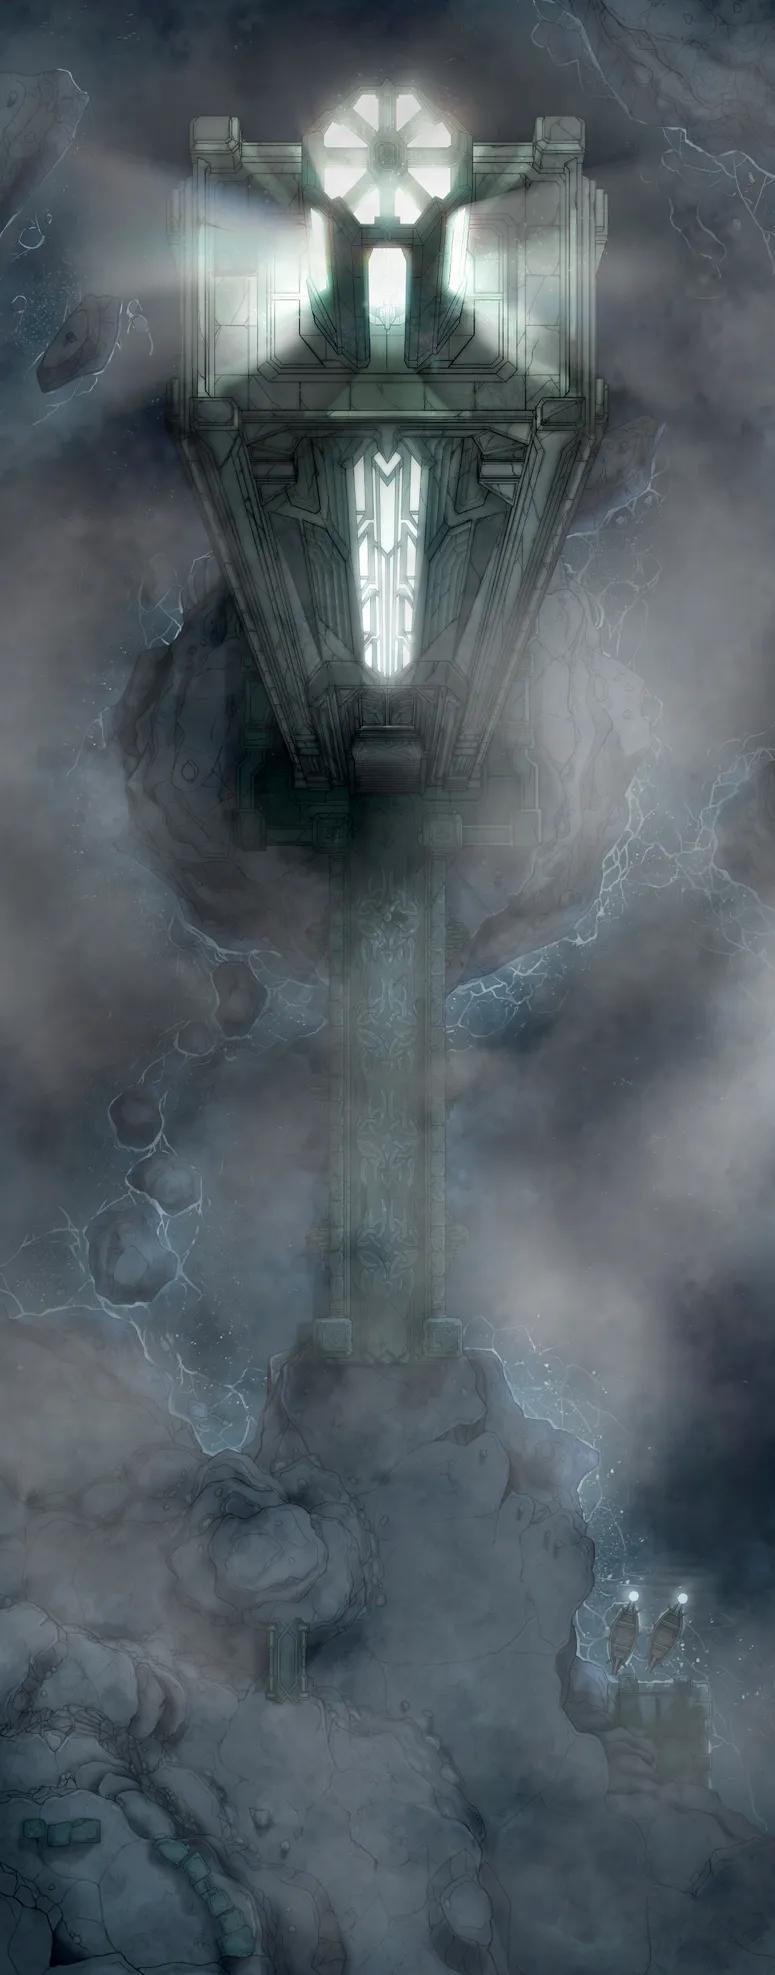
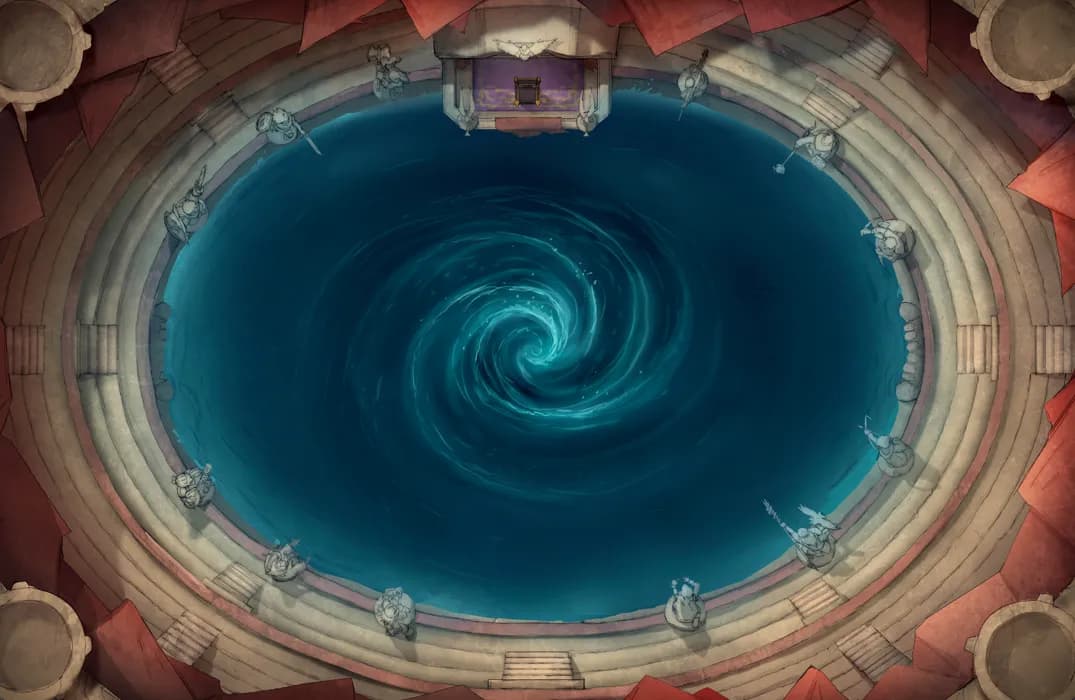
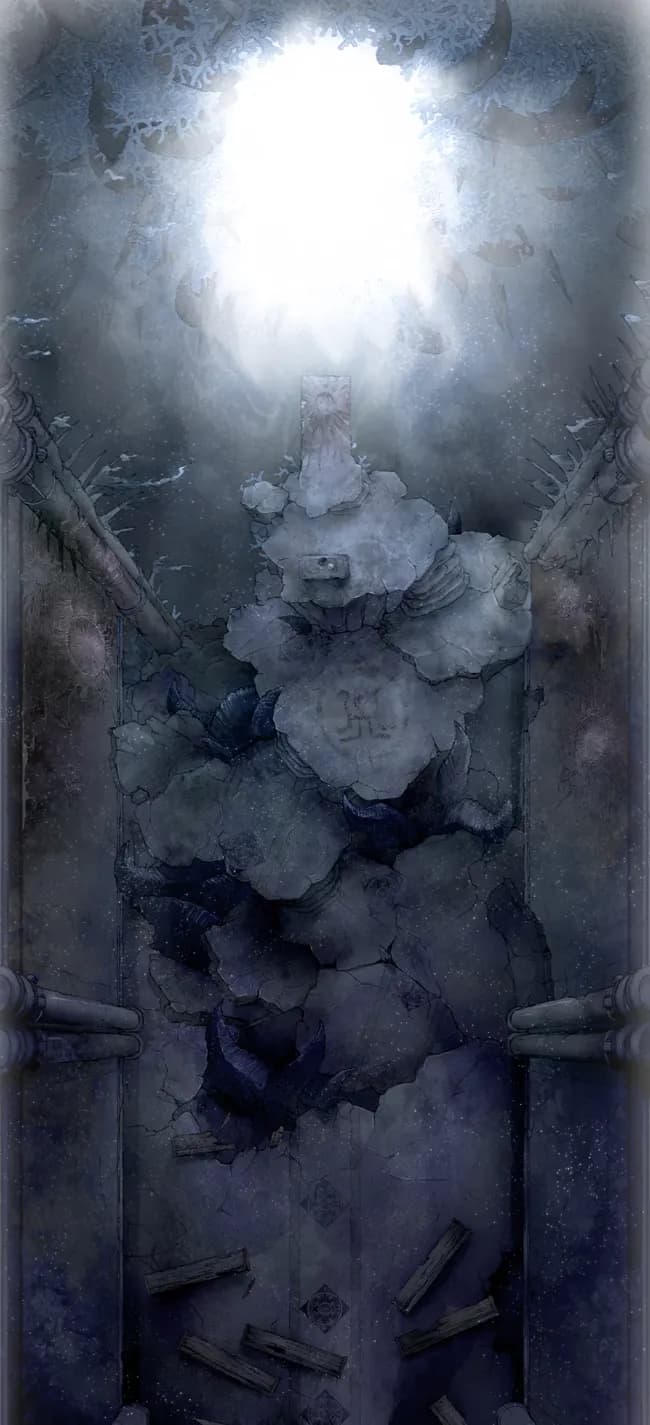
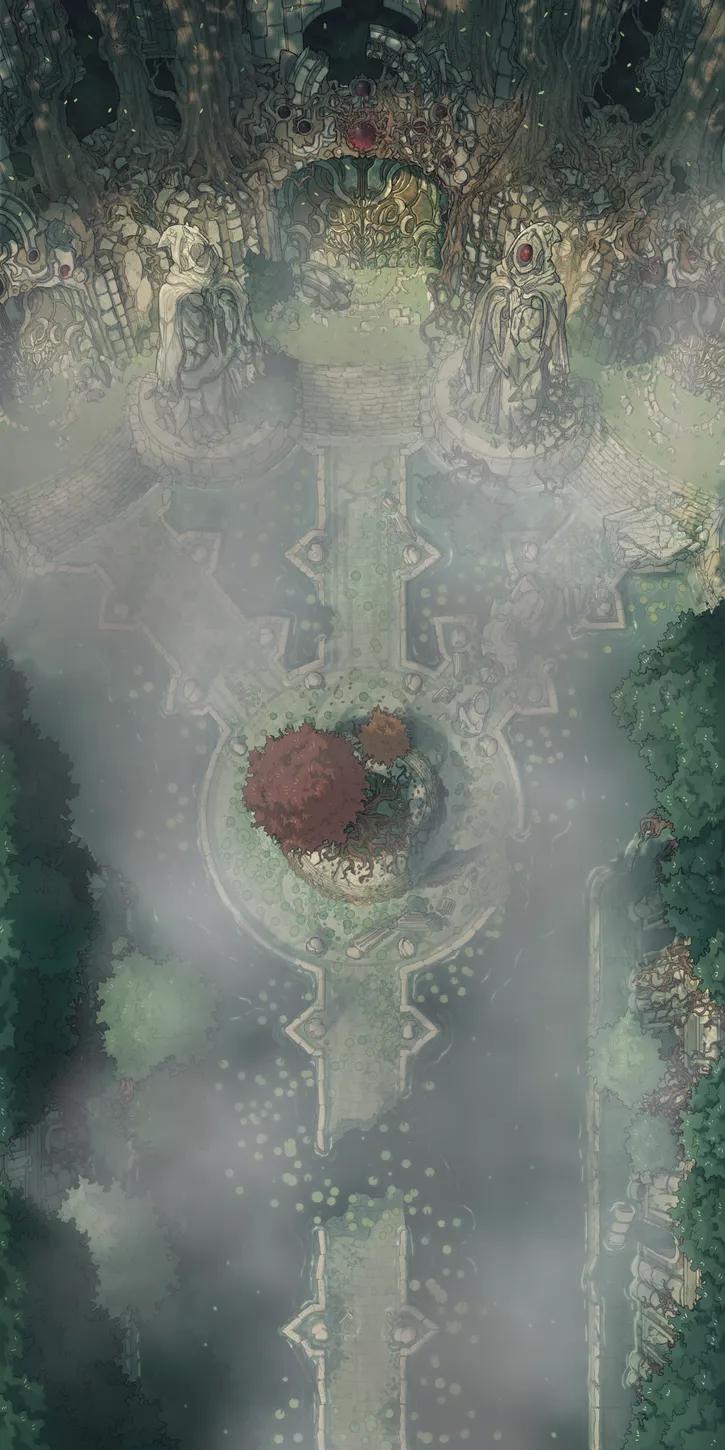
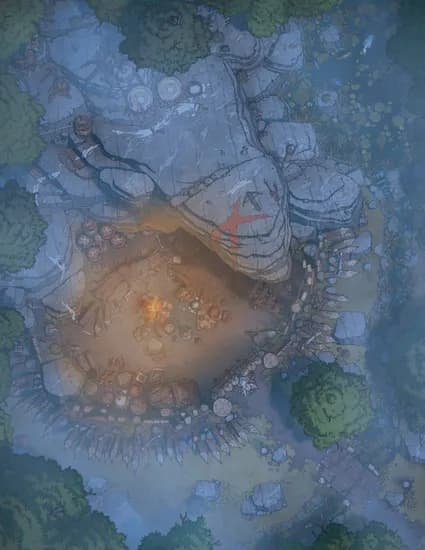
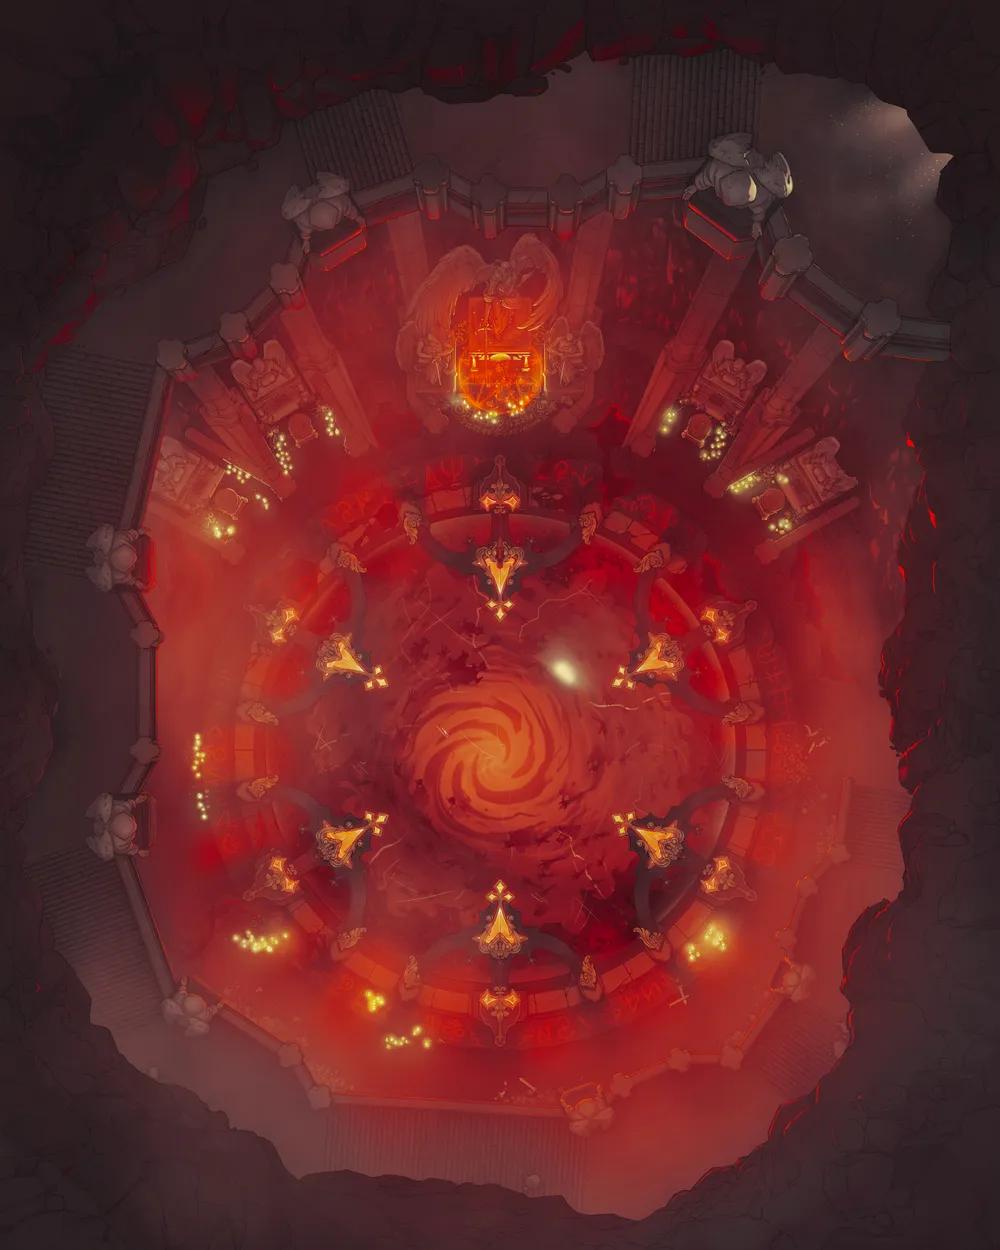
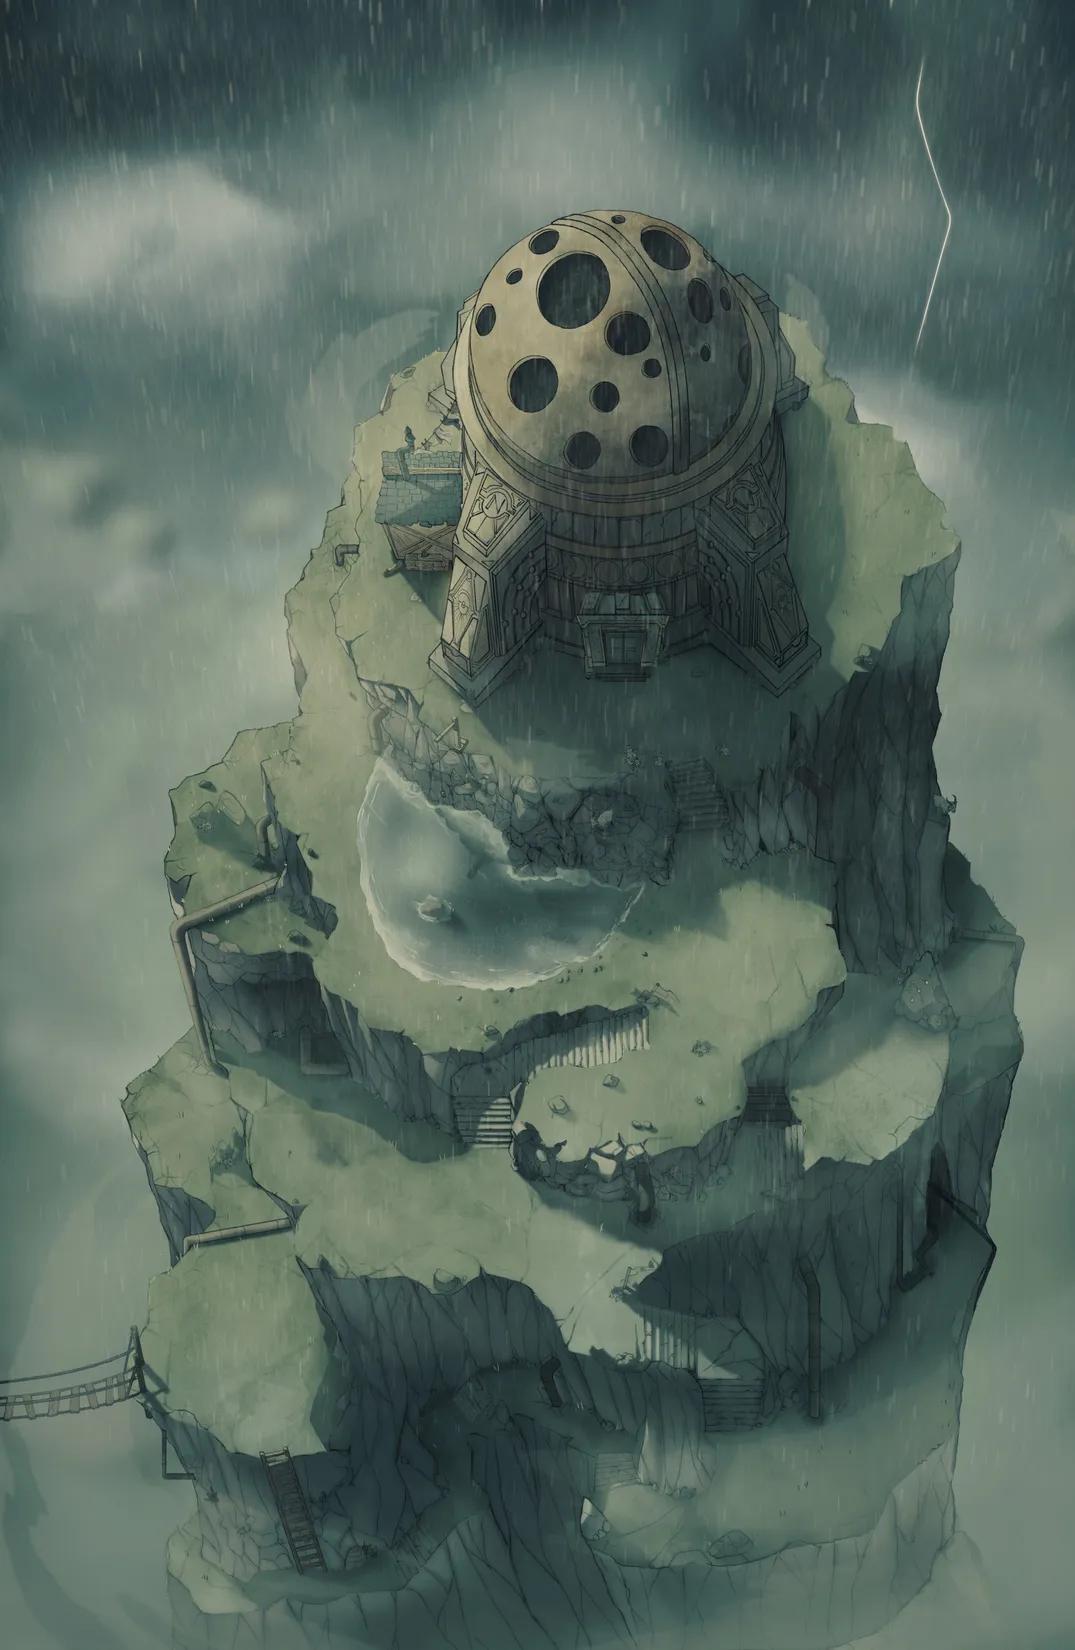
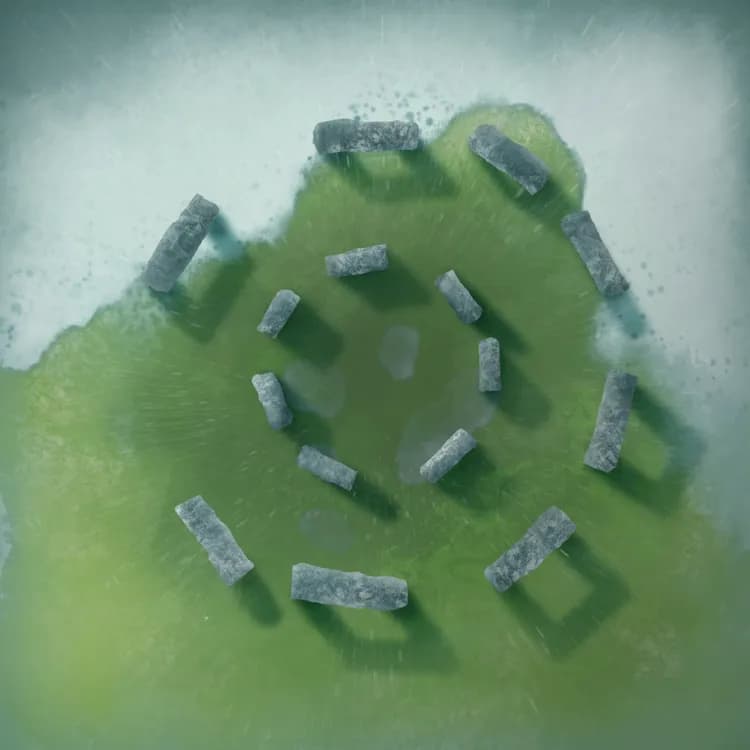
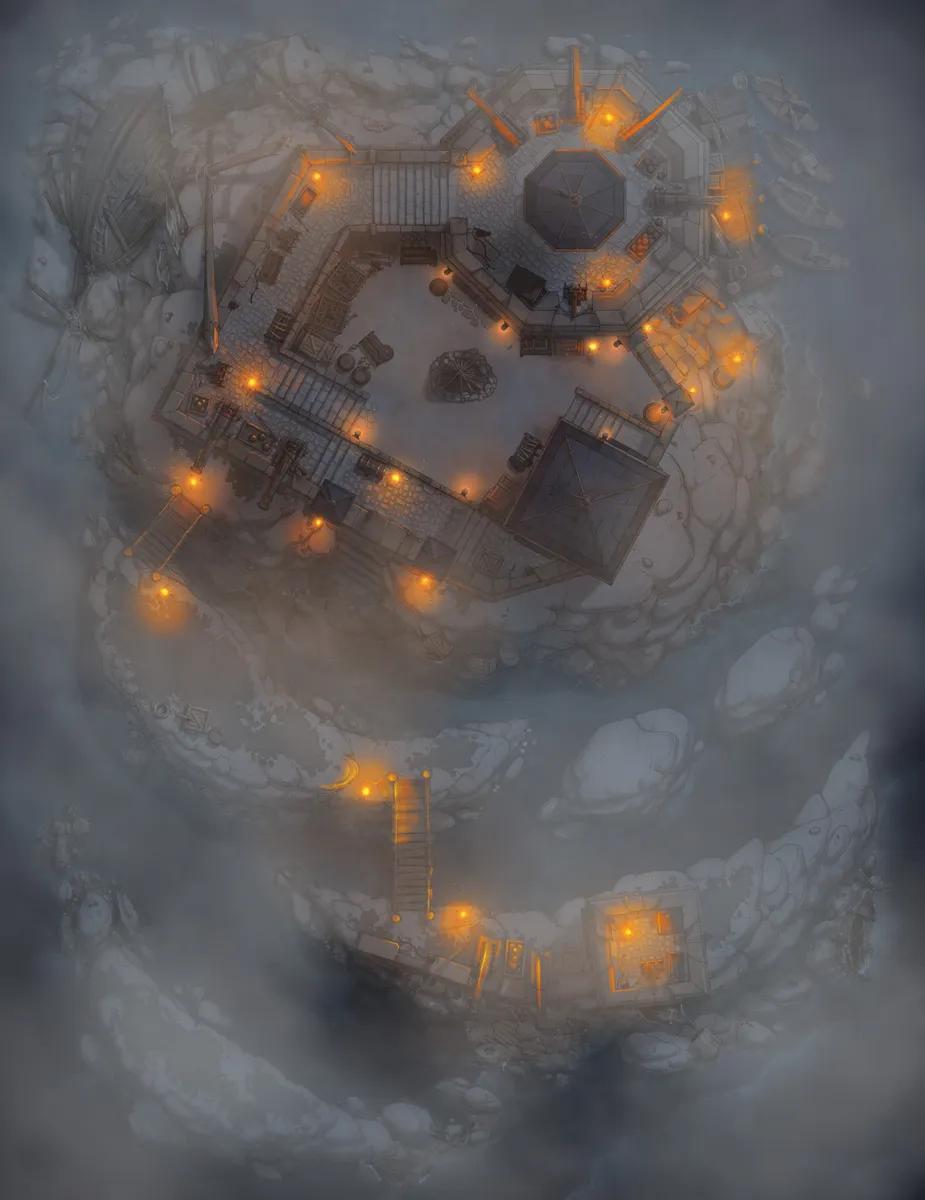
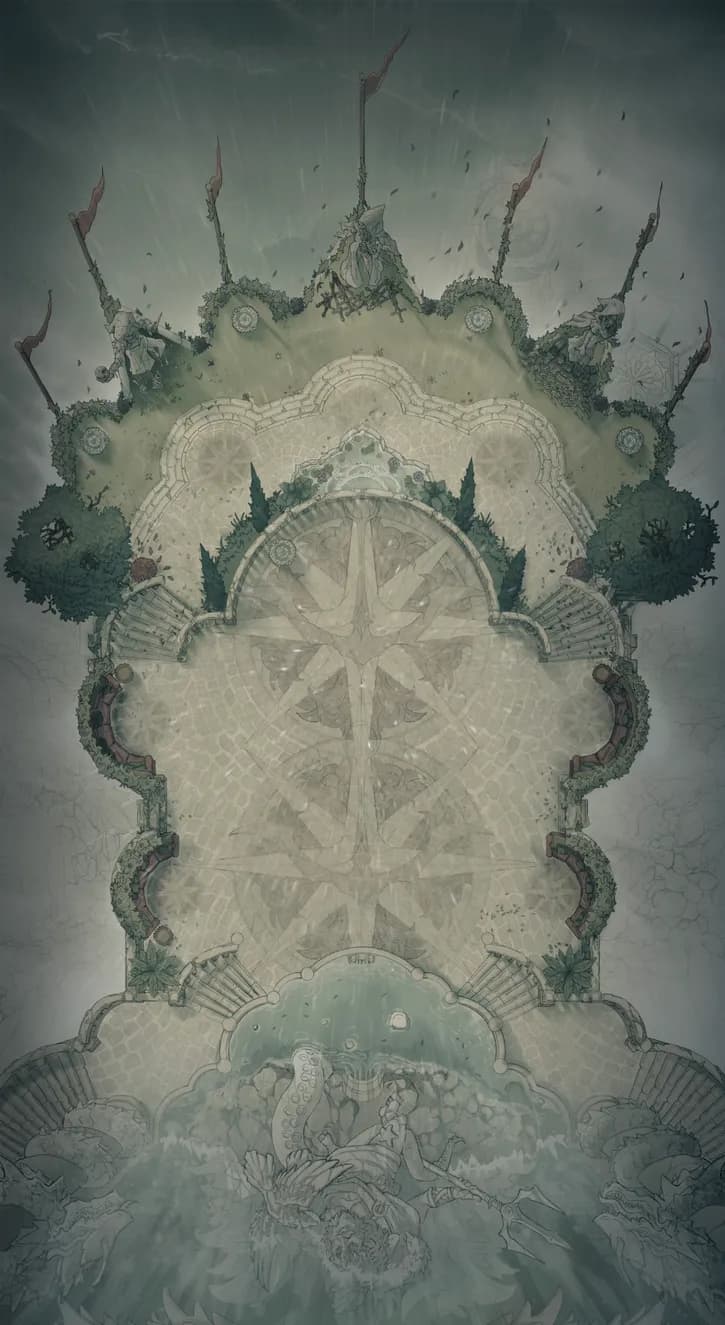
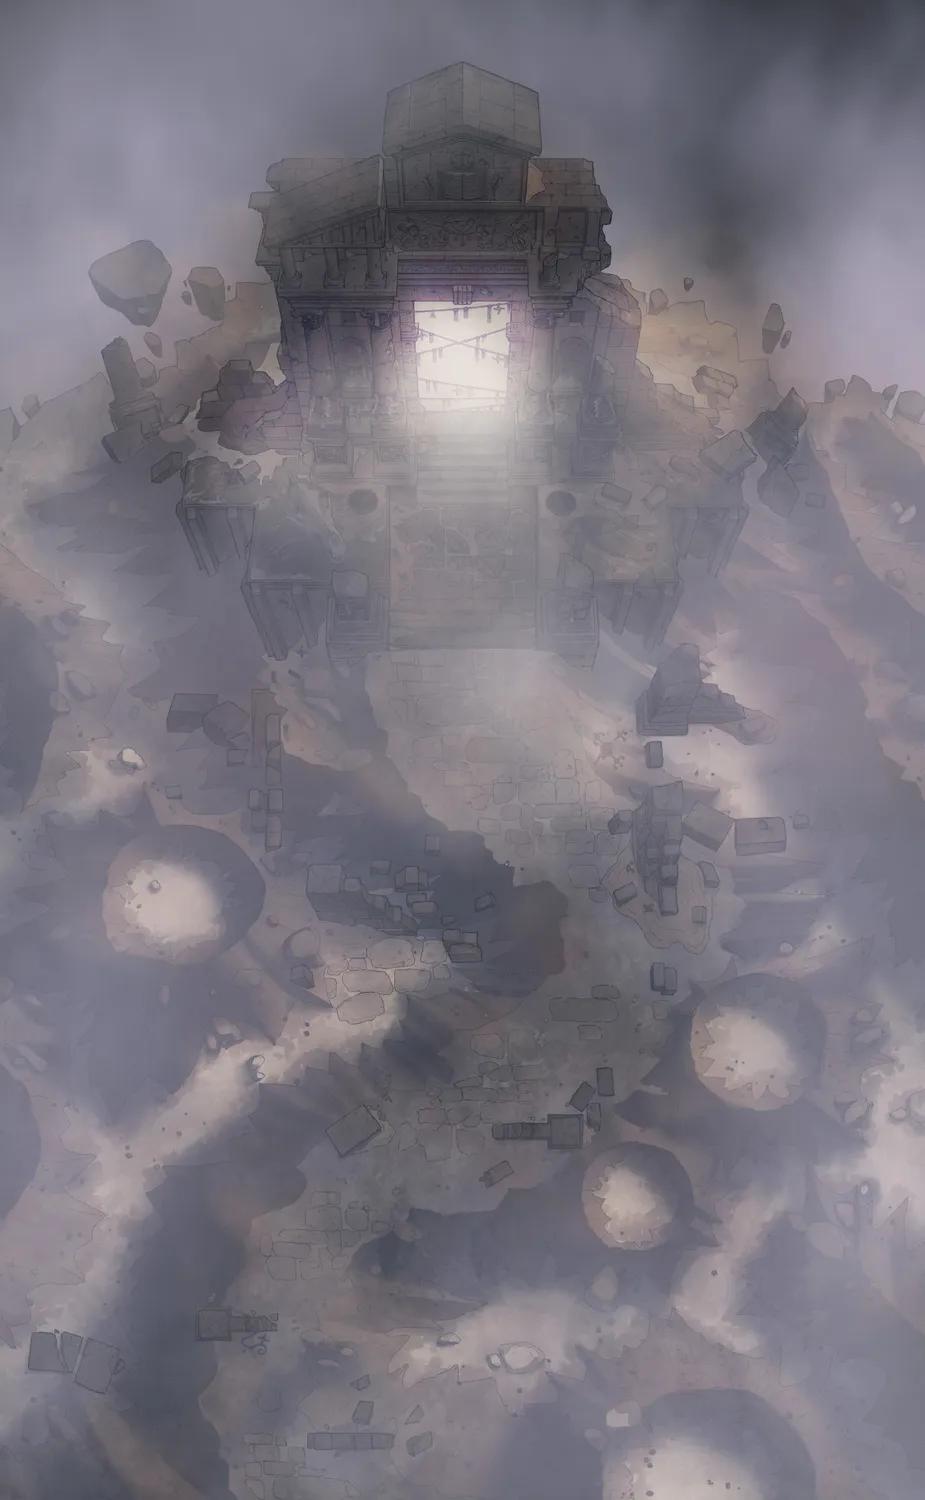
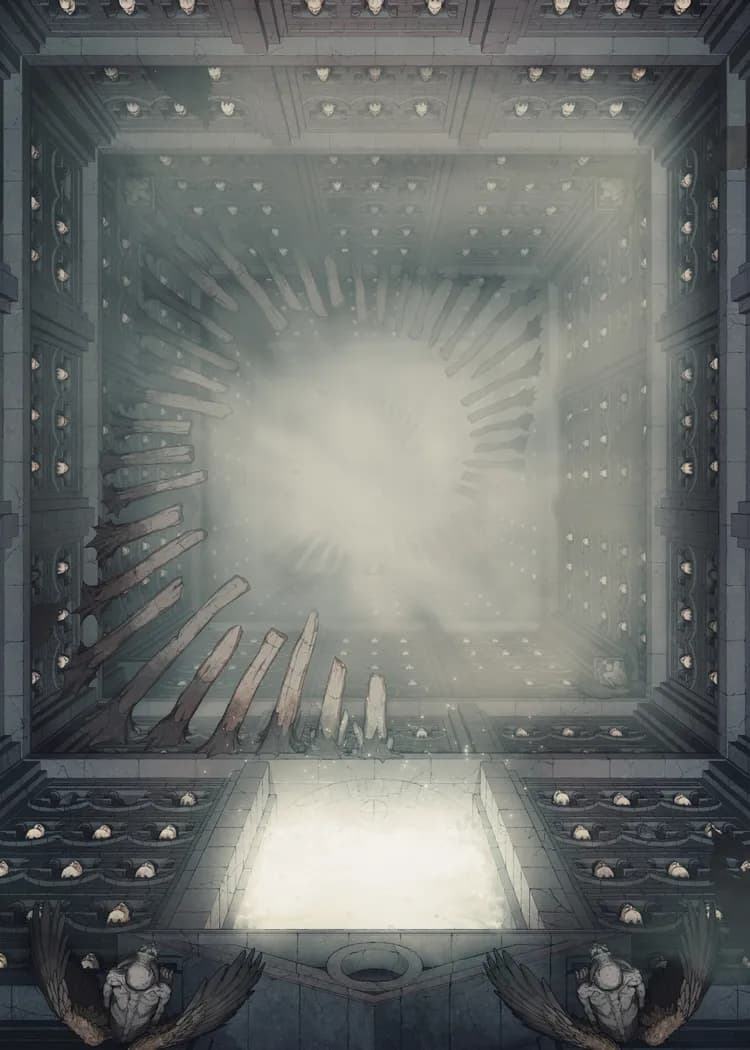
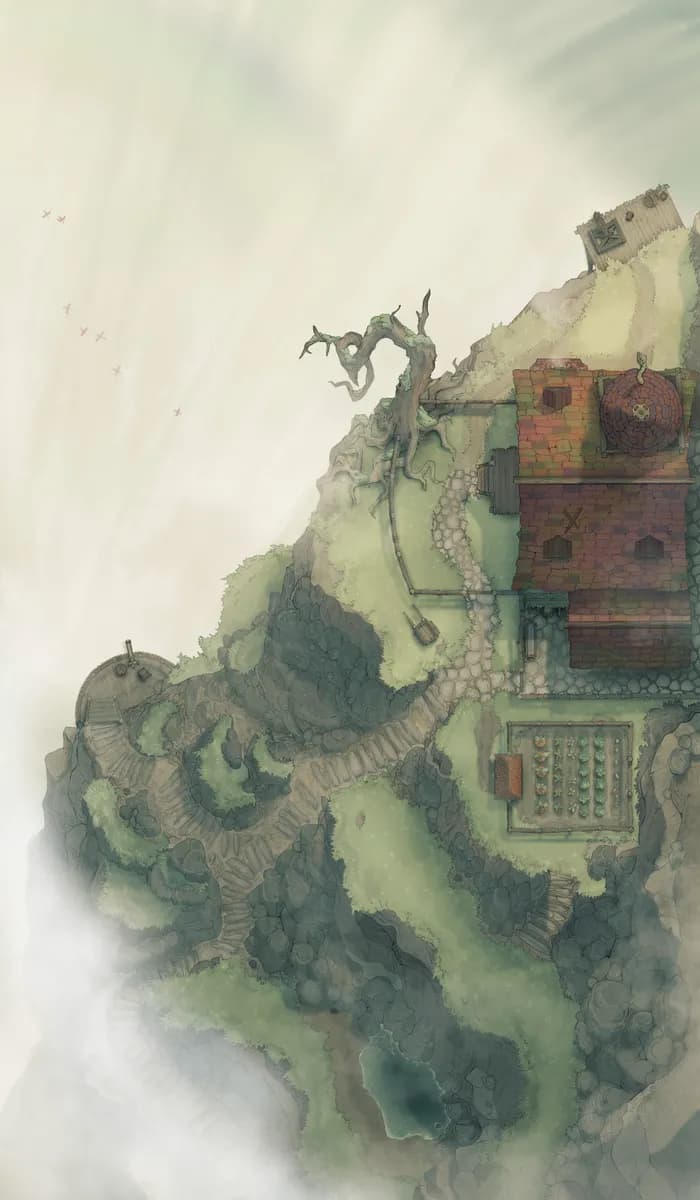
Mountaintop Altar
Mountaintop Altar
Adventurers' Guildhall
Adventurers' Guildhall
Ages of the Vale: Apple Press (+3)
Ages of the Vale: Apple Press (+3)
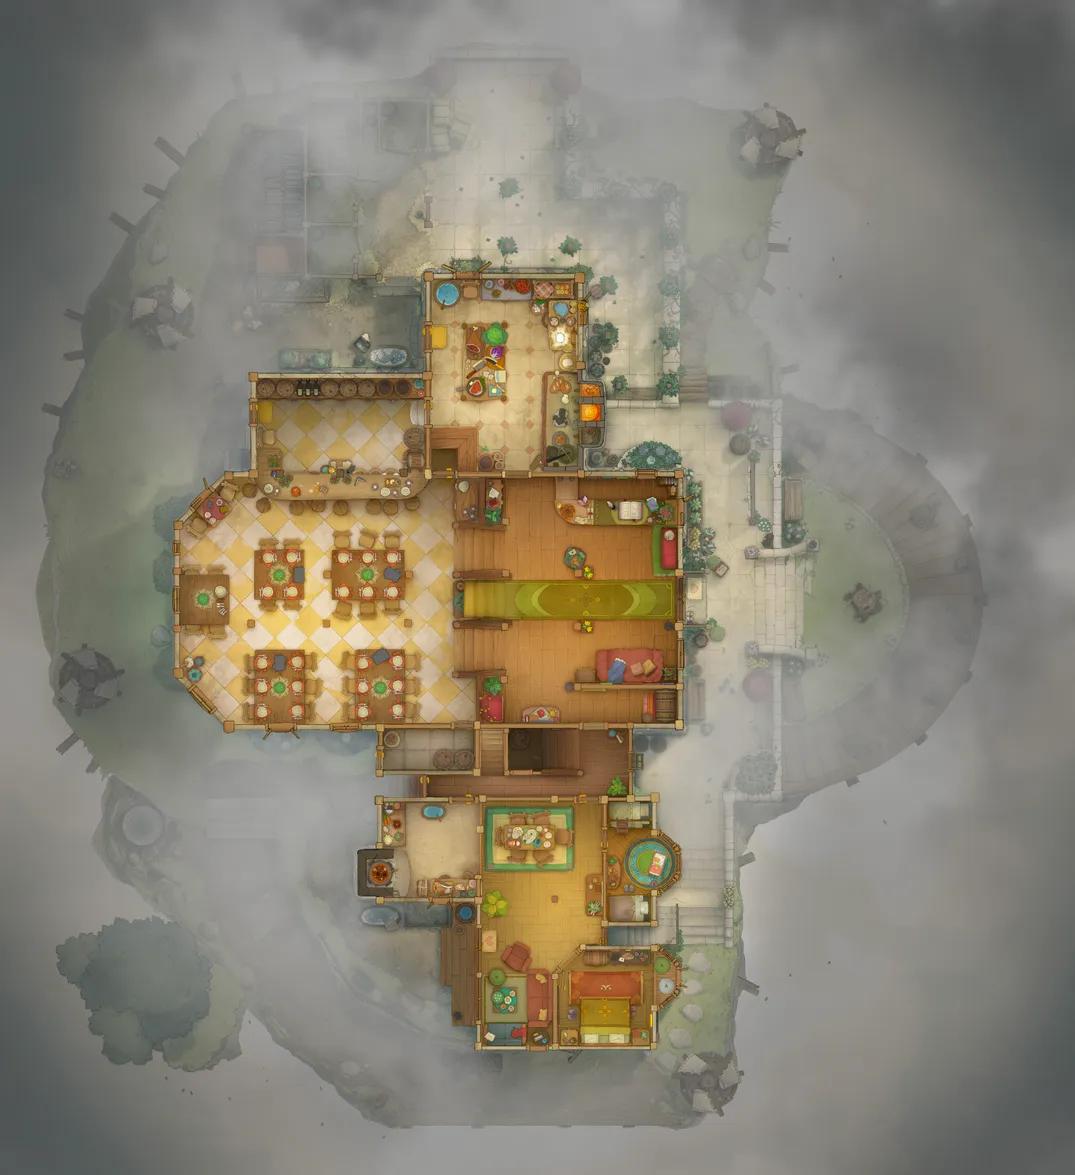
Ages of the Vale: Inn (+5)
Ages of the Vale: Inn (+5)
Ages of the Vale: Public House (+2)
Ages of the Vale: Public House (+2)
Airship Port
Airship Port

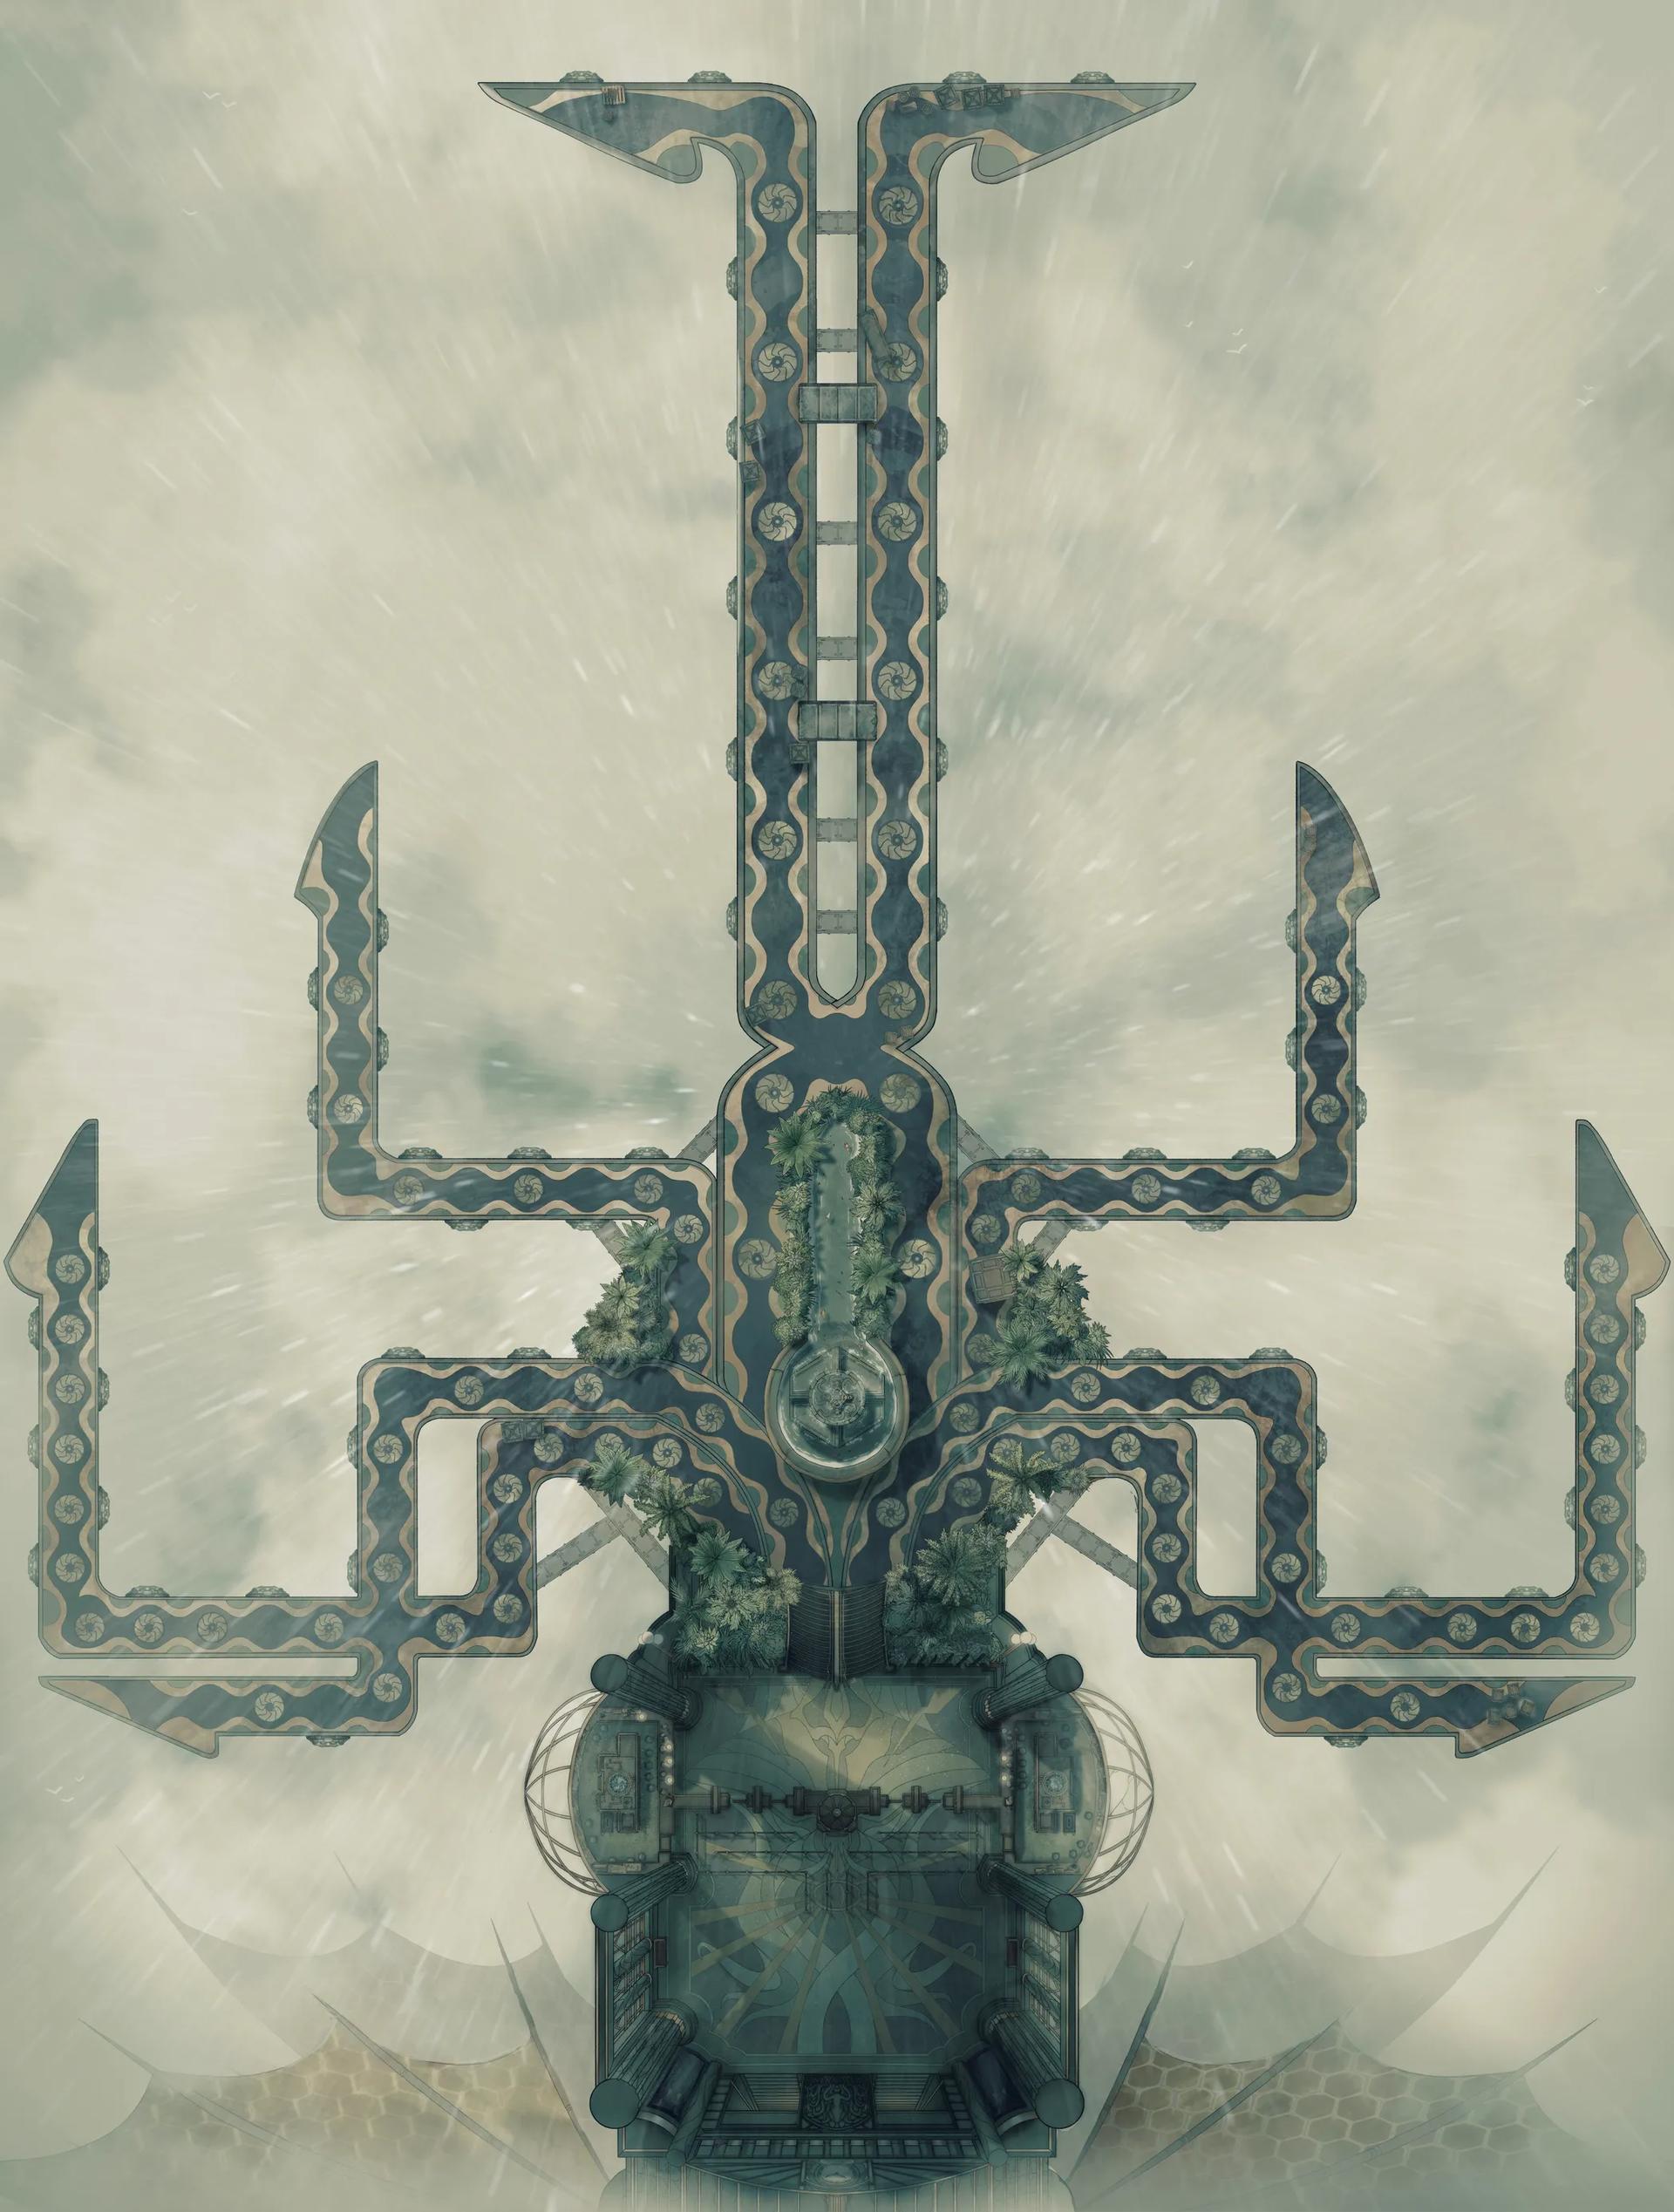
Airships! (+7)
Airships! (+7)
Airships! Pt. 3
Airships! Pt. 3

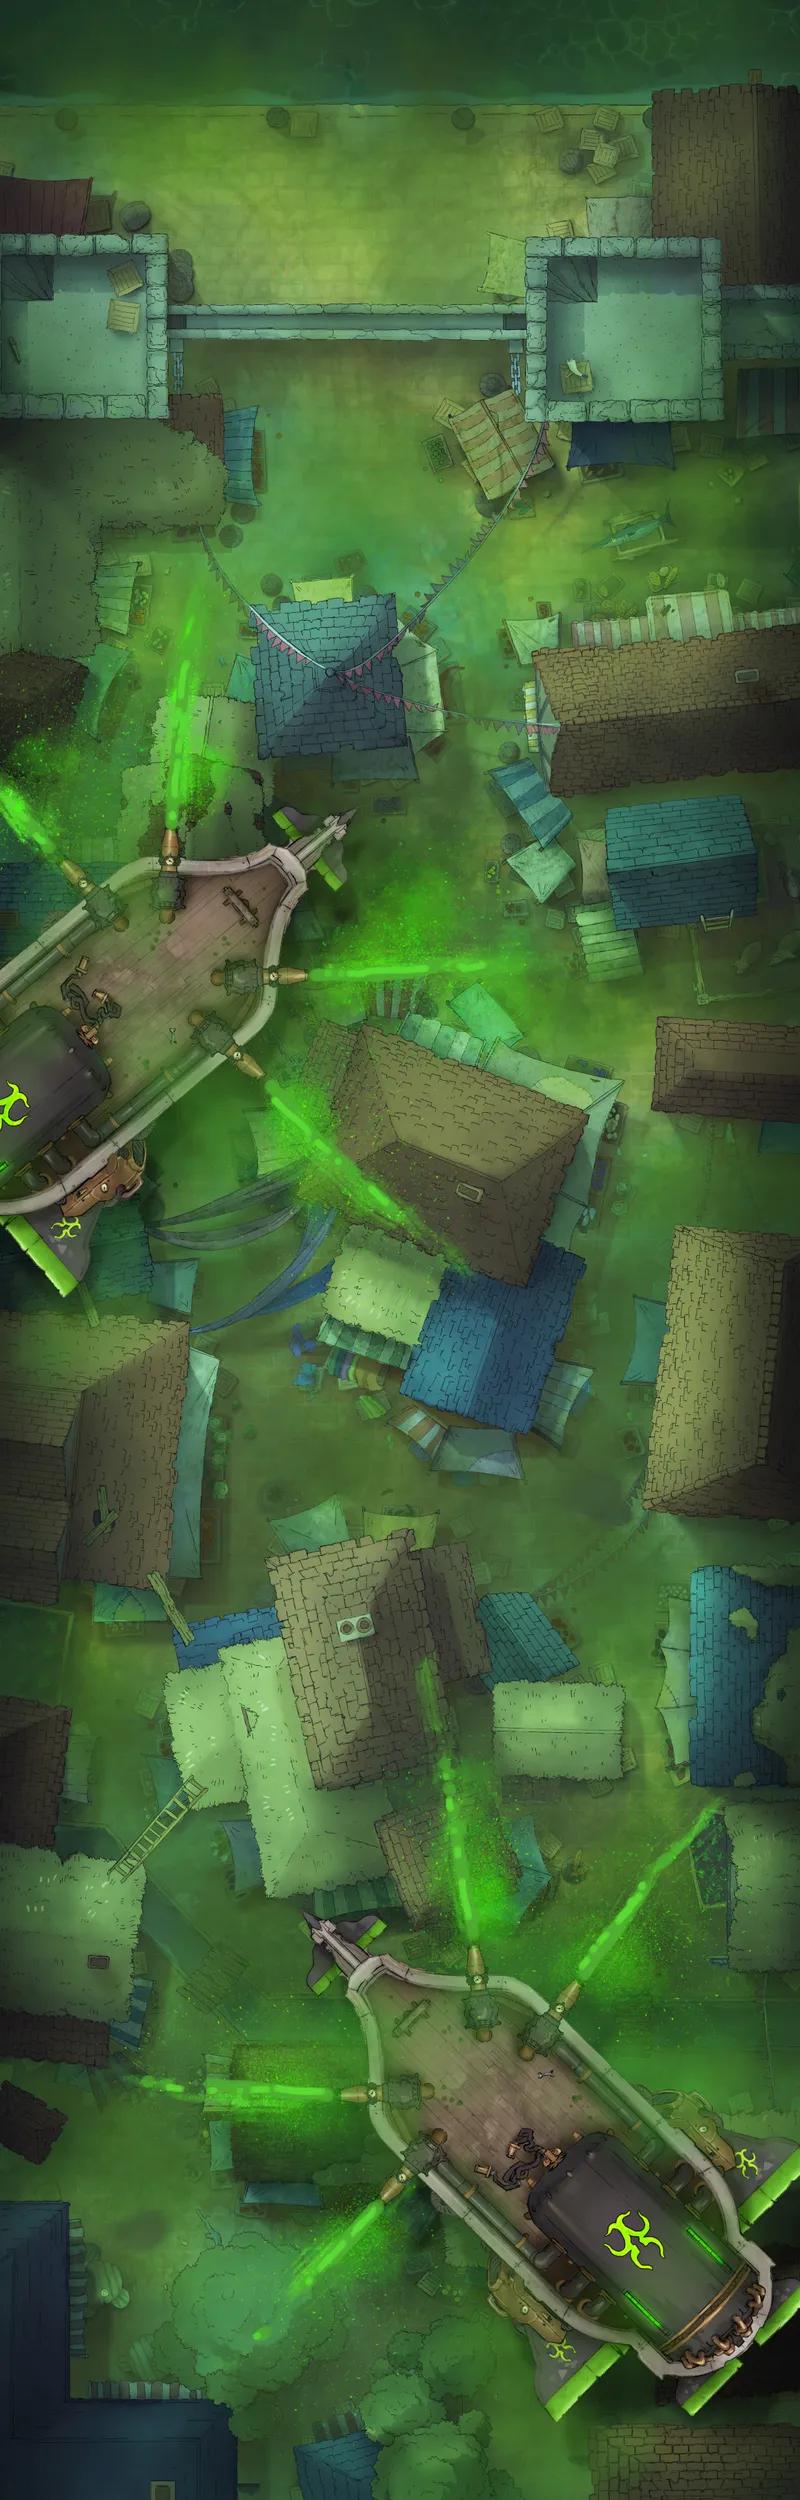
Alchemy District
Alchemy District
Alchemy Dungeon
Alchemy Dungeon
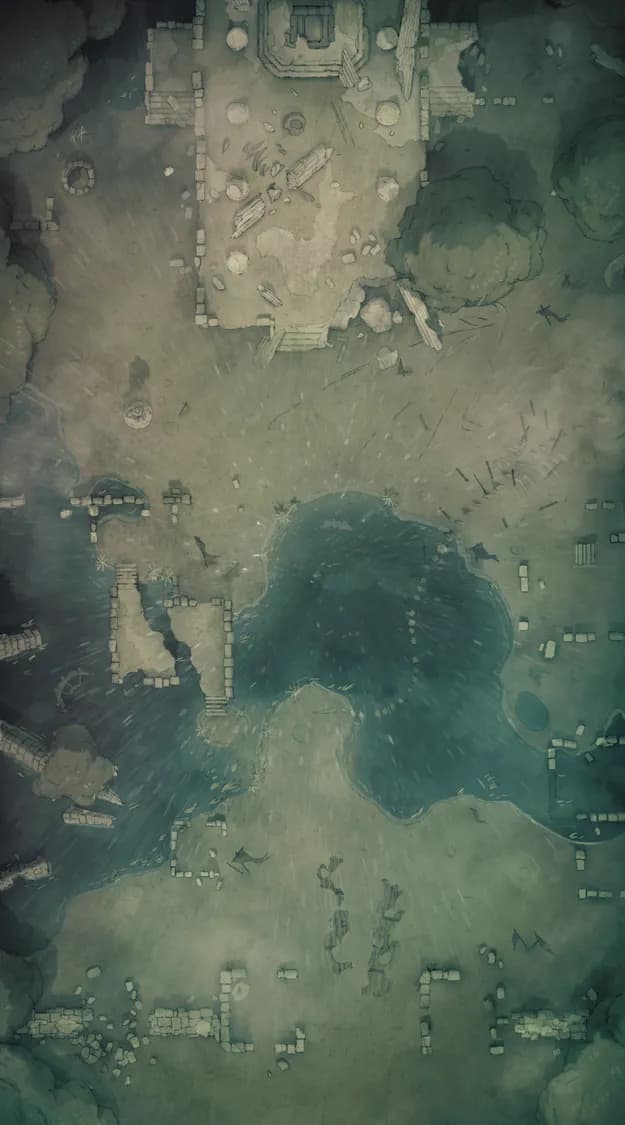
Ancient Battlefield
Ancient Battlefield
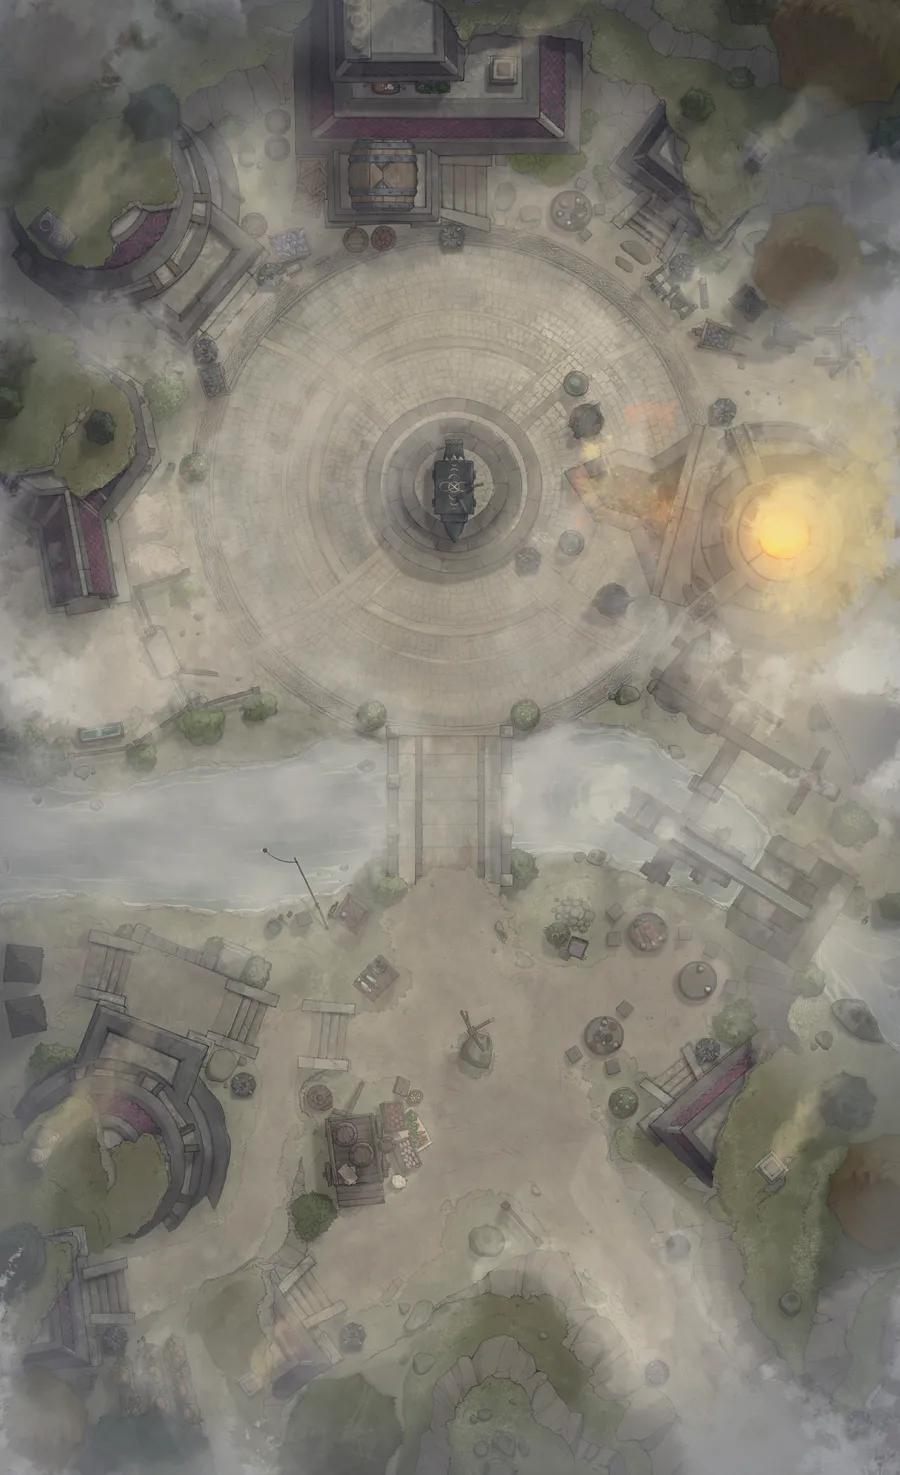
Ancient City Plaza (+1)
Ancient City Plaza (+1)
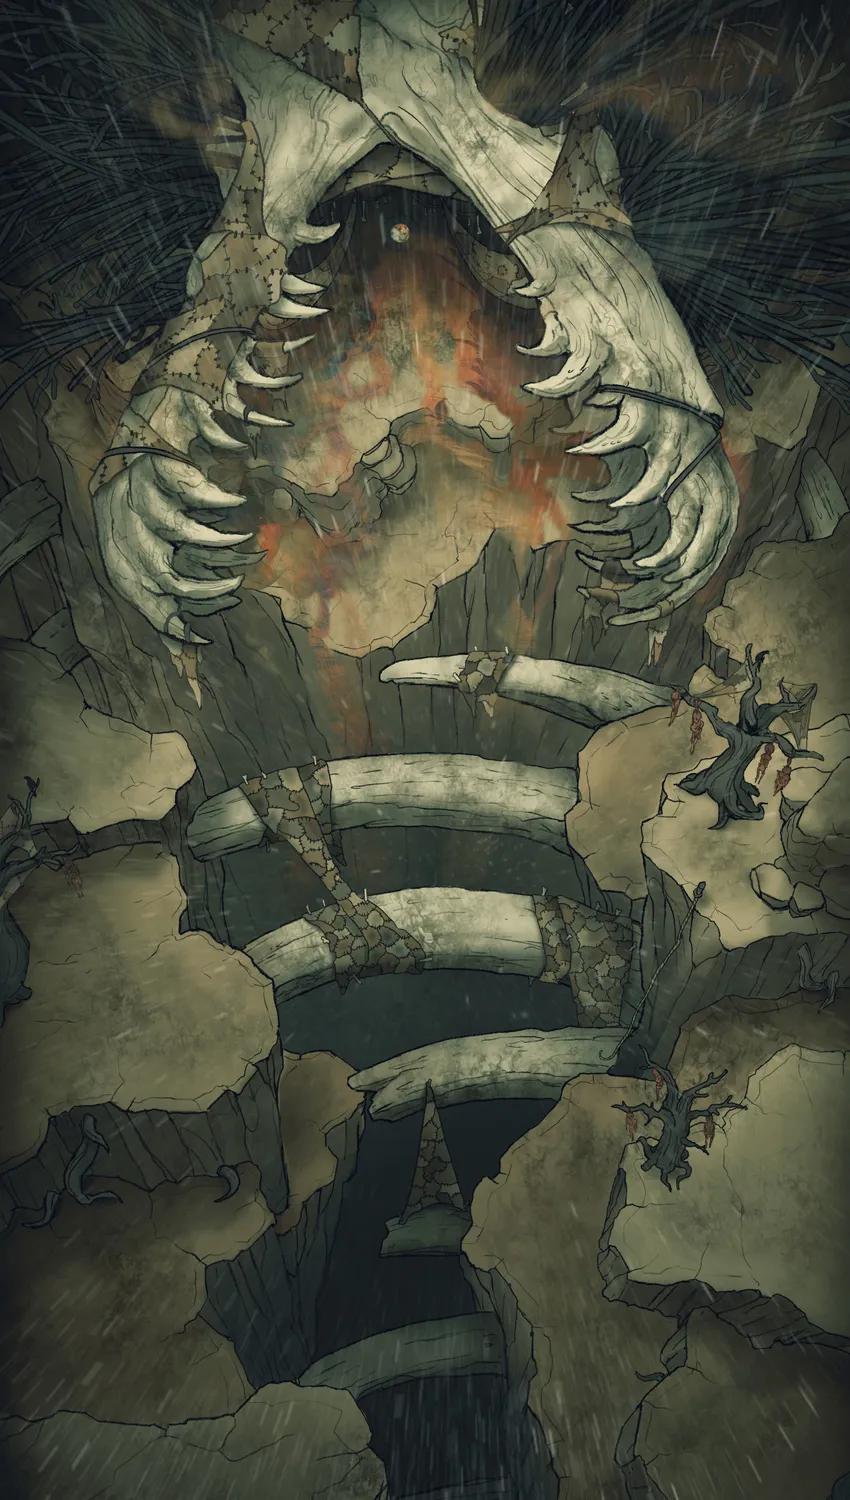
Ancient Hydra Lair
Ancient Hydra Lair
Ancient Stepwell (+2)
Ancient Stepwell (+2)
Ancient Tech Treasury (+1)
Ancient Tech Treasury (+1)
Annis Hag Lair
Annis Hag Lair
Archaeological Dig (+1)
Archaeological Dig (+1)
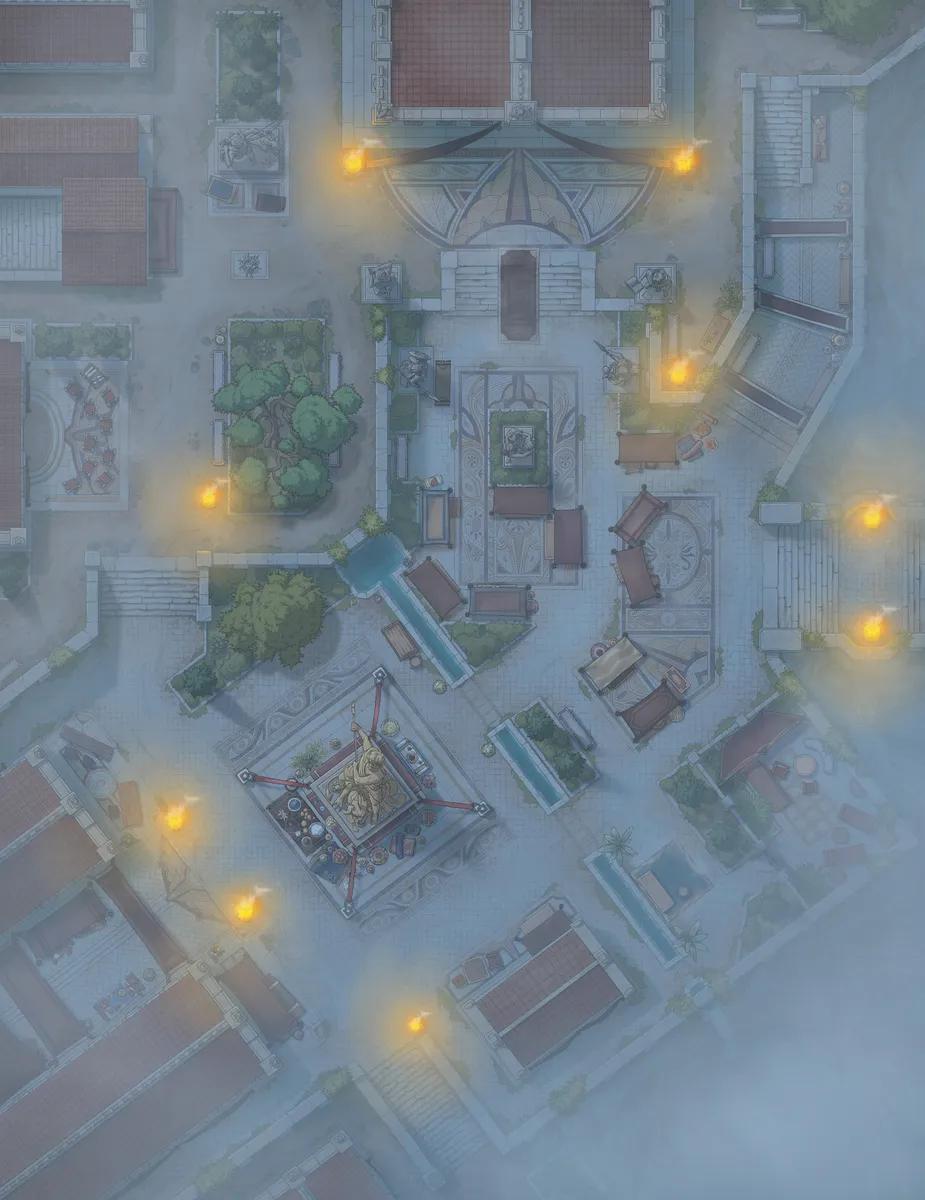
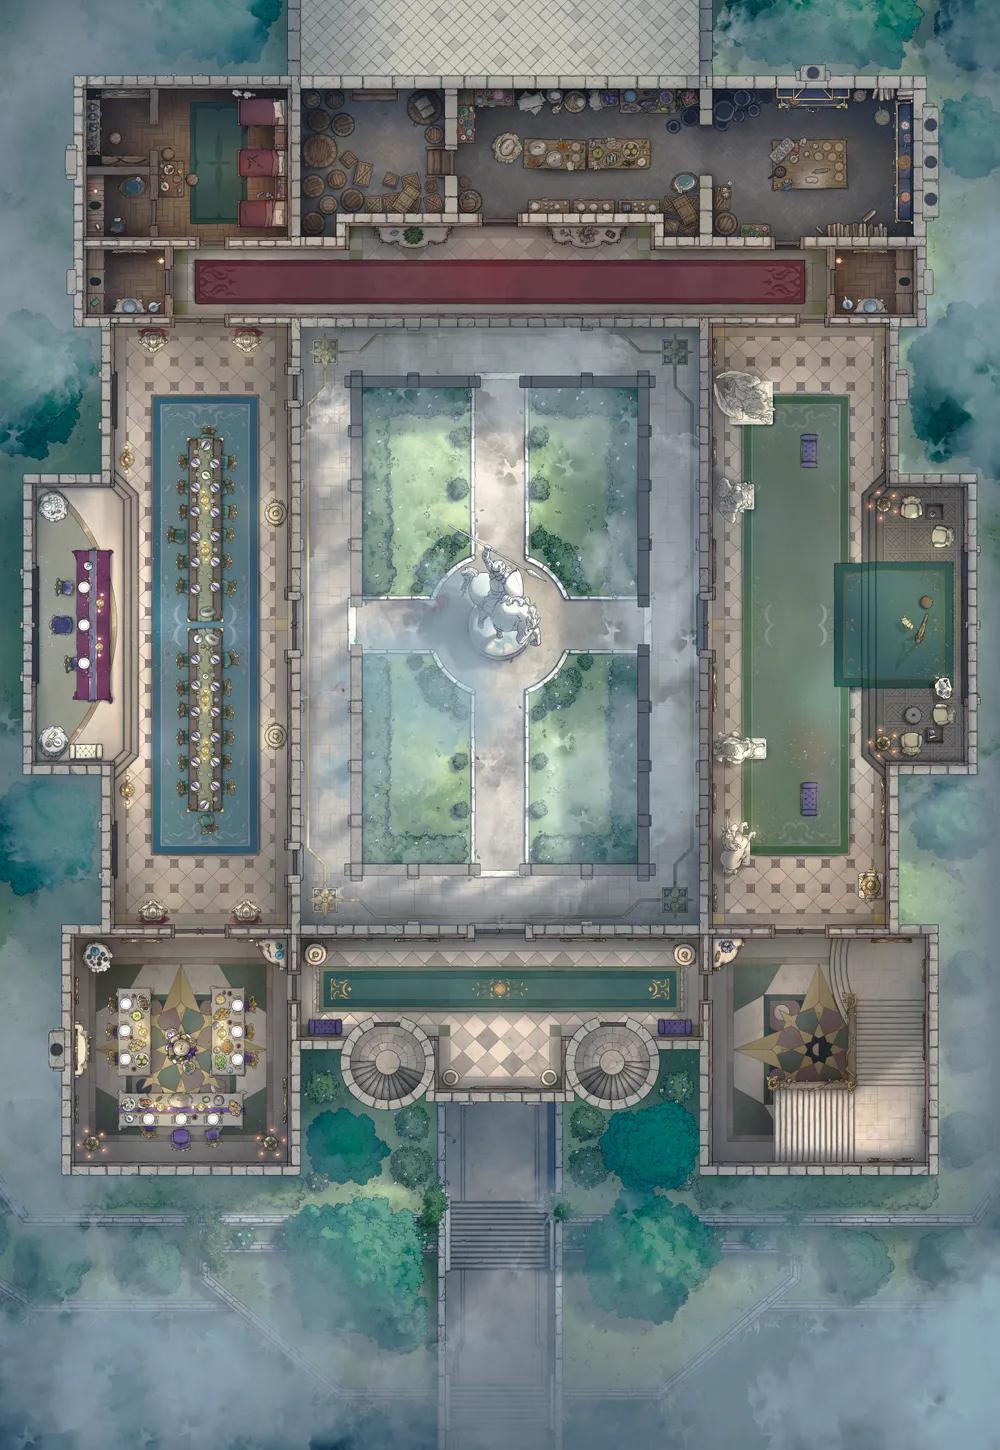
Archon's Villa (+1)
Archon's Villa (+1)
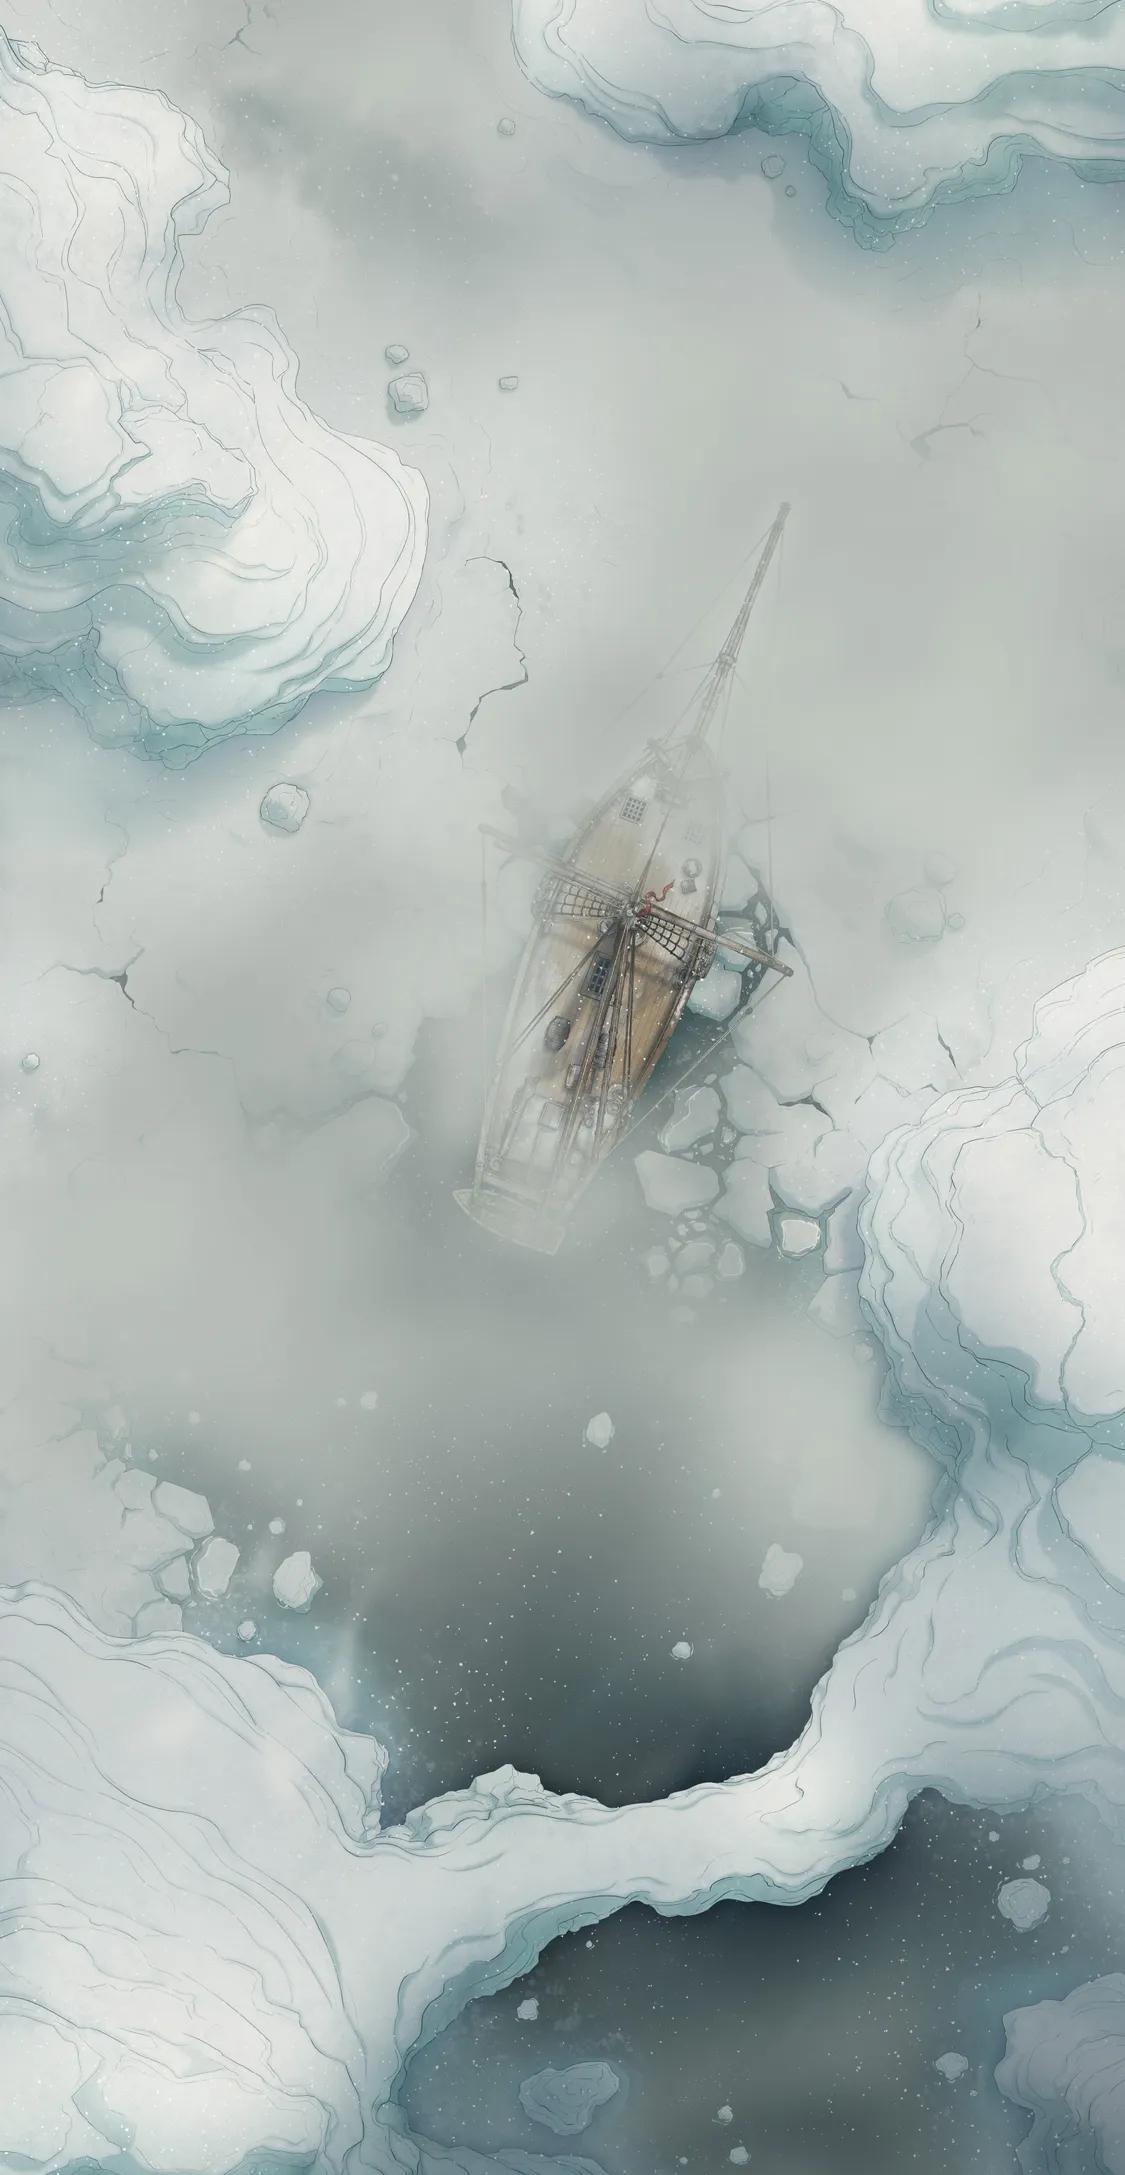
Arctic Expedition (+1)
Arctic Expedition (+1)
Badger Hill (+1)
Badger Hill (+1)
Banshee Moor (+1)
Banshee Moor (+1)
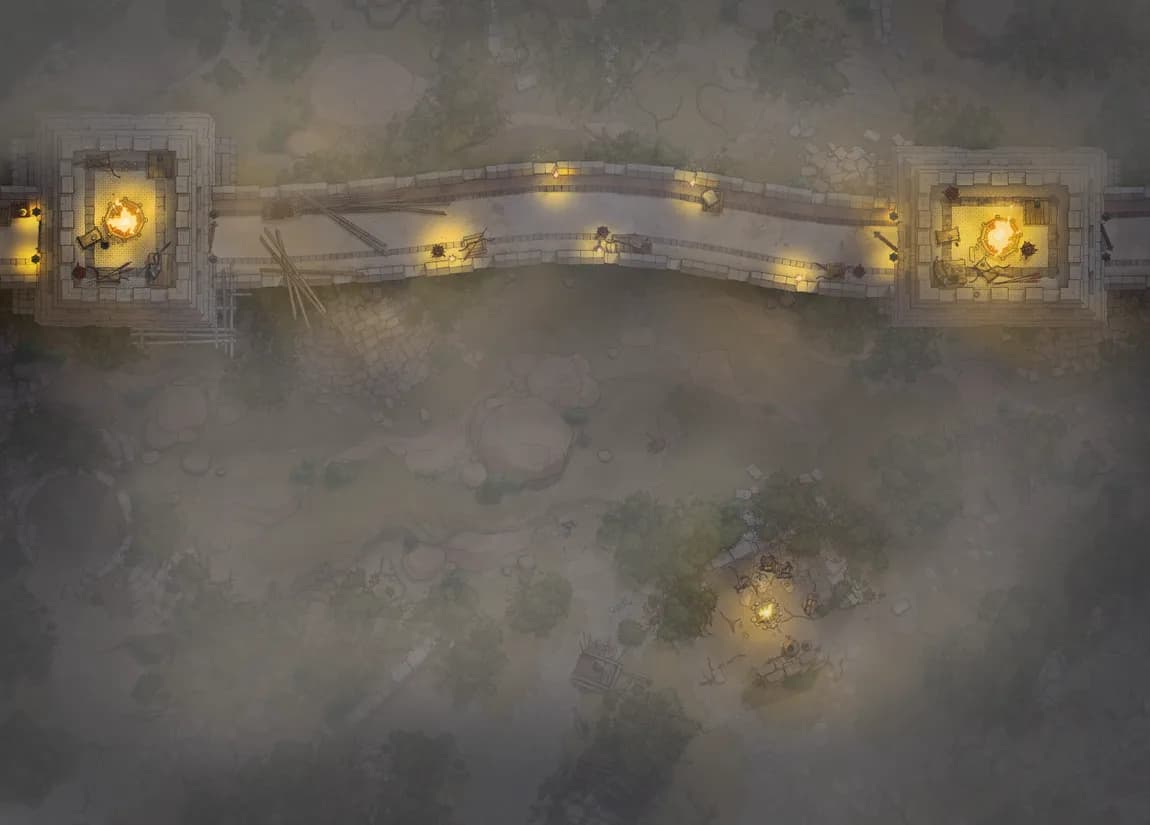
Battlefield Bridge Blockade
Battlefield Bridge Blockade
Beach Town (+1)
Beach Town (+1)
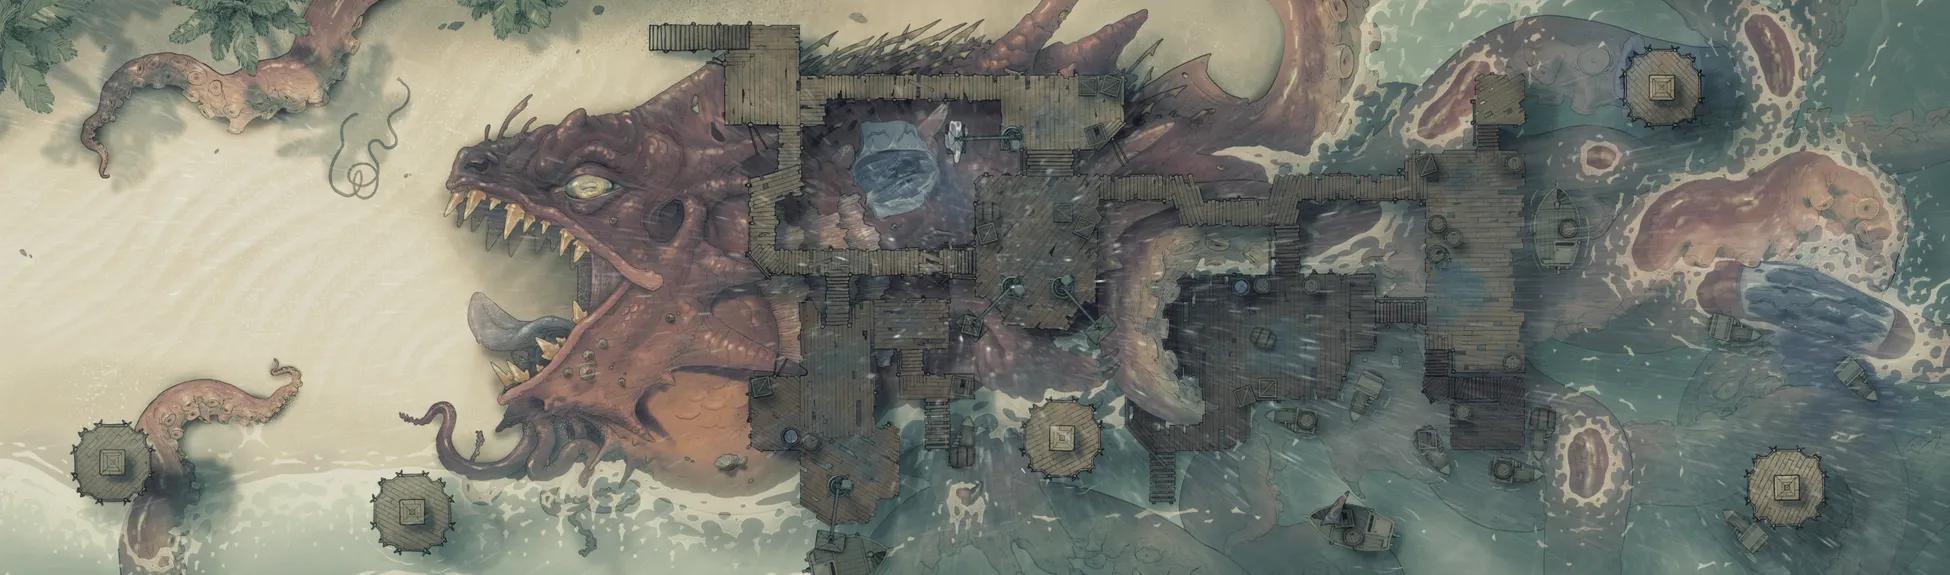
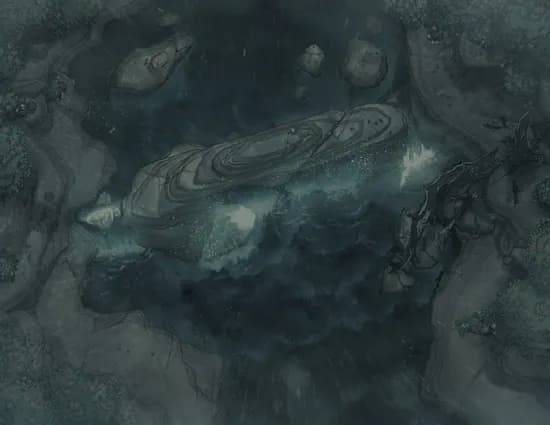
Beached Kraken
Beached Kraken
Beachside Bazaar (+1)
Beachside Bazaar (+1)
Beachside Cliff (+2)
Beachside Cliff (+2)
Beetle Tribe Canyon (+1)
Beetle Tribe Canyon (+1)
Birdfolk Village (+1)
Birdfolk Village (+1)
Black Market Streets (+1)
Black Market Streets (+1)
Blue Dragon Lair (+1)
Blue Dragon Lair (+1)

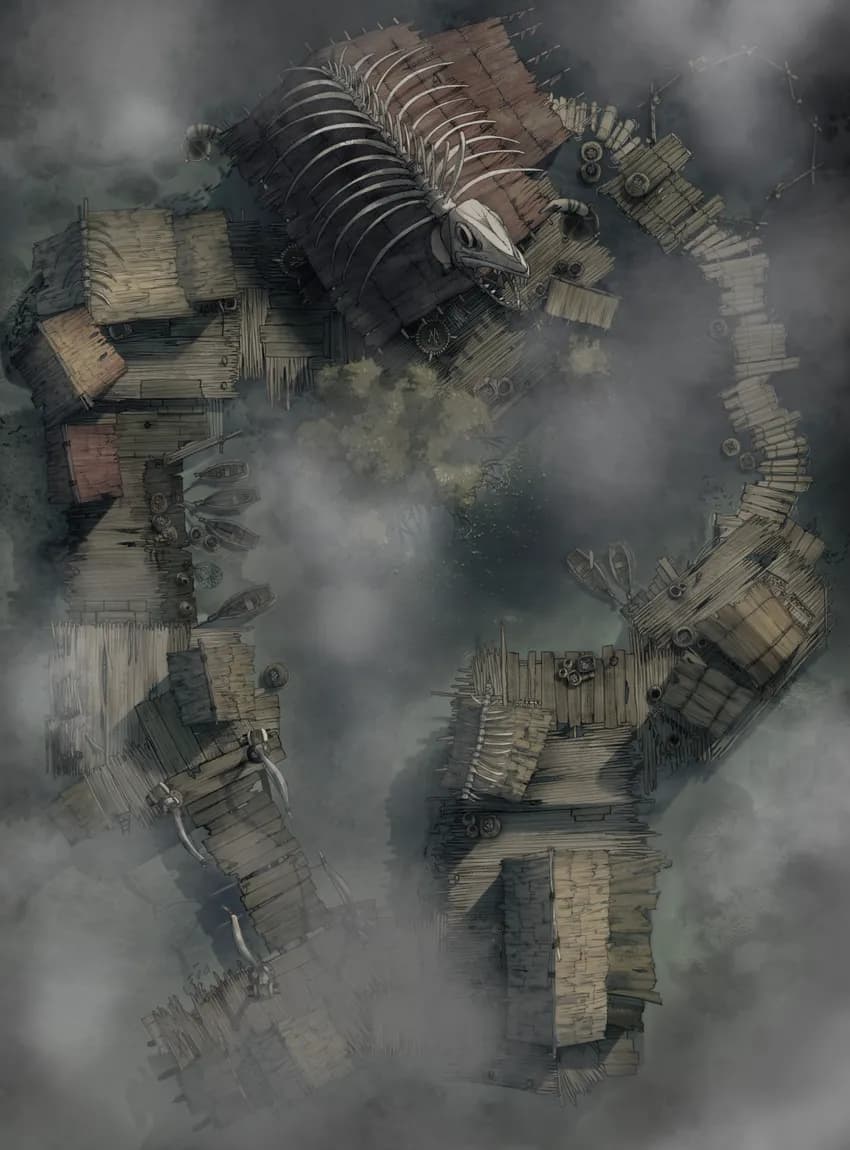
Bone Mill Exterior
Bone Mill Exterior
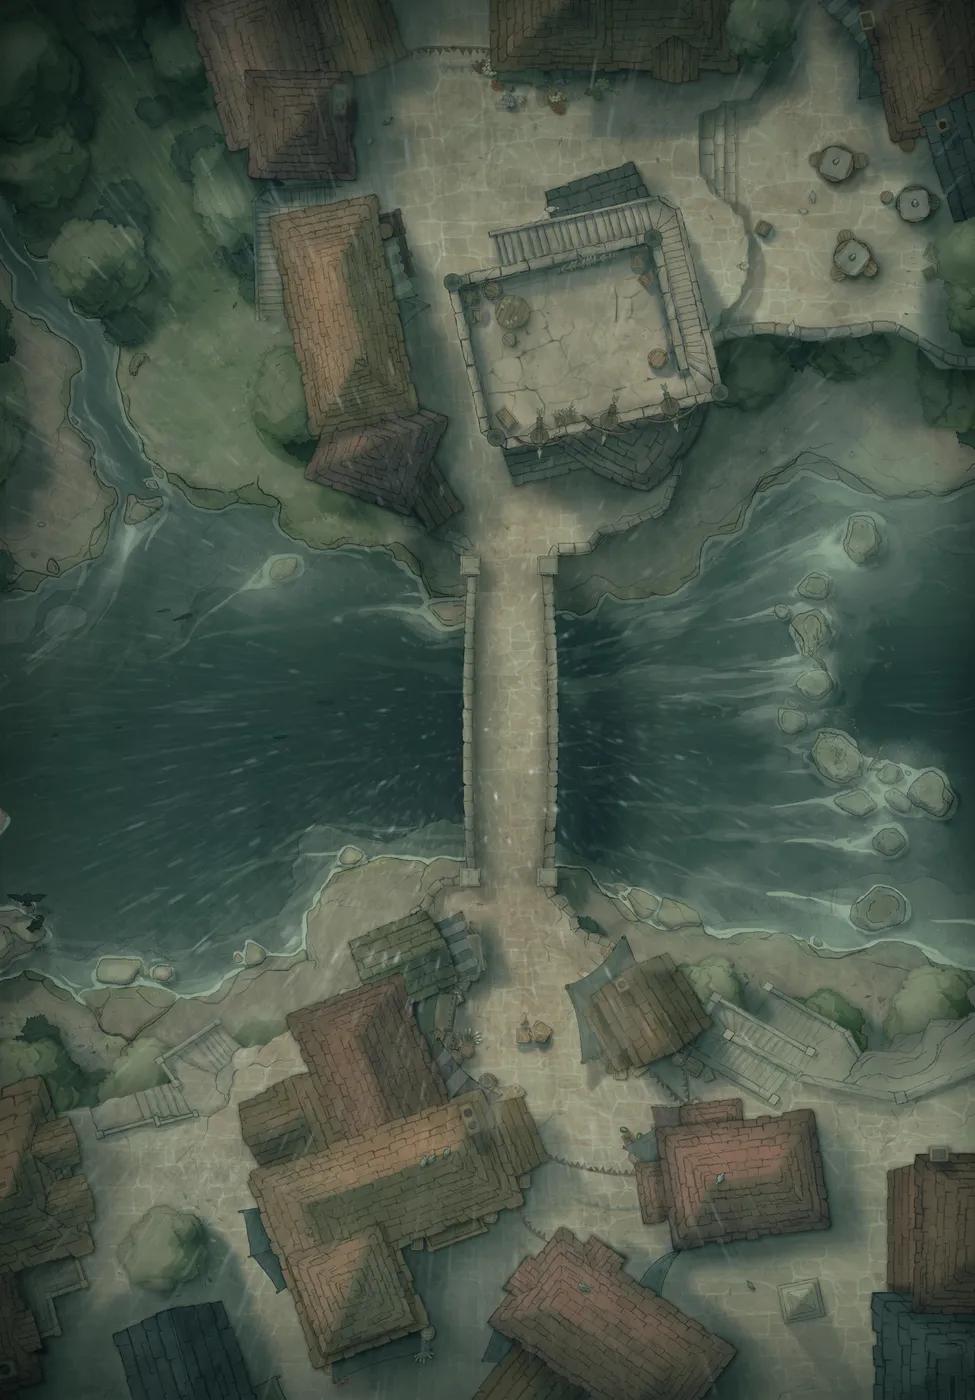
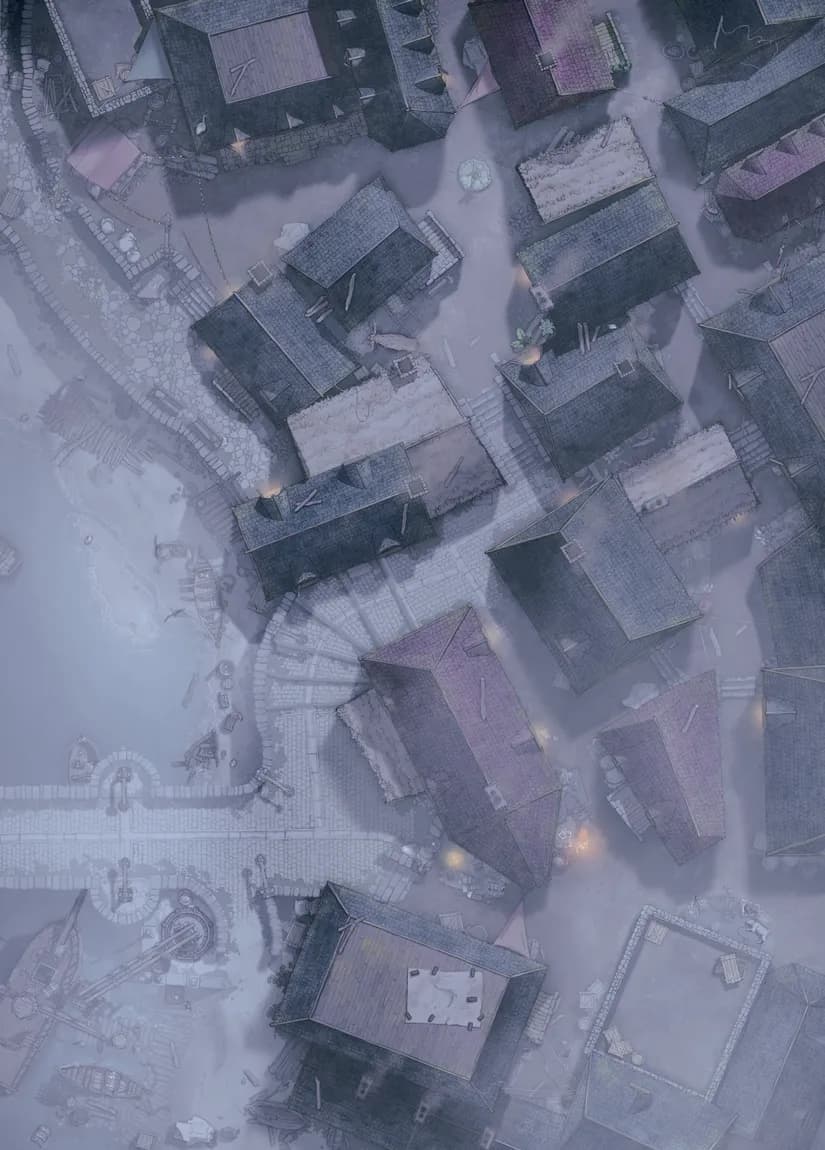
Bridge Town
Bridge Town
Bullywug Swamp (+2)
Bullywug Swamp (+2)
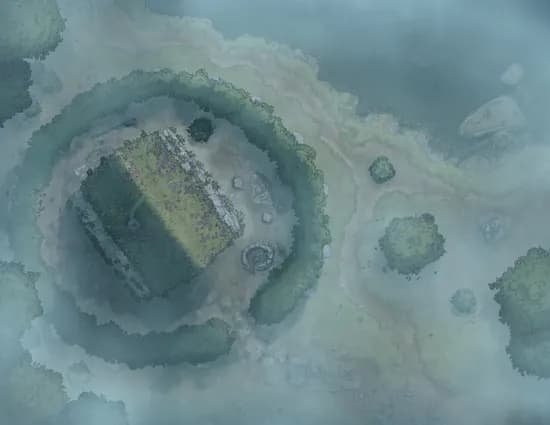
Burial Barrow (+1)
Burial Barrow (+1)
Candlestair Shrine (+1)
Candlestair Shrine (+1)
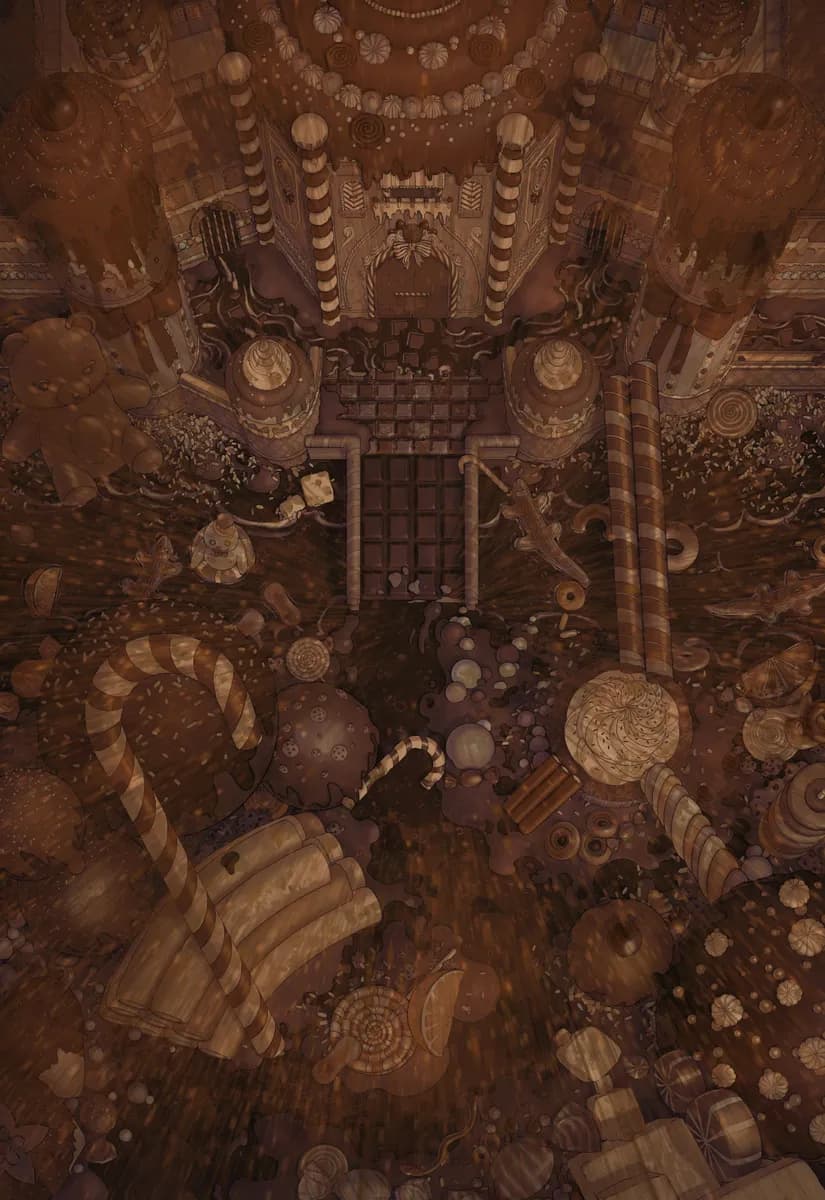
Candy Castle
Candy Castle
Caravan Roadblock (+2)
Caravan Roadblock (+2)
Cave Temple (+1)
Cave Temple (+1)
Celestial Chapel (+2)
Celestial Chapel (+2)

Celestial Chapel Interior
Celestial Chapel Interior
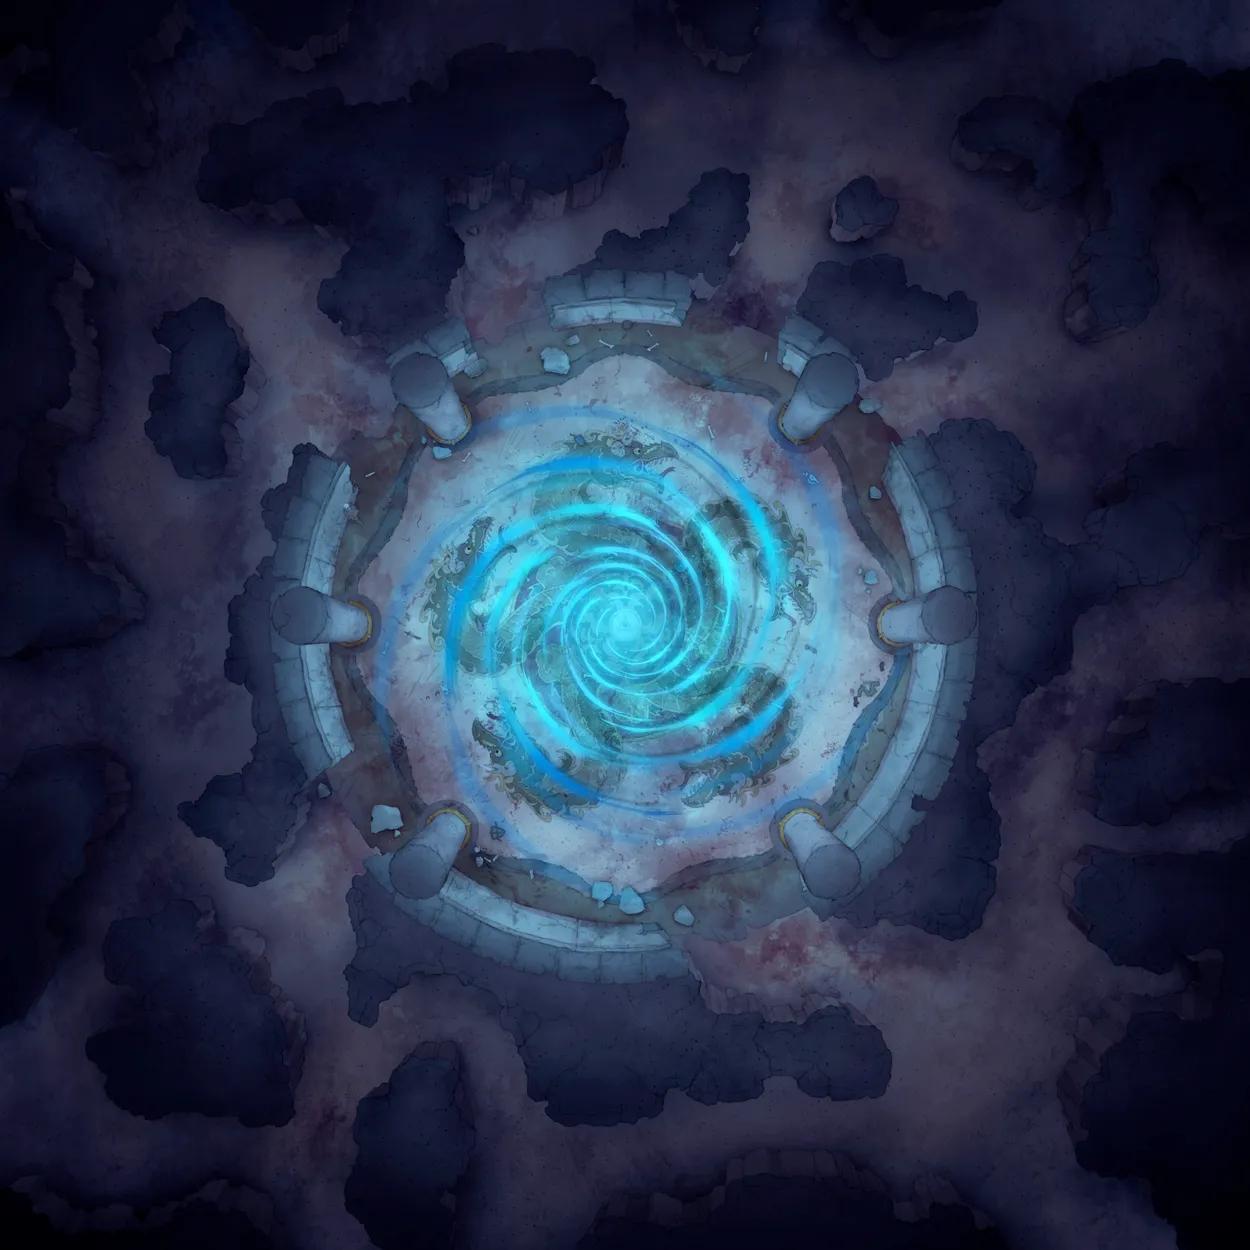
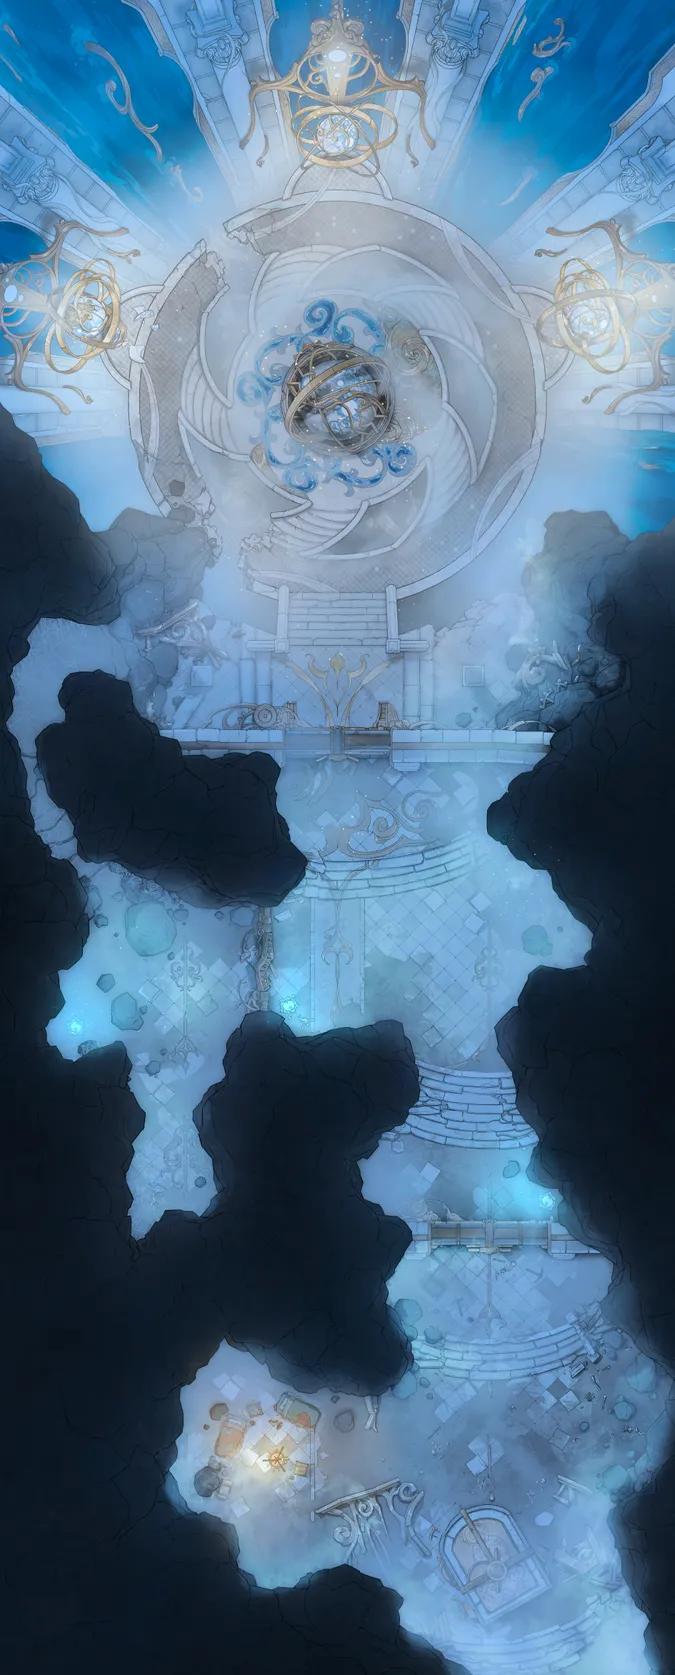
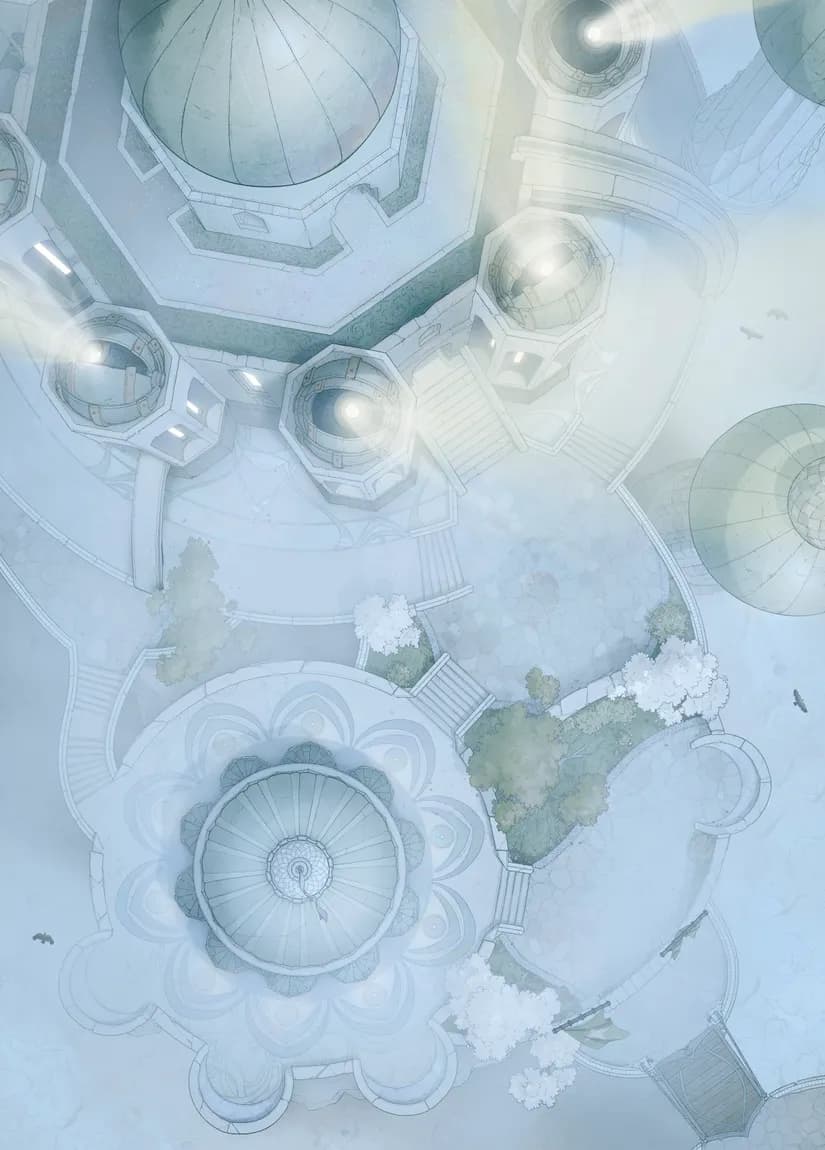
Celestial Gate
Celestial Gate
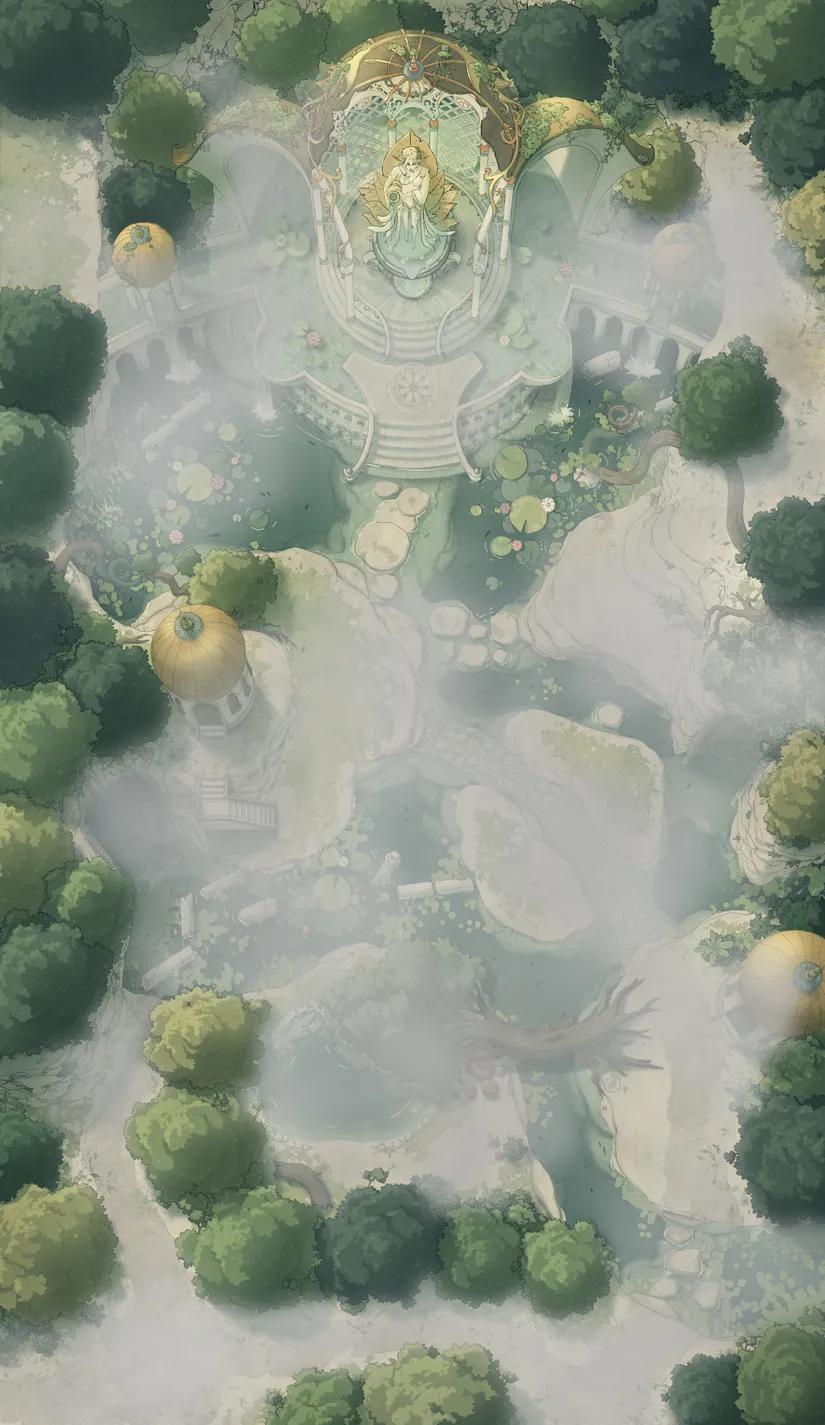
Celestial Realm (+3)
Celestial Realm (+3)
Chrono Chaos Ruins (+2)
Chrono Chaos Ruins (+2)
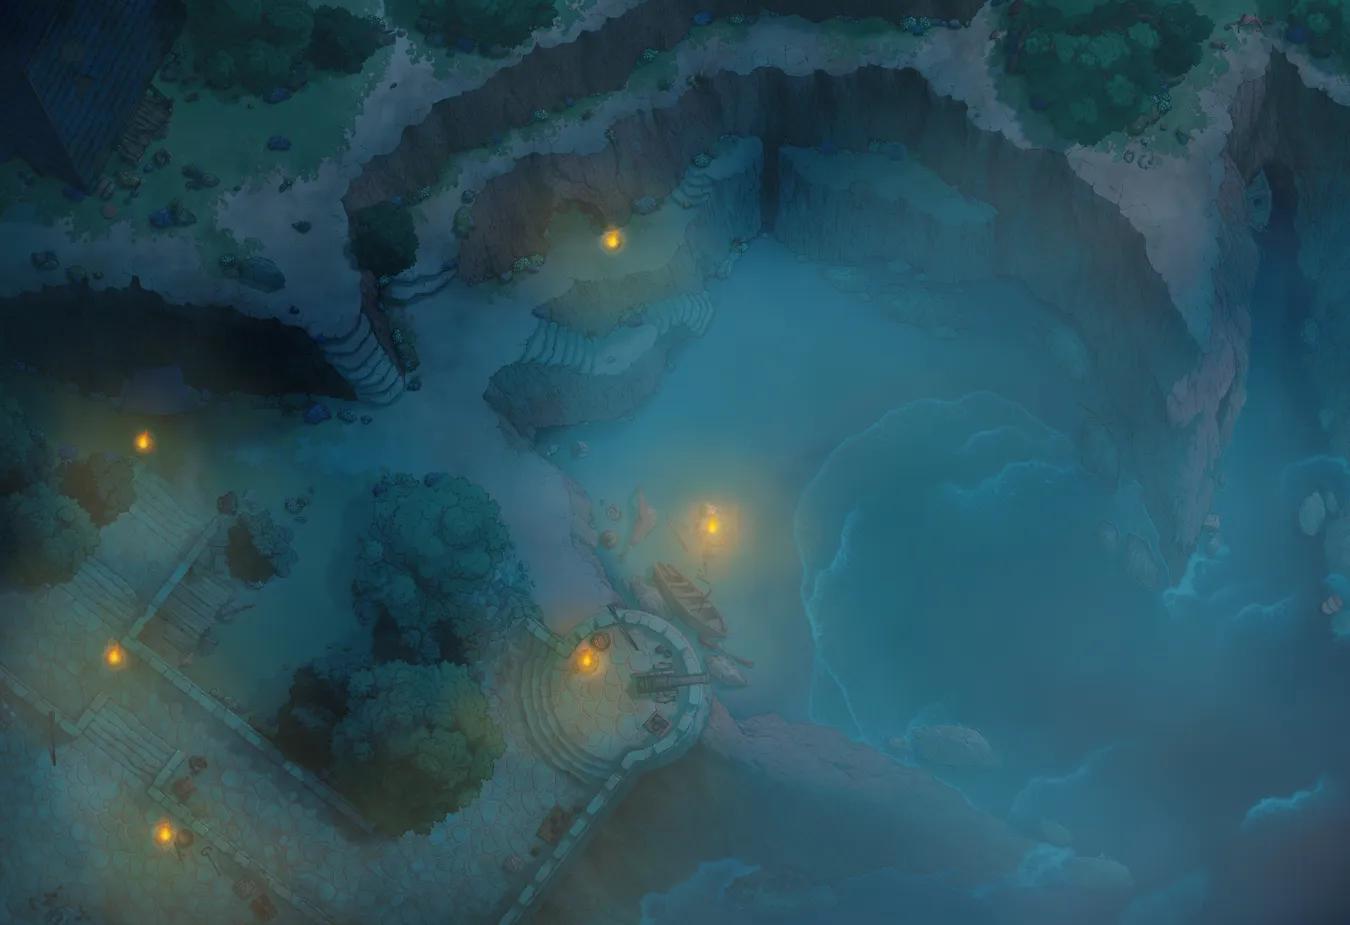
Chthonic Lighthouse (+1)
Chthonic Lighthouse (+1)
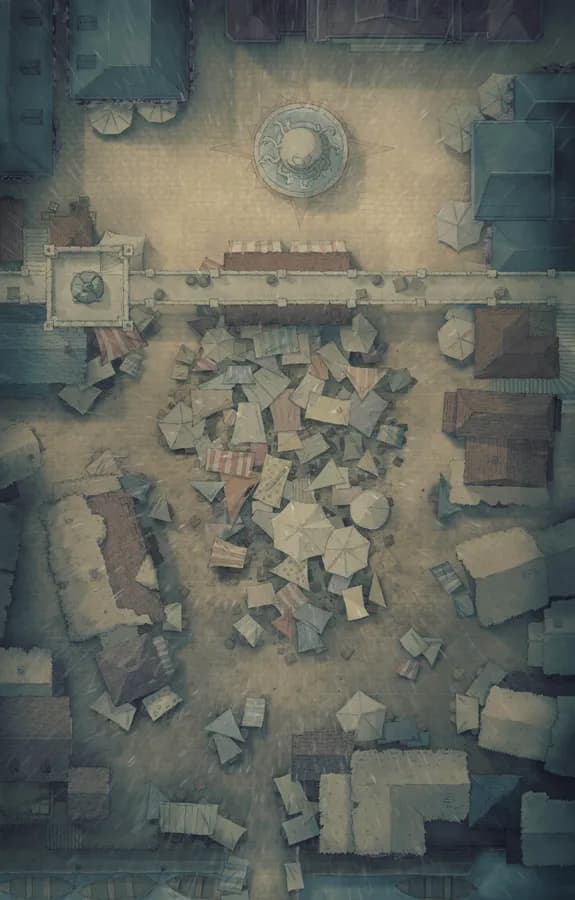
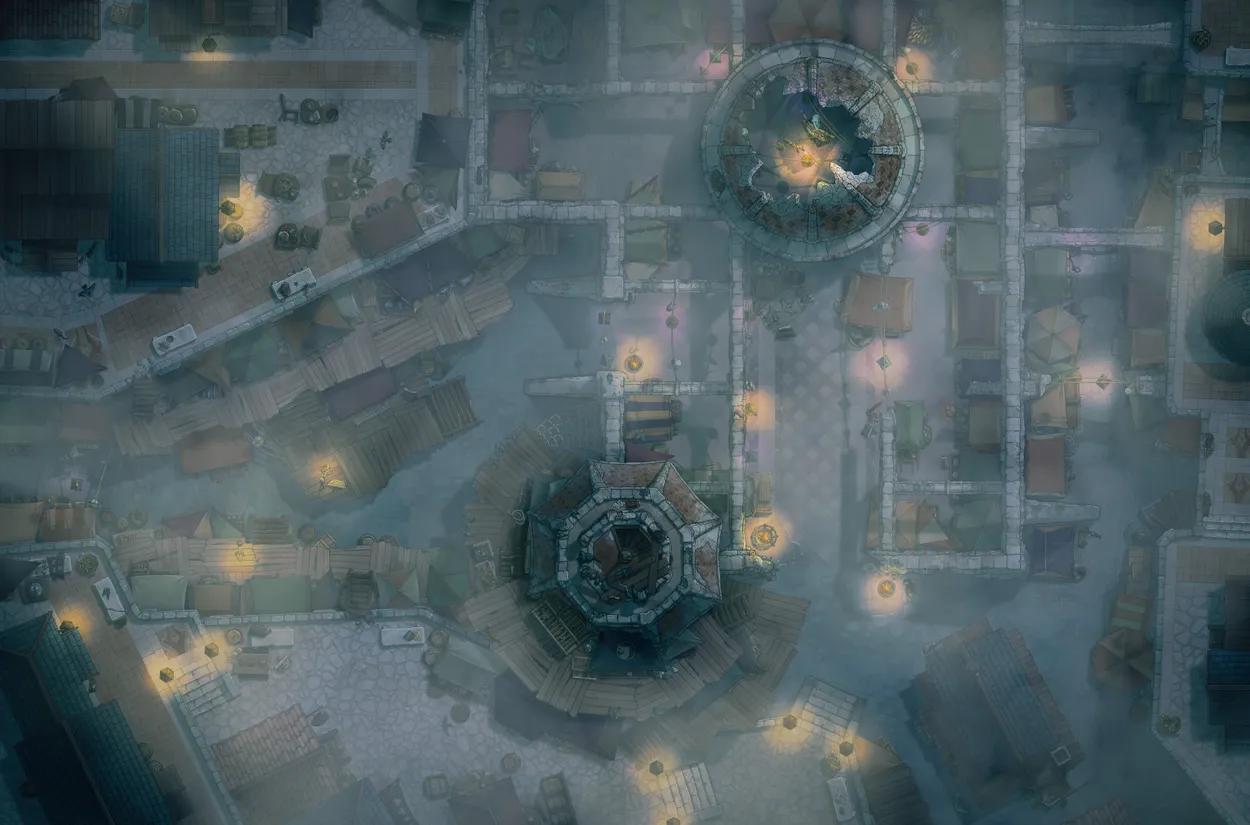
City Marketplace
City Marketplace
City Rooftop Chase (+1)
City Rooftop Chase (+1)
City Streets (+25)
City Streets (+25)
Cliffside Training Grounds (+1)
Cliffside Training Grounds (+1)
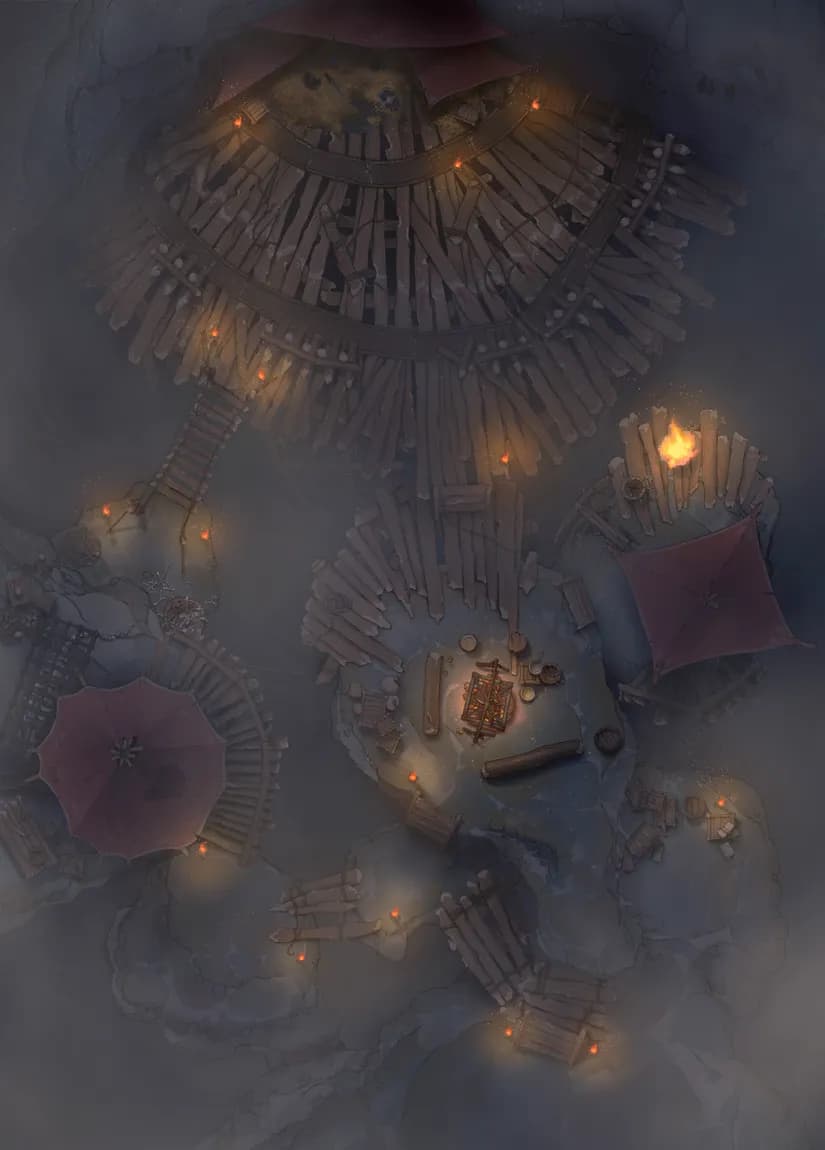
Clifftop Warcamp
Clifftop Warcamp

Clockwork Dragon Lair Exterior (+1)
Clockwork Dragon Lair Exterior (+1)
Clockwork Dragon Lair Interior
Clockwork Dragon Lair Interior
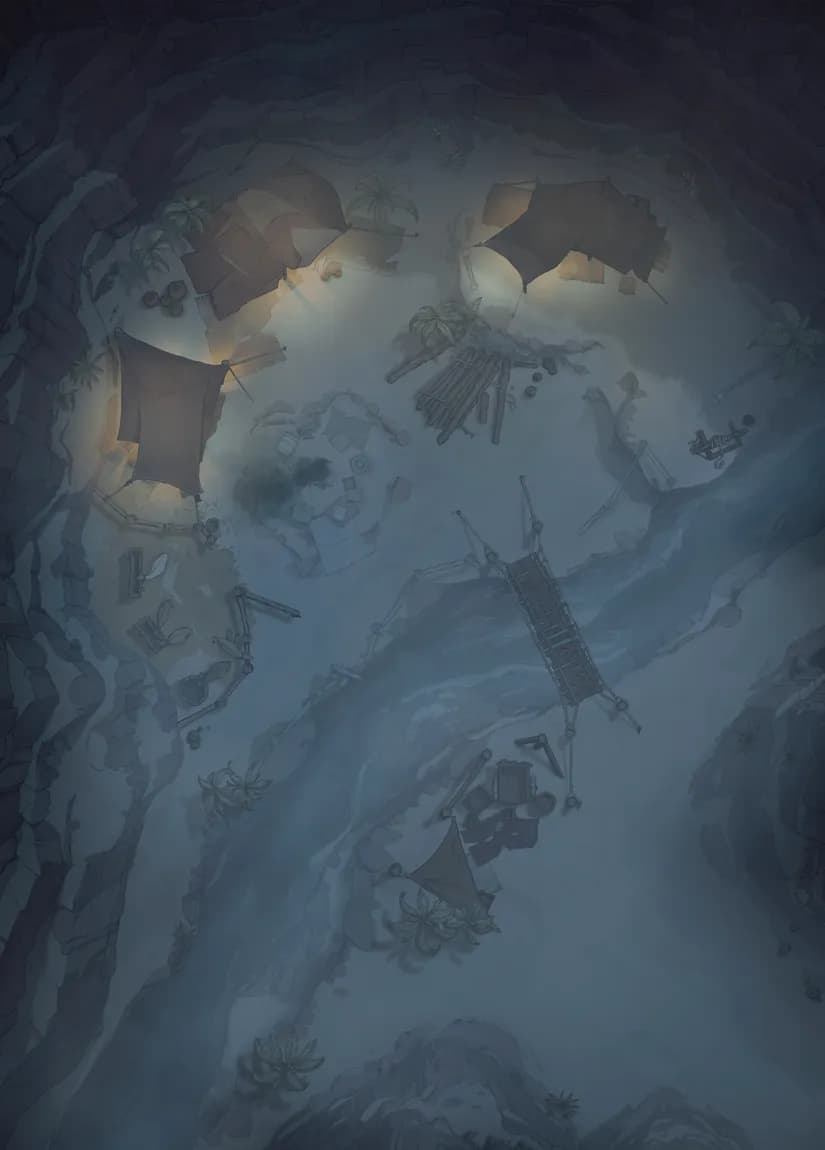
Cloud Forest Camp (+1)
Cloud Forest Camp (+1)
Colosseum of Challenges (+1)
Colosseum of Challenges (+1)
Coral Witch Cottage (+1)
Coral Witch Cottage (+1)
Crossroads (+1)
Crossroads (+1)
Crumbling Platform Boss Fight (+1)
Crumbling Platform Boss Fight (+1)
Dark Woods Edge (+1)
Dark Woods Edge (+1)
Dead Angel Reef (+1)
Dead Angel Reef (+1)

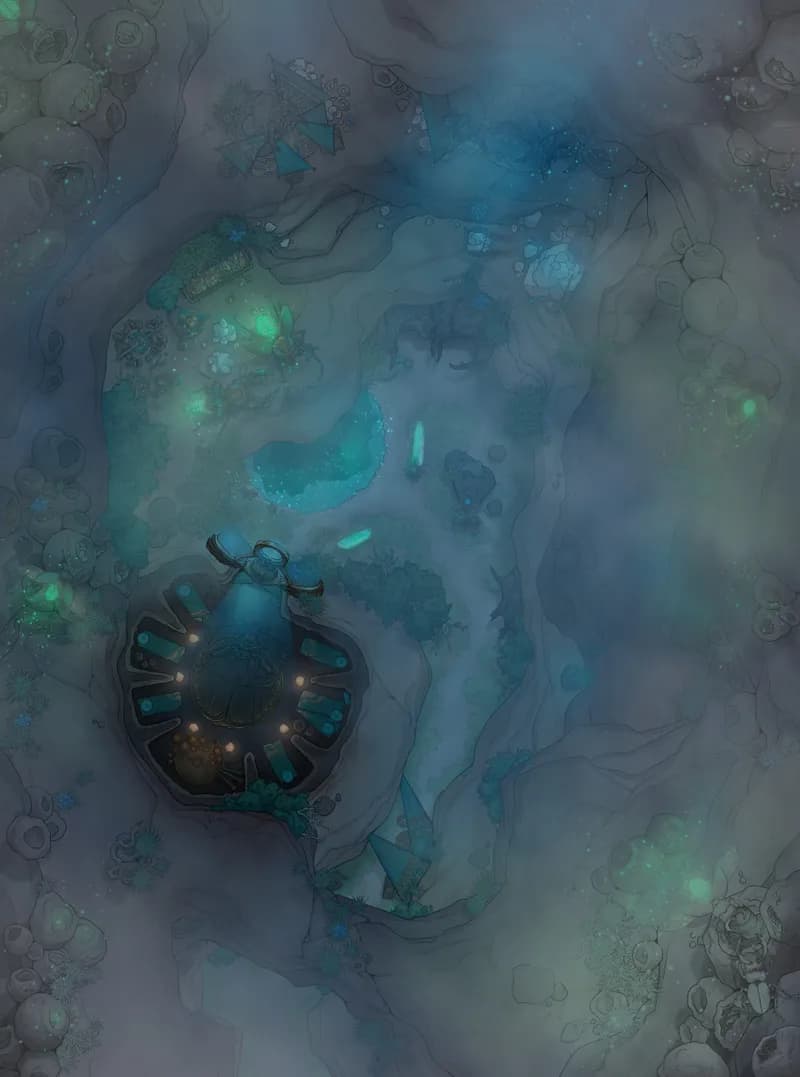
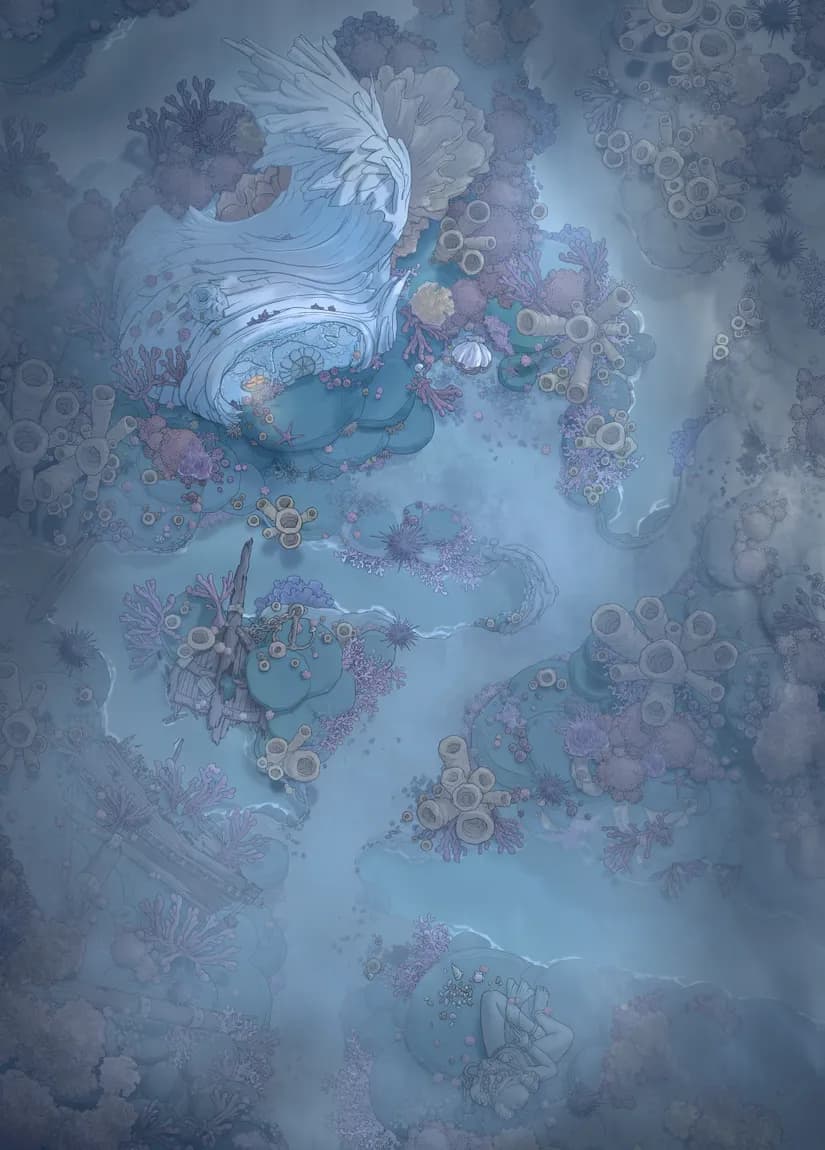
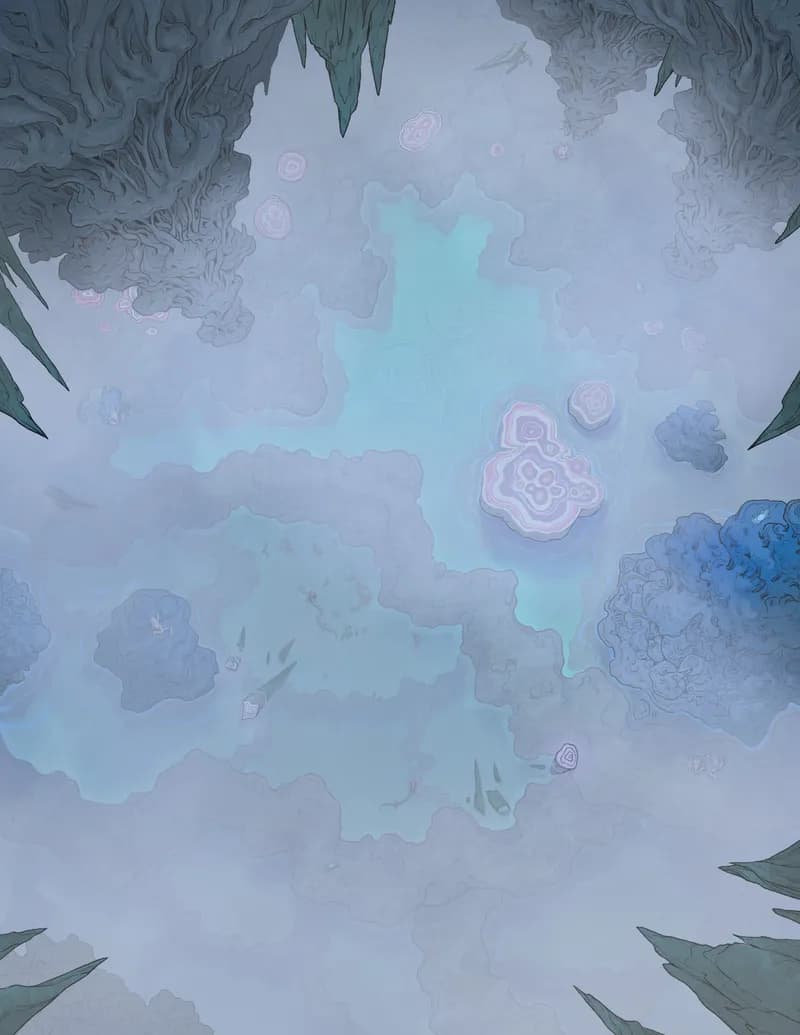
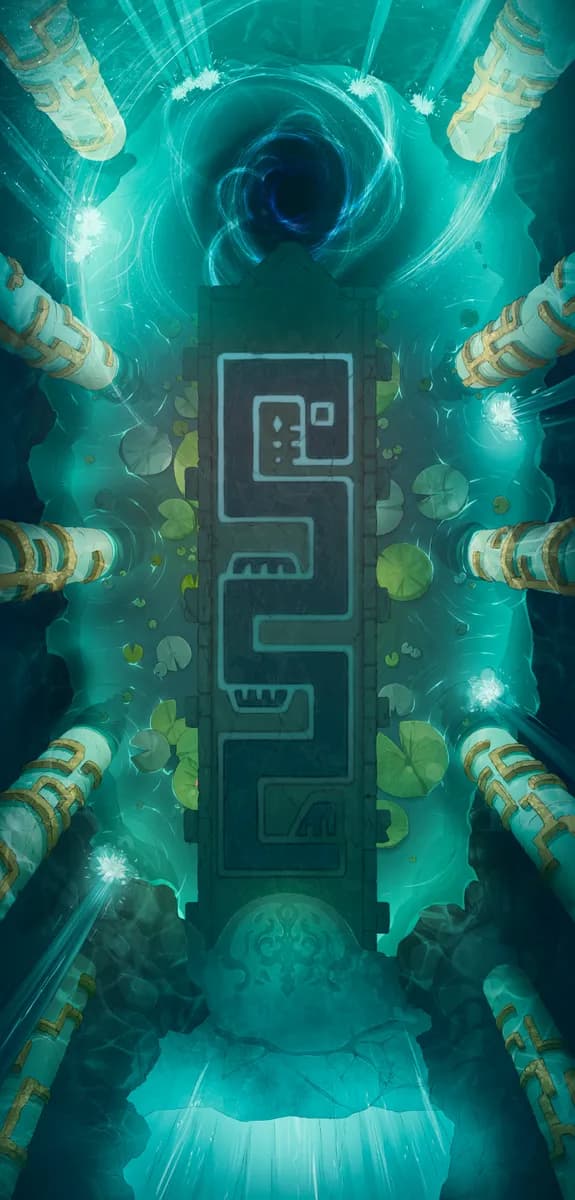
Deep Sea Hatching Chamber
Deep Sea Hatching Chamber
Deep Sea Organ
Deep Sea Organ
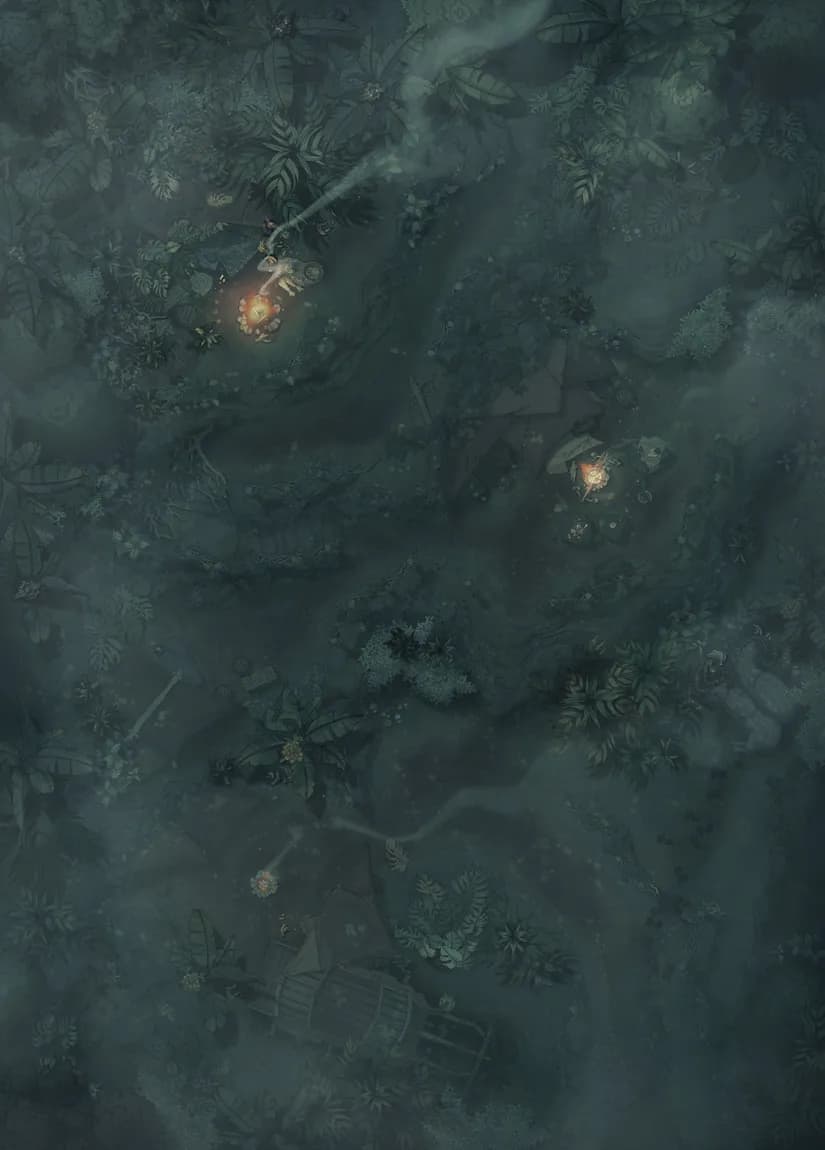
Depths of the Festerwood
Depths of the Festerwood
Desert Canyon (+5)
Desert Canyon (+5)
Desert Caravanserai
Desert Caravanserai
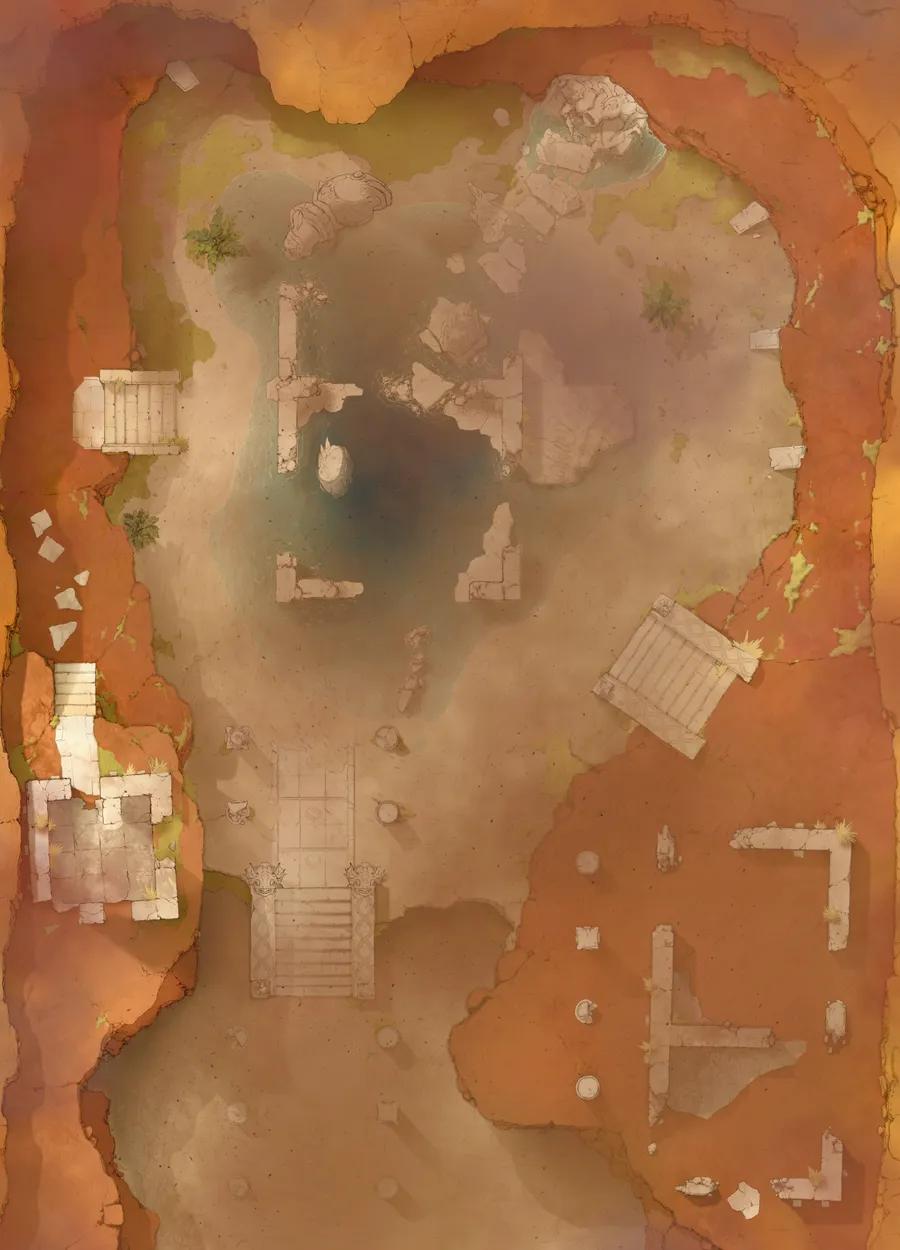
Desert Ruins
Desert Ruins
Desert Trading Camp (+2)
Desert Trading Camp (+2)
Djinn Gardens (+2)
Djinn Gardens (+2)
Dracolich Lair (+3)
Dracolich Lair (+3)
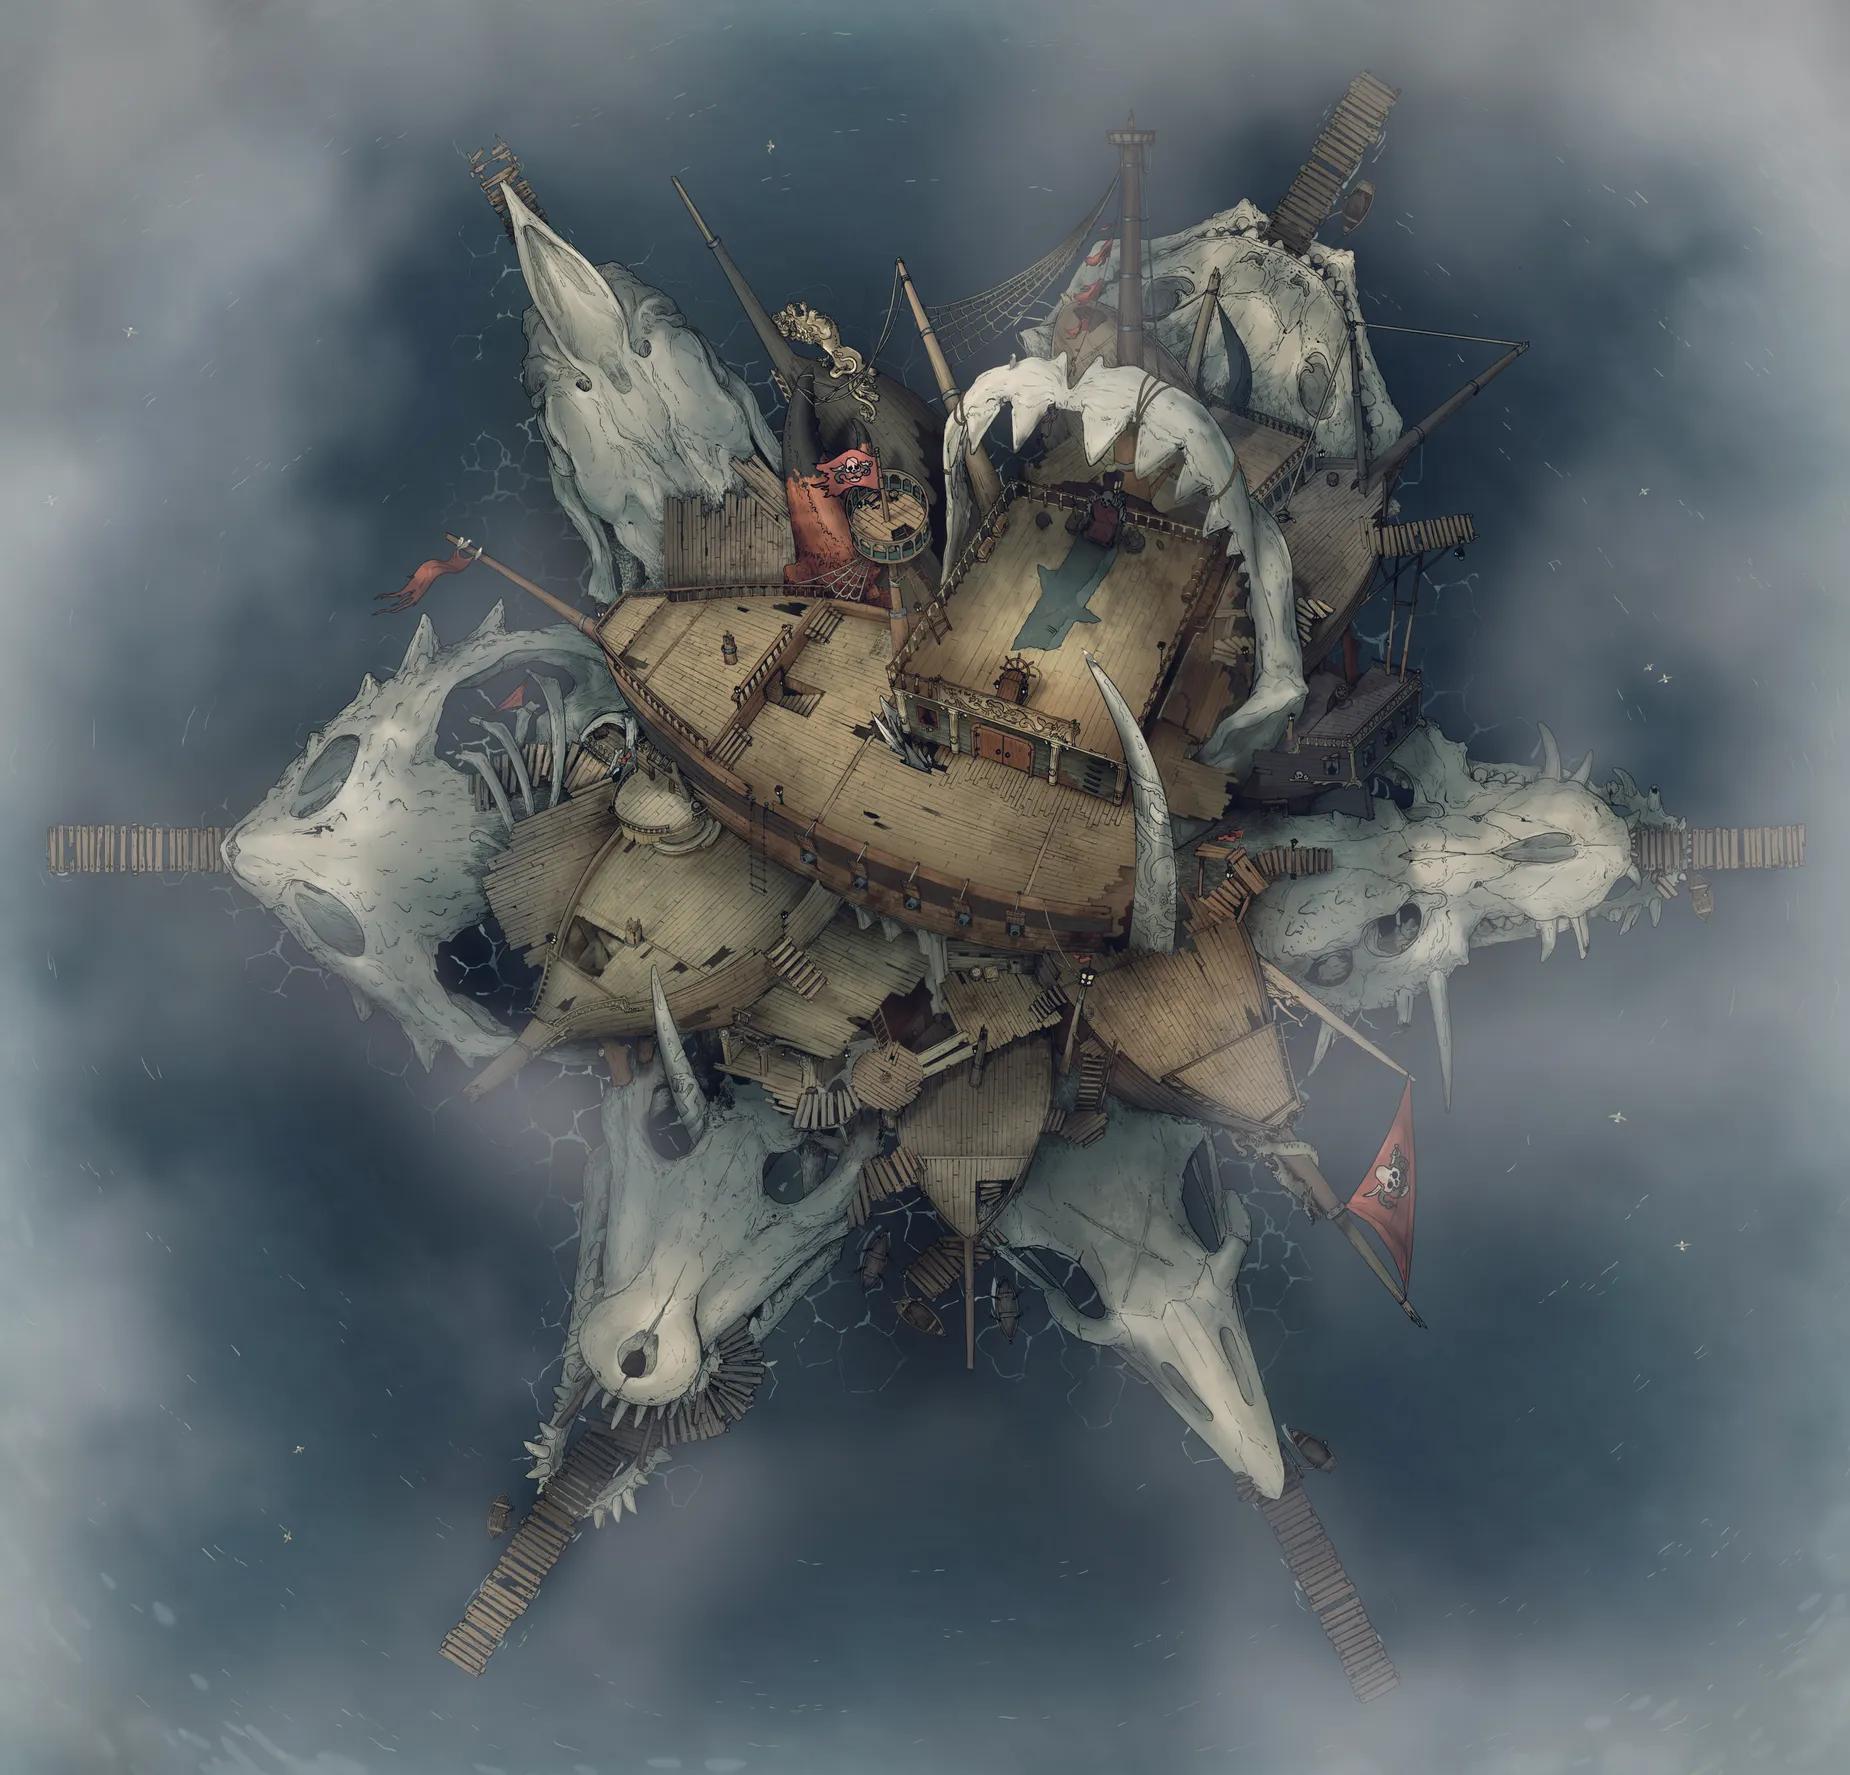
Dragon's Hoard
Dragon's Hoard
Dragon's Memorial (+1)
Dragon's Memorial (+1)
Drow Warship (+1)
Drow Warship (+1)
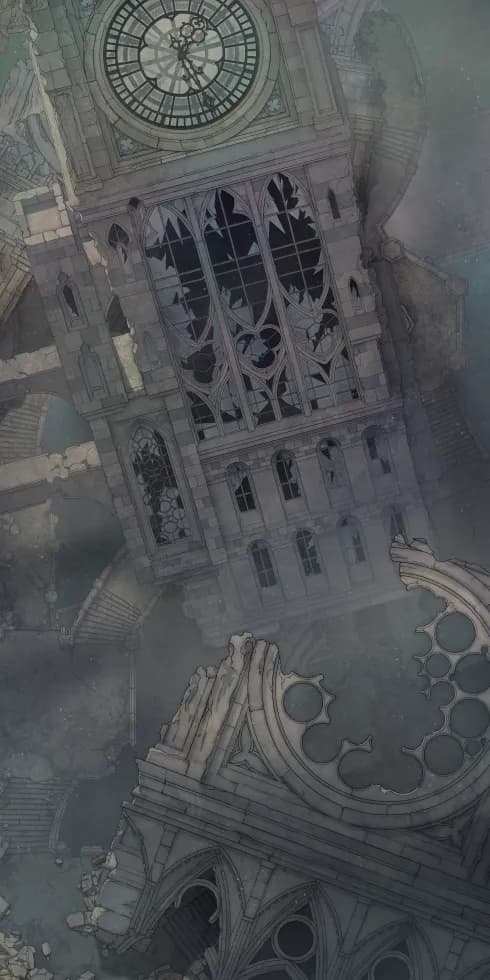
Eldritch Church
Eldritch Church
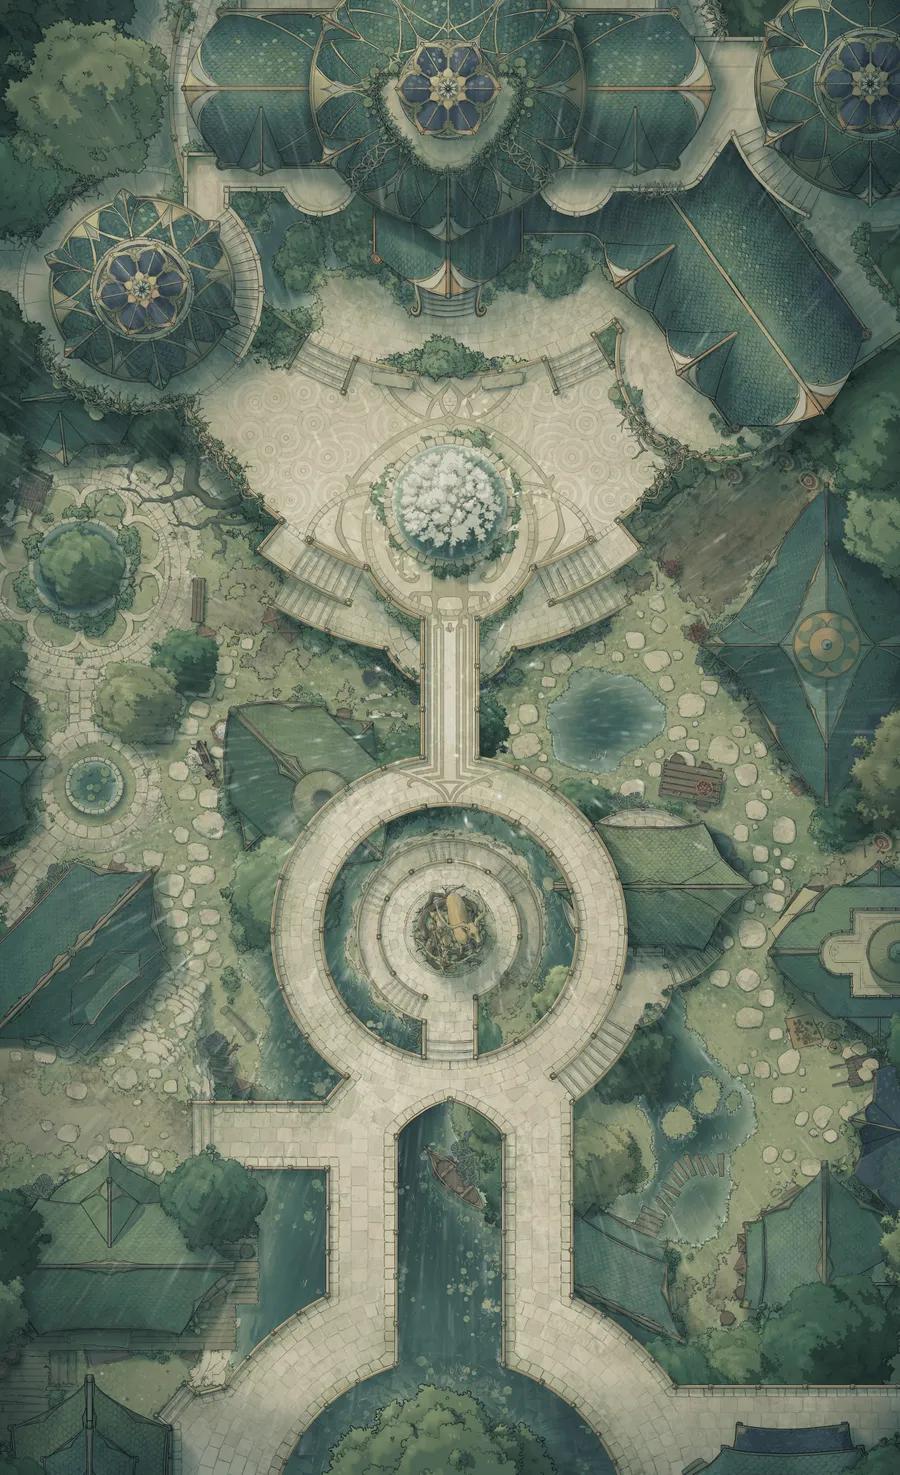
Elven City Center
Elven City Center
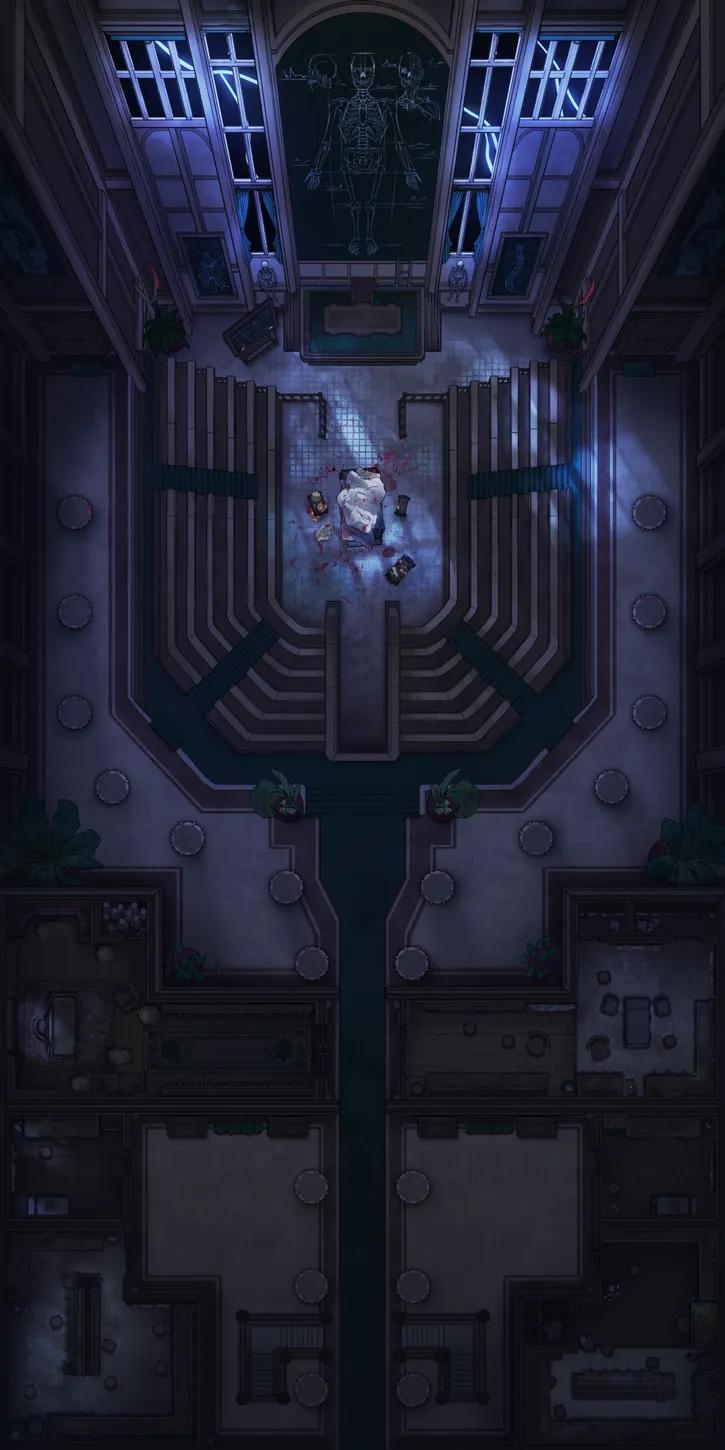
Experimental Surgery Theatre
Experimental Surgery Theatre
Fairy Treetop Village (+1)
Fairy Treetop Village (+1)
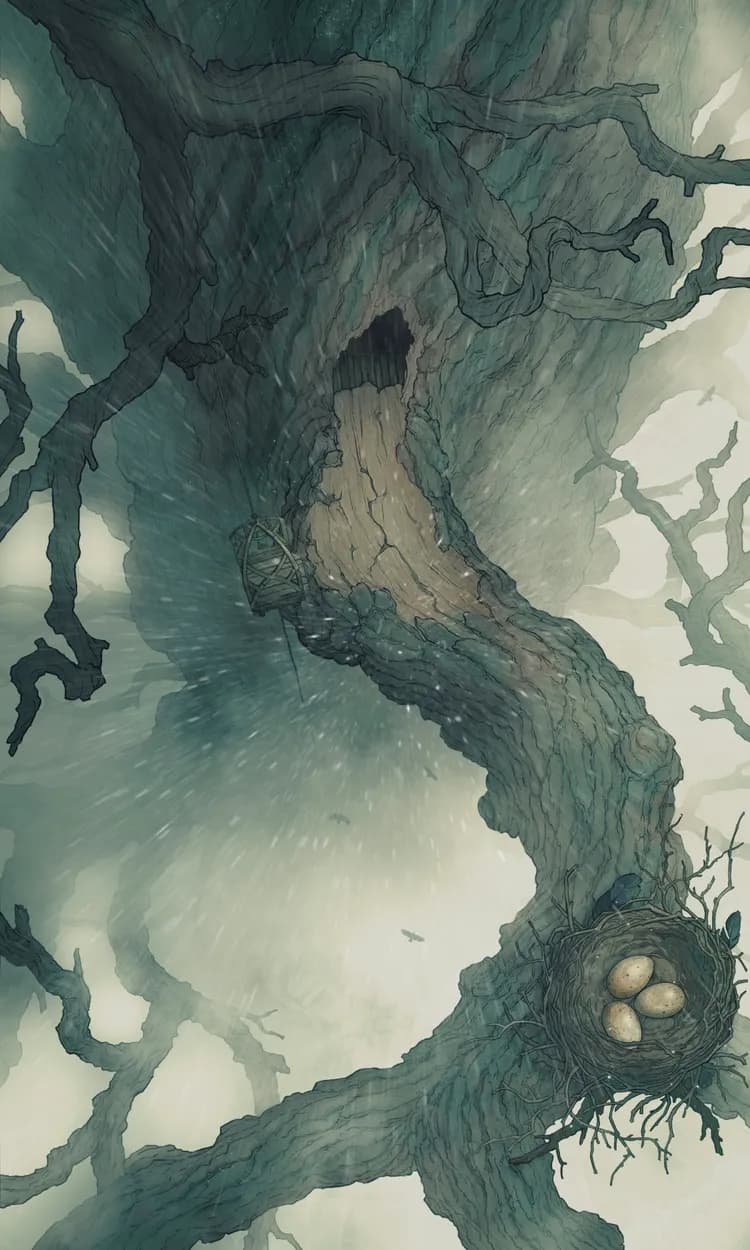
Fallen Ancient Tree (+1)
Fallen Ancient Tree (+1)
Fey Vineyard (+1)
Fey Vineyard (+1)
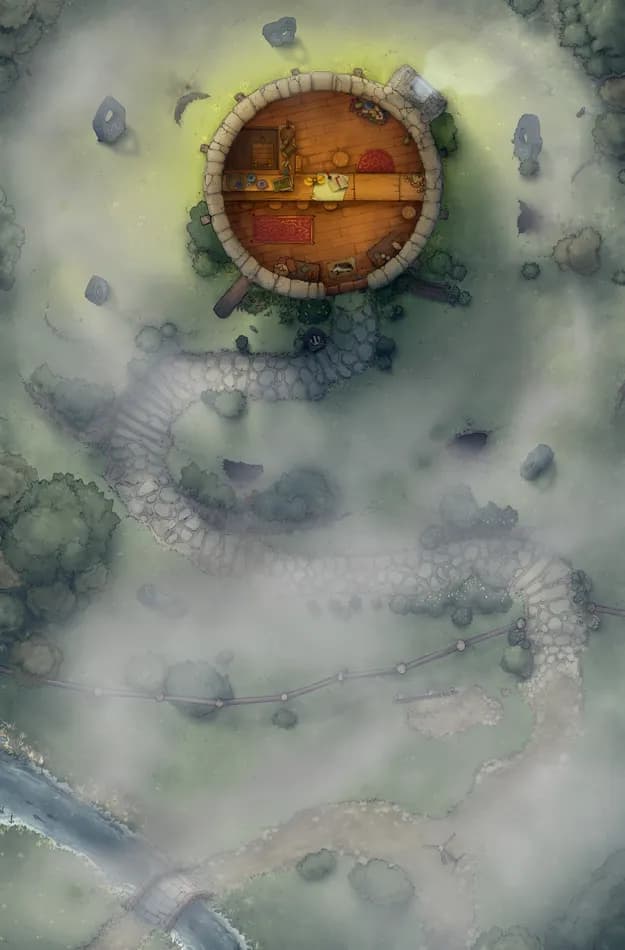
Fjordside Cabin (+1)
Fjordside Cabin (+1)
Floating Market (+1)
Floating Market (+1)
Floating Village (+3)
Floating Village (+3)
Flooded Fey Ruins (+1)
Flooded Fey Ruins (+1)
Forest Pass (+1)
Forest Pass (+1)
Forest Shrine Festival (+1)
Forest Shrine Festival (+1)
Forgotten Chapel Graveyard (+1)
Forgotten Chapel Graveyard (+1)
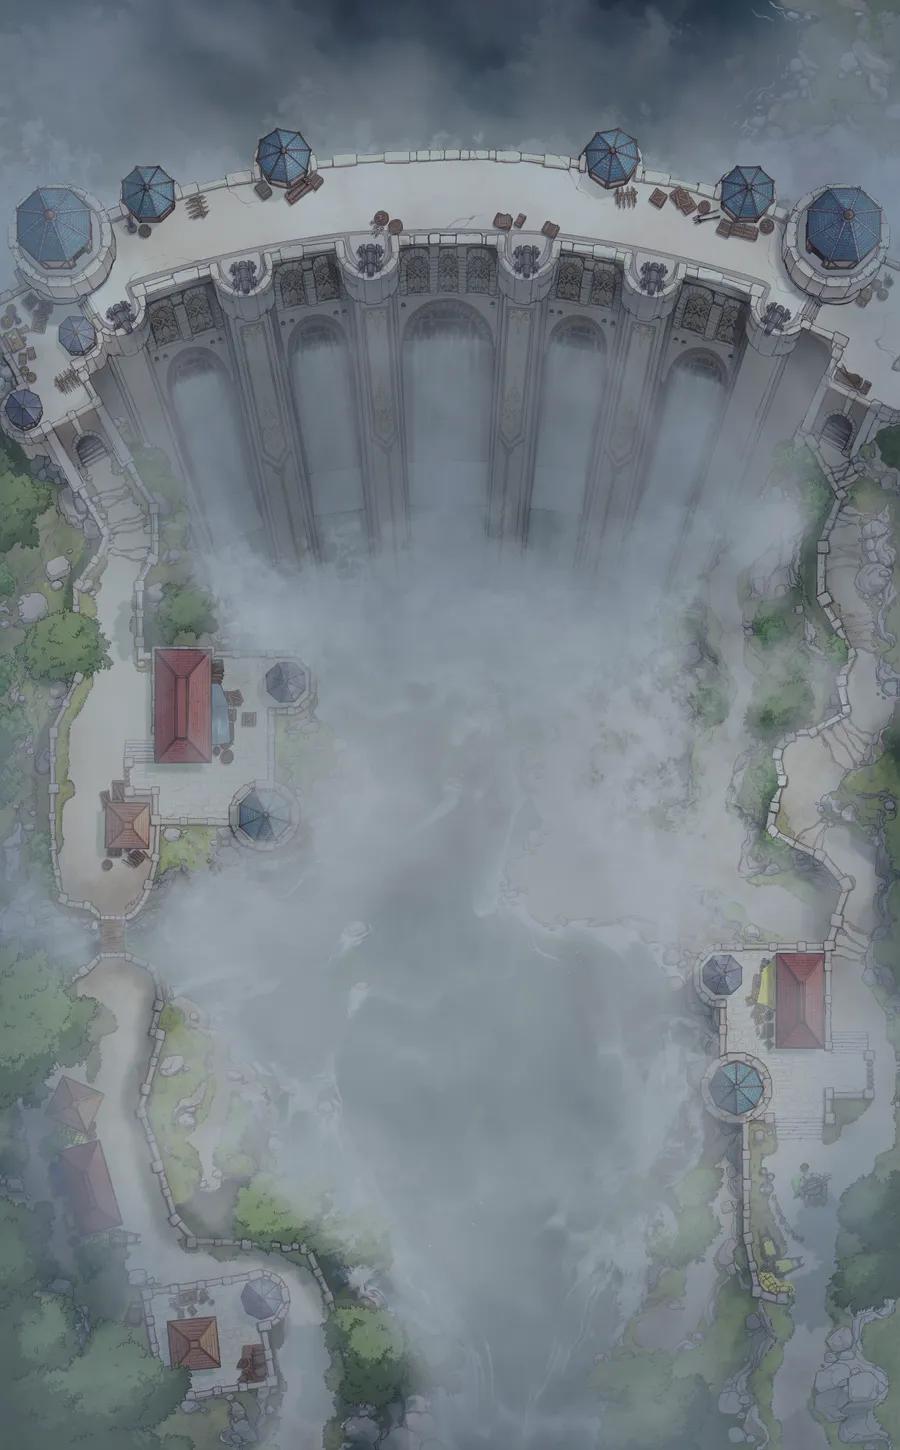
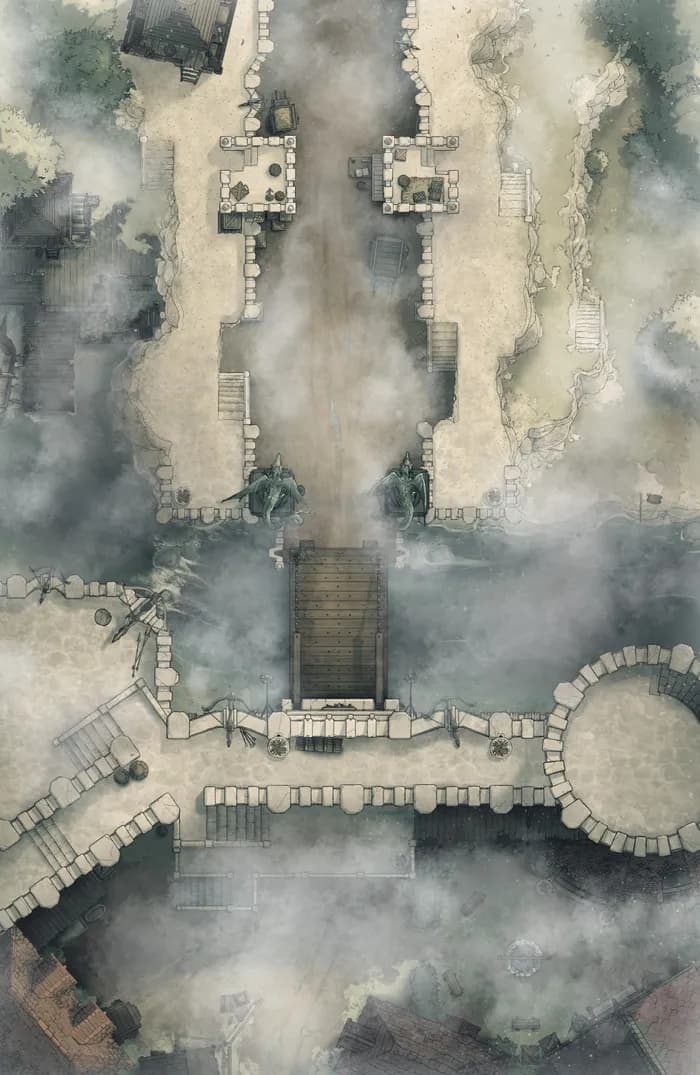
Fortified Dam
Fortified Dam
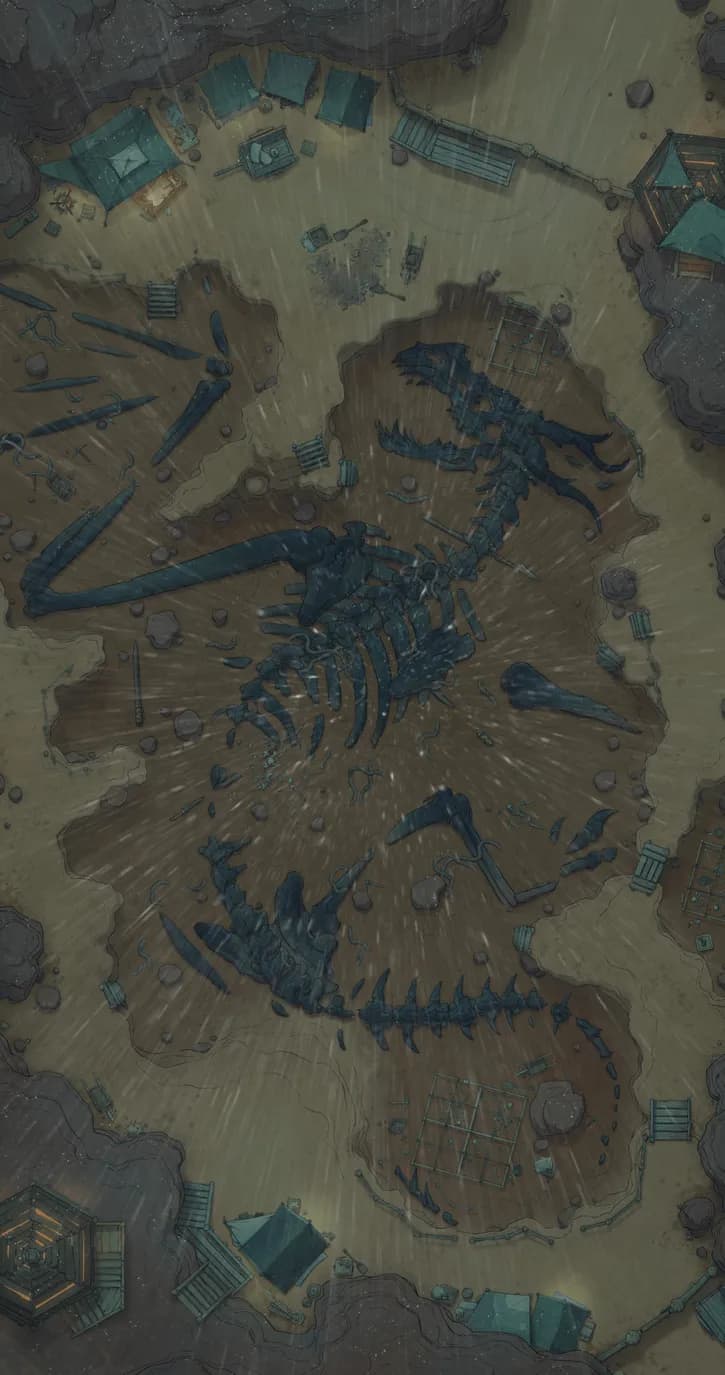
Fossil Caves (+1)
Fossil Caves (+1)
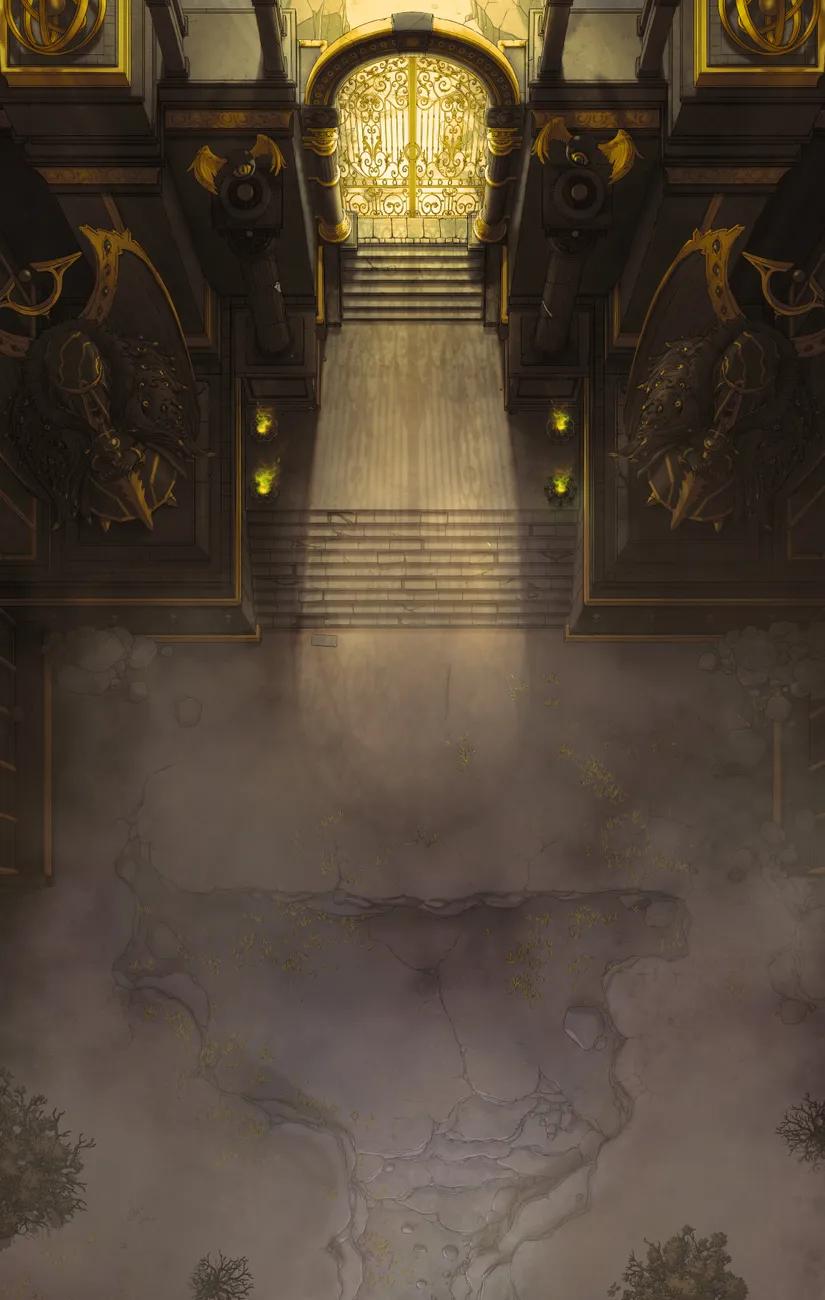
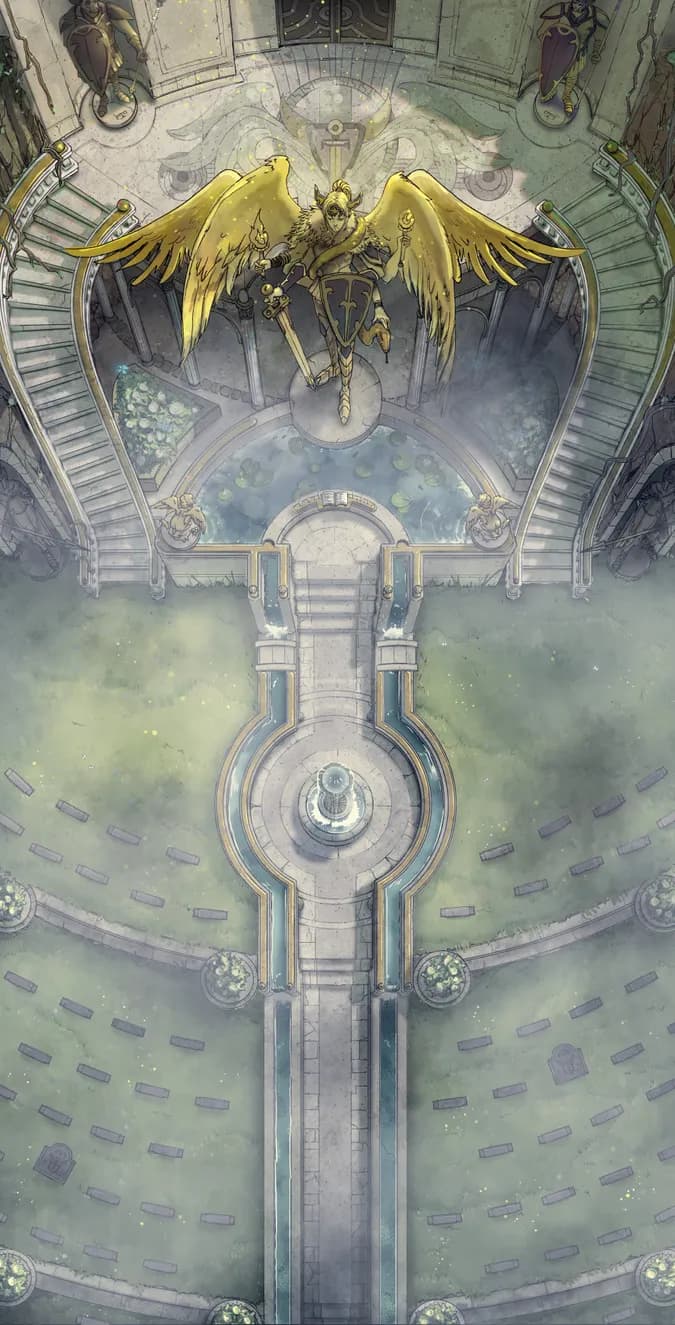
Gate of Angels (+1)
Gate of Angels (+1)
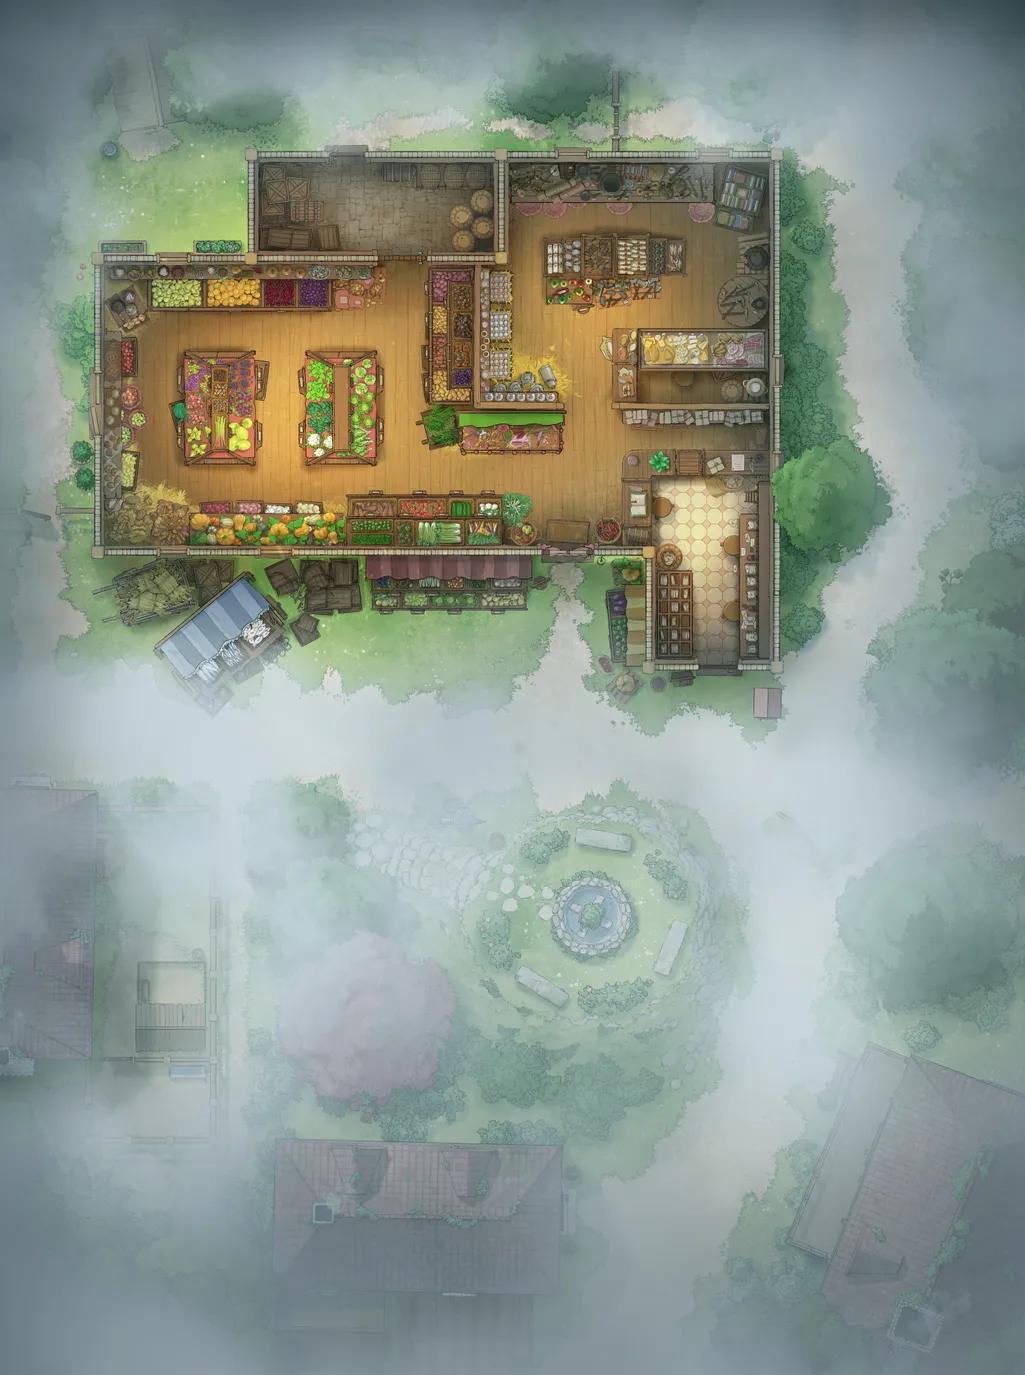
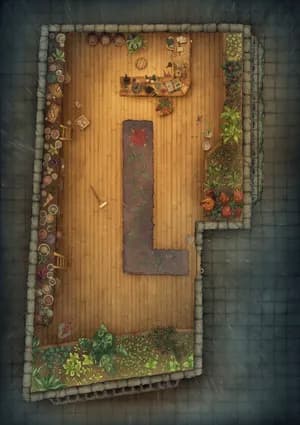
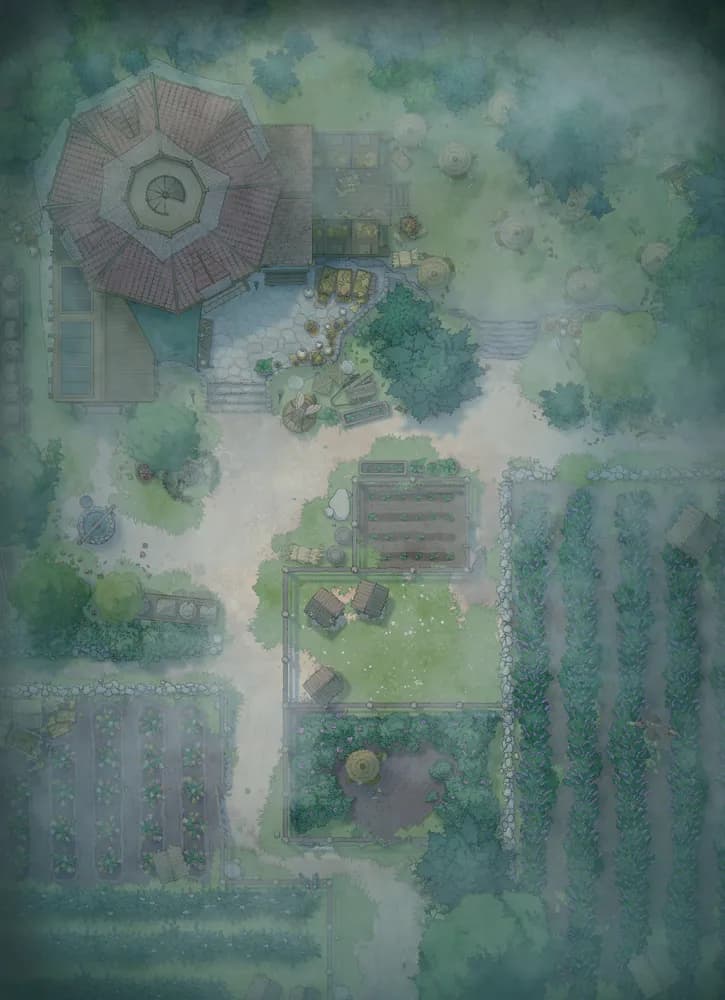
Gentle Village Greengrocer (+1)
Gentle Village Greengrocer (+1)
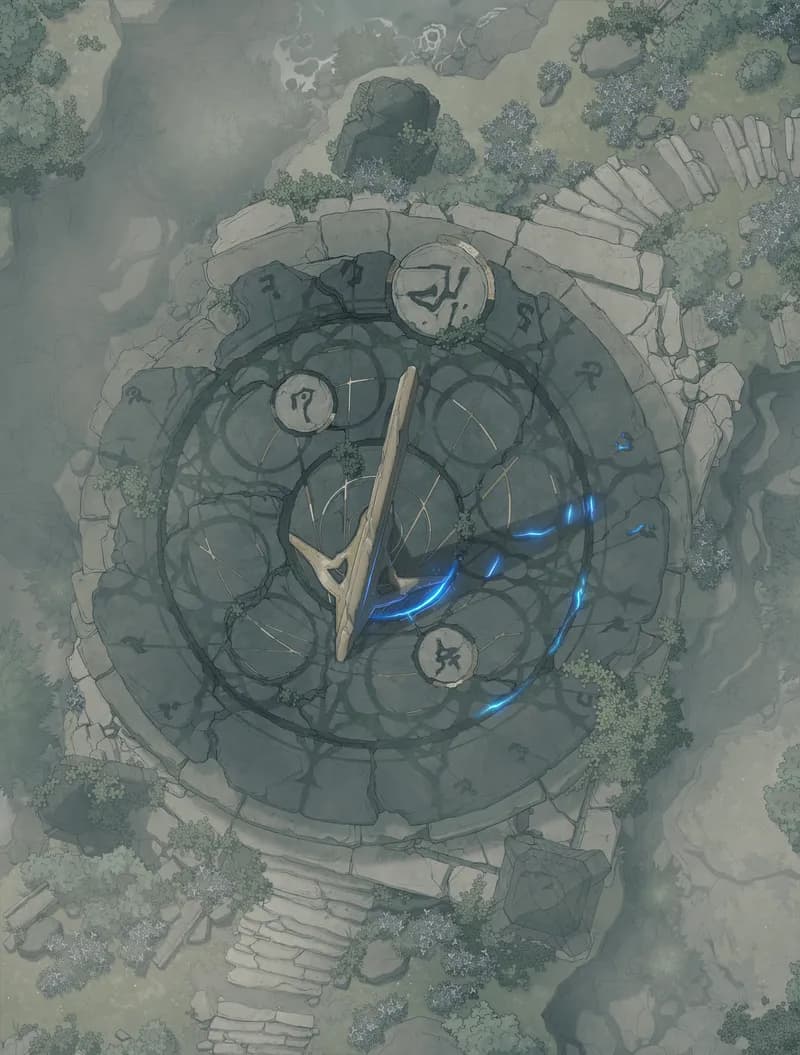
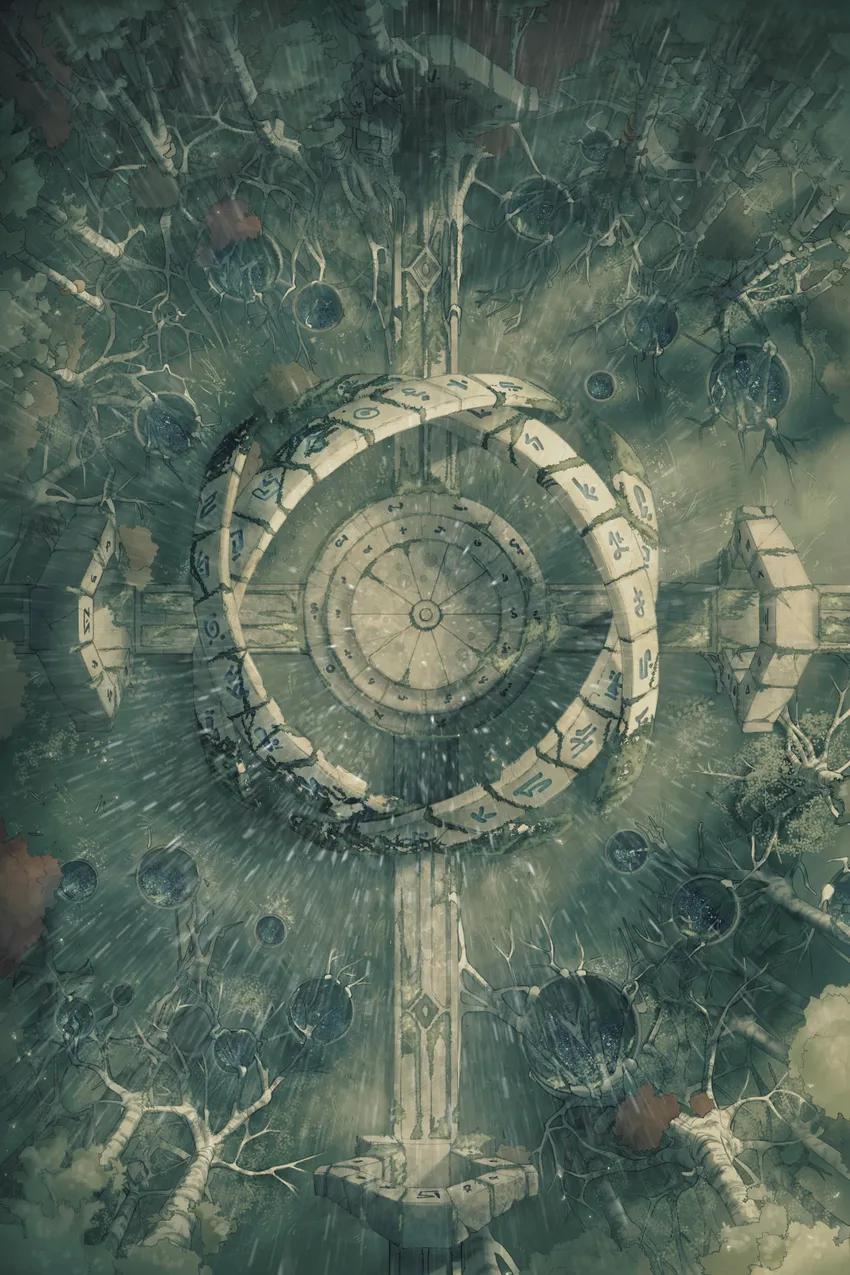
Giant Ancient Sundial (+1)
Giant Ancient Sundial (+1)
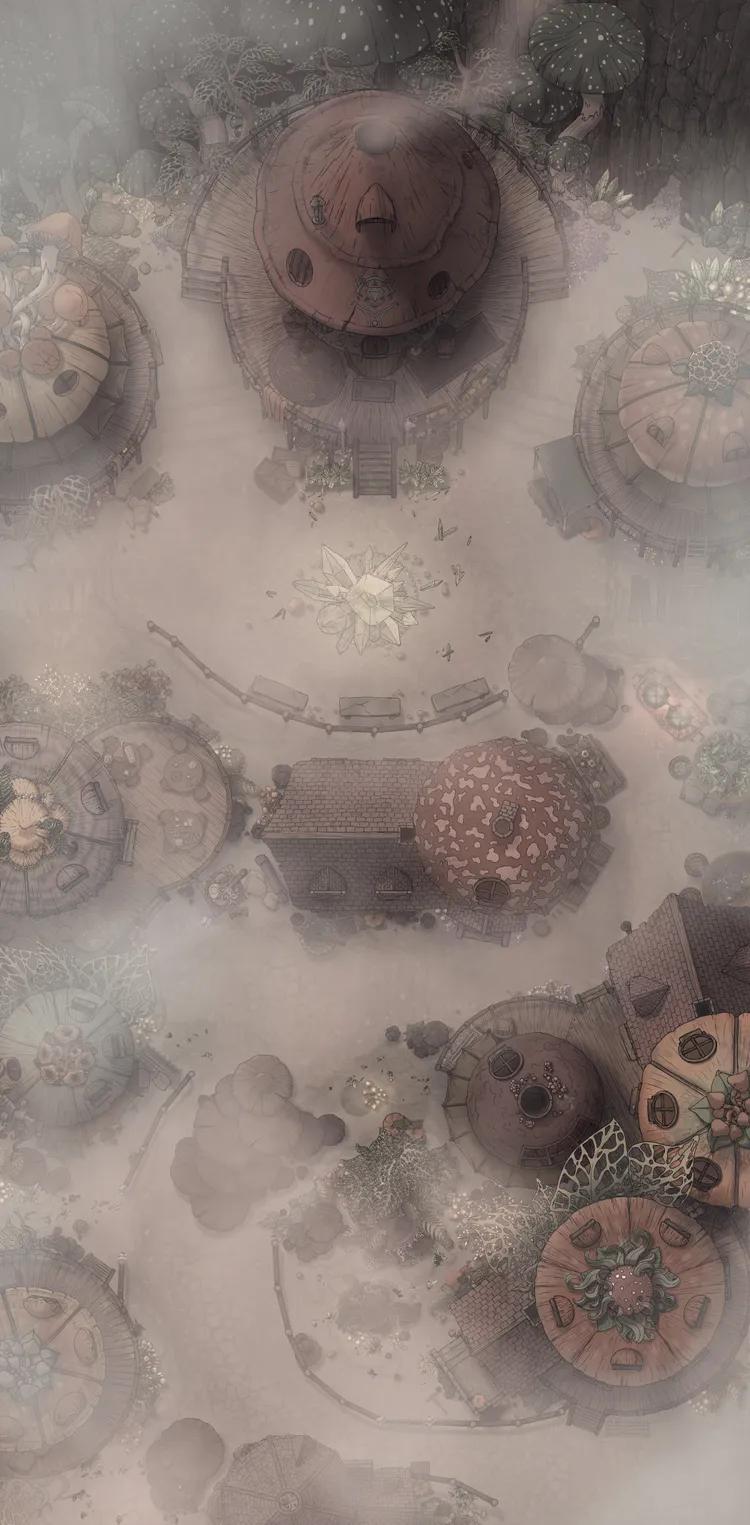
Gnome City Centre (+1)
Gnome City Centre (+1)
Goblin City Centre (+4)
Goblin City Centre (+4)
Goblin Forest Fortress (+1)
Goblin Forest Fortress (+1)

Golden Cathedral Rooftops (+1)
Golden Cathedral Rooftops (+1)
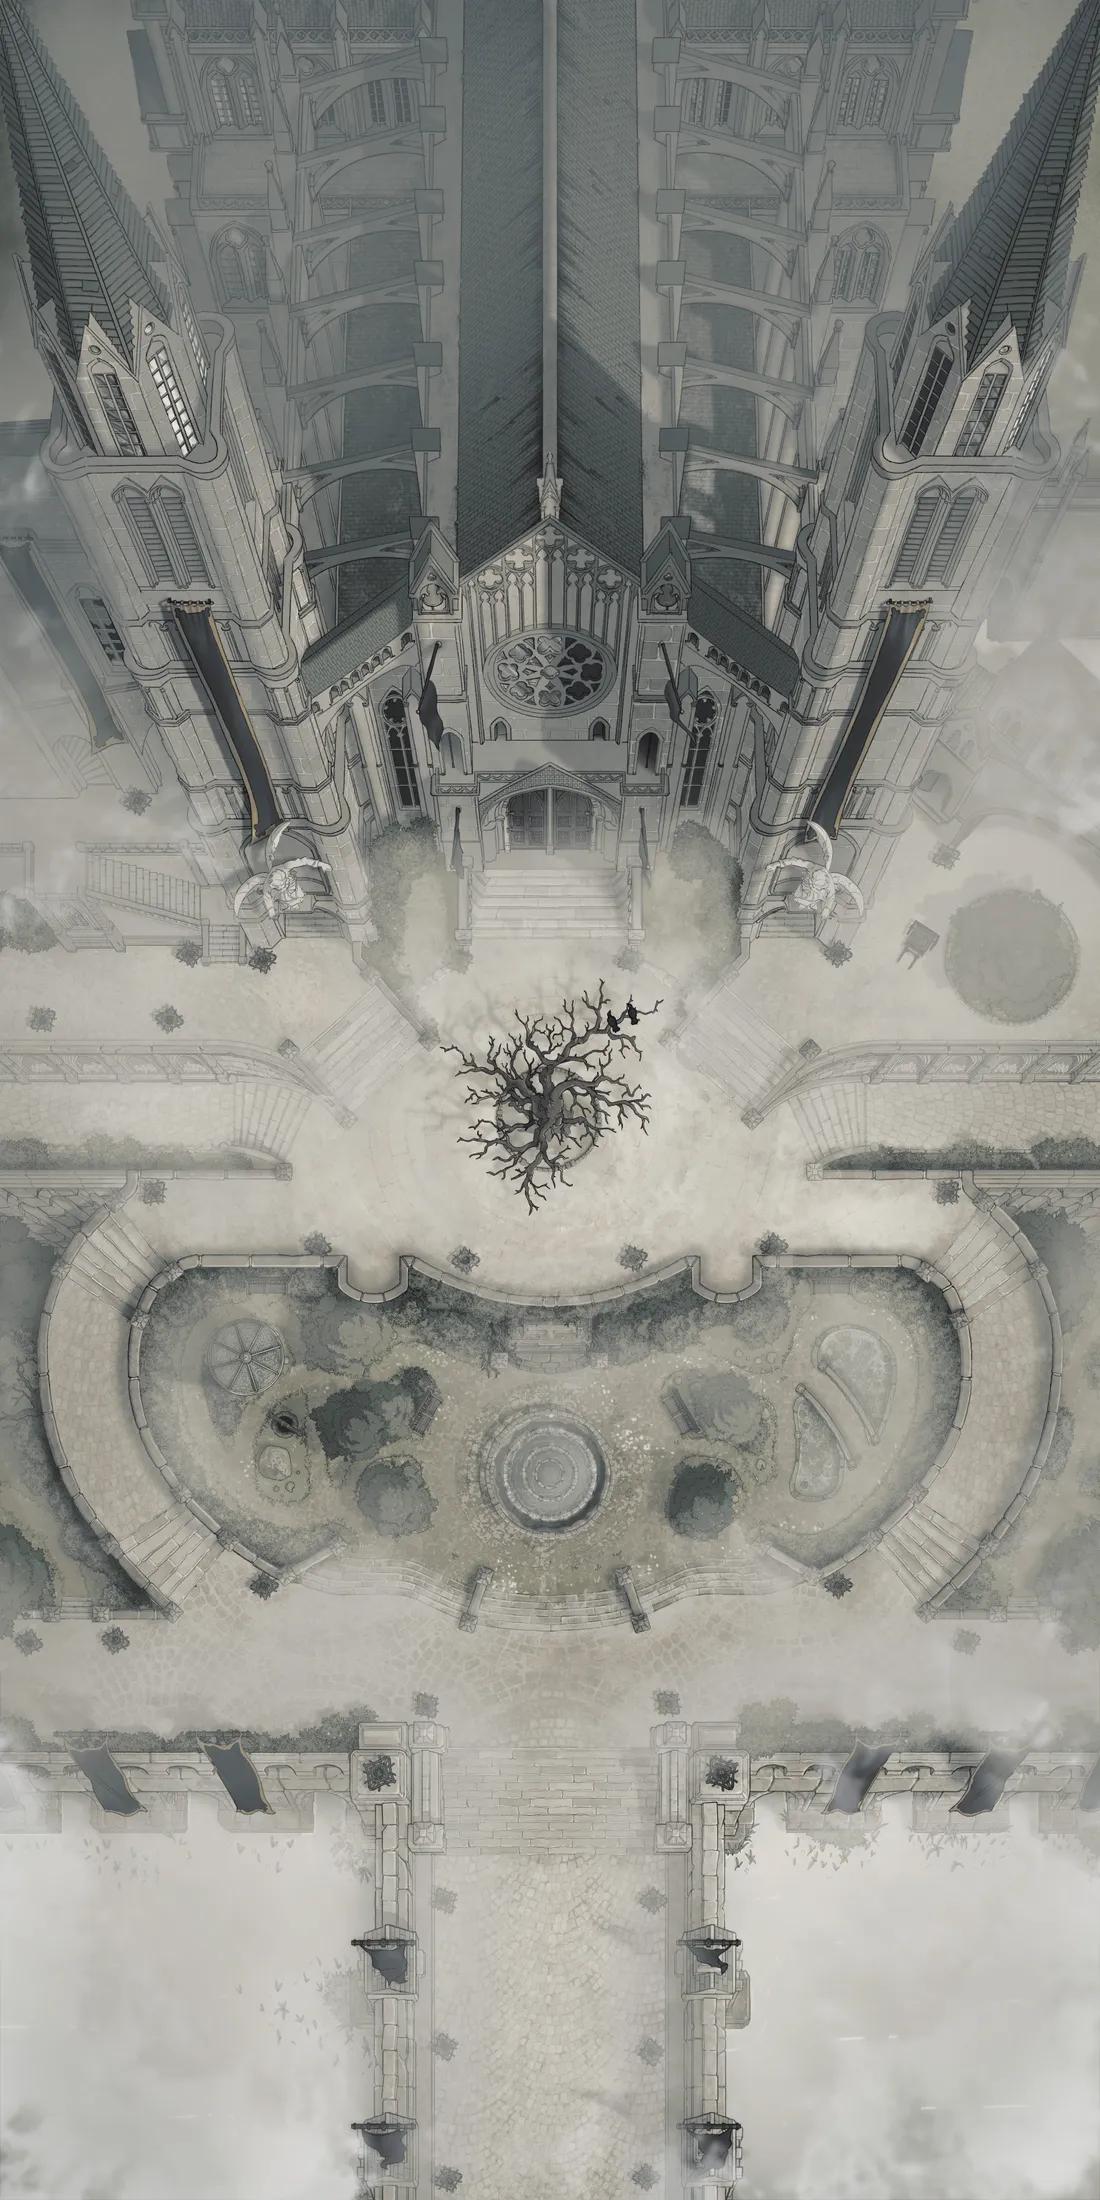
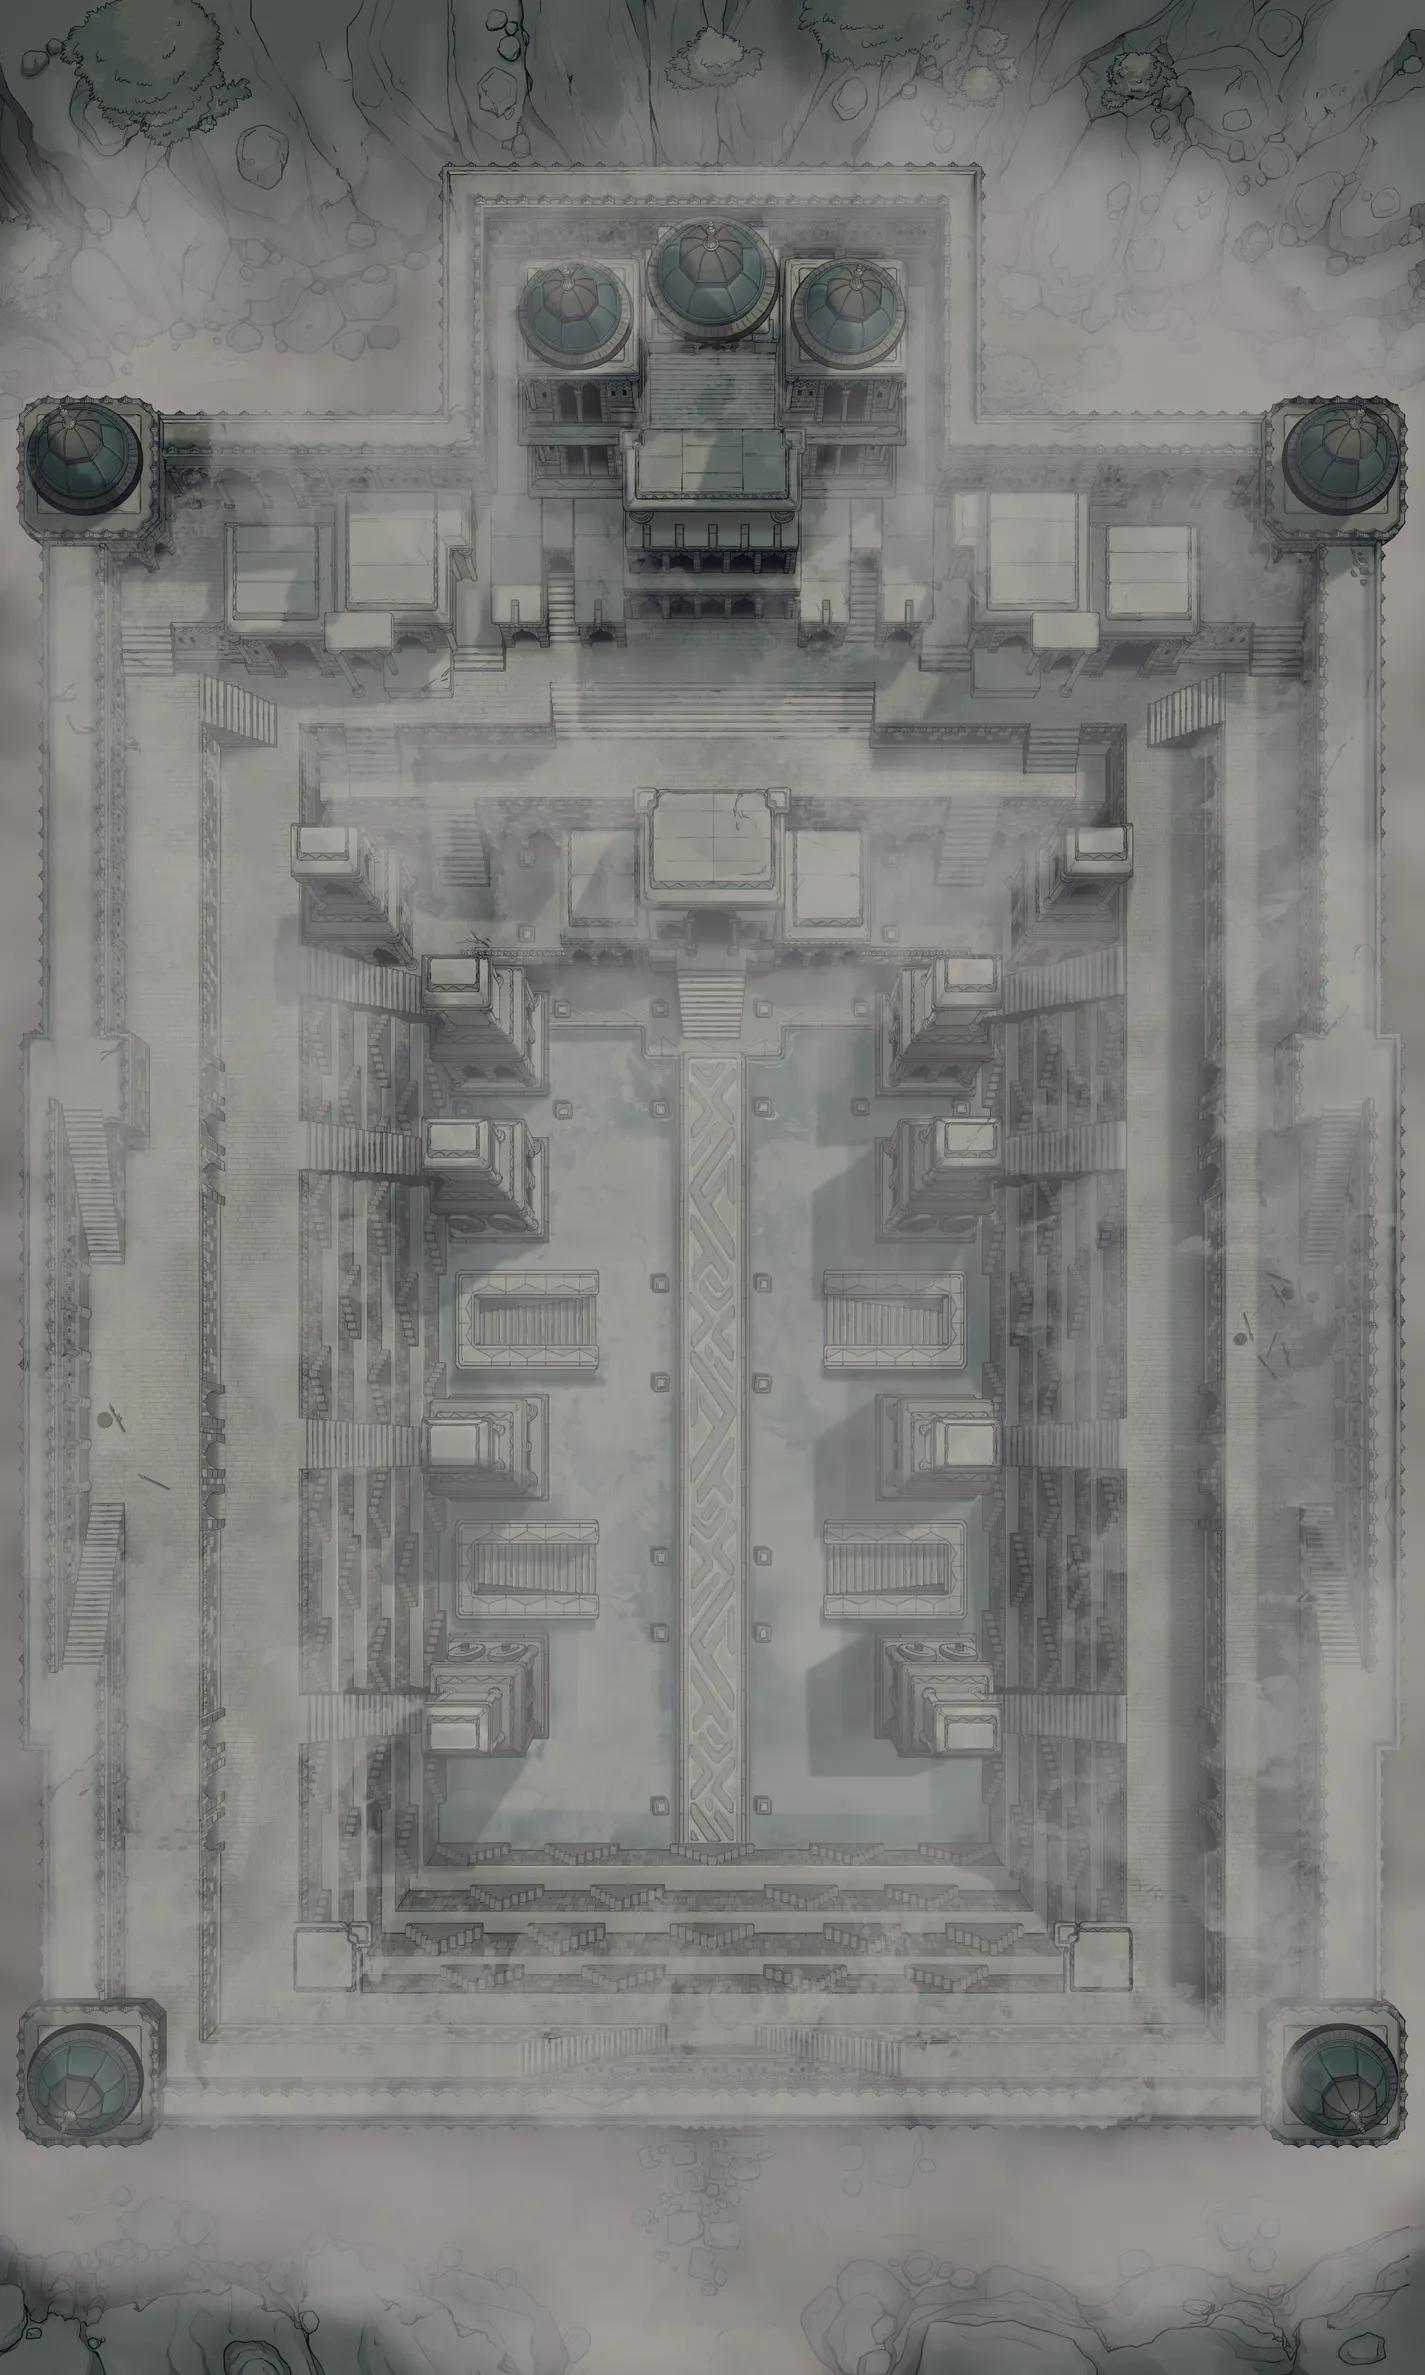
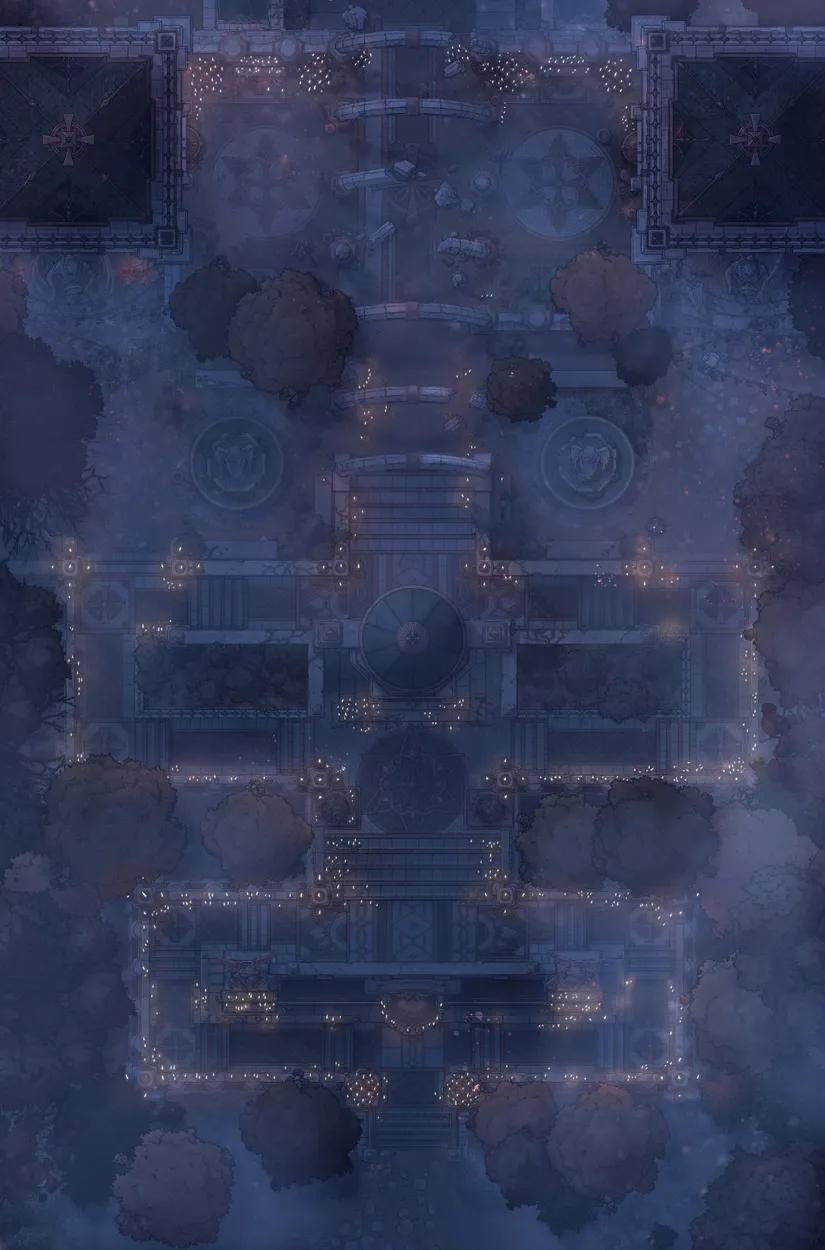
Grand Cathedral (+1)
Grand Cathedral (+1)

Grand Cathedral Crypt (+1)
Grand Cathedral Crypt (+1)
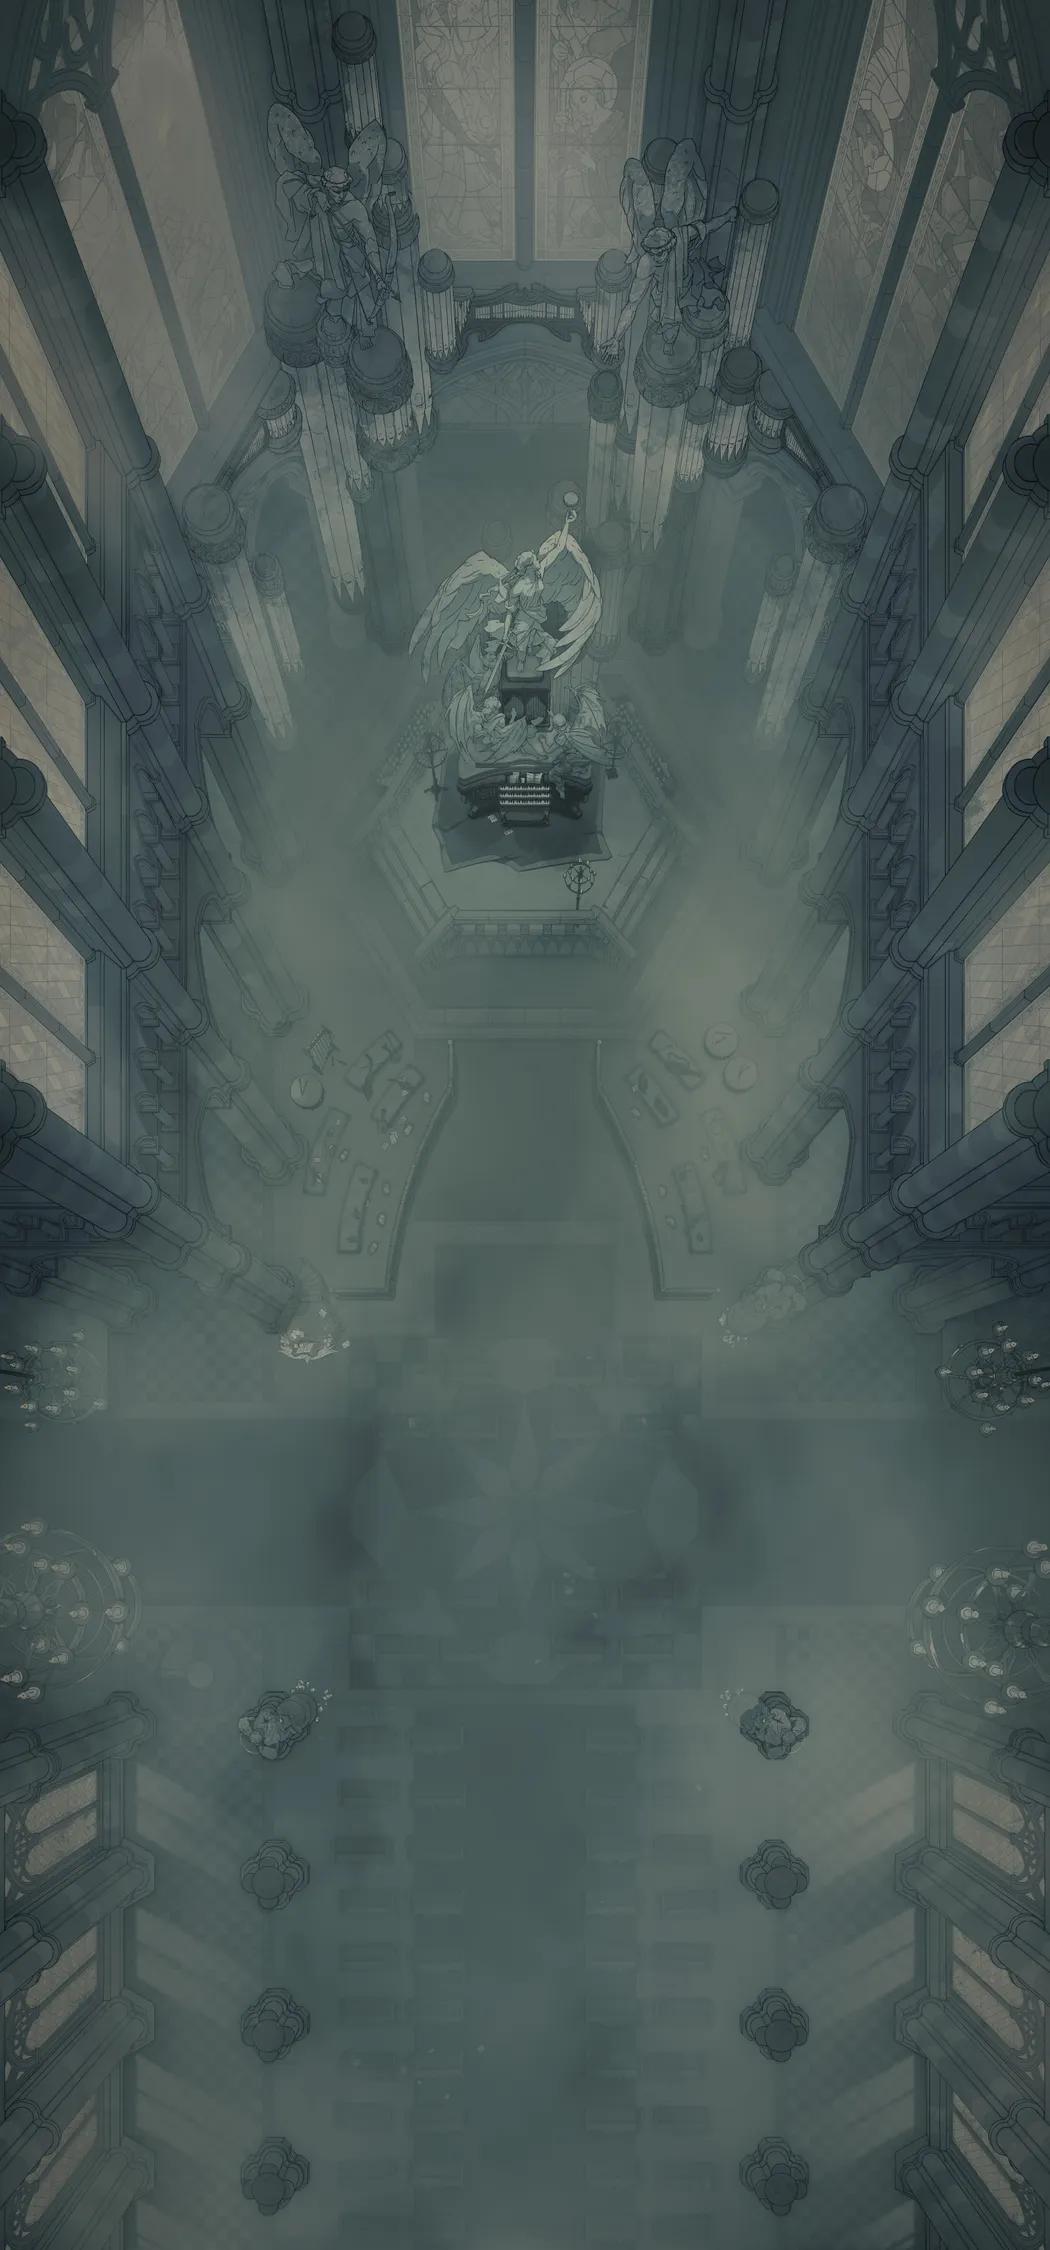
Grand Cathedral Interior
Grand Cathedral Interior
Grand Duke's Plaza (+1)
Grand Duke's Plaza (+1)
Grand Hunter's House (+1)
Grand Hunter's House (+1)
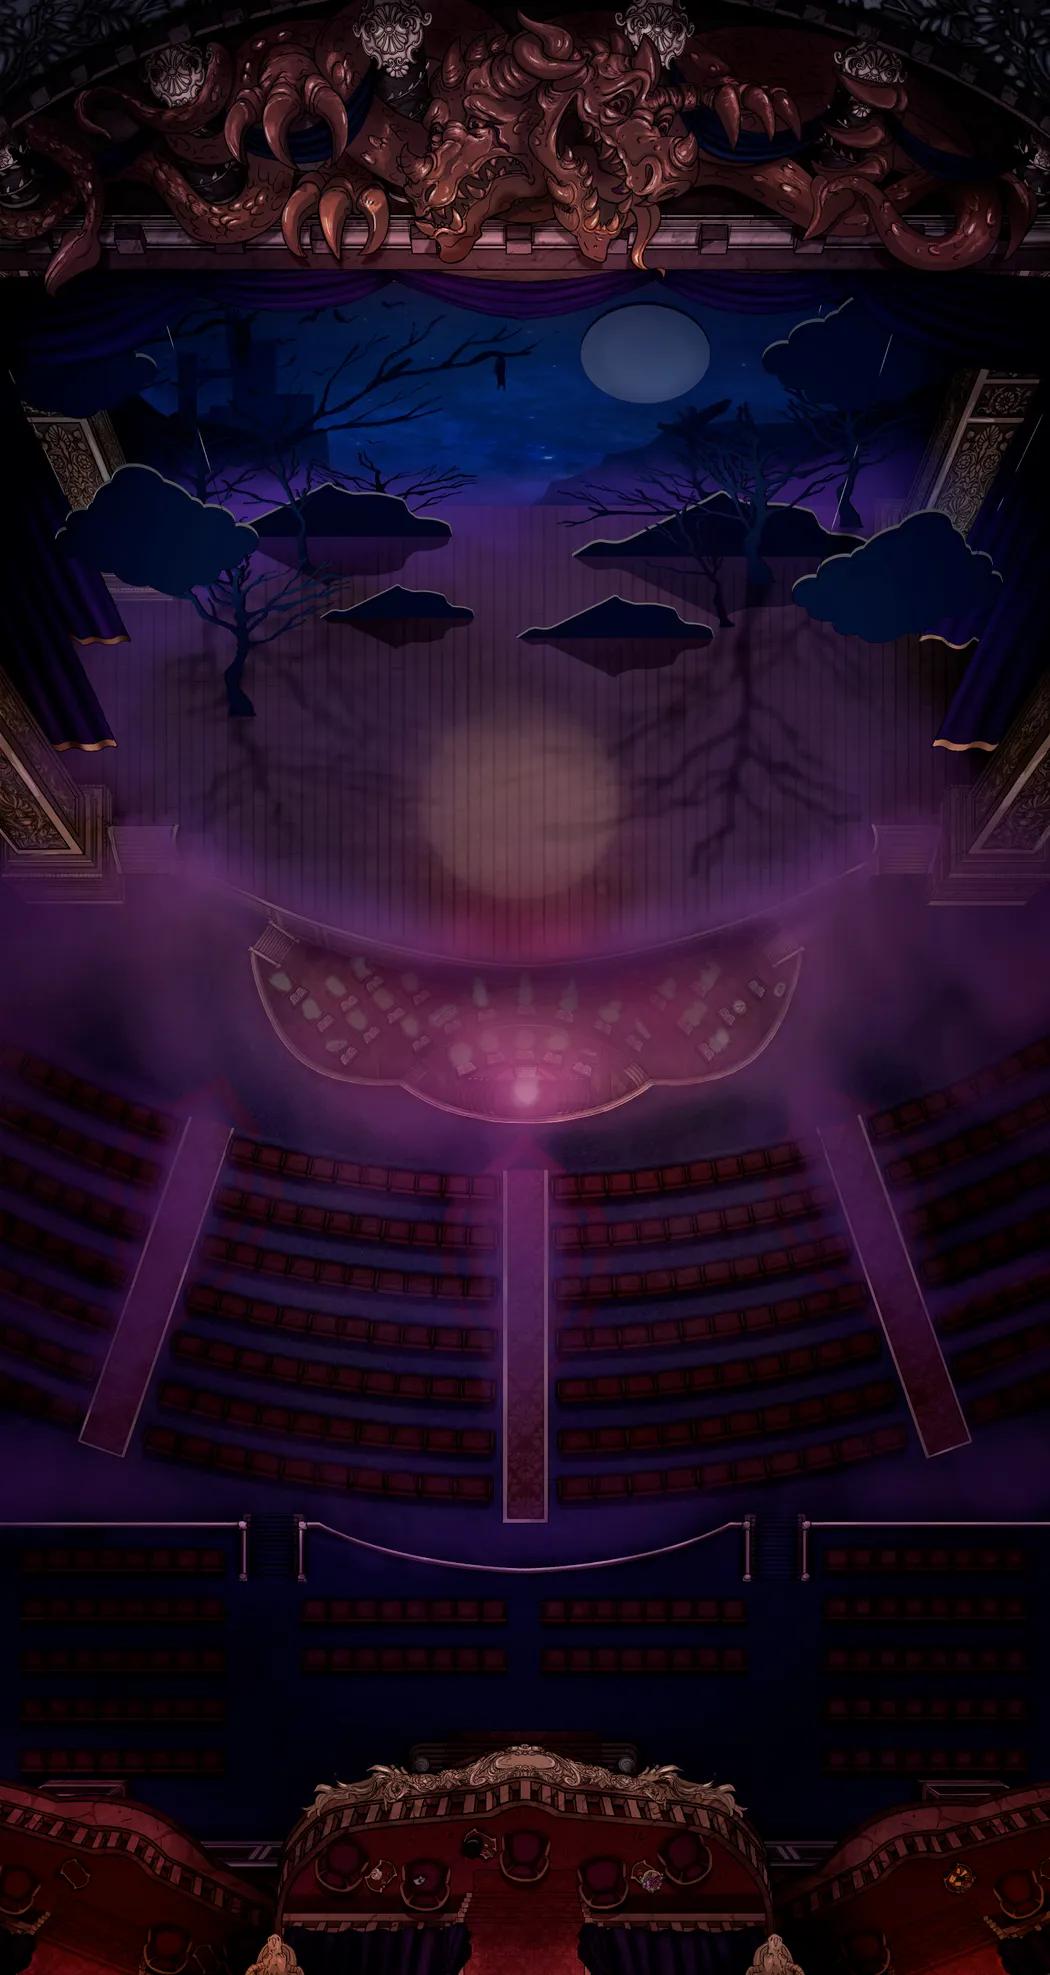
Grand Opera House
Grand Opera House
Great Wall (+1)
Great Wall (+1)
Green Dragon Lair (+2)
Green Dragon Lair (+2)
Grounded Castle (+6)
Grounded Castle (+6)
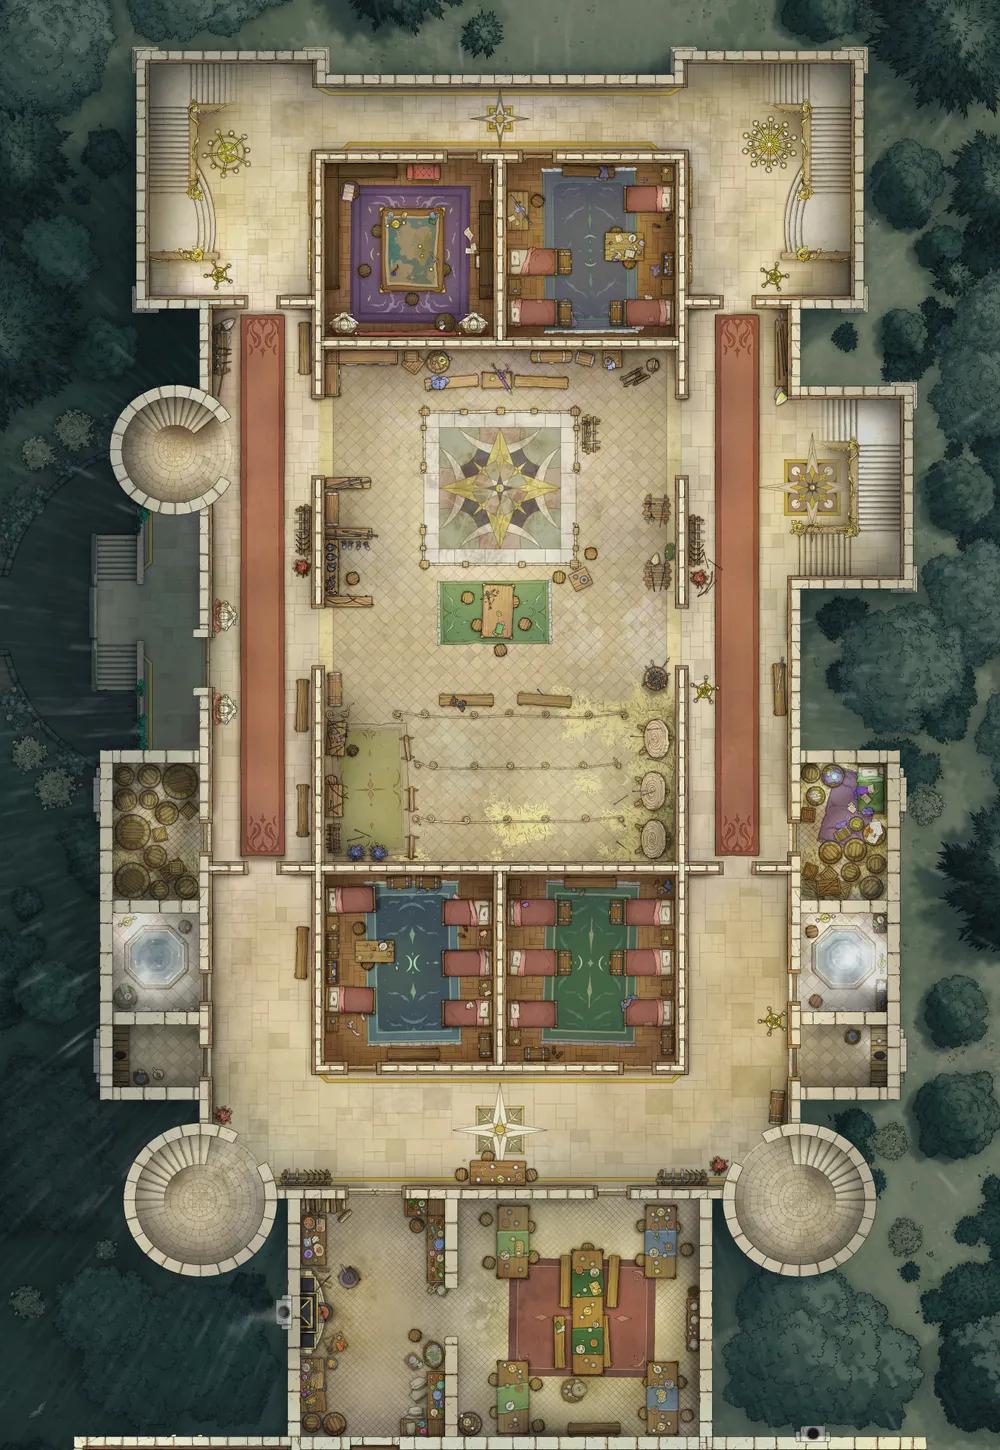
Gryphon Roost Inn (+1)
Gryphon Roost Inn (+1)
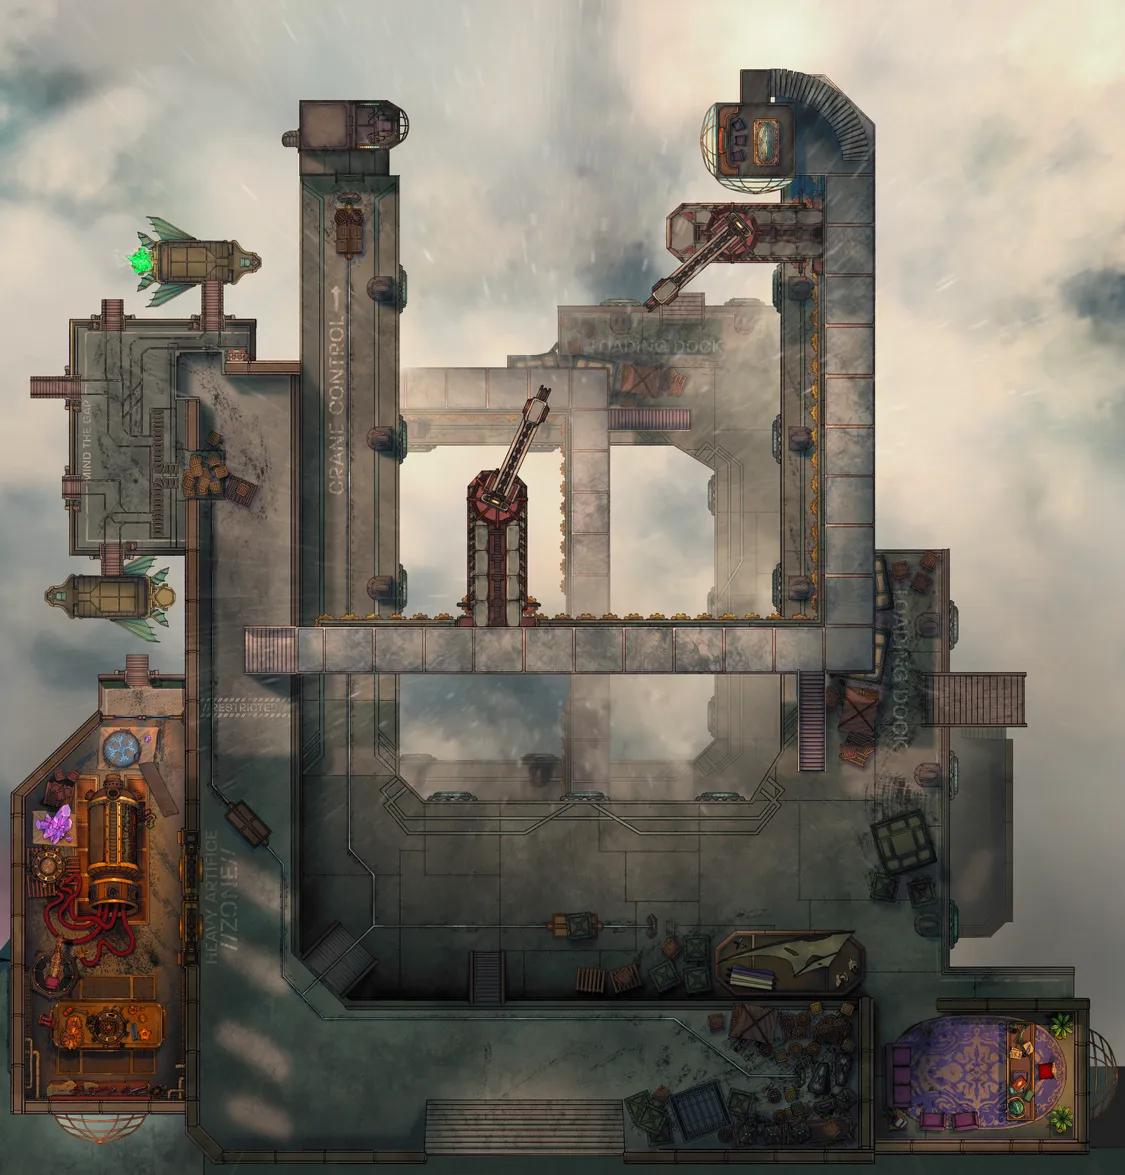
Hangar Bay
Hangar Bay
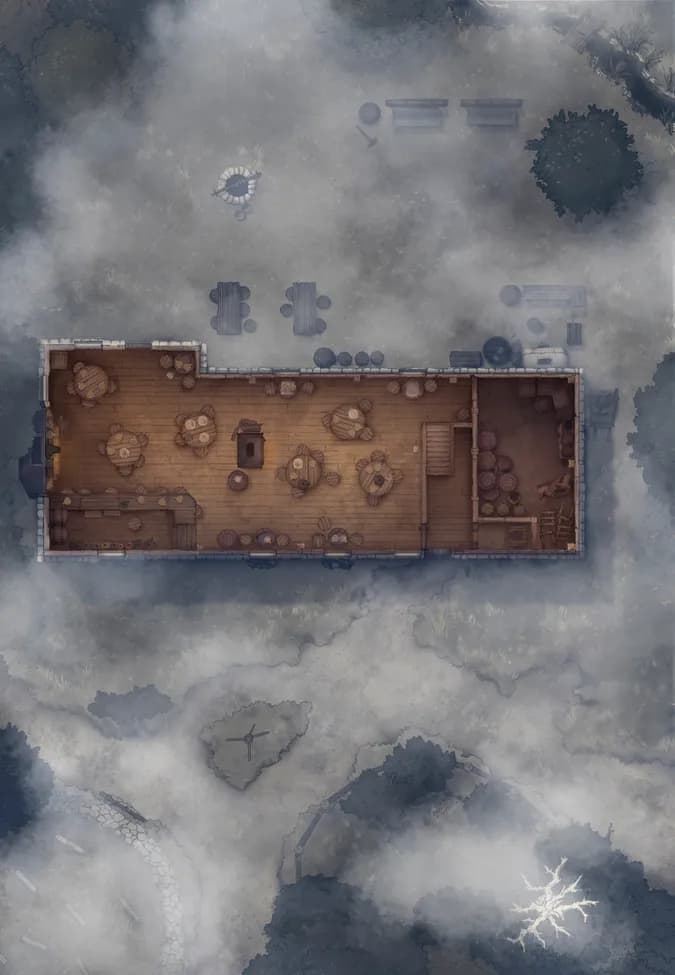
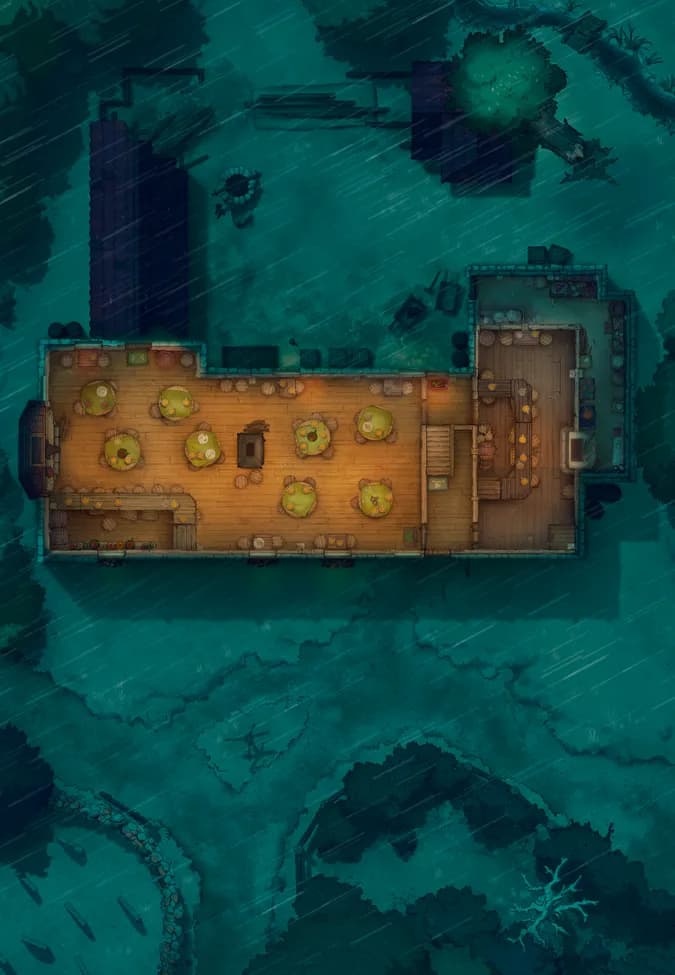
Haunted Dockside Tavern
Haunted Dockside Tavern
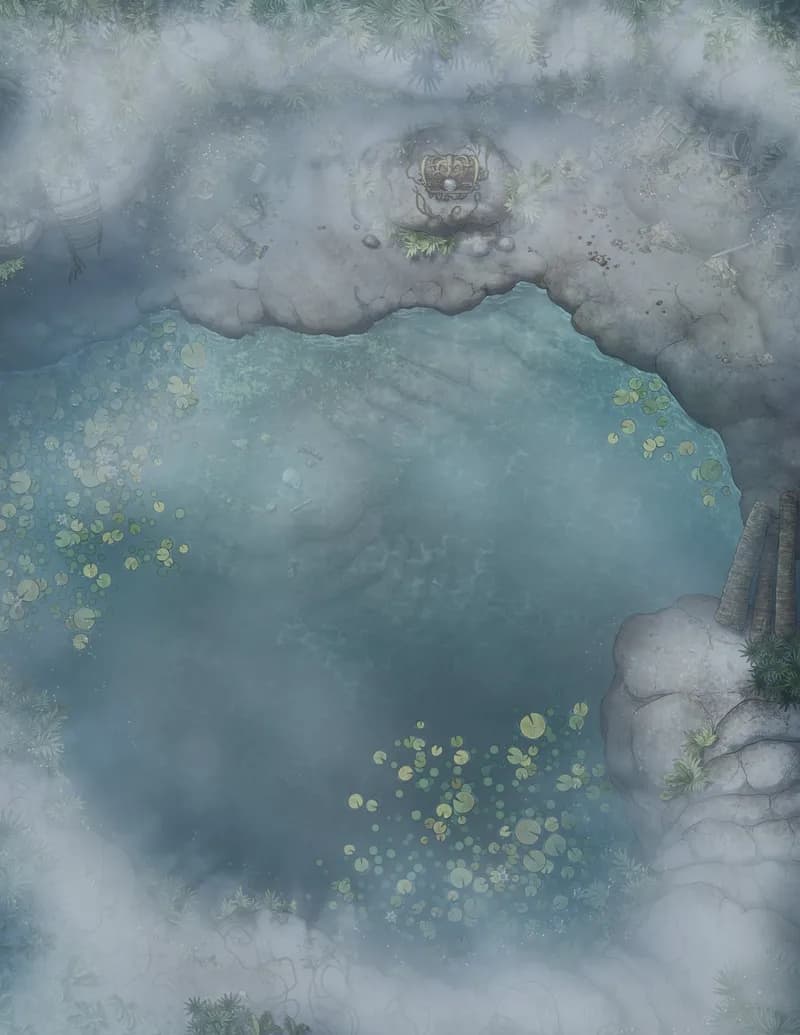
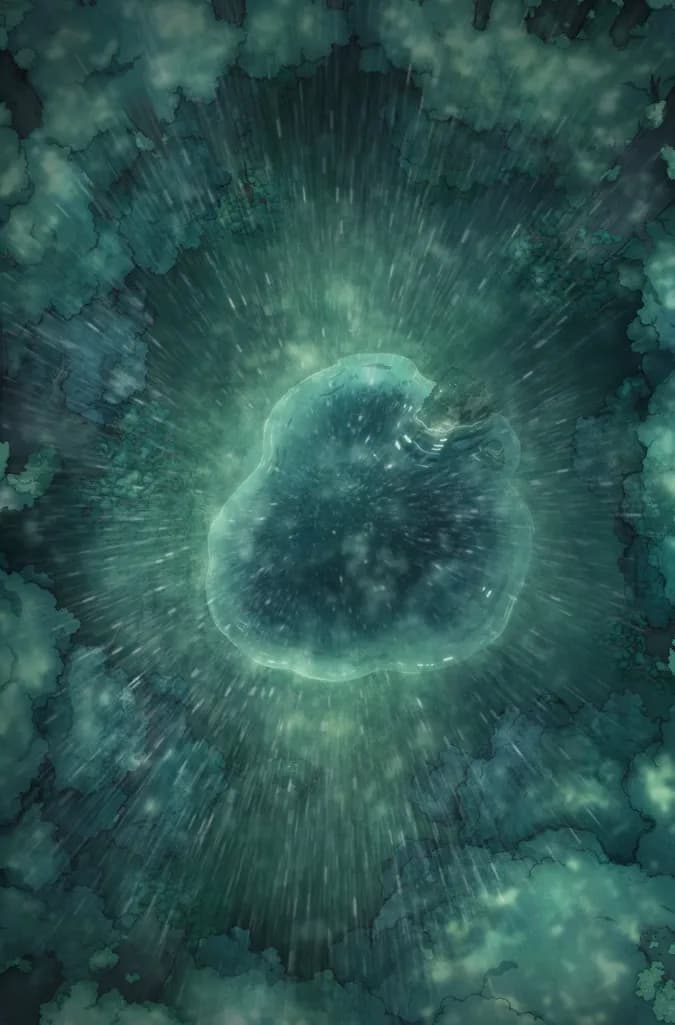
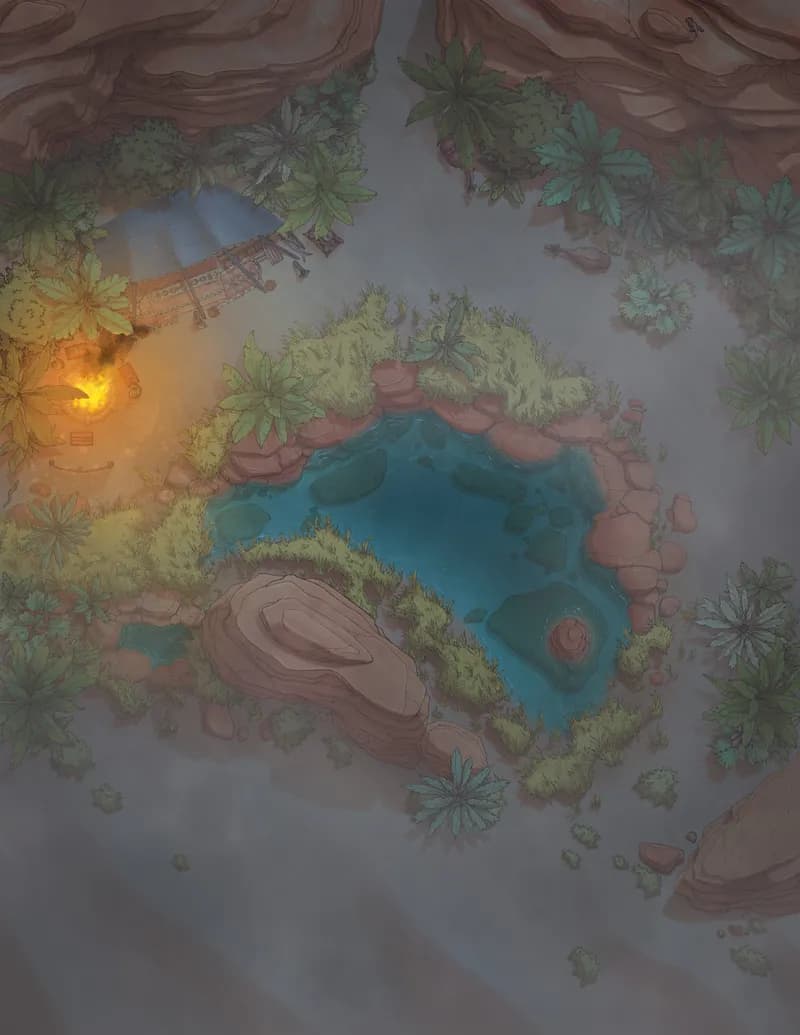
Healing Cave Spring (+1)
Healing Cave Spring (+1)
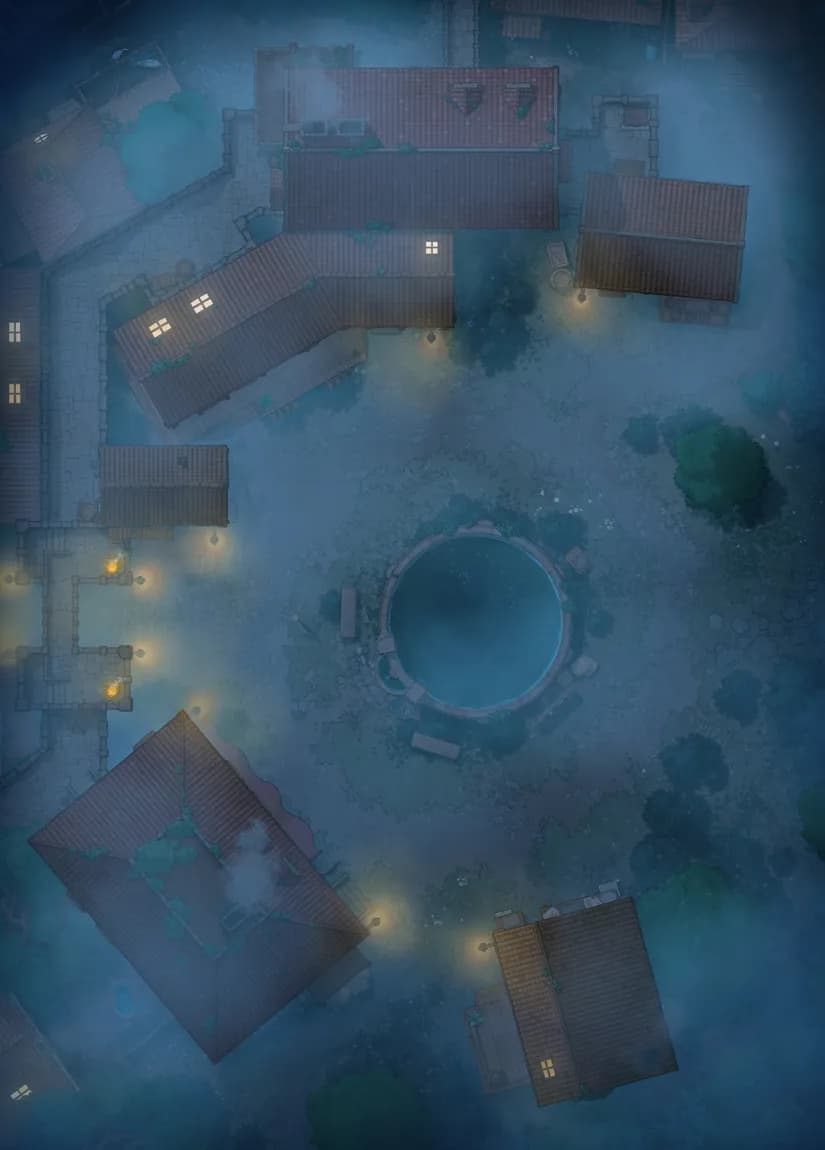
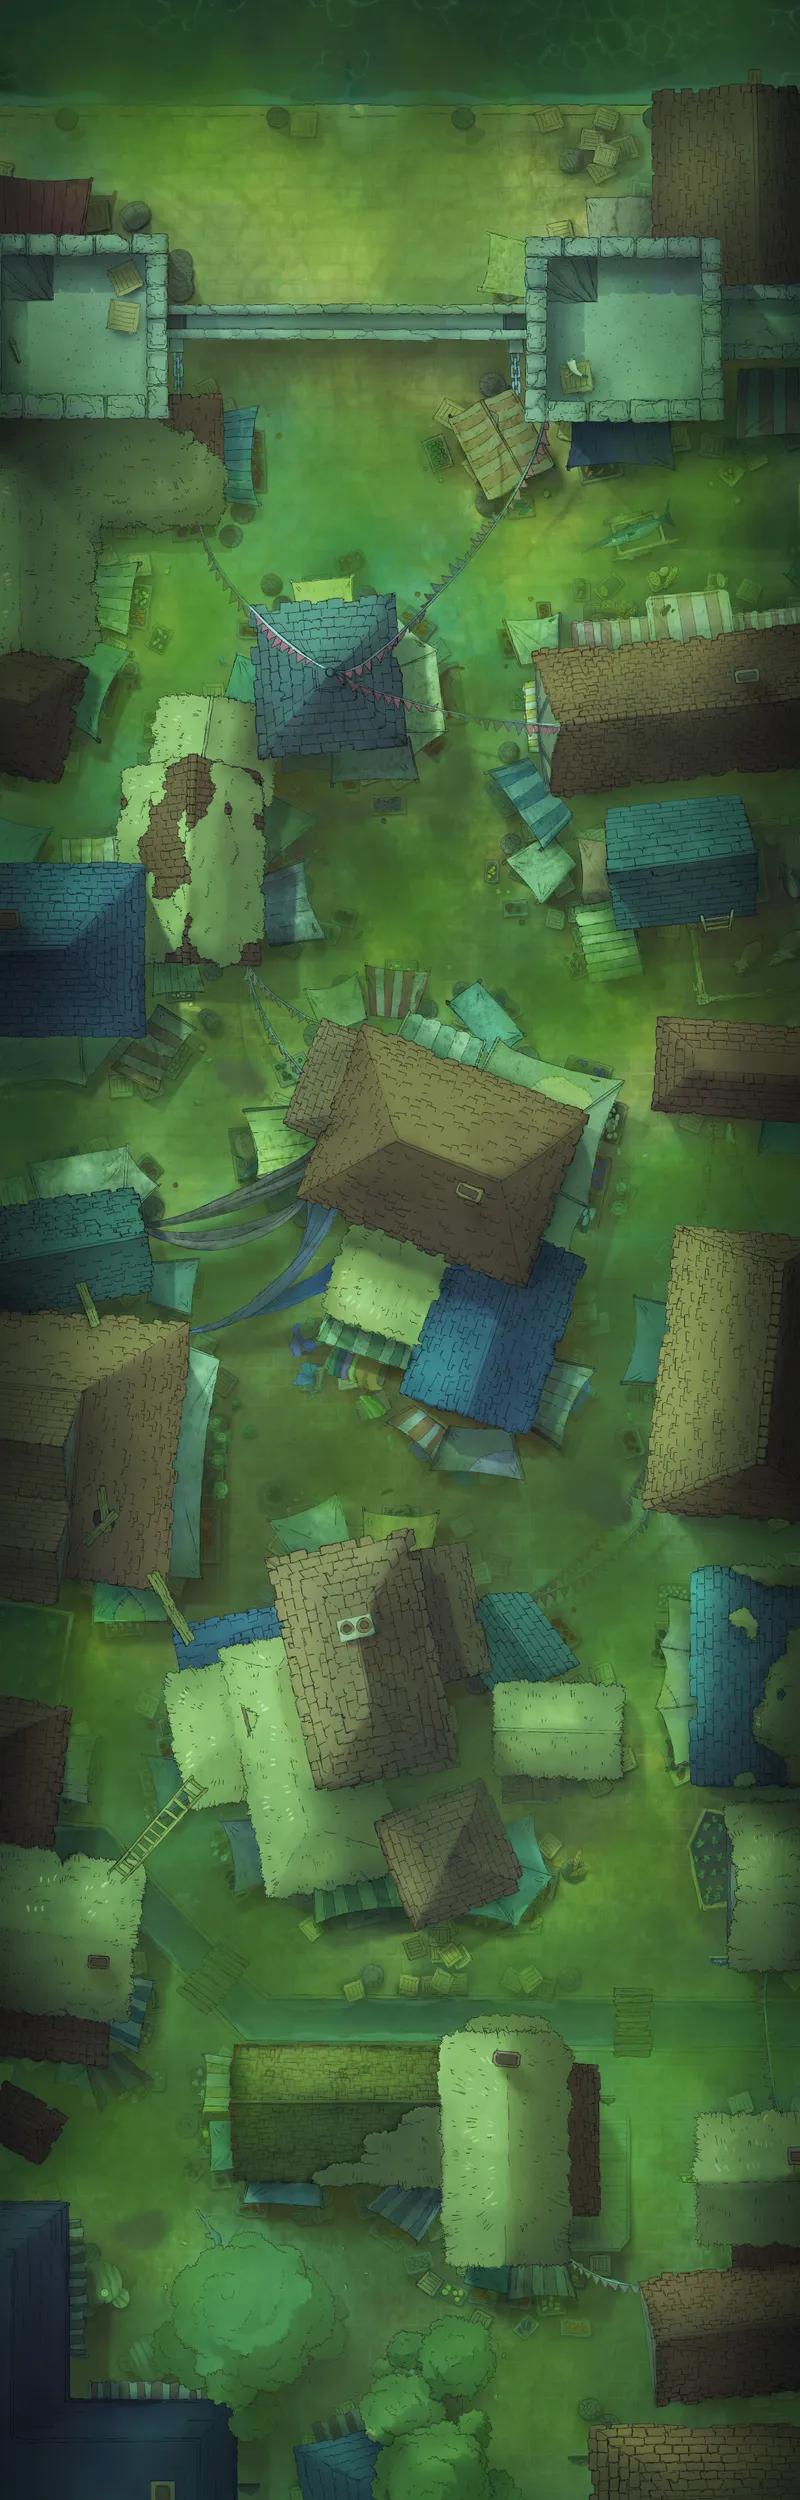
Heart of the Village (+1)
Heart of the Village (+1)
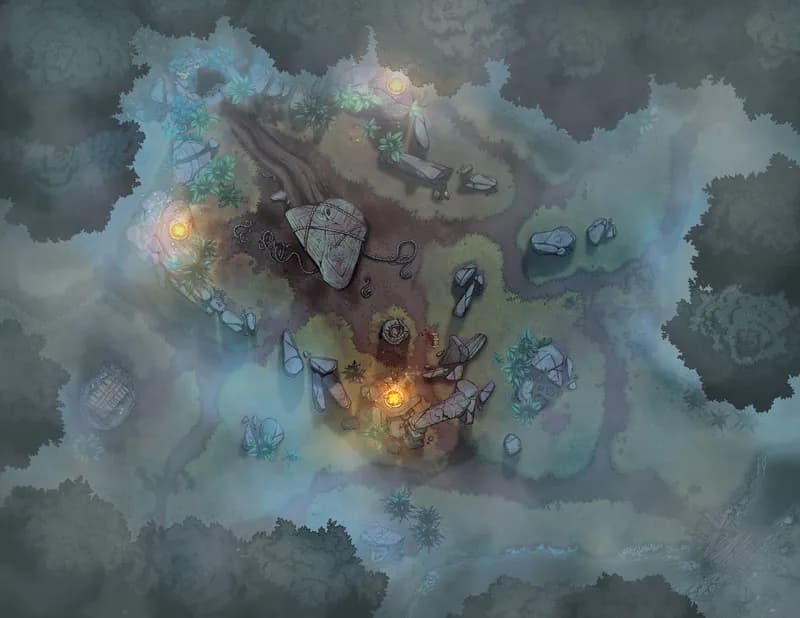
Henge Cave Entrance
Henge Cave Entrance
Hidden Witch's Hut (+1)
Hidden Witch's Hut (+1)
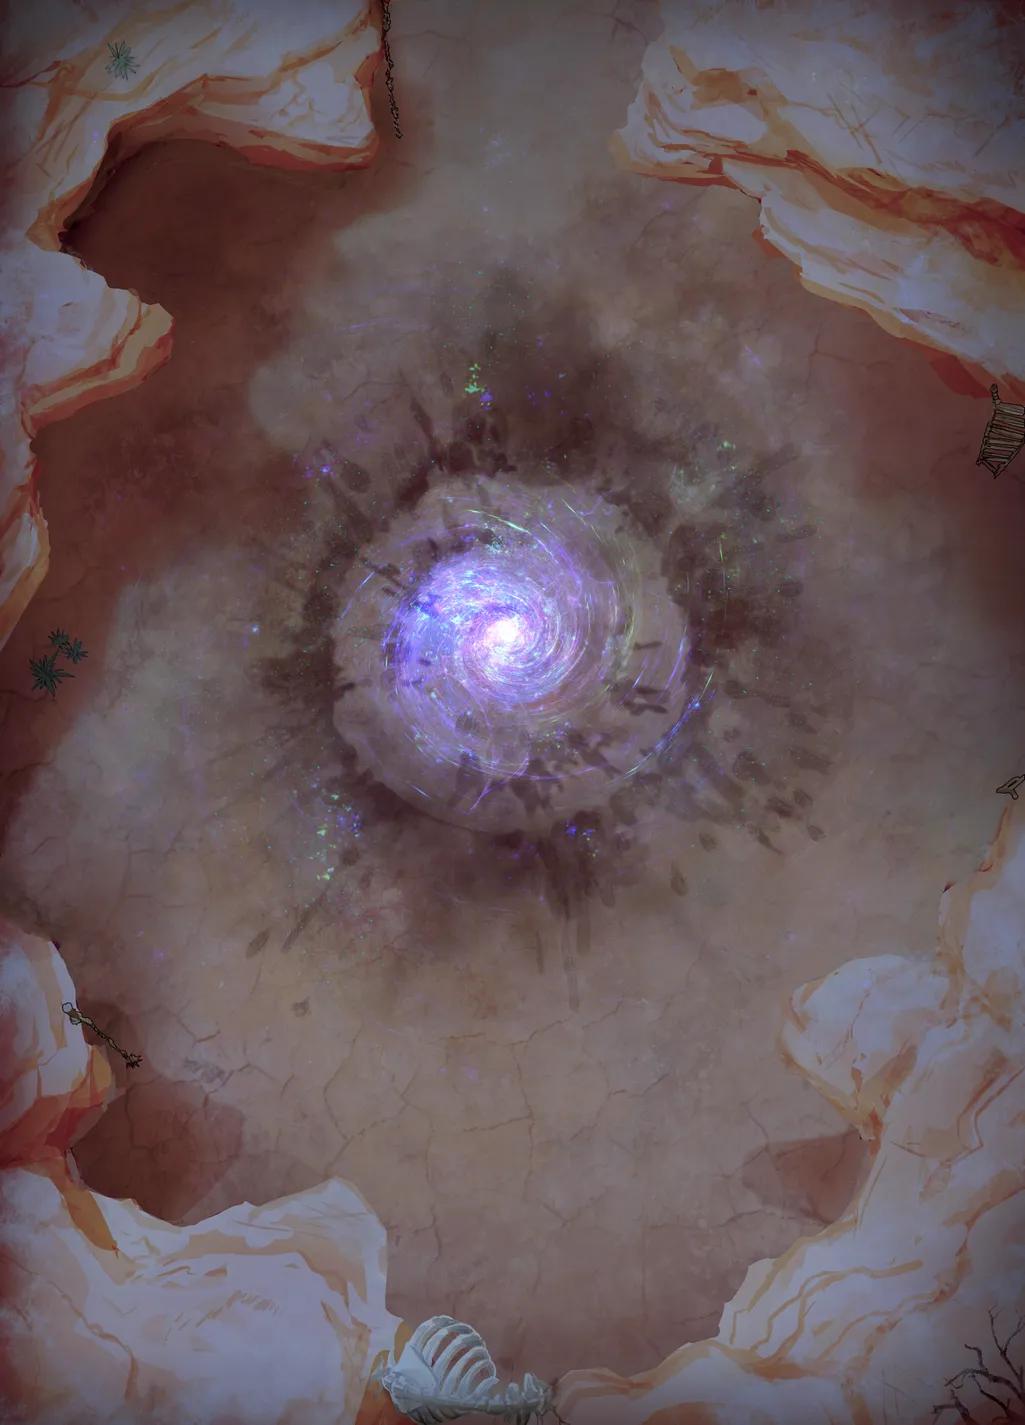
Impact Site
Impact Site
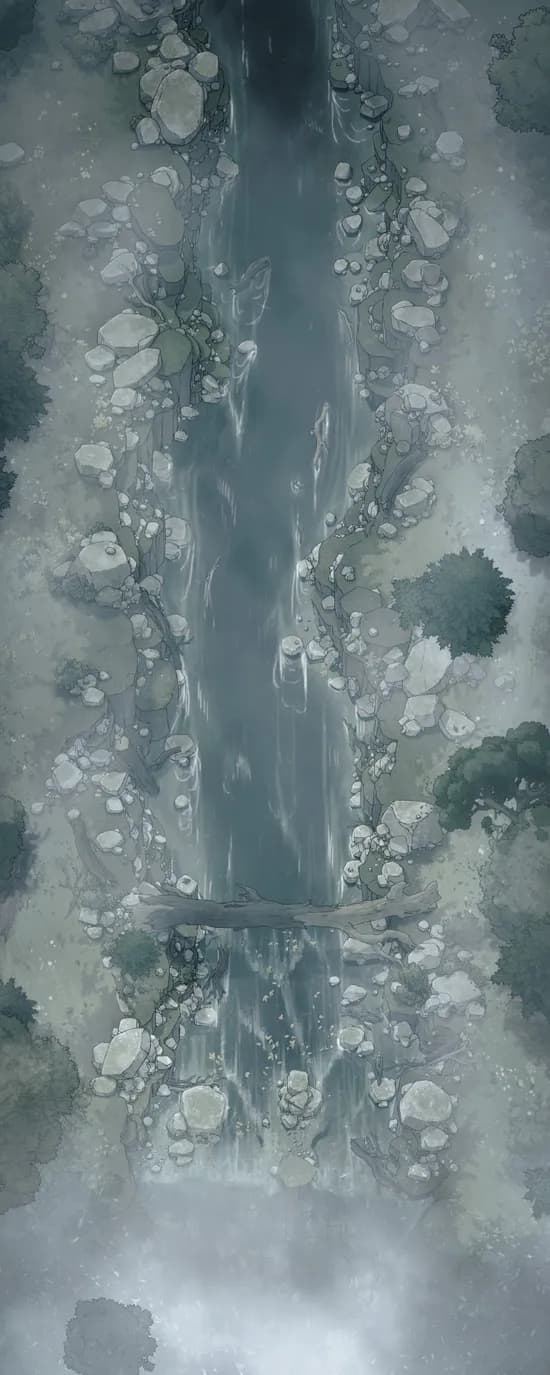
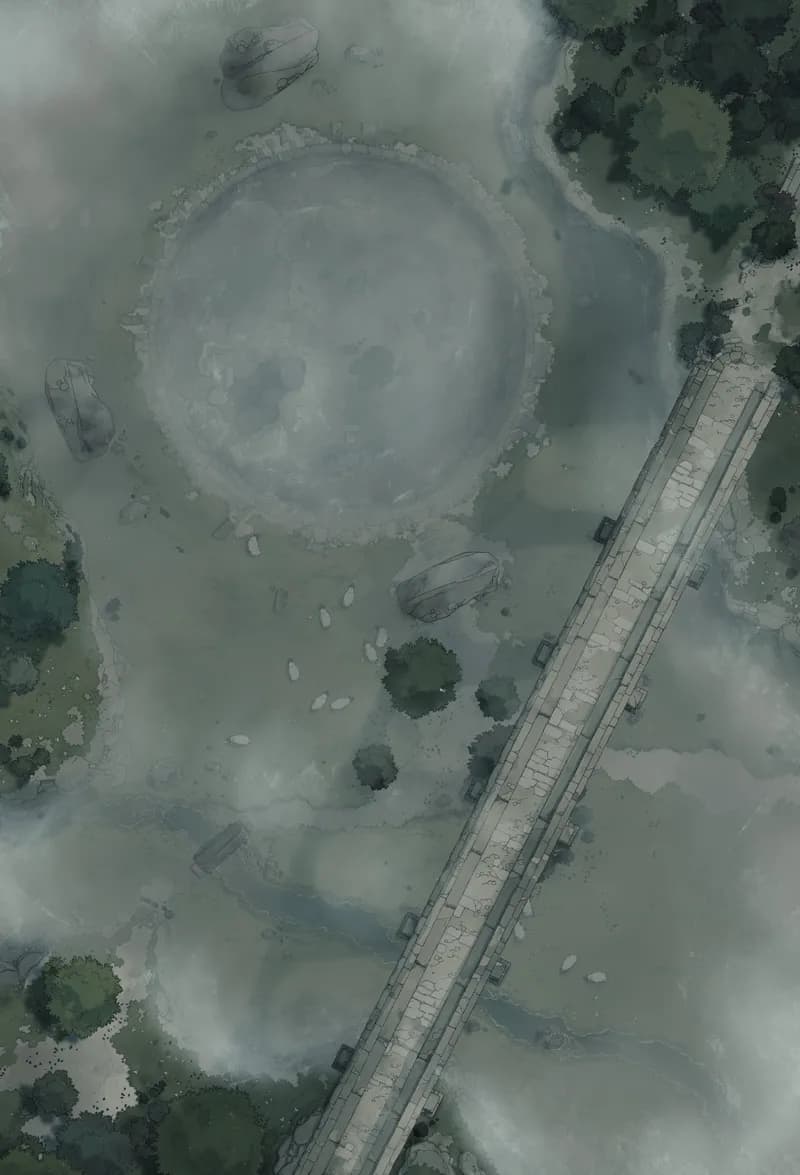
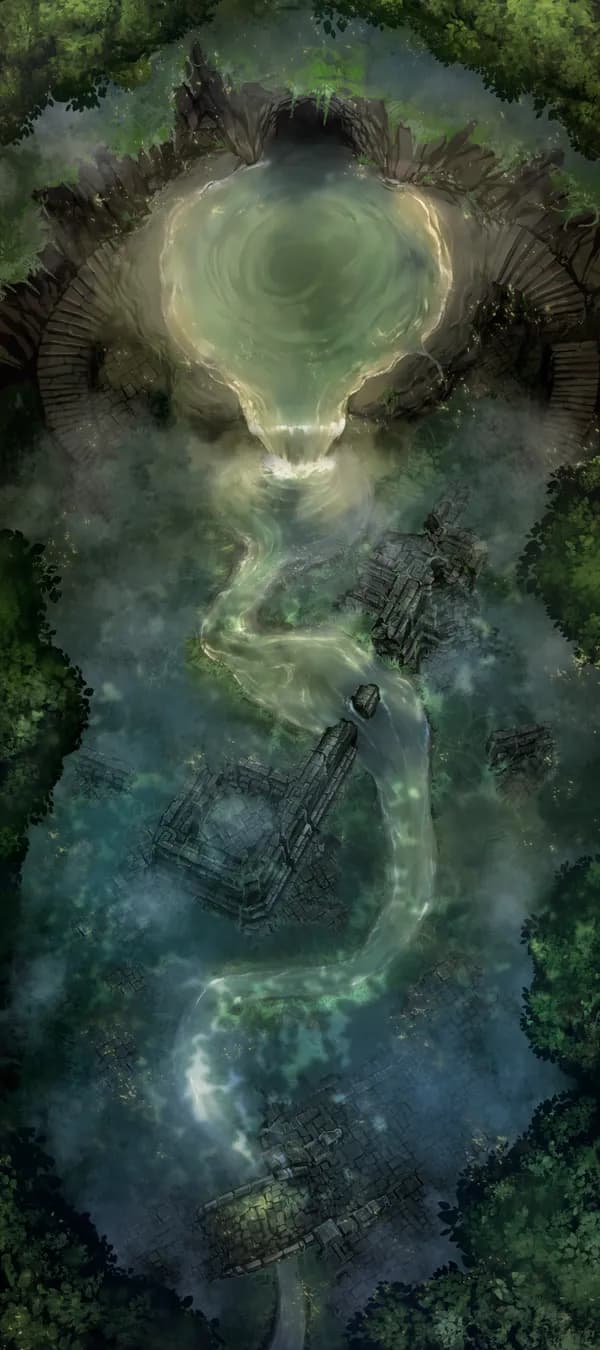
Impending Waterfall (+1)
Impending Waterfall (+1)
Imperial Graveyard (+1)
Imperial Graveyard (+1)
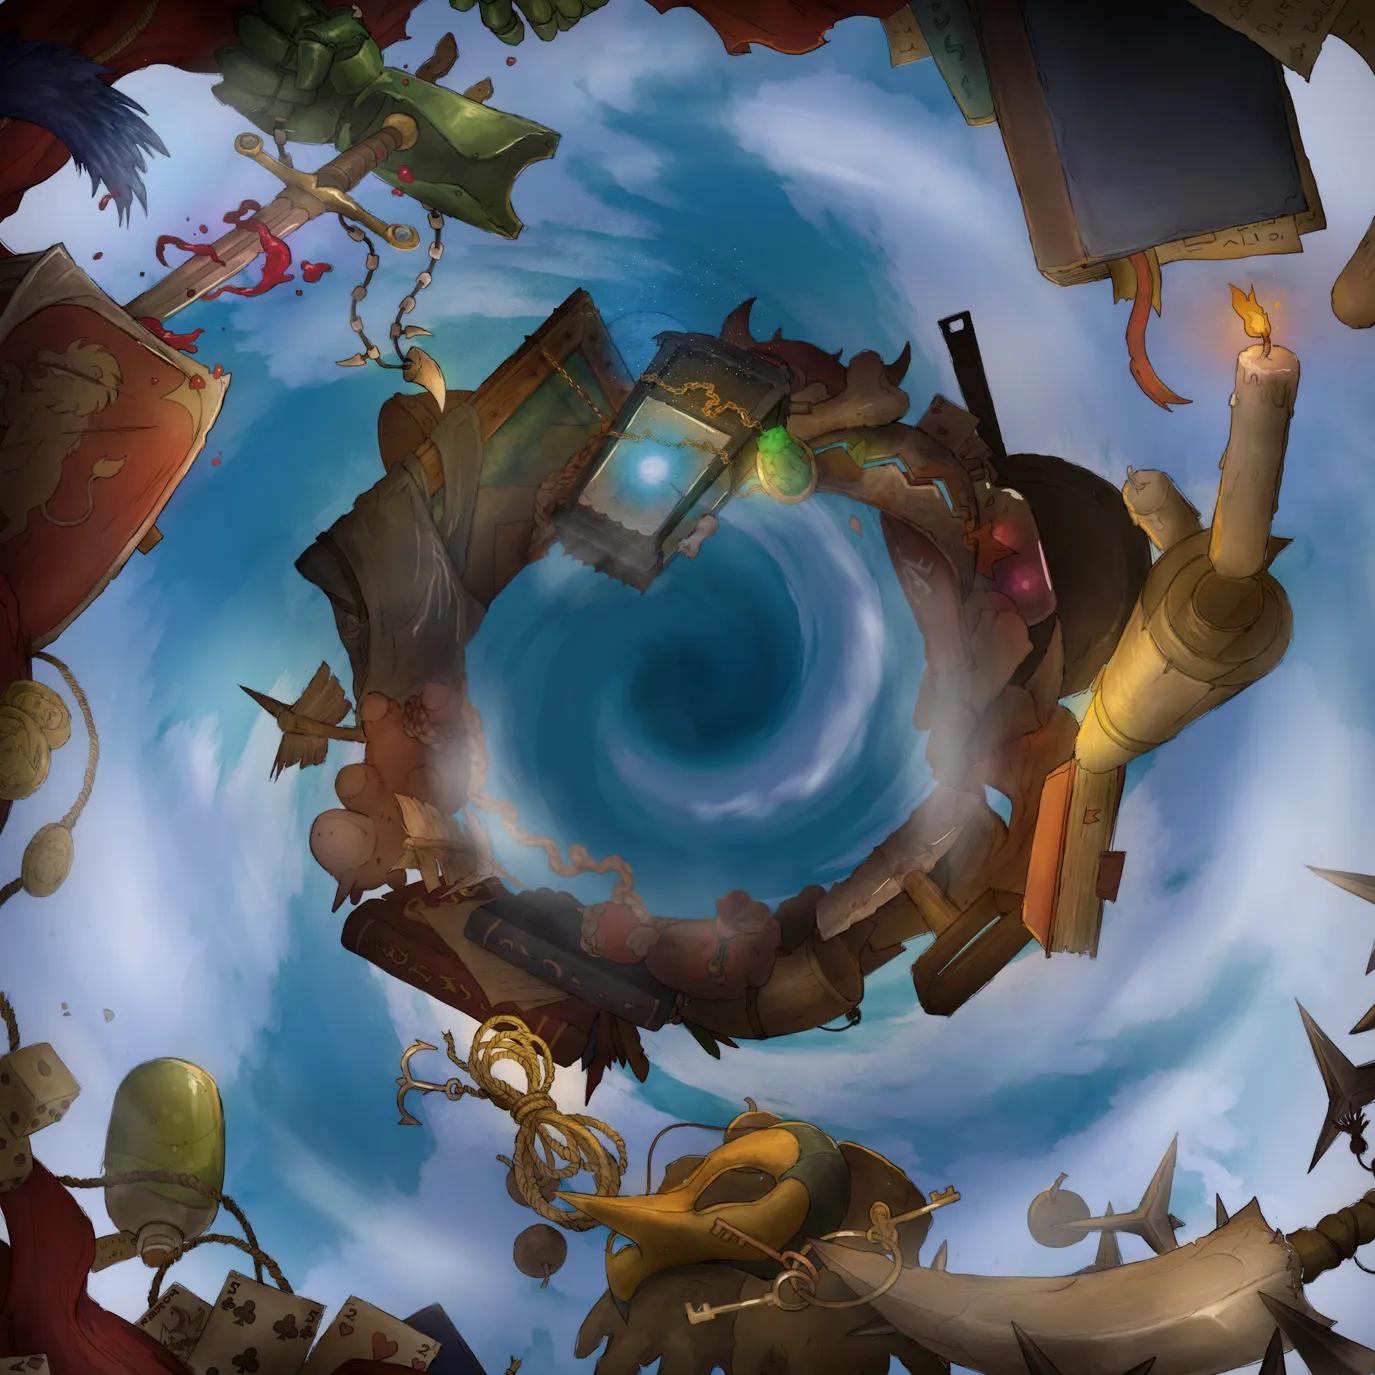
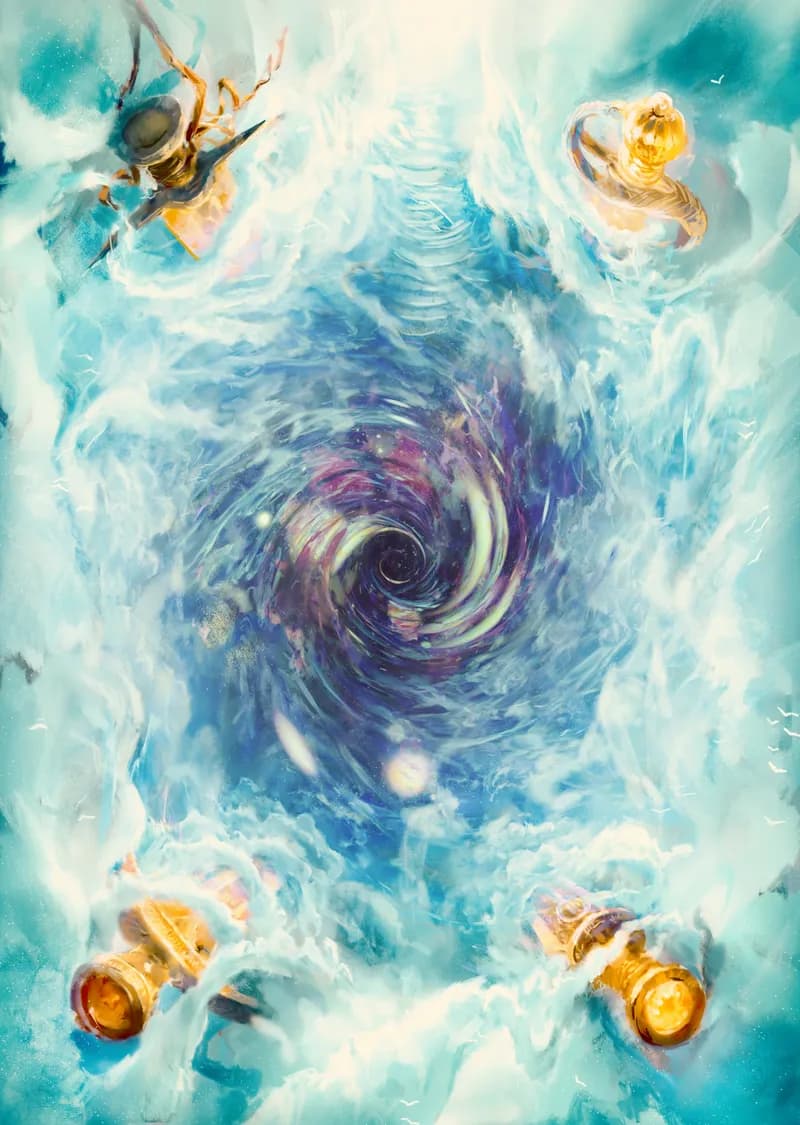
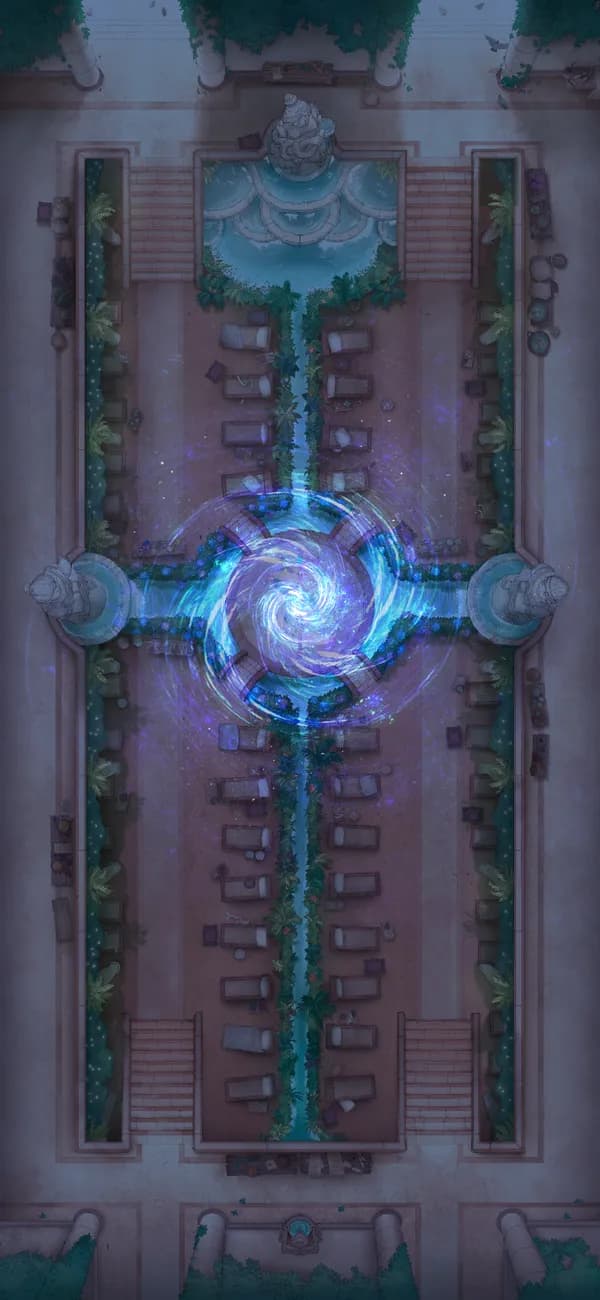
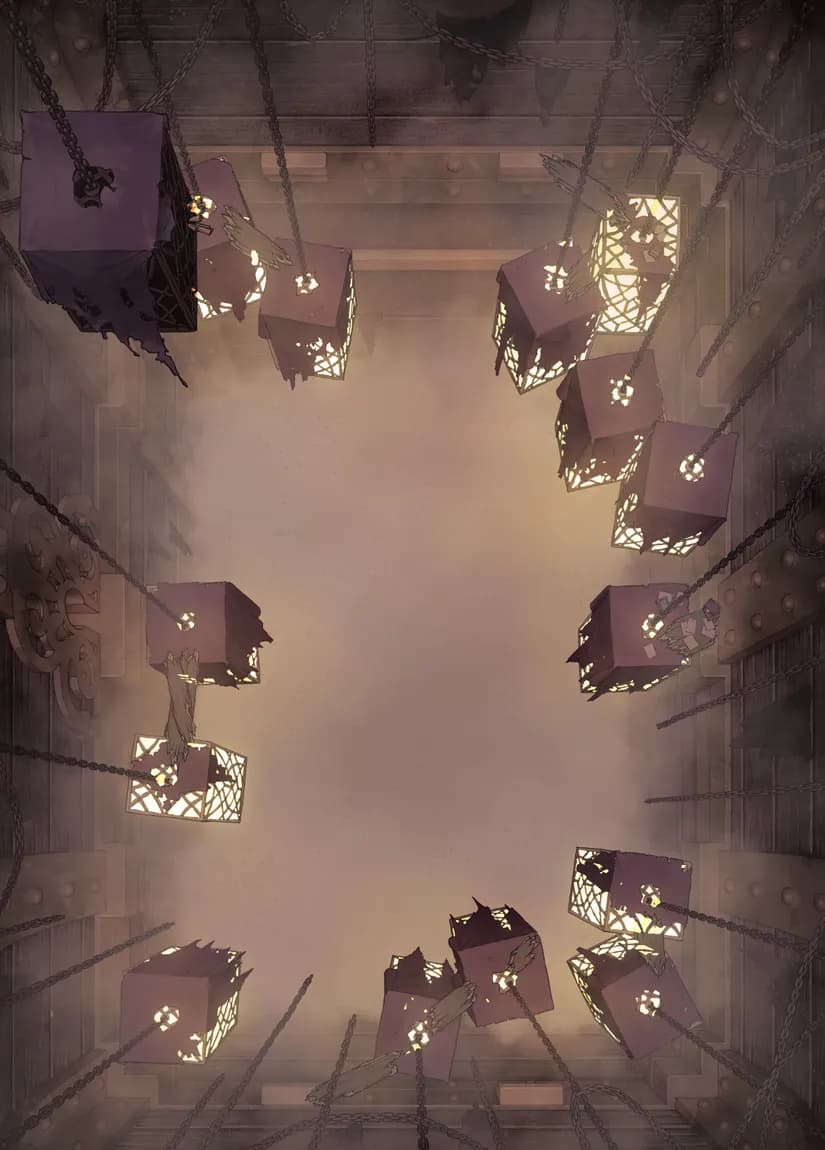
Inside a Bag of Holding (+2)
Inside a Bag of Holding (+2)
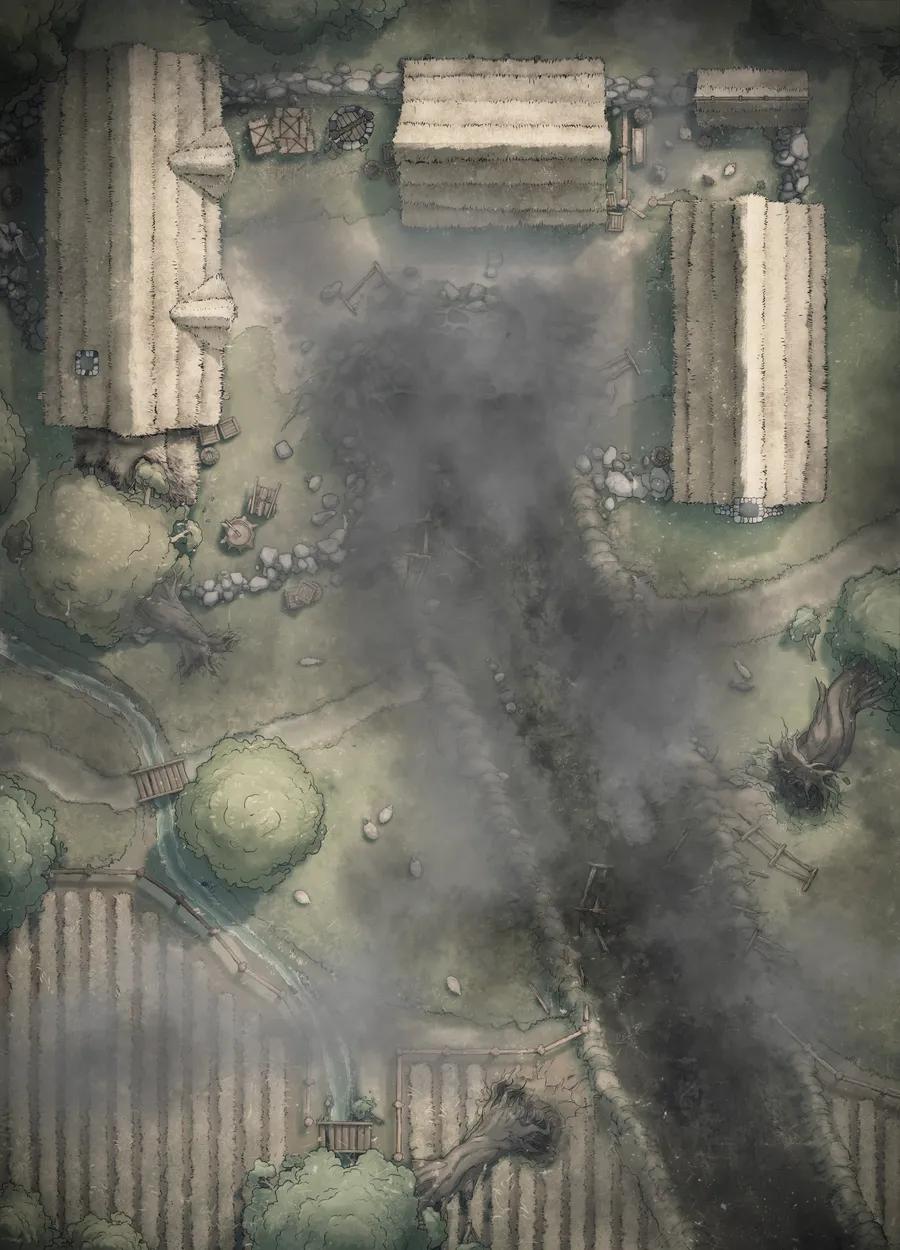
Iron Age Hamlet (+1)
Iron Age Hamlet (+1)
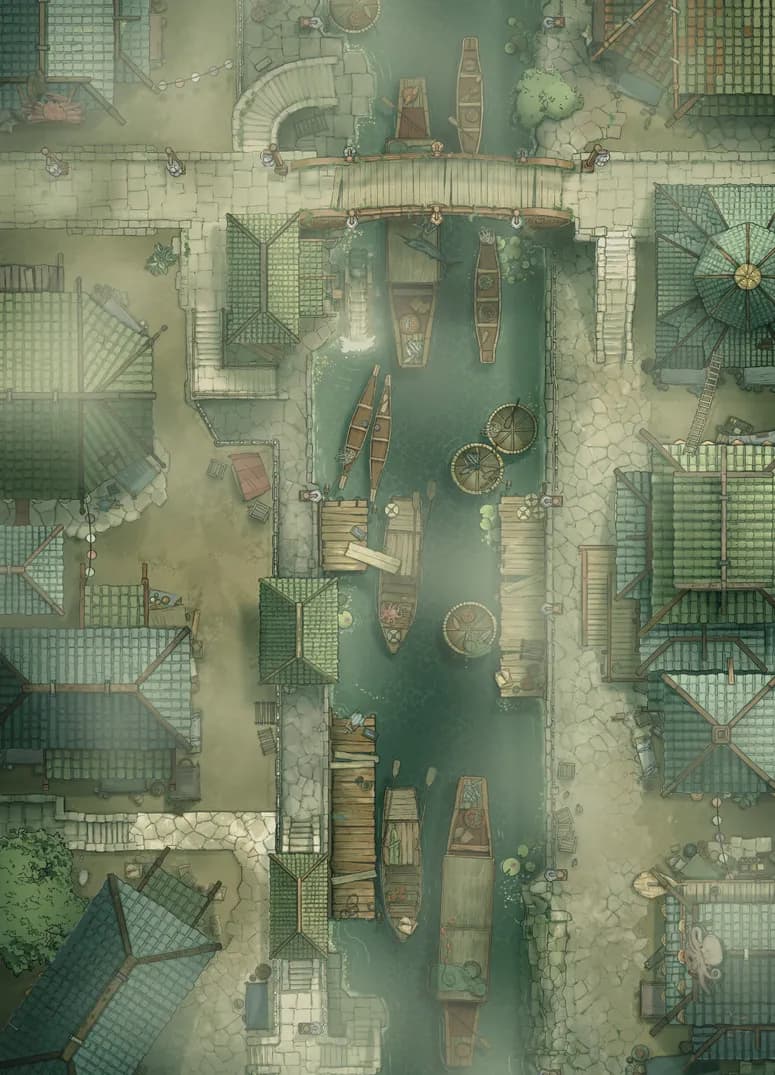
Iron Wharf
Iron Wharf
Island Fort (+2)
Island Fort (+2)
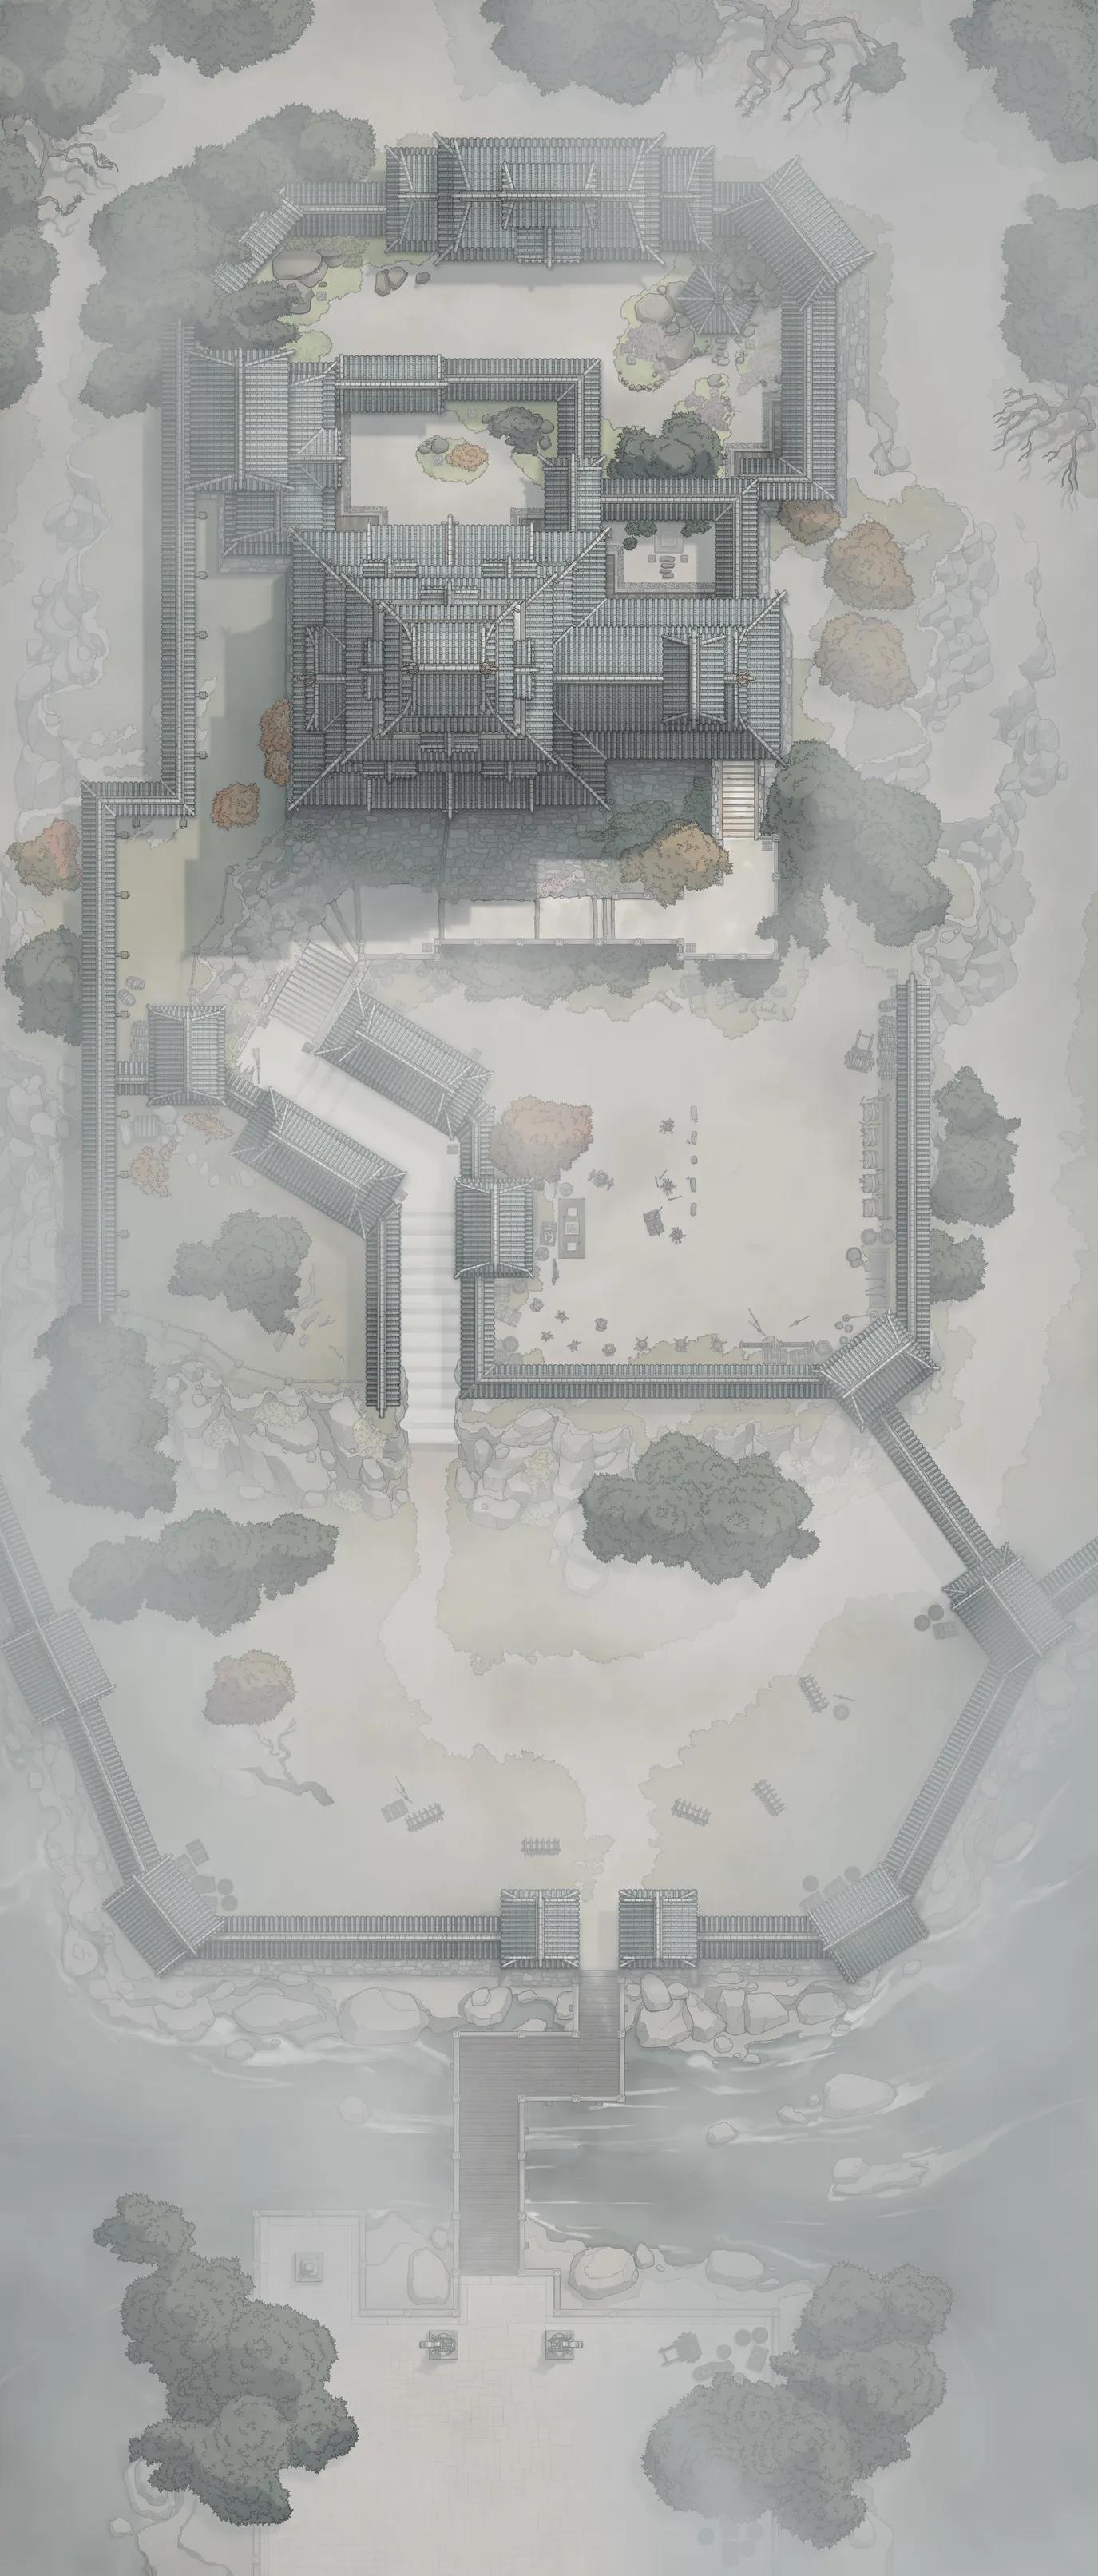
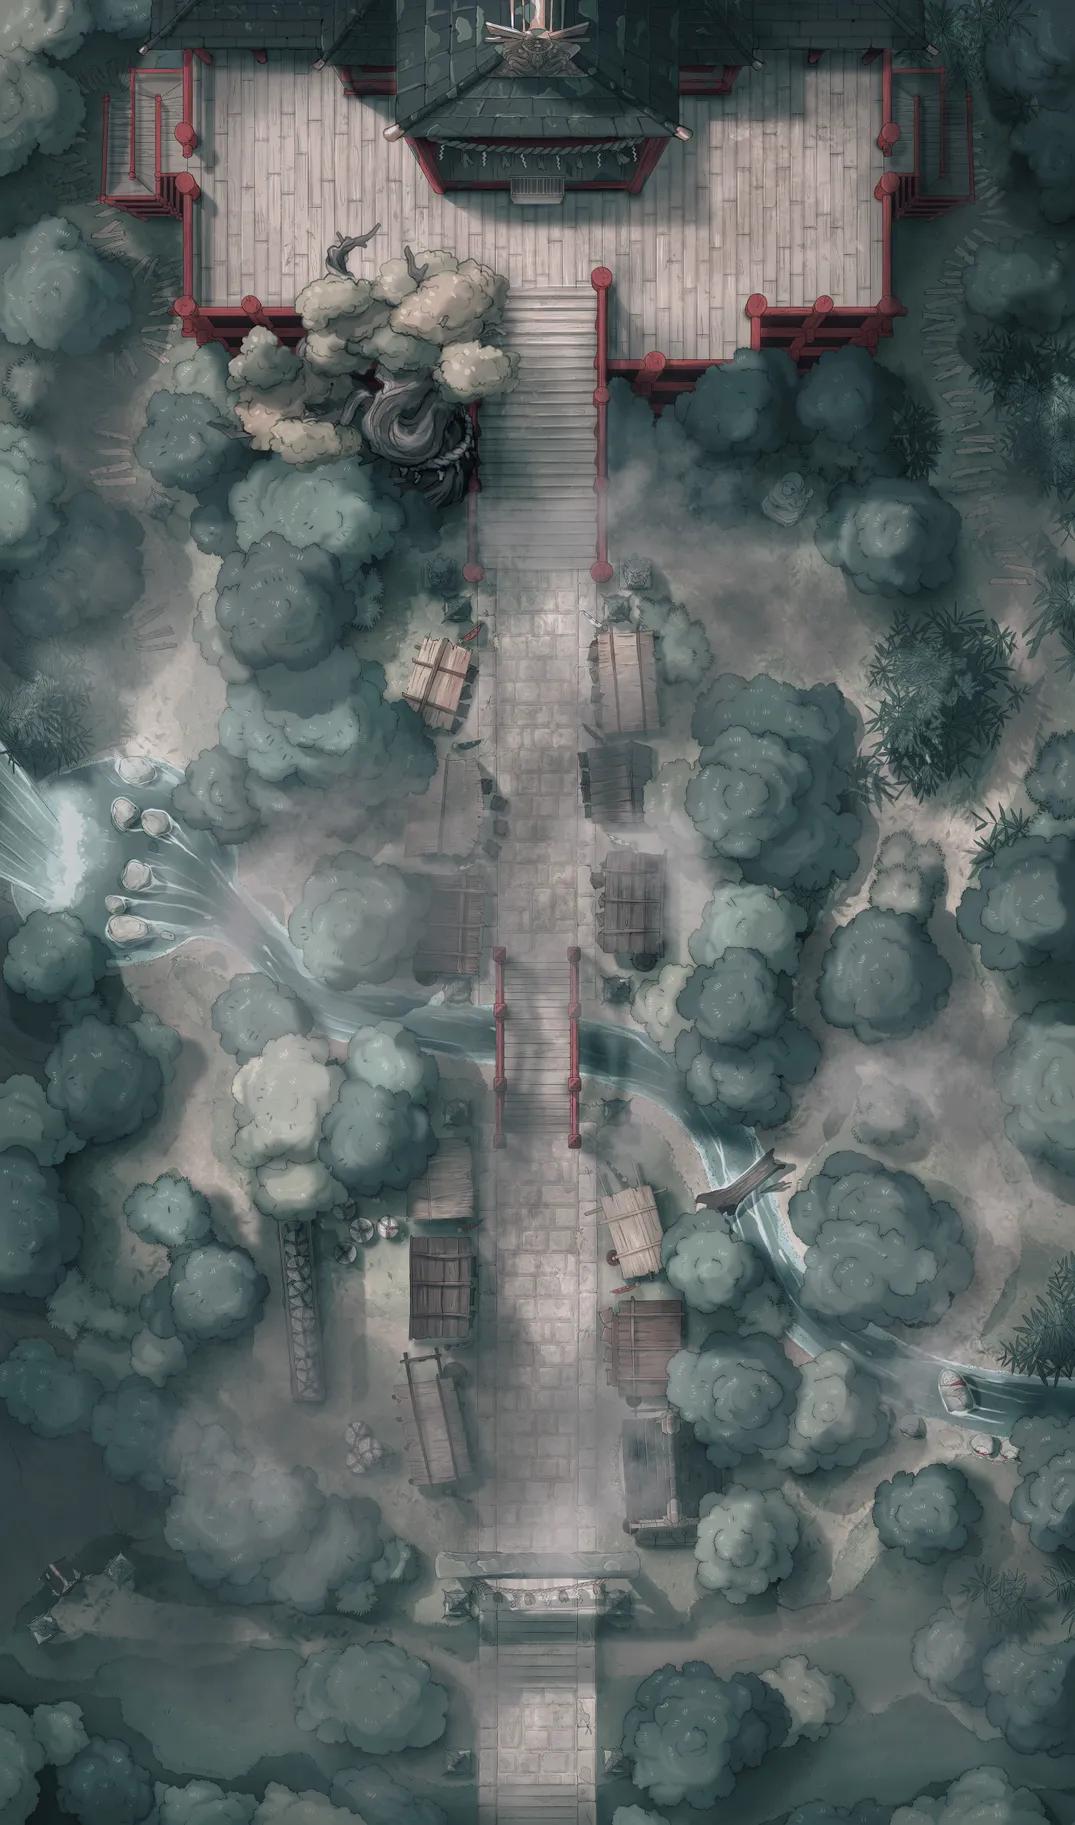
Japanese Castle Exterior (+1)
Japanese Castle Exterior (+1)
Jousting Tournament (+1)
Jousting Tournament (+1)

Jungle Temple Entrance (+1)
Jungle Temple Entrance (+1)
Jungle Treasure Trove (+1)
Jungle Treasure Trove (+1)
Lakeside Respite (+1)
Lakeside Respite (+1)

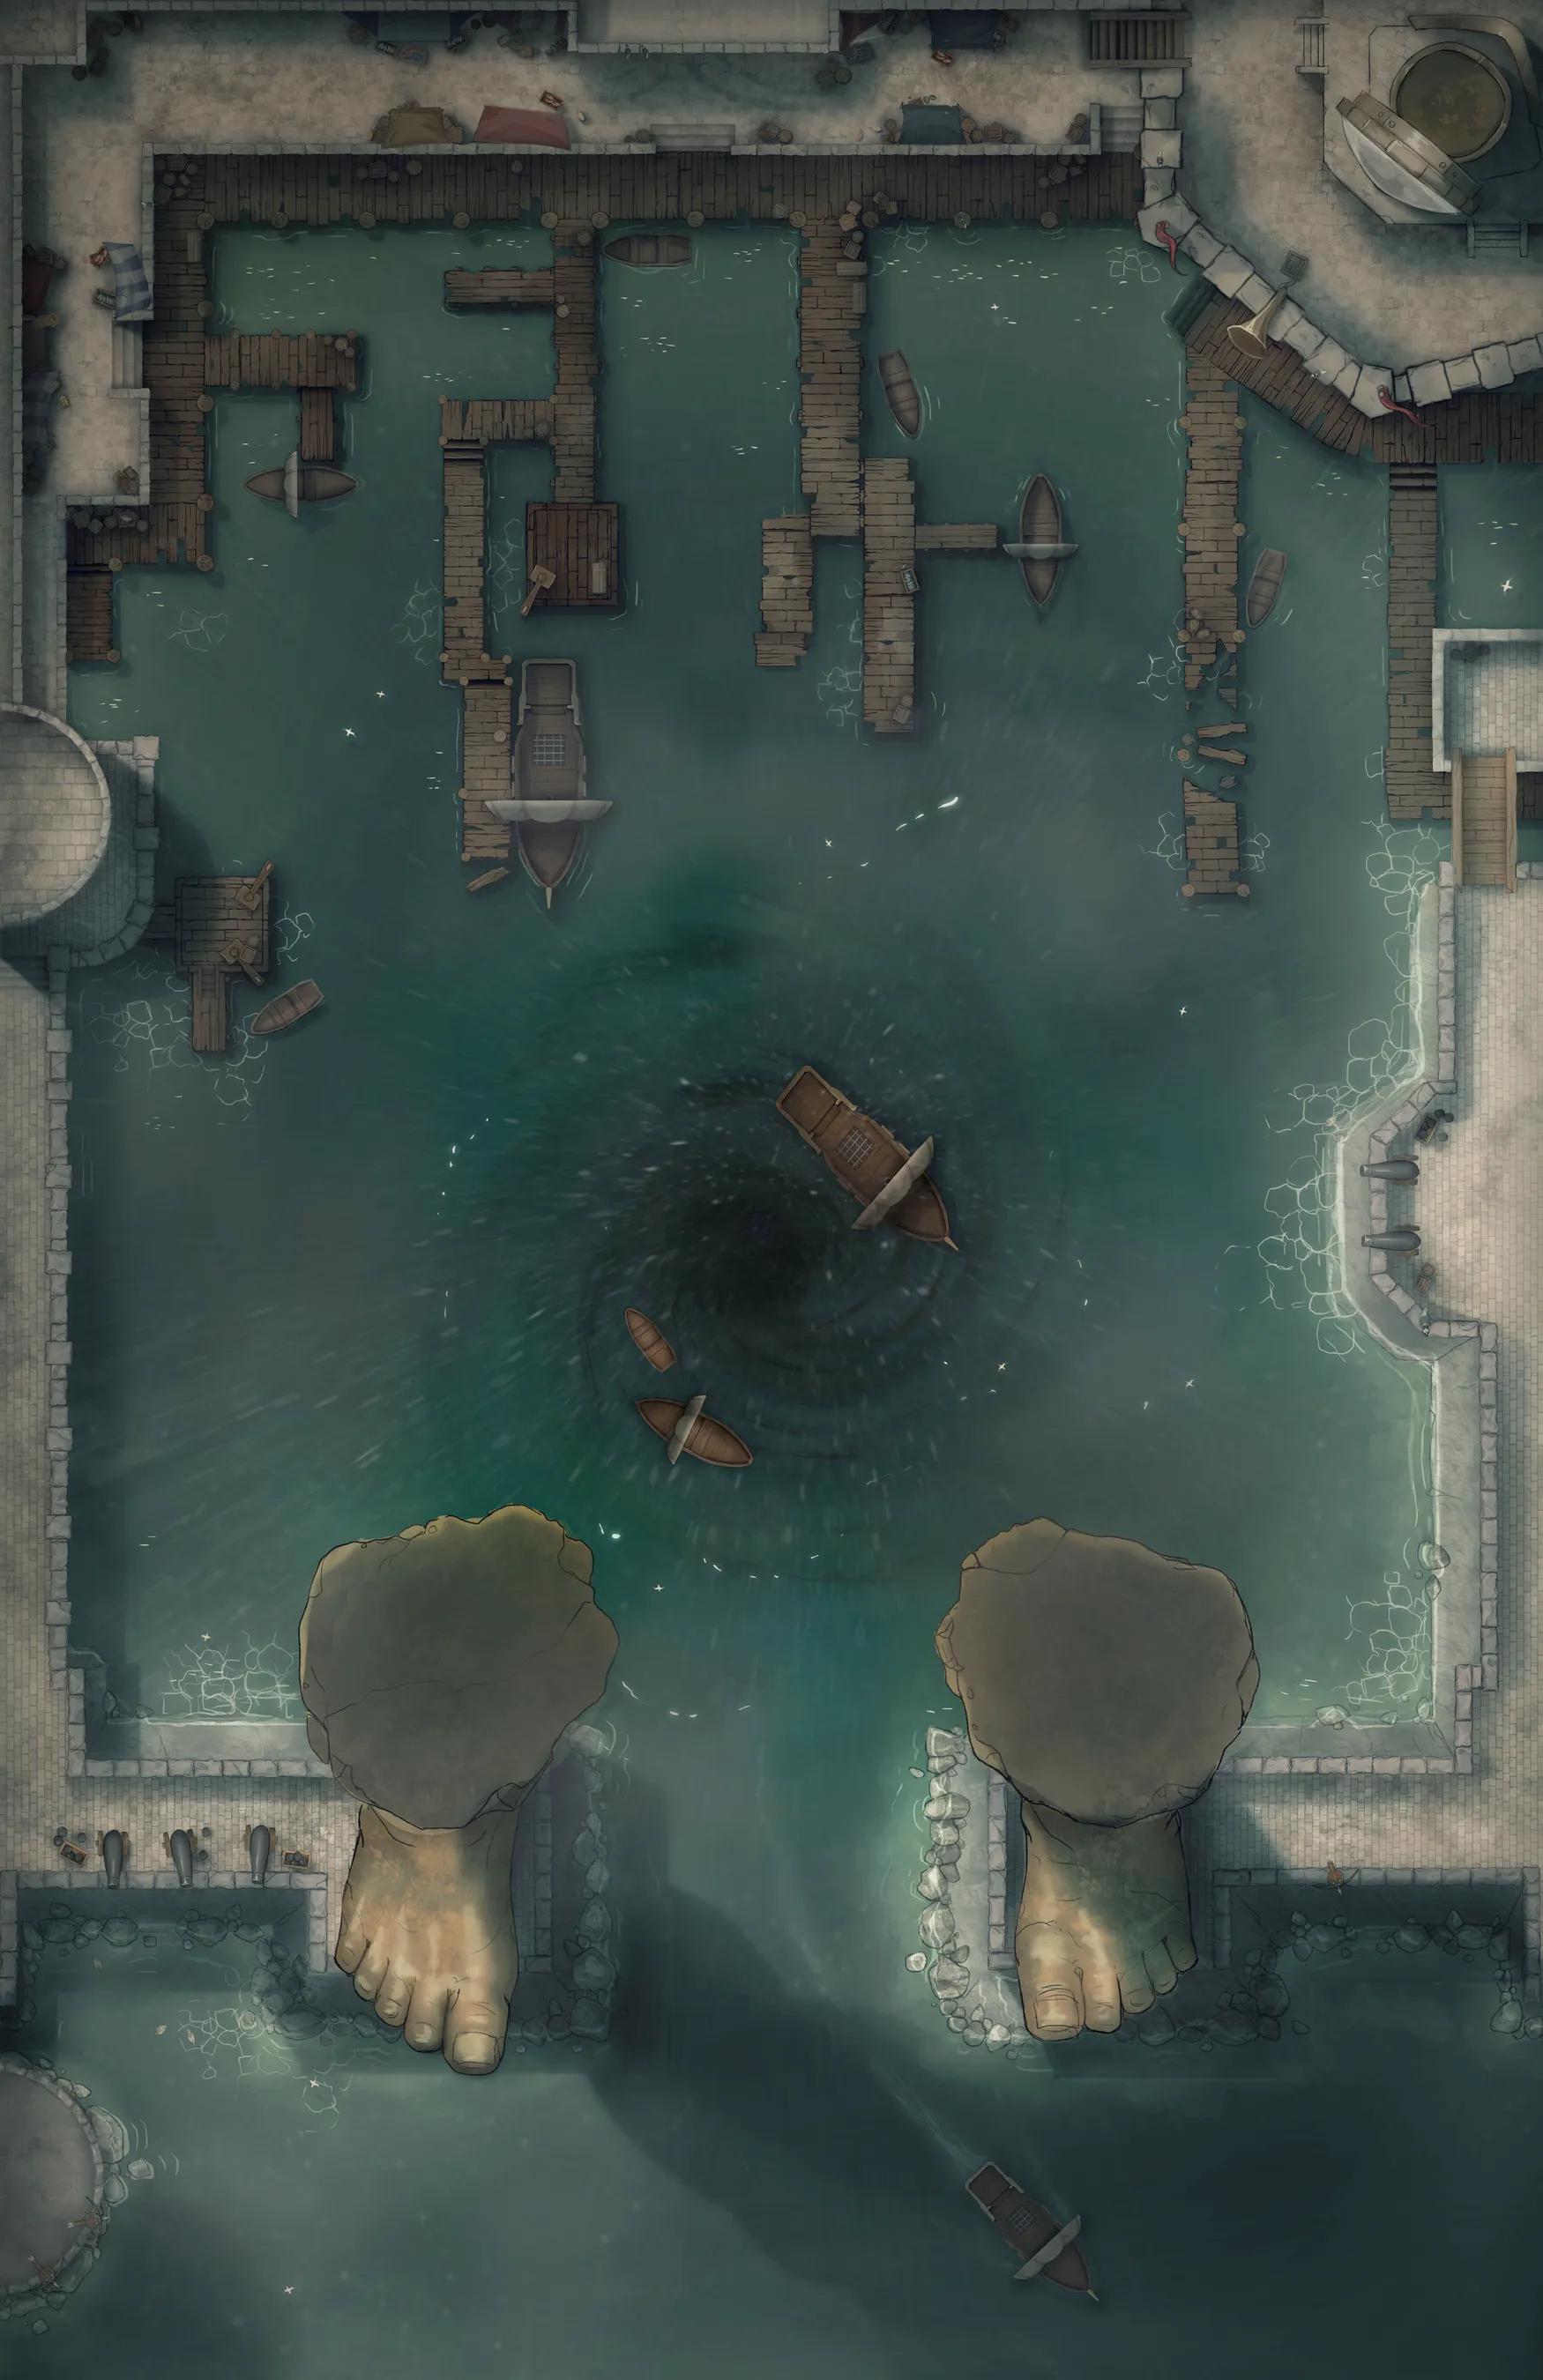
Land of Giants
Land of Giants
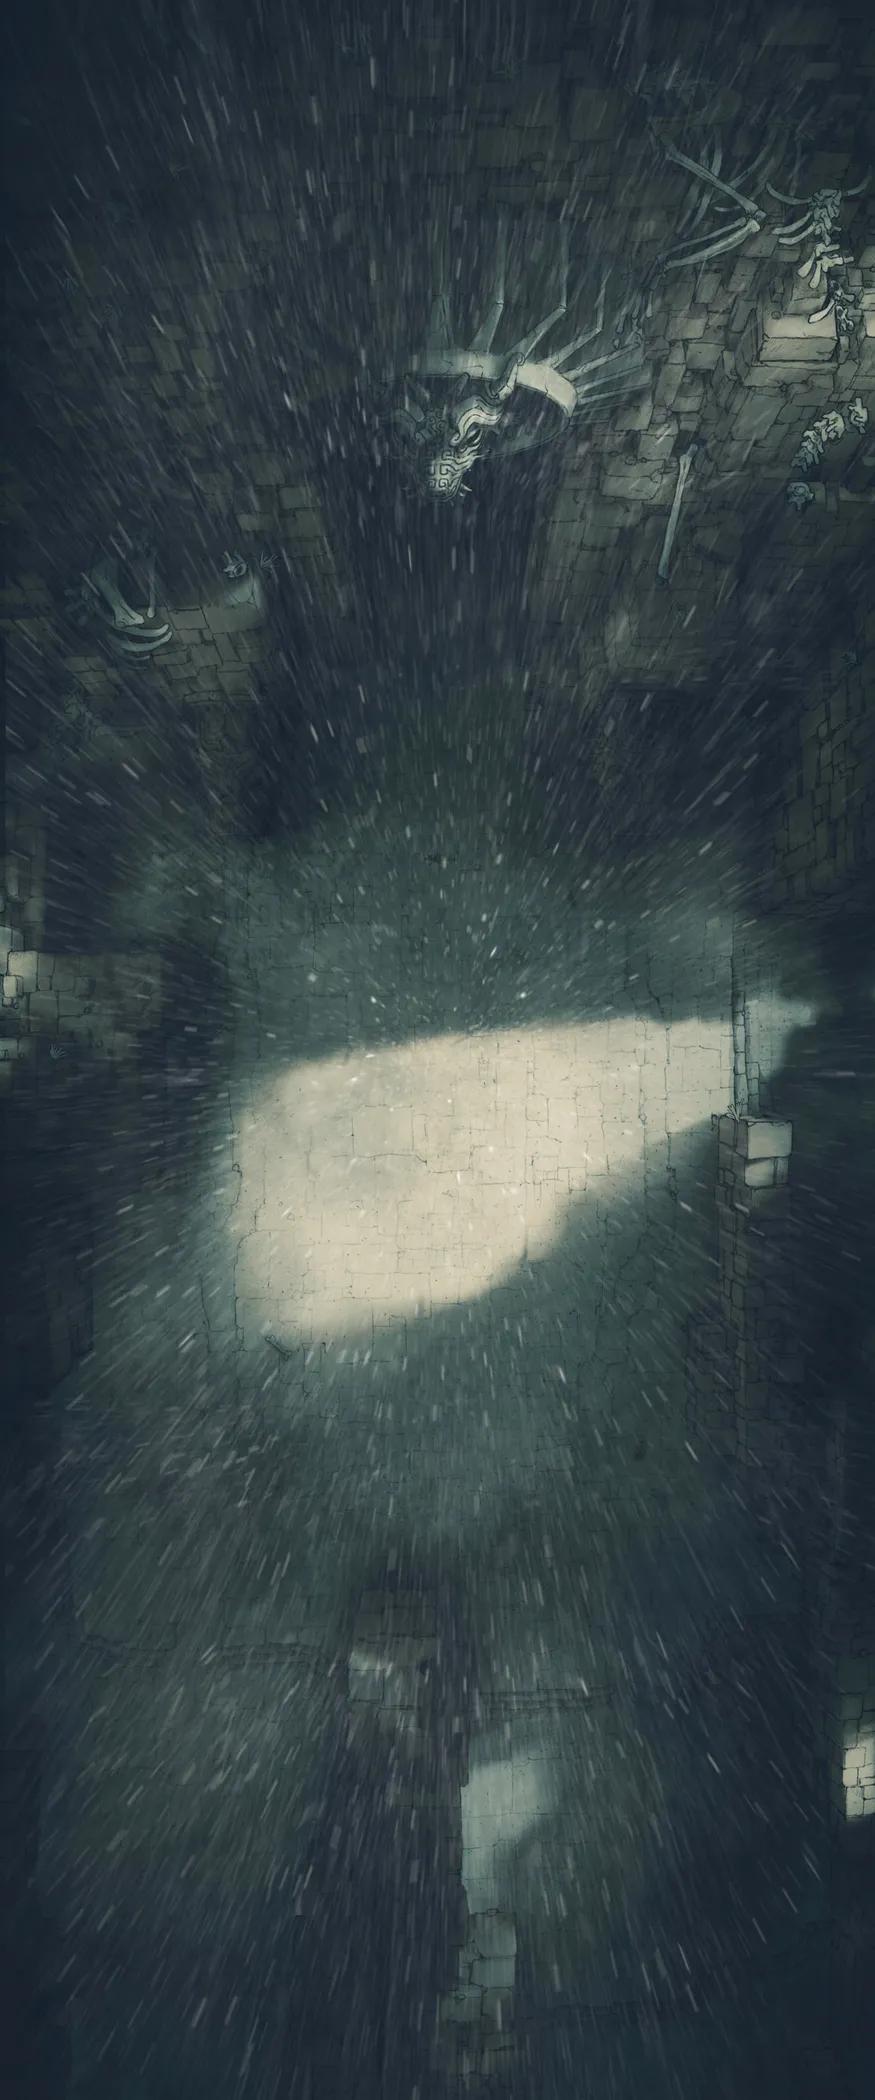
Lich Catacomb
Lich Catacomb
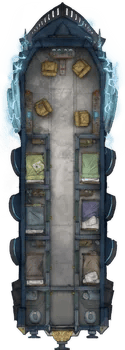
Lightning Rail
Lightning Rail
Lizardfolk Sushi Bar (+1)
Lizardfolk Sushi Bar (+1)
Low Town Docks (+1)
Low Town Docks (+1)
Magisters Market (+1)
Magisters Market (+1)
Mangrove Forest (+2)
Mangrove Forest (+2)
Market City Walls (+1)
Market City Walls (+1)
Market Streets (+1)
Market Streets (+1)
Martial Arts Dojo (+1)
Martial Arts Dojo (+1)
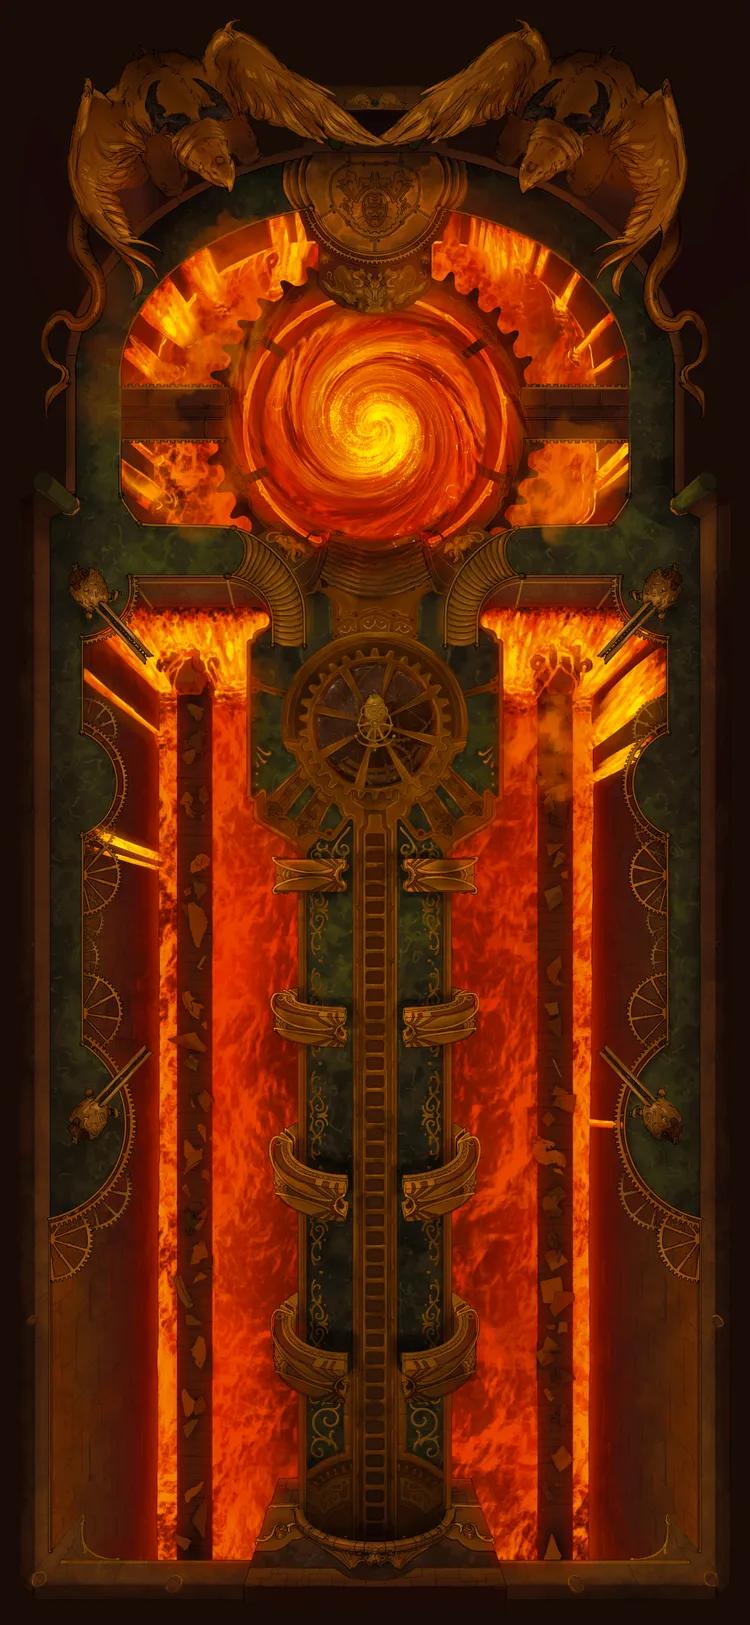
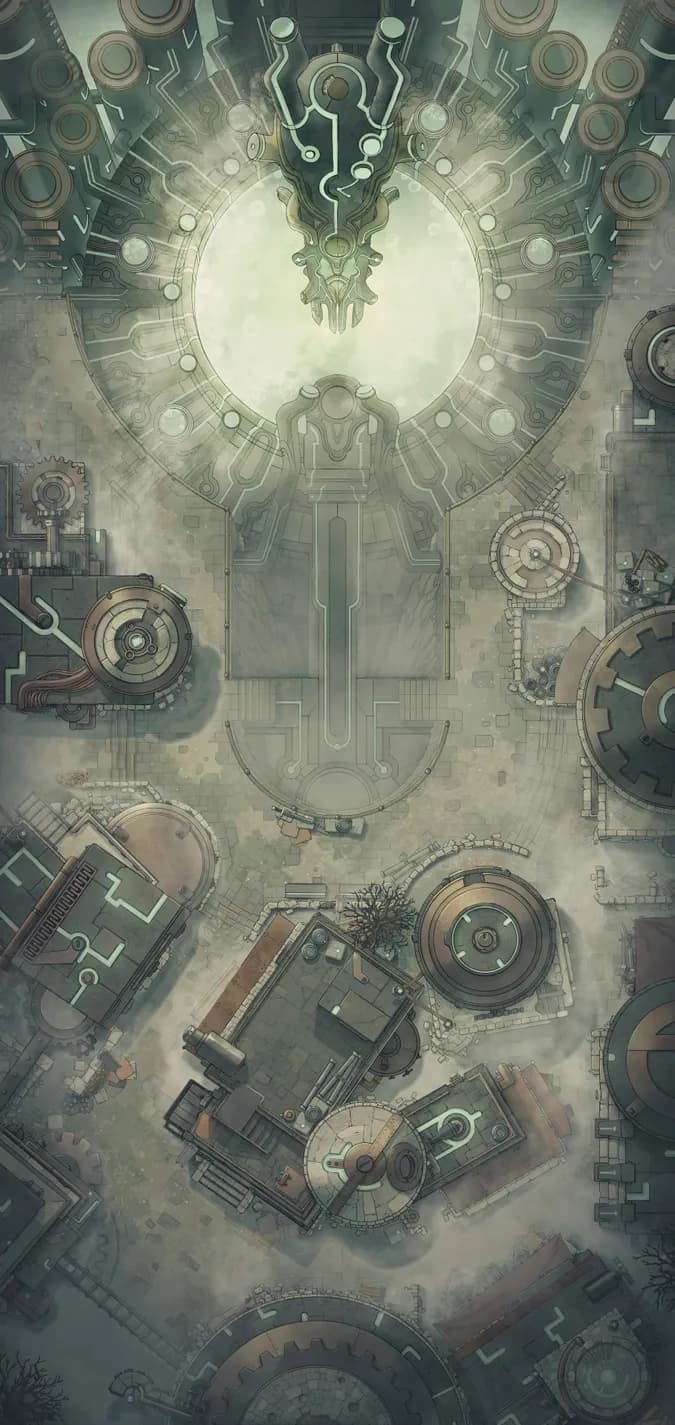
Mechanical Palace (+2)
Mechanical Palace (+2)
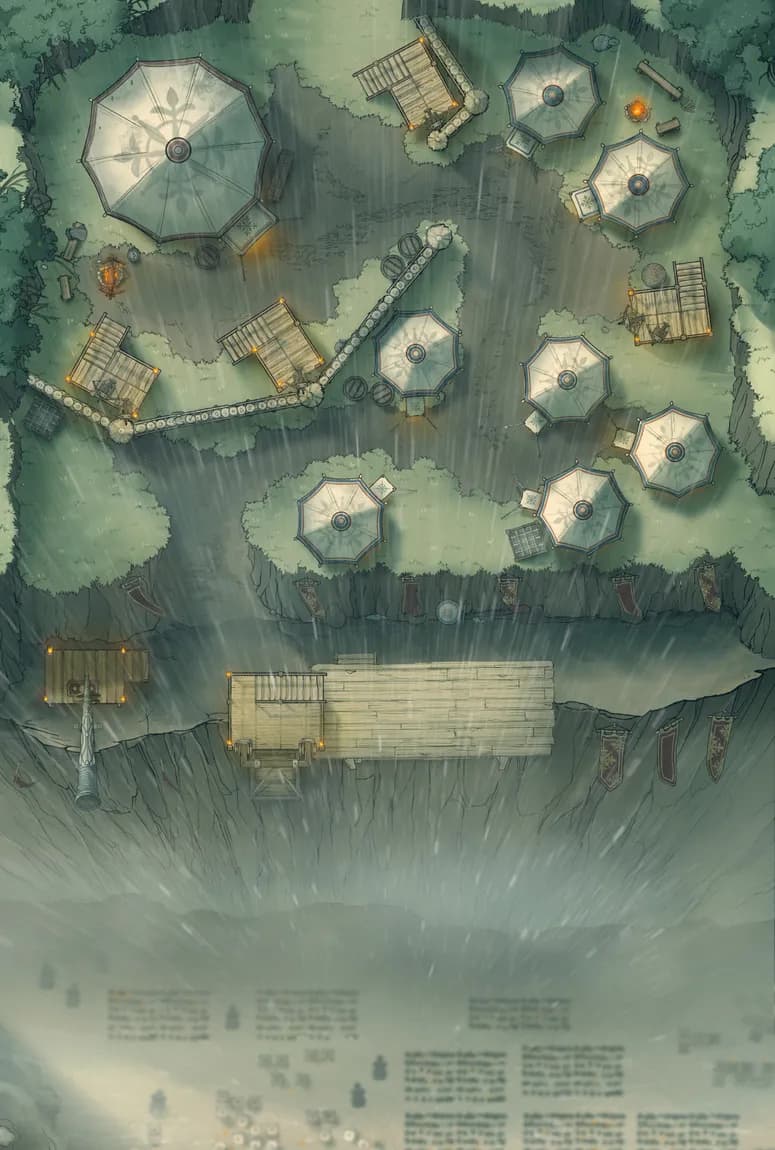
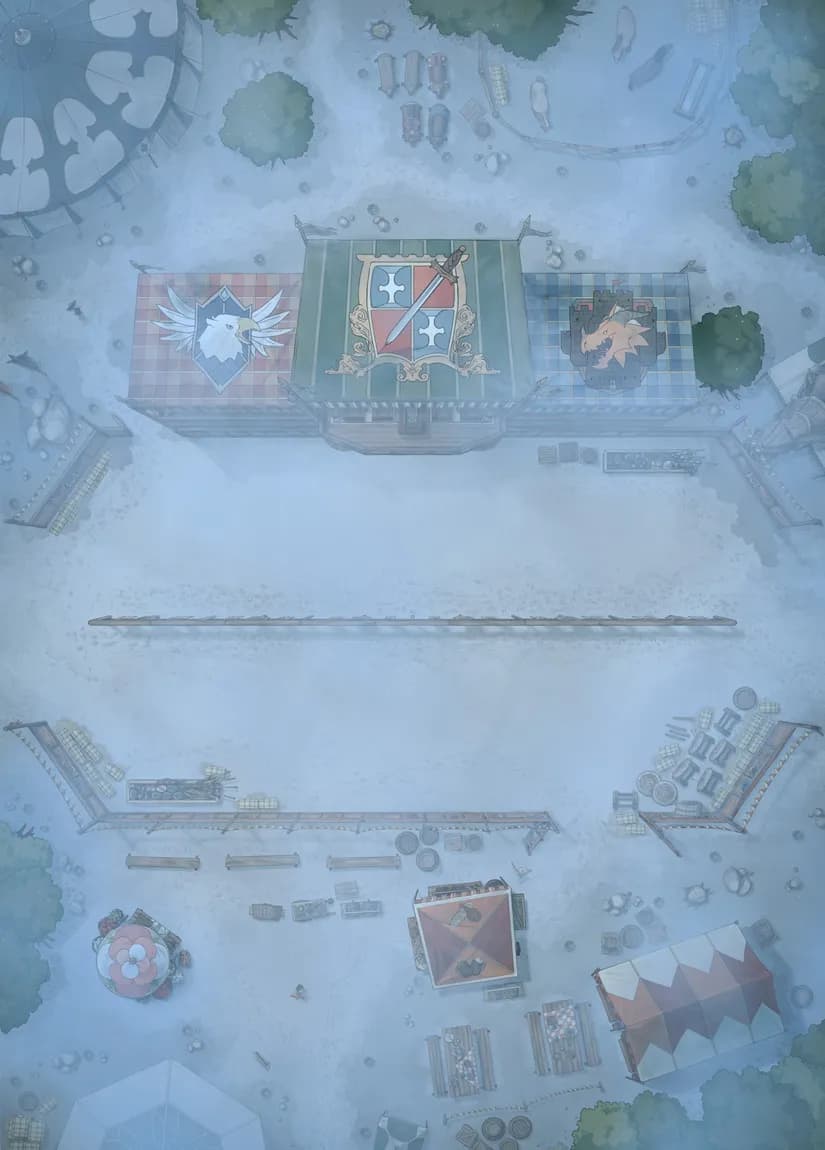
Medieval War Tents (+2)
Medieval War Tents (+2)
Medusa's Wake (+1)
Medusa's Wake (+1)
Megalith Gate (+1)
Megalith Gate (+1)

Mellow Marshland Mill
Mellow Marshland Mill
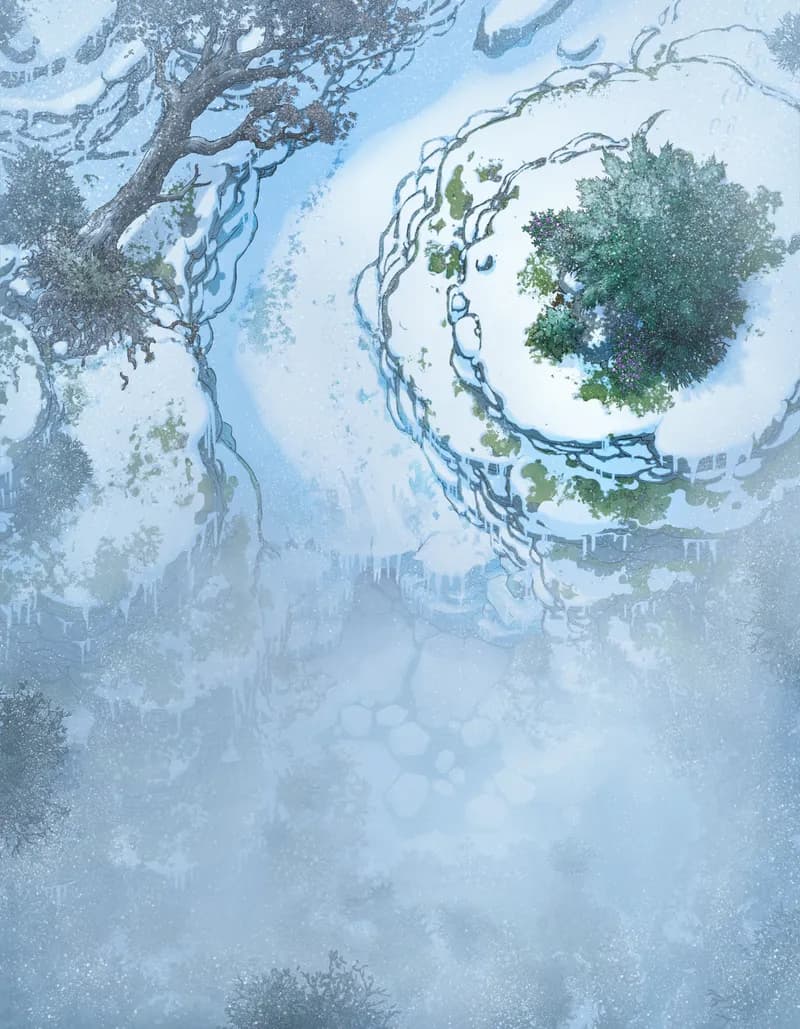
Melting Glacier (+1)
Melting Glacier (+1)
Monster Festival
Monster Festival
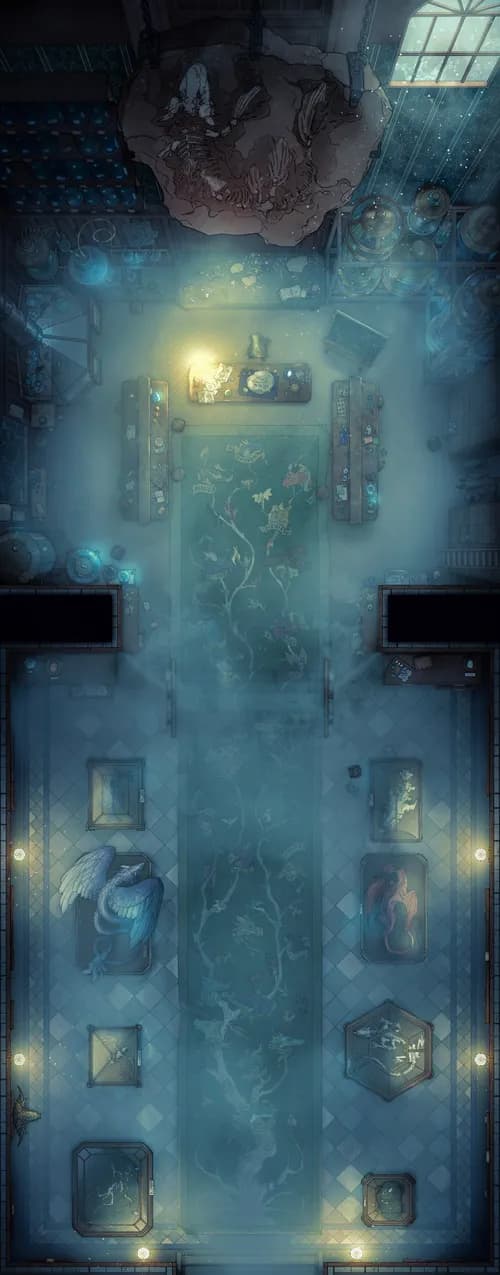
Monster Genealogy Lab
Monster Genealogy Lab
Monster Hunter Restaurant (+2)
Monster Hunter Restaurant (+2)
Motte and Bailey Castle (+1)
Motte and Bailey Castle (+1)
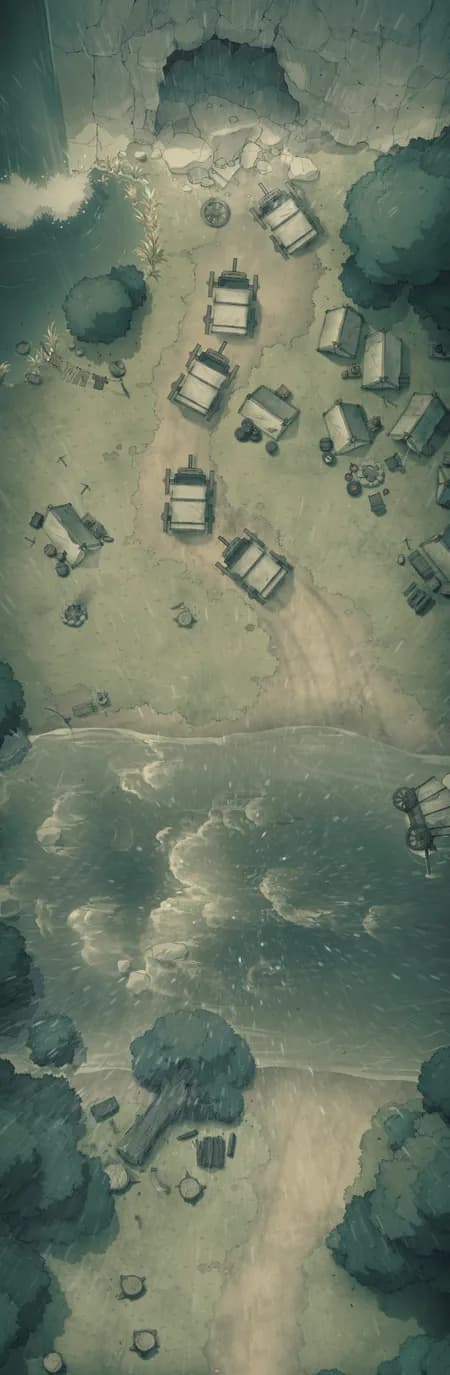
Mountain Logging Camp (+3)
Mountain Logging Camp (+3)
Mountain Monastery (+1)
Mountain Monastery (+1)
Mountaintop Observatory (+1)
Mountaintop Observatory (+1)
Mysterious Druid Grove (+1)
Mysterious Druid Grove (+1)
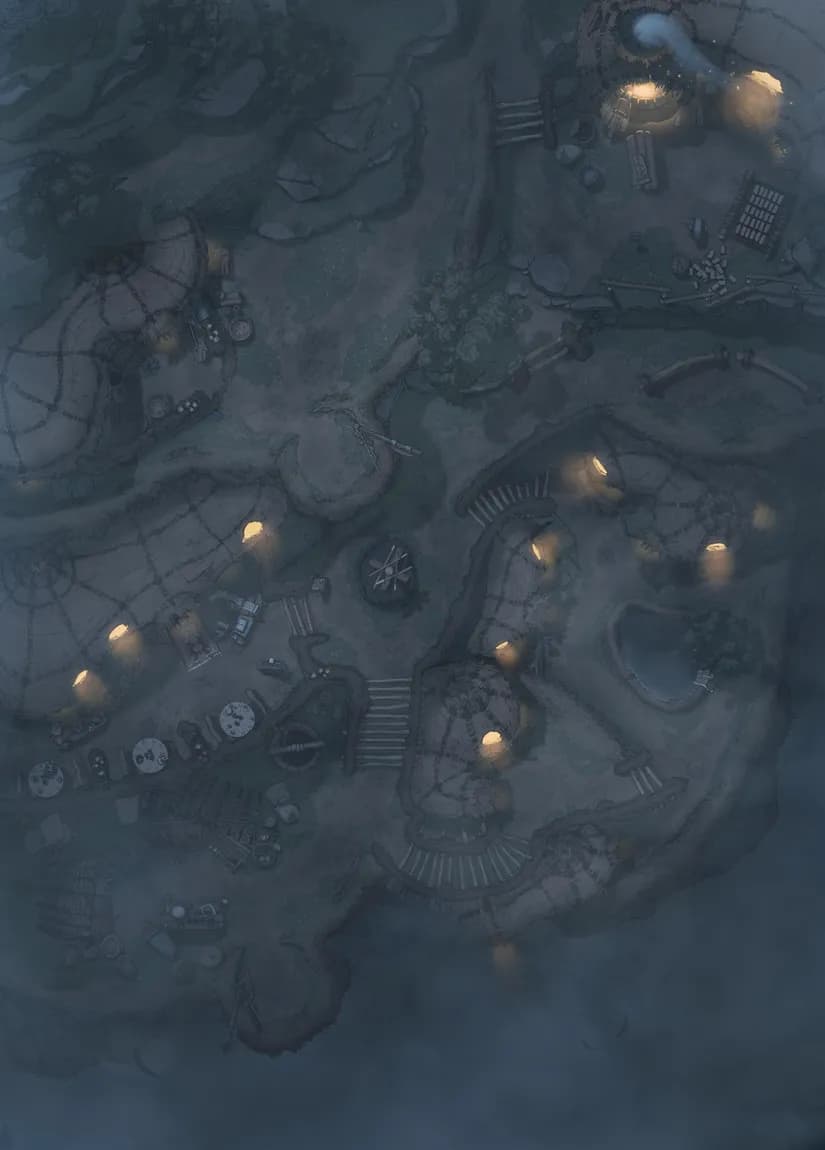
Necropolis Entrance
Necropolis Entrance
Nymph Fountain (+1)
Nymph Fountain (+1)
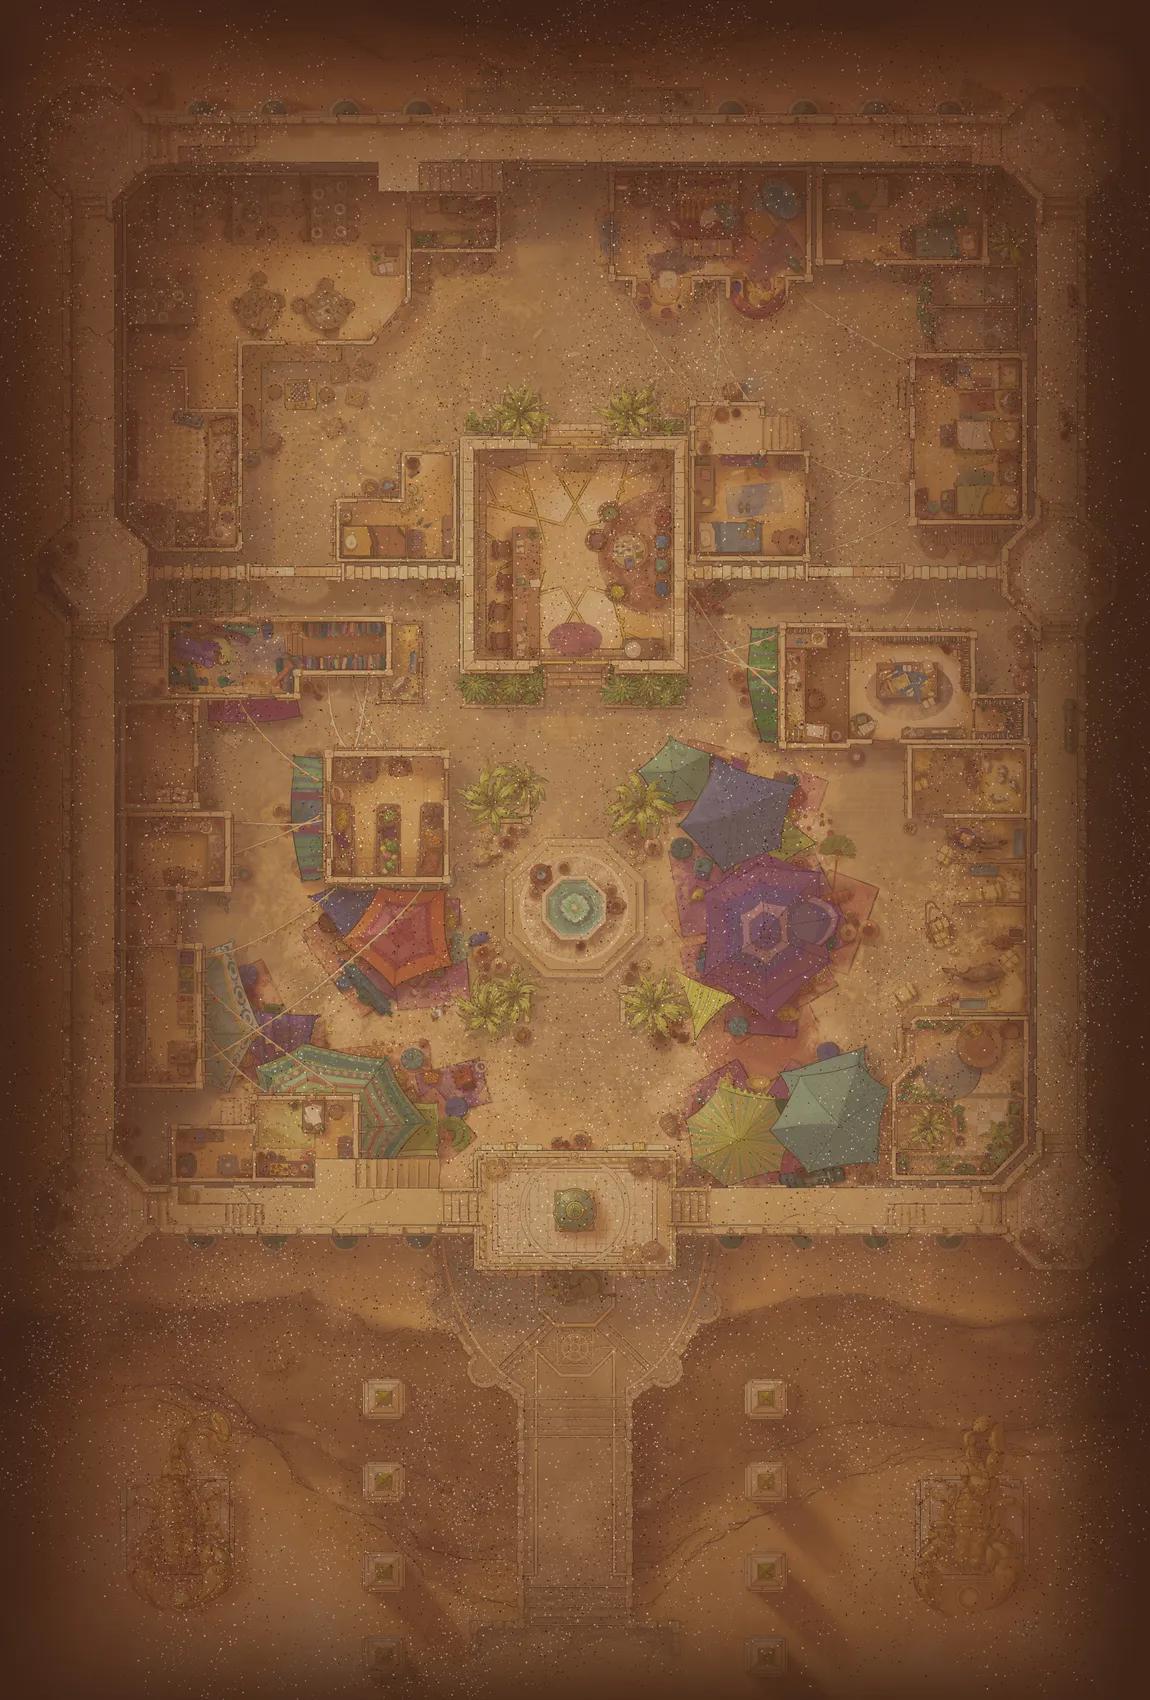
Oasis City (+1)
Oasis City (+1)
Oasis Expedition (+1)
Oasis Expedition (+1)
Ogre Queen Feast
Ogre Queen Feast
Oni Hideout
Oni Hideout
Open Ocean (+11)
Open Ocean (+11)
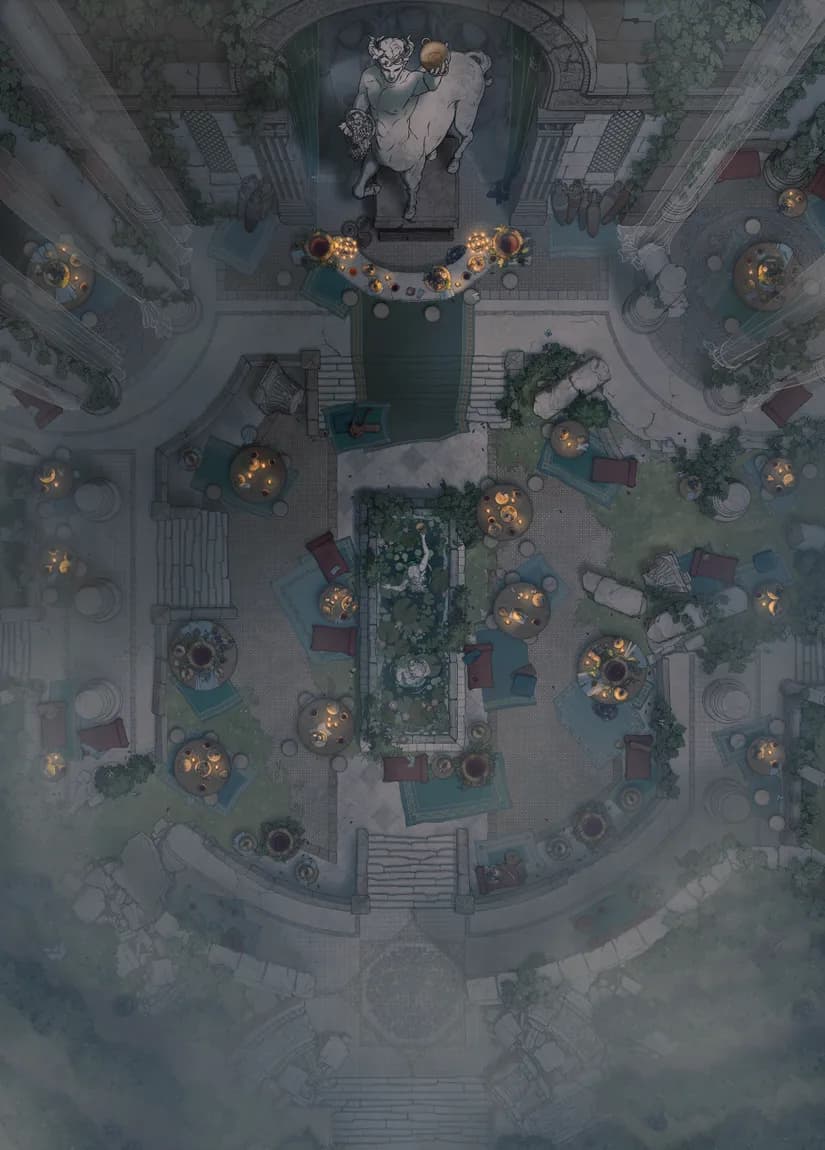
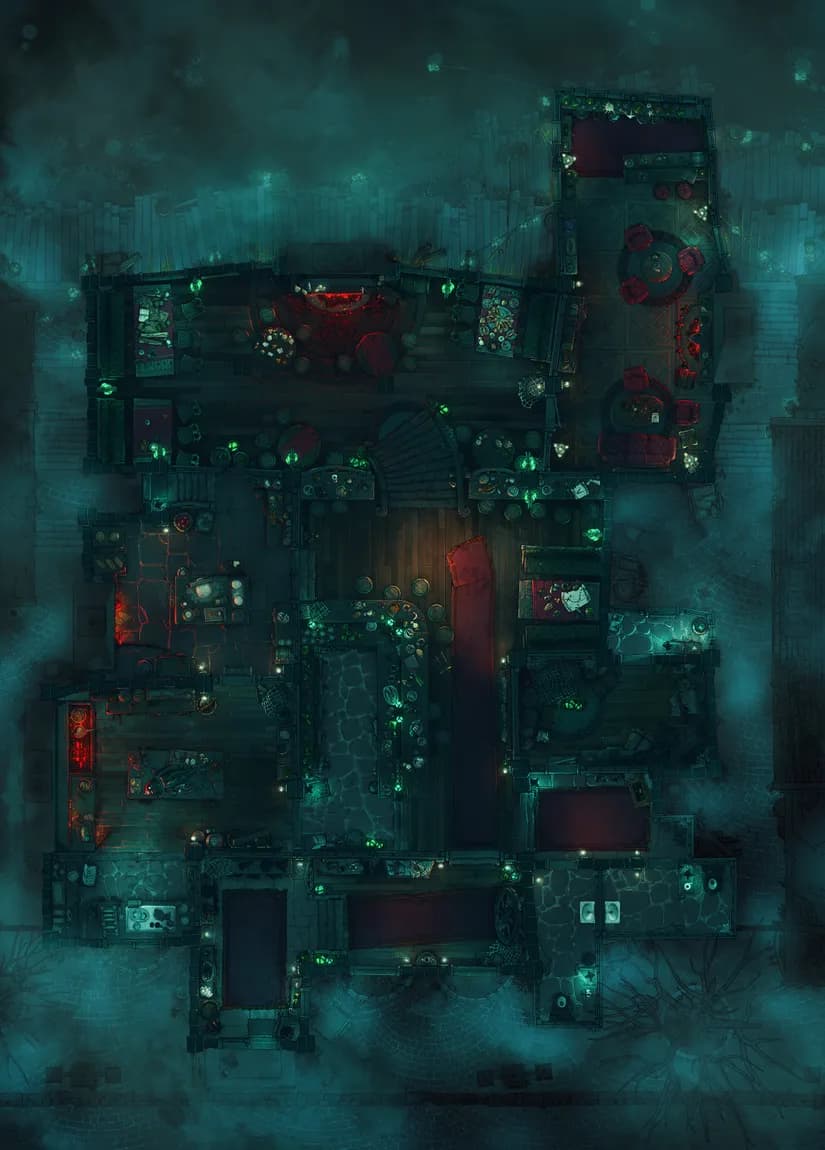
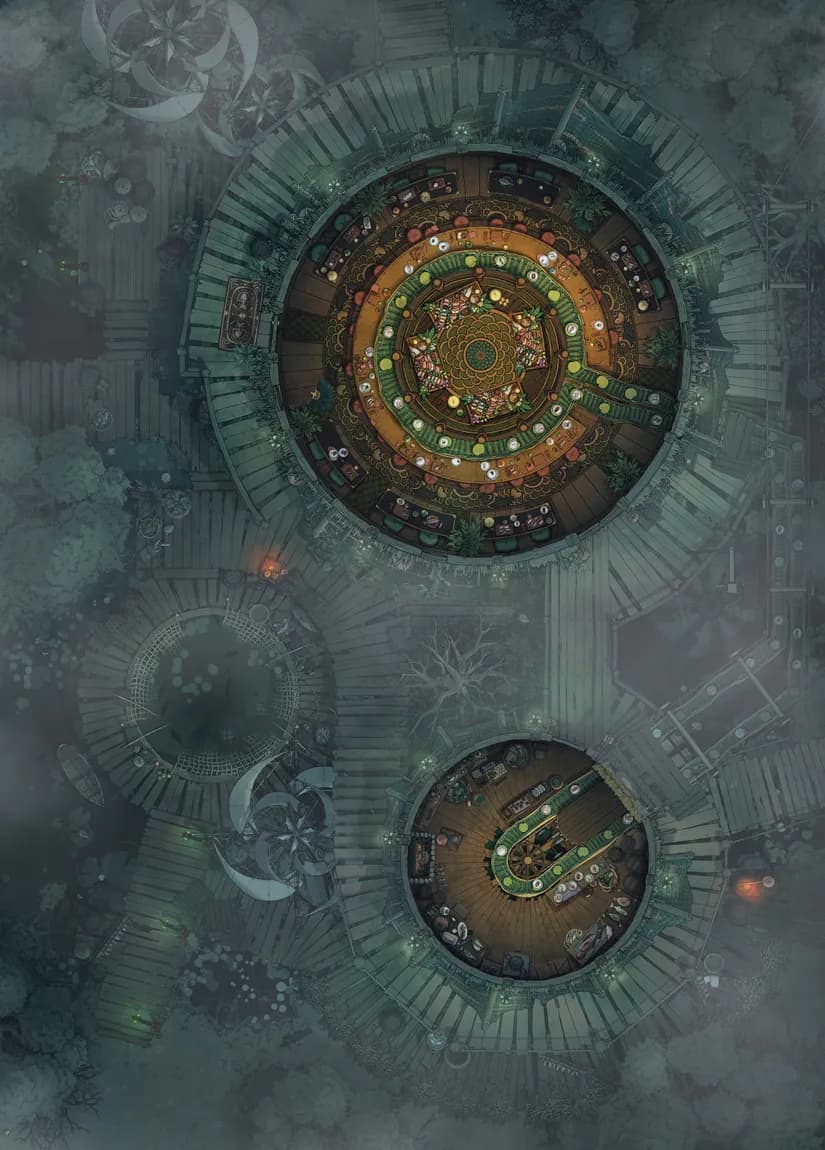
Opulent Ballroom
Opulent Ballroom
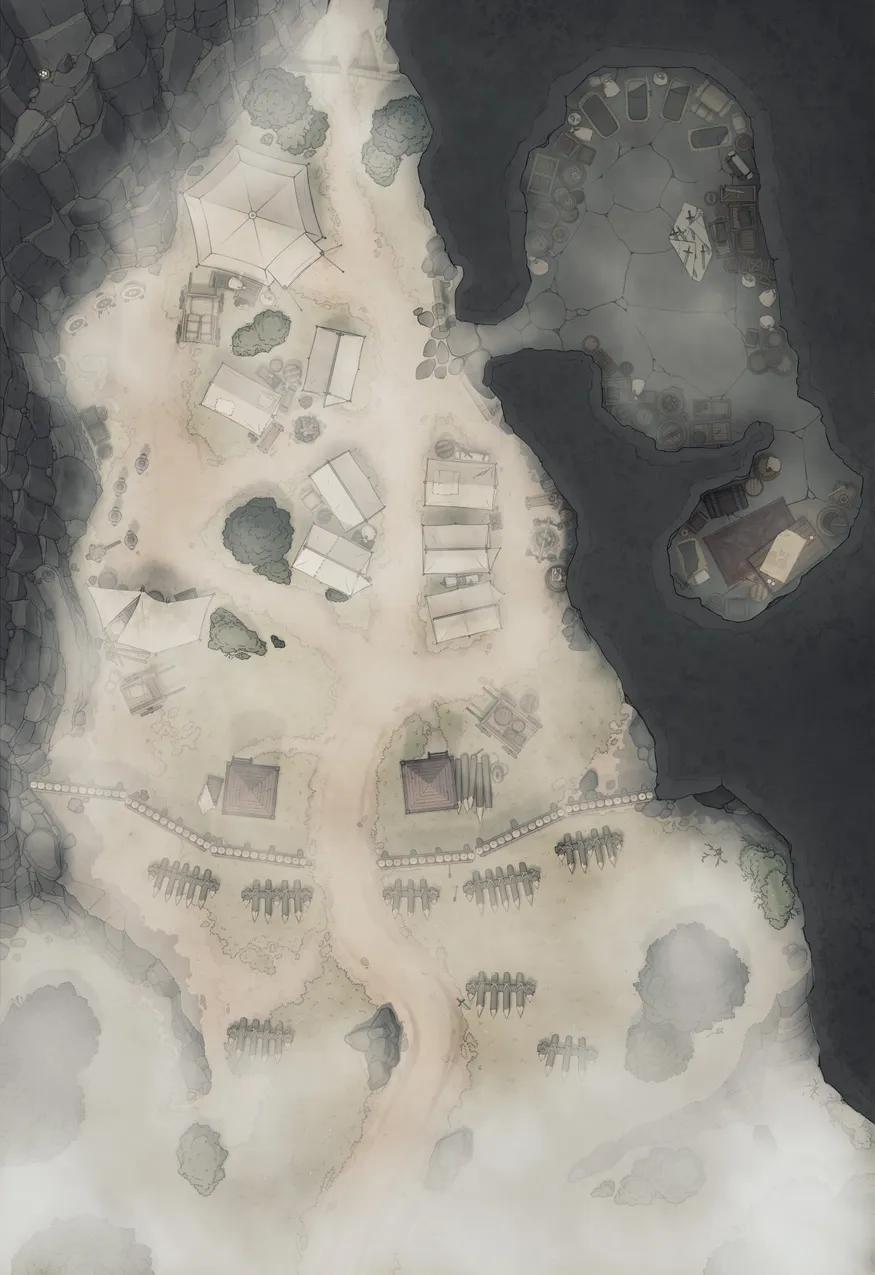
Orc Desert Camp (+1)
Orc Desert Camp (+1)
Orc Mess Hall (+1)
Orc Mess Hall (+1)
Overground Dwarven City Center (+1)
Overground Dwarven City Center (+1)
Overgrown Magic Forest
Overgrown Magic Forest
Palace Guard Chambers
Palace Guard Chambers
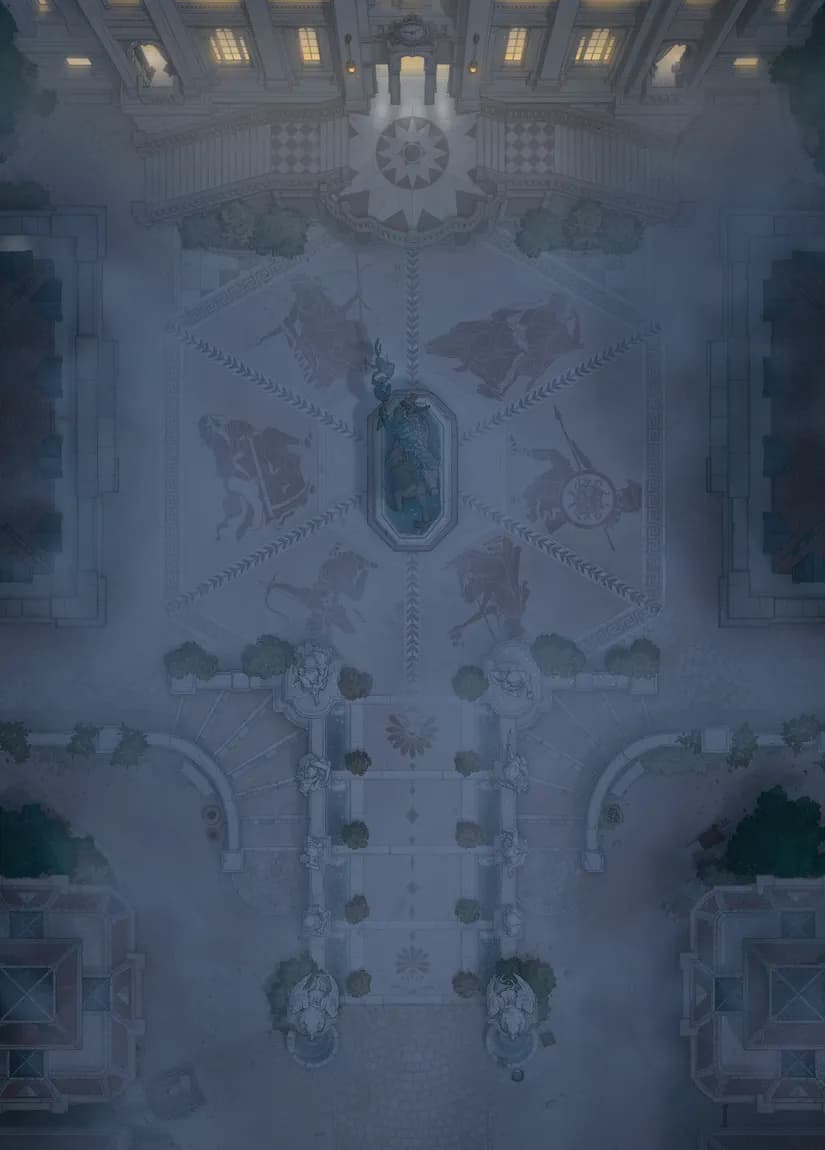
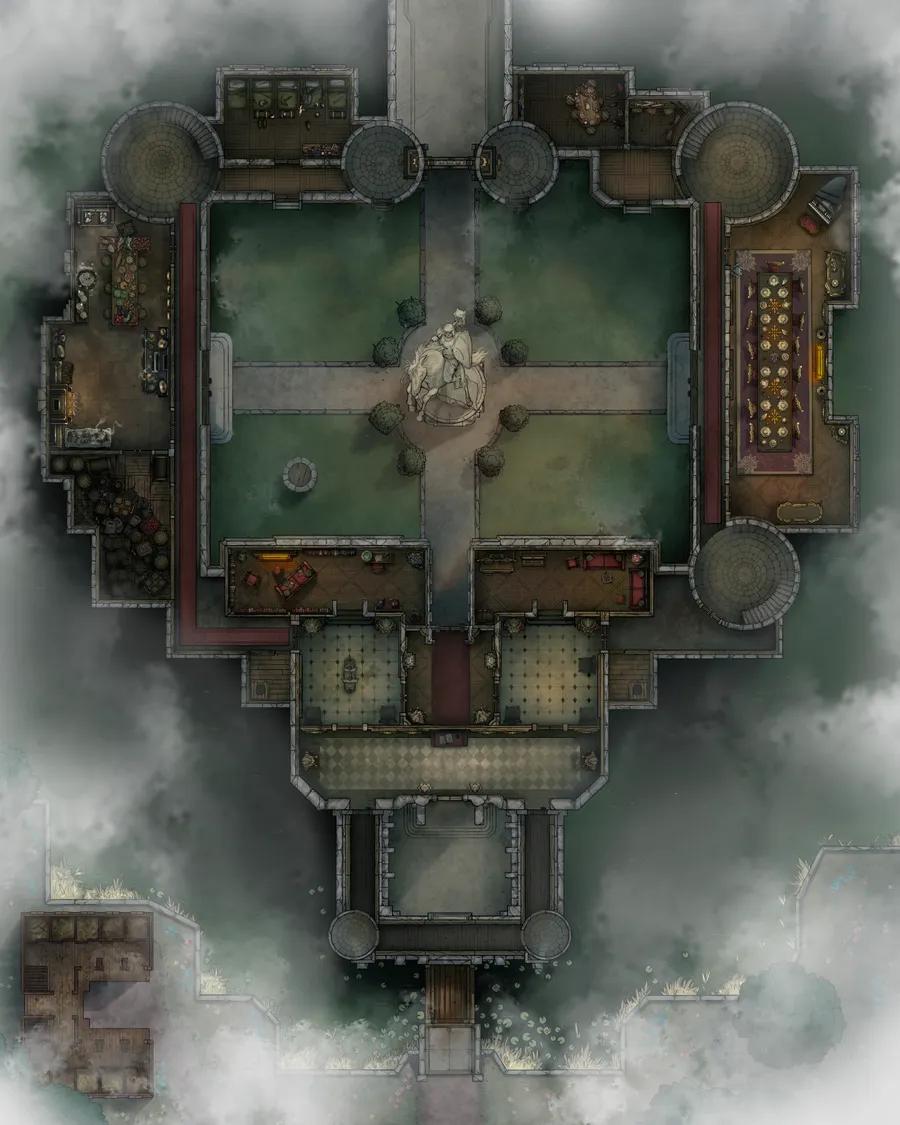
Palace Inner Court (+3)
Palace Inner Court (+3)
Palace Outer Court (+5)
Palace Outer Court (+5)
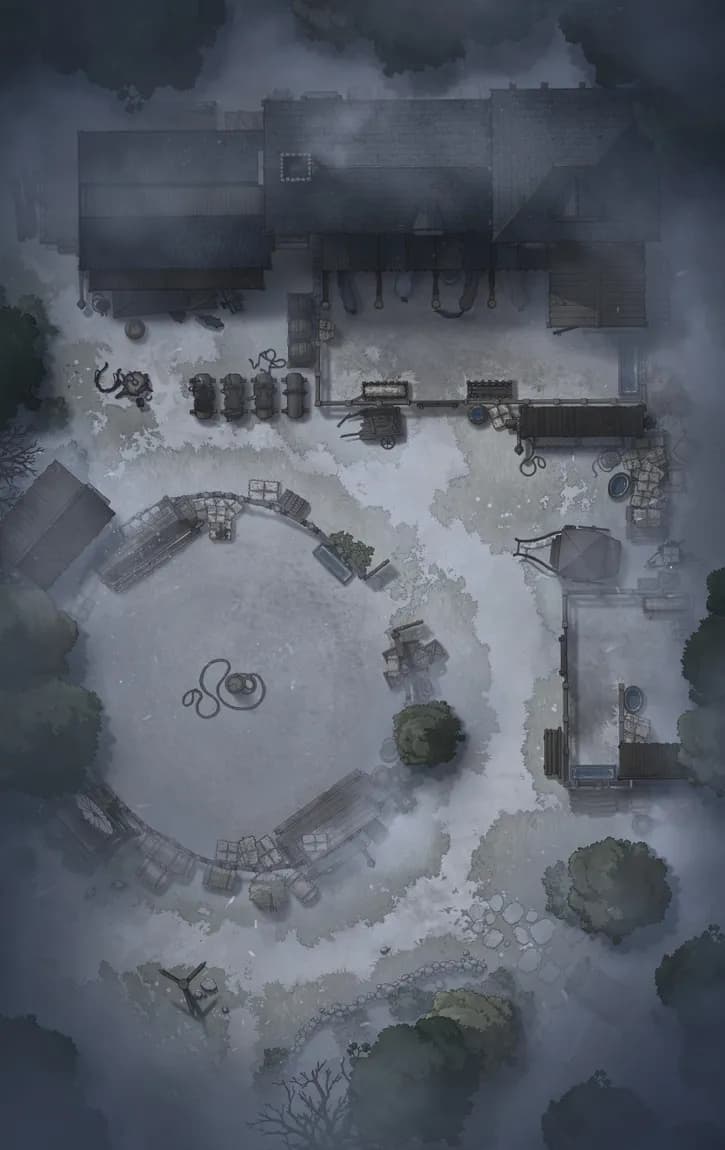
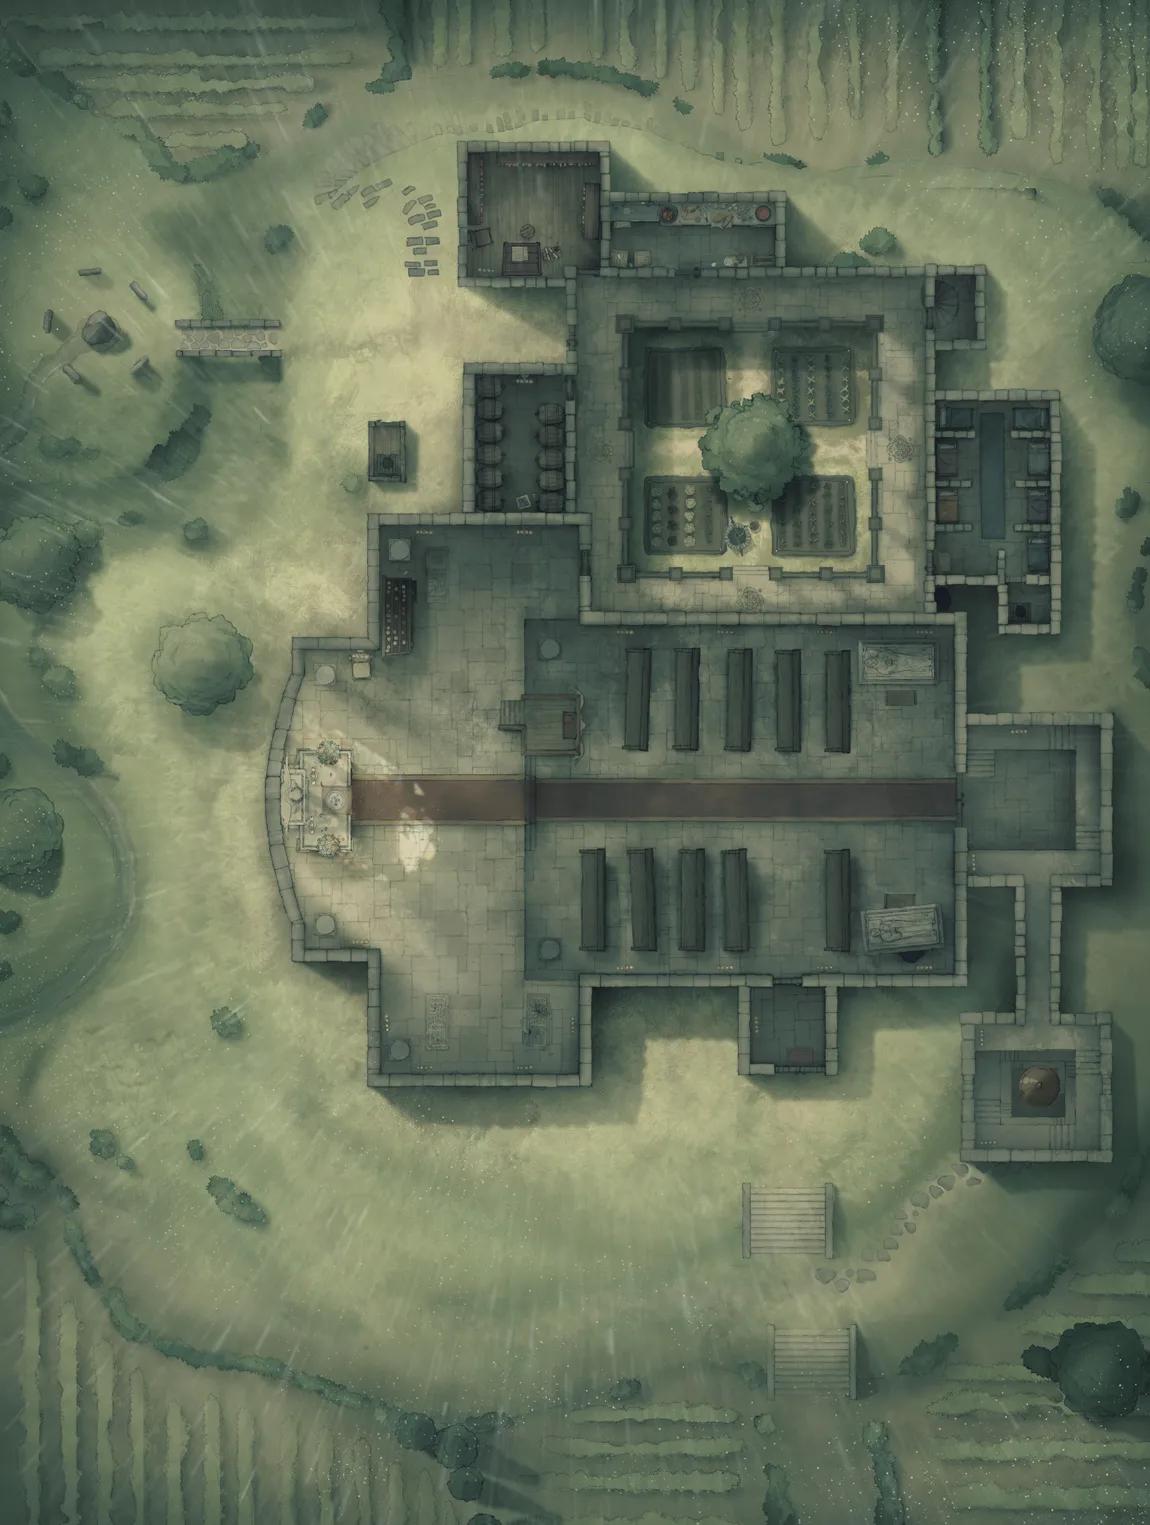
Pastoral Village Stables (+1)
Pastoral Village Stables (+1)
Peaceful Village Church (+2)
Peaceful Village Church (+2)
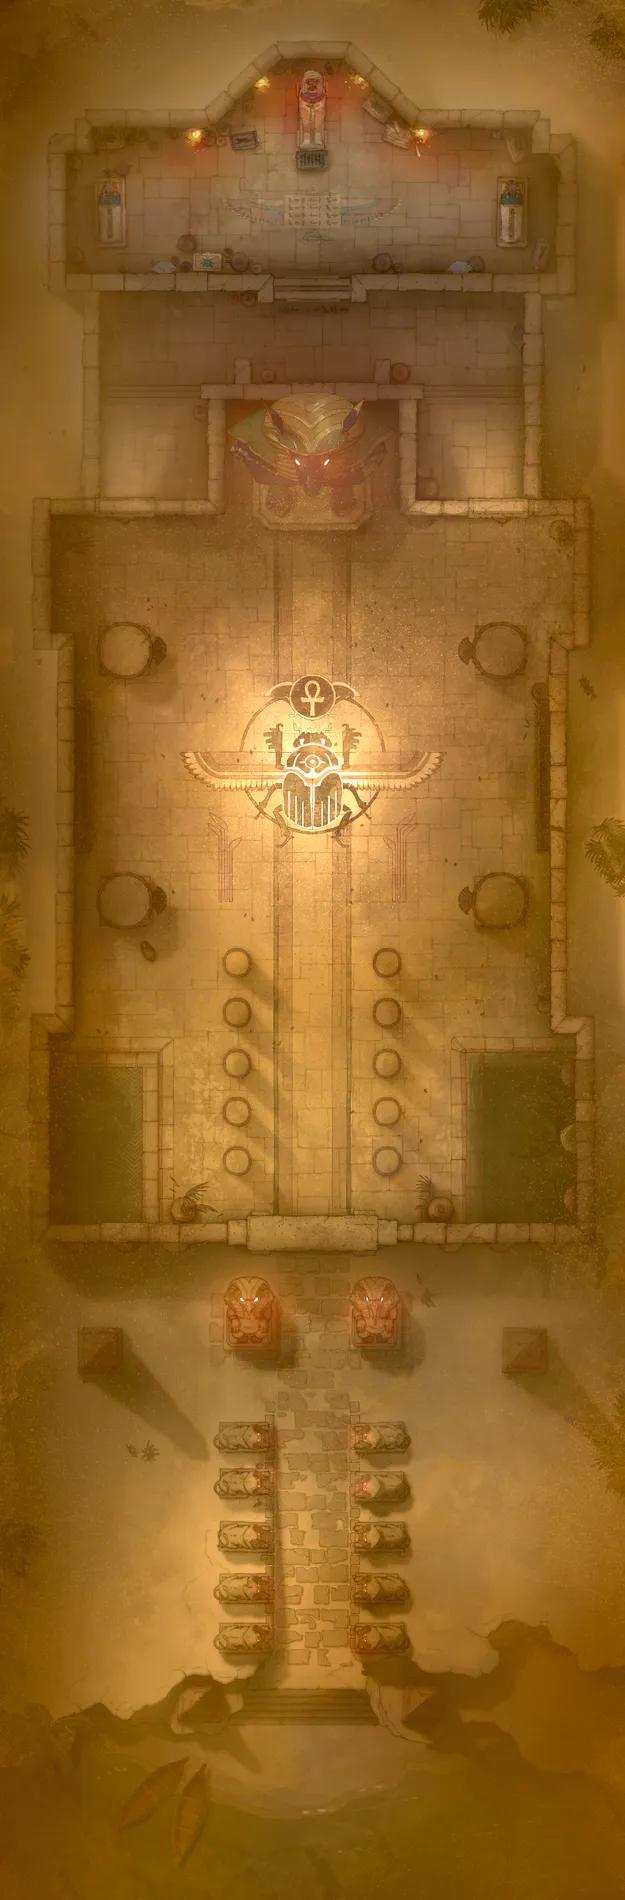
Pharaoh's Tomb (+1)
Pharaoh's Tomb (+1)
Pirate Lord's Lair (+2)
Pirate Lord's Lair (+2)
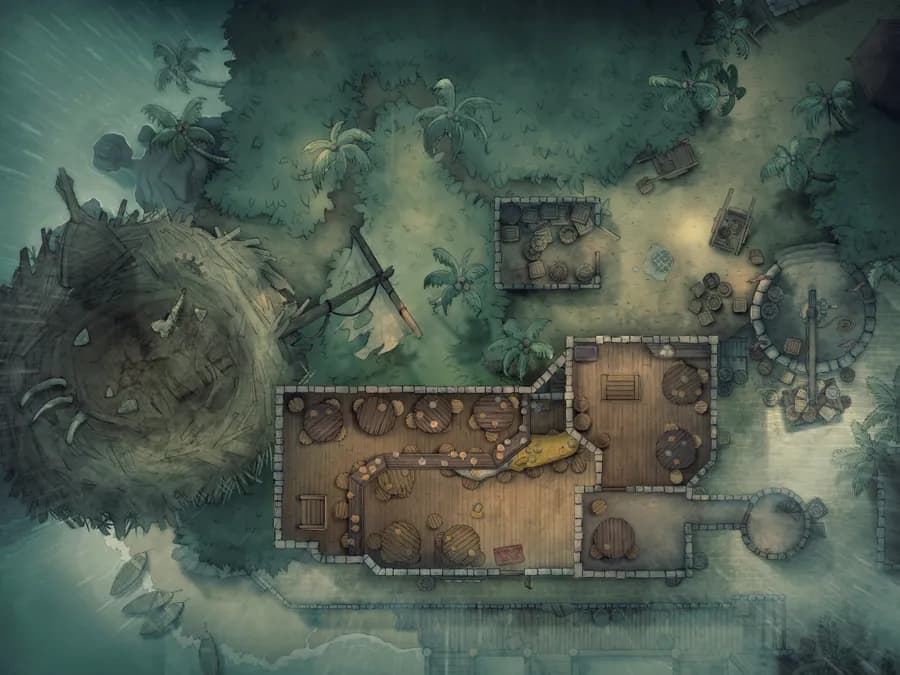
Pirate Port Tavern (+1)
Pirate Port Tavern (+1)
Plague Hospital
Plague Hospital

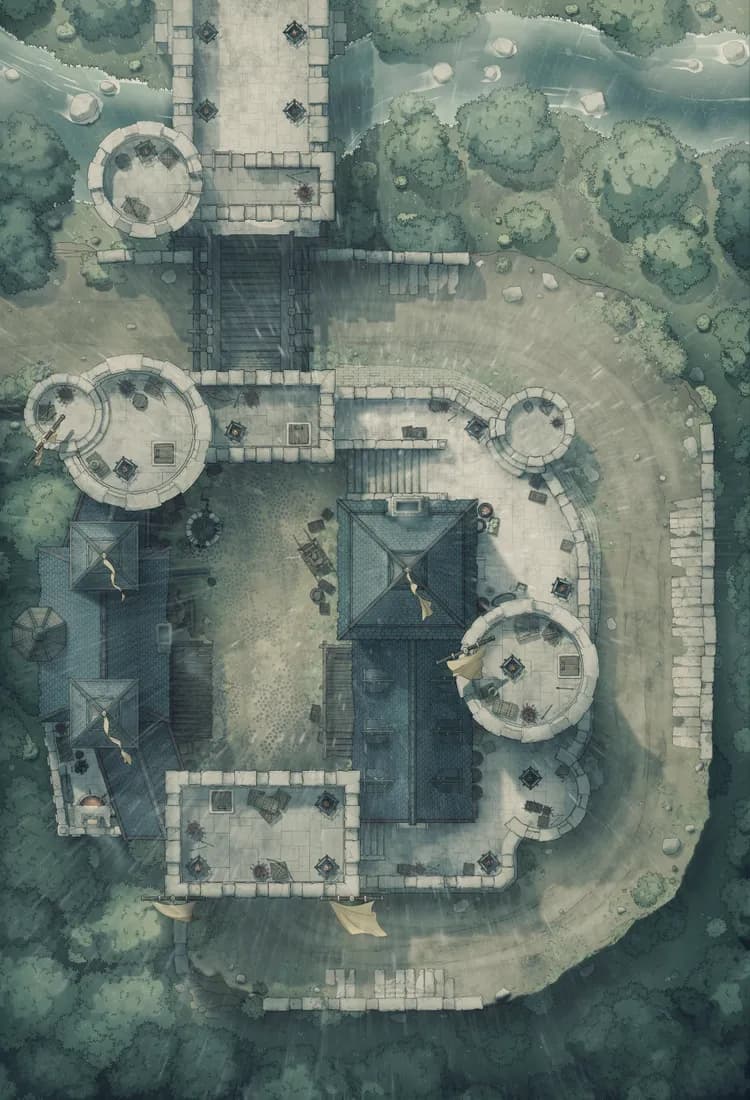
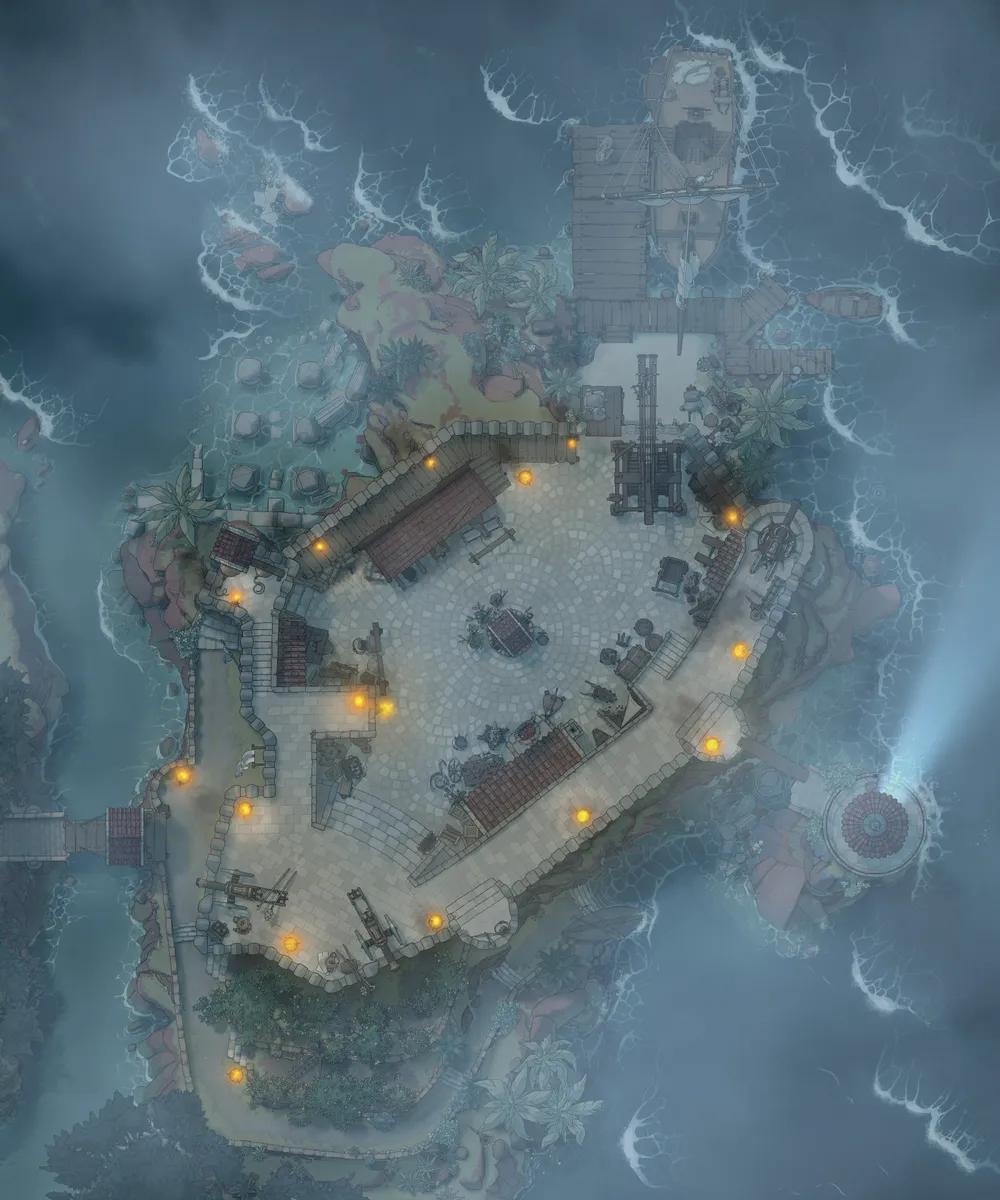
Port Bastion (+1)
Port Bastion (+1)
Precarious Waterfall Crossing
Precarious Waterfall Crossing
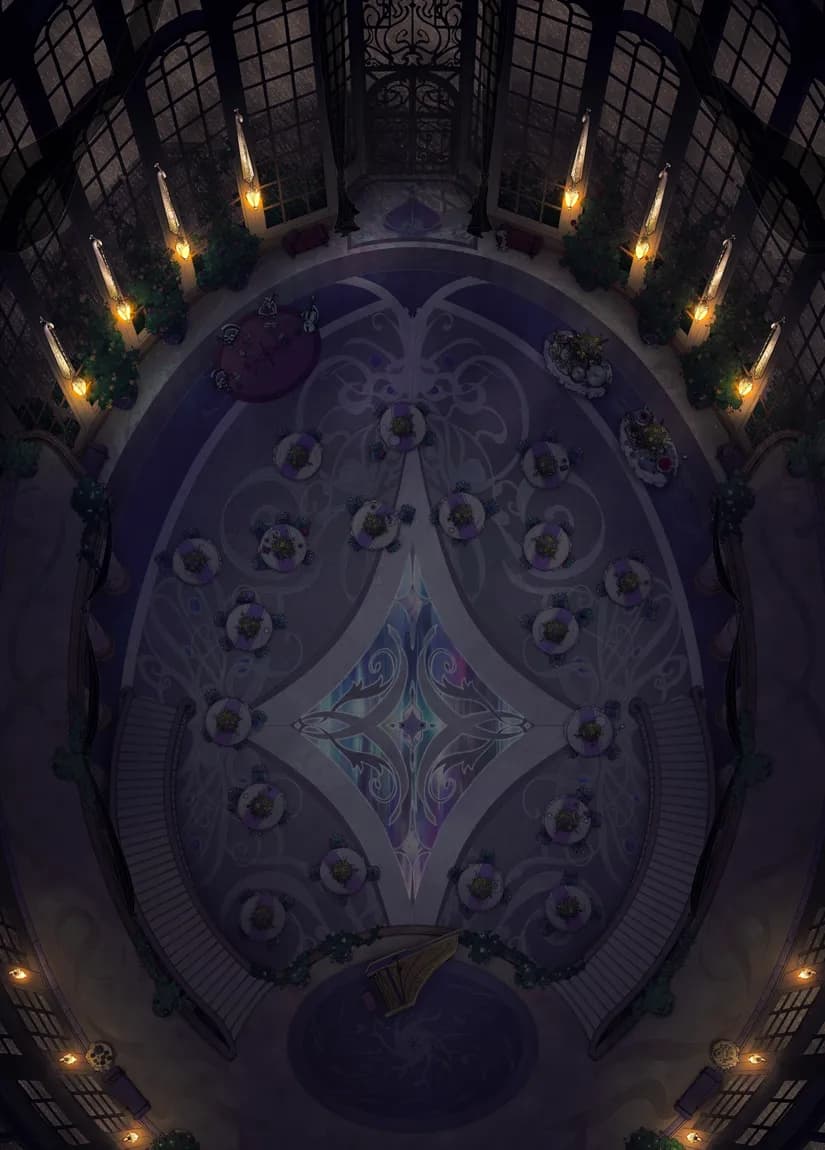
Prismatic Ballroom
Prismatic Ballroom
Pseudodragon Lair
Pseudodragon Lair
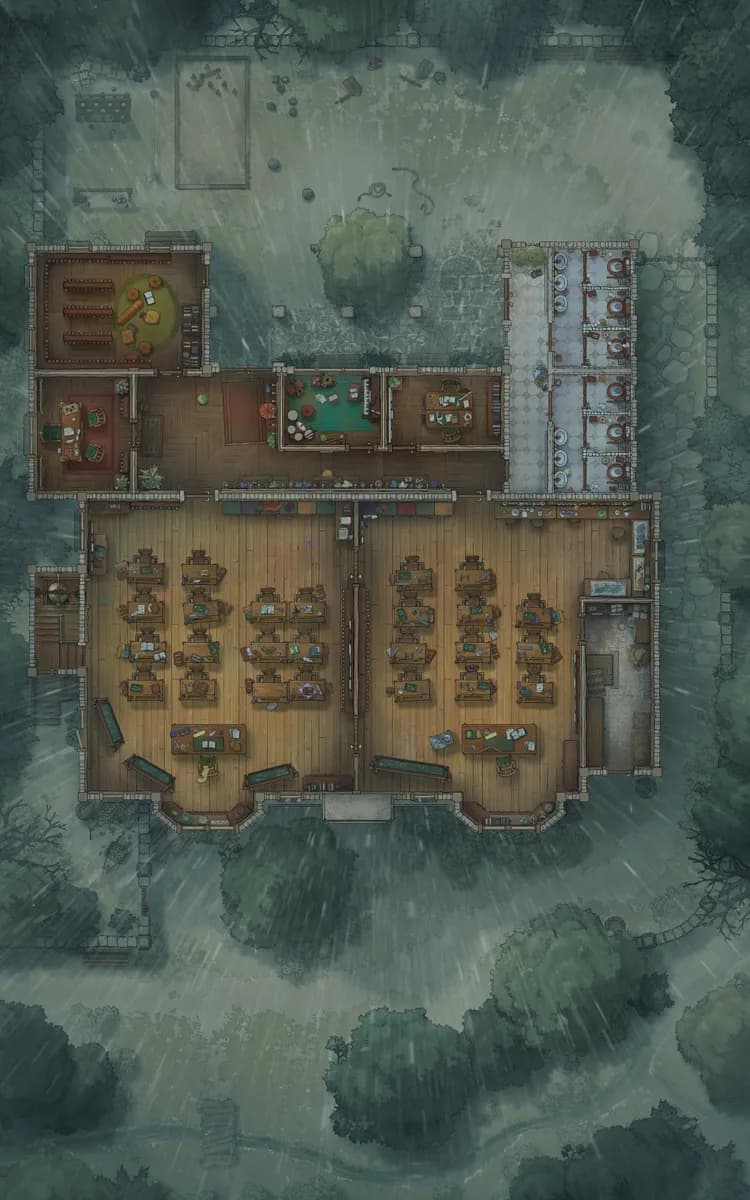
Quaint Village School
Quaint Village School
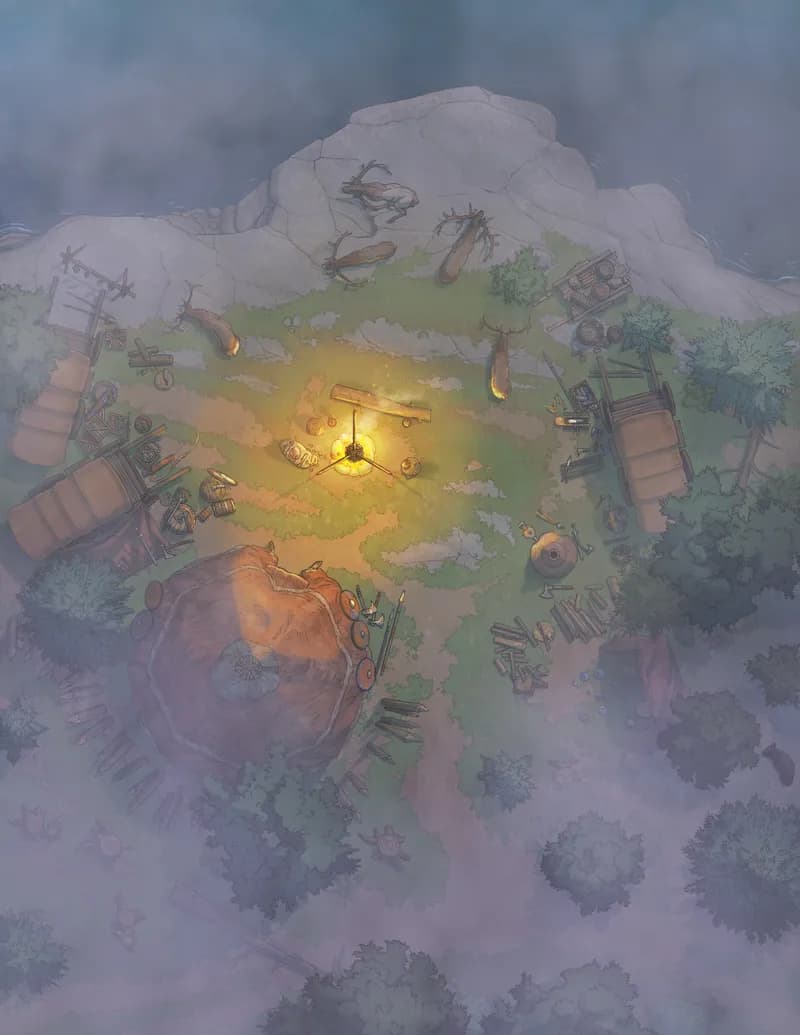
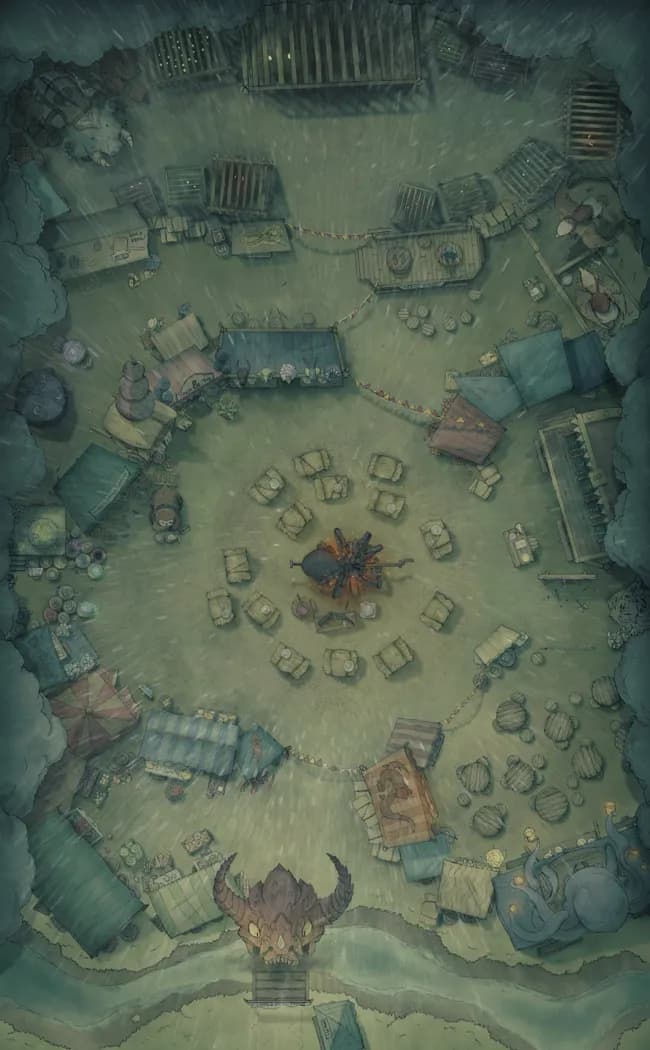
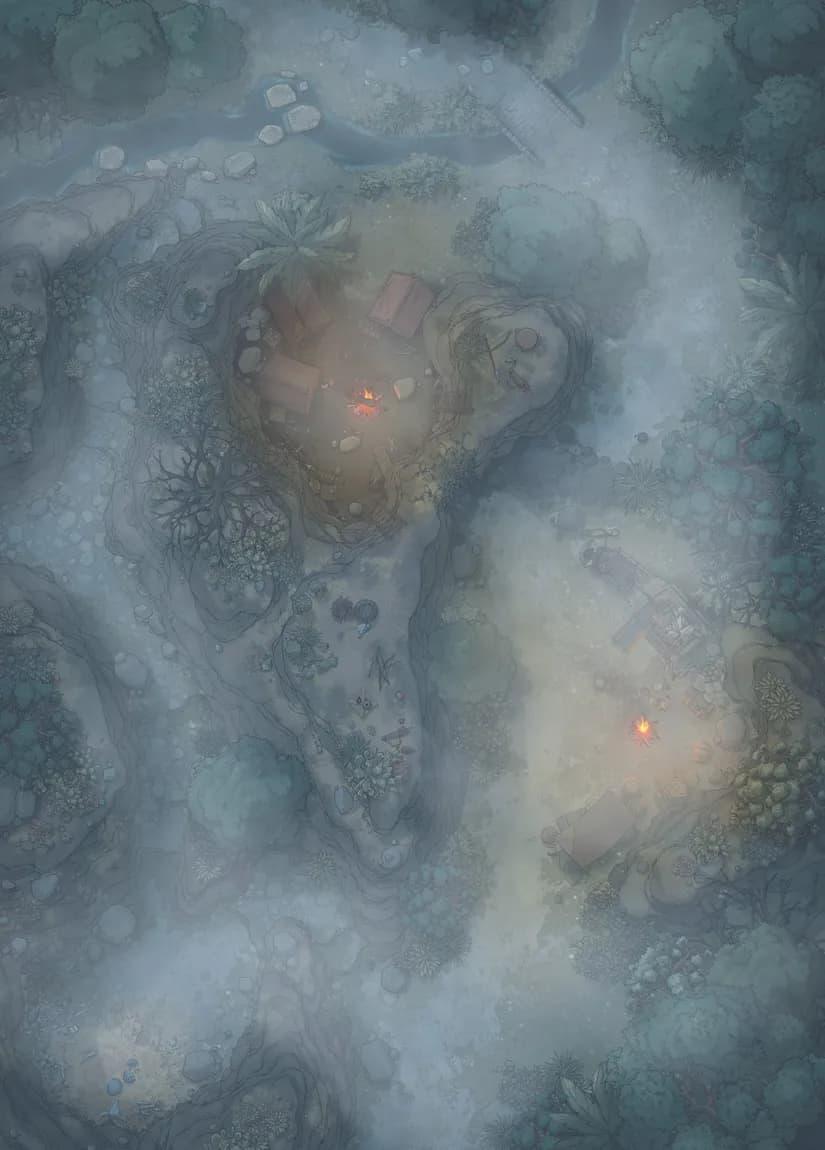
Rebel Camp (+1)
Rebel Camp (+1)
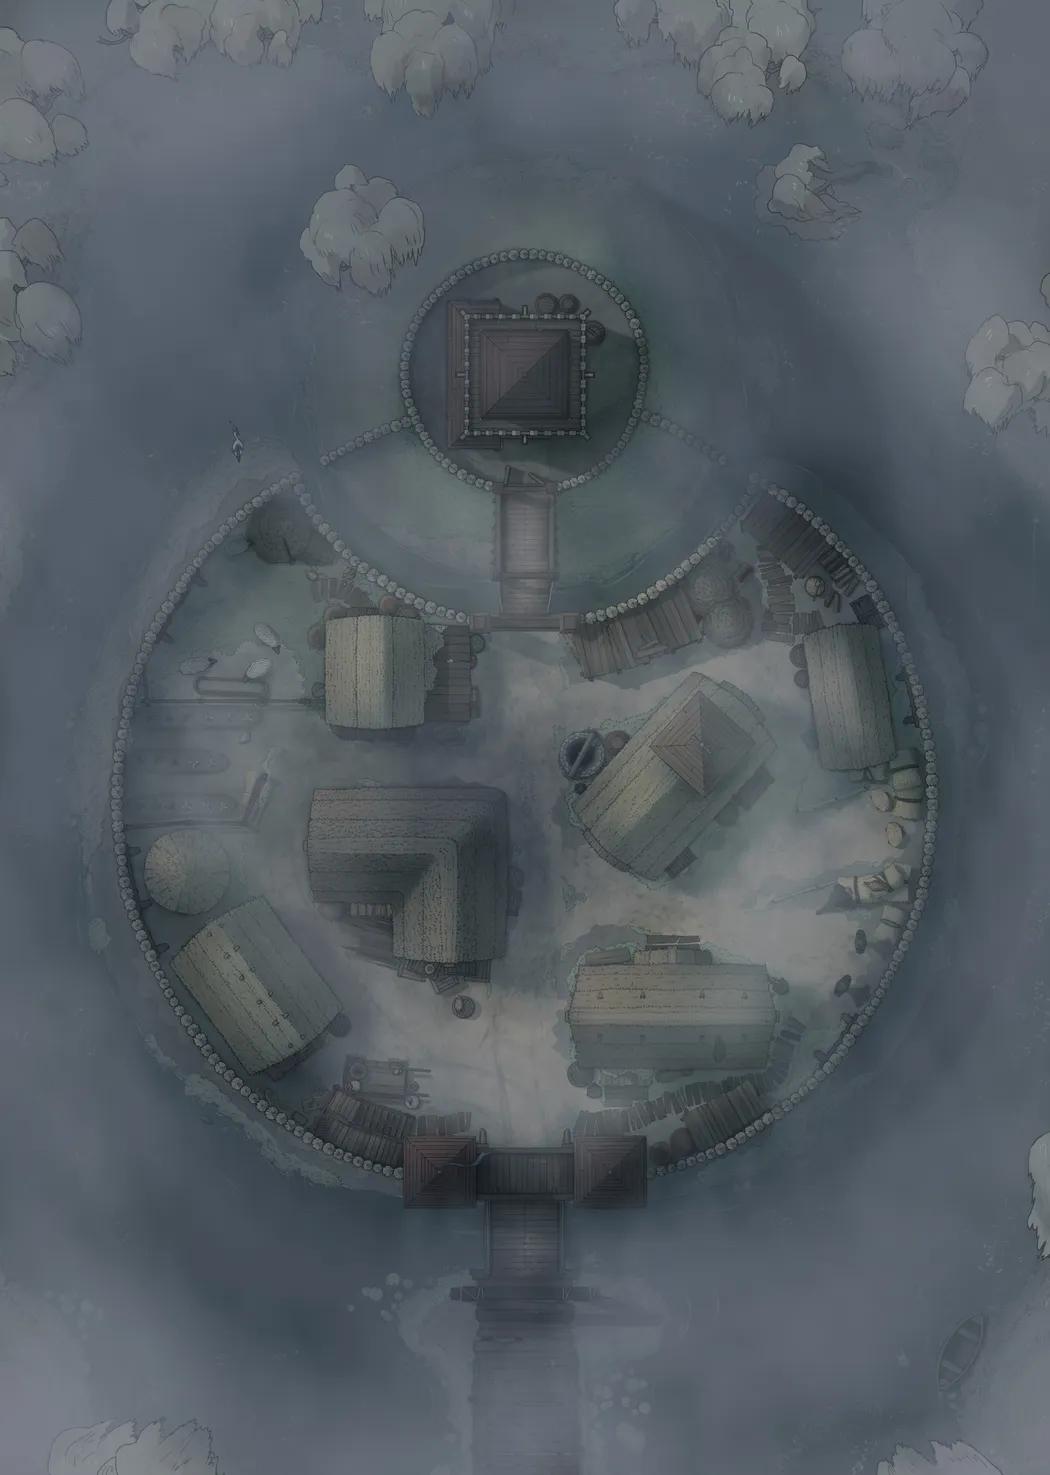
Remote Ice Village
Remote Ice Village
River Stronghold (+1)
River Stronghold (+1)
Riverwood Toll Castle (+5)
Riverwood Toll Castle (+5)
Roadside Ambush (+1)
Roadside Ambush (+1)
Ropebridge Chasm (+2)
Ropebridge Chasm (+2)
Rosehydra Crypt
Rosehydra Crypt
Royal Stables (+1)
Royal Stables (+1)
Ruined Courtyard (+2)
Ruined Courtyard (+2)
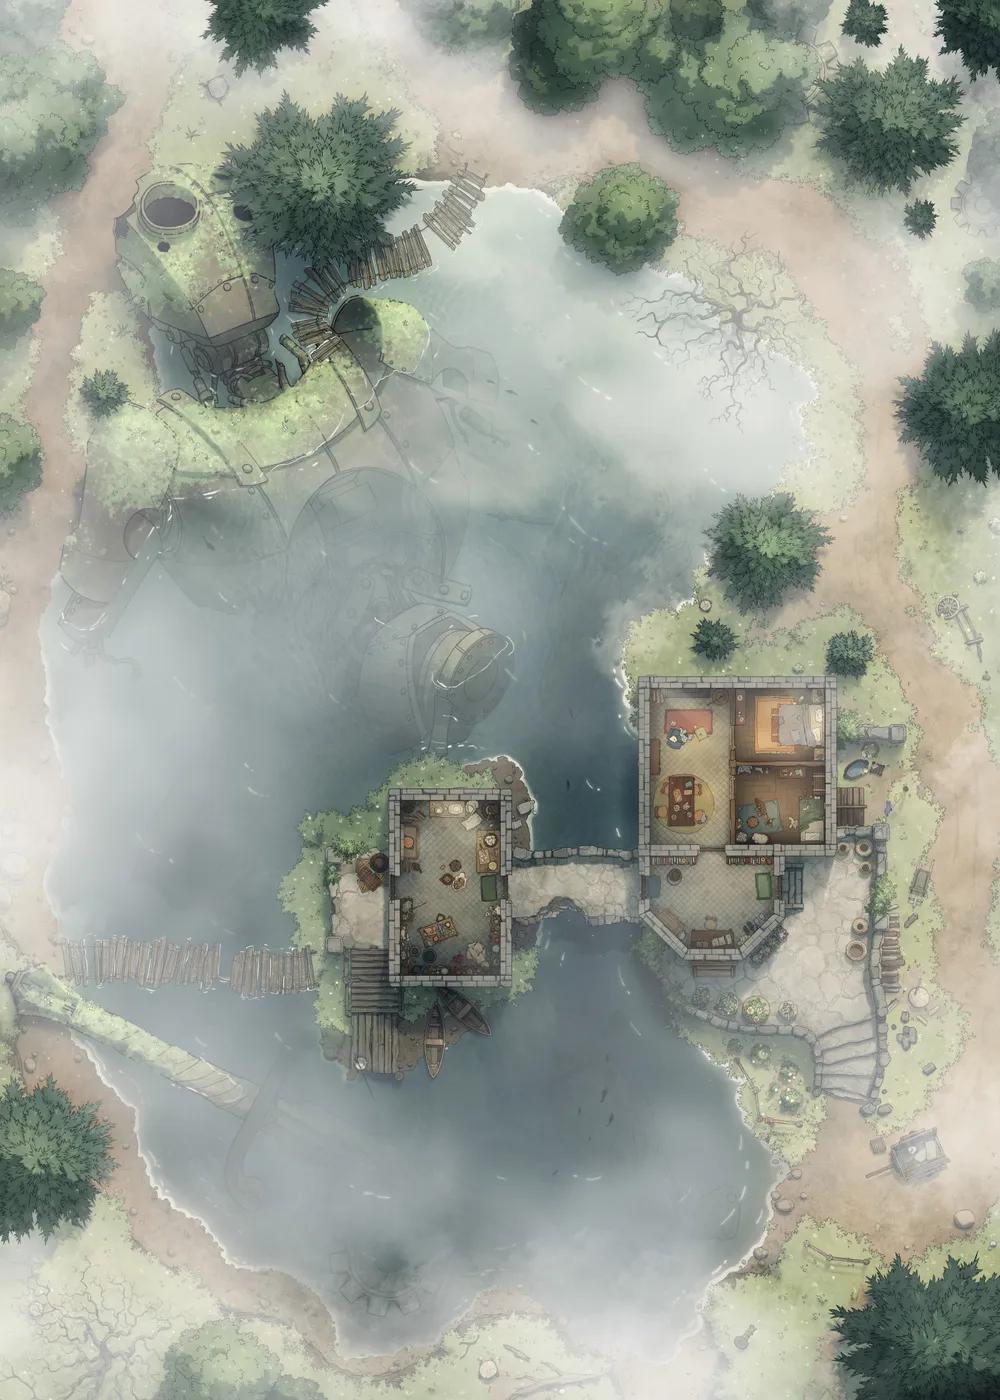
Rusty Robot Lake (+1)
Rusty Robot Lake (+1)
Salt Plains Observatory (+1)
Salt Plains Observatory (+1)
Secret Cove (+1)
Secret Cove (+1)
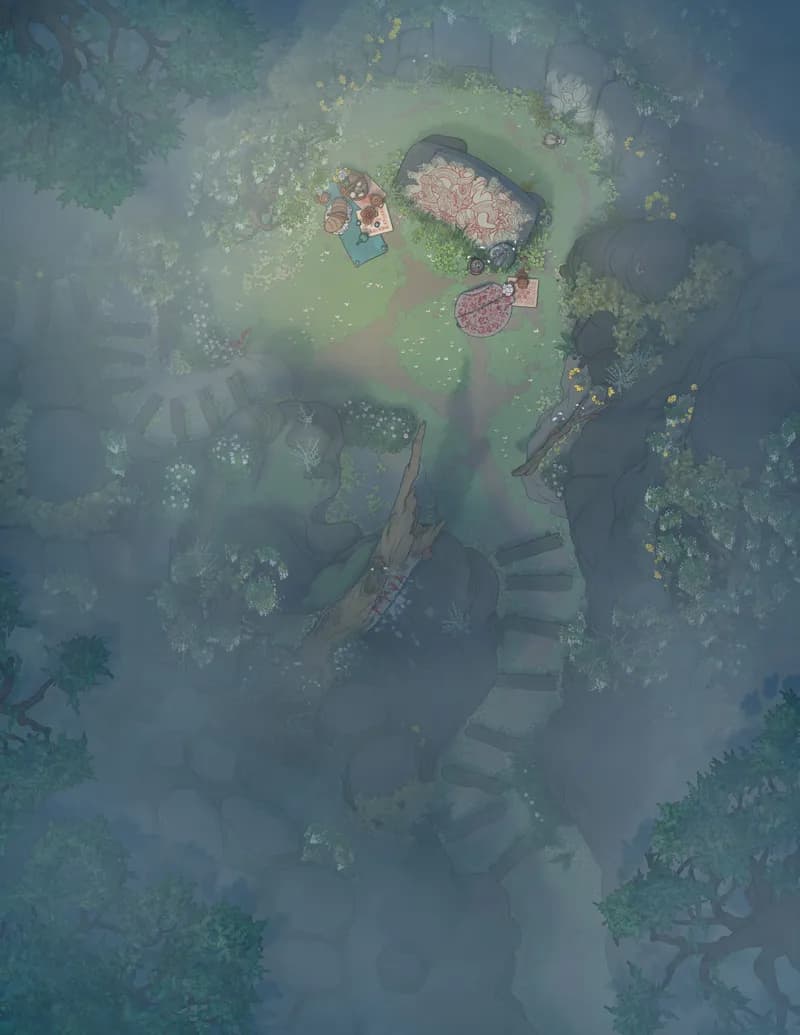
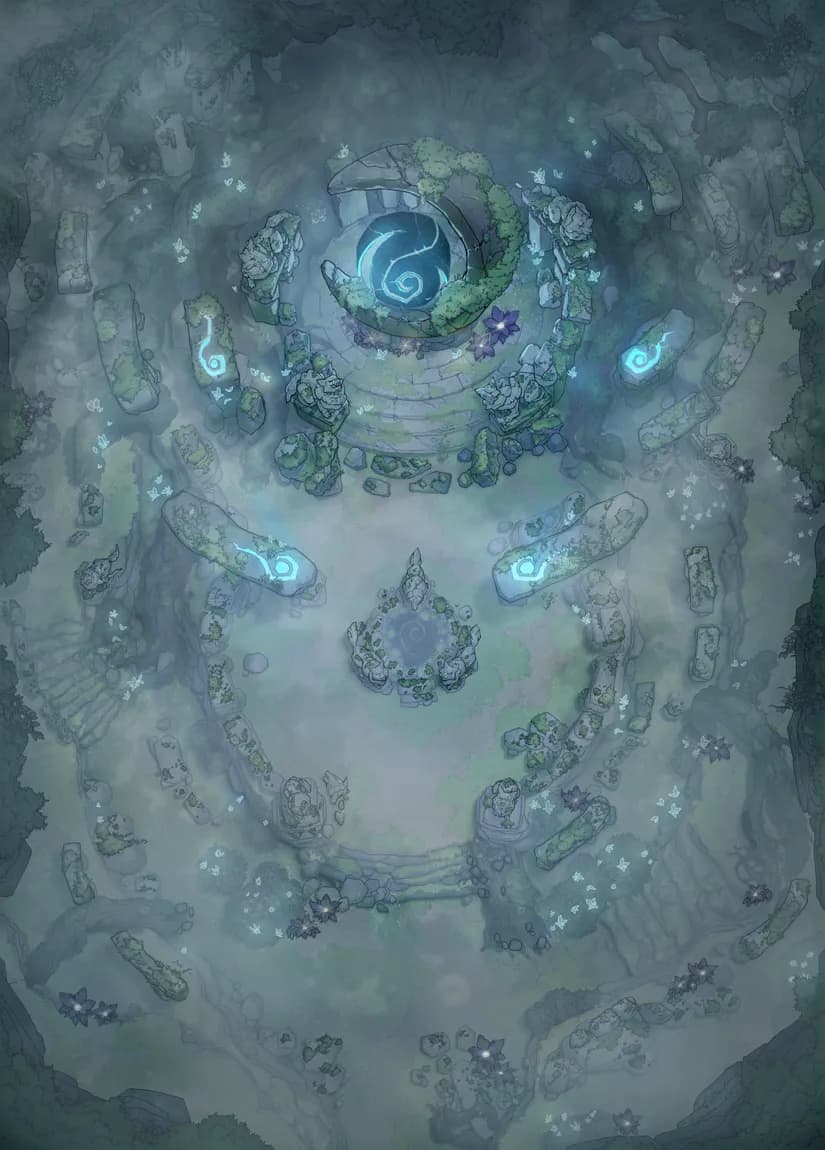
Secret Fey Fountain
Secret Fey Fountain
Secret Sailor Lair (+1)
Secret Sailor Lair (+1)
Serene Lakeside (+3)
Serene Lakeside (+3)
Sewer Tunnels
Sewer Tunnels
Shadowlands Pyramid (+1)
Shadowlands Pyramid (+1)
Slum District (+1)
Slum District (+1)
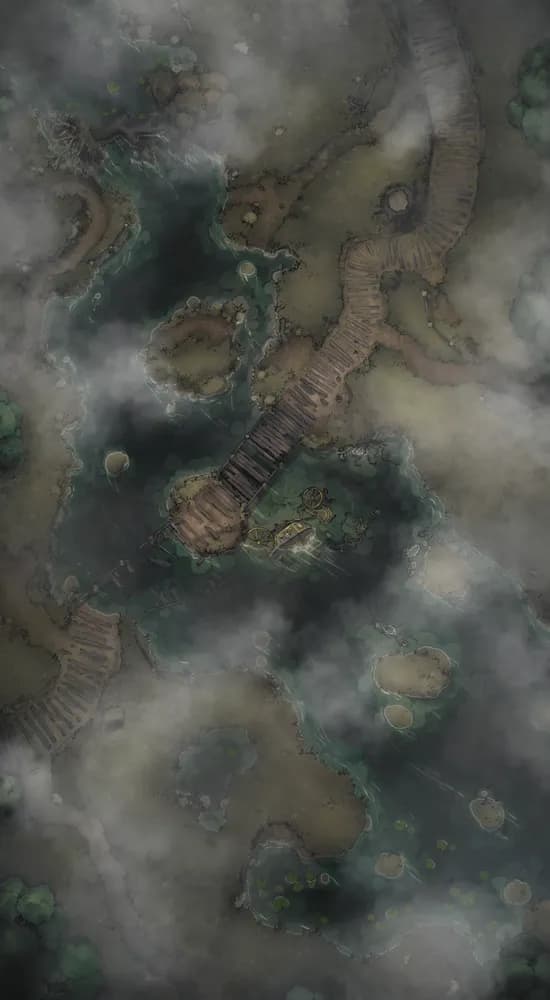
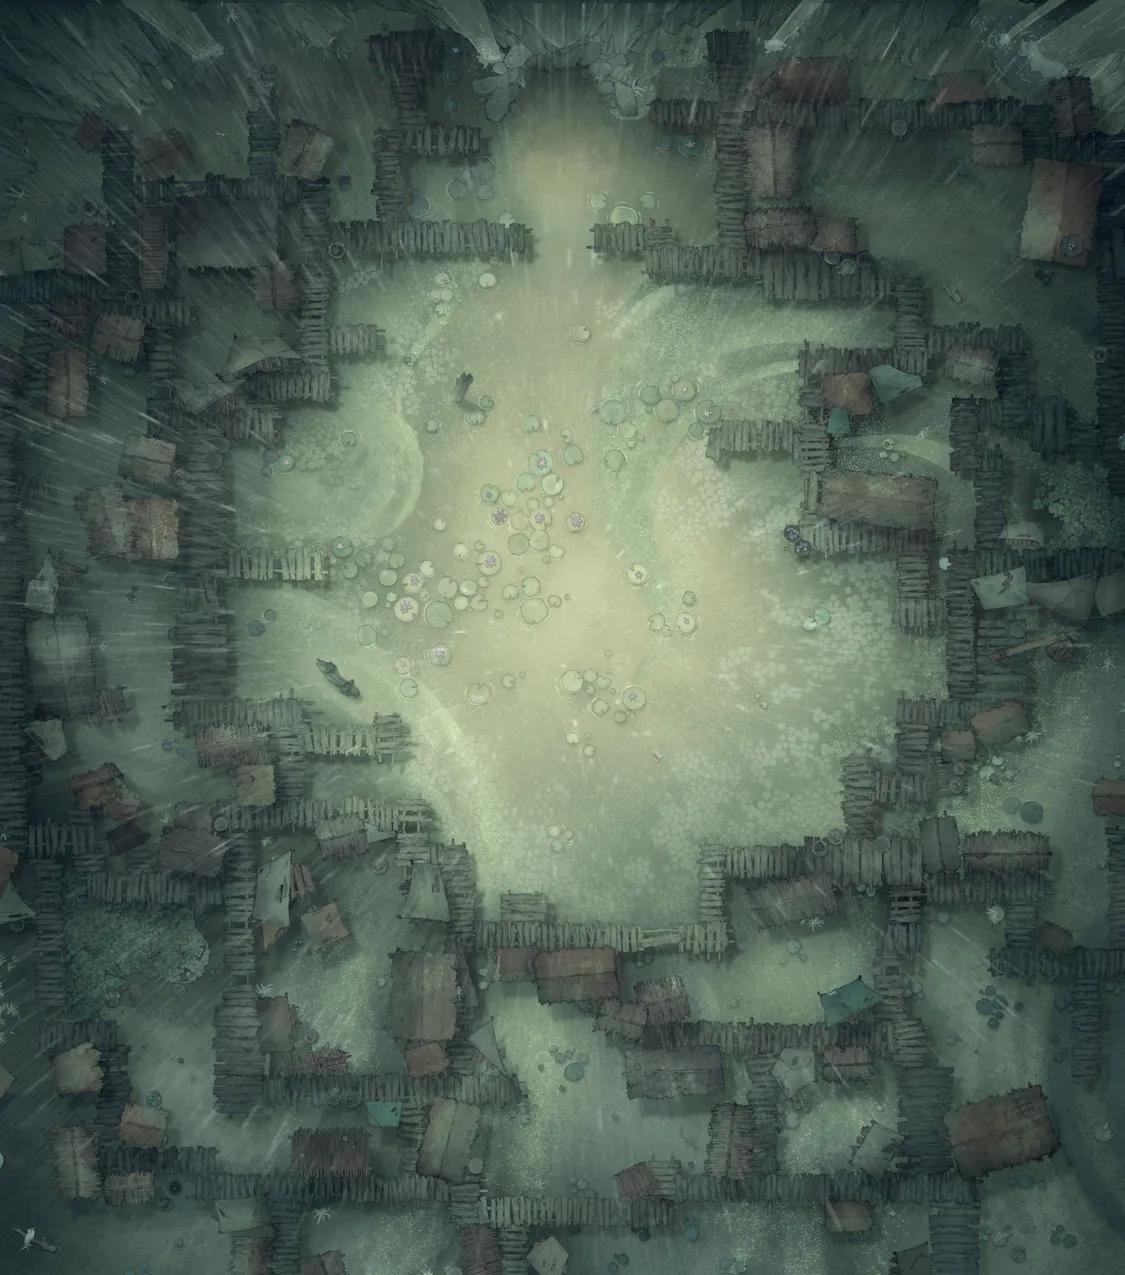
Smuggler's Fen (+1)
Smuggler's Fen (+1)
Steamy Japanese Bathhouse
Steamy Japanese Bathhouse
Swamp Graveyard (+1)
Swamp Graveyard (+1)
Templar Sea Fort (+1)
Templar Sea Fort (+1)
Temple Pastures (+1)
Temple Pastures (+1)
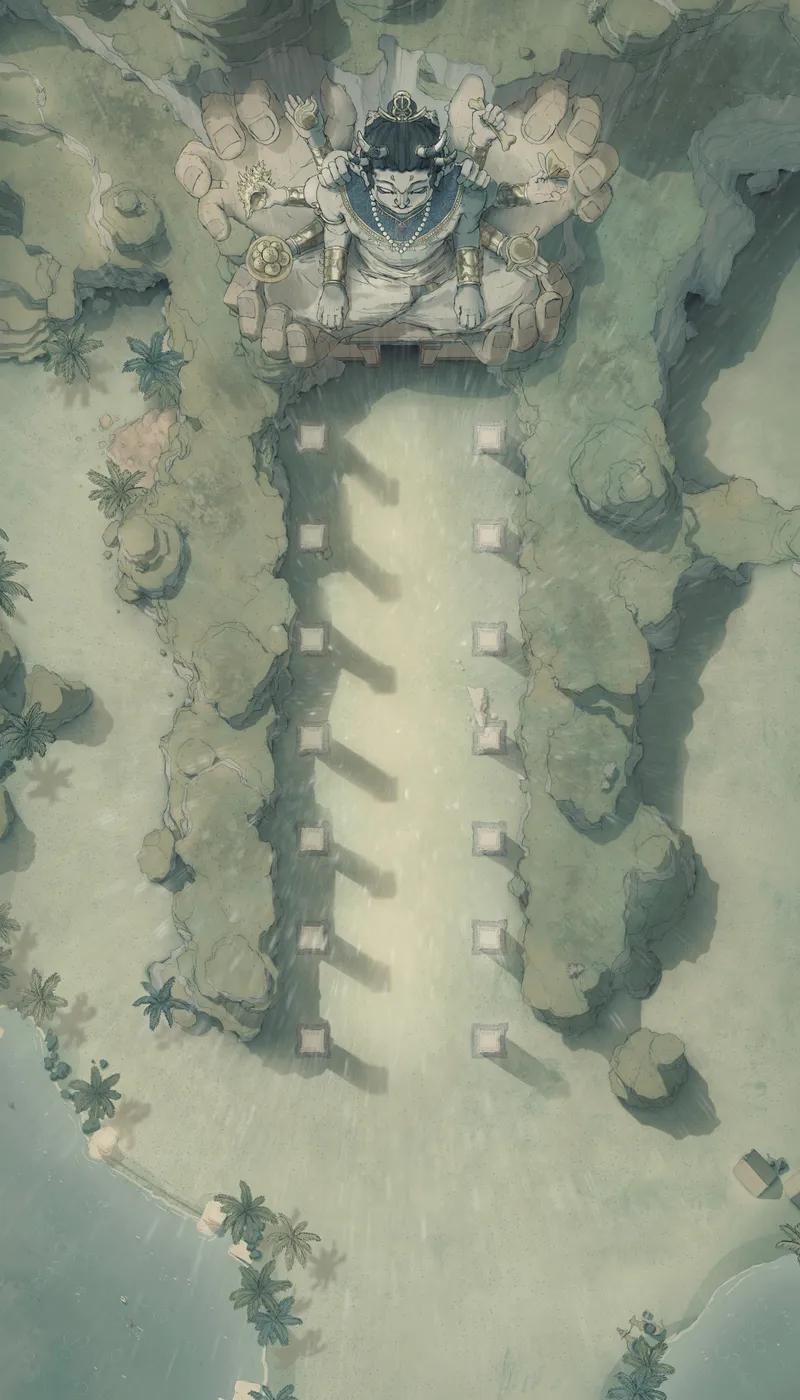
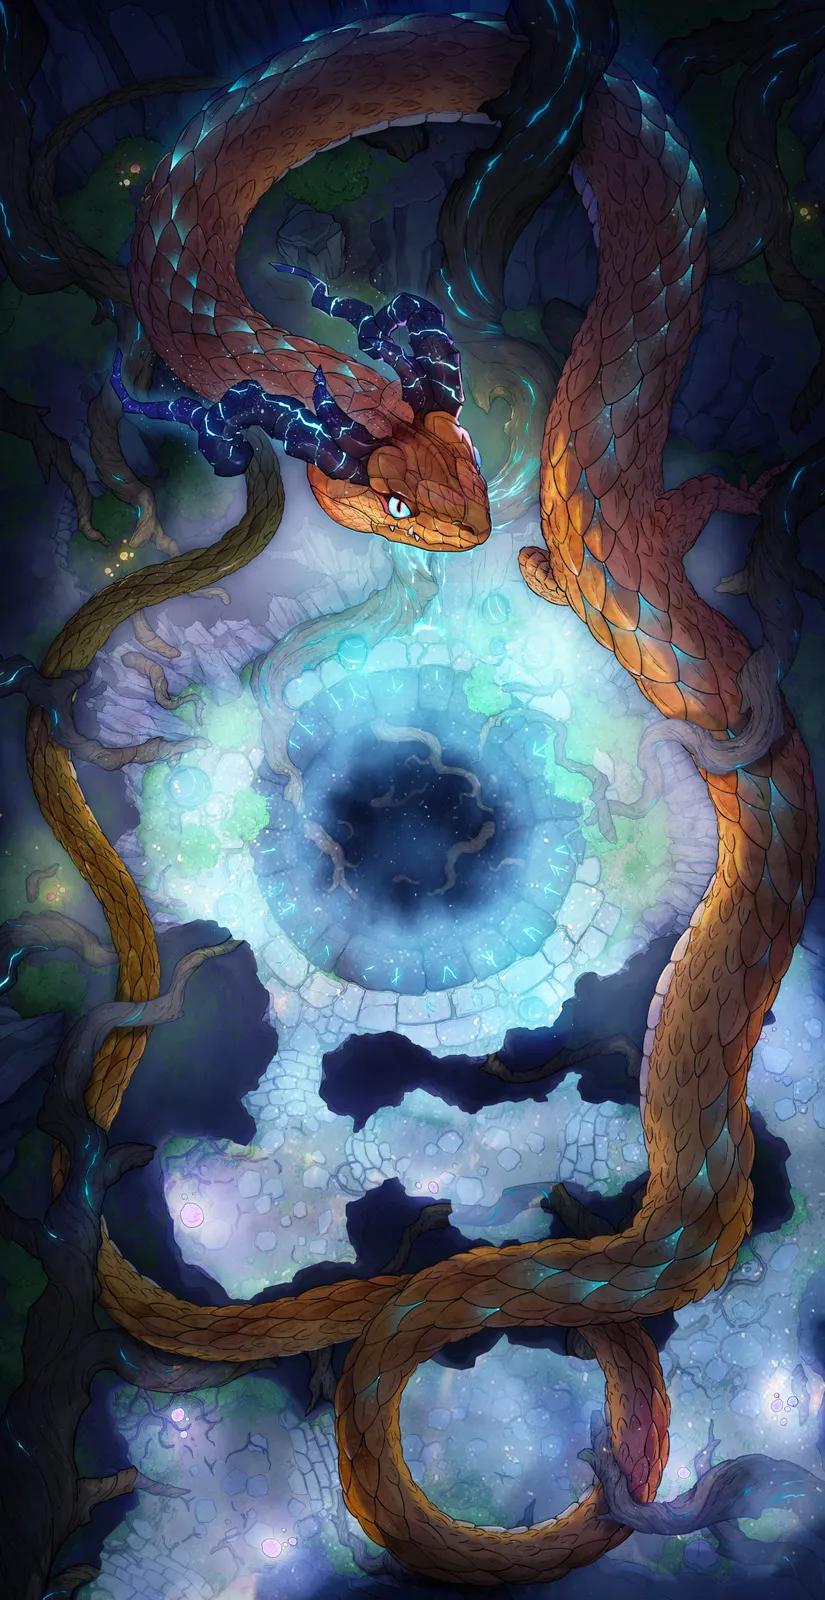
Temple of the Couatl Boss Room
Temple of the Couatl Boss Room
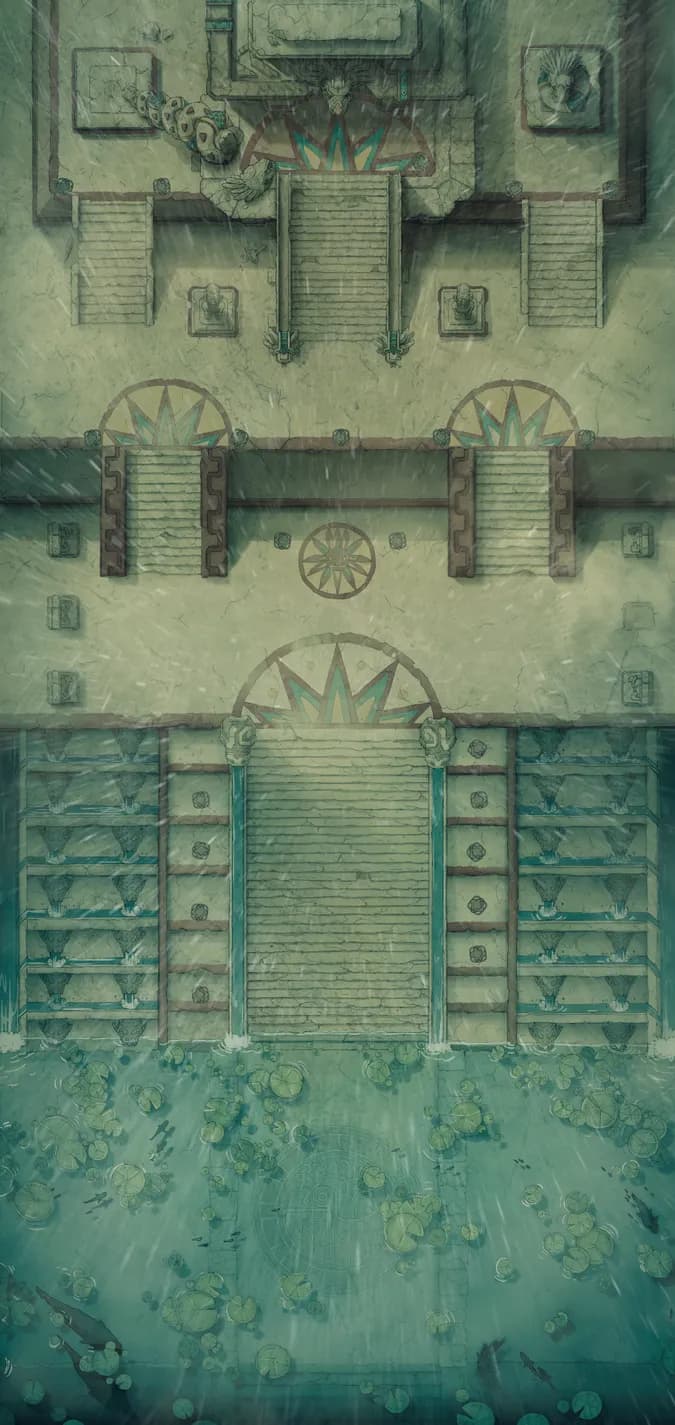
Temple of the Couatl Exterior (+1)
Temple of the Couatl Exterior (+1)
The Forbidden Gates (+2)
The Forbidden Gates (+2)
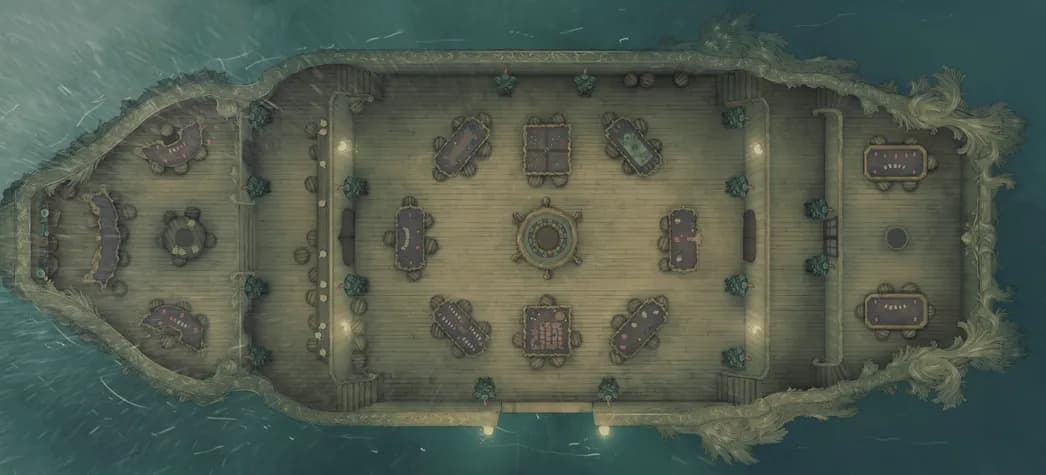
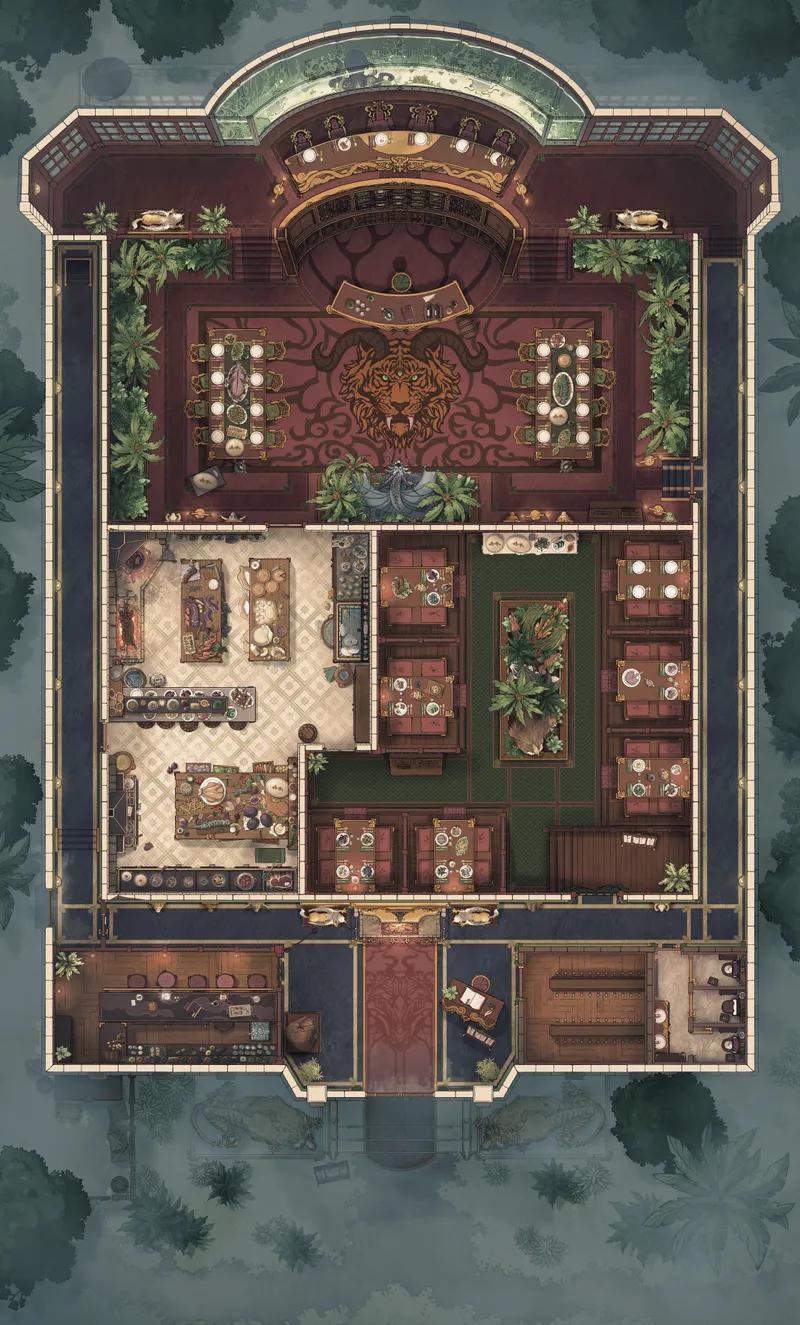
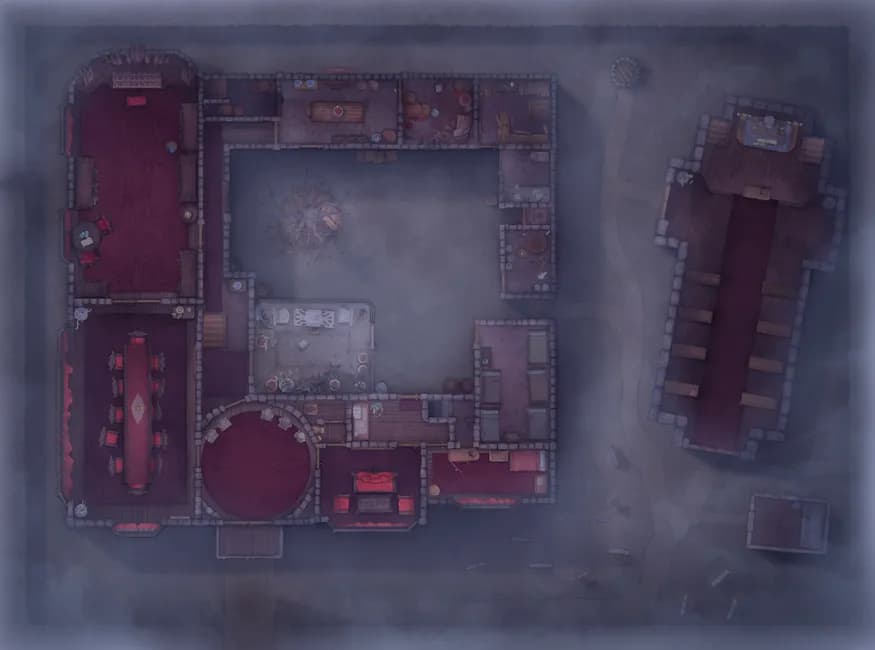
The Stranded Casino (+3)
The Stranded Casino (+3)
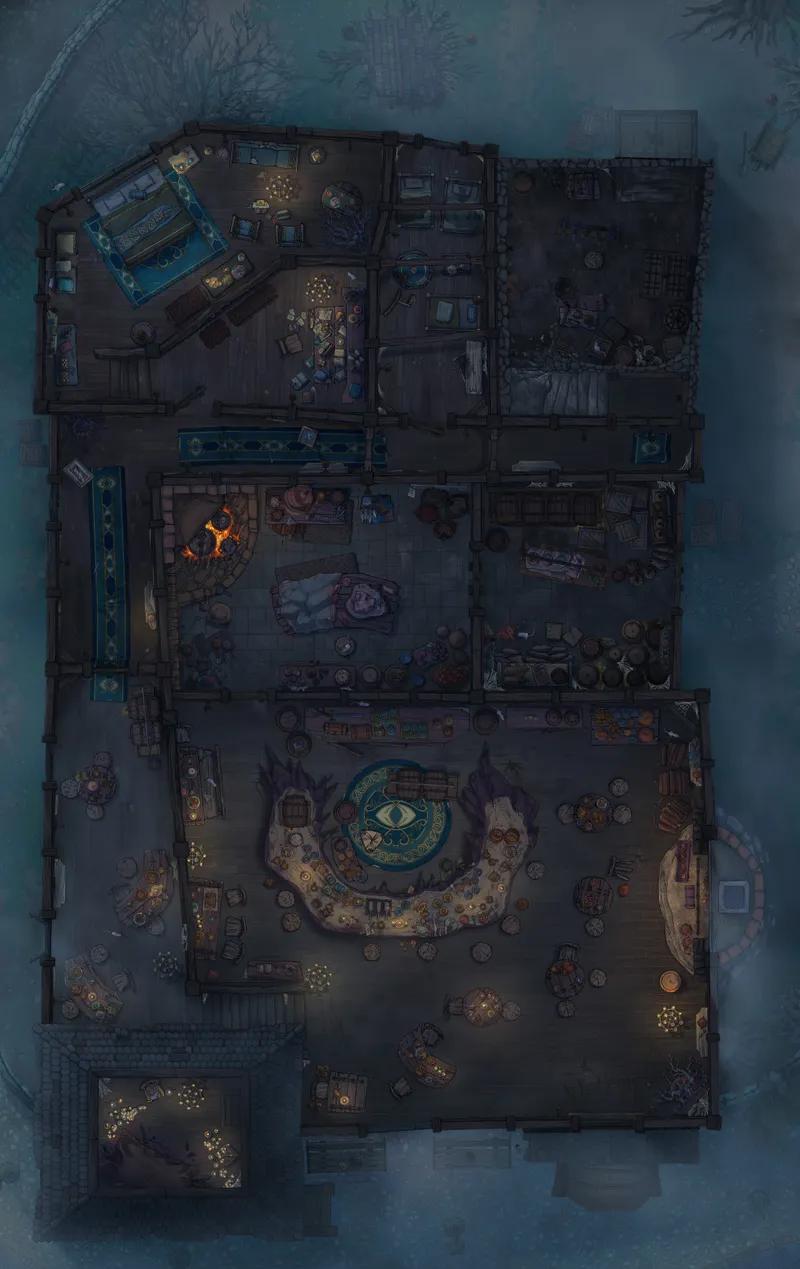
Thieves Guild Hideout
Thieves Guild Hideout
Tidal Isle Fort (+1)
Tidal Isle Fort (+1)
Tidal River (+1)
Tidal River (+1)
Tomb of Sand (+2)
Tomb of Sand (+2)
Trading Port (+1)
Trading Port (+1)
Train Station Platforms (+3)
Train Station Platforms (+3)
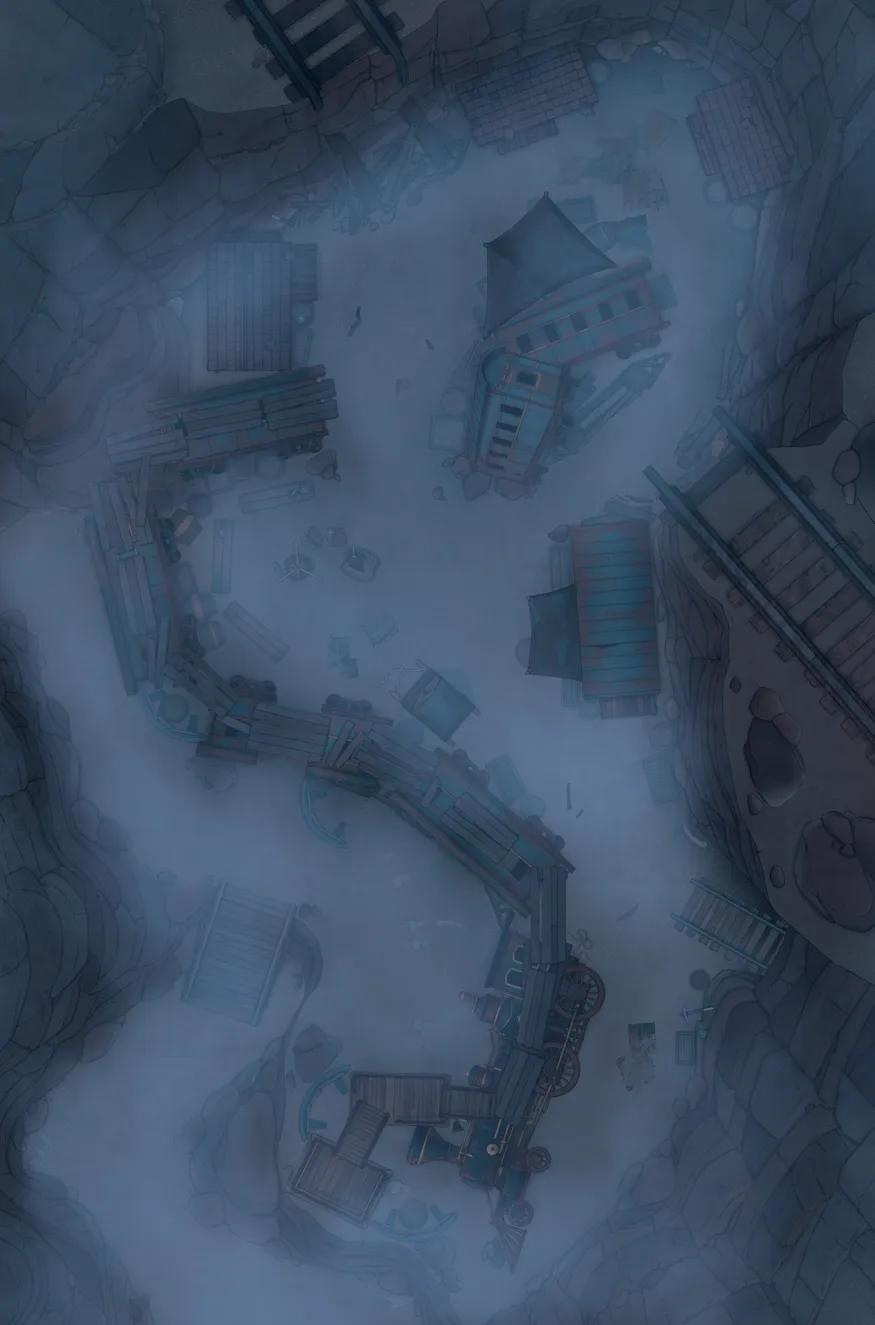
Trainwreck Village (+1)
Trainwreck Village (+1)
Tranquil Apiary (+2)
Tranquil Apiary (+2)
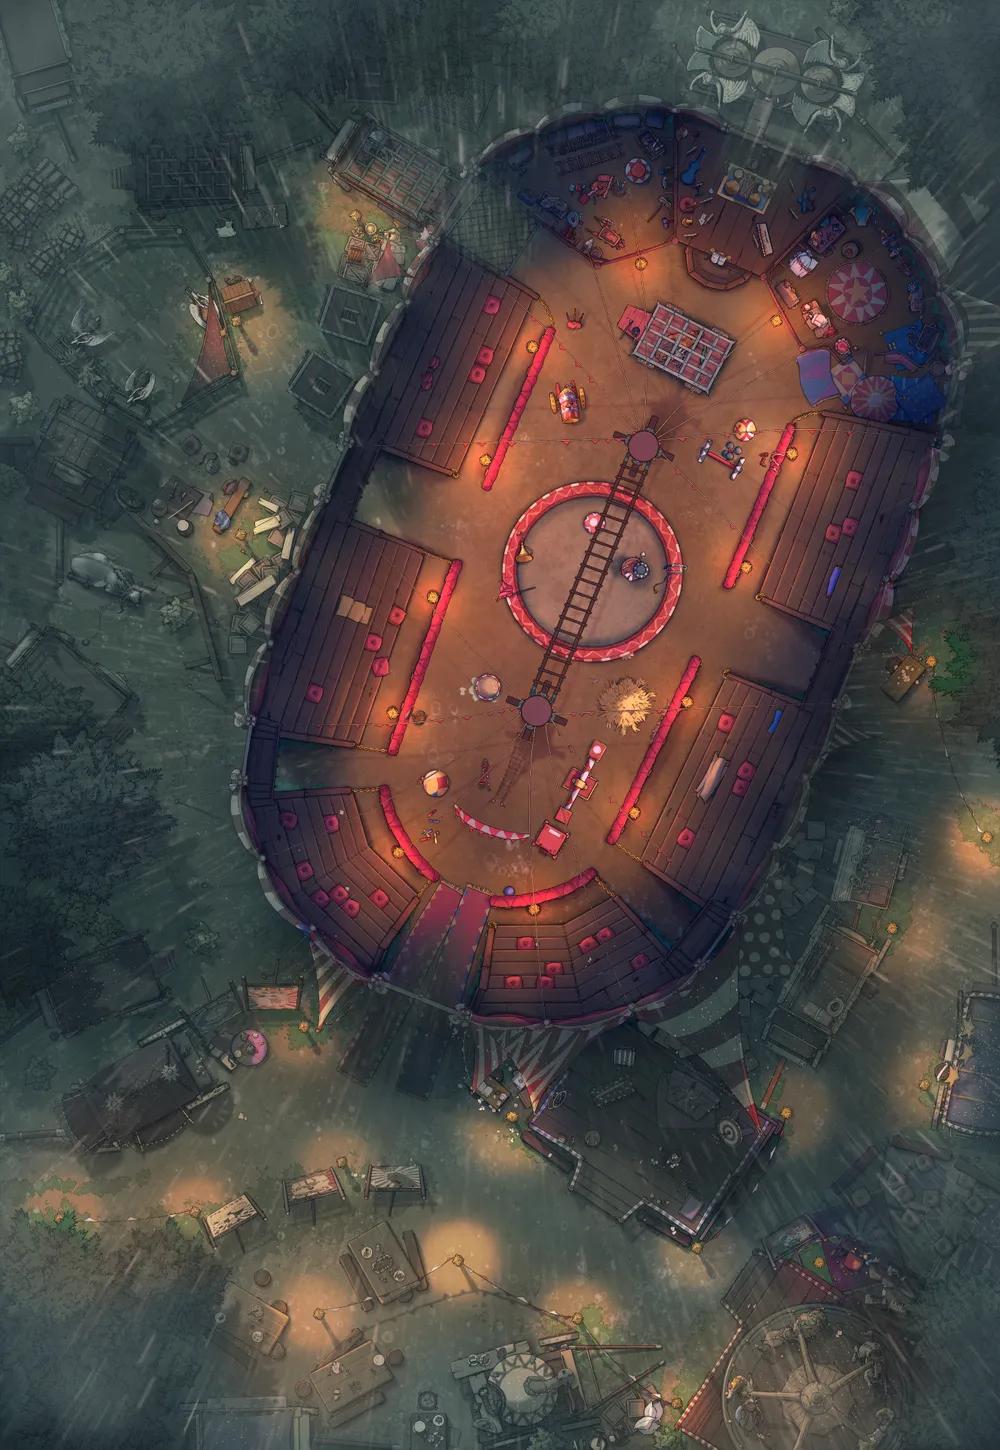
Travelling Circus
Travelling Circus
Treant Falls (+1)
Treant Falls (+1)
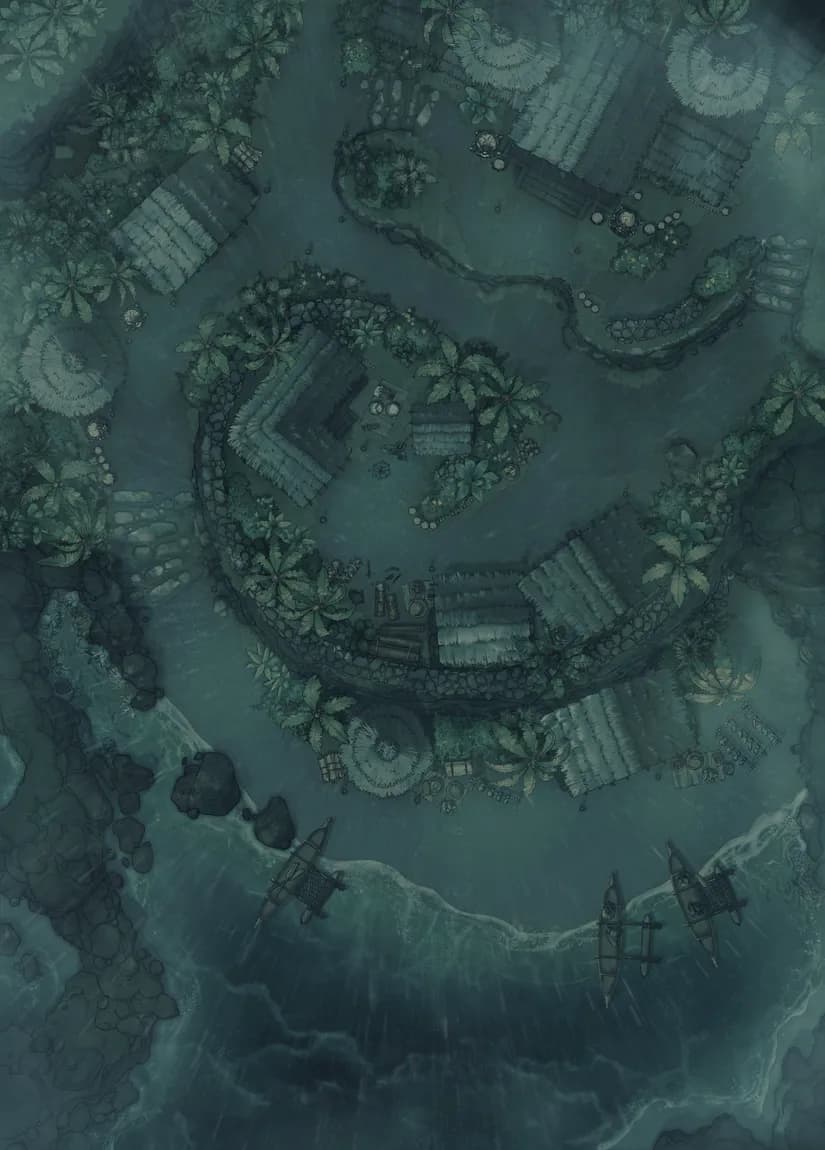
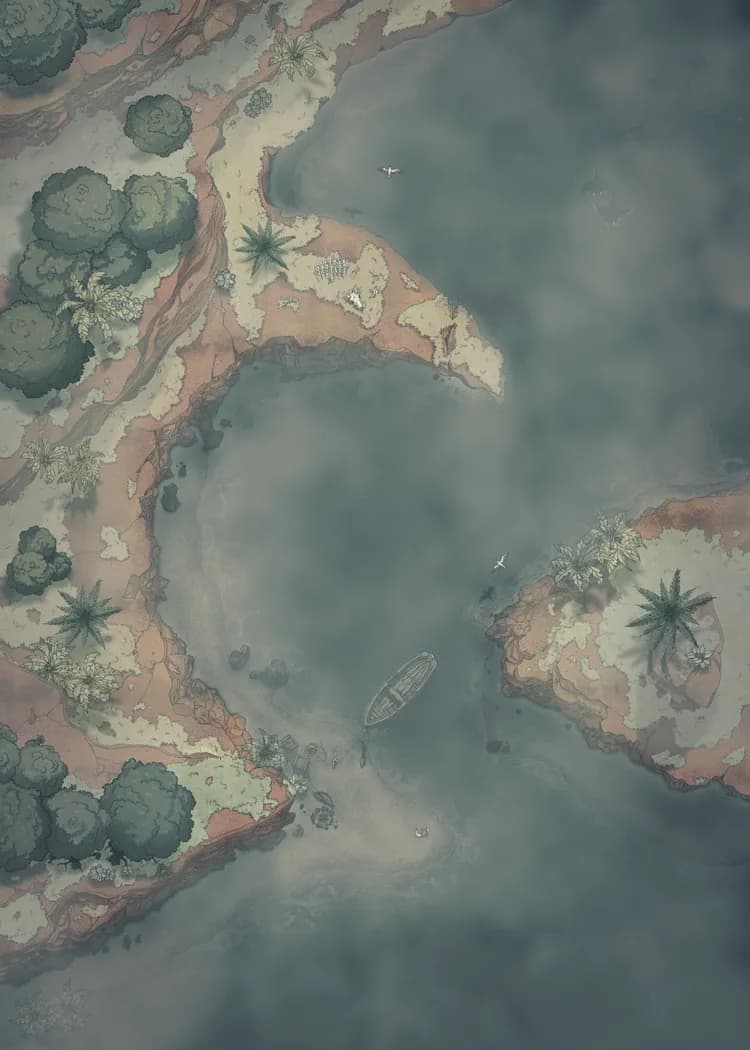
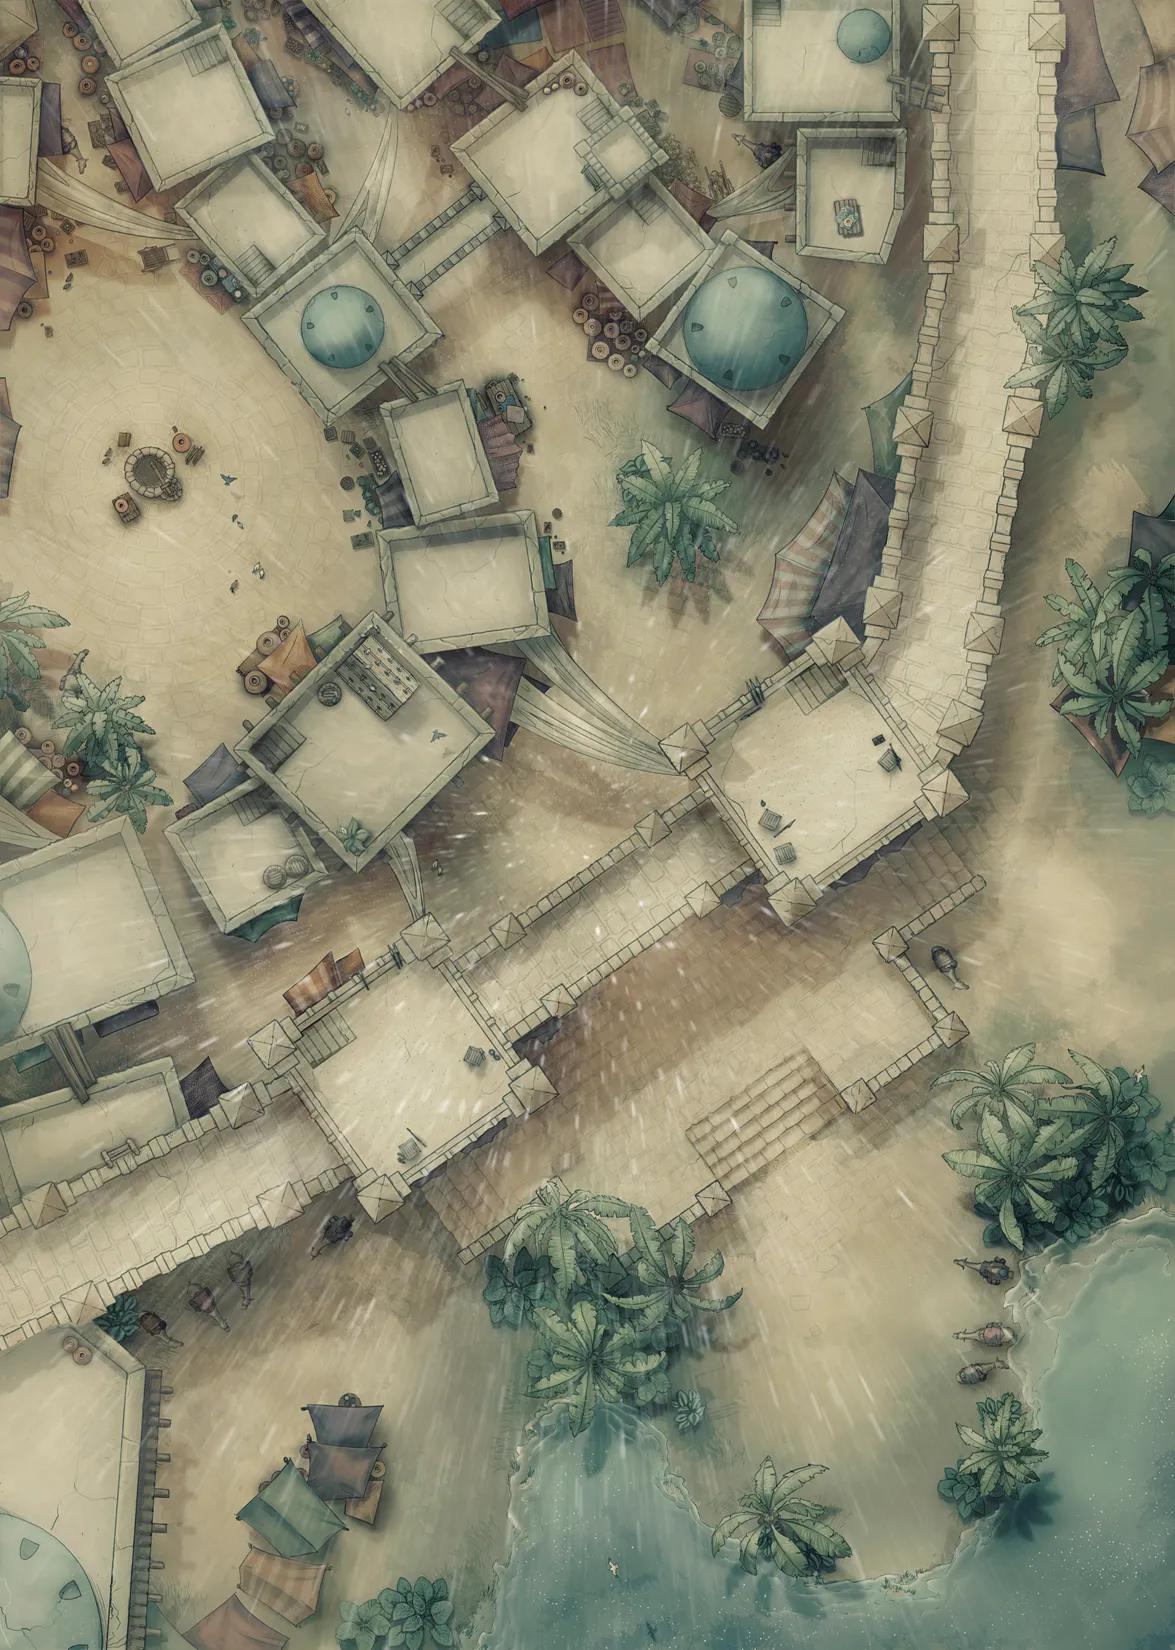
Tropical Island Village
Tropical Island Village
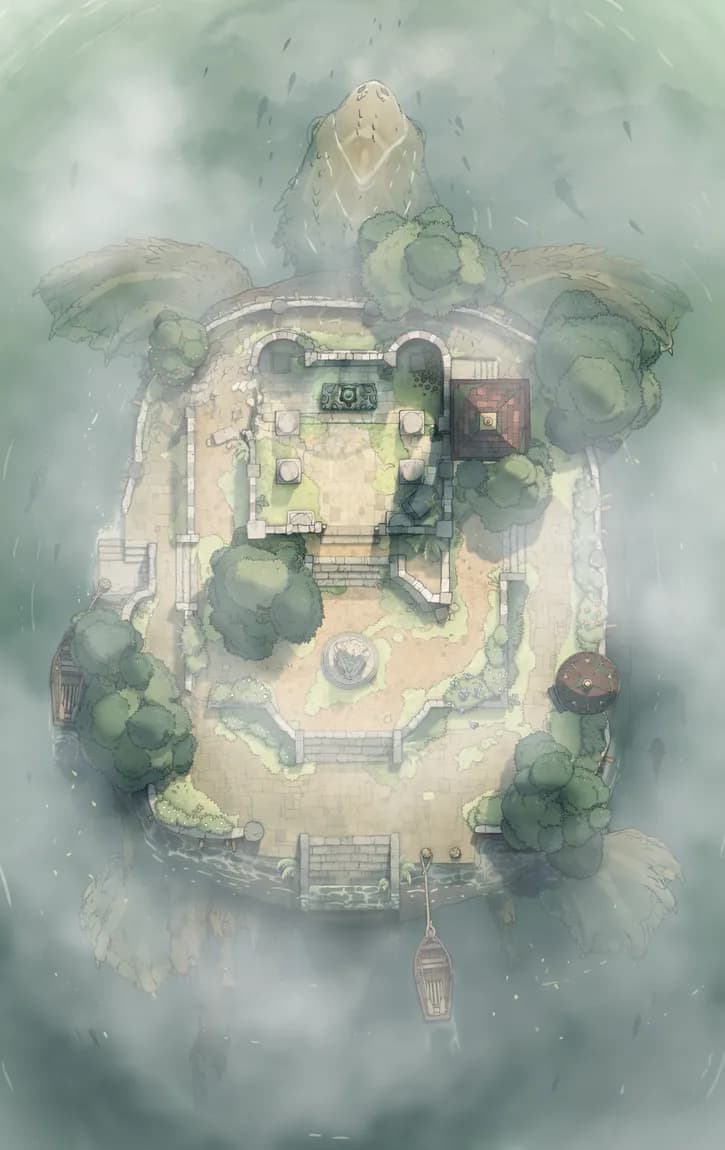
Tutelary Turtle Island (+1)
Tutelary Turtle Island (+1)
Twisted Tavern (+1)
Twisted Tavern (+1)
Underground Dwarven City Centre
Underground Dwarven City Centre
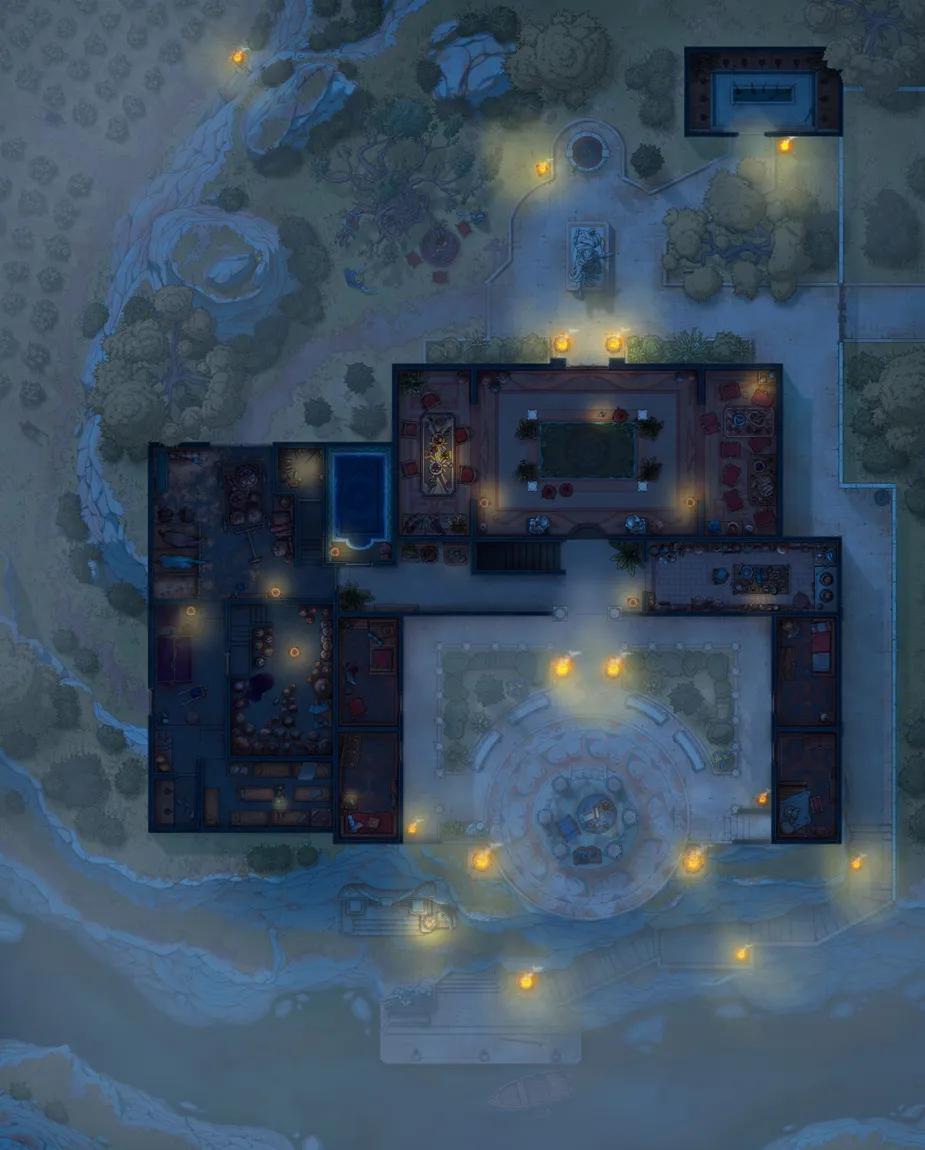
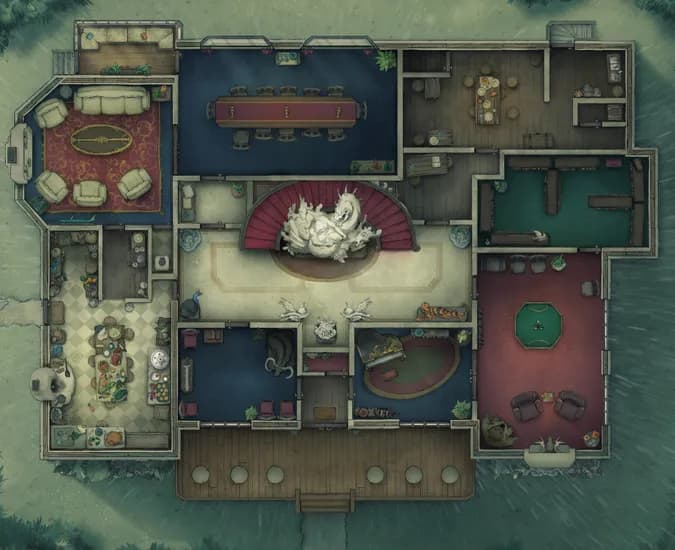
Vampire Mansion (+3)
Vampire Mansion (+3)
Verdant Oasis (+2)
Verdant Oasis (+2)
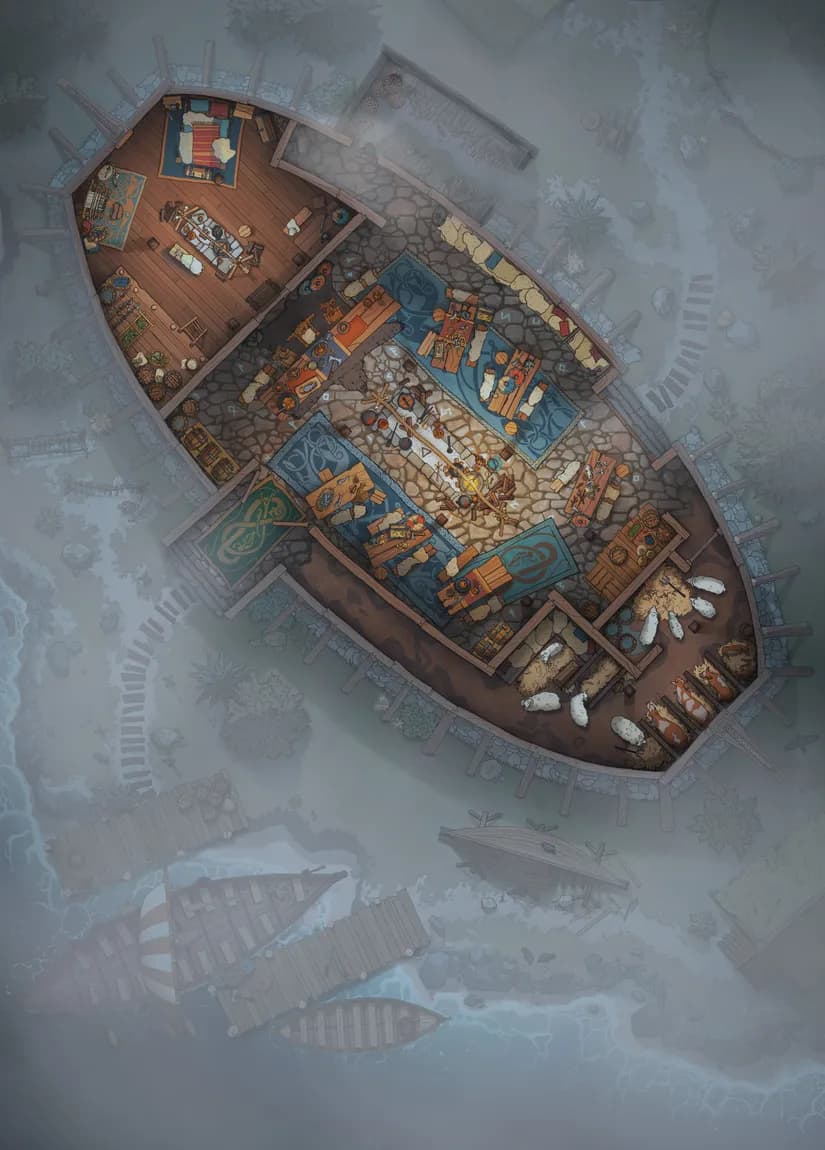
Viking Longhouse (+1)
Viking Longhouse (+1)
Village Bakery (+1)
Village Bakery (+1)
Village Blacksmith (+2)
Village Blacksmith (+2)
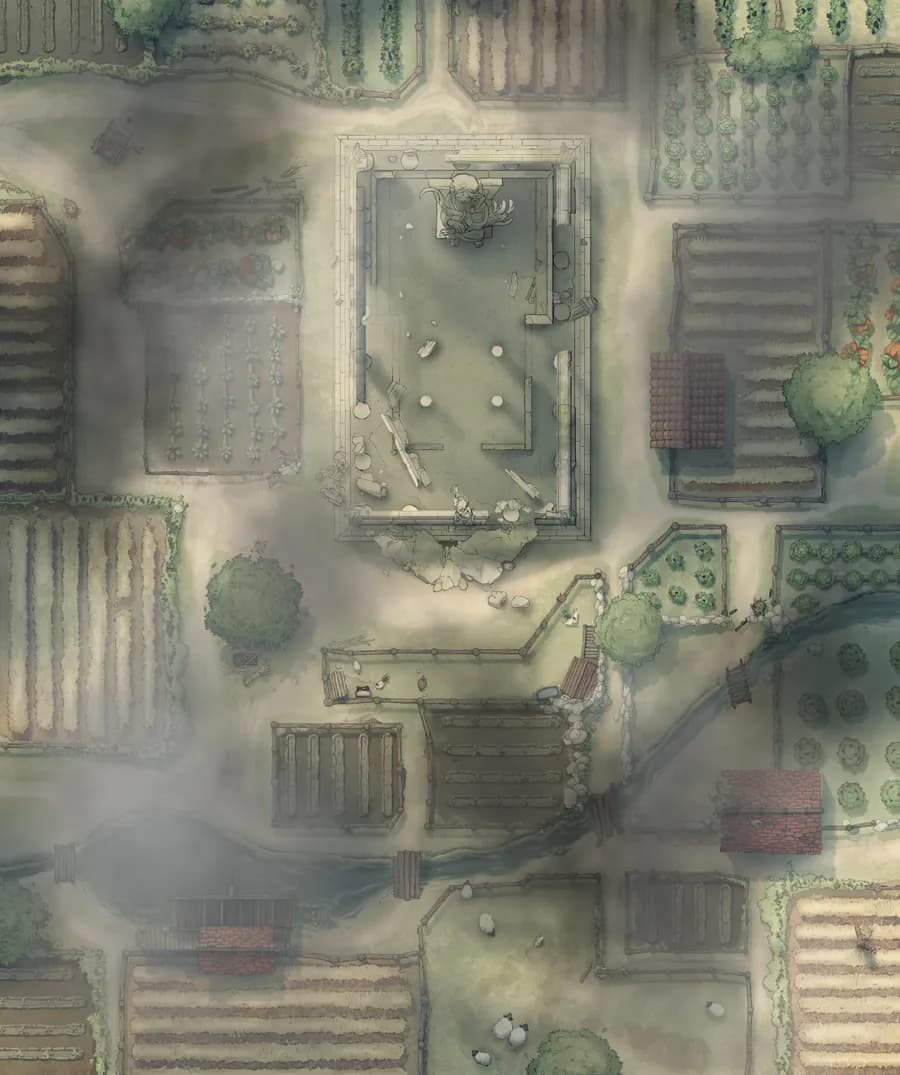
Village Farmhouse (+1)
Village Farmhouse (+1)
Village Hunting Guild (+1)
Village Hunting Guild (+1)
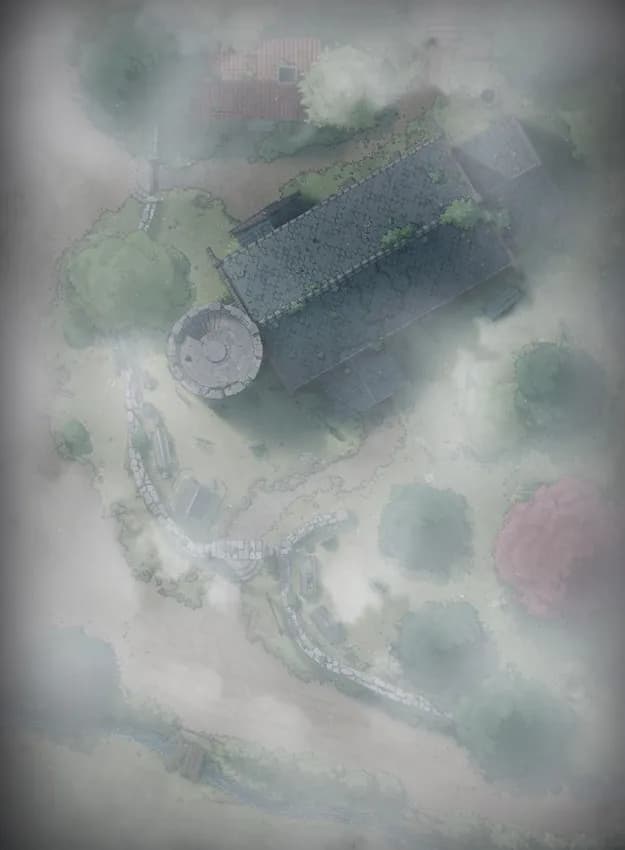
Village Wainwright Shop
Village Wainwright Shop
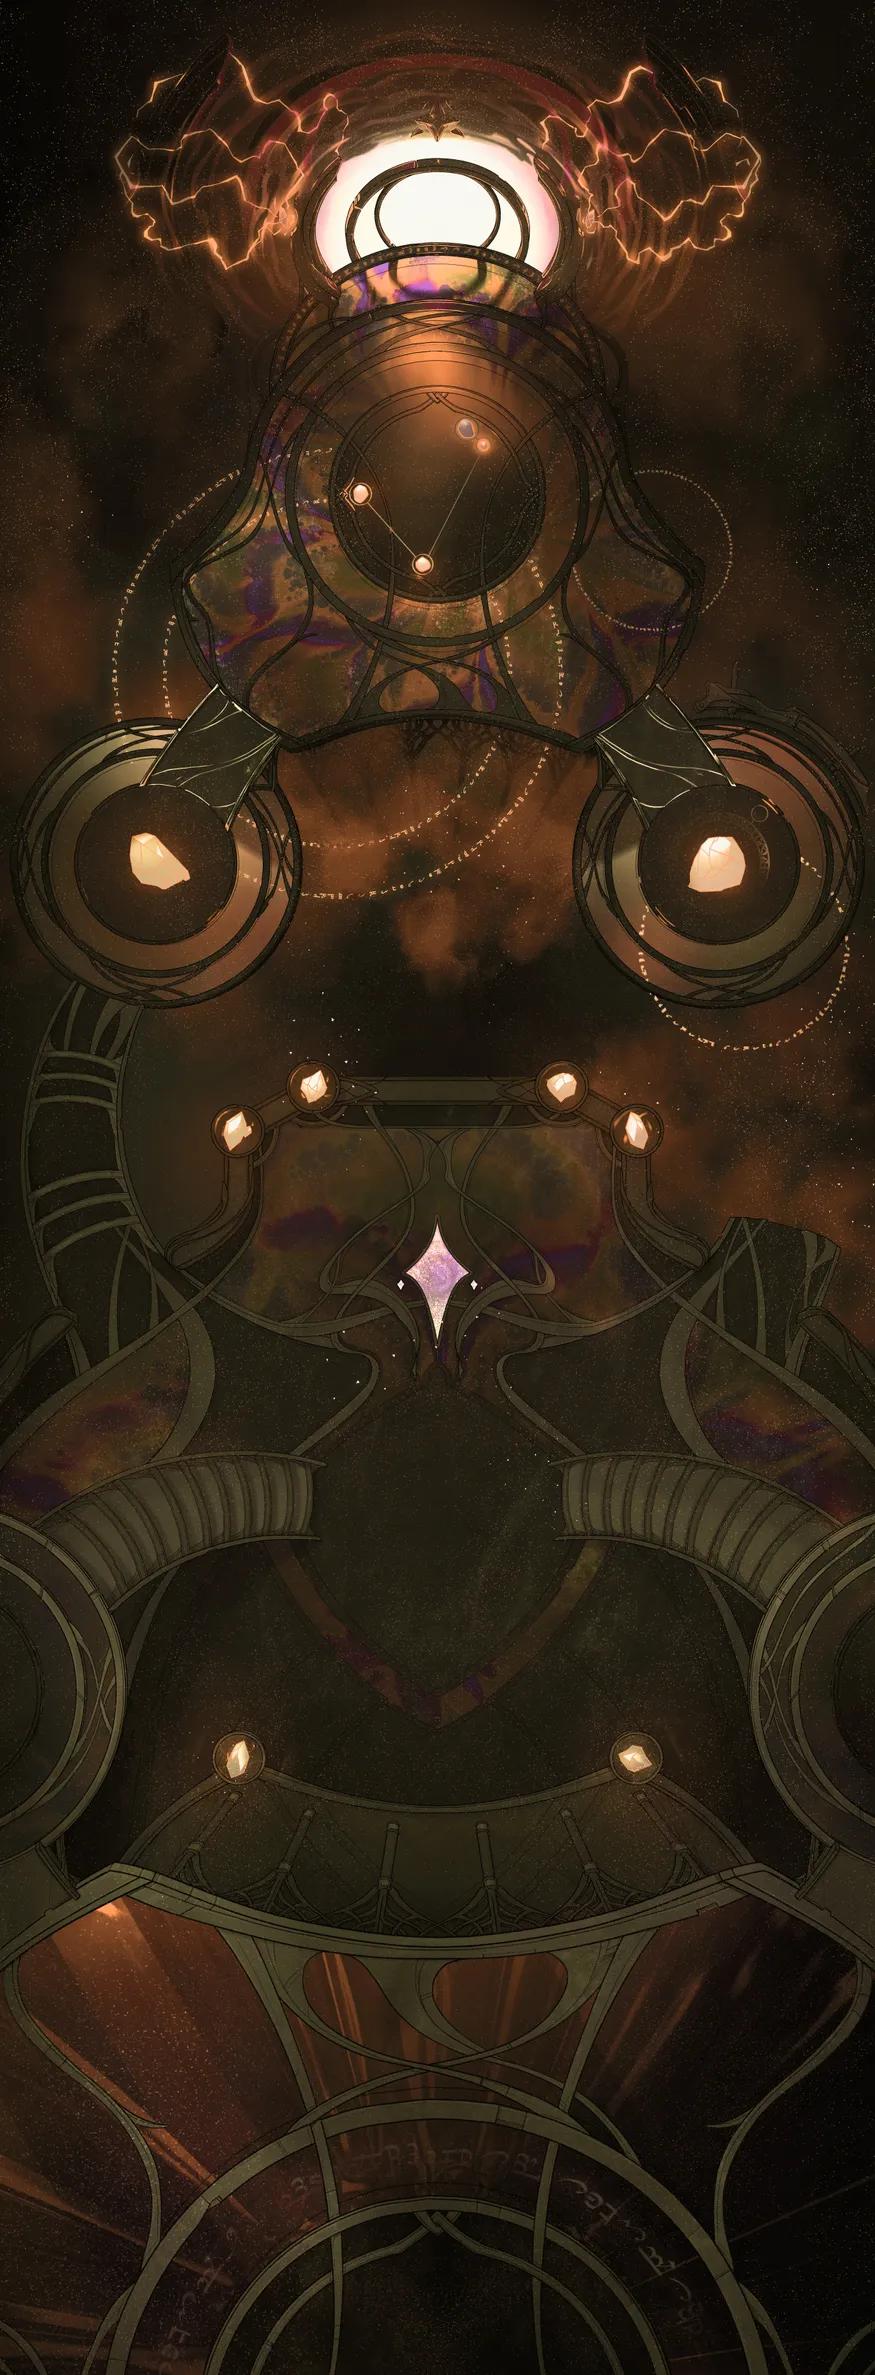
Void Dragon Lair
Void Dragon Lair
War Room Exterior
War Room Exterior
Warforged City Centre (+1)
Warforged City Centre (+1)
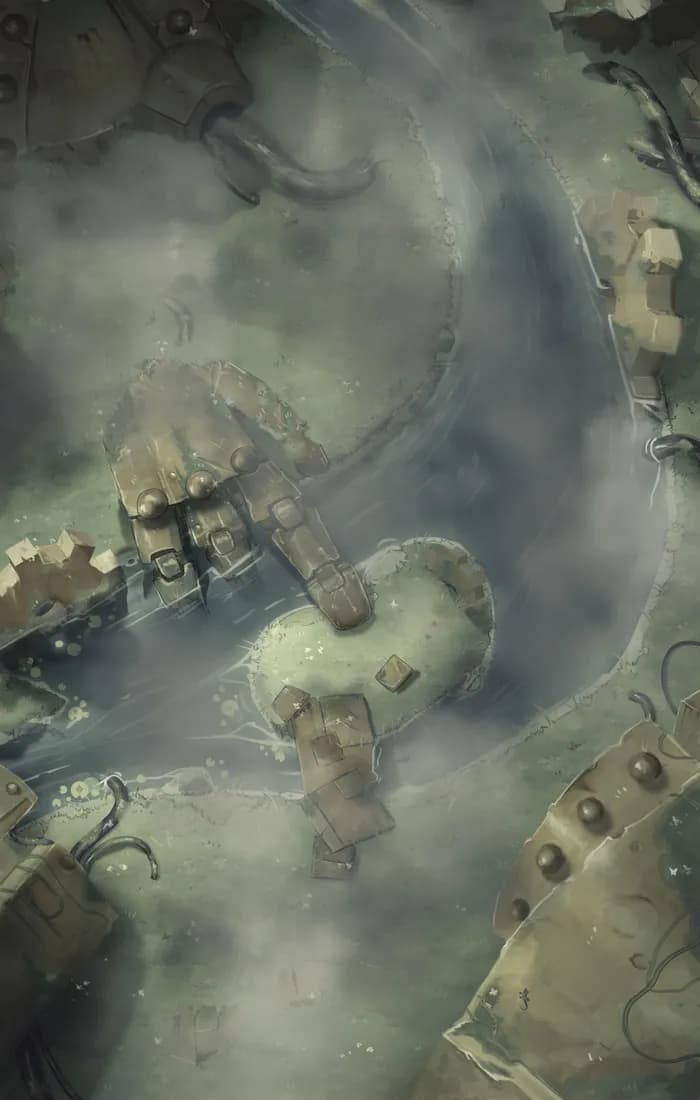
Warforged Titan Scrapyard (+1)
Warforged Titan Scrapyard (+1)
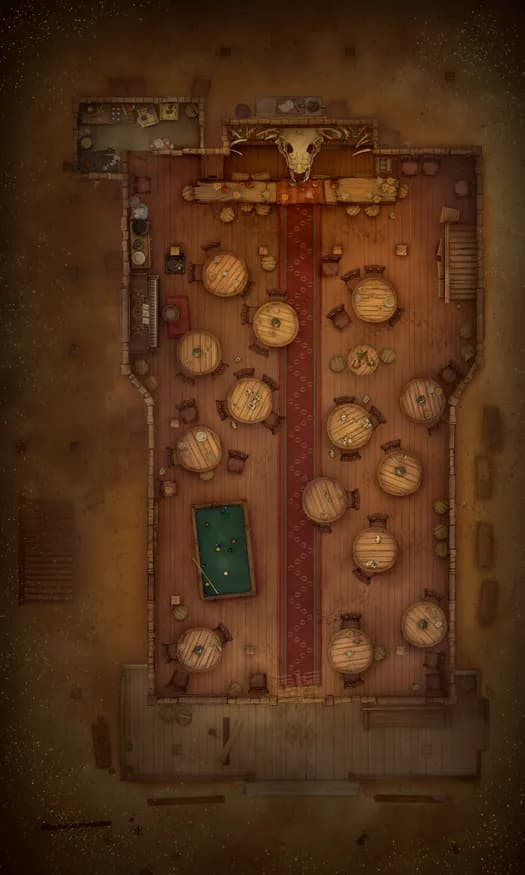
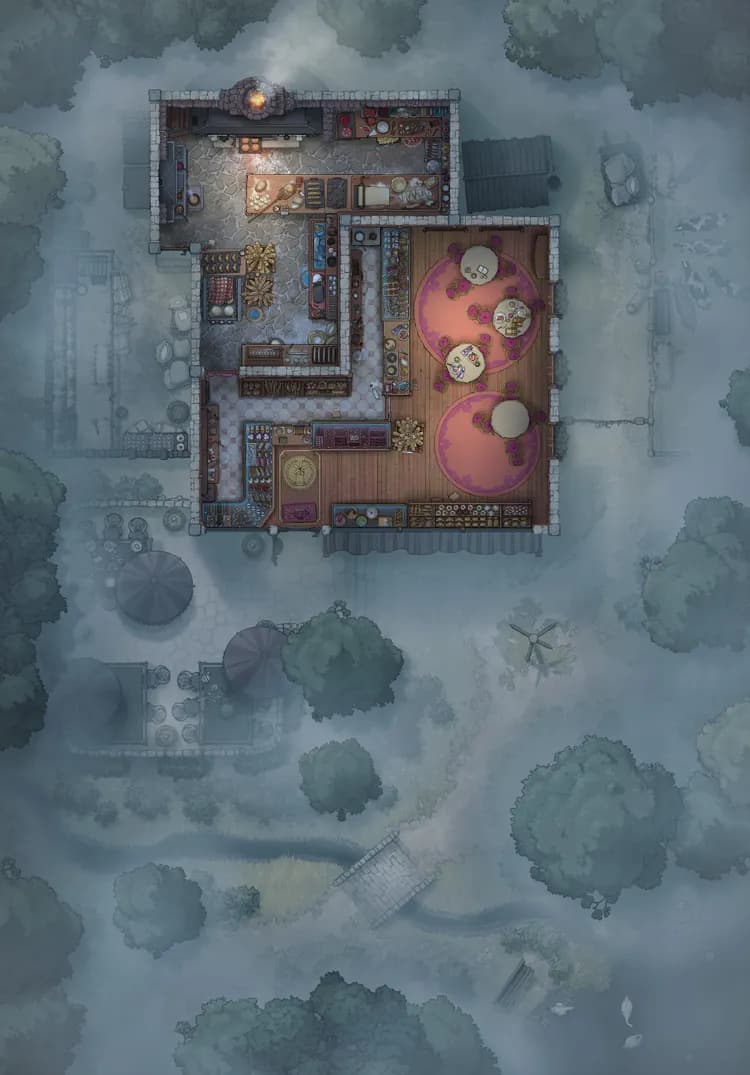
Wild West Saloon (+3)
Wild West Saloon (+3)
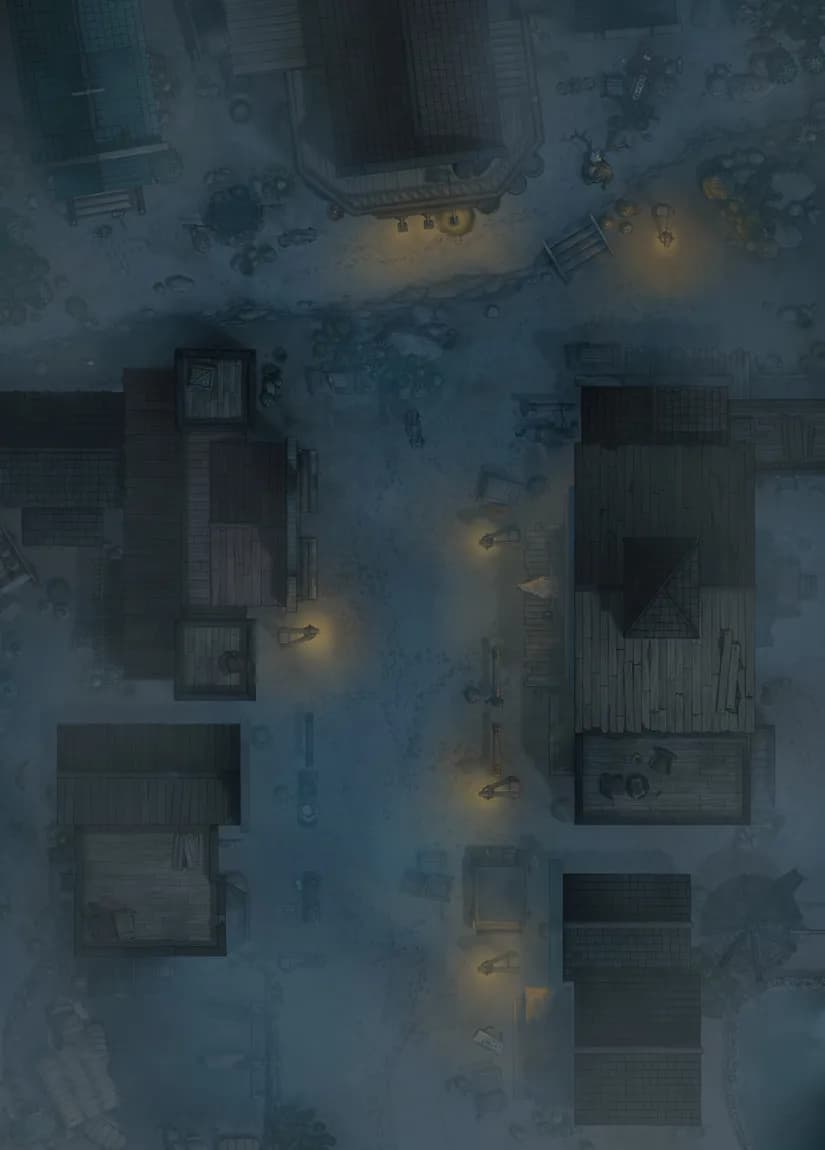
Wild West Town (+1)
Wild West Town (+1)
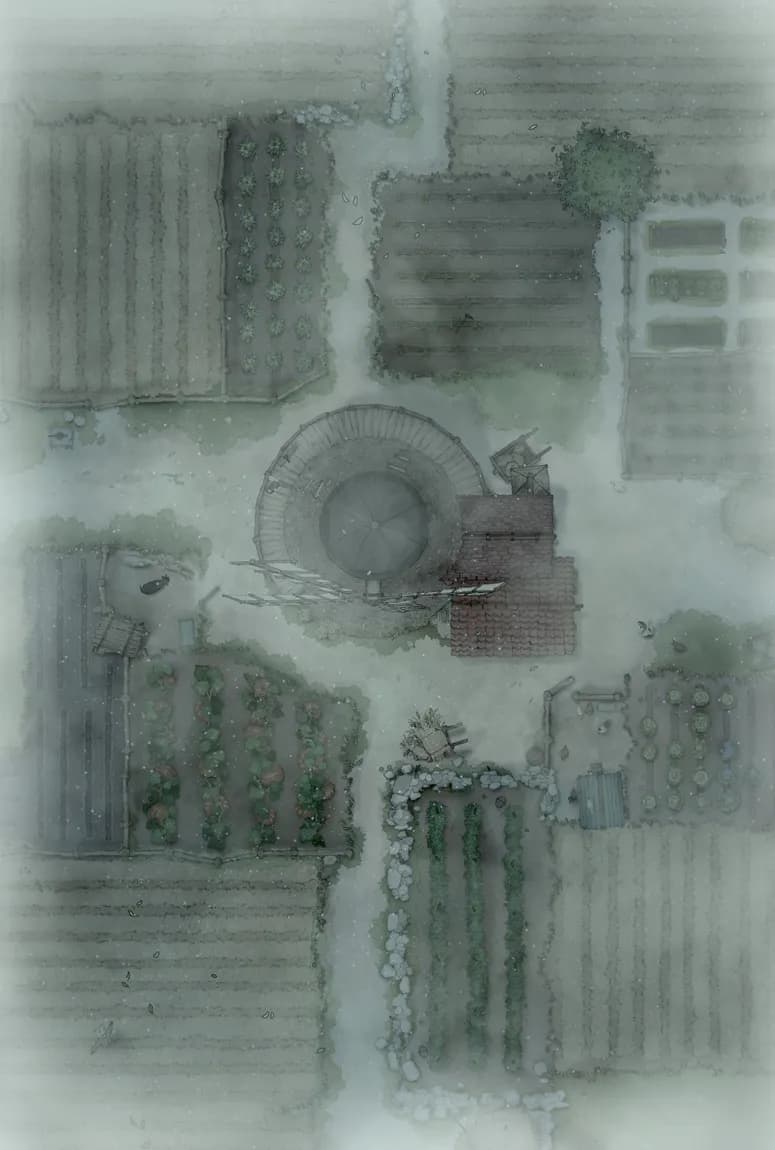
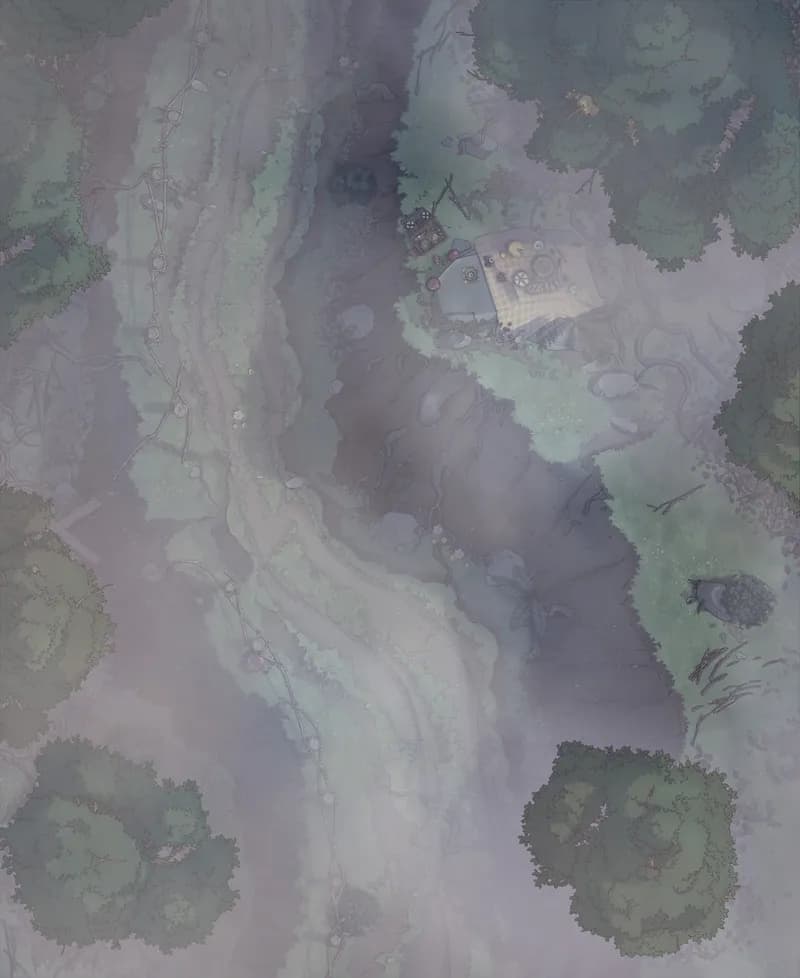
Windmill Farm (+1)
Windmill Farm (+1)
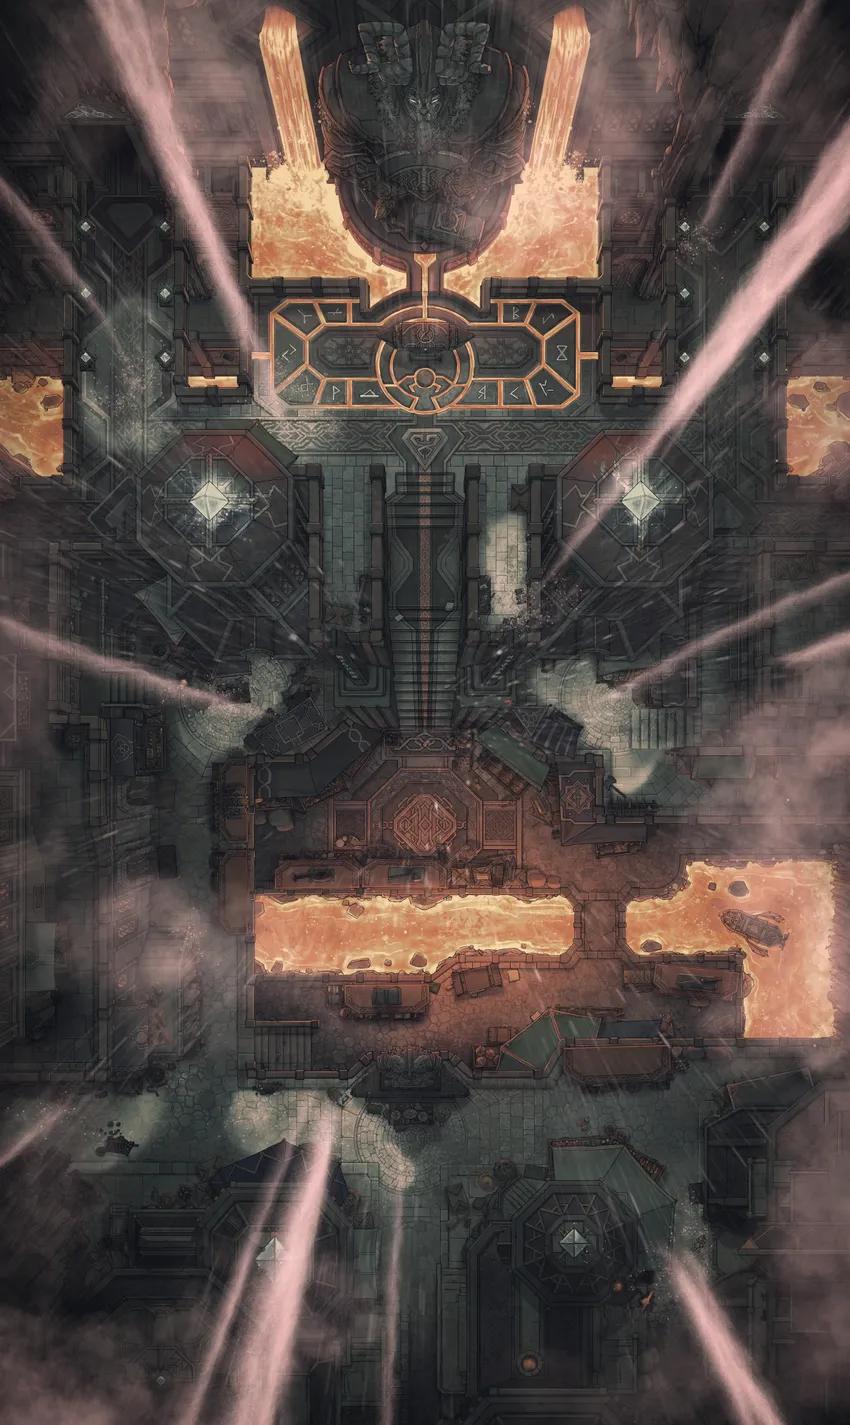
Wizard Prison Pt. 1 (+1)
Wizard Prison Pt. 1 (+1)
Wizard Prison Pt. 2 (+1)
Wizard Prison Pt. 2 (+1)
Wizard Prison Pt. 3 (+1)
Wizard Prison Pt. 3 (+1)
Wizard Prison Pt. 4
Wizard Prison Pt. 4
Wizard Prison Pt. 7
Wizard Prison Pt. 7
Wonderful Wizard Waterfall (+5)
Wonderful Wizard Waterfall (+5)
Wuxia Tavern (+1)
Wuxia Tavern (+1)
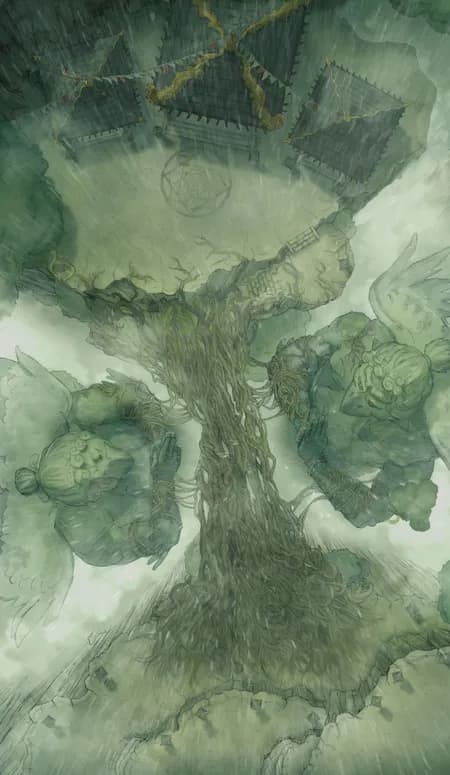
Yggdrasil Branch Overlook
Yggdrasil Branch Overlook
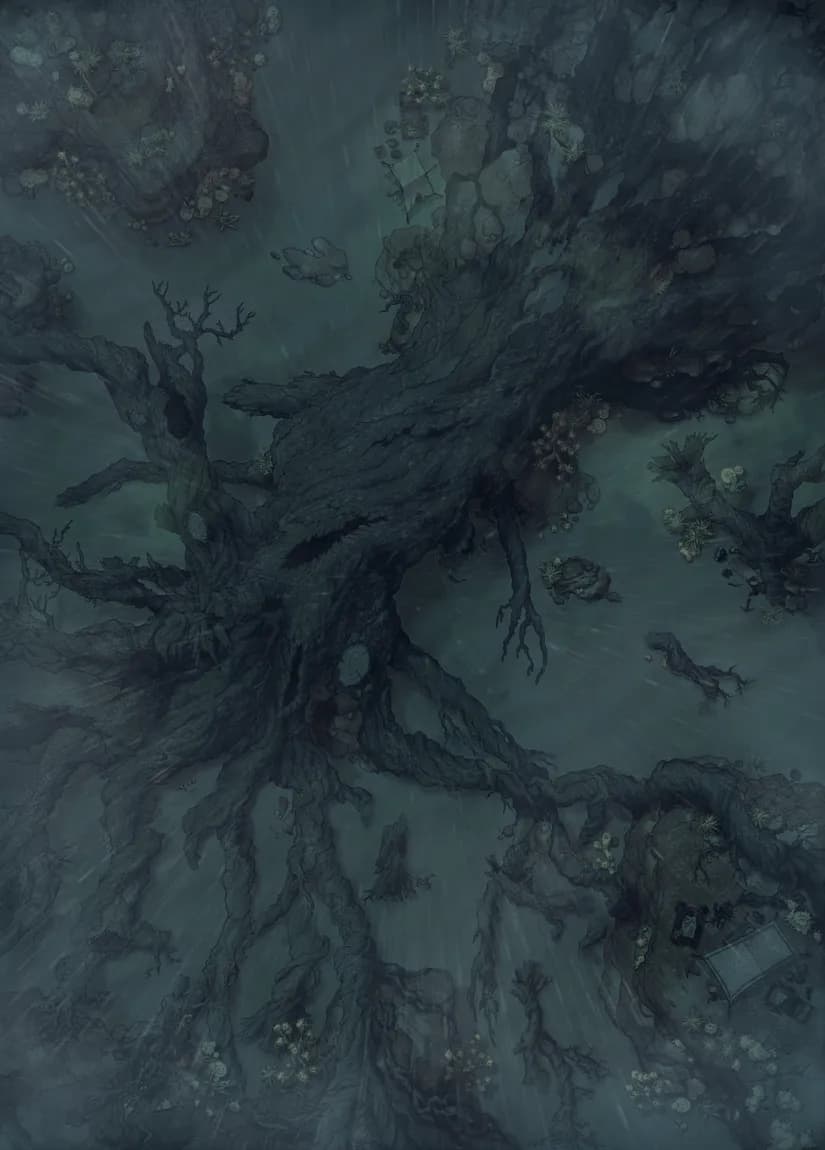
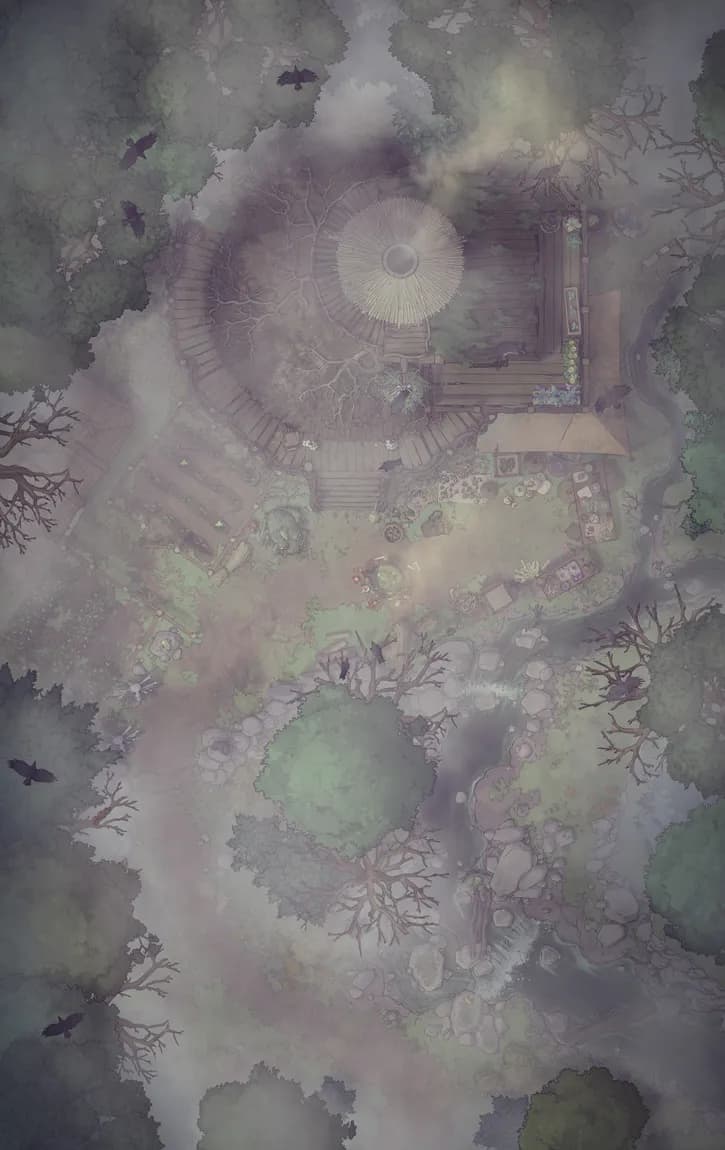
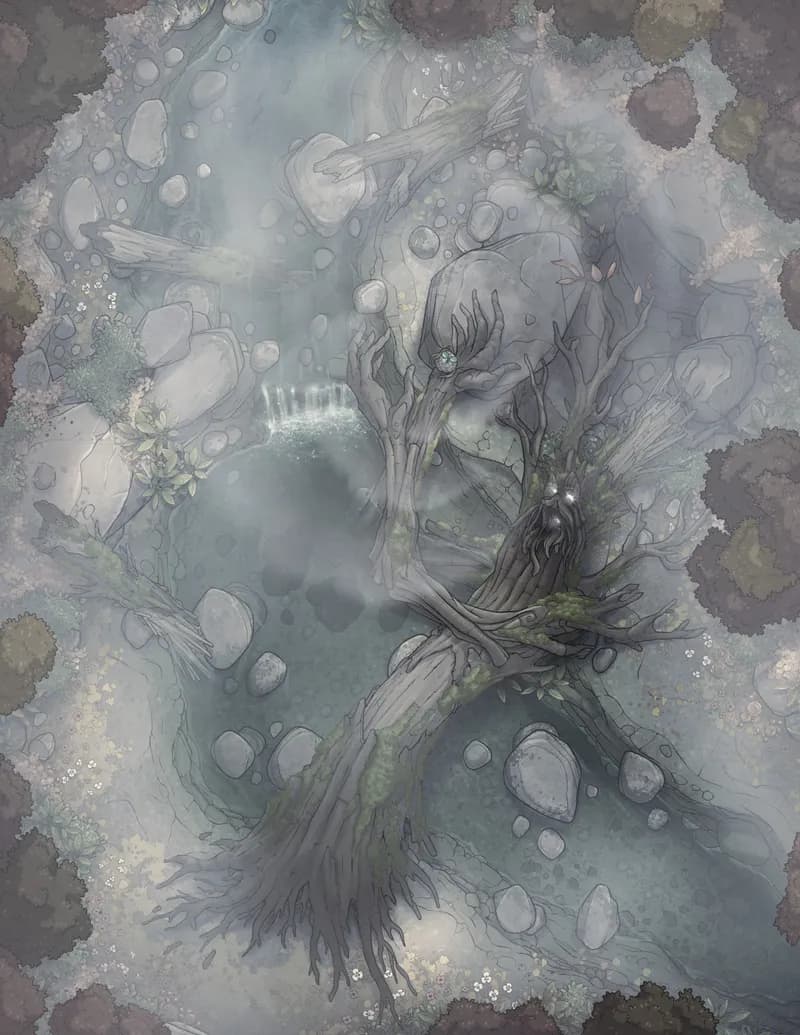
Yggdrasil Roots
Yggdrasil Roots
Yggdrasil Treetop (+1)
Yggdrasil Treetop (+1)
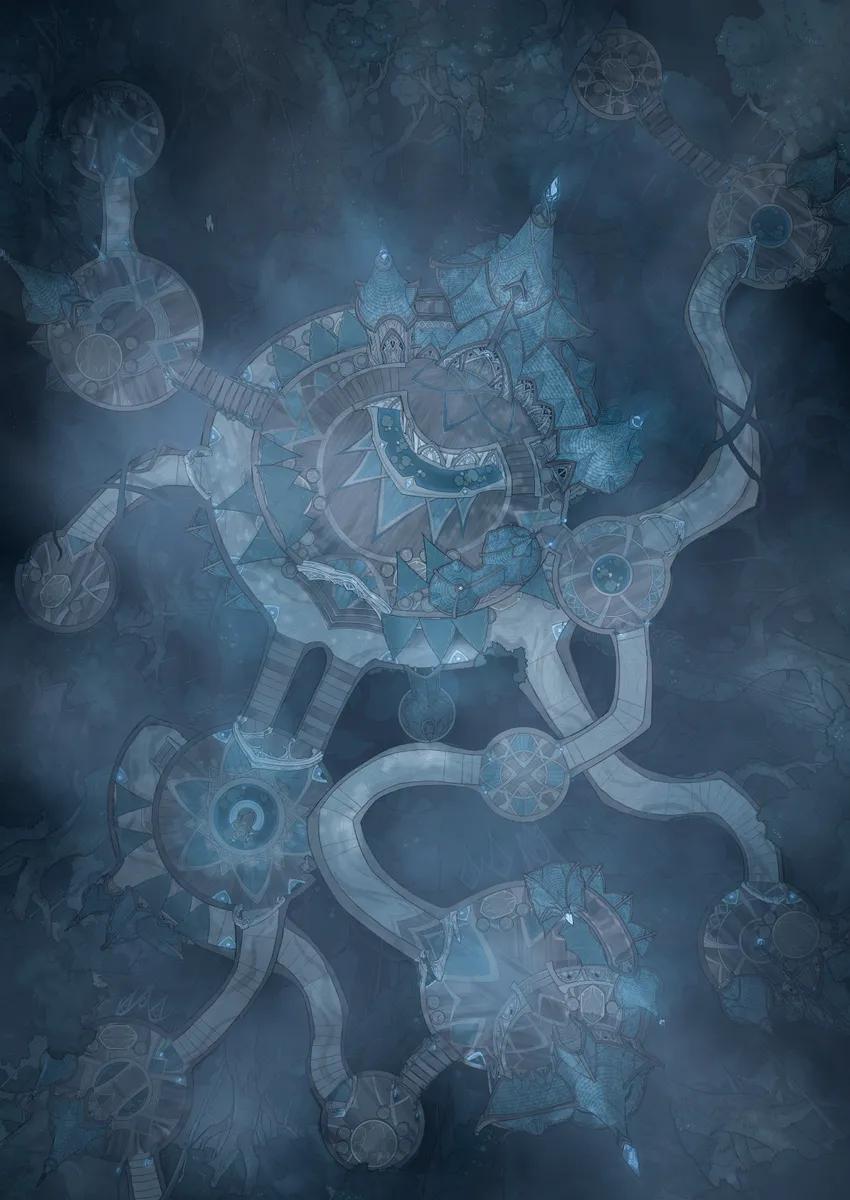
Yggdrasil Trunk (+4)
Yggdrasil Trunk (+4)
Yggdrasil Village (+2)
Yggdrasil Village (+2)
Young Adventurer's Hideout
Young Adventurer's Hideout
Zen Monastery
Zen Monastery