Cavern of the Venom Queen (+7)
Cavern of the Venom Queen (+7)
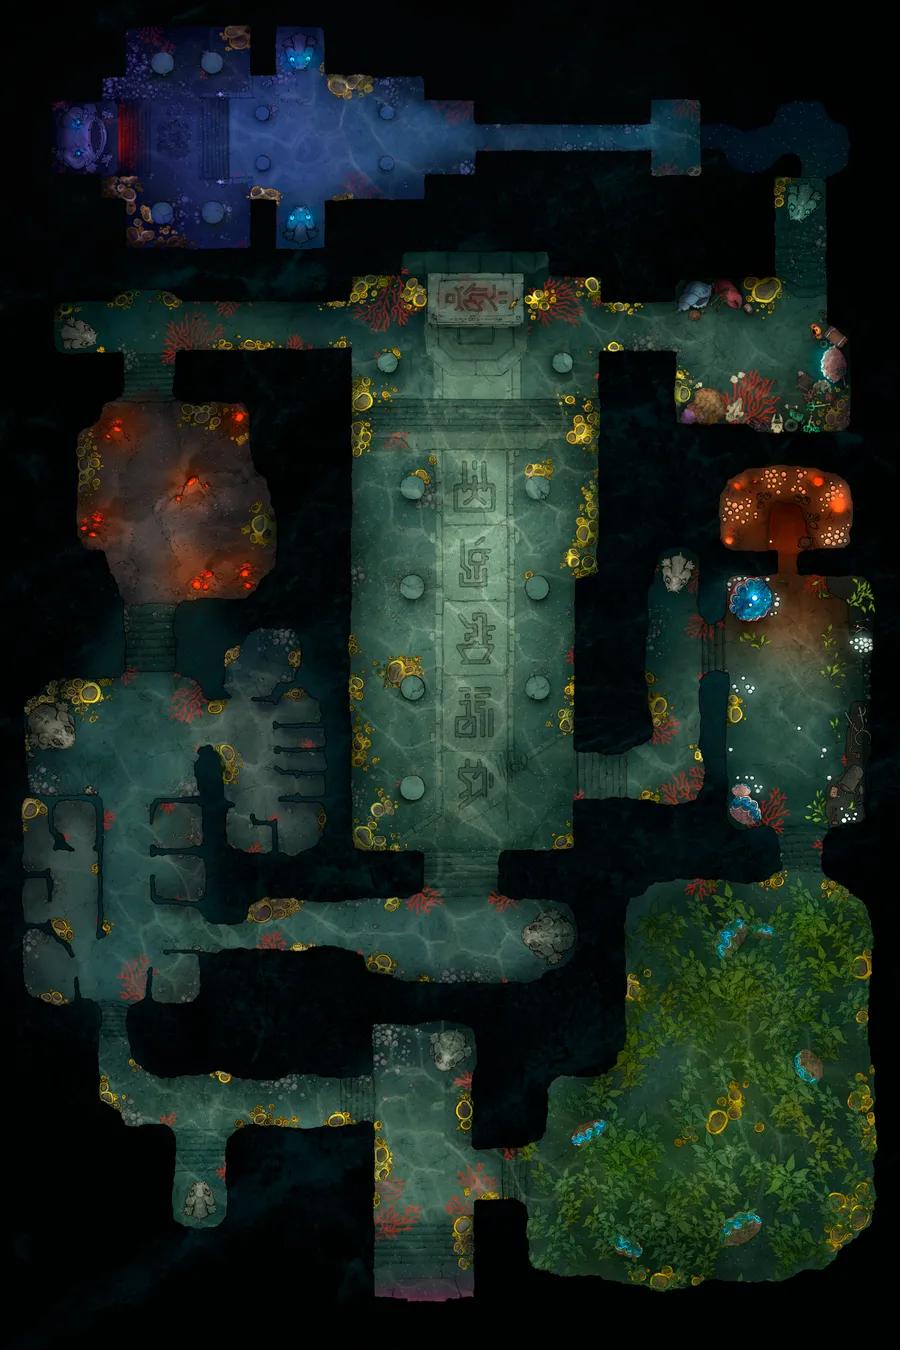
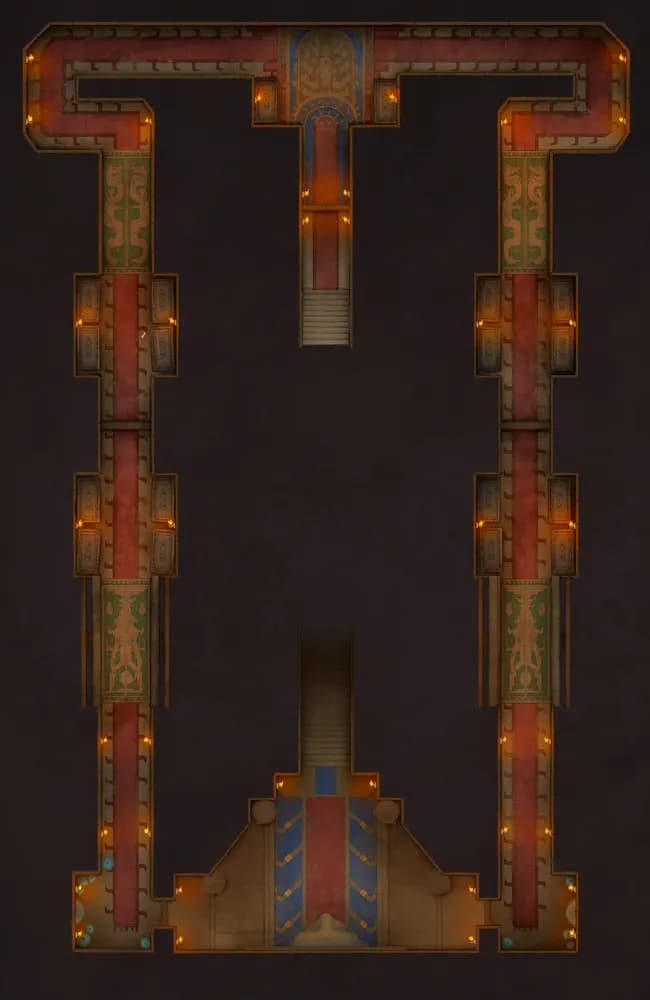
Deep Sea Temple (+1)
Deep Sea Temple (+1)
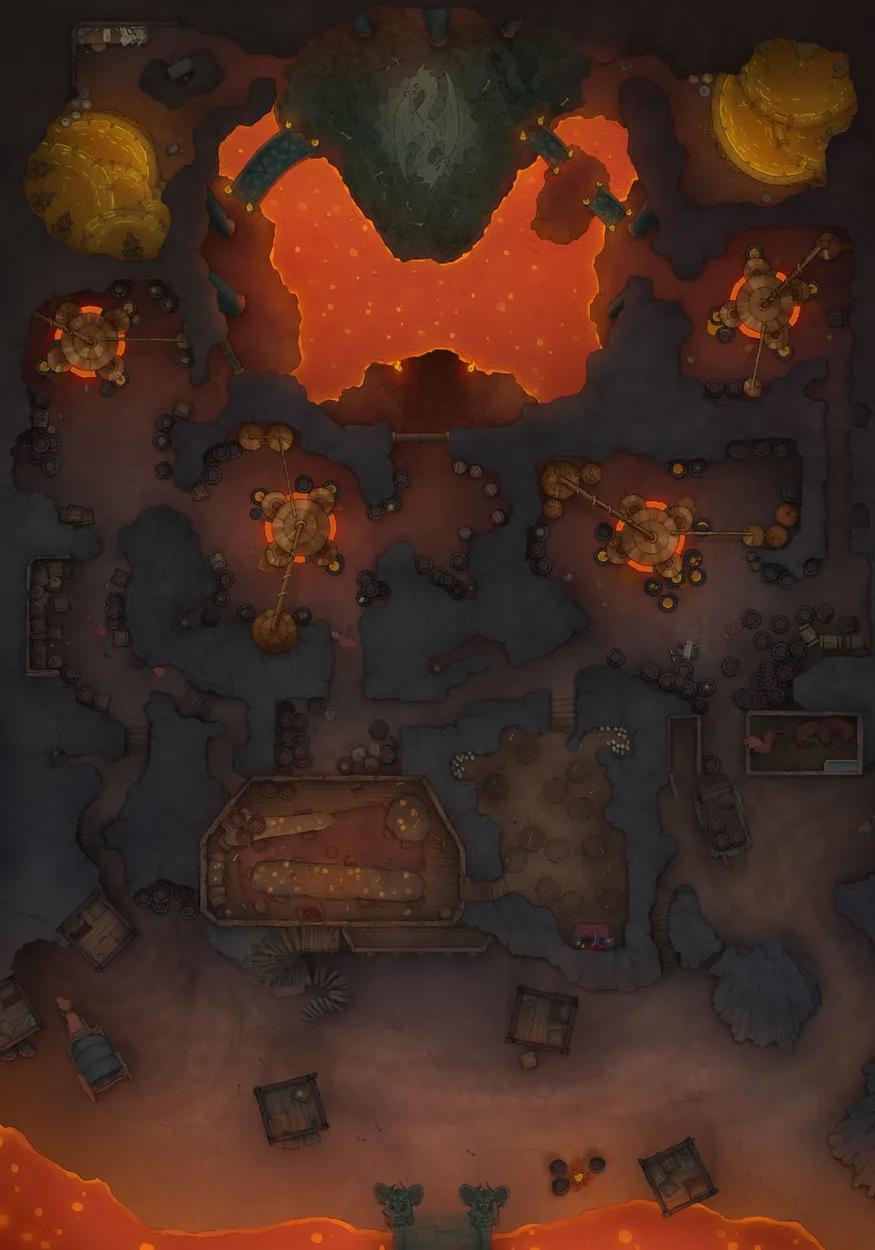
Drakescale Peak (+8)
Drakescale Peak (+8)
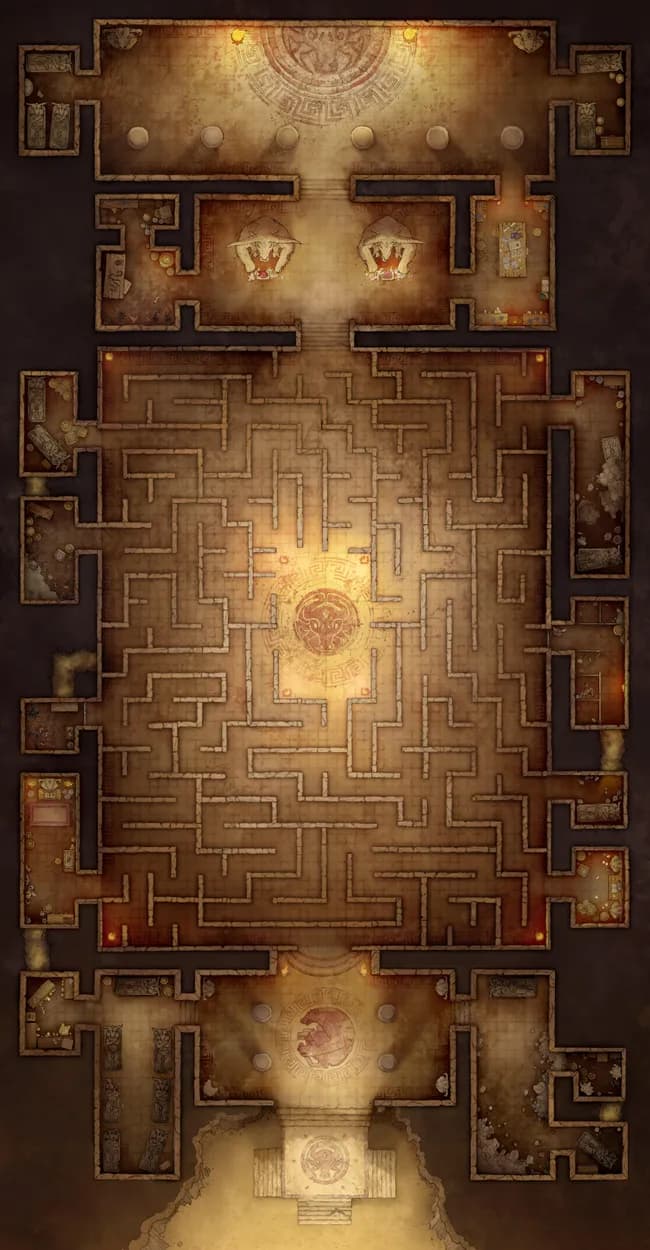
Minotaur Labyrinth (+5)
Minotaur Labyrinth (+5)
Necropolis Dungeon (+2)
Necropolis Dungeon (+2)
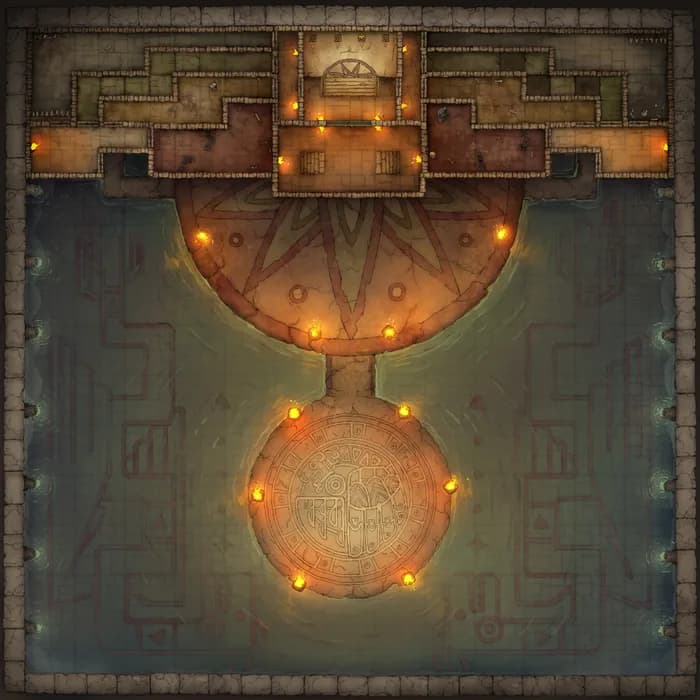
Temple of the Couatl Boss Room (+12)
Temple of the Couatl Boss Room (+12)
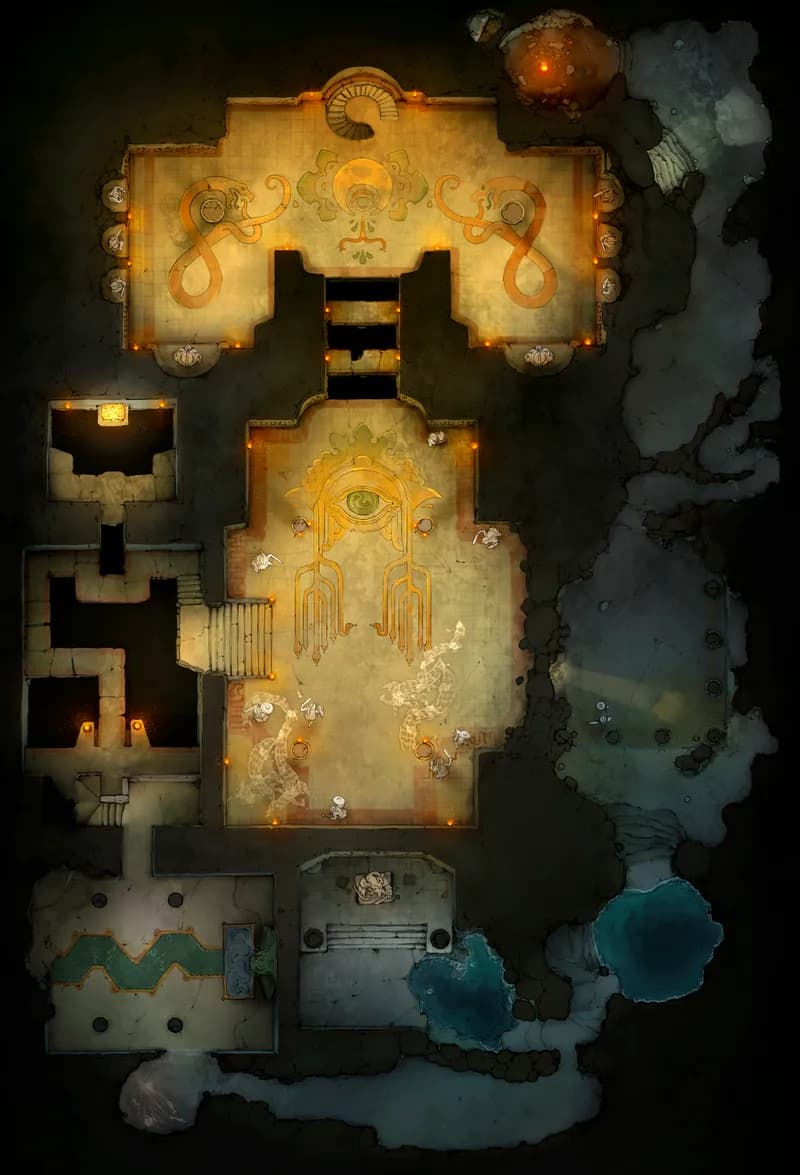
Temple of the Medusa (+1)
Temple of the Medusa (+1)