Ages of the Vale: Barn (+3)
Ages of the Vale: Barn (+3)
Ages of the Vale: Coaching House
Ages of the Vale: Coaching House
Ages of the Vale: Inn (+2)
Ages of the Vale: Inn (+2)
Ages of the Vale: Tavern (+3)
Ages of the Vale: Tavern (+3)
Airships! Pt. 3 (+1)
Airships! Pt. 3 (+1)
Alchemy District (+1)
Alchemy District (+1)
Alchemy Dungeon
Alchemy Dungeon
Ancient Battlefield
Ancient Battlefield
Ancient Hydra Lair (+11)
Ancient Hydra Lair (+11)
Ancient Stepwell (+1)
Ancient Stepwell (+1)

Ancient Tech Treasury (+1)
Ancient Tech Treasury (+1)
Annis Hag Lair
Annis Hag Lair
Archaeological Dig (+1)
Archaeological Dig (+1)
Arctic Expedition (+2)
Arctic Expedition (+2)
Astral Plane
Astral Plane
Badger Hill
Badger Hill
Banshee Moor
Banshee Moor
Beach Town
Beach Town
Beached Kraken
Beached Kraken
Beachside Bazaar
Beachside Bazaar
Beachside Cliff (+1)
Beachside Cliff (+1)
Birdfolk Village
Birdfolk Village
Blacksmith Interior (+1)
Blacksmith Interior (+1)
Blue Dragon Lair (+1)
Blue Dragon Lair (+1)
Bone Dryad Ossuary (+1)
Bone Dryad Ossuary (+1)
Bone Mill Exterior (+2)
Bone Mill Exterior (+2)
Bone Mill Interior
Bone Mill Interior
Bone Mill Lair
Bone Mill Lair
Bridge Town
Bridge Town
Bullywug Swamp (+1)
Bullywug Swamp (+1)
Burial Barrow (+2)
Burial Barrow (+2)
Candlestair Shrine
Candlestair Shrine
Caravan Roadblock (+1)
Caravan Roadblock (+1)
Cave Temple
Cave Temple
Cavern of the Venom Queen
Cavern of the Venom Queen
Celestial Chapel
Celestial Chapel
Celestial Chapel Interior
Celestial Chapel Interior
Celestial Gate
Celestial Gate
Chrono Chaos Ruins (+1)
Chrono Chaos Ruins (+1)
Chrono Chaos Ruins Interior (+1)
Chrono Chaos Ruins Interior (+1)
Chthonic Lighthouse
Chthonic Lighthouse
City Marketplace (+3)
City Marketplace (+3)
City Rooftop Chase
City Rooftop Chase
City Streets (+10)
City Streets (+10)
Cliffside Training Grounds (+1)
Cliffside Training Grounds (+1)
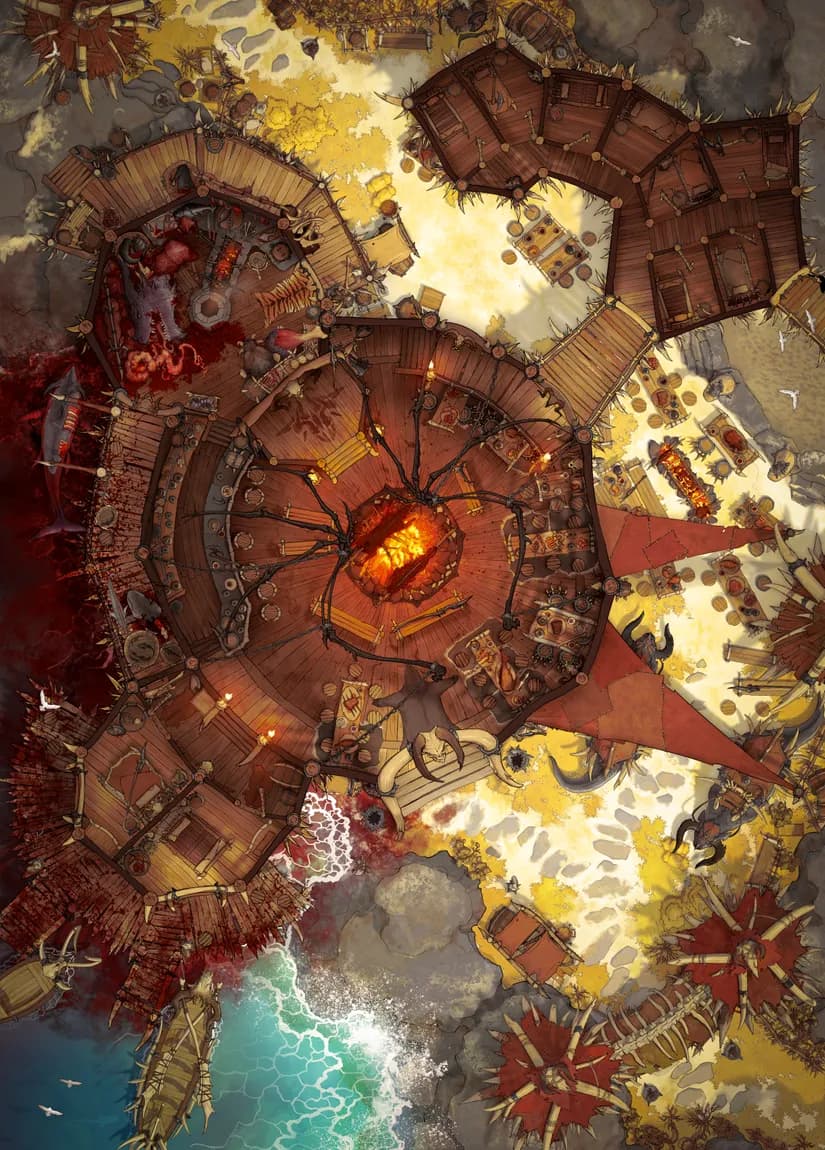
Clifftop Warcamp
Clifftop Warcamp
Clockwork Dragon Lair Exterior (+2)
Clockwork Dragon Lair Exterior (+2)
Clockwork Dragon Lair Interior
Clockwork Dragon Lair Interior
Cloud Forest Camp (+1)
Cloud Forest Camp (+1)
Colosseum of Challenges (+4)
Colosseum of Challenges (+4)
Colossus Port
Colossus Port
Coral Throne (+2)
Coral Throne (+2)
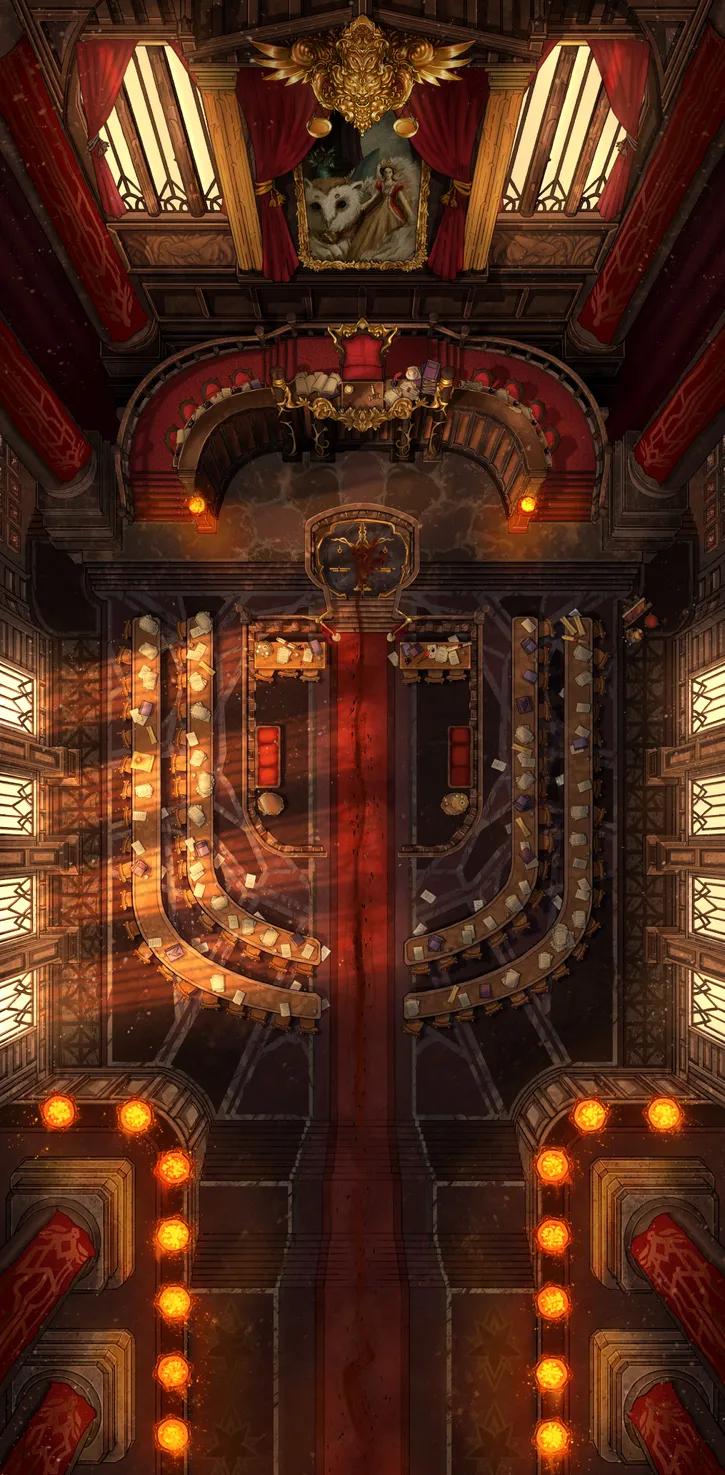
Court of Justice
Court of Justice
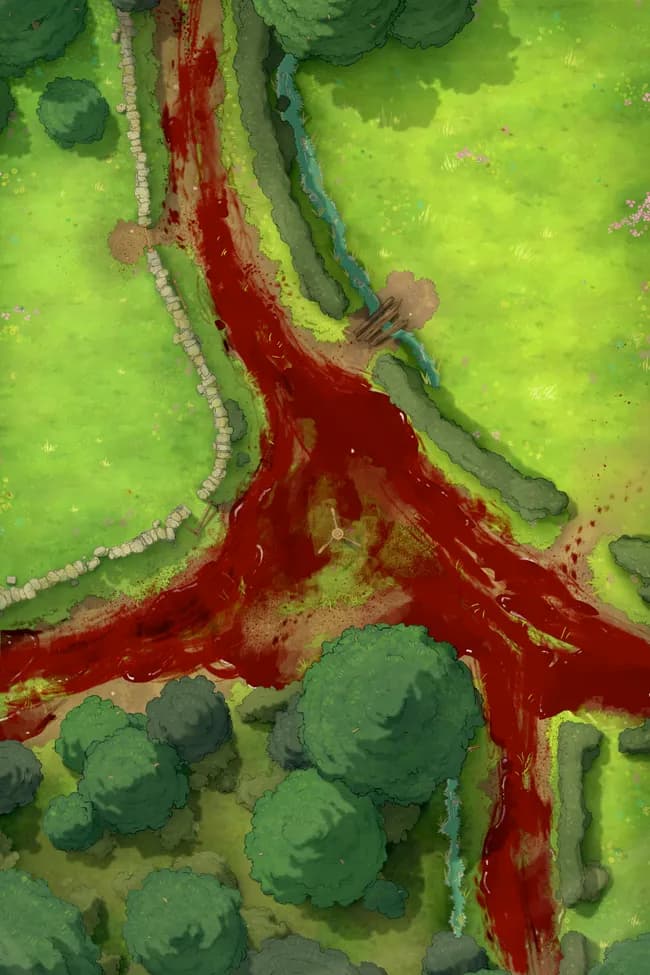
Crossroads (+1)
Crossroads (+1)
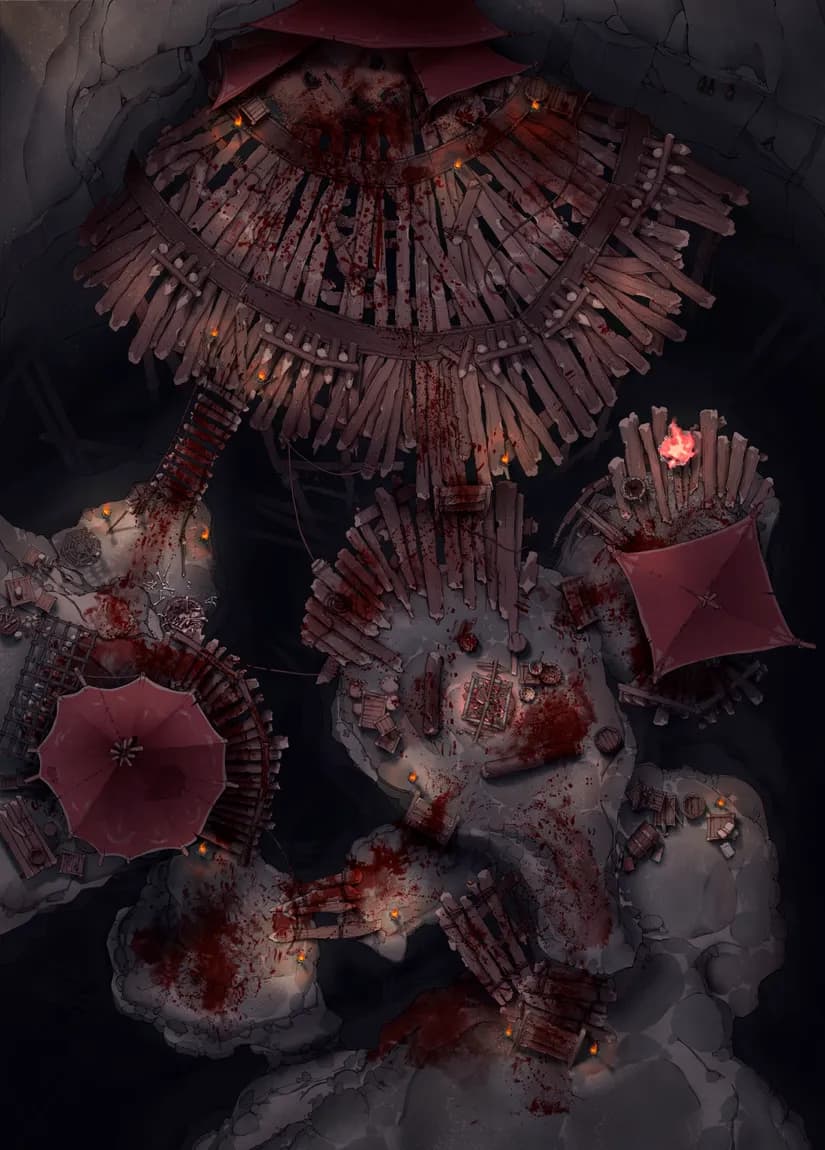
Crumbling Platform Boss Fight
Crumbling Platform Boss Fight
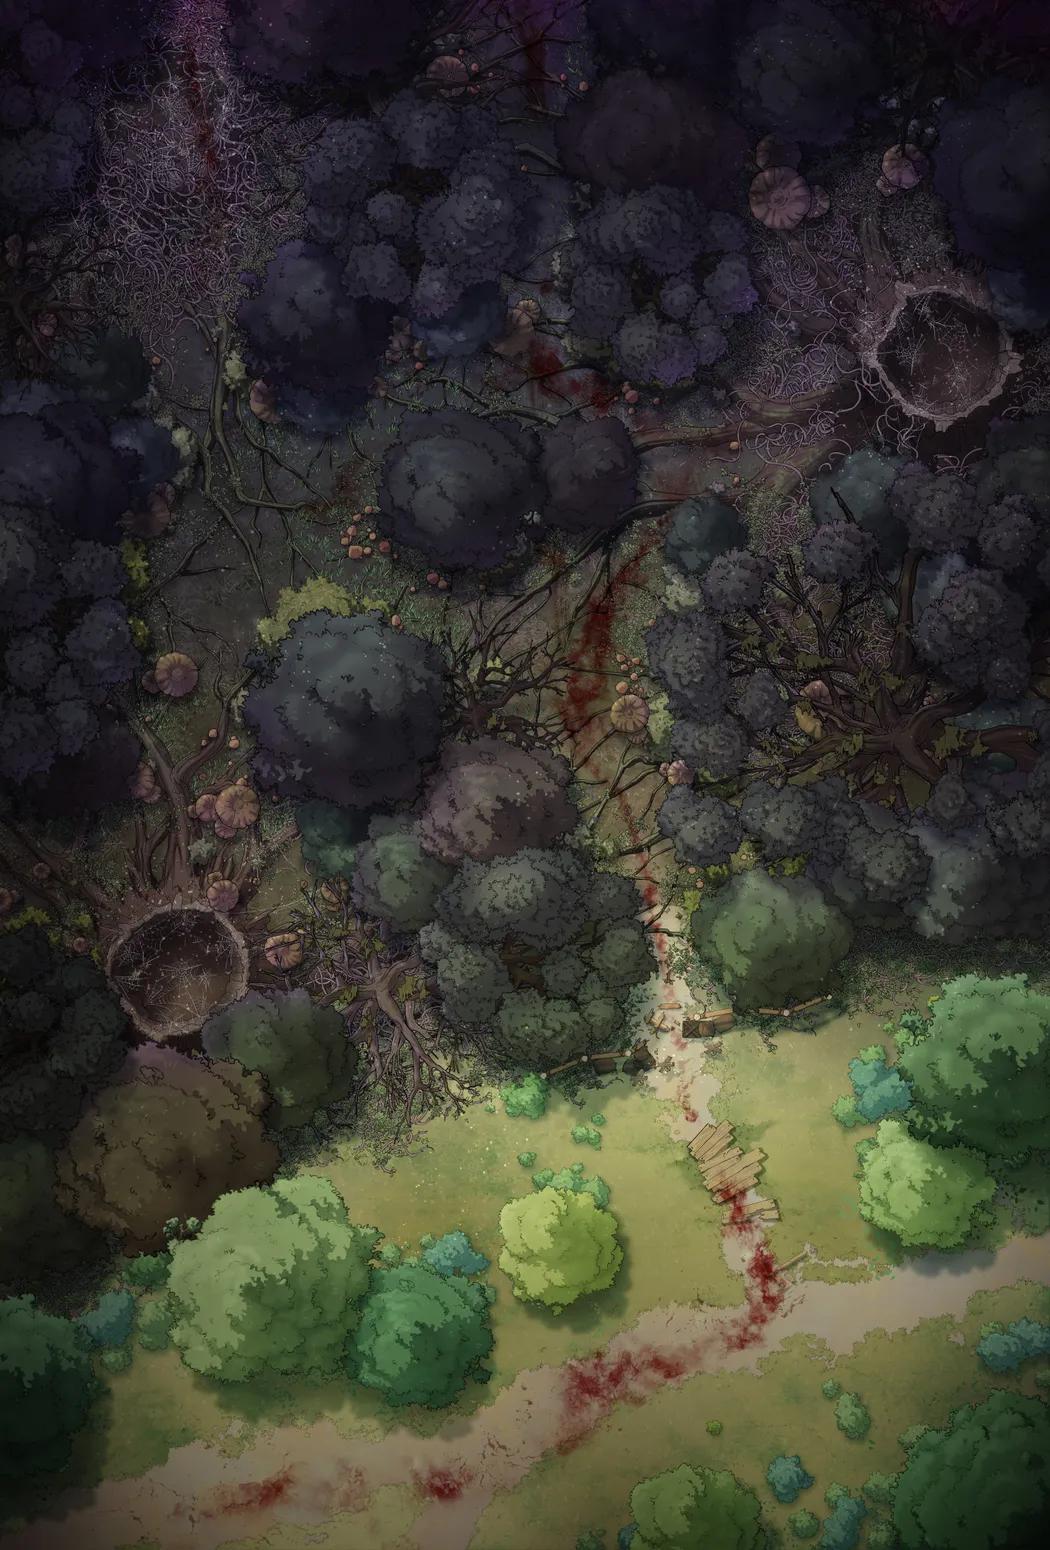
Dark Woods Edge
Dark Woods Edge
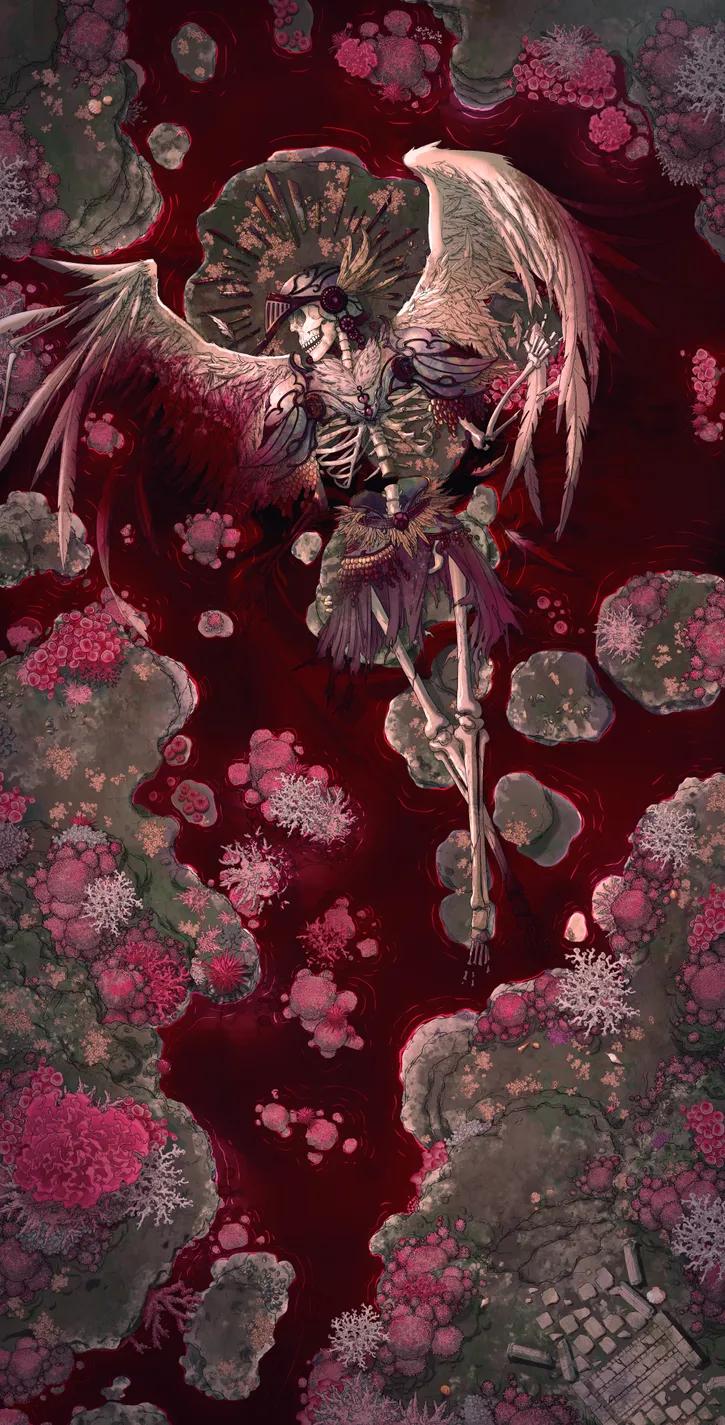
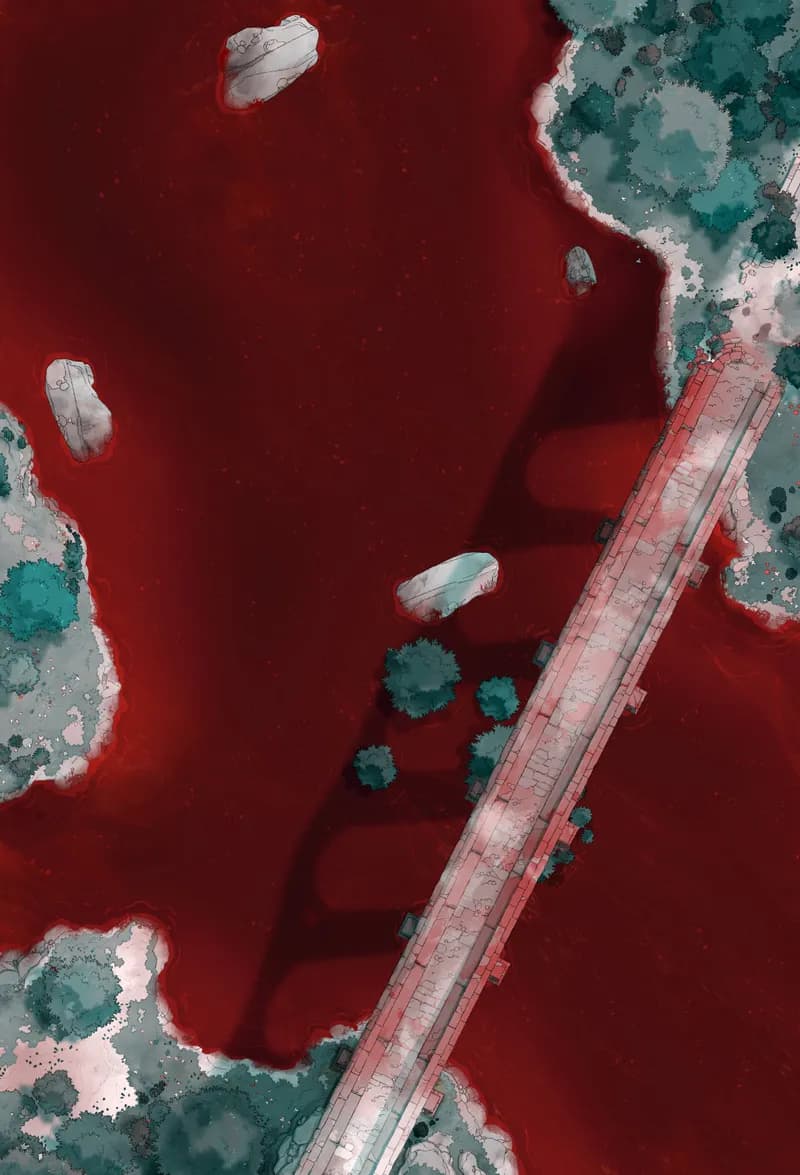
Dead Angel Reef (+2)
Dead Angel Reef (+2)

Deep Sea Organ
Deep Sea Organ
Desert Canyon
Desert Canyon
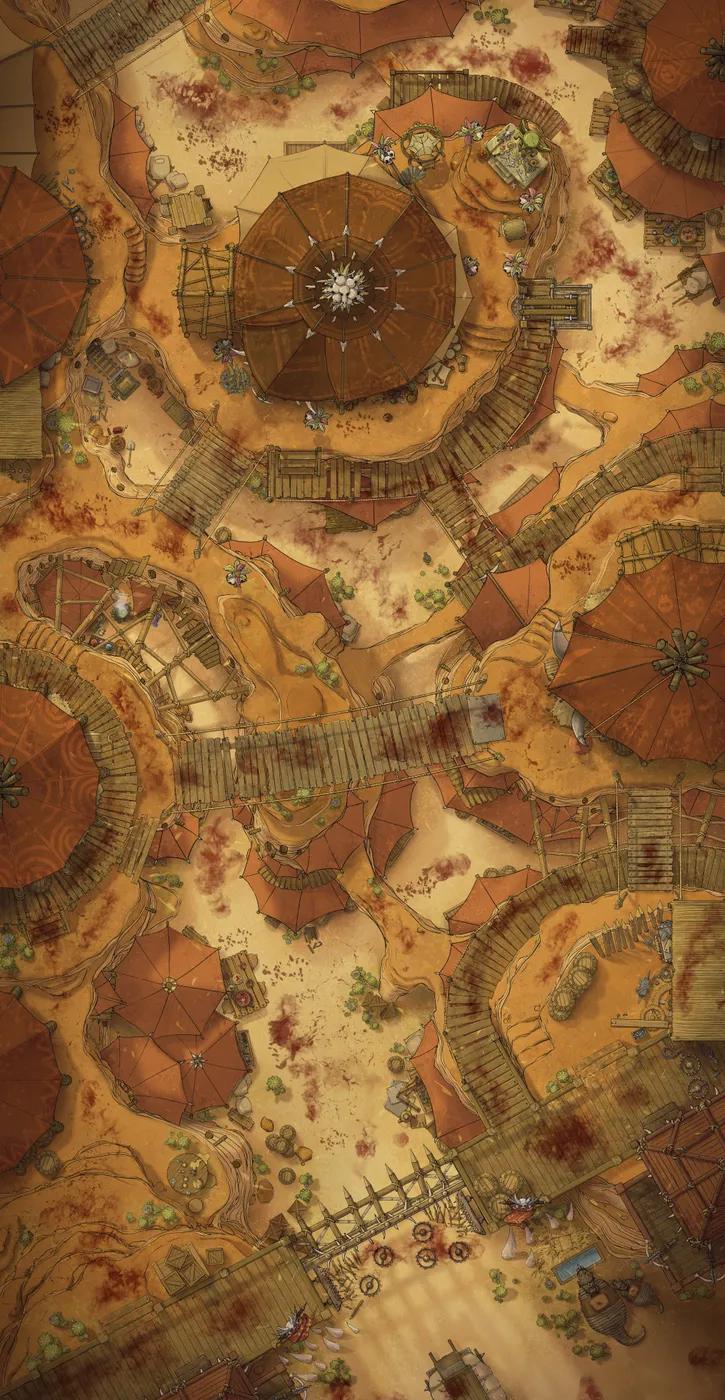
Desert Caravanserai
Desert Caravanserai
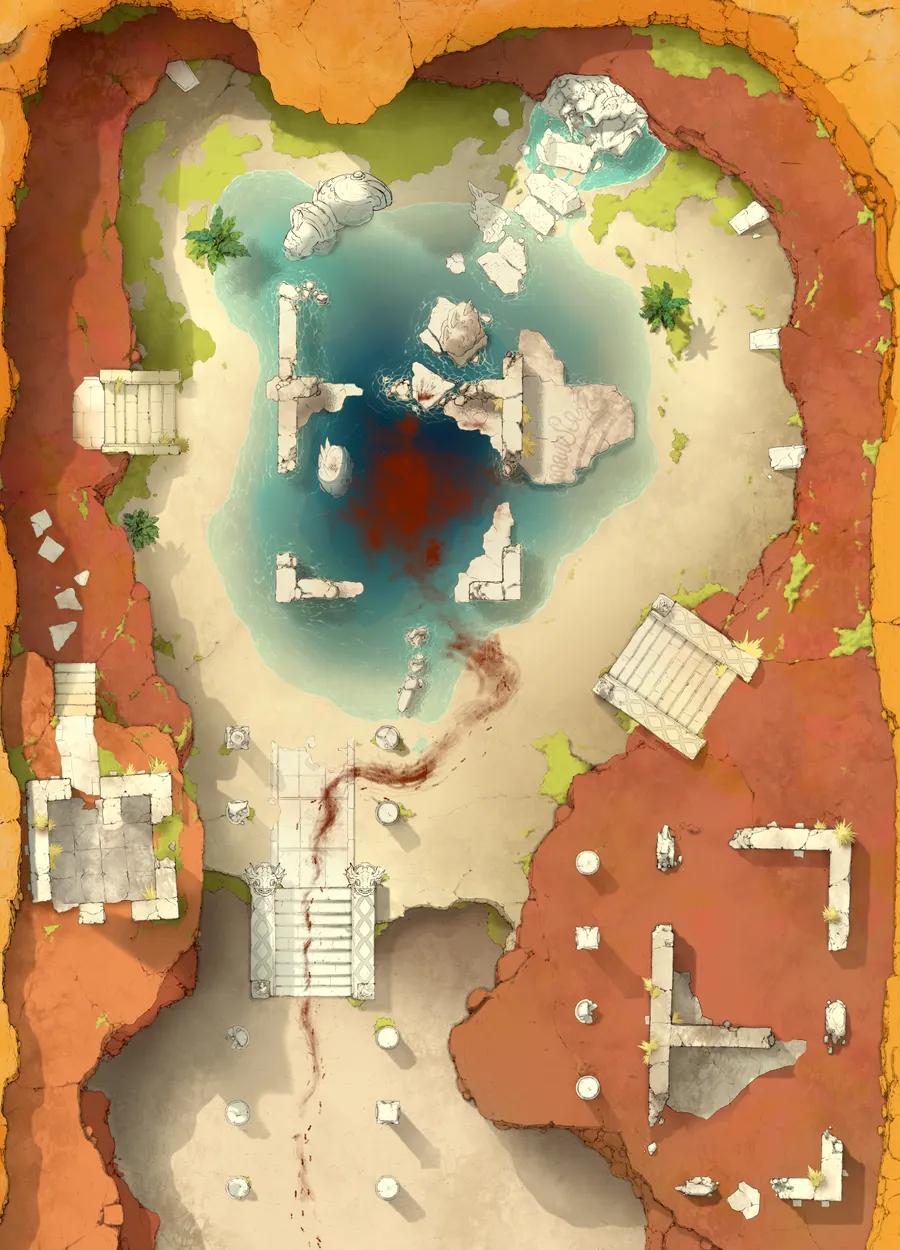
Desert Ruins
Desert Ruins
Desert Trading Camp
Desert Trading Camp
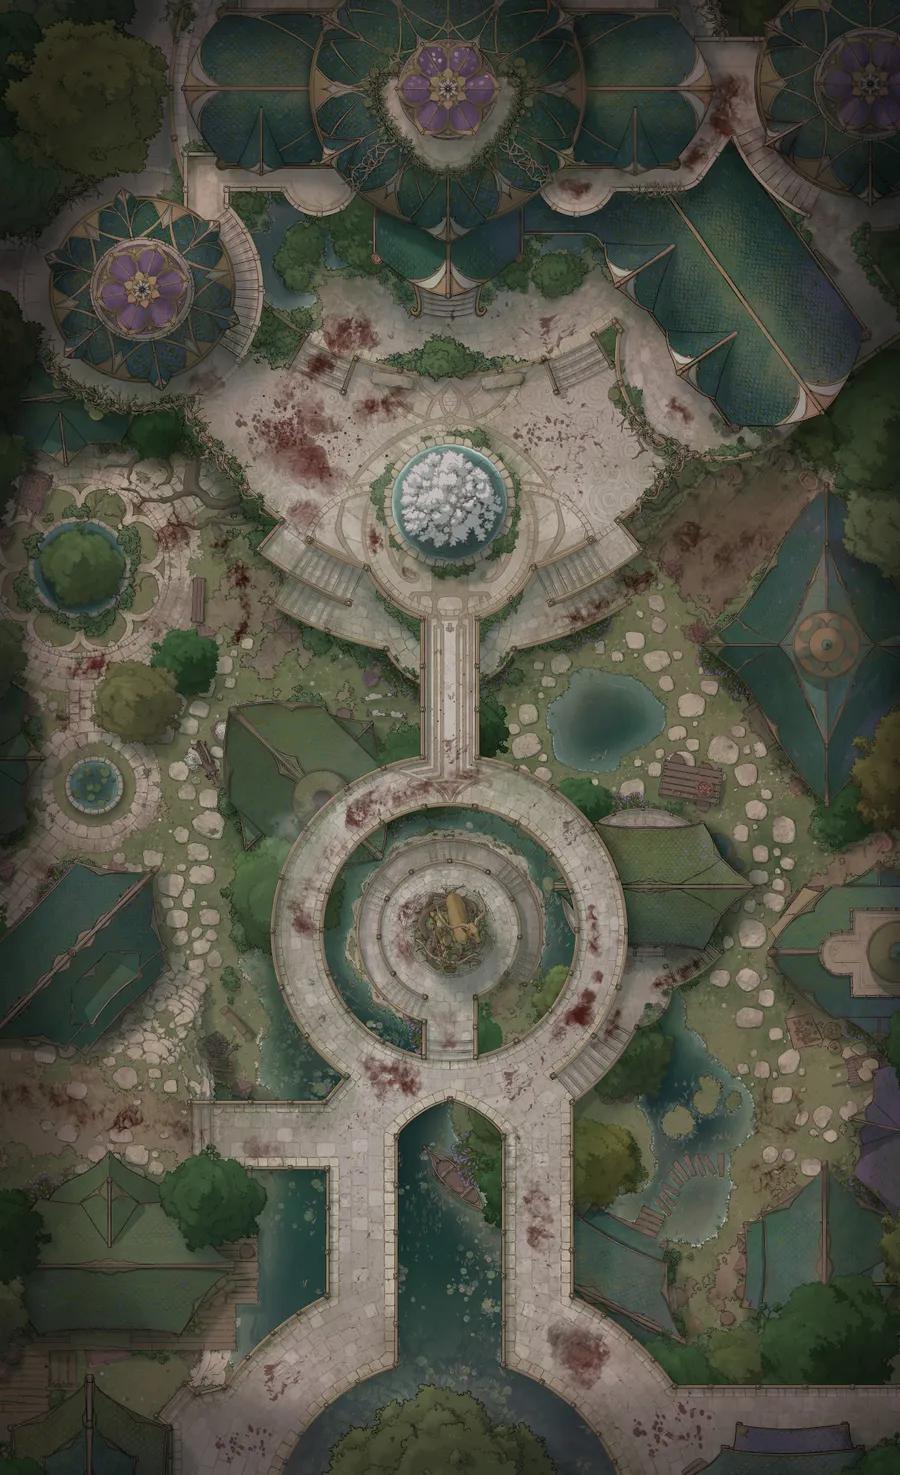
Djinn Gardens (+1)
Djinn Gardens (+1)
Dracolich Lair (+2)
Dracolich Lair (+2)
Dragon's Hoard (+1)
Dragon's Hoard (+1)
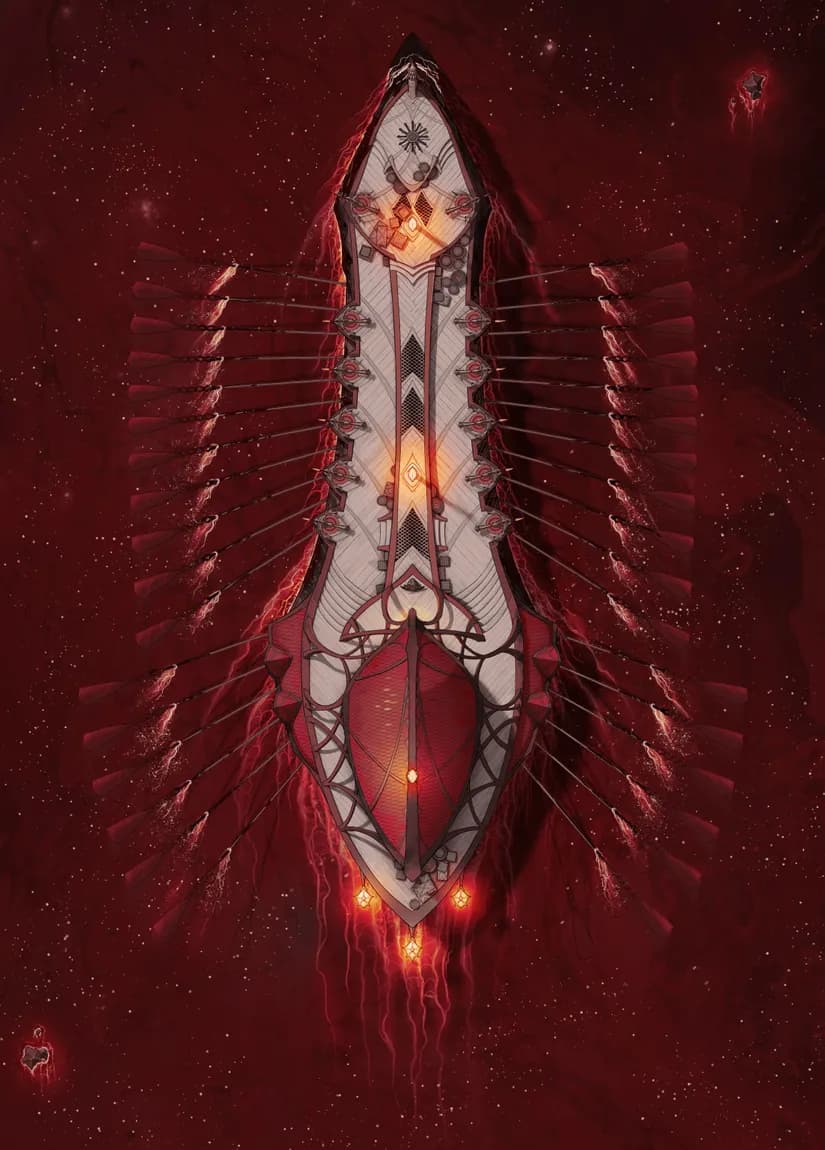
Drow Warship (+1)
Drow Warship (+1)
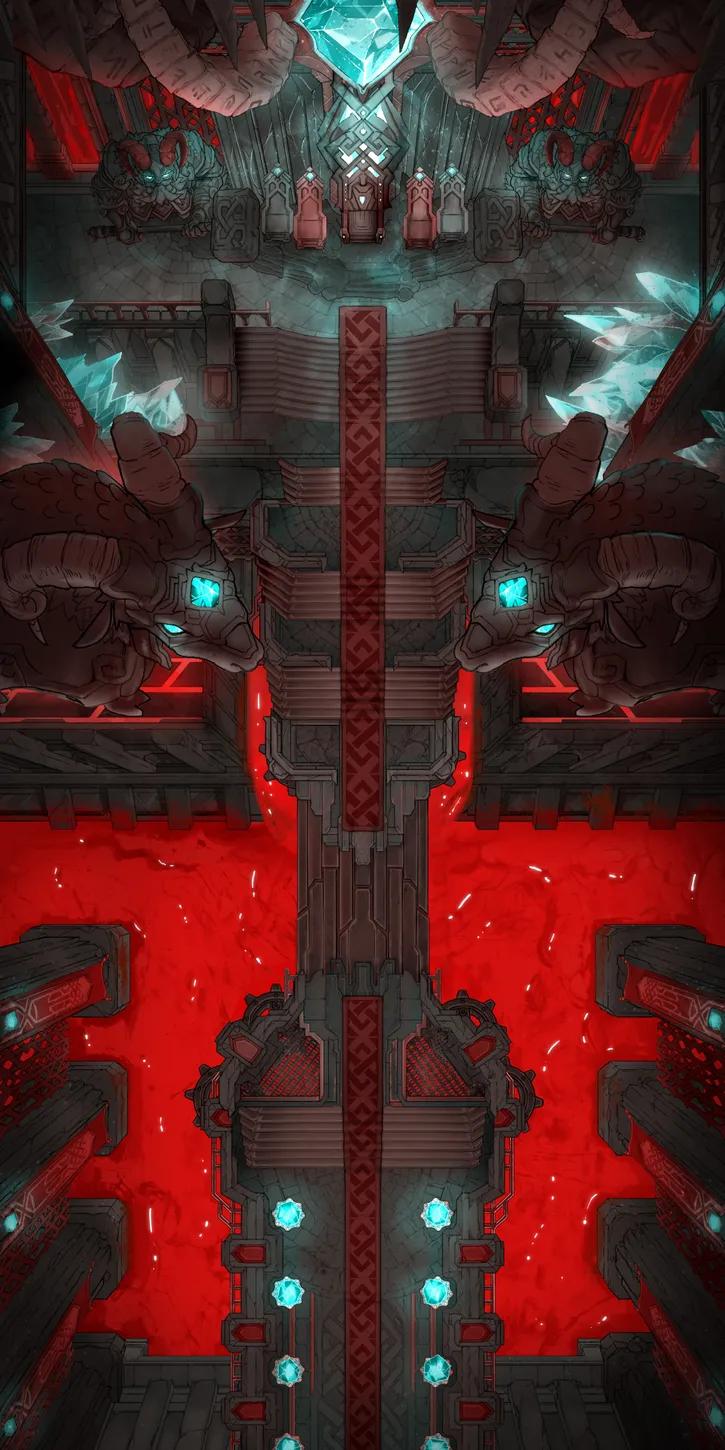
Dwarven Throne Hall (+2)
Dwarven Throne Hall (+2)
Elder Brain Lair (+2)
Elder Brain Lair (+2)
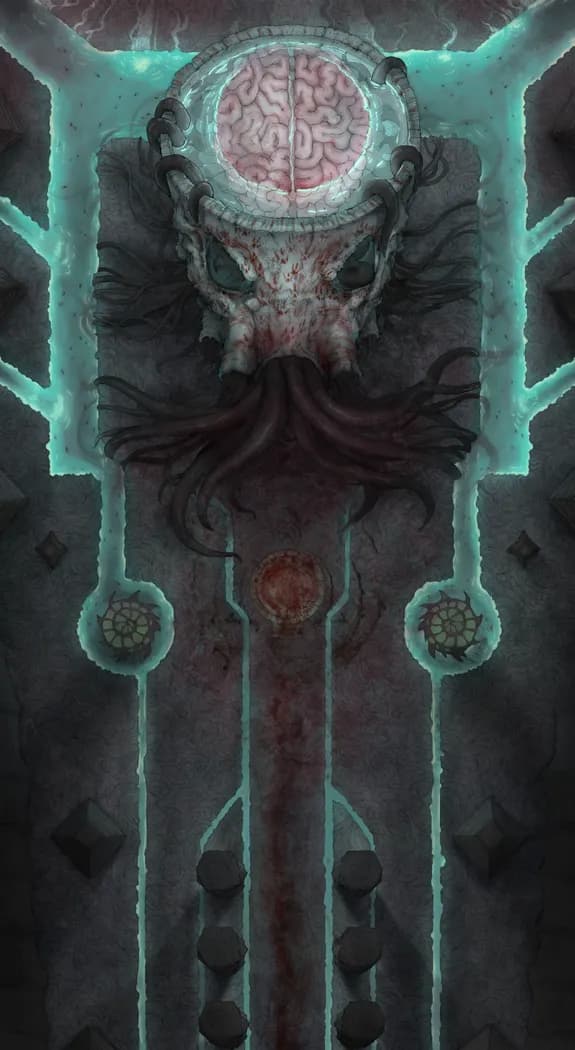
Elder Brain Sacrum Shrine
Elder Brain Sacrum Shrine
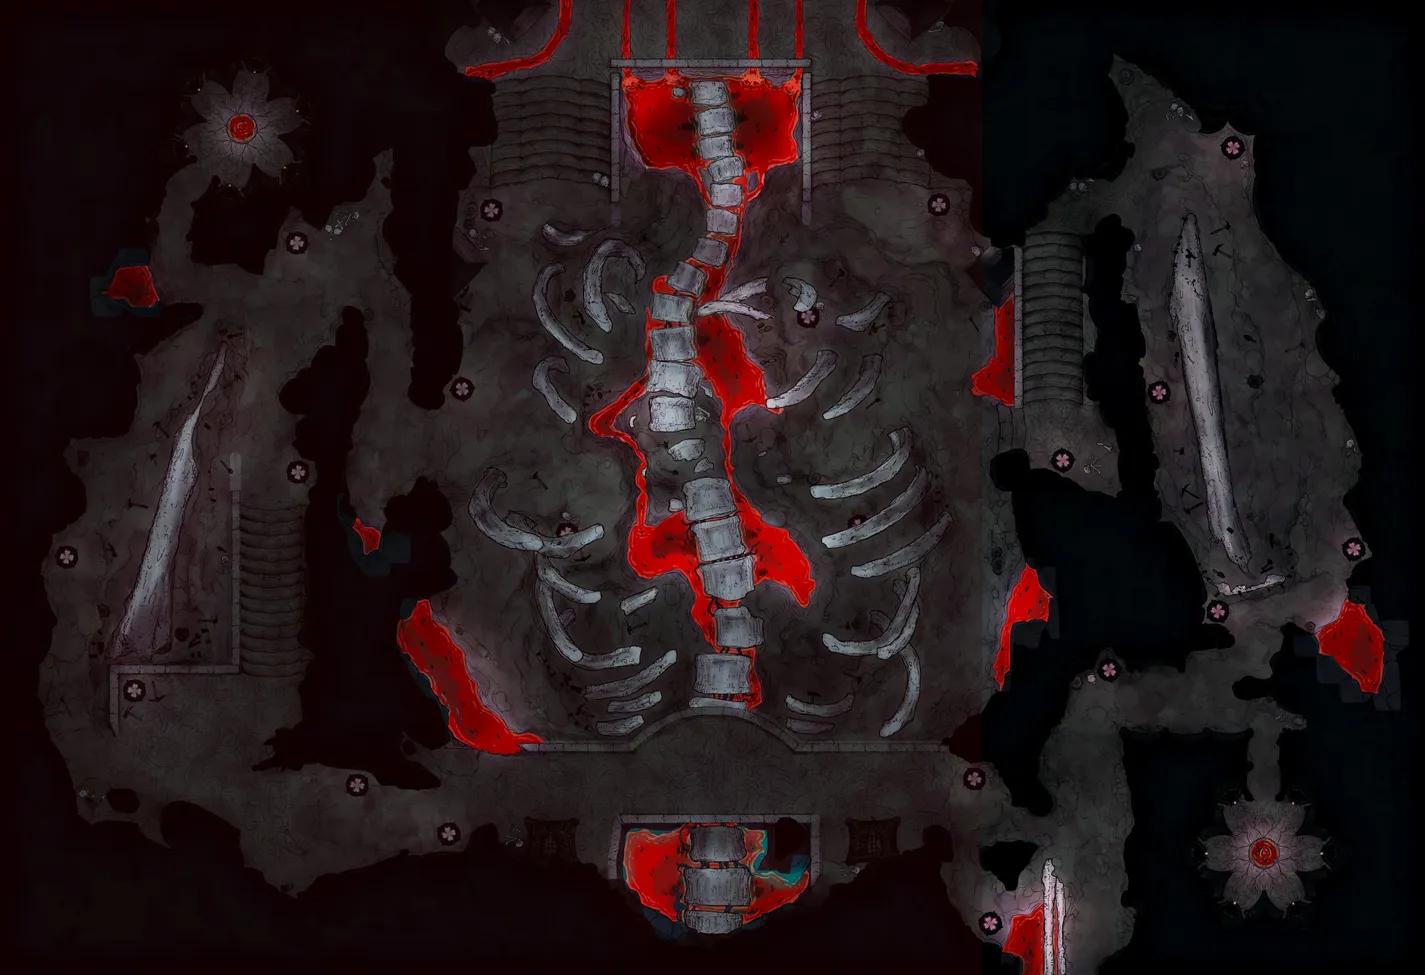
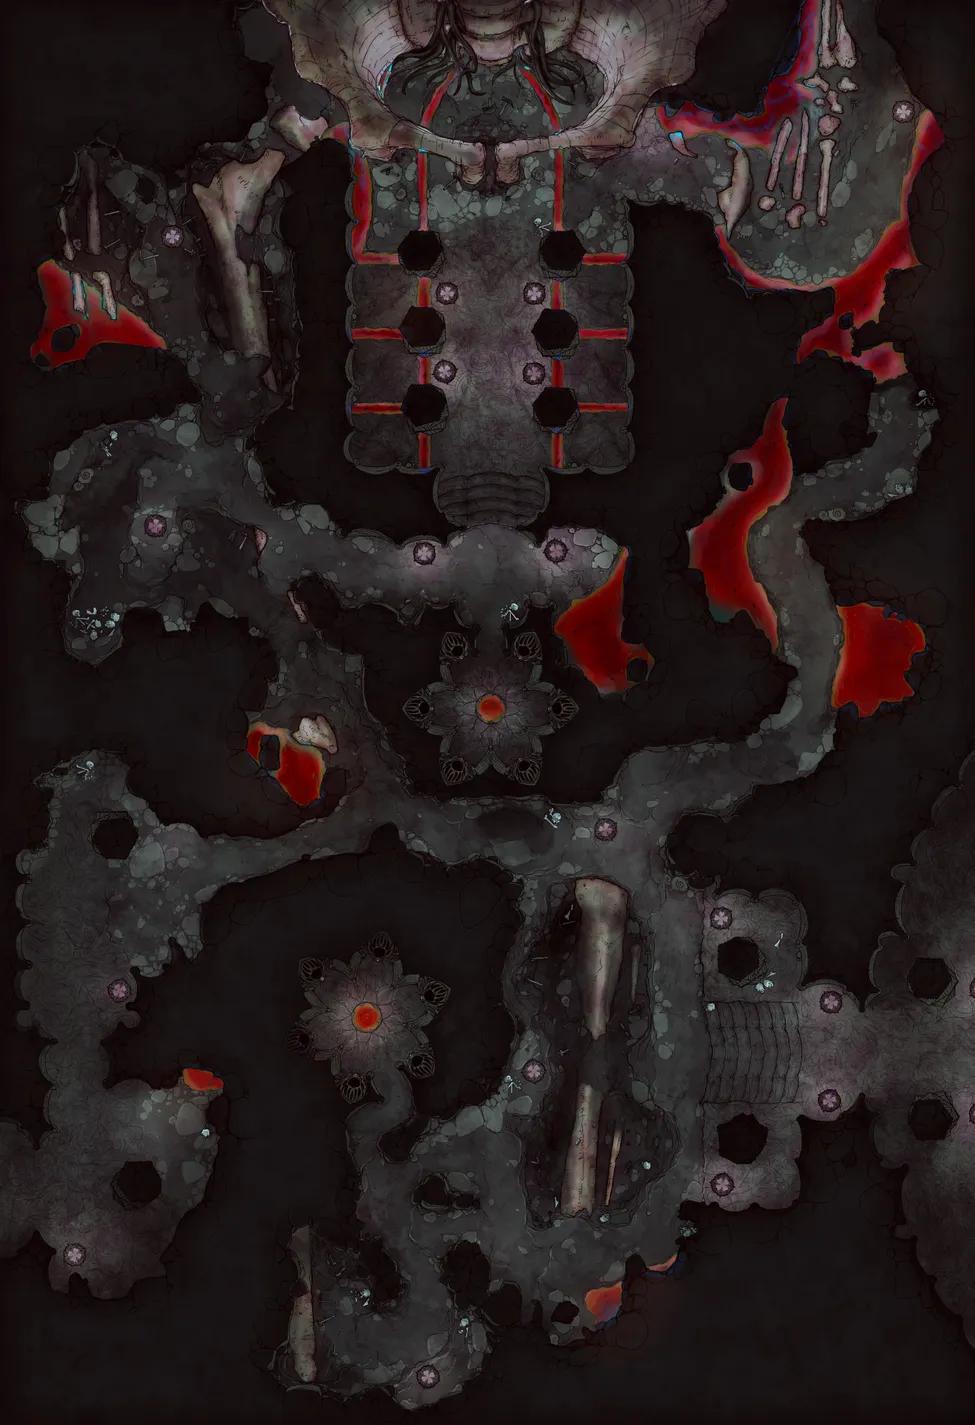
Elder Brain Spine Mine
Elder Brain Spine Mine
Eldritch Church (+1)
Eldritch Church (+1)
Elven City Center
Elven City Center
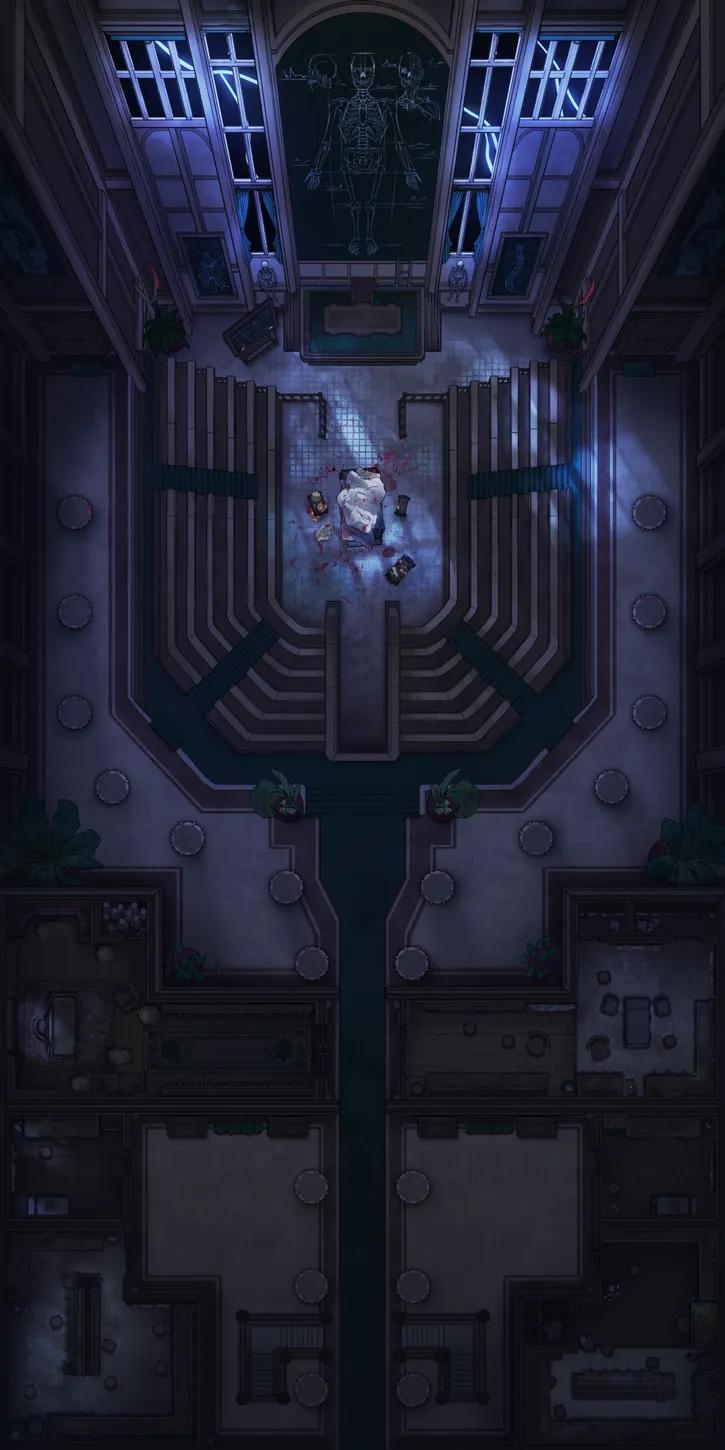
Experimental Surgery Theatre
Experimental Surgery Theatre
Fairy Treetop Village (+1)
Fairy Treetop Village (+1)
Fey Tavern (+1)
Fey Tavern (+1)
Fey Vineyard (+2)
Fey Vineyard (+2)
Fjordside Cabin (+1)
Fjordside Cabin (+1)
Floating Market (+1)
Floating Market (+1)
Floating Village
Floating Village
Flooded Fey Ruins
Flooded Fey Ruins
Forest Shrine Festival
Forest Shrine Festival
Forgotten Chapel Crypt (+1)
Forgotten Chapel Crypt (+1)
Forgotten Chapel Graveyard (+1)
Forgotten Chapel Graveyard (+1)
Fortified Dam (+2)
Fortified Dam (+2)
Fossil Caves
Fossil Caves
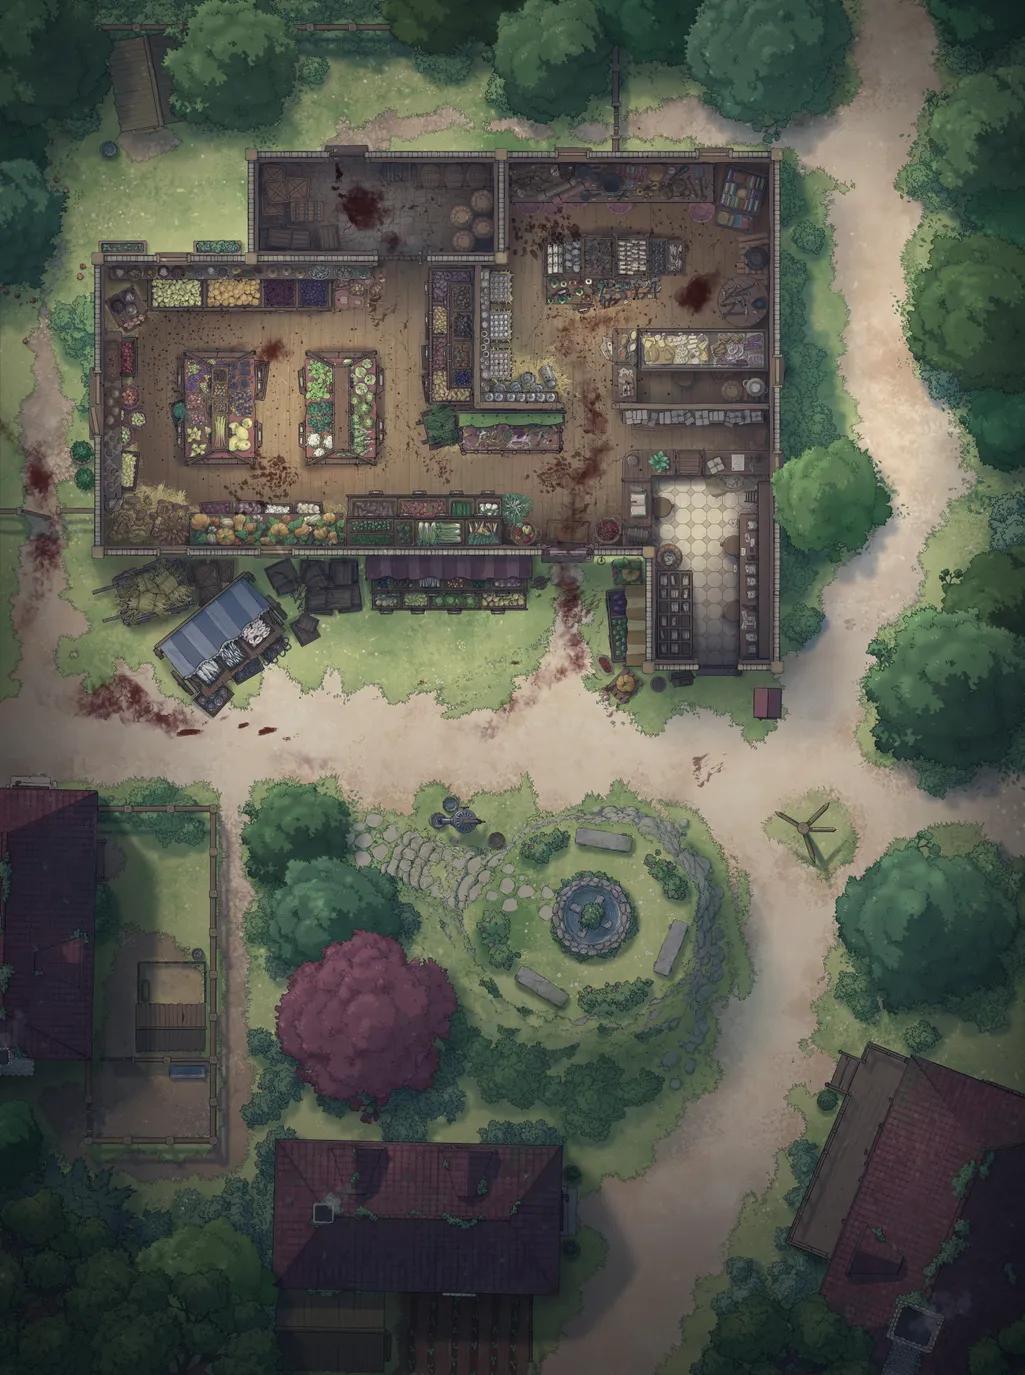
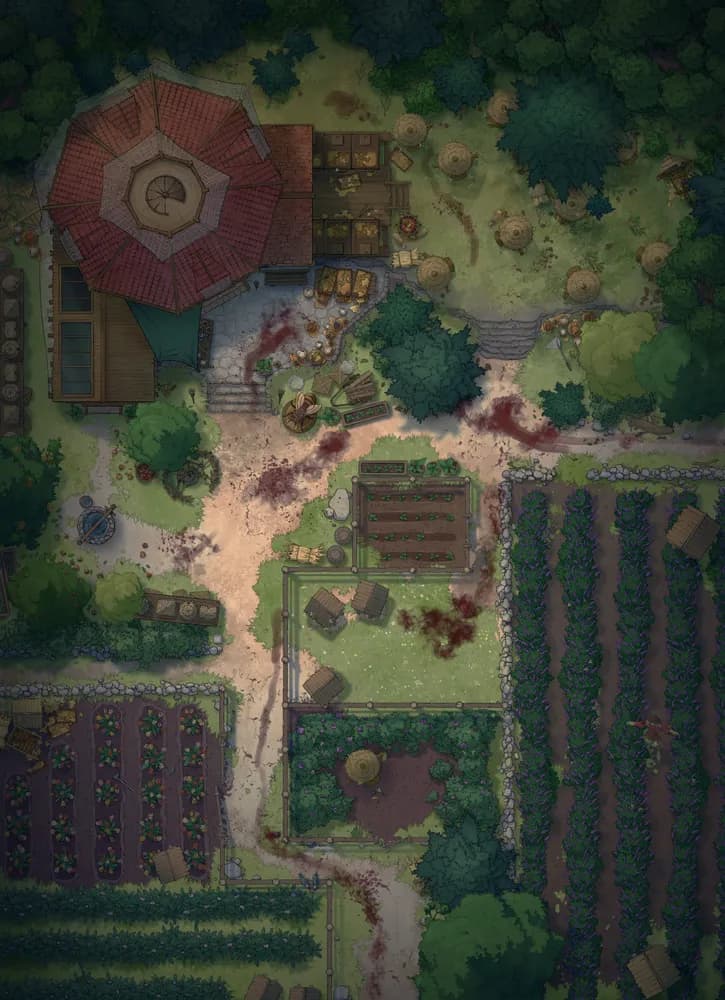
Gentle Village Greengrocer
Gentle Village Greengrocer
Gnome City Centre
Gnome City Centre
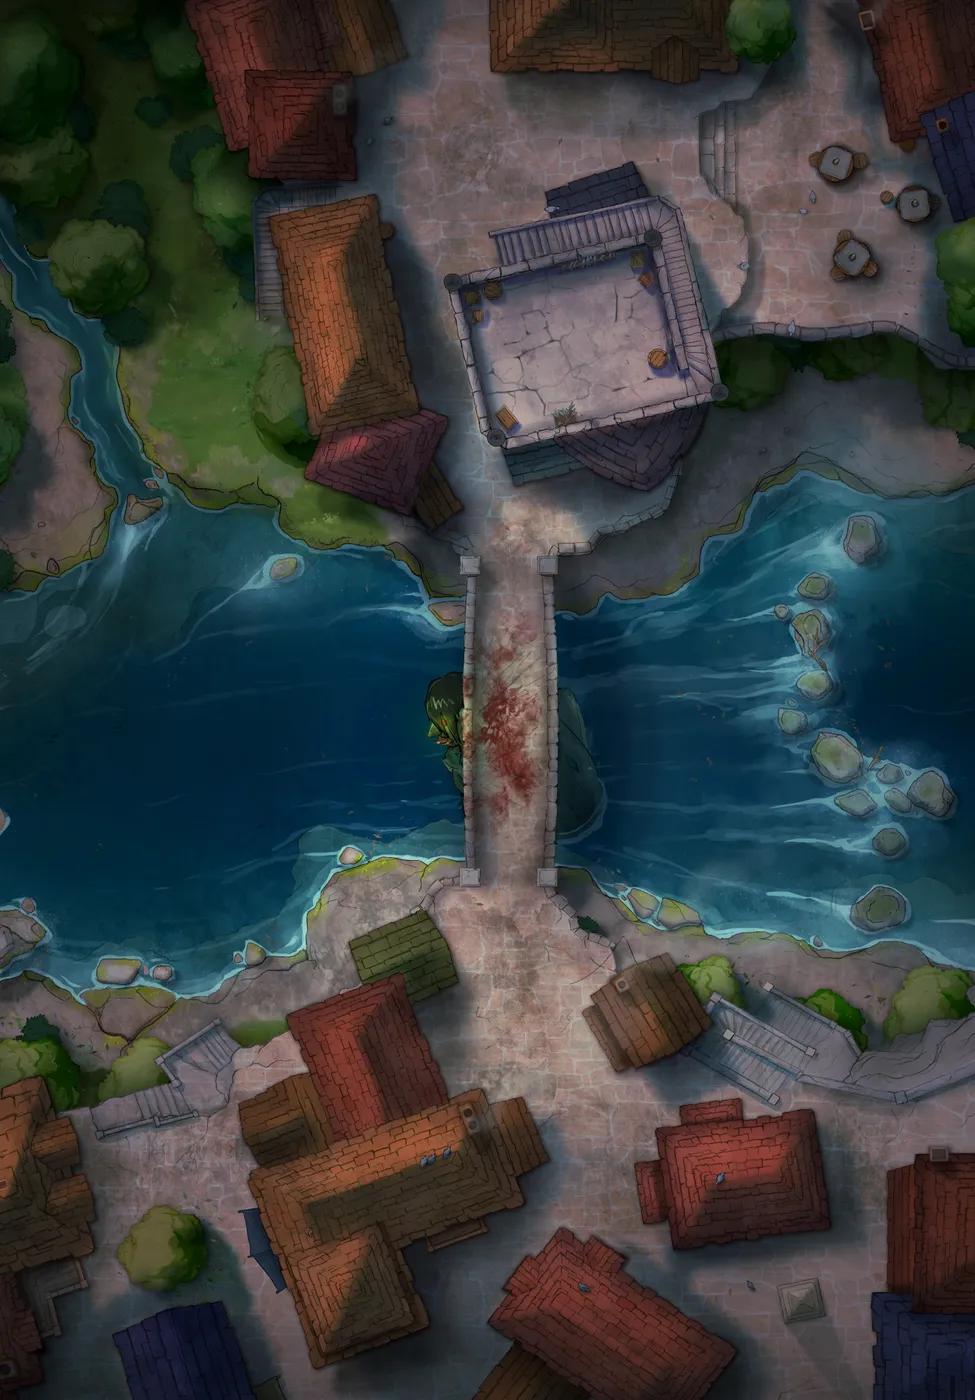
Goblin Bridge (+1)
Goblin Bridge (+1)
Goblin City Centre
Goblin City Centre
Golden Cathedral Rooftops
Golden Cathedral Rooftops
Grand Cathedral (+2)
Grand Cathedral (+2)
Grand Cathedral Crypt (+1)
Grand Cathedral Crypt (+1)
Grand Cathedral Interior (+1)
Grand Cathedral Interior (+1)
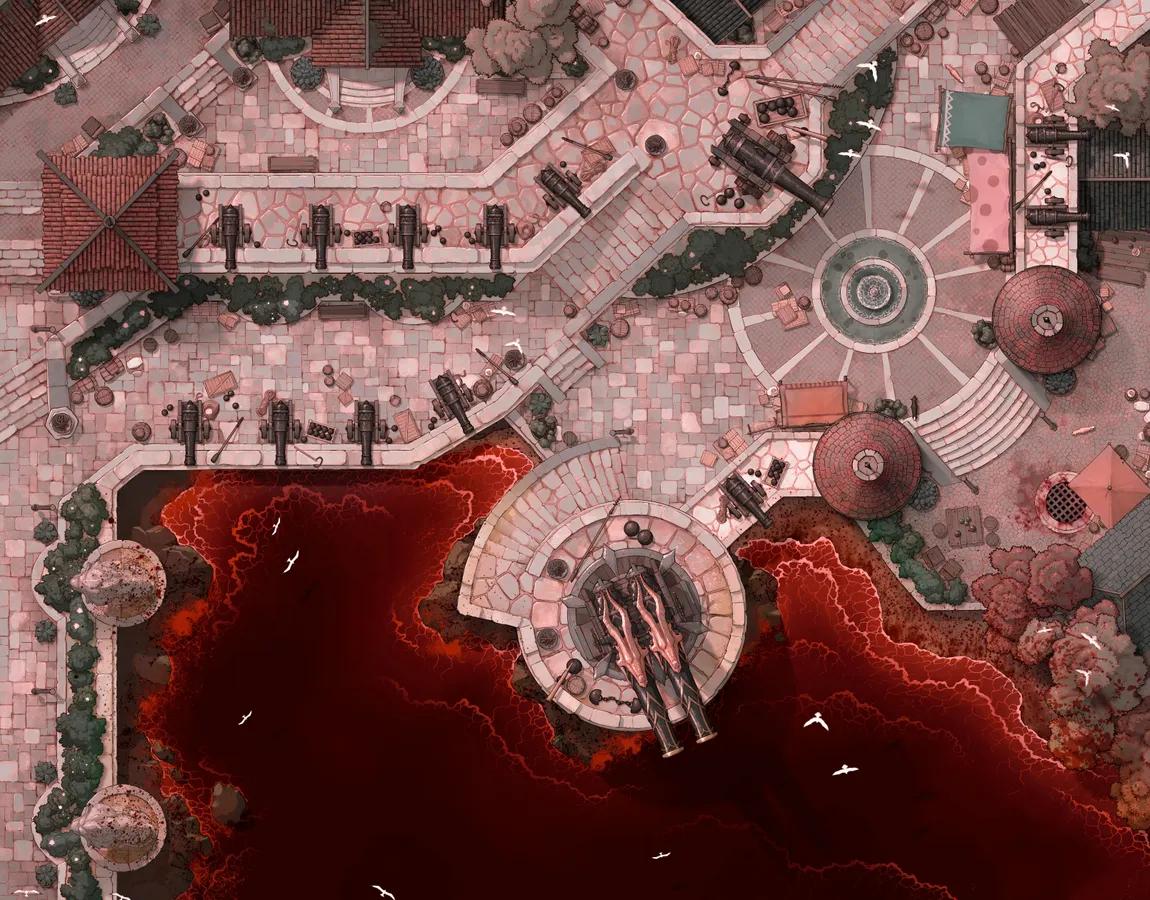
Grand Duke's Plaza
Grand Duke's Plaza
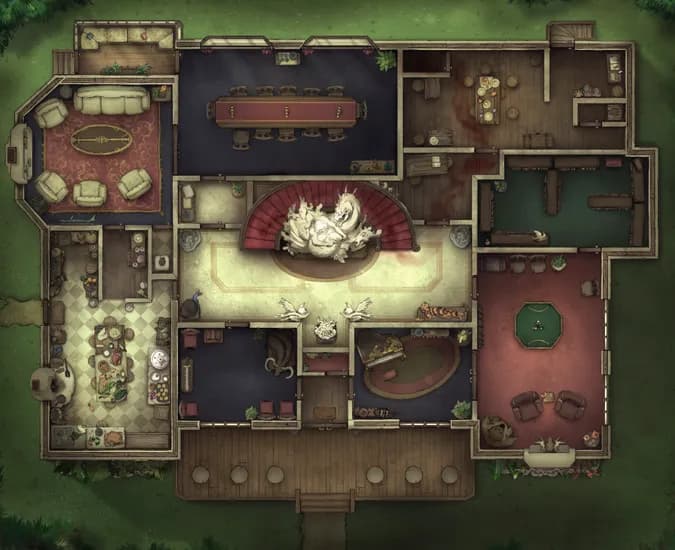
Grand Hunter's House (+2)
Grand Hunter's House (+2)
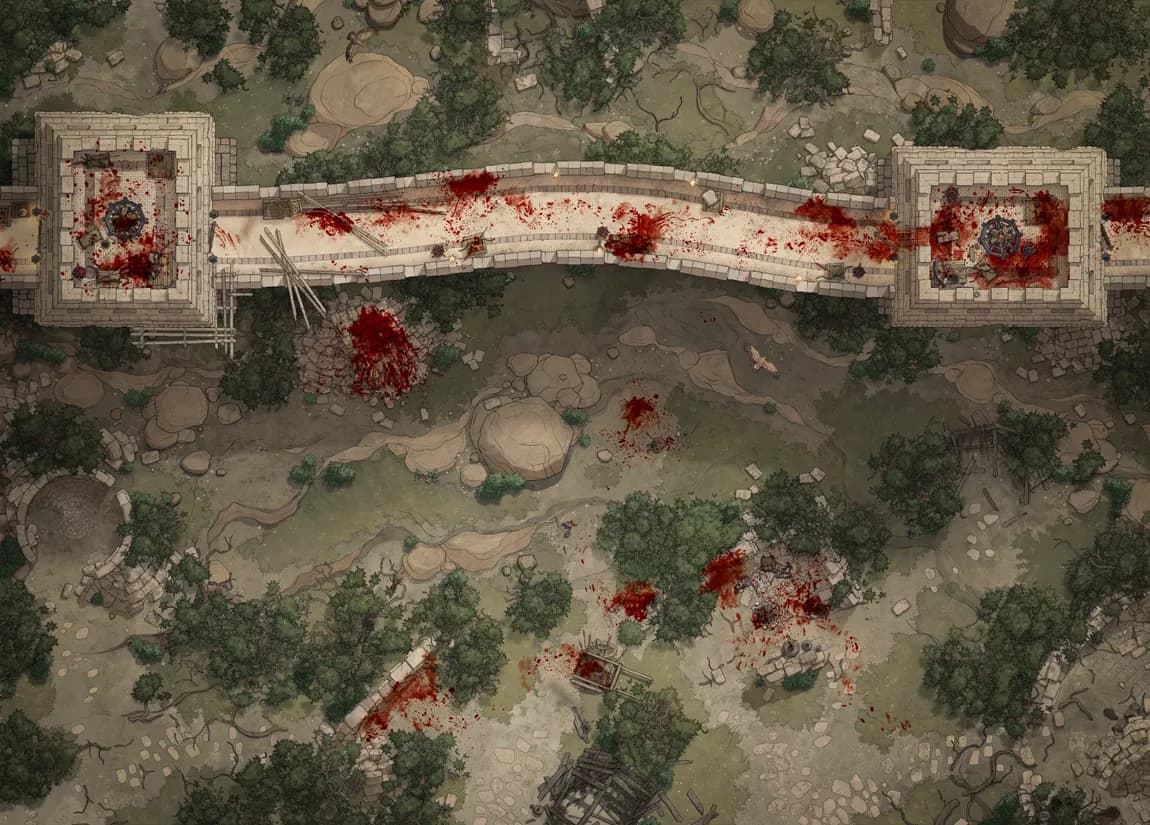
Great Wall
Great Wall
Green Dragon Lair (+1)
Green Dragon Lair (+1)
Gryphon Roost Inn
Gryphon Roost Inn
Hangar Bay (+1)
Hangar Bay (+1)
Harpy Cove
Harpy Cove
Haunted Ghost Ship Interior (+7)
Haunted Ghost Ship Interior (+7)

Hell's Cocktail Lounge (+1)
Hell's Cocktail Lounge (+1)
Hellfire Prison
Hellfire Prison
Hidden Witch's Hut
Hidden Witch's Hut
Impact Site
Impact Site

Impending Waterfall (+1)
Impending Waterfall (+1)
Imperial Bath Complex (+1)
Imperial Bath Complex (+1)
Imperial Graveyard (+1)
Imperial Graveyard (+1)
Inside a Bag of Holding (+1)
Inside a Bag of Holding (+1)
Iron Age Hamlet (+2)
Iron Age Hamlet (+2)
Iron Wharf
Iron Wharf
Island Fort (+1)
Island Fort (+1)

Japanese Castle Exterior (+1)
Japanese Castle Exterior (+1)
Japanese Castle Interior (+4)
Japanese Castle Interior (+4)
Jousting Tournament (+1)
Jousting Tournament (+1)
Jungle Cave Tunnel (+2)
Jungle Cave Tunnel (+2)

Jungle Temple Entrance (+4)
Jungle Temple Entrance (+4)
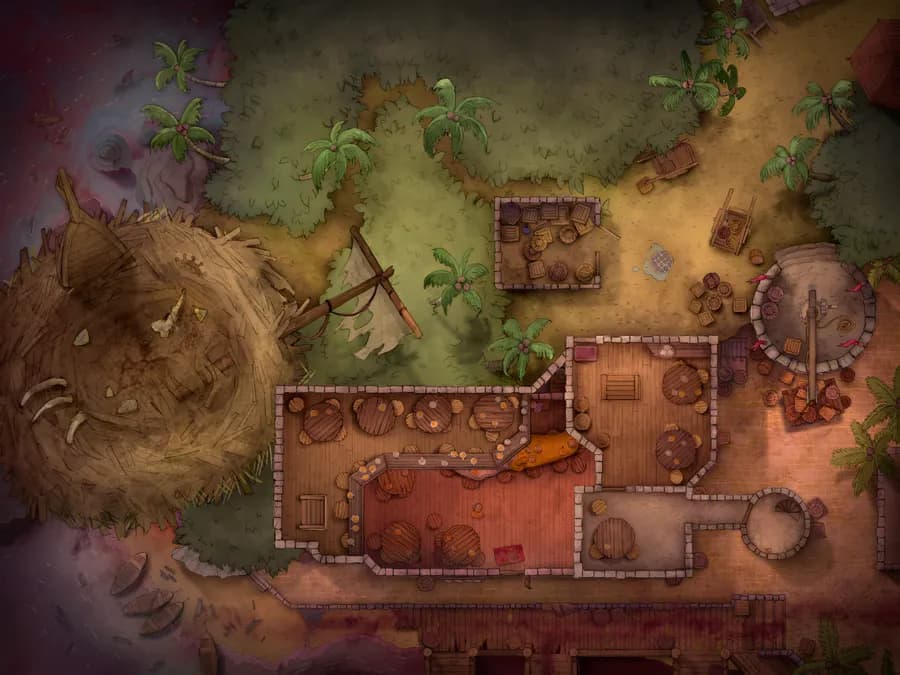
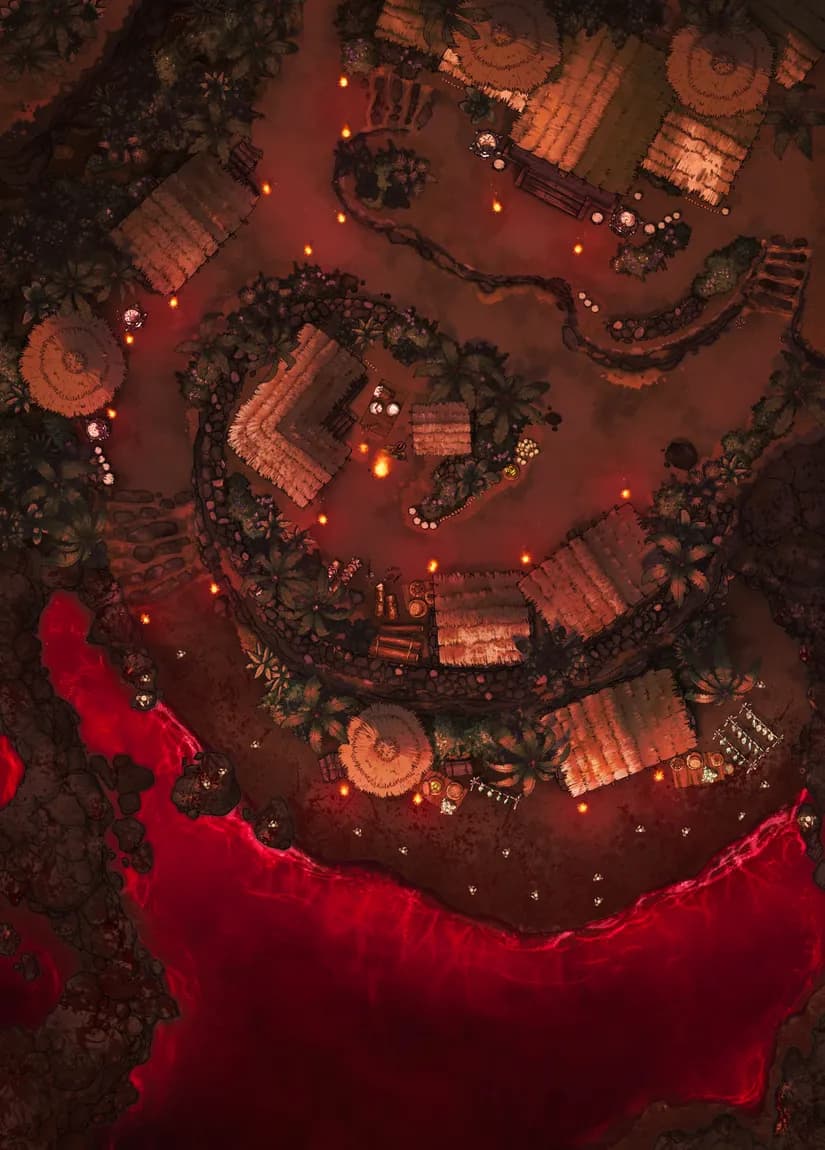
Jungle Village
Jungle Village
Lich Catacomb (+2)
Lich Catacomb (+2)
Lizardfolk Sushi Bar (+1)
Lizardfolk Sushi Bar (+1)
Magisters Market (+2)
Magisters Market (+2)
Mangrove Forest (+2)
Mangrove Forest (+2)
Market City Walls
Market City Walls
Market Streets
Market Streets
Mechanical Palace
Mechanical Palace
Medieval Jail
Medieval Jail
Medieval War Tents (+1)
Medieval War Tents (+1)
Medusa's Wake (+1)
Medusa's Wake (+1)
Merfolk Marina
Merfolk Marina
Modular Caves (+1)
Modular Caves (+1)
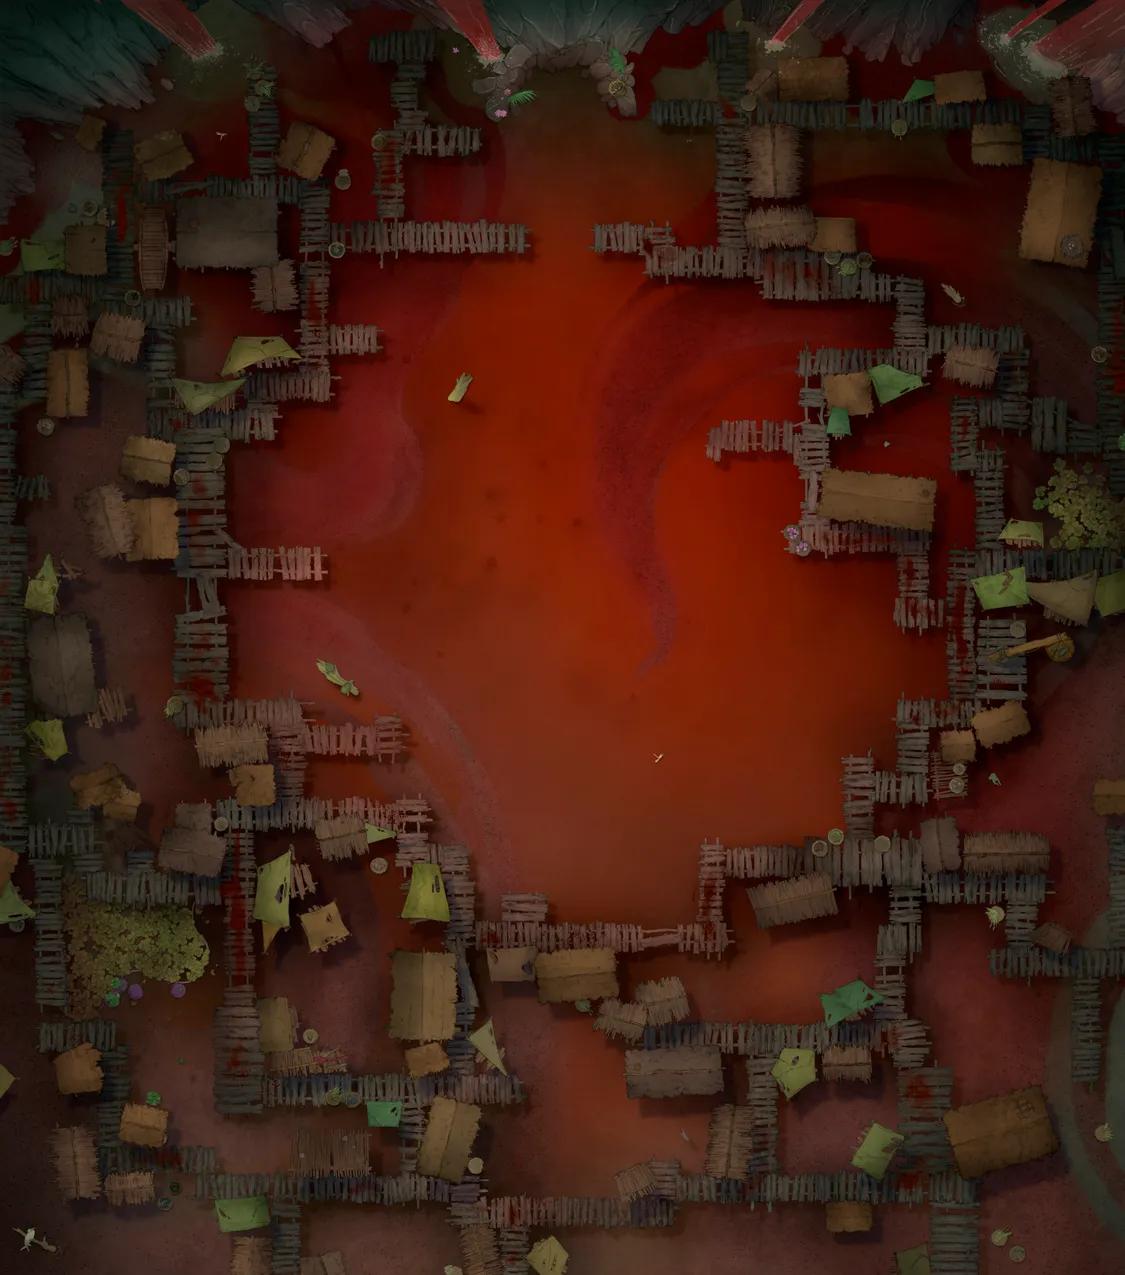
Monster Fighting Pit (+1)
Monster Fighting Pit (+1)
Monster Genealogy Lab (+3)
Monster Genealogy Lab (+3)
Monster Hunter Restaurant (+3)
Monster Hunter Restaurant (+3)

Motte and Bailey Castle (+2)
Motte and Bailey Castle (+2)
Mountain Logging Camp
Mountain Logging Camp
Mountaintop Altar
Mountaintop Altar
Mountaintop Observatory
Mountaintop Observatory
Mushroom Infested Mines (+1)
Mushroom Infested Mines (+1)
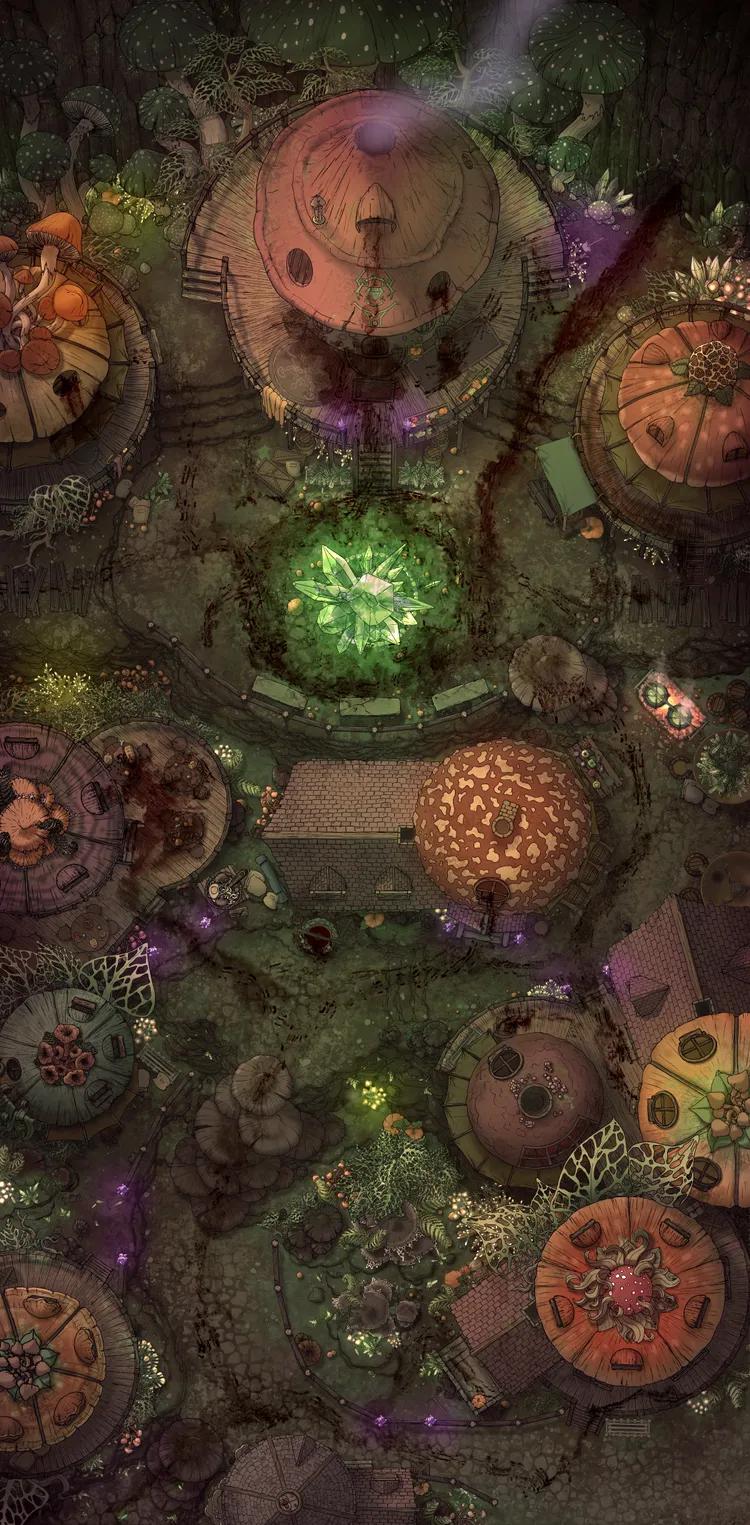
Mycelial Gate
Mycelial Gate
Necropolis Dungeon (+12)
Necropolis Dungeon (+12)
Necropolis Entrance
Necropolis Entrance
Nightmare Dragon Lair (+14)
Nightmare Dragon Lair (+14)
Nymph Fountain
Nymph Fountain
Oasis Expedition (+1)
Oasis Expedition (+1)
Ogre Queen Feast (+3)
Ogre Queen Feast (+3)

Oni Hideout (+5)
Oni Hideout (+5)
Open Ocean (+3)
Open Ocean (+3)
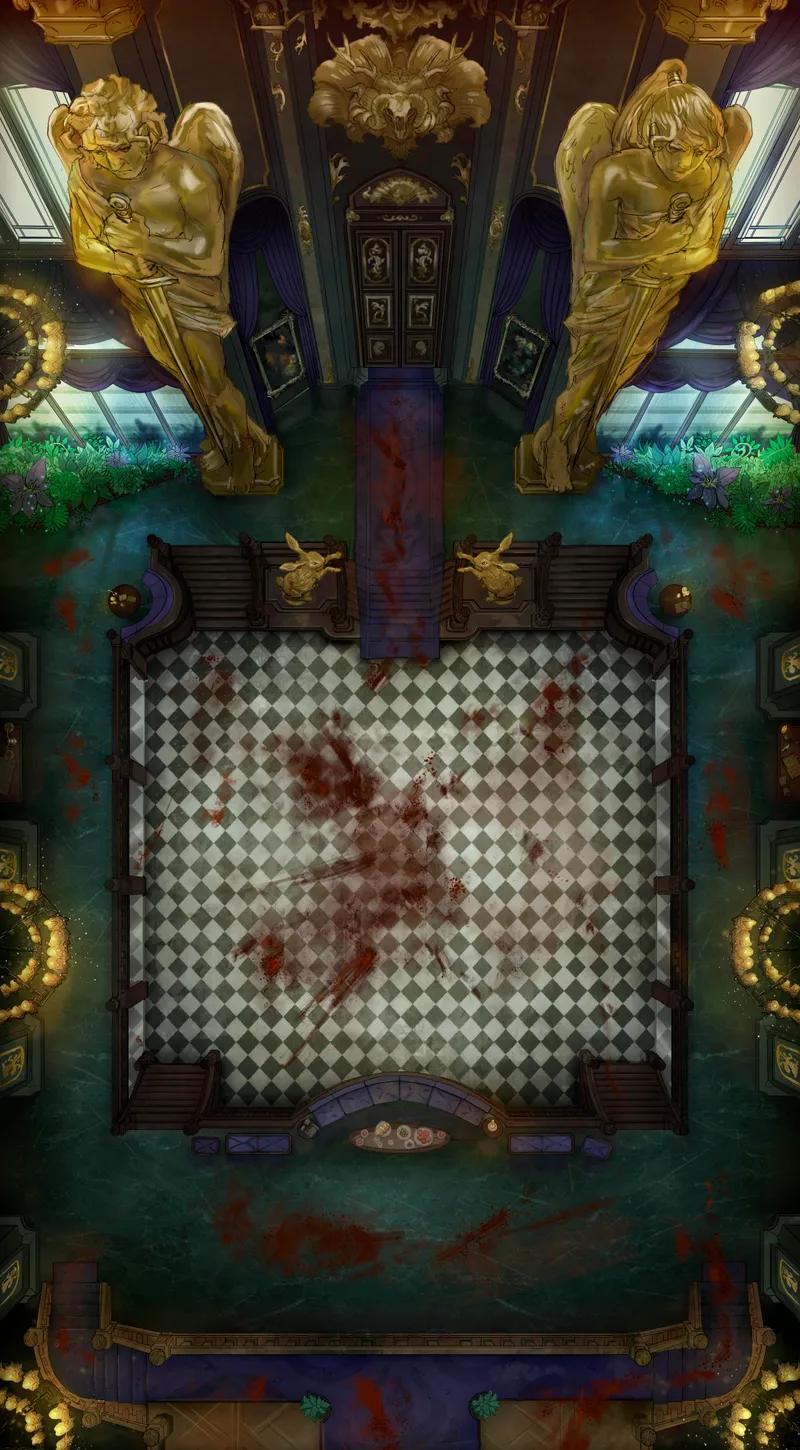
Opulent Ballroom (+1)
Opulent Ballroom (+1)
Orc Desert Camp
Orc Desert Camp
Orc Mess Hall (+1)
Orc Mess Hall (+1)

Overground Dwarven City Center (+1)
Overground Dwarven City Center (+1)
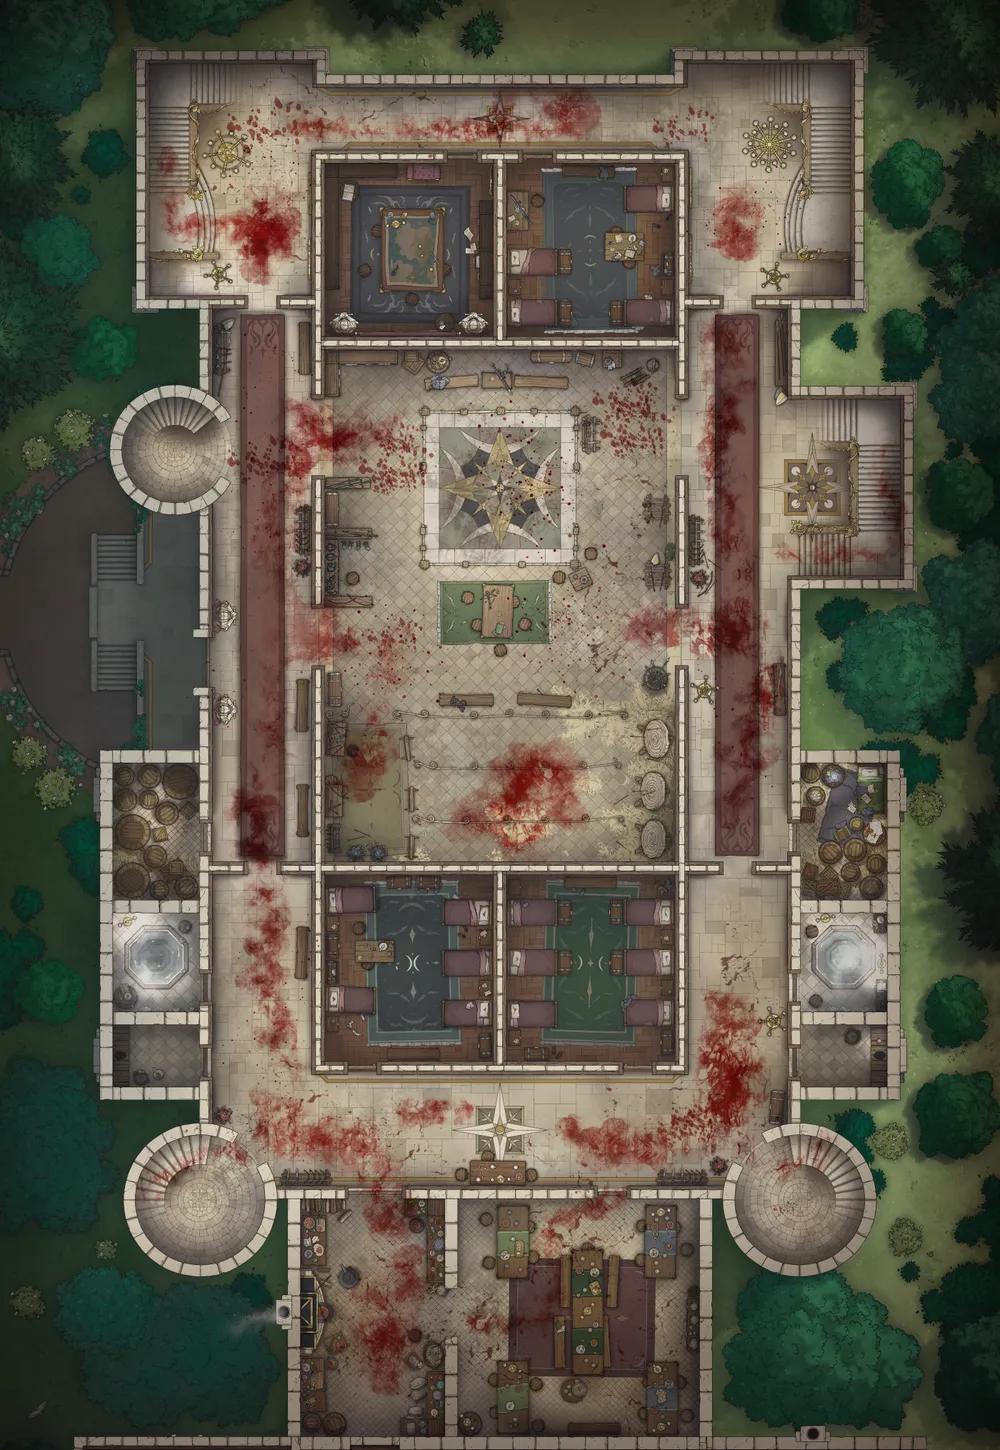
Palace Guard Chambers
Palace Guard Chambers
Palace Inner Court (+3)
Palace Inner Court (+3)

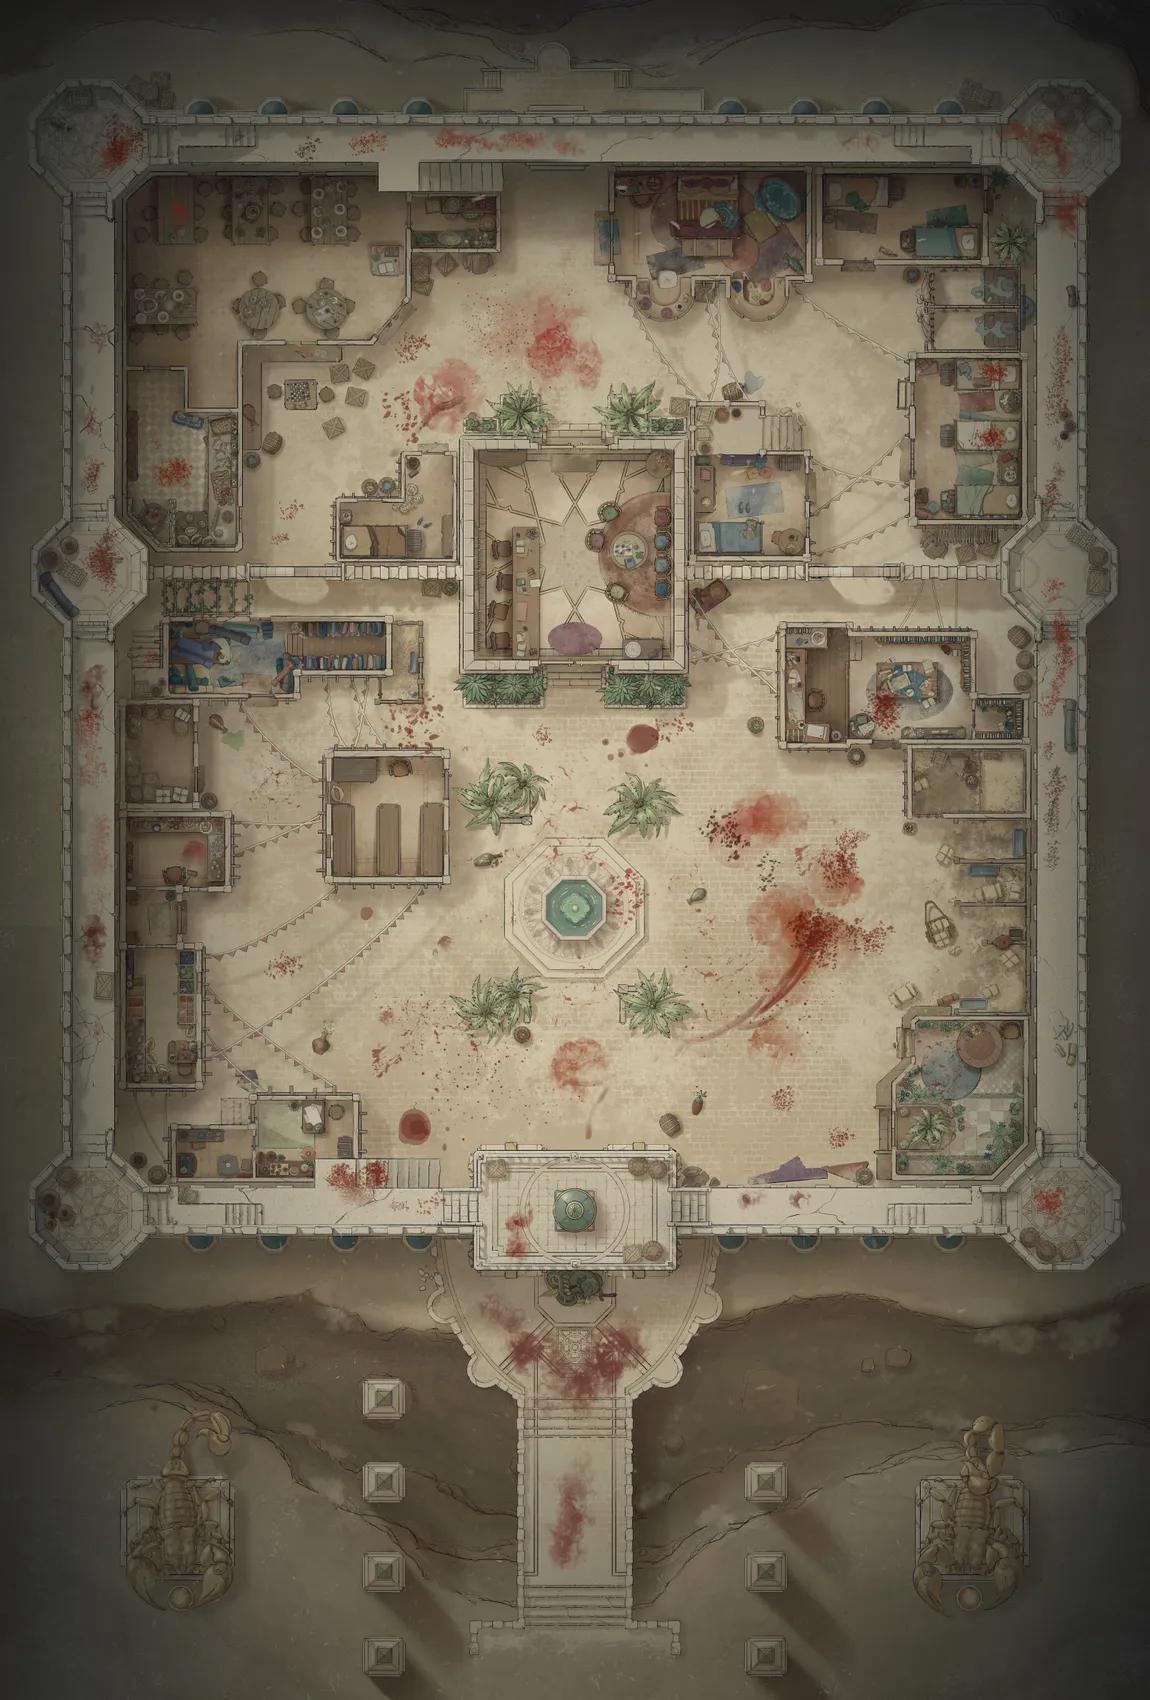
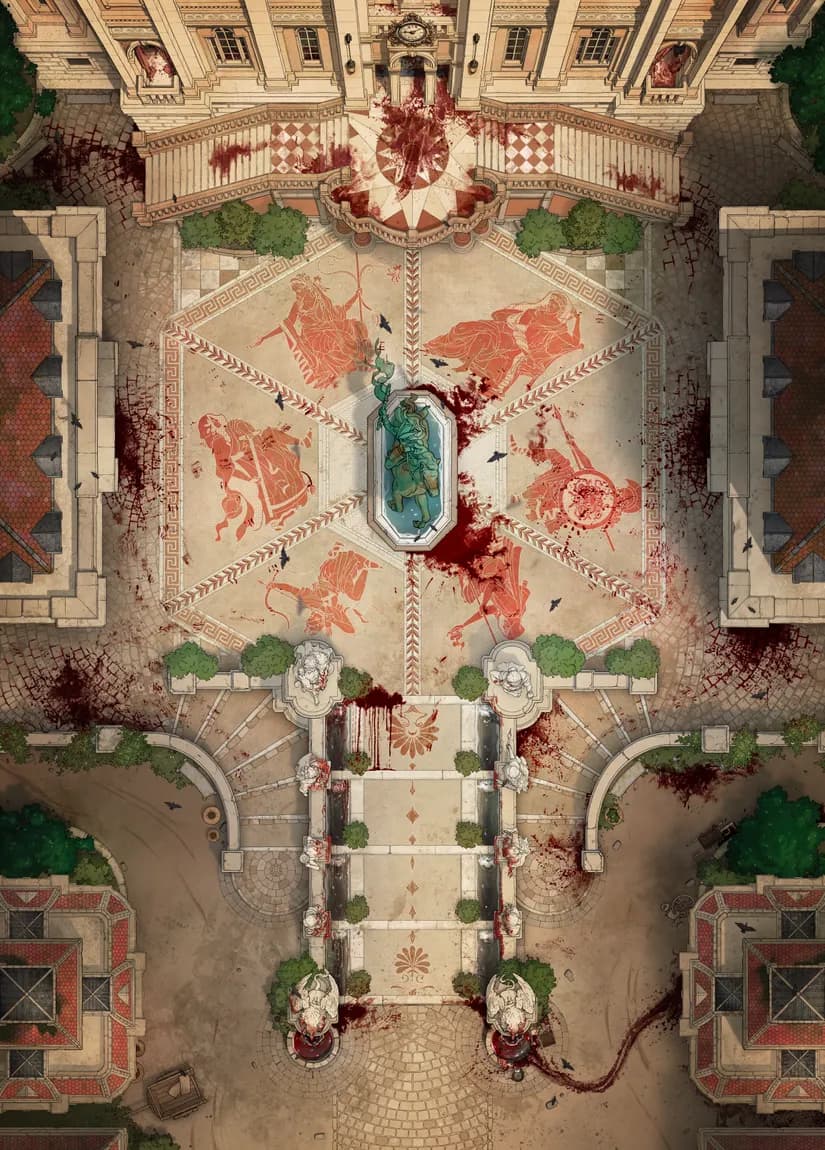
Palace Outer Court (+5)
Palace Outer Court (+5)
Pastoral Village Stables
Pastoral Village Stables
Peaceful Village Church (+1)
Peaceful Village Church (+1)
Peaceful Village Church Interior
Peaceful Village Church Interior
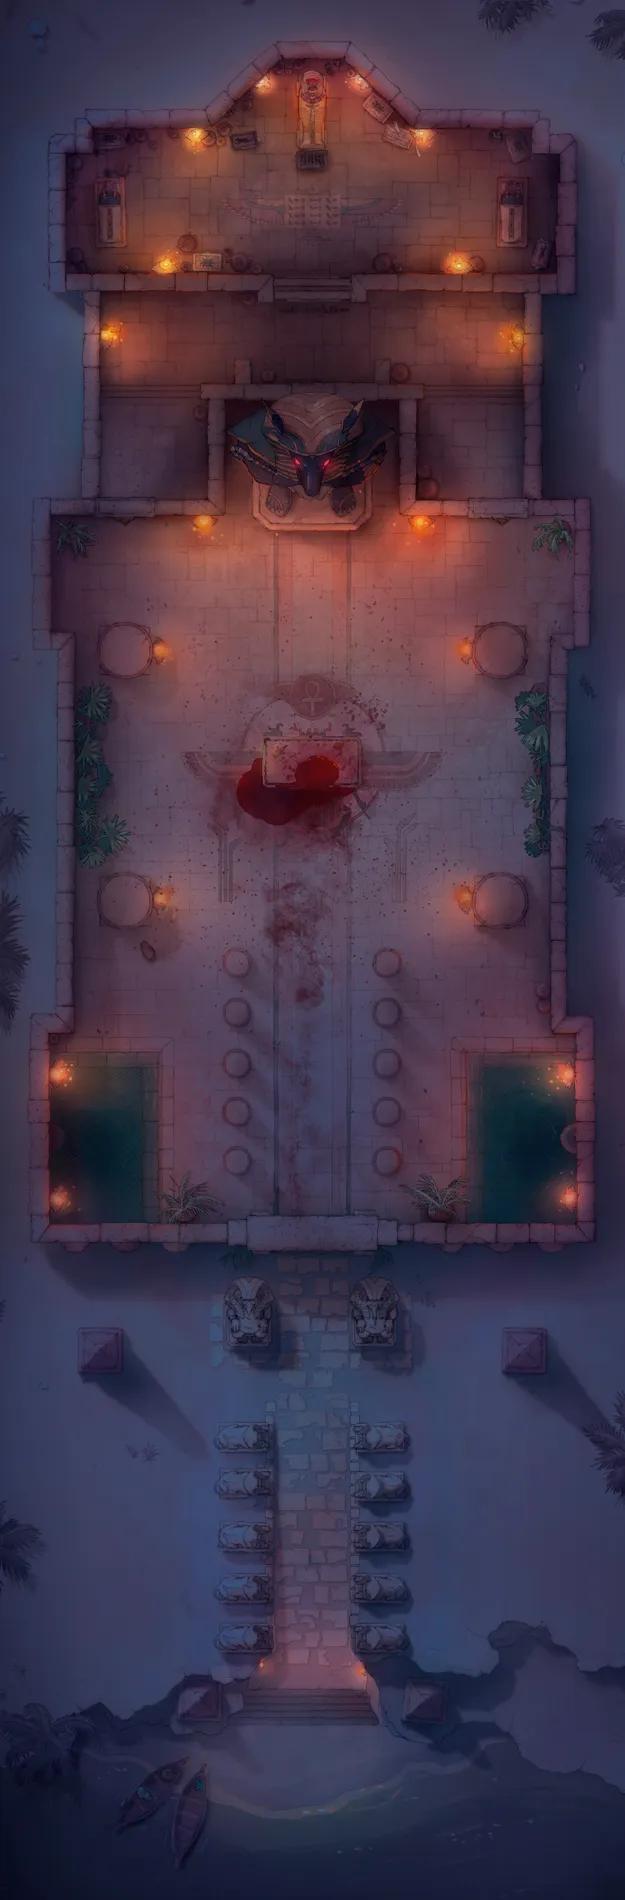
Pharaoh's Tomb
Pharaoh's Tomb
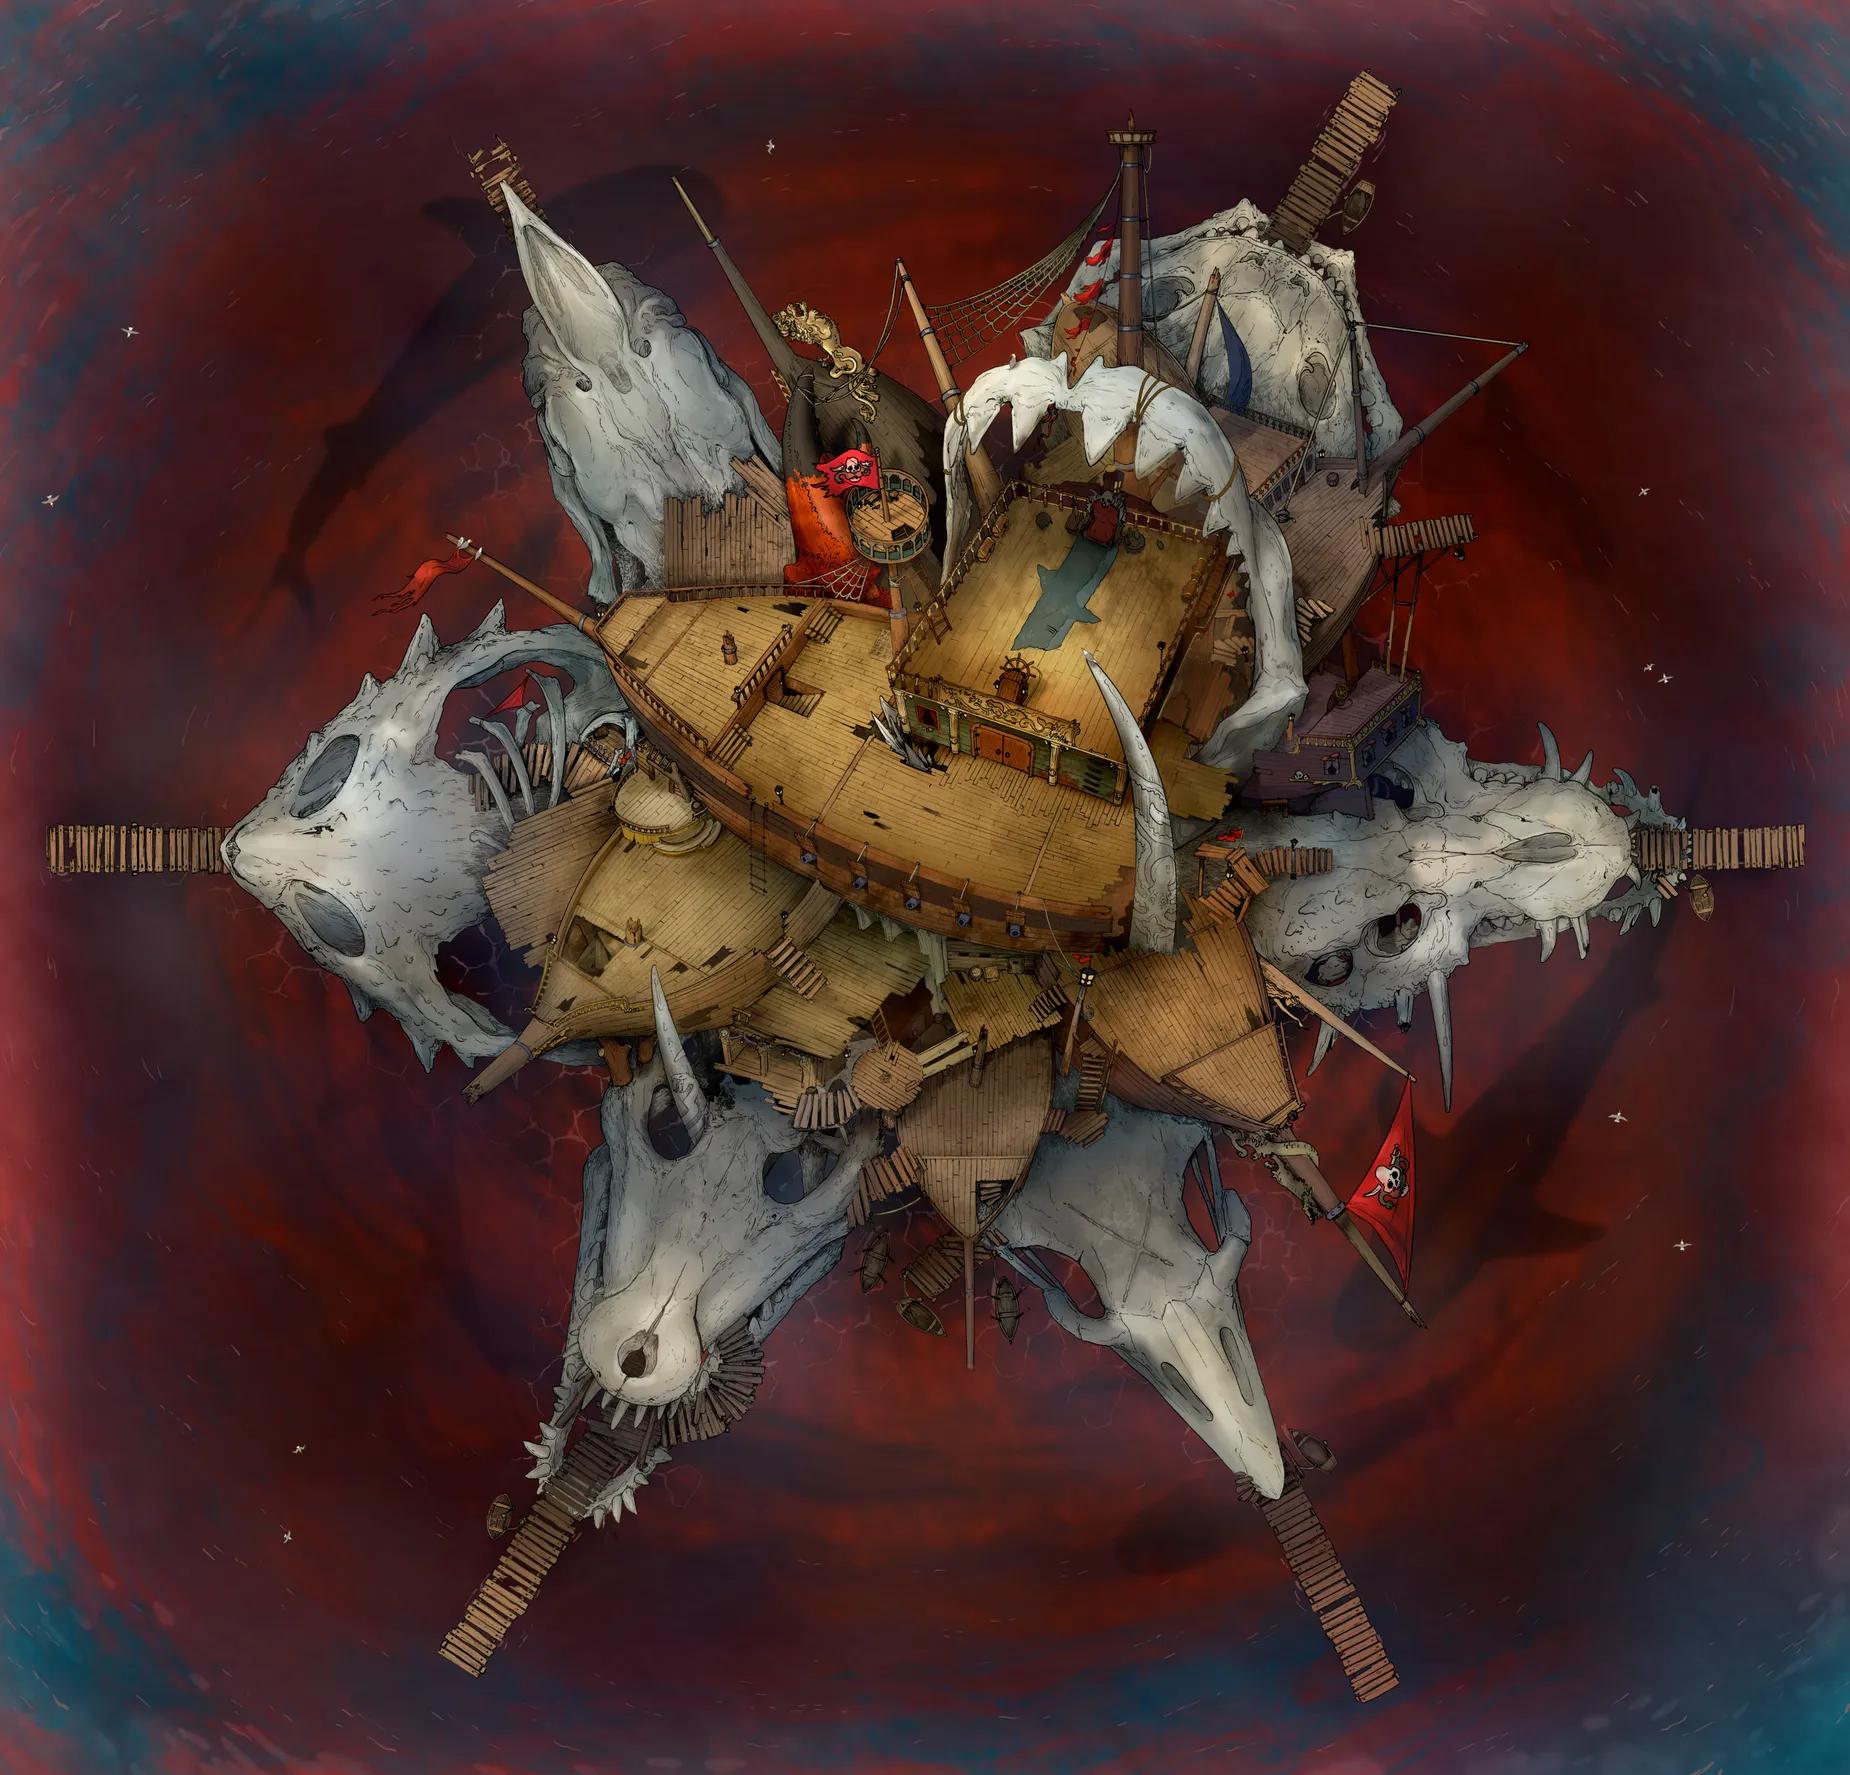
Pirate Lord's Lair
Pirate Lord's Lair
Pirate Port Tavern (+1)
Pirate Port Tavern (+1)
Port Bastion (+1)
Port Bastion (+1)
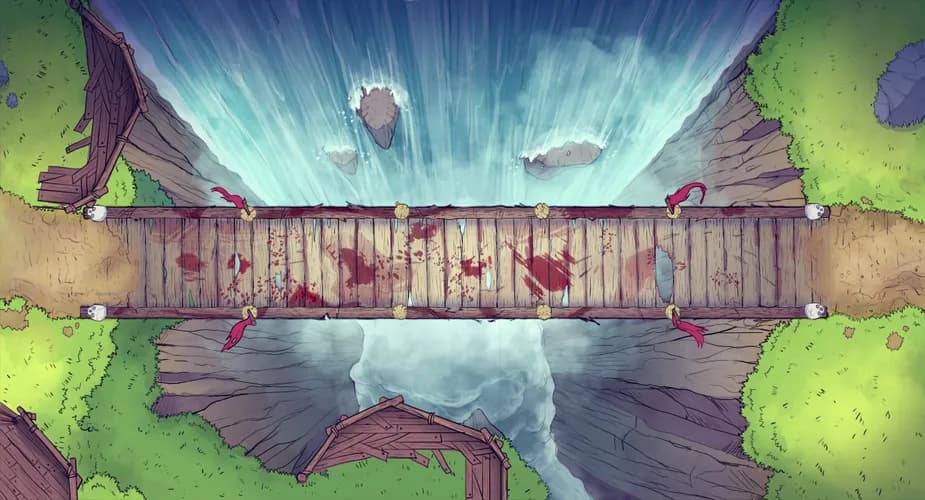
Precarious Waterfall Crossing
Precarious Waterfall Crossing
Pseudodragon Lair (+1)
Pseudodragon Lair (+1)
Rebel Camp (+1)
Rebel Camp (+1)
Remote Ice Village (+6)
Remote Ice Village (+6)

River Stronghold (+1)
River Stronghold (+1)
Riverwood Toll Castle
Riverwood Toll Castle
Roadside Ambush
Roadside Ambush
Ropebridge Chasm
Ropebridge Chasm
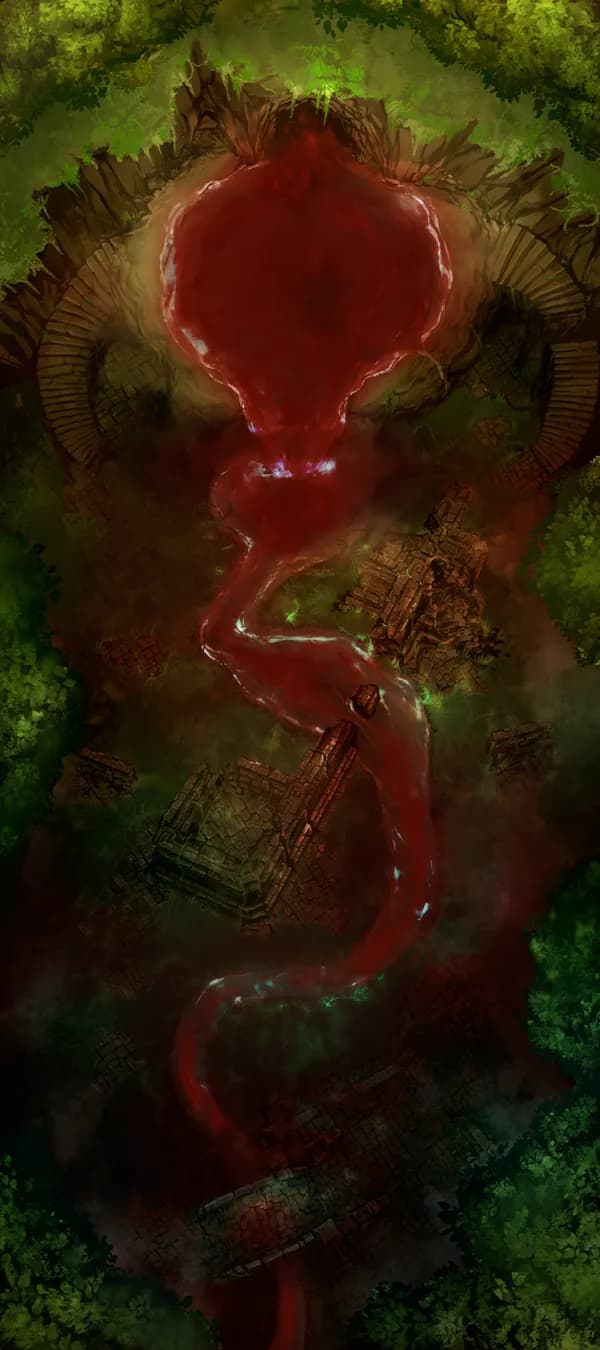
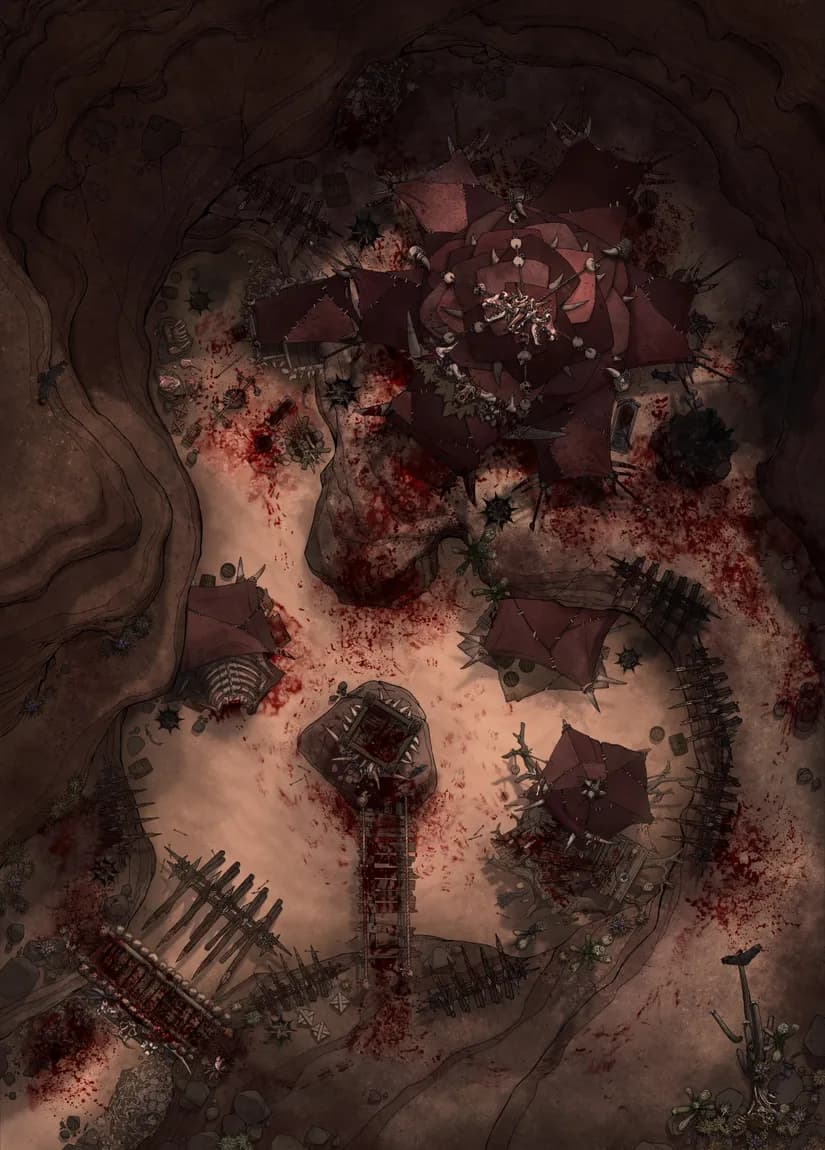
Rosehydra Crypt
Rosehydra Crypt
Royal Mine Town
Royal Mine Town
Royal Throne Room (+1)
Royal Throne Room (+1)
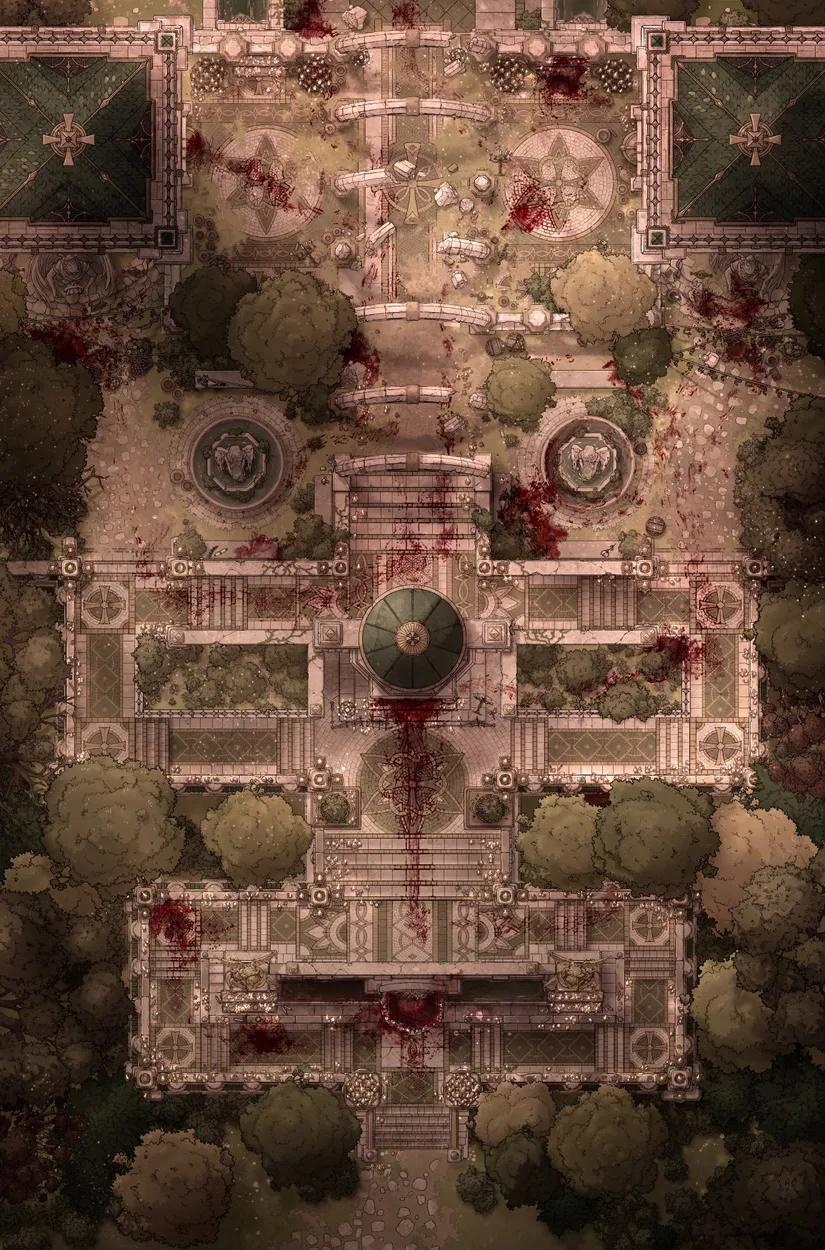
Ruined Courtyard (+1)
Ruined Courtyard (+1)
Rusty Robot Lake
Rusty Robot Lake
Salt Plains Observatory (+1)
Salt Plains Observatory (+1)
Secret Cave Hideout
Secret Cave Hideout
Secret Fey Fountain
Secret Fey Fountain
Secret Sailor Lair (+1)
Secret Sailor Lair (+1)
Sewer Tunnels (+1)
Sewer Tunnels (+1)
Shadowfell Fortress Bridge
Shadowfell Fortress Bridge
Shadowlands Pyramid
Shadowlands Pyramid
Slum District
Slum District
Smuggler's Fen
Smuggler's Fen
Solar Cathedral (+1)
Solar Cathedral (+1)
Steam Factory (+5)
Steam Factory (+5)
Steamy Japanese Bathhouse (+2)
Steamy Japanese Bathhouse (+2)
Swamp Graveyard (+1)
Swamp Graveyard (+1)

Temple Pastures (+1)
Temple Pastures (+1)
Temple of the Couatl Boss Room (+3)
Temple of the Couatl Boss Room (+3)
Temple of the Couatl Exterior (+3)
Temple of the Couatl Exterior (+3)
Temple of the Medusa Throne (+1)
Temple of the Medusa Throne (+1)
The Crystal Veil (+9)
The Crystal Veil (+9)
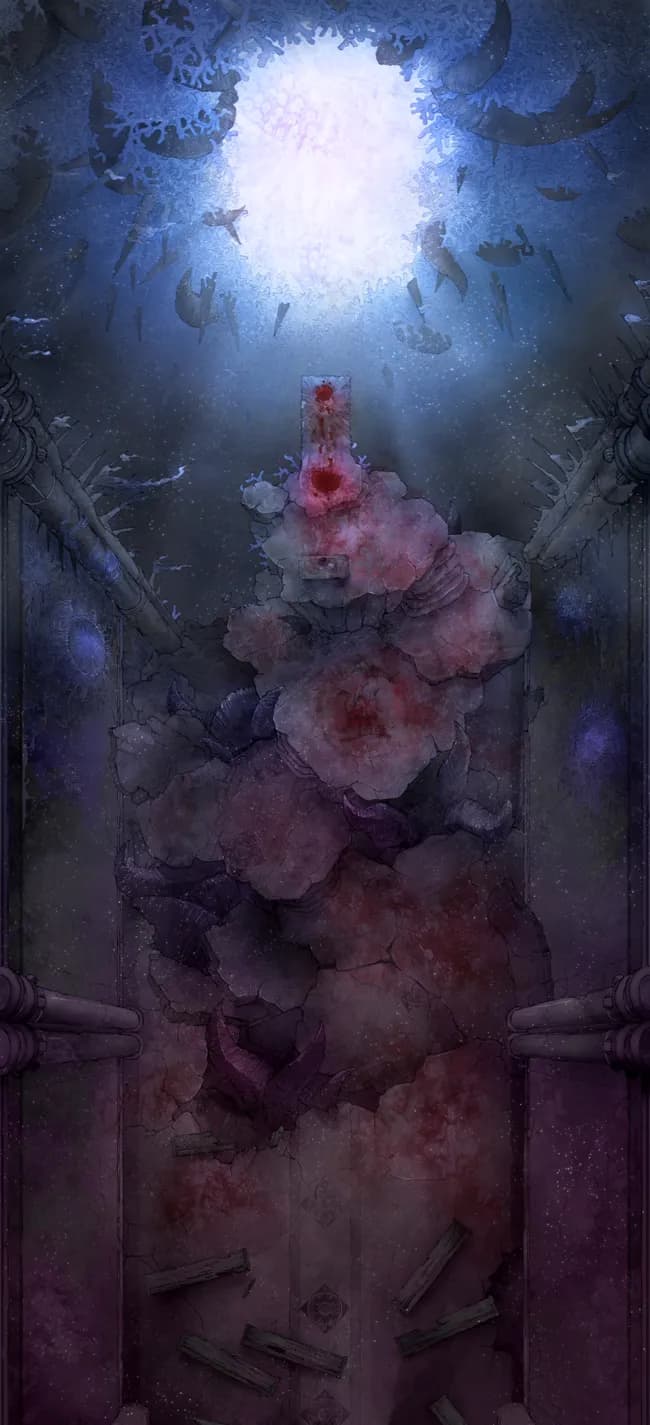
The Forbidden Gates
The Forbidden Gates
Thieves Guild Hideout
Thieves Guild Hideout
Tidal Isle Fort (+1)
Tidal Isle Fort (+1)
Tidal River (+1)
Tidal River (+1)
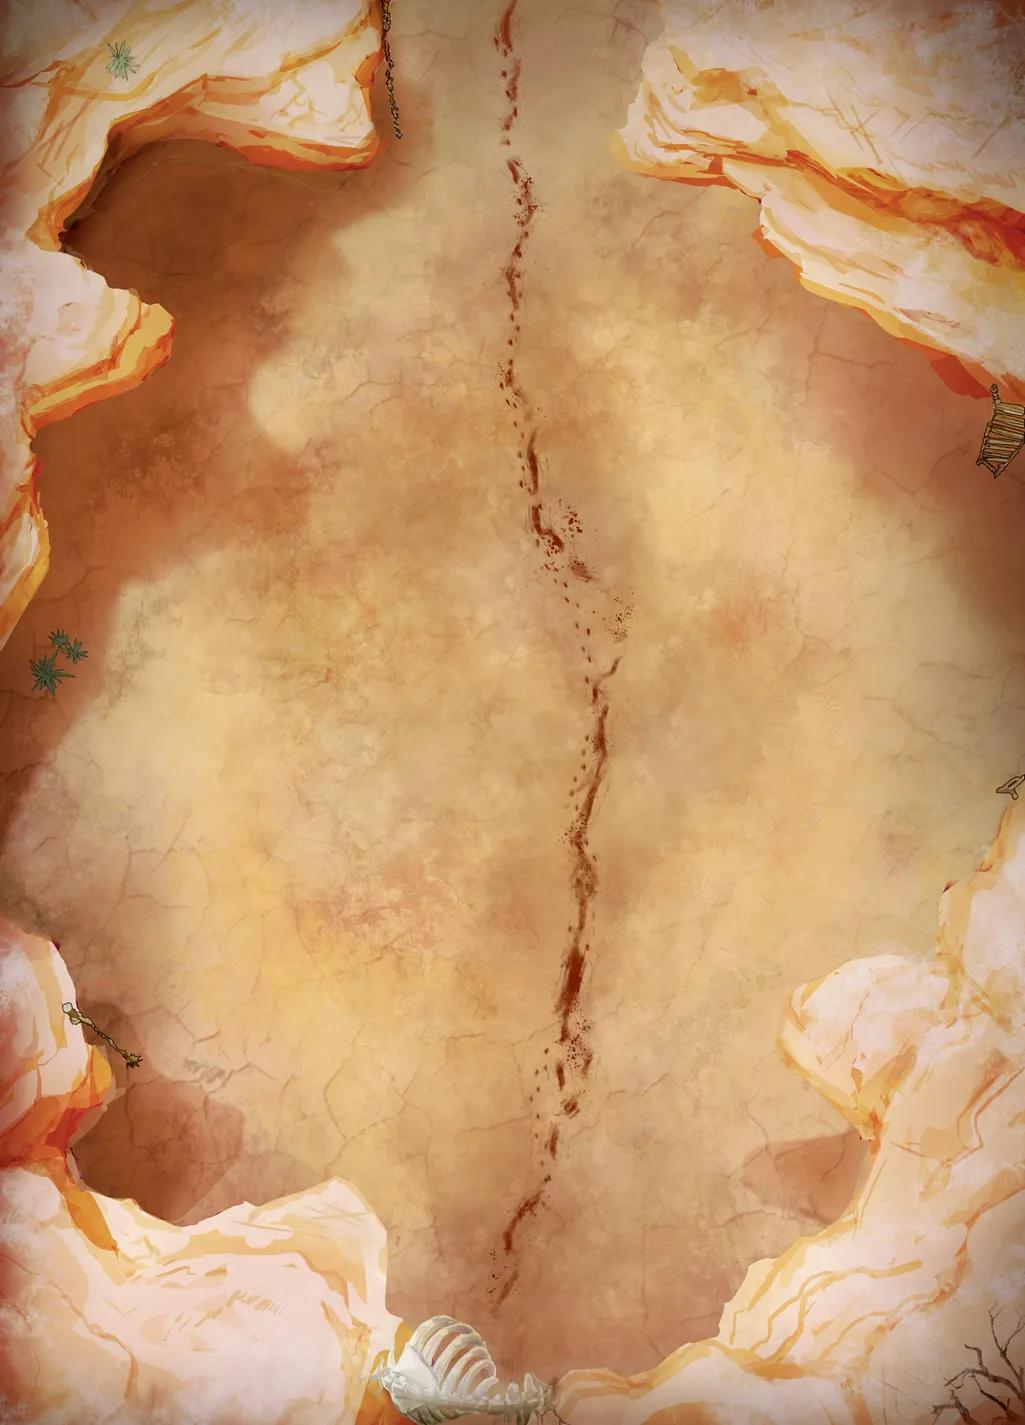
Tomb of Sand
Tomb of Sand
Tomb of Sand Interior
Tomb of Sand Interior
Train Station Concourse (+2)
Train Station Concourse (+2)
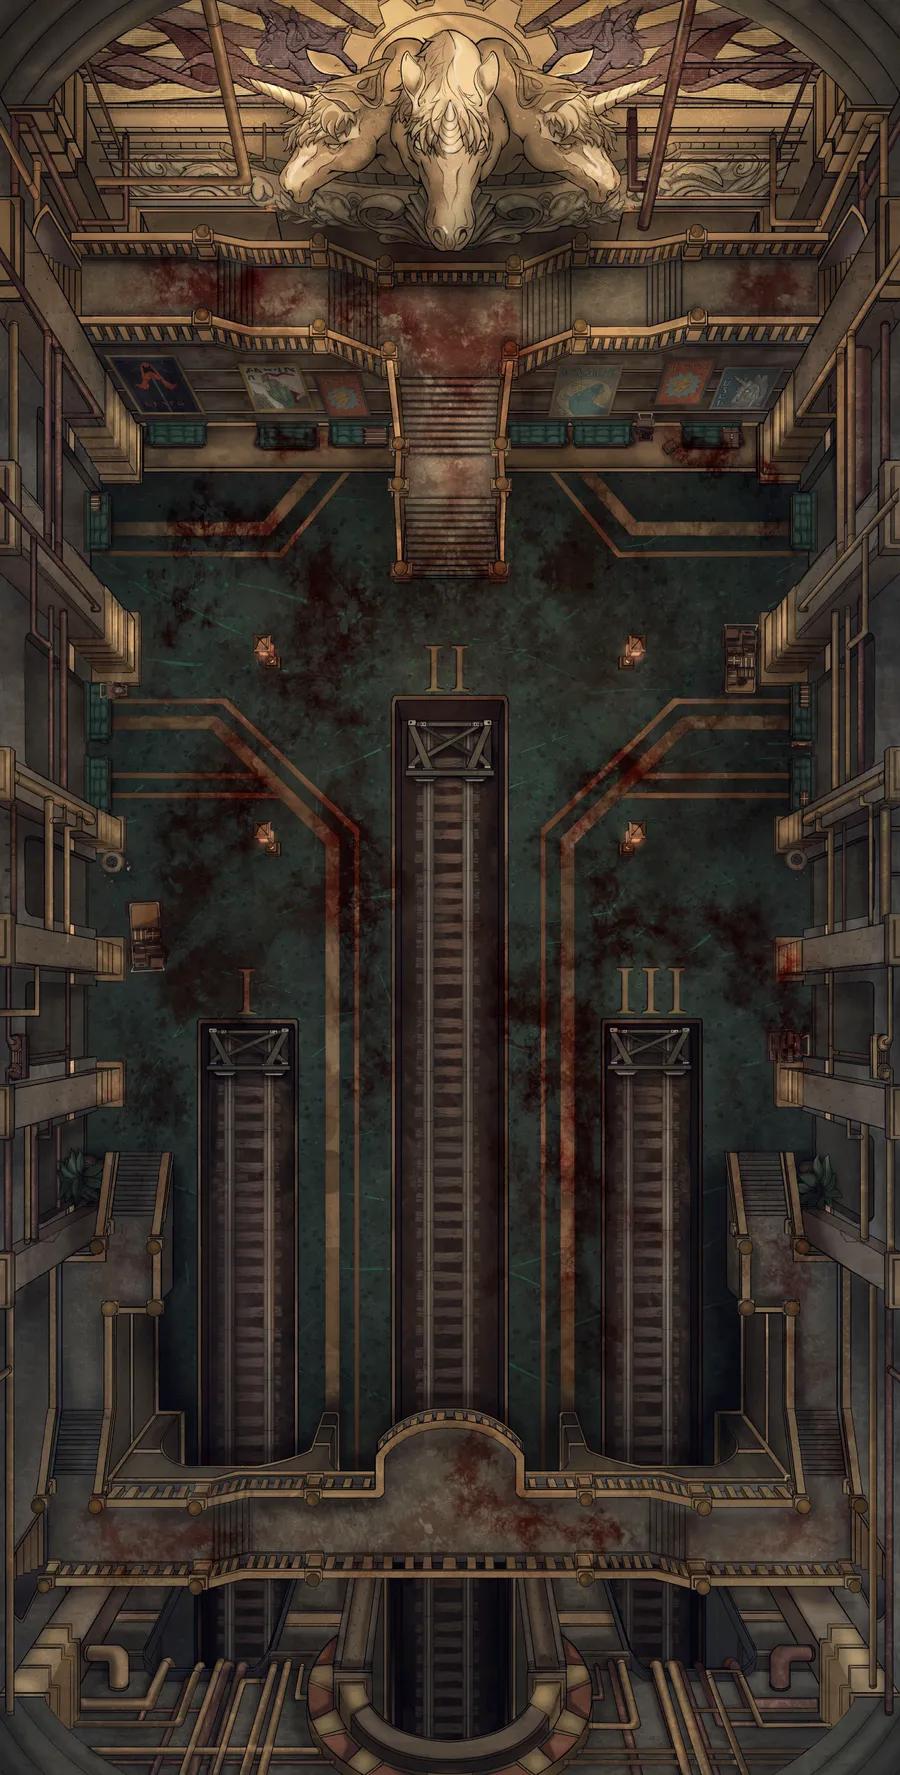
Train Station Platforms
Train Station Platforms
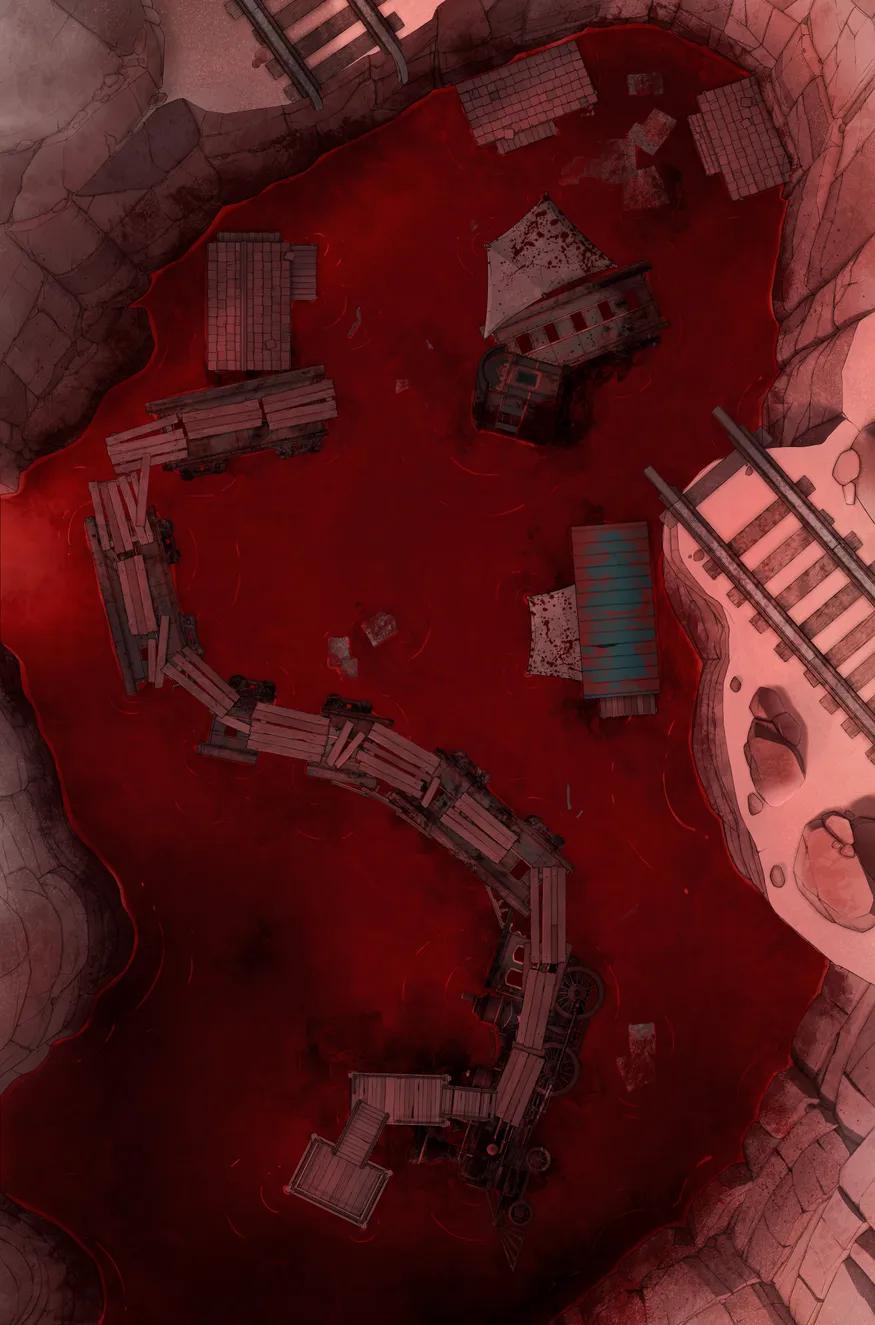
Trainwreck Village (+1)
Trainwreck Village (+1)
Tranquil Apiary (+1)
Tranquil Apiary (+1)
Tropical Island Village (+1)
Tropical Island Village (+1)
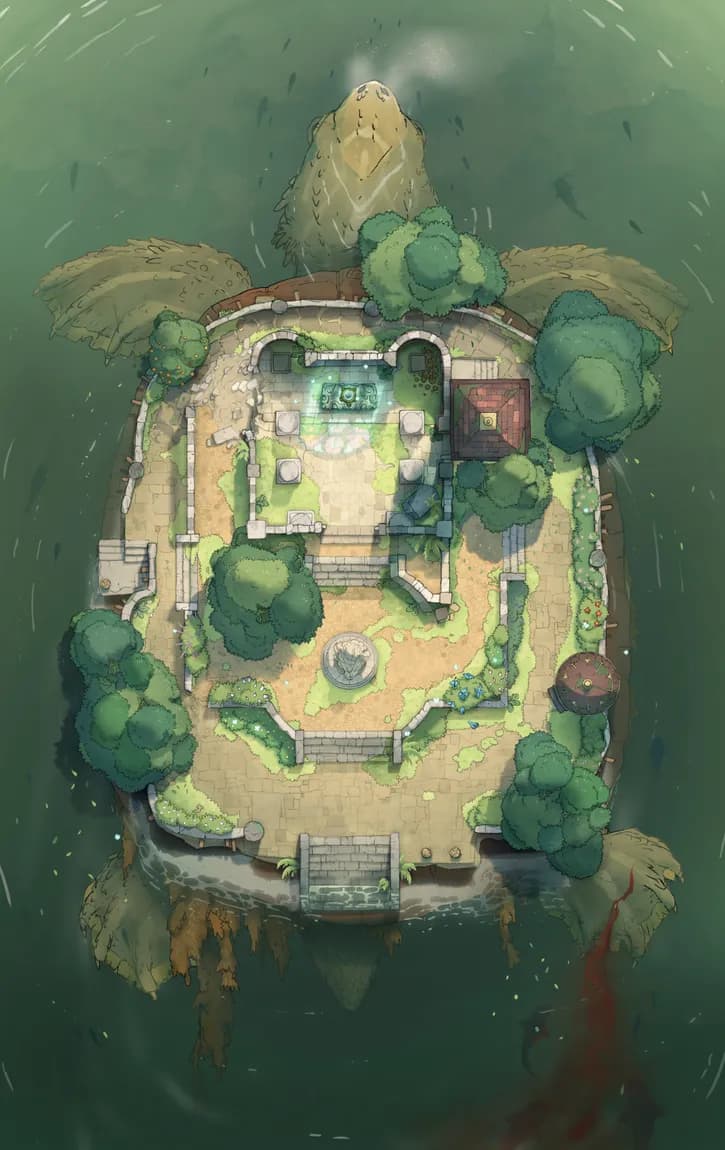
Tutelary Turtle Island (+1)
Tutelary Turtle Island (+1)
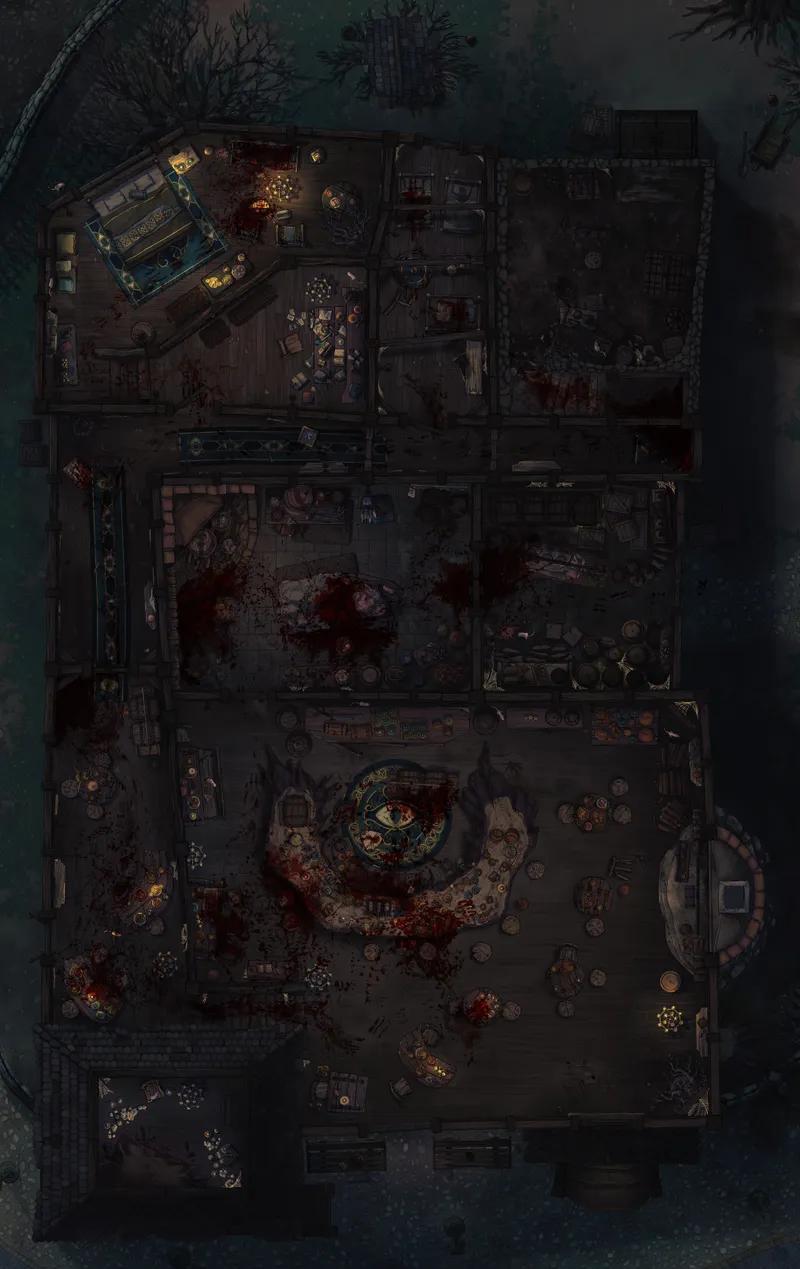
Twisted Tavern (+1)
Twisted Tavern (+1)
Underground Dwarven City Centre (+1)
Underground Dwarven City Centre (+1)
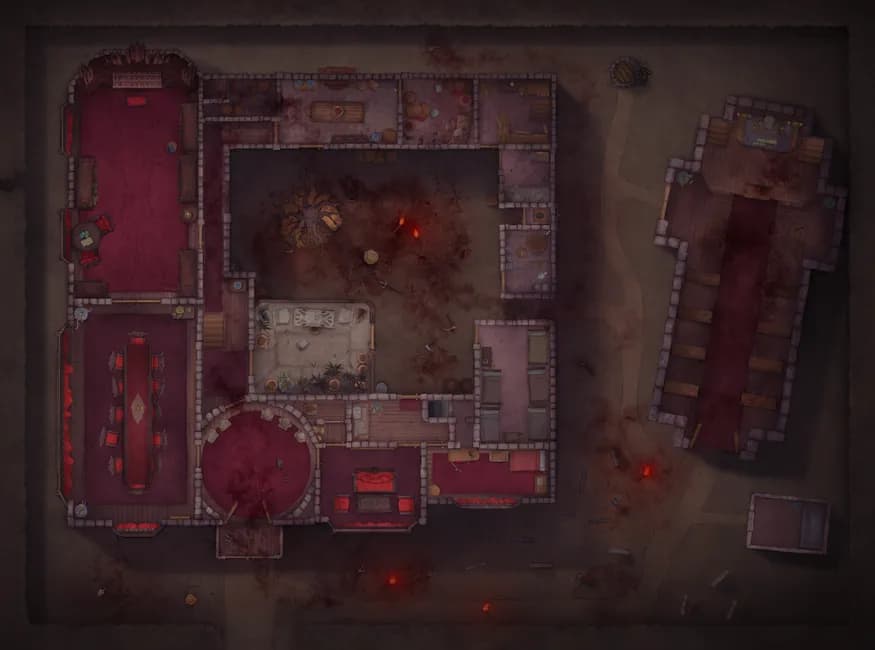
Vampire Mansion (+1)
Vampire Mansion (+1)

Village Farmhouse
Village Farmhouse
Village Hunting Guild
Village Hunting Guild
Void Dragon Lair
Void Dragon Lair
War Room Interior
War Room Interior
Warforged City Centre (+2)
Warforged City Centre (+2)
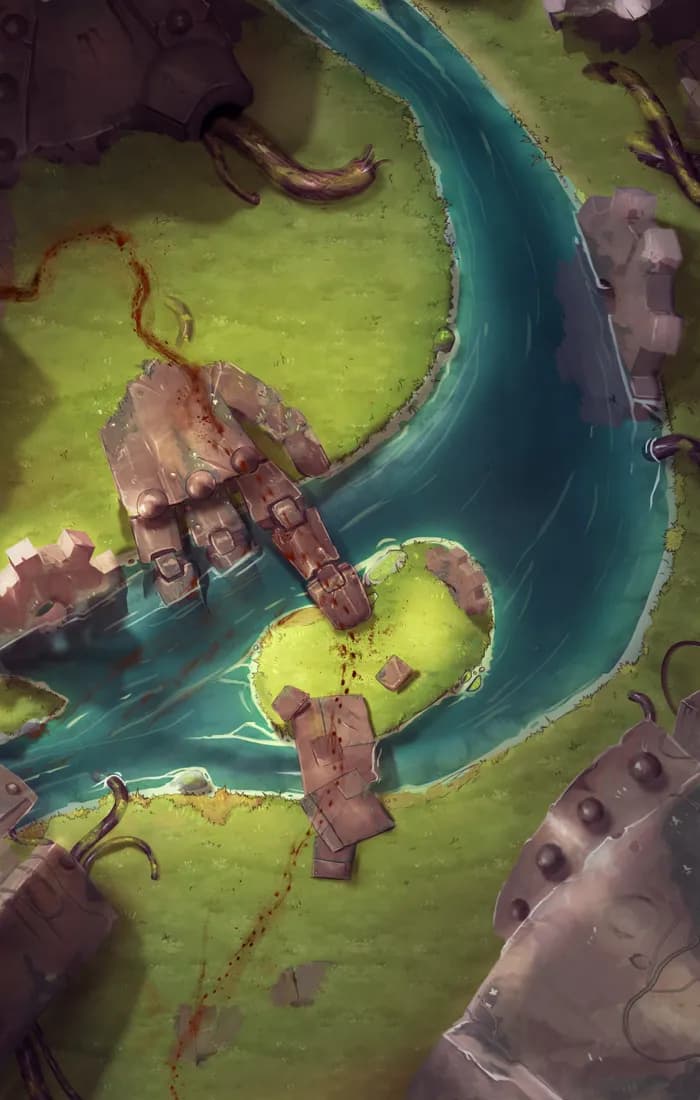
Warforged Titan Scrapyard
Warforged Titan Scrapyard
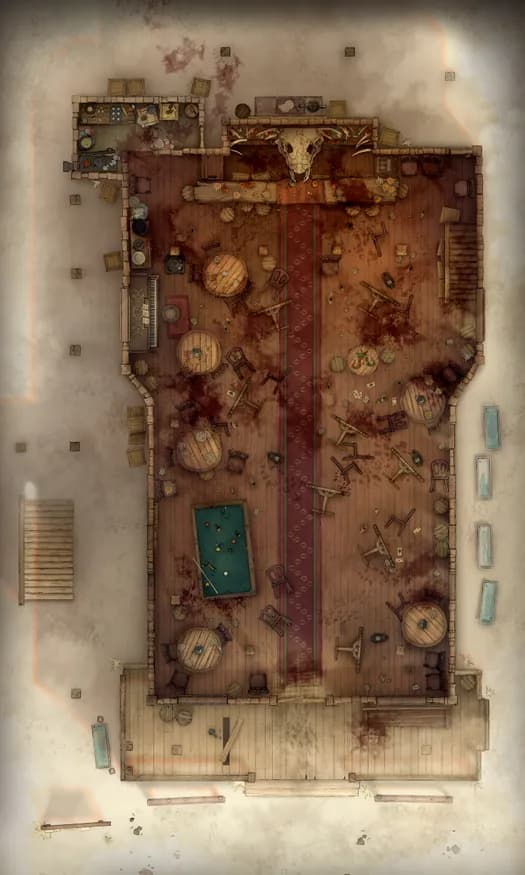
Wild West Saloon (+2)
Wild West Saloon (+2)
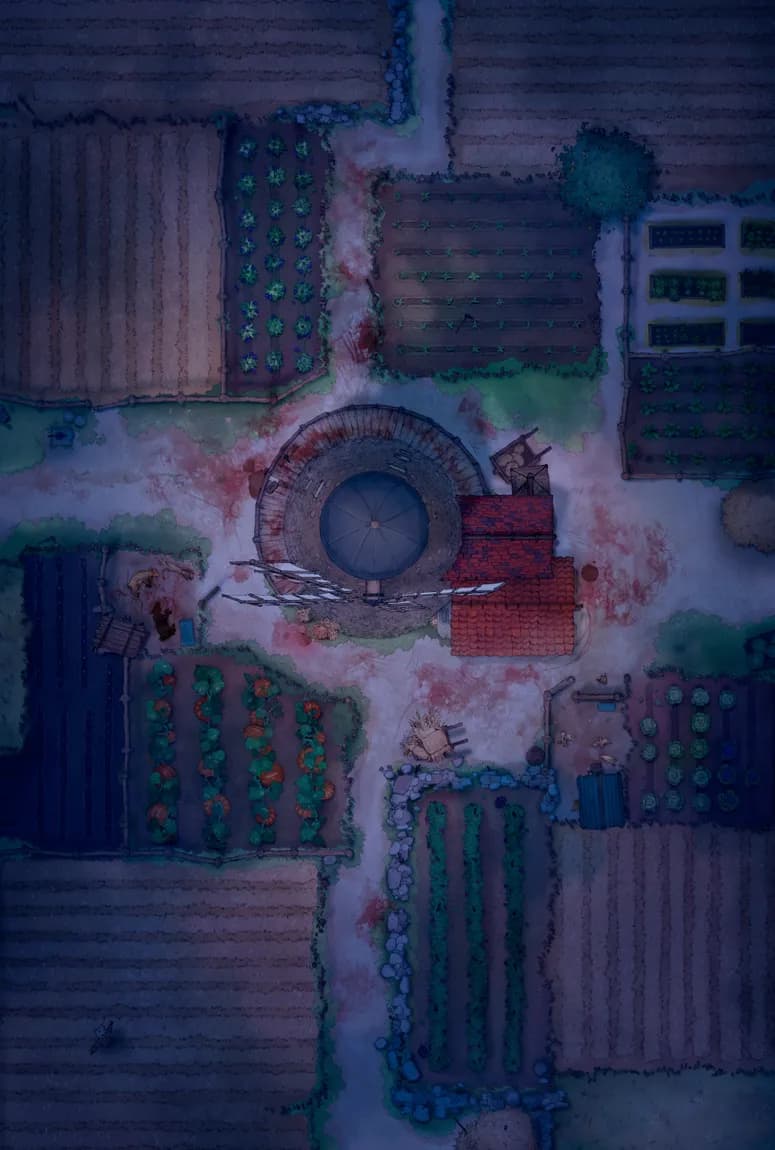
Windmill Farm (+1)
Windmill Farm (+1)
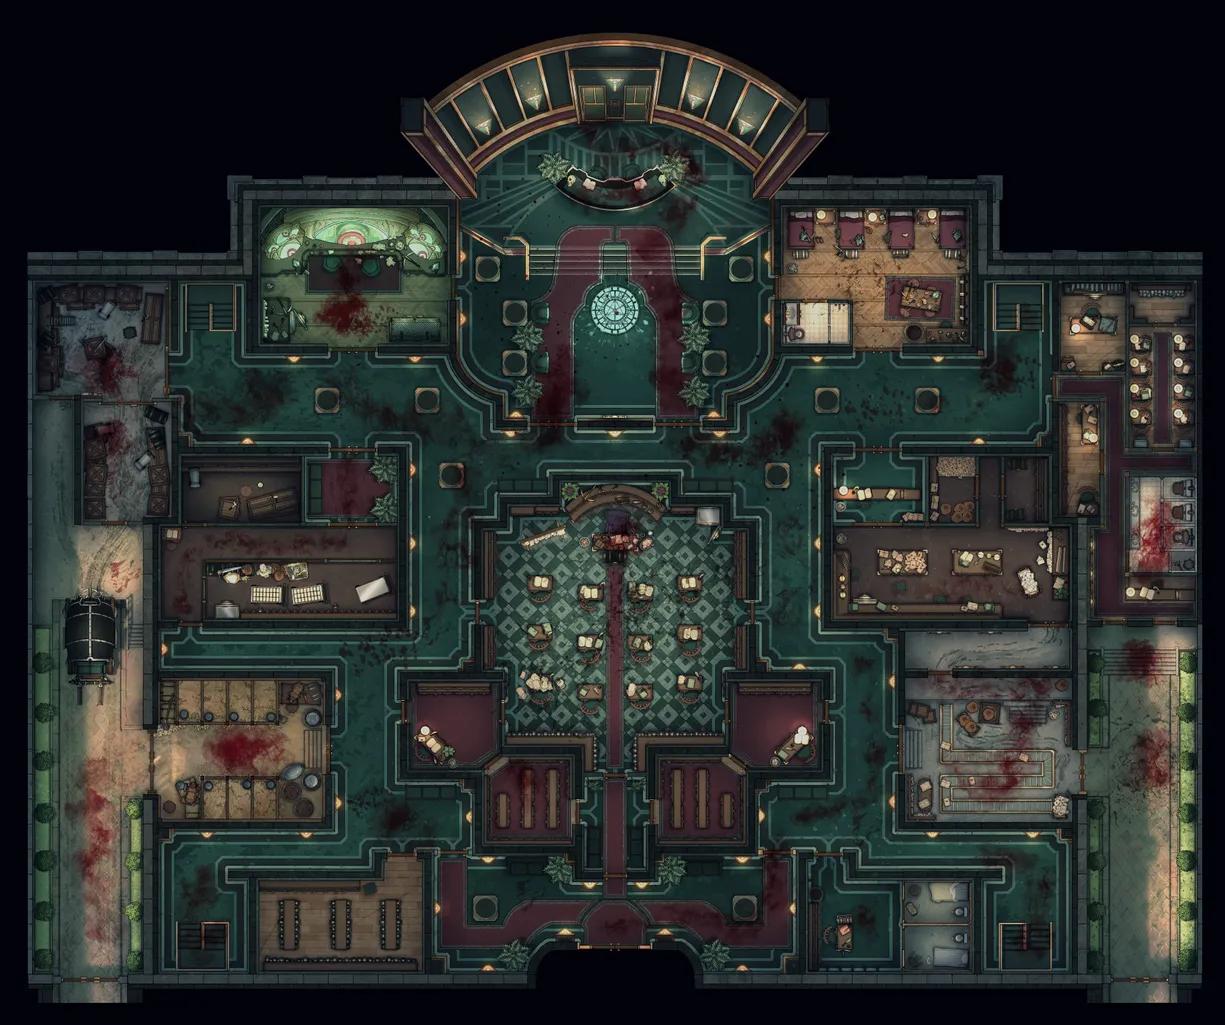
Wizard Bank Interior (+2)
Wizard Bank Interior (+2)
Wizard Prison Pt. 1 (+1)
Wizard Prison Pt. 1 (+1)
Wizard Prison Pt. 2 (+1)
Wizard Prison Pt. 2 (+1)

Wizard Prison Pt. 3 (+1)
Wizard Prison Pt. 3 (+1)
Wizard Prison Pt. 4 (+1)
Wizard Prison Pt. 4 (+1)
Wizard Prison Pt. 5
Wizard Prison Pt. 5
Wizard Vault (+2)
Wizard Vault (+2)
Wonderful Wizard Waterfall
Wonderful Wizard Waterfall
Wuxia Tavern
Wuxia Tavern
Yggdrasil Roots (+1)
Yggdrasil Roots (+1)
Yggdrasil Treetop
Yggdrasil Treetop
Yggdrasil Trunk
Yggdrasil Trunk
Yggdrasil Village (+1)
Yggdrasil Village (+1)