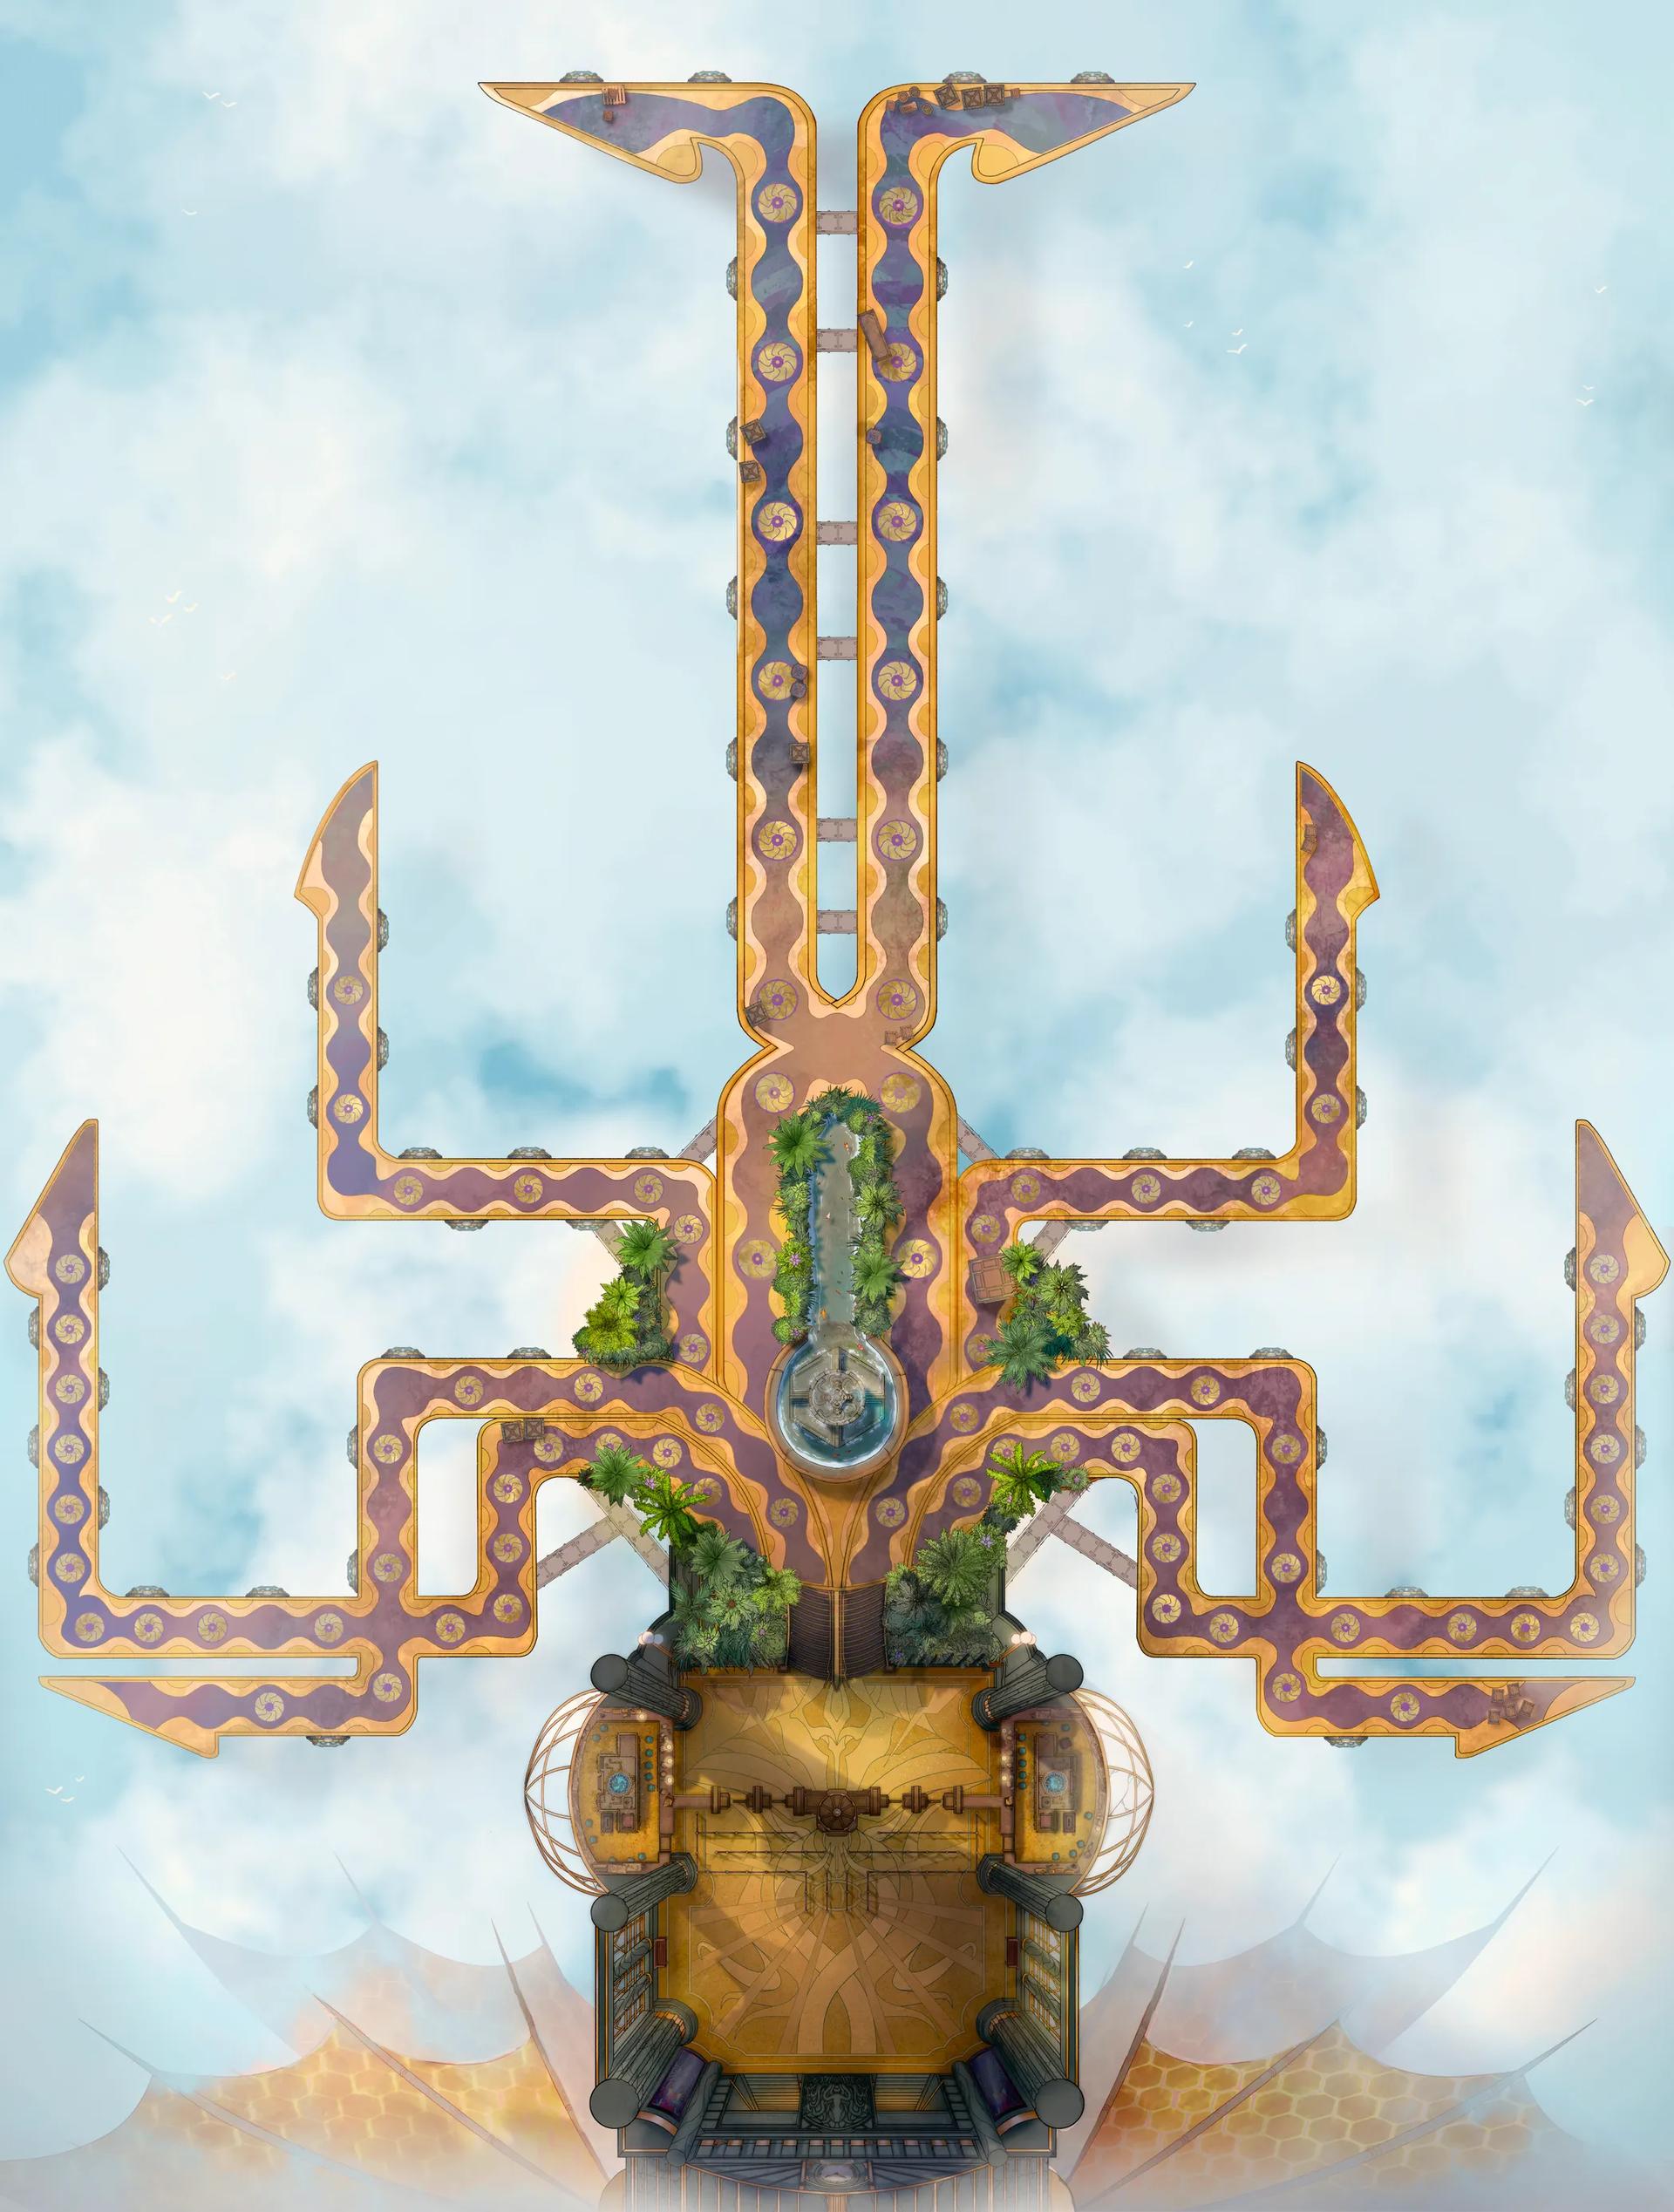
Airship Port
Airship Port
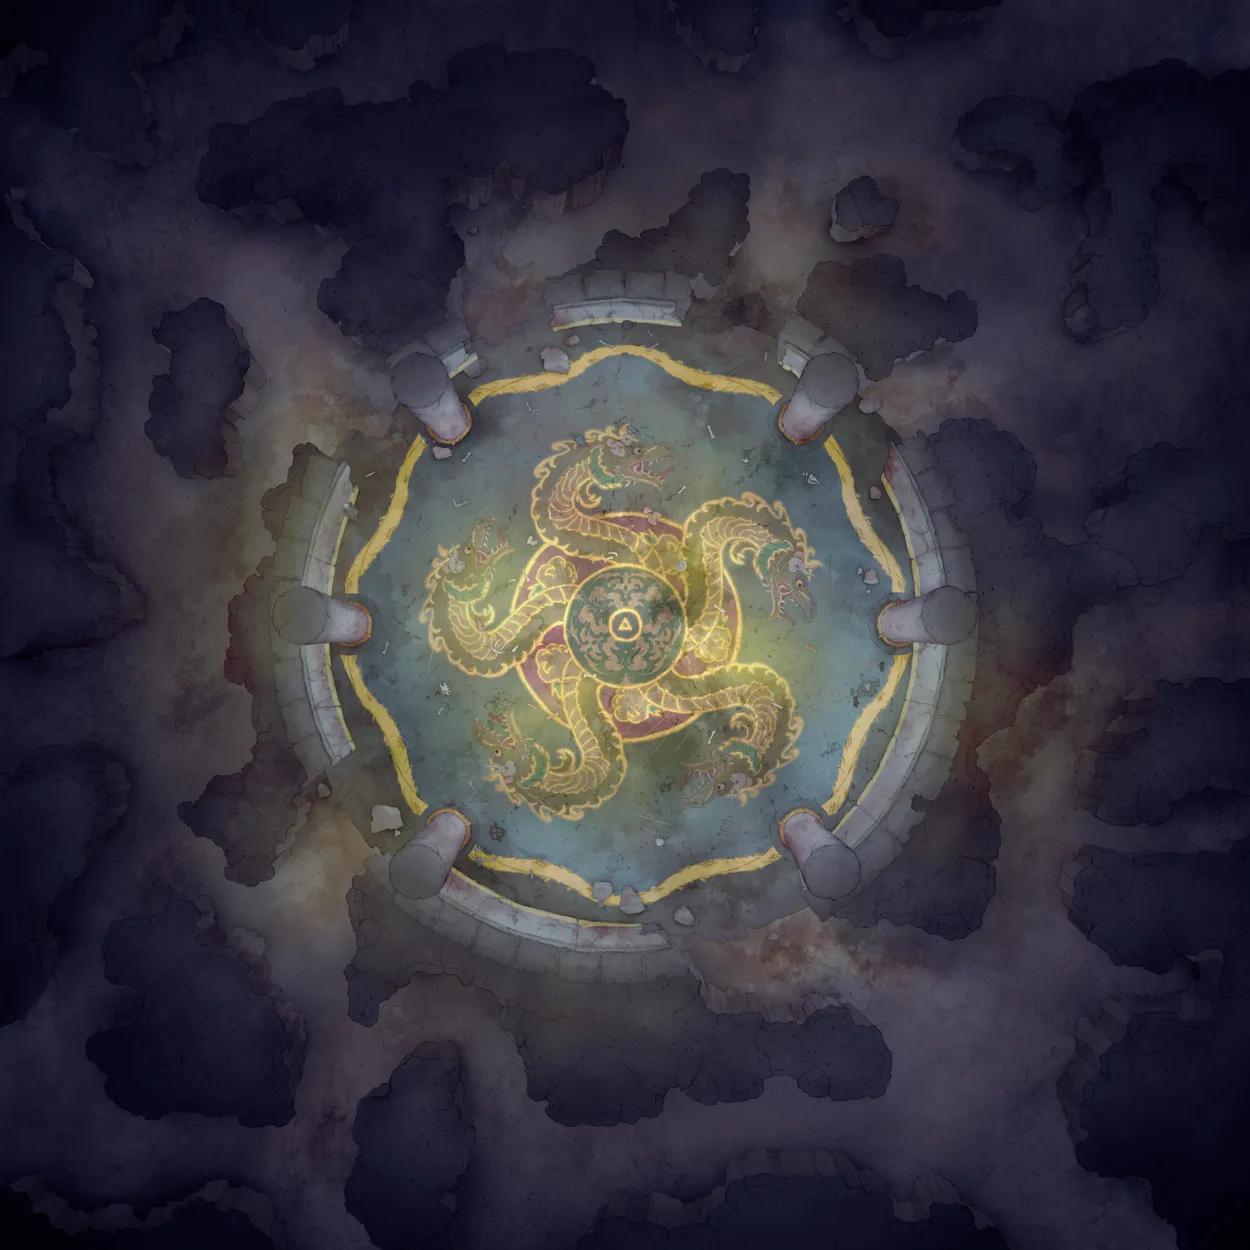
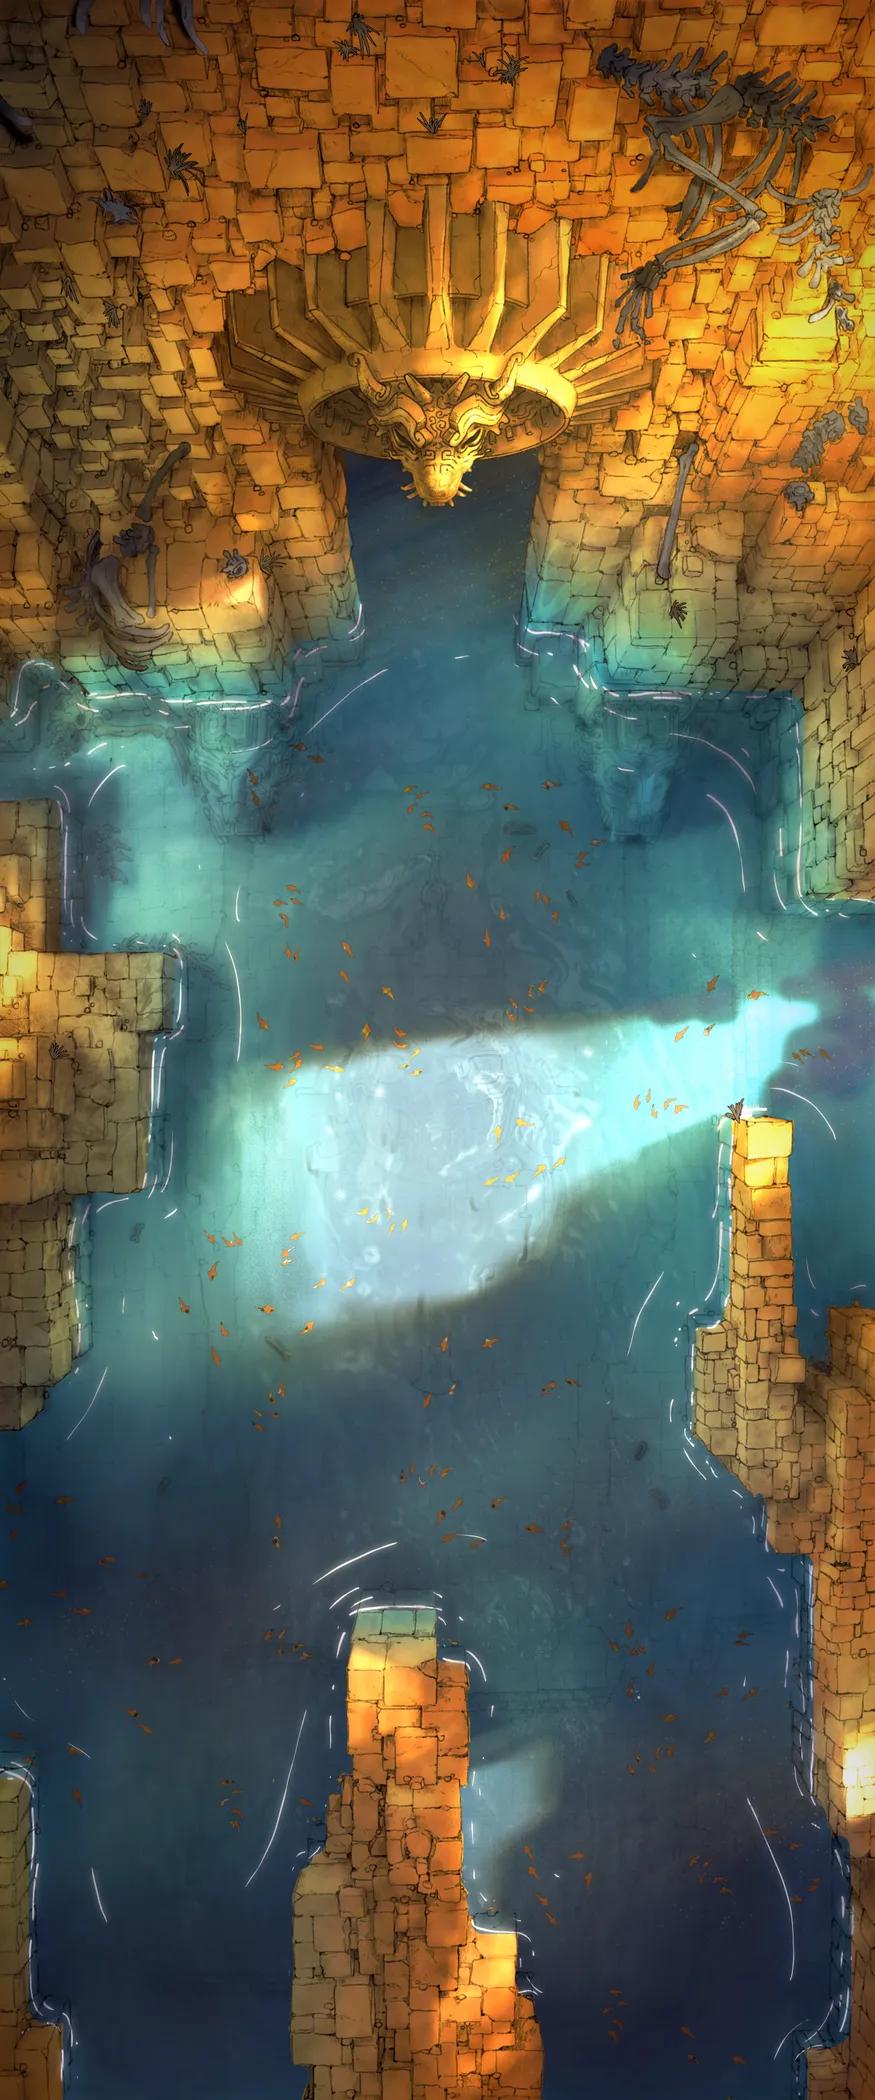
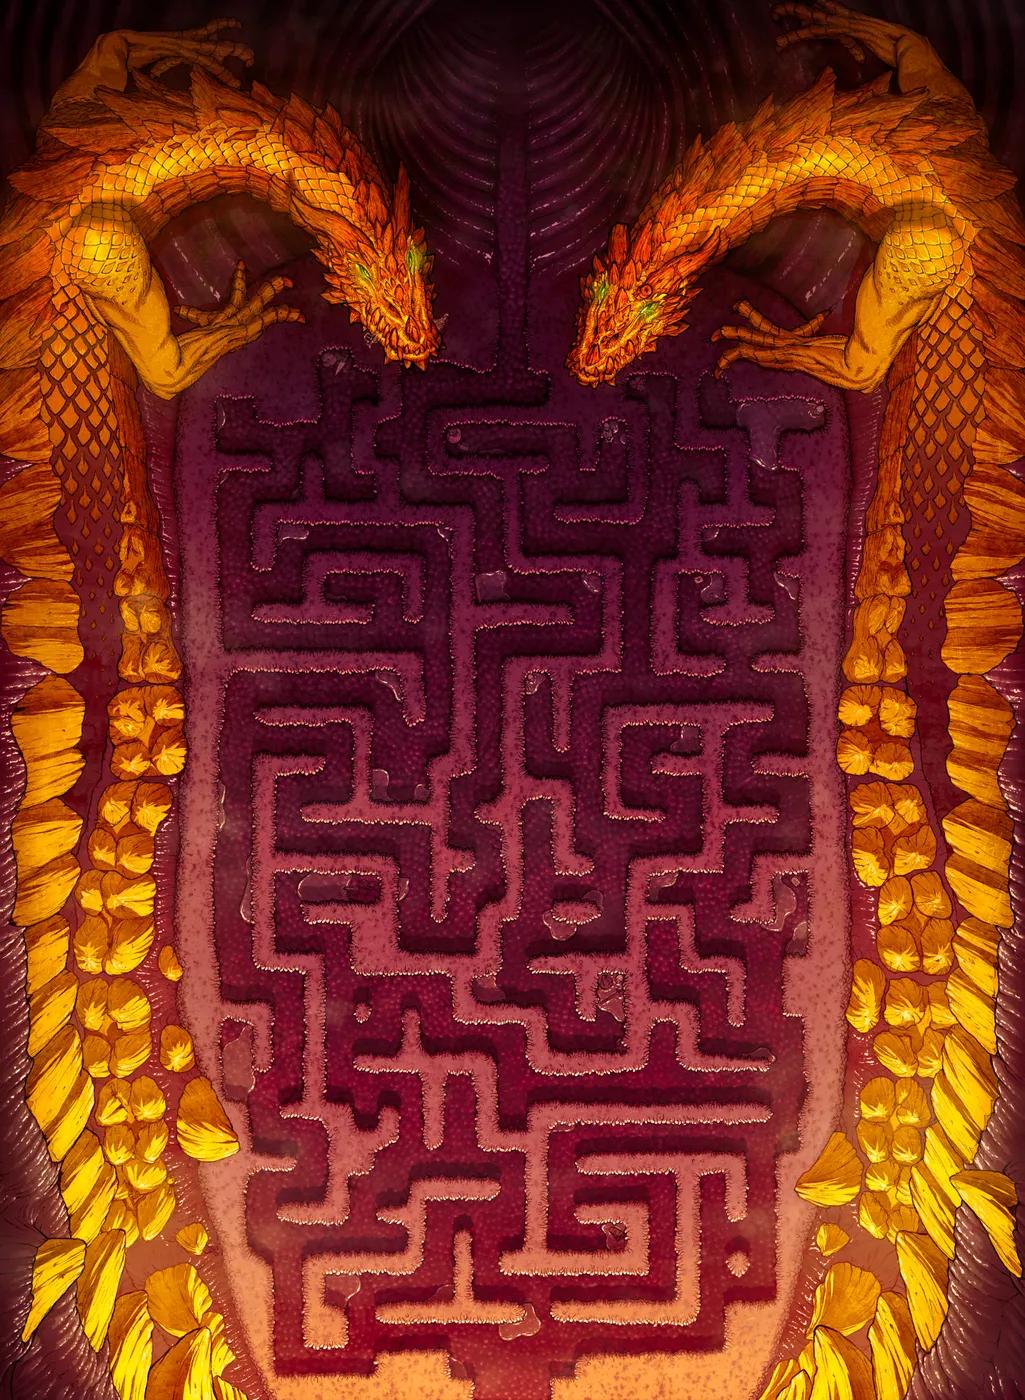
Ancient Hydra Lair
Ancient Hydra Lair
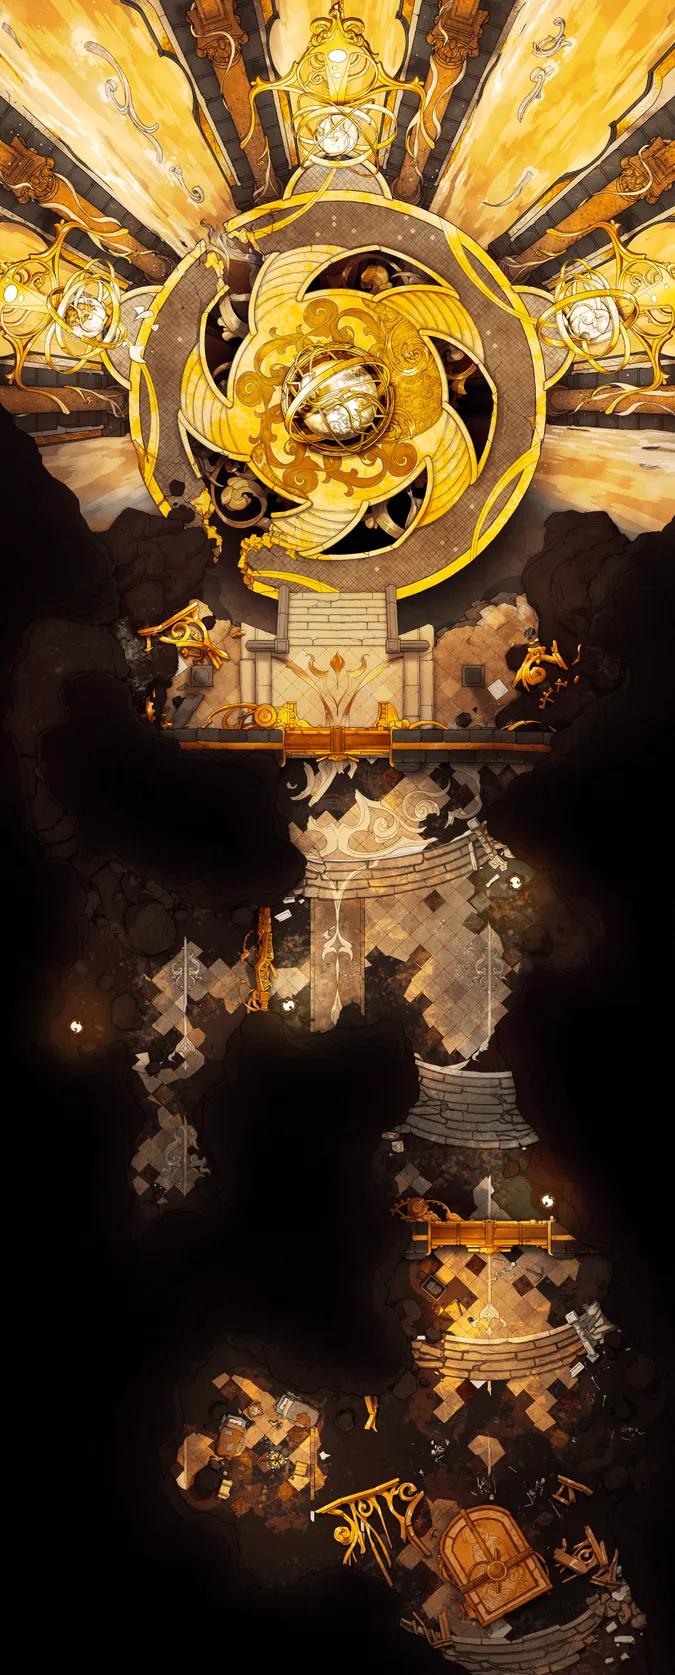
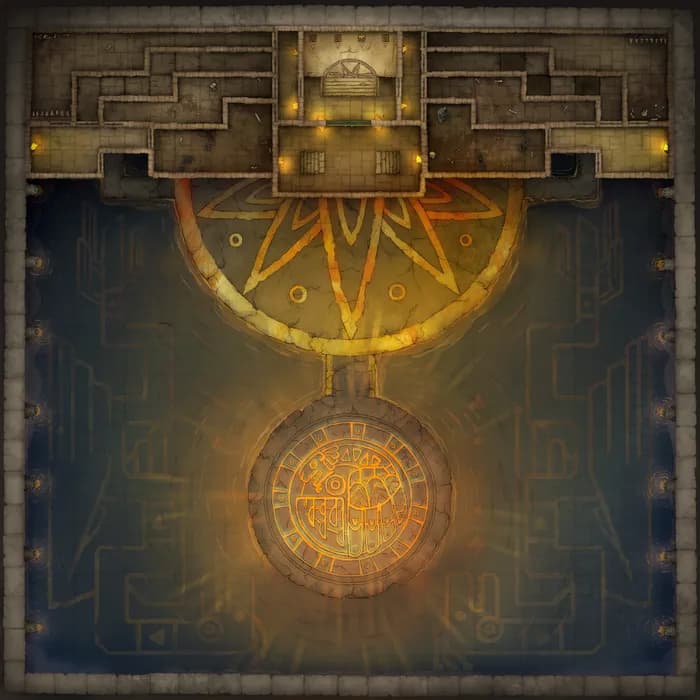
Ancient Tech Treasury
Ancient Tech Treasury
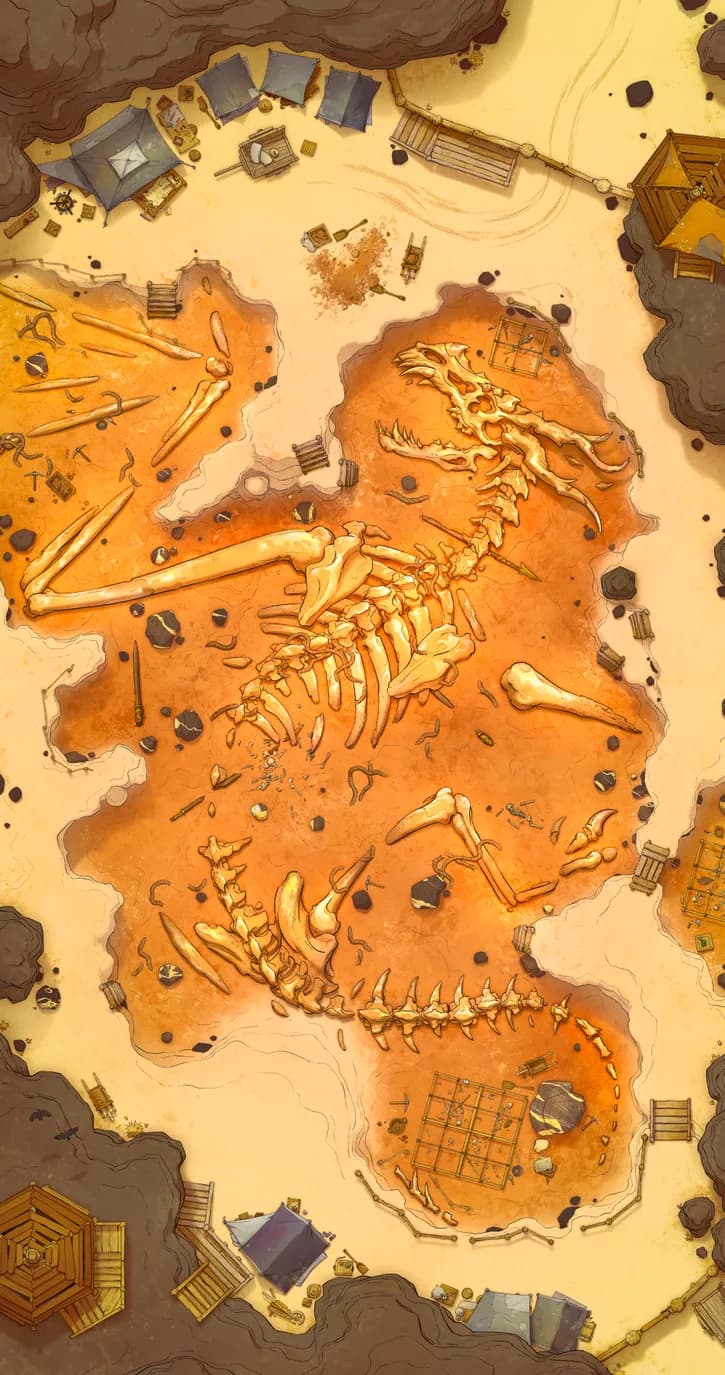
Archaeological Dig
Archaeological Dig
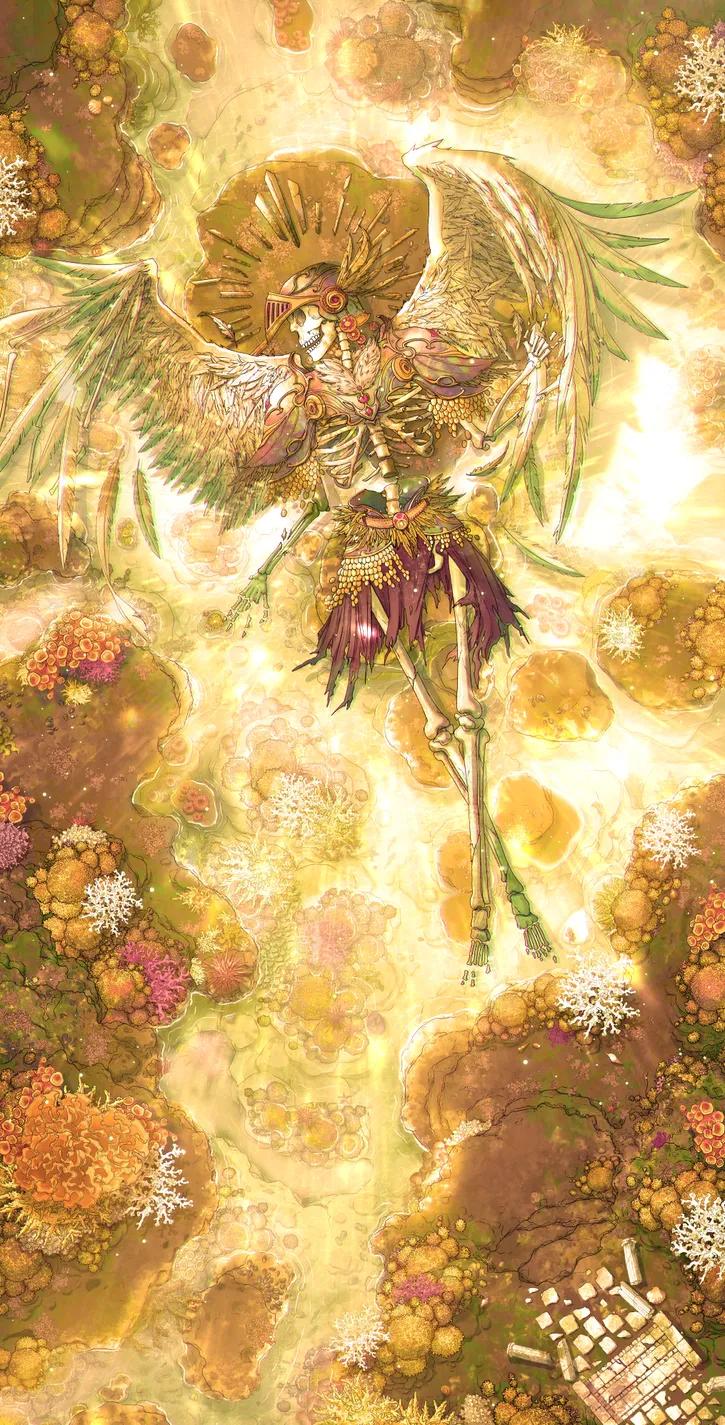
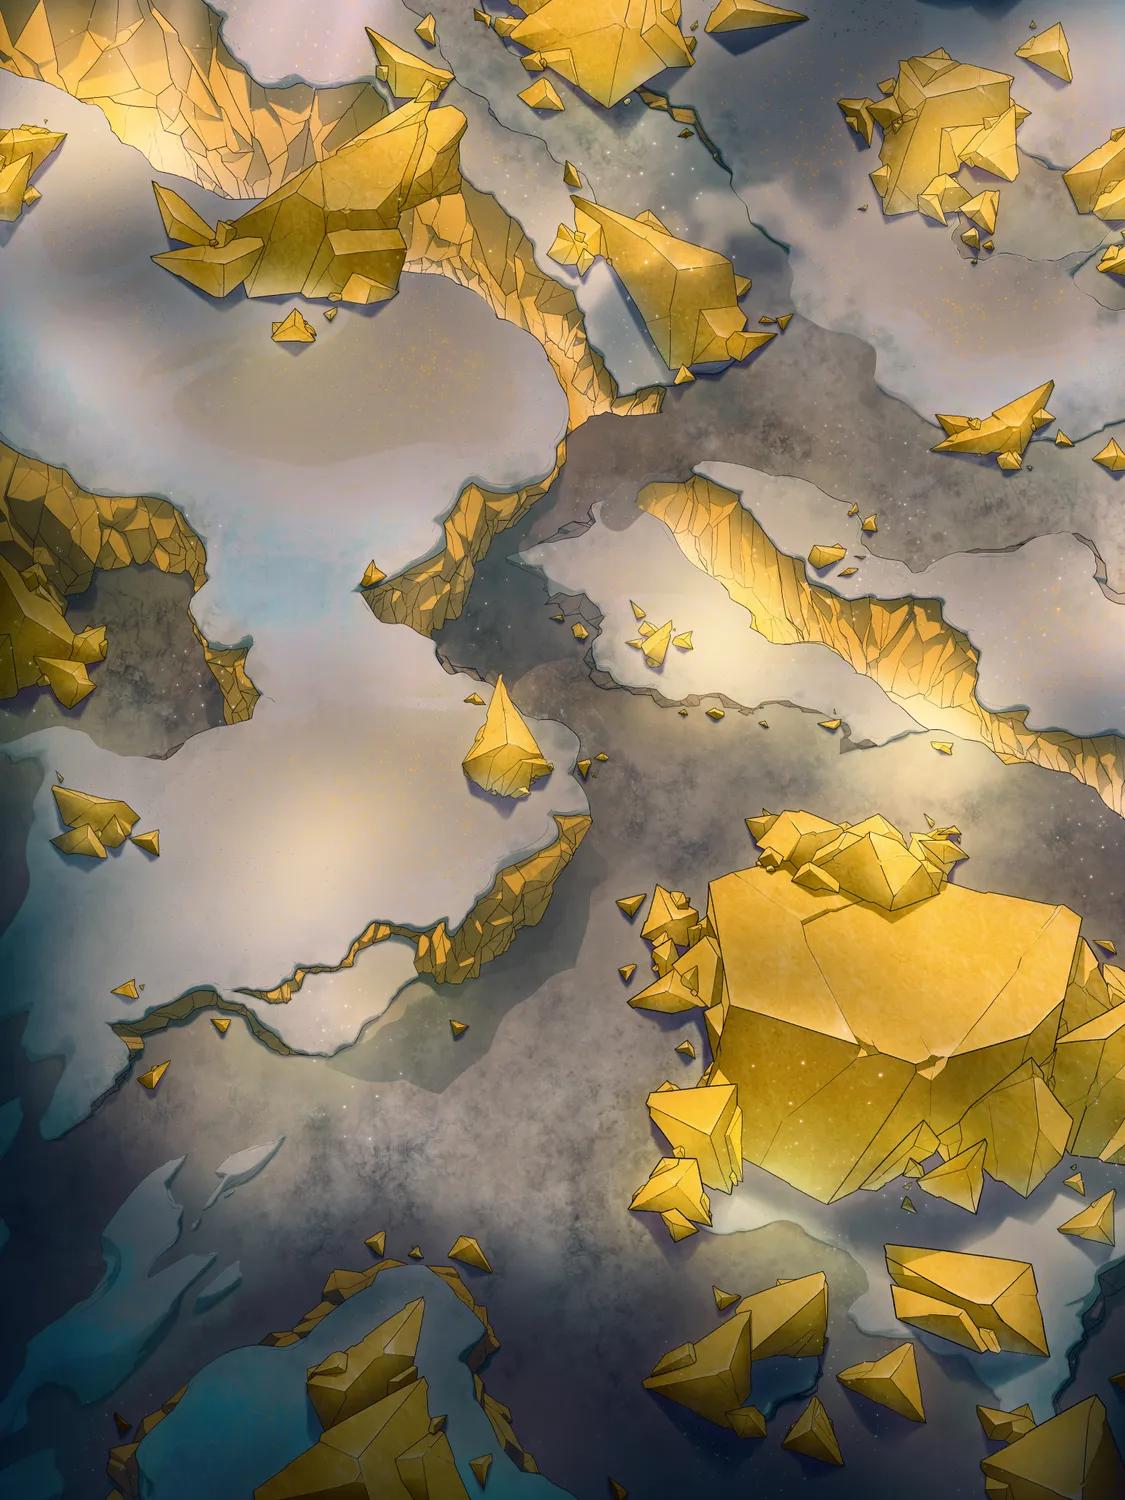
Dead Angel Reef
Dead Angel Reef
Dracolich Lair
Dracolich Lair
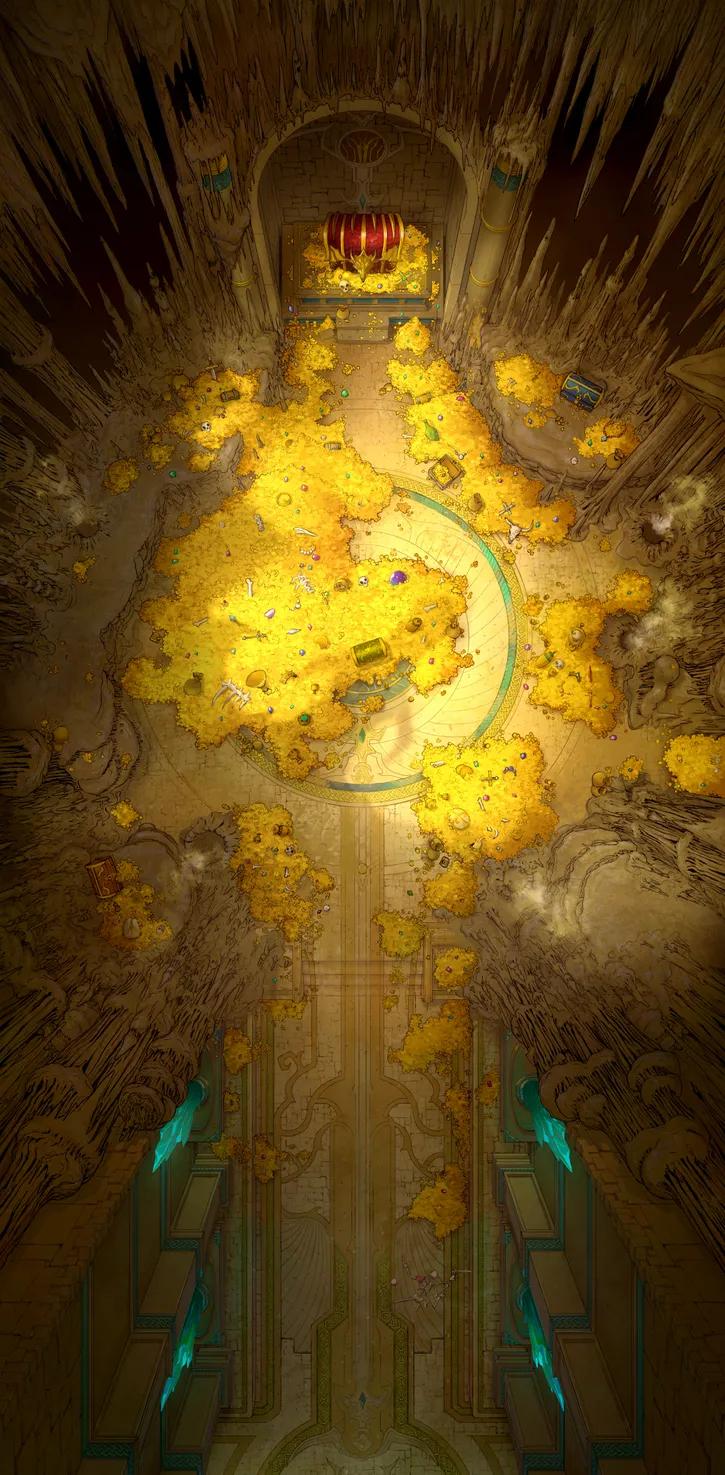
Dragon's Hoard (+3)
Dragon's Hoard (+3)

Drow Warship
Drow Warship
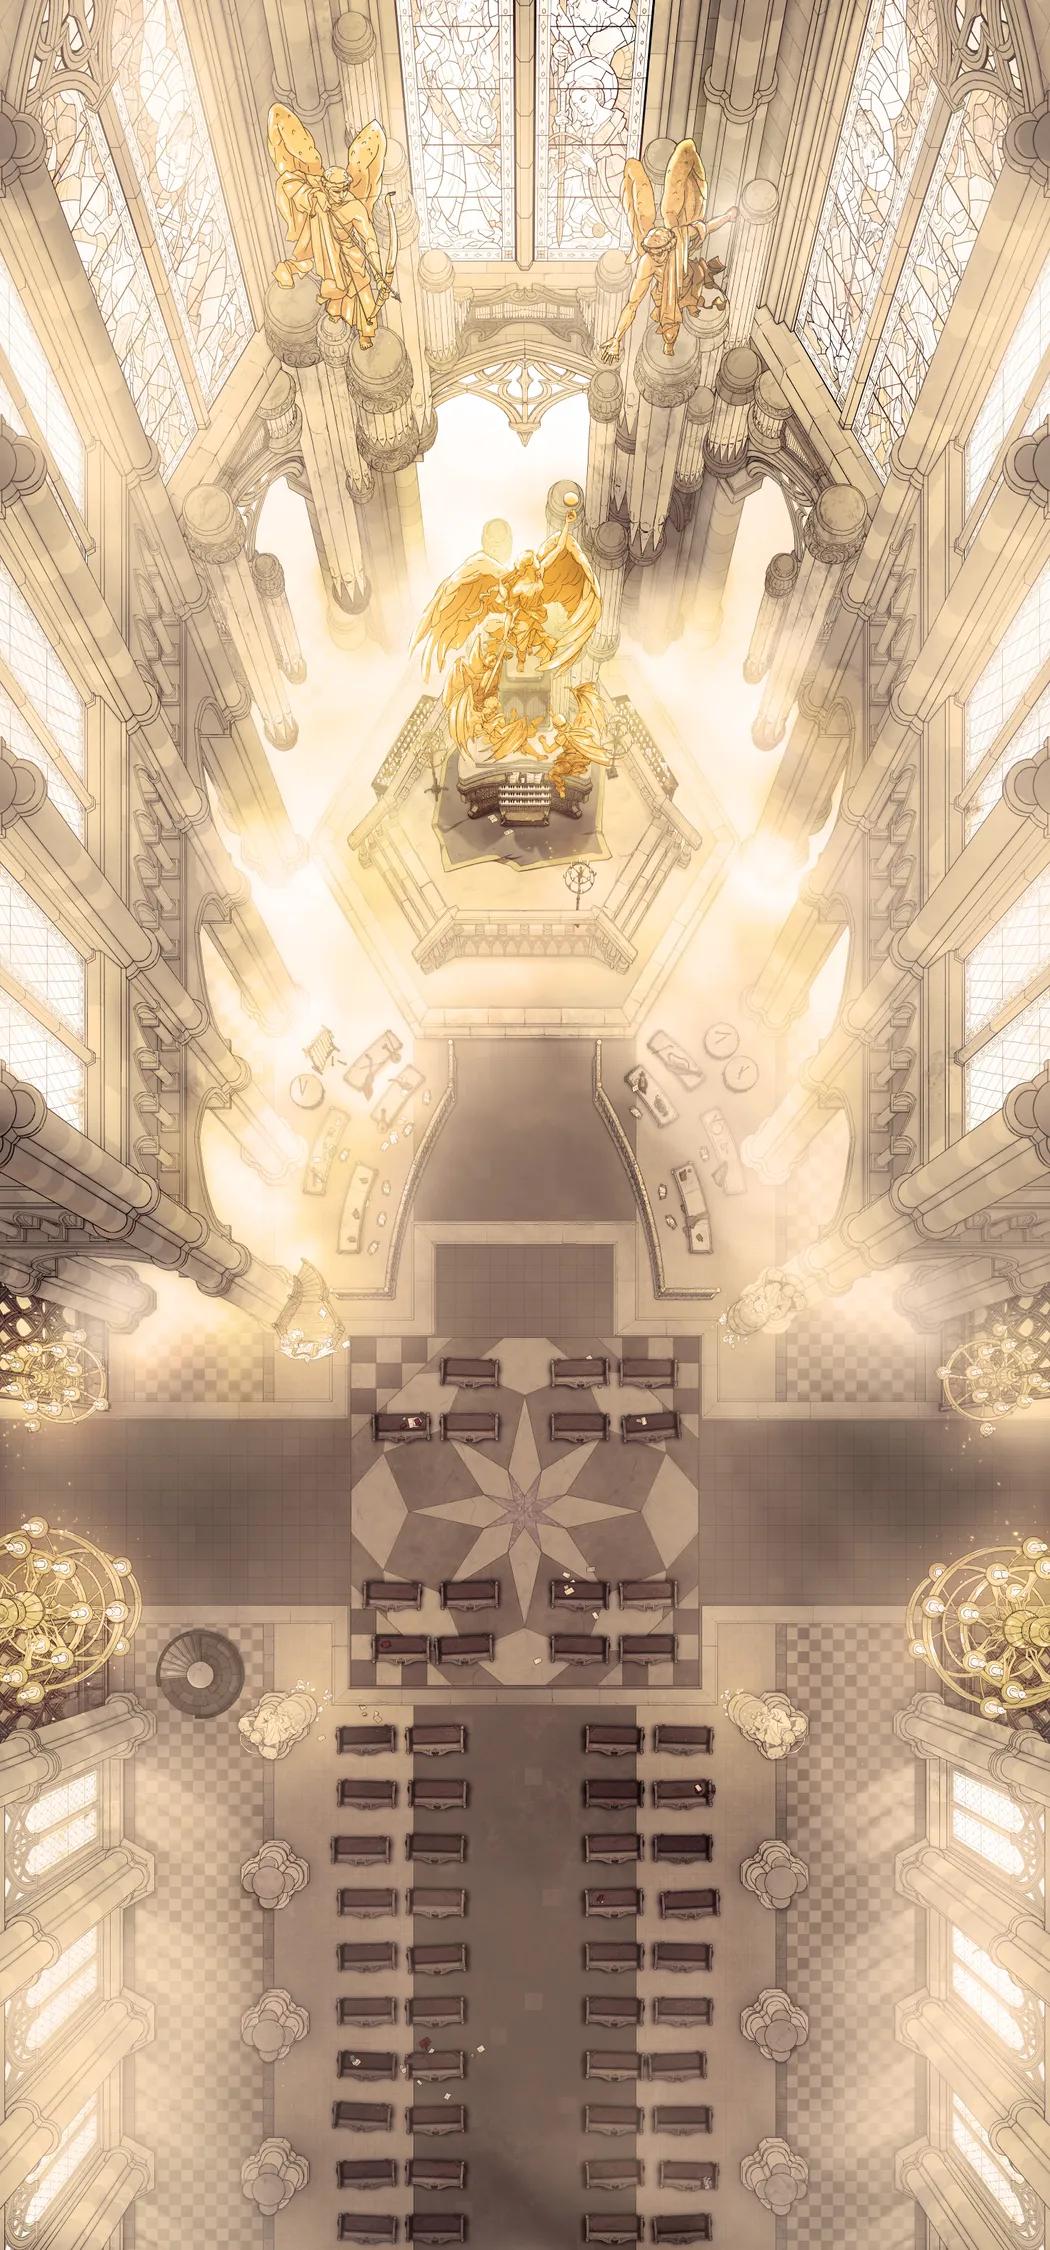
Grand Cathedral Interior
Grand Cathedral Interior
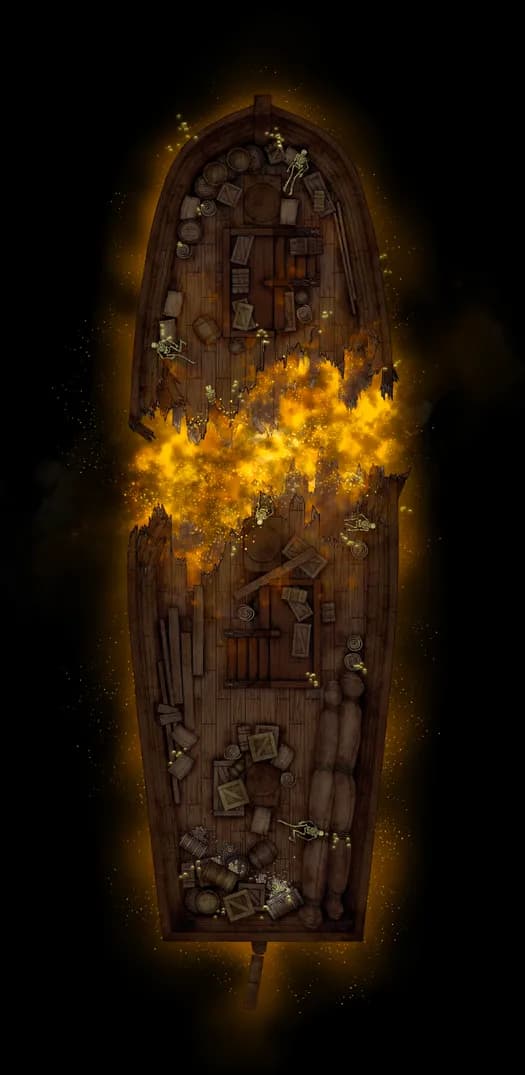
Haunted Ghost Ship Interior
Haunted Ghost Ship Interior
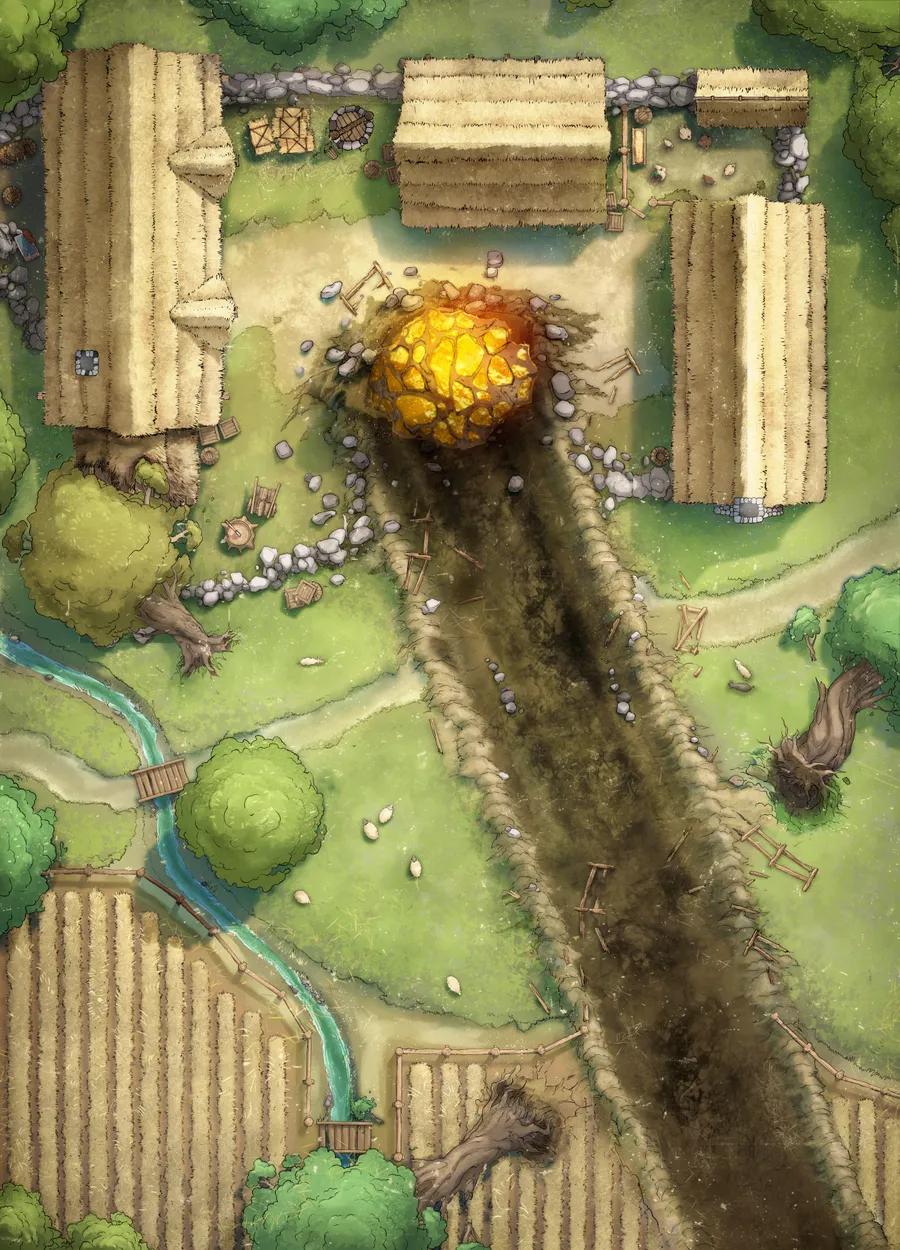
Impact Site
Impact Site
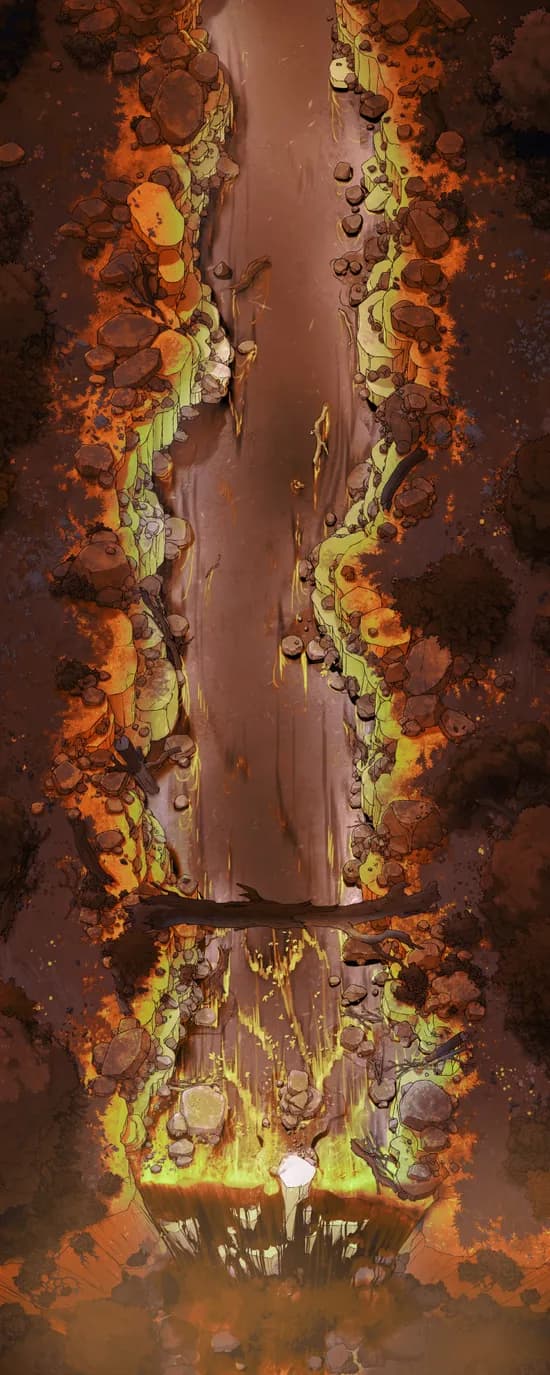
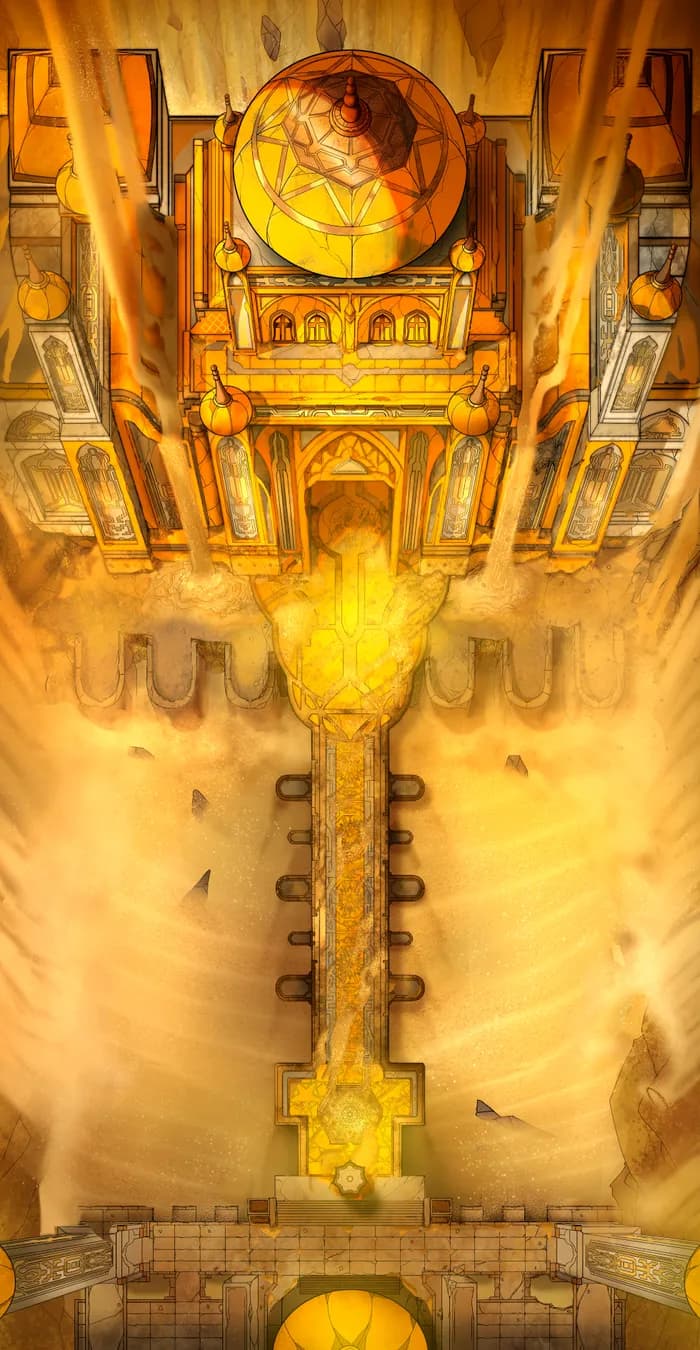
Impending Waterfall
Impending Waterfall
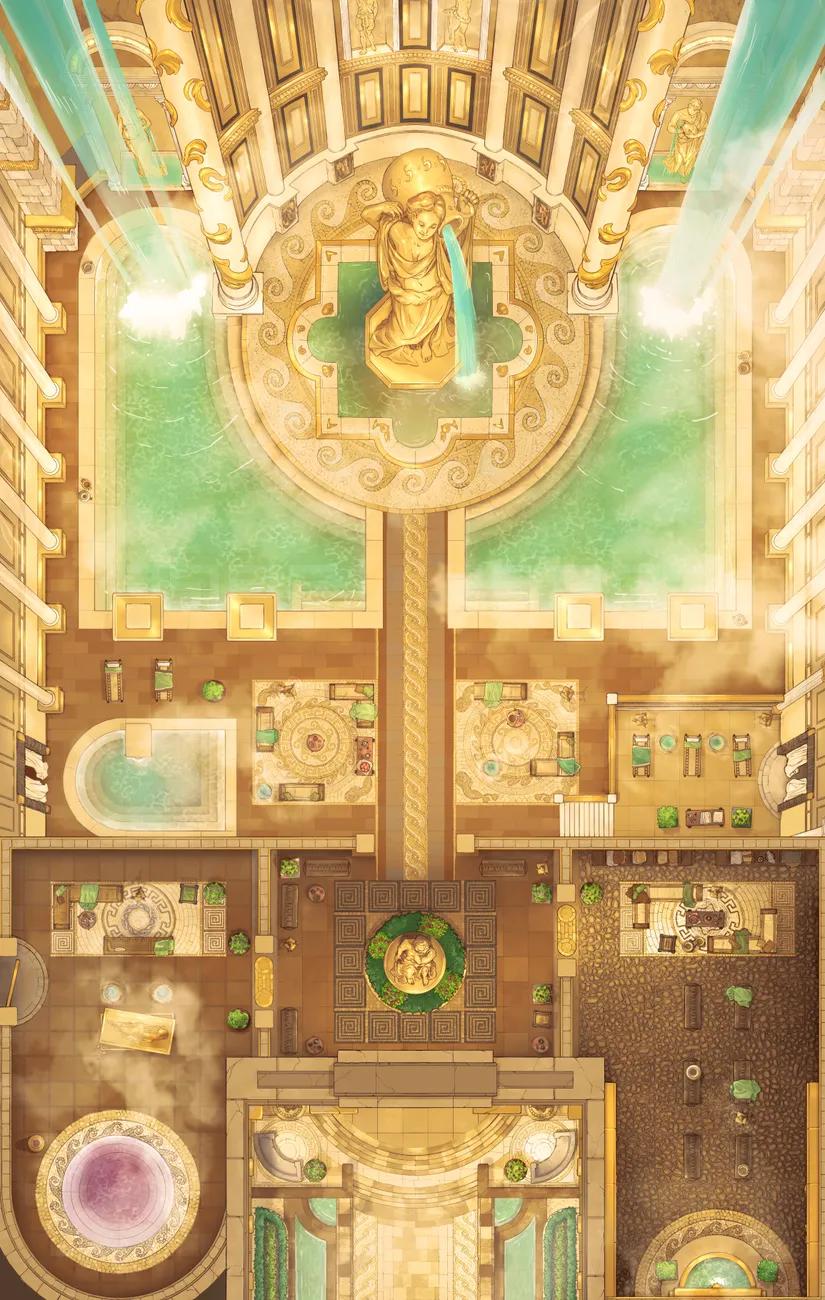
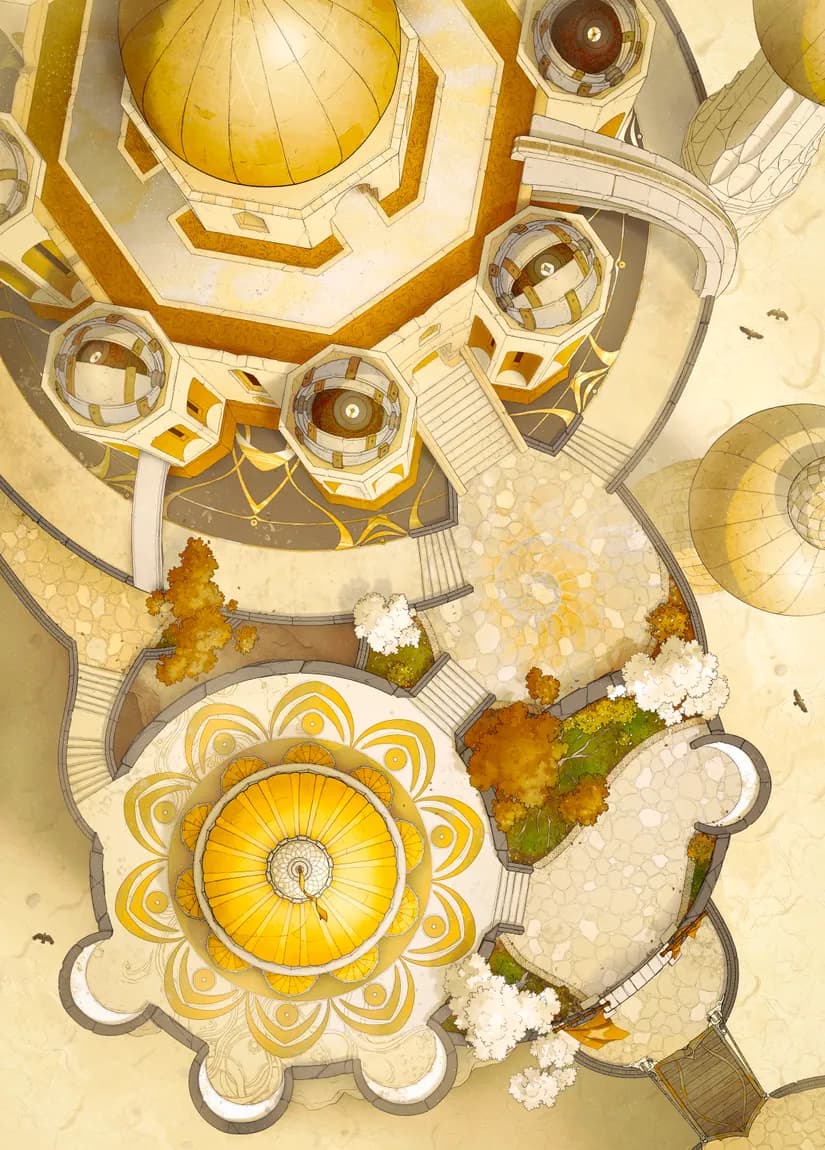
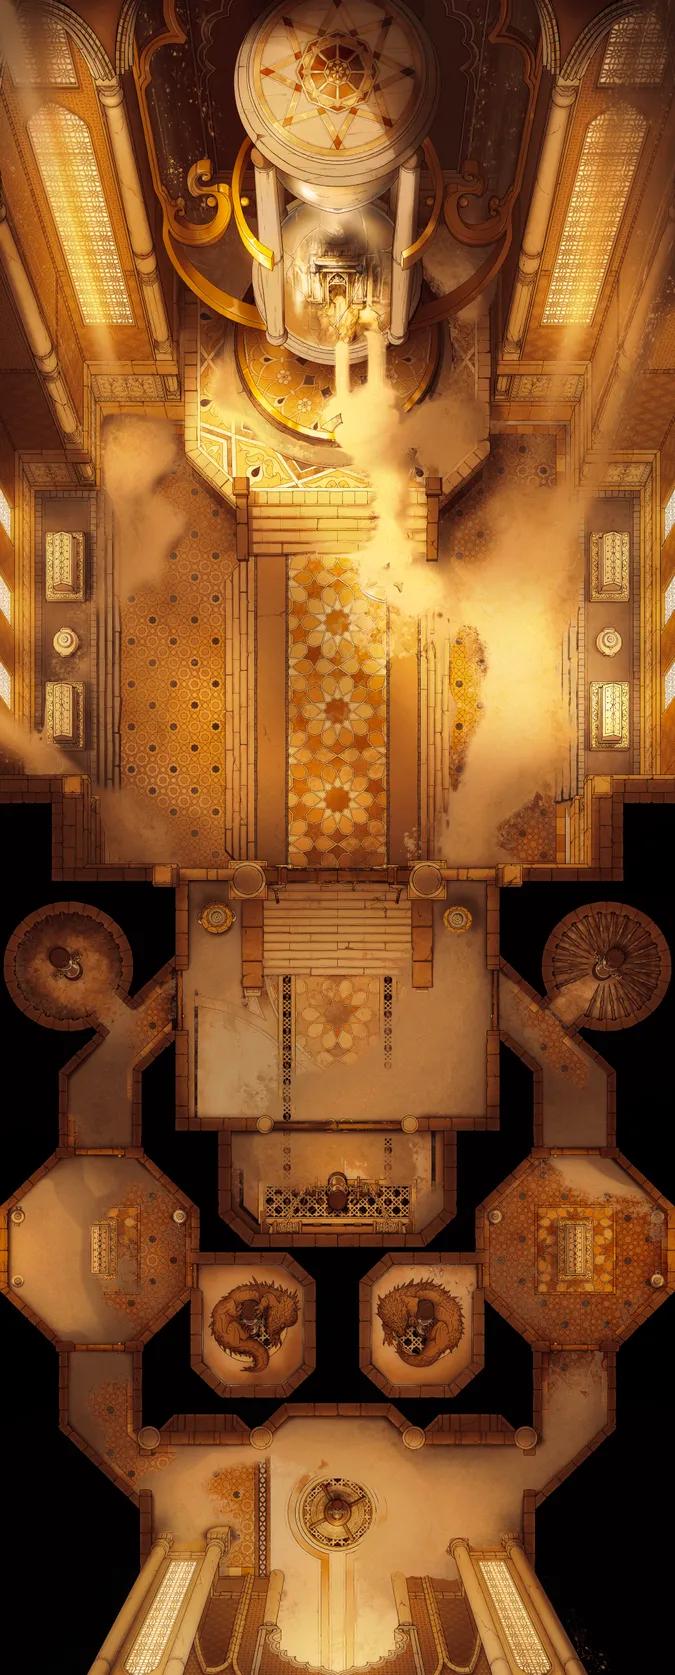
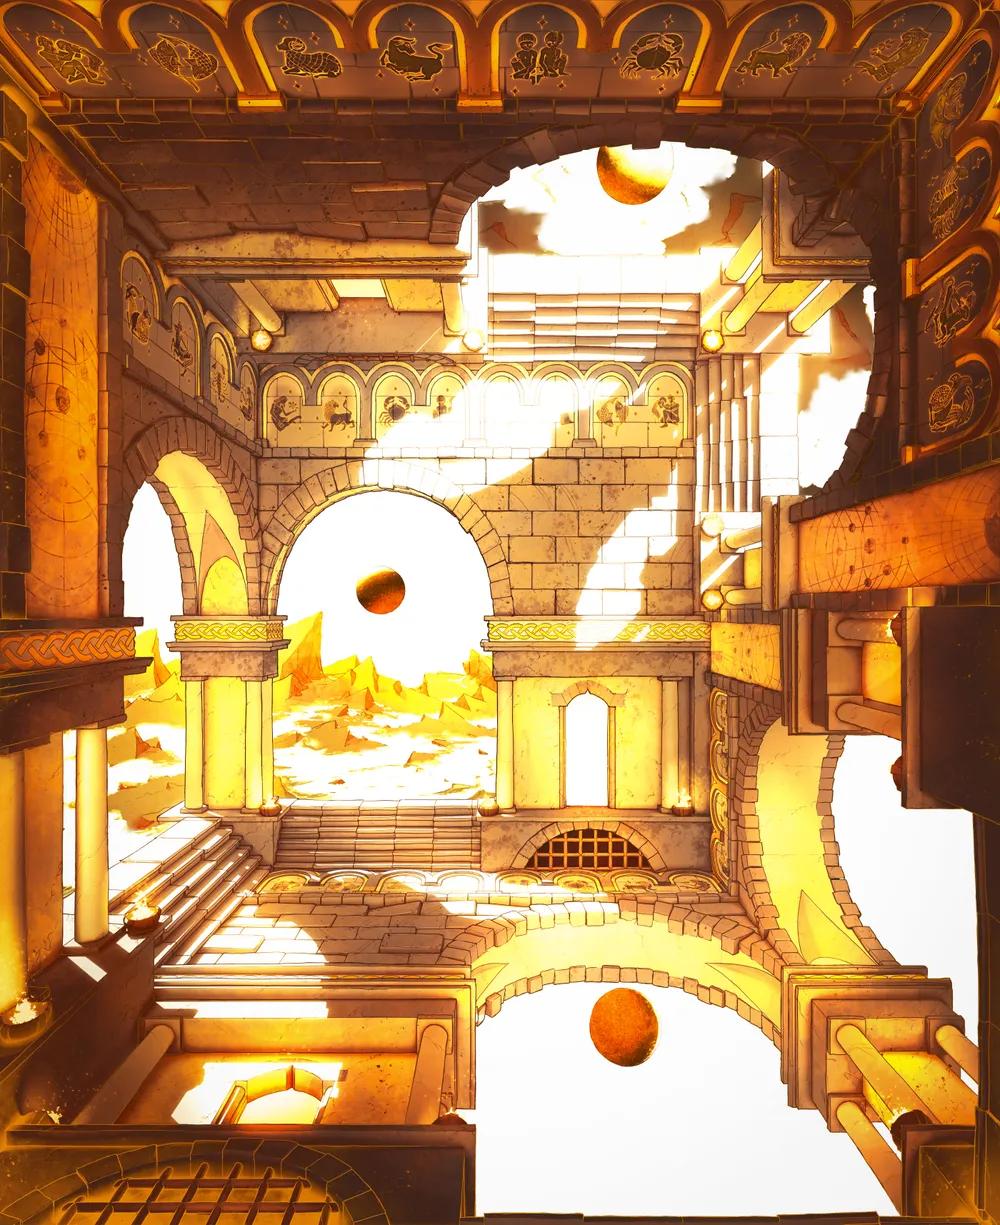
Imperial Bath Complex
Imperial Bath Complex
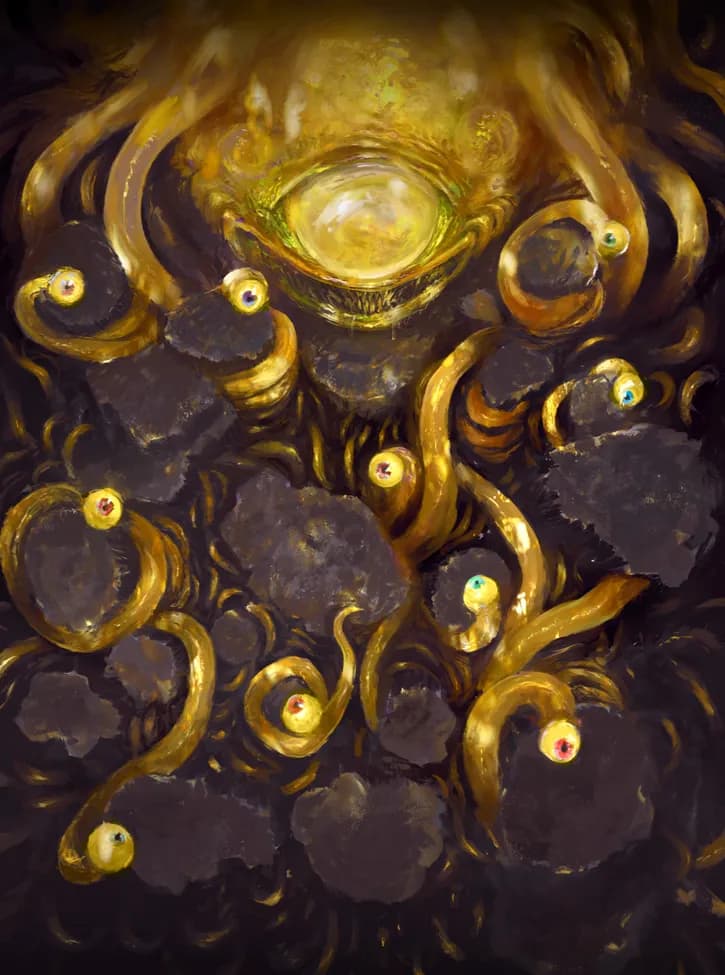
Lair of the Many Eyed God
Lair of the Many Eyed God
Lightning Rail Pt. 2
Lightning Rail Pt. 2
Magical Tournament Arena
Magical Tournament Arena
Megalith Gate
Megalith Gate
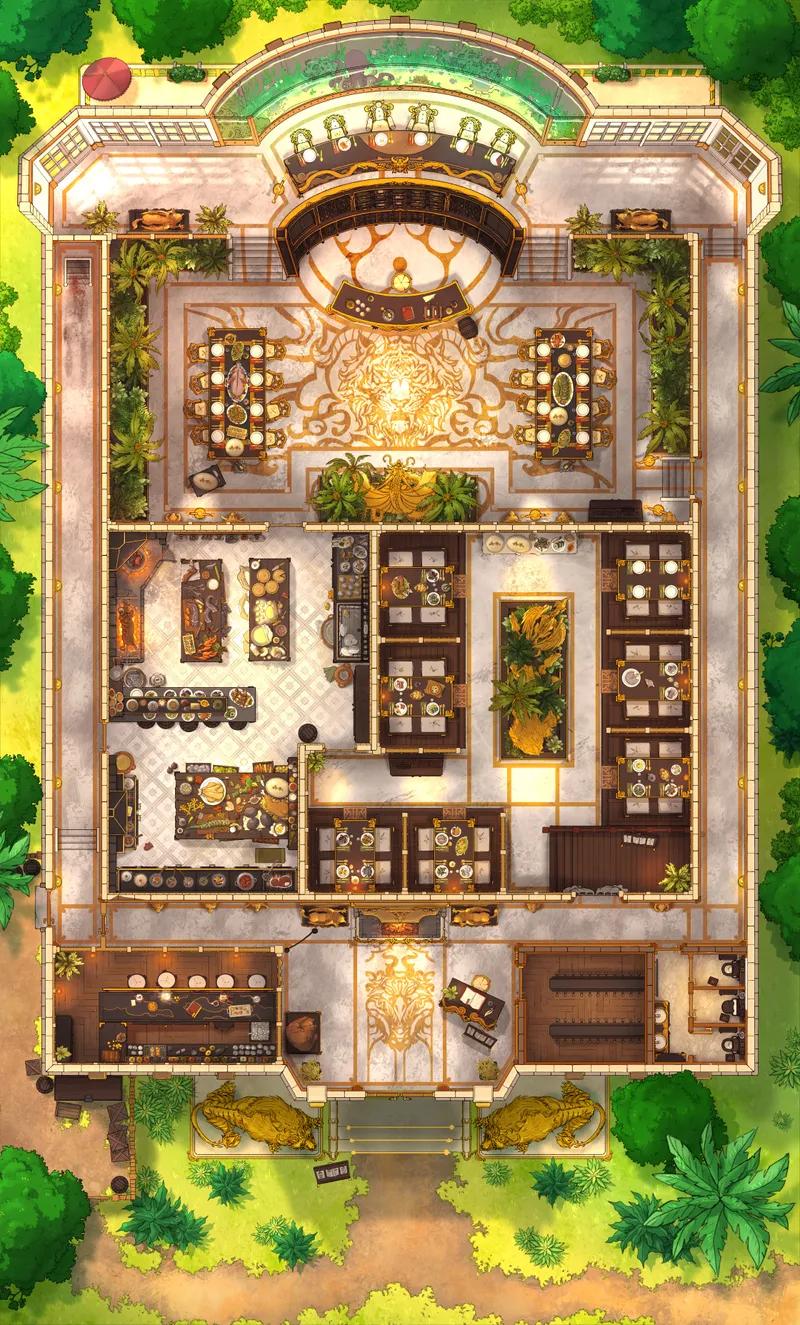
Monster Hunter Restaurant (+1)
Monster Hunter Restaurant (+1)
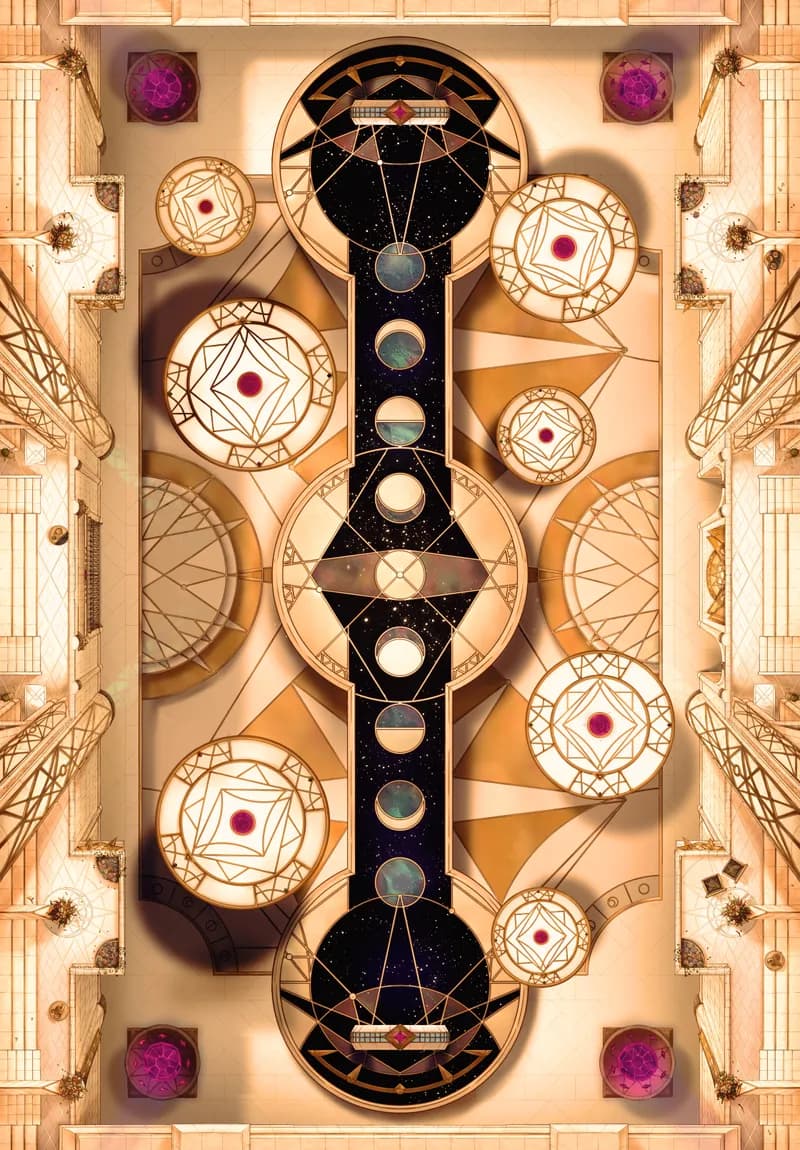
Salt Plains Observatory
Salt Plains Observatory
Temple of the Couatl Boss Room
Temple of the Couatl Boss Room
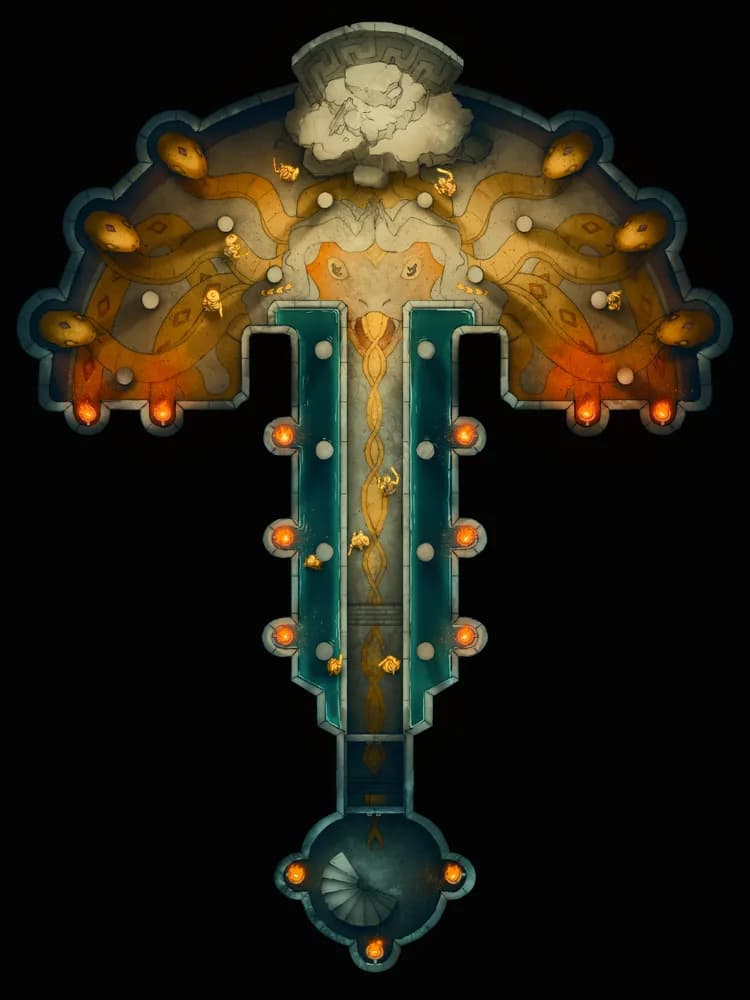
Temple of the Medusa Throne
Temple of the Medusa Throne
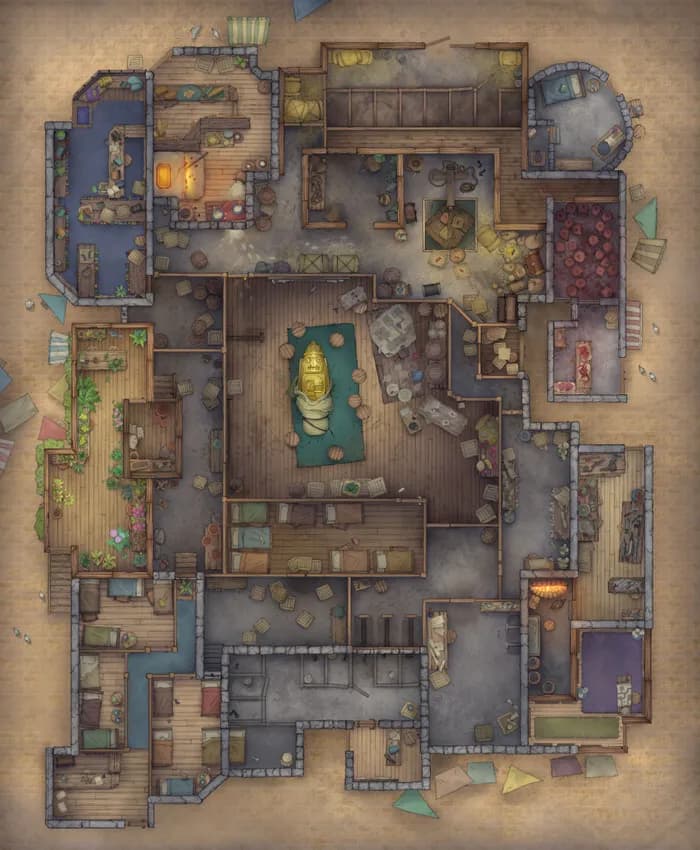
Thieves Guild Hideout (+2)
Thieves Guild Hideout (+2)
Tomb of Sand
Tomb of Sand
Tomb of Sand Interior
Tomb of Sand Interior
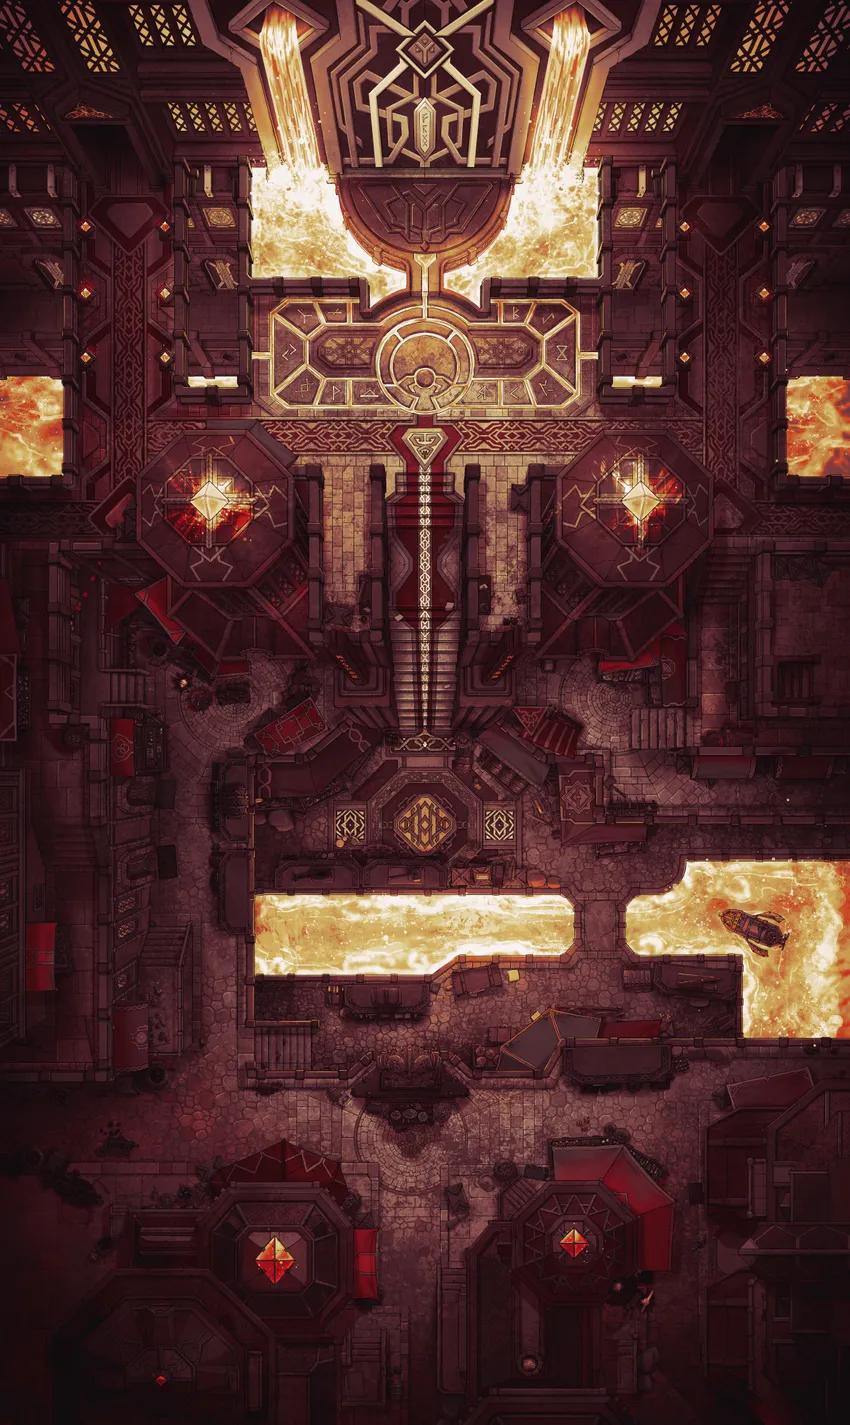
Underground Dwarven City Centre
Underground Dwarven City Centre
Wizard Prison Pt. 3
Wizard Prison Pt. 3
Wizard Prison Pt. 5
Wizard Prison Pt. 5