Alchemy Dungeon
Alchemy Dungeon
Ancient Hydra Lair
Ancient Hydra Lair
Bullywug Swamp
Bullywug Swamp
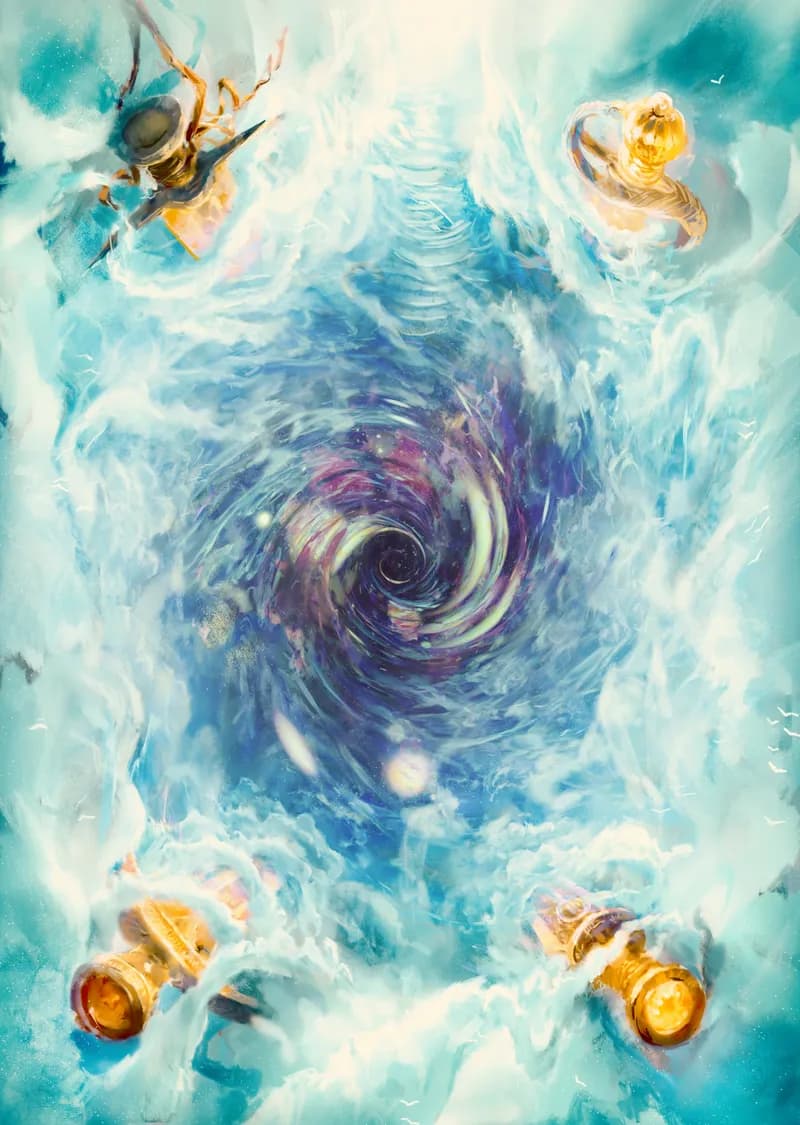
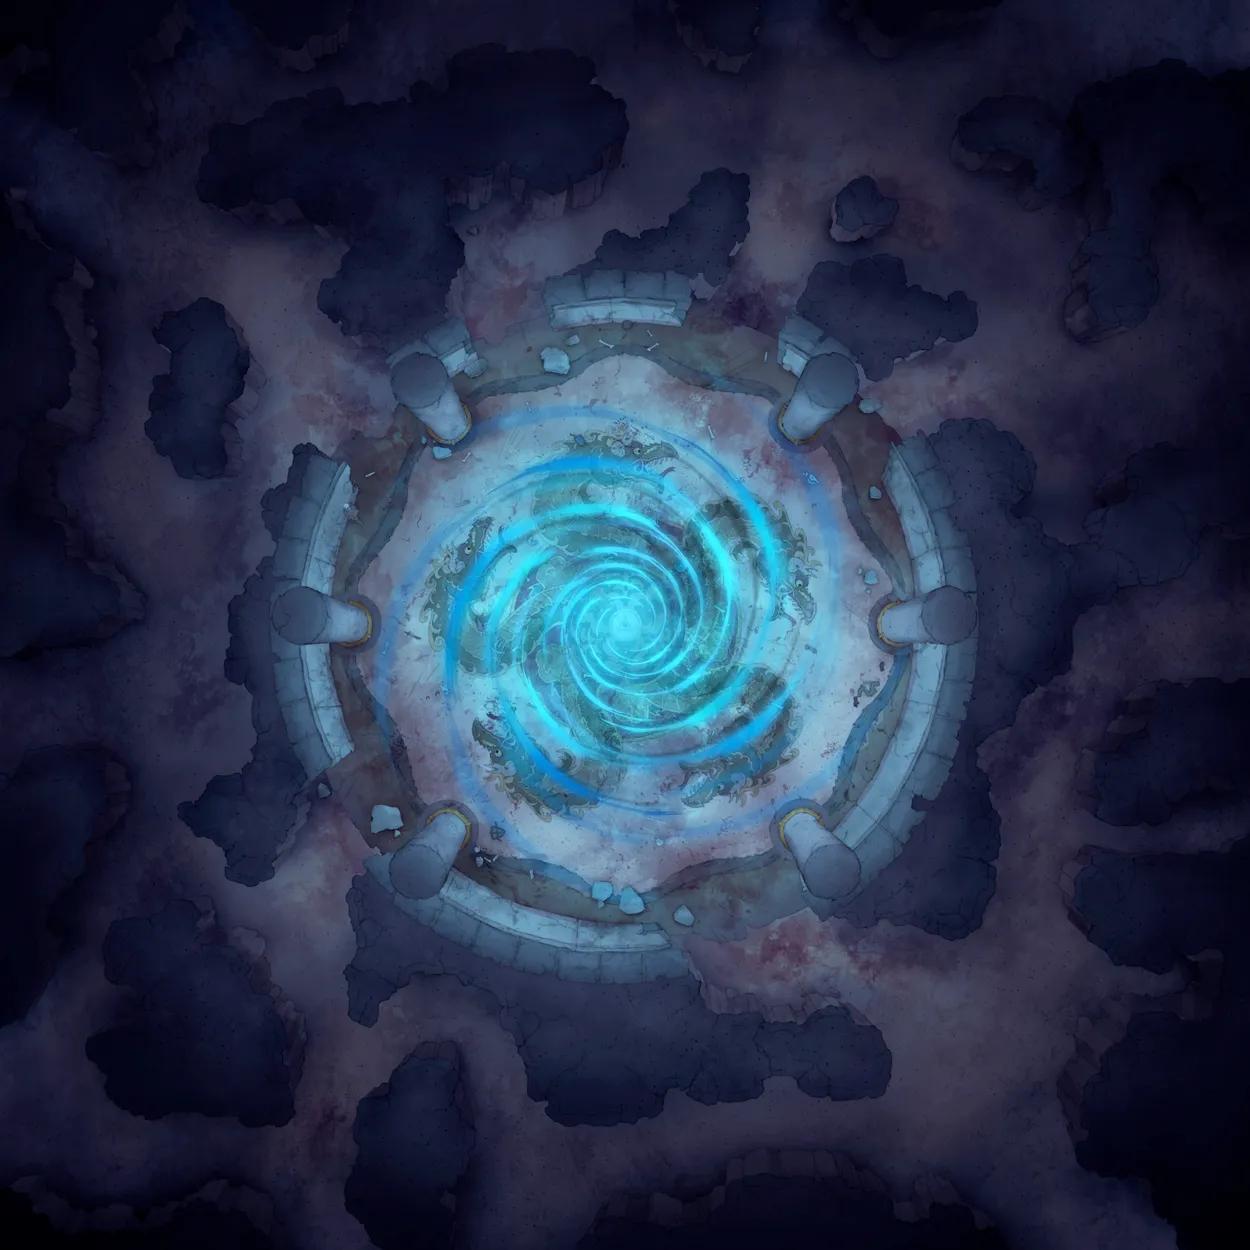
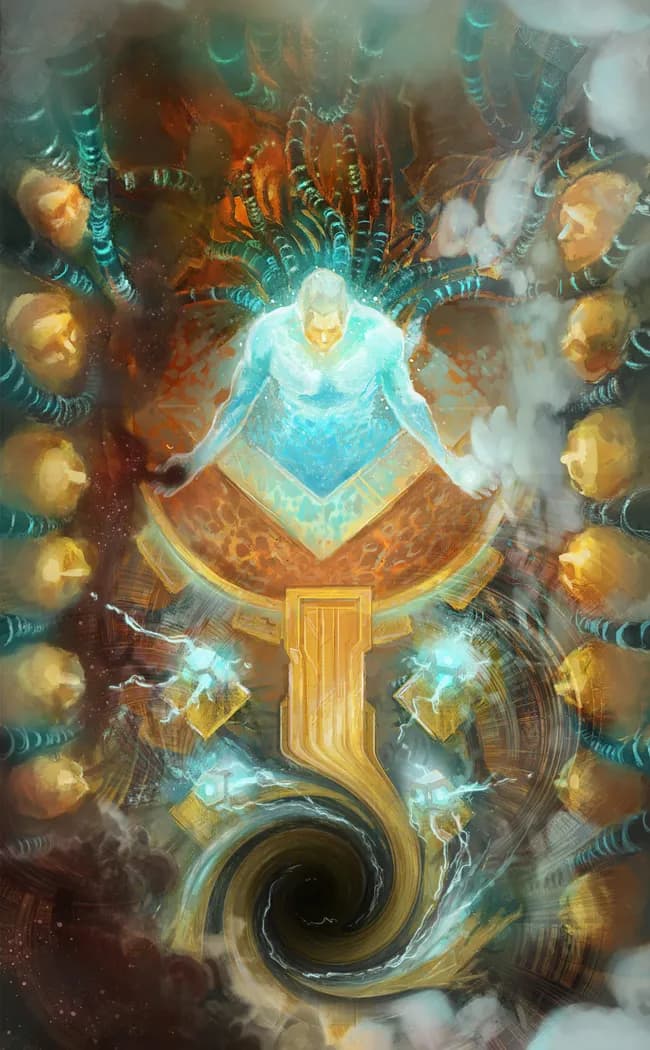
Celestial Realm (+1)
Celestial Realm (+1)
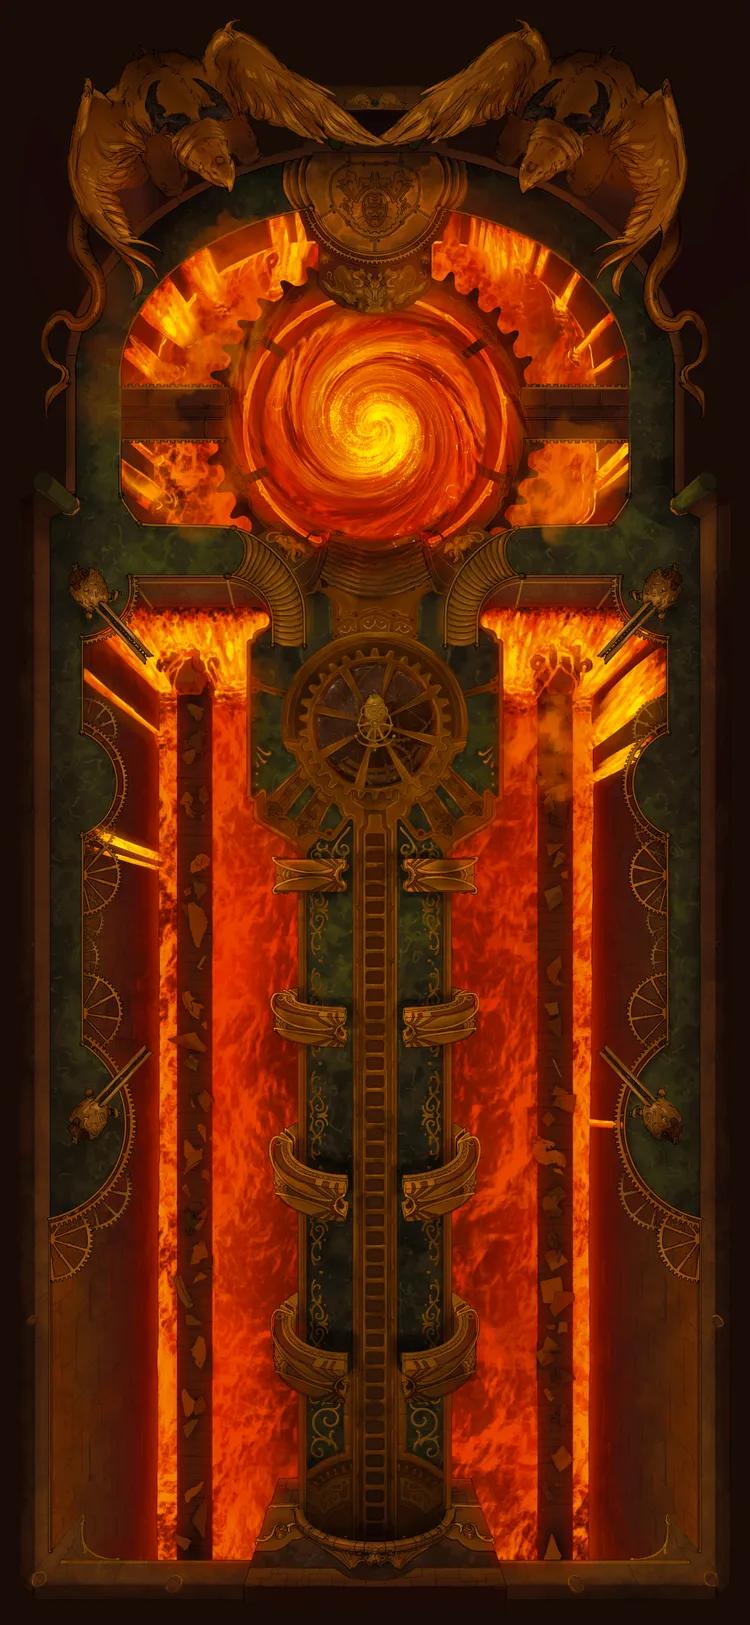
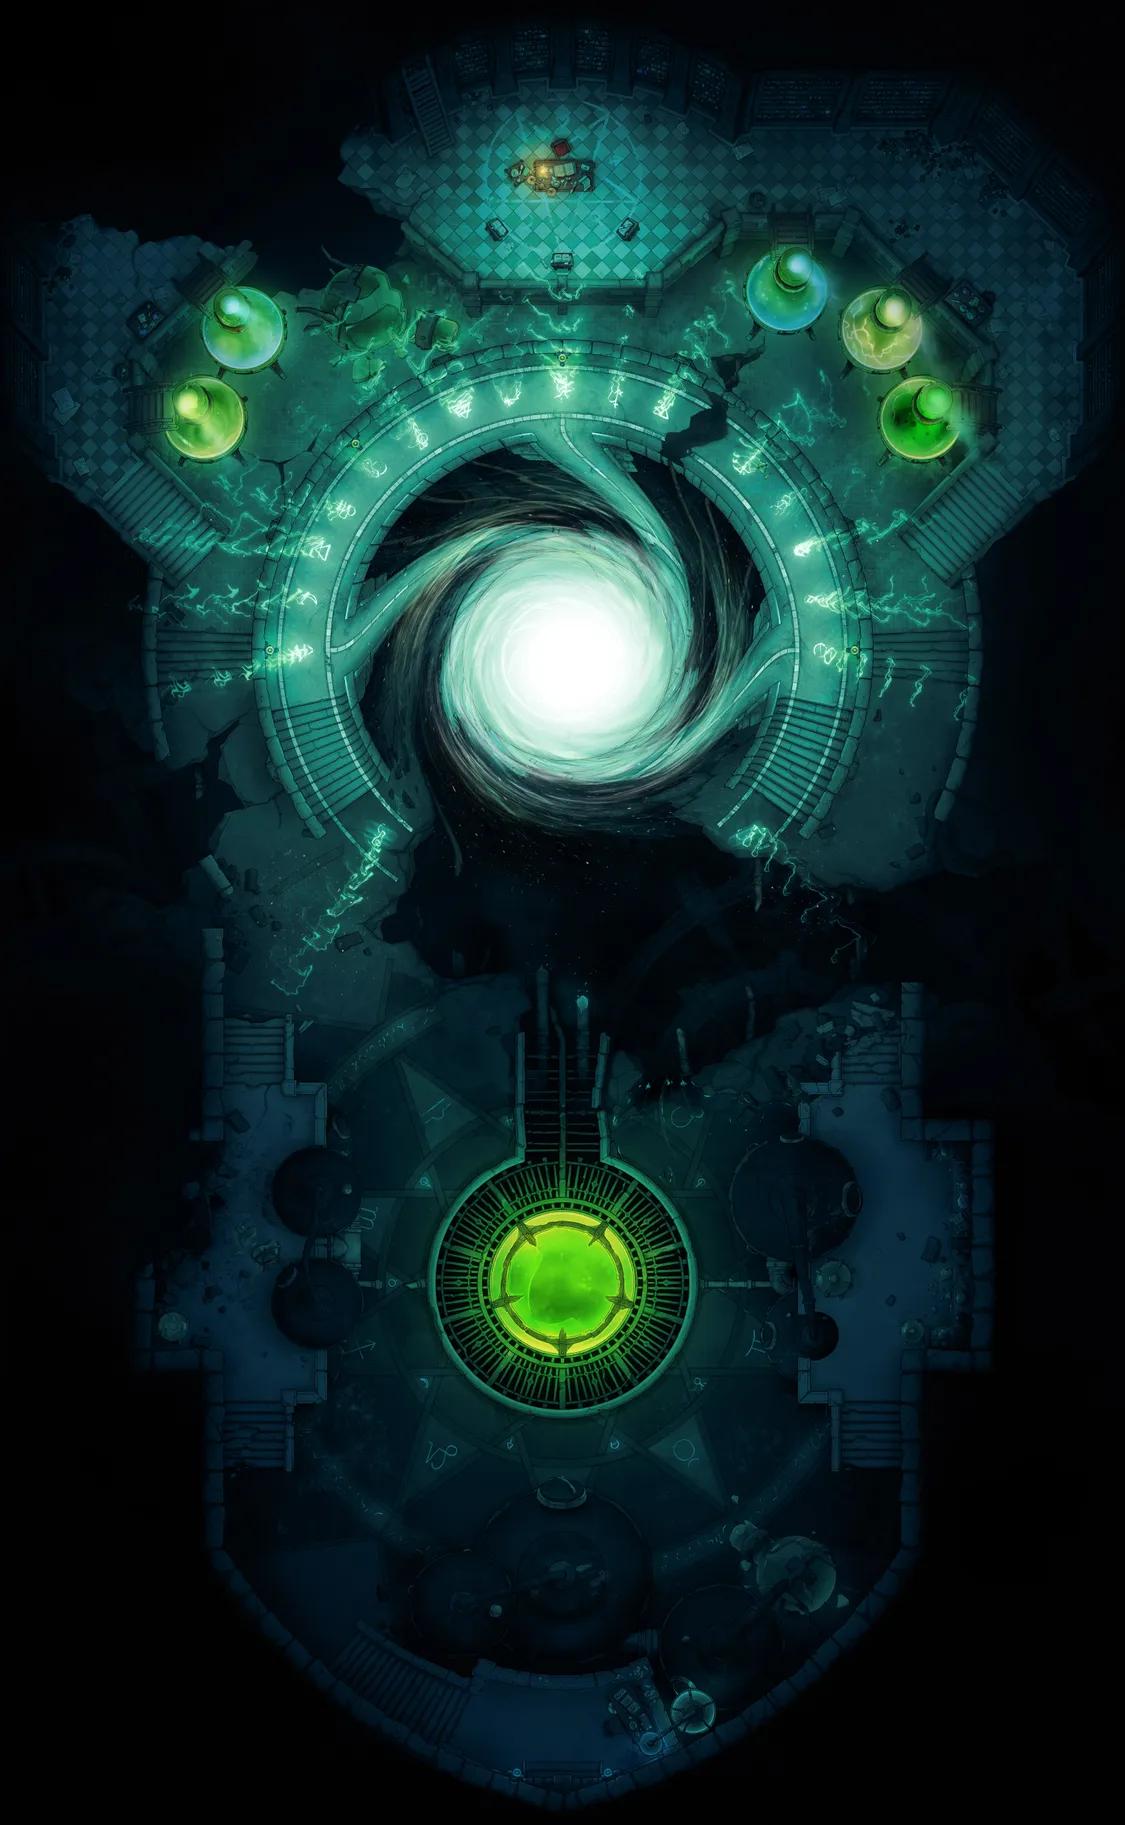
Clockwork Dragon Lair Interior
Clockwork Dragon Lair Interior
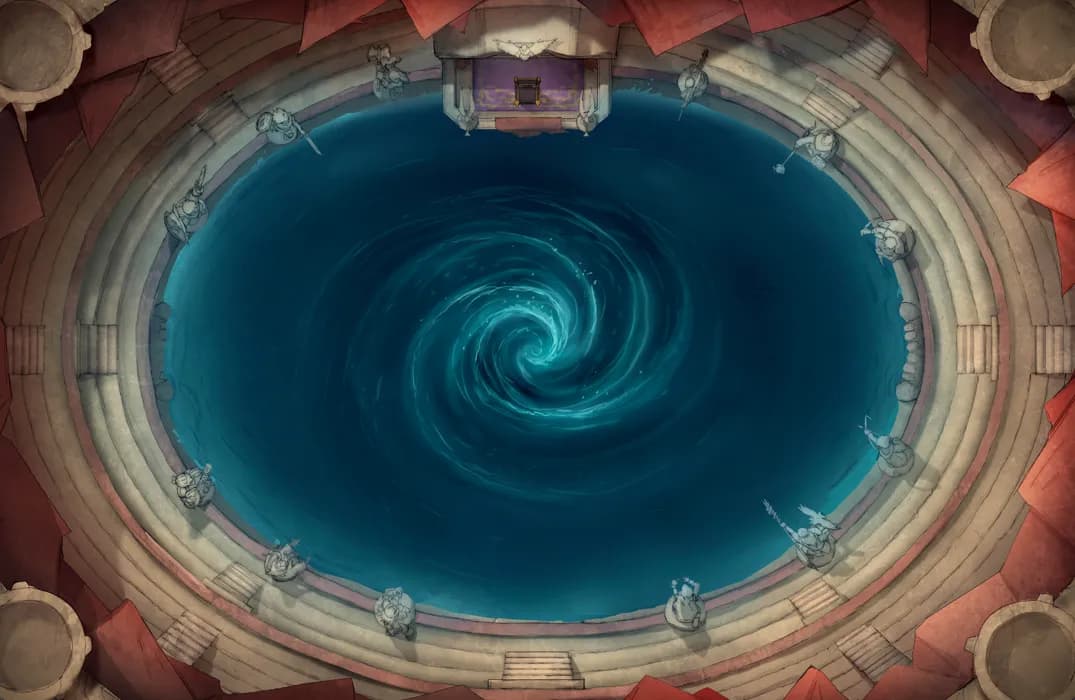
Colosseum of Challenges (+1)
Colosseum of Challenges (+1)
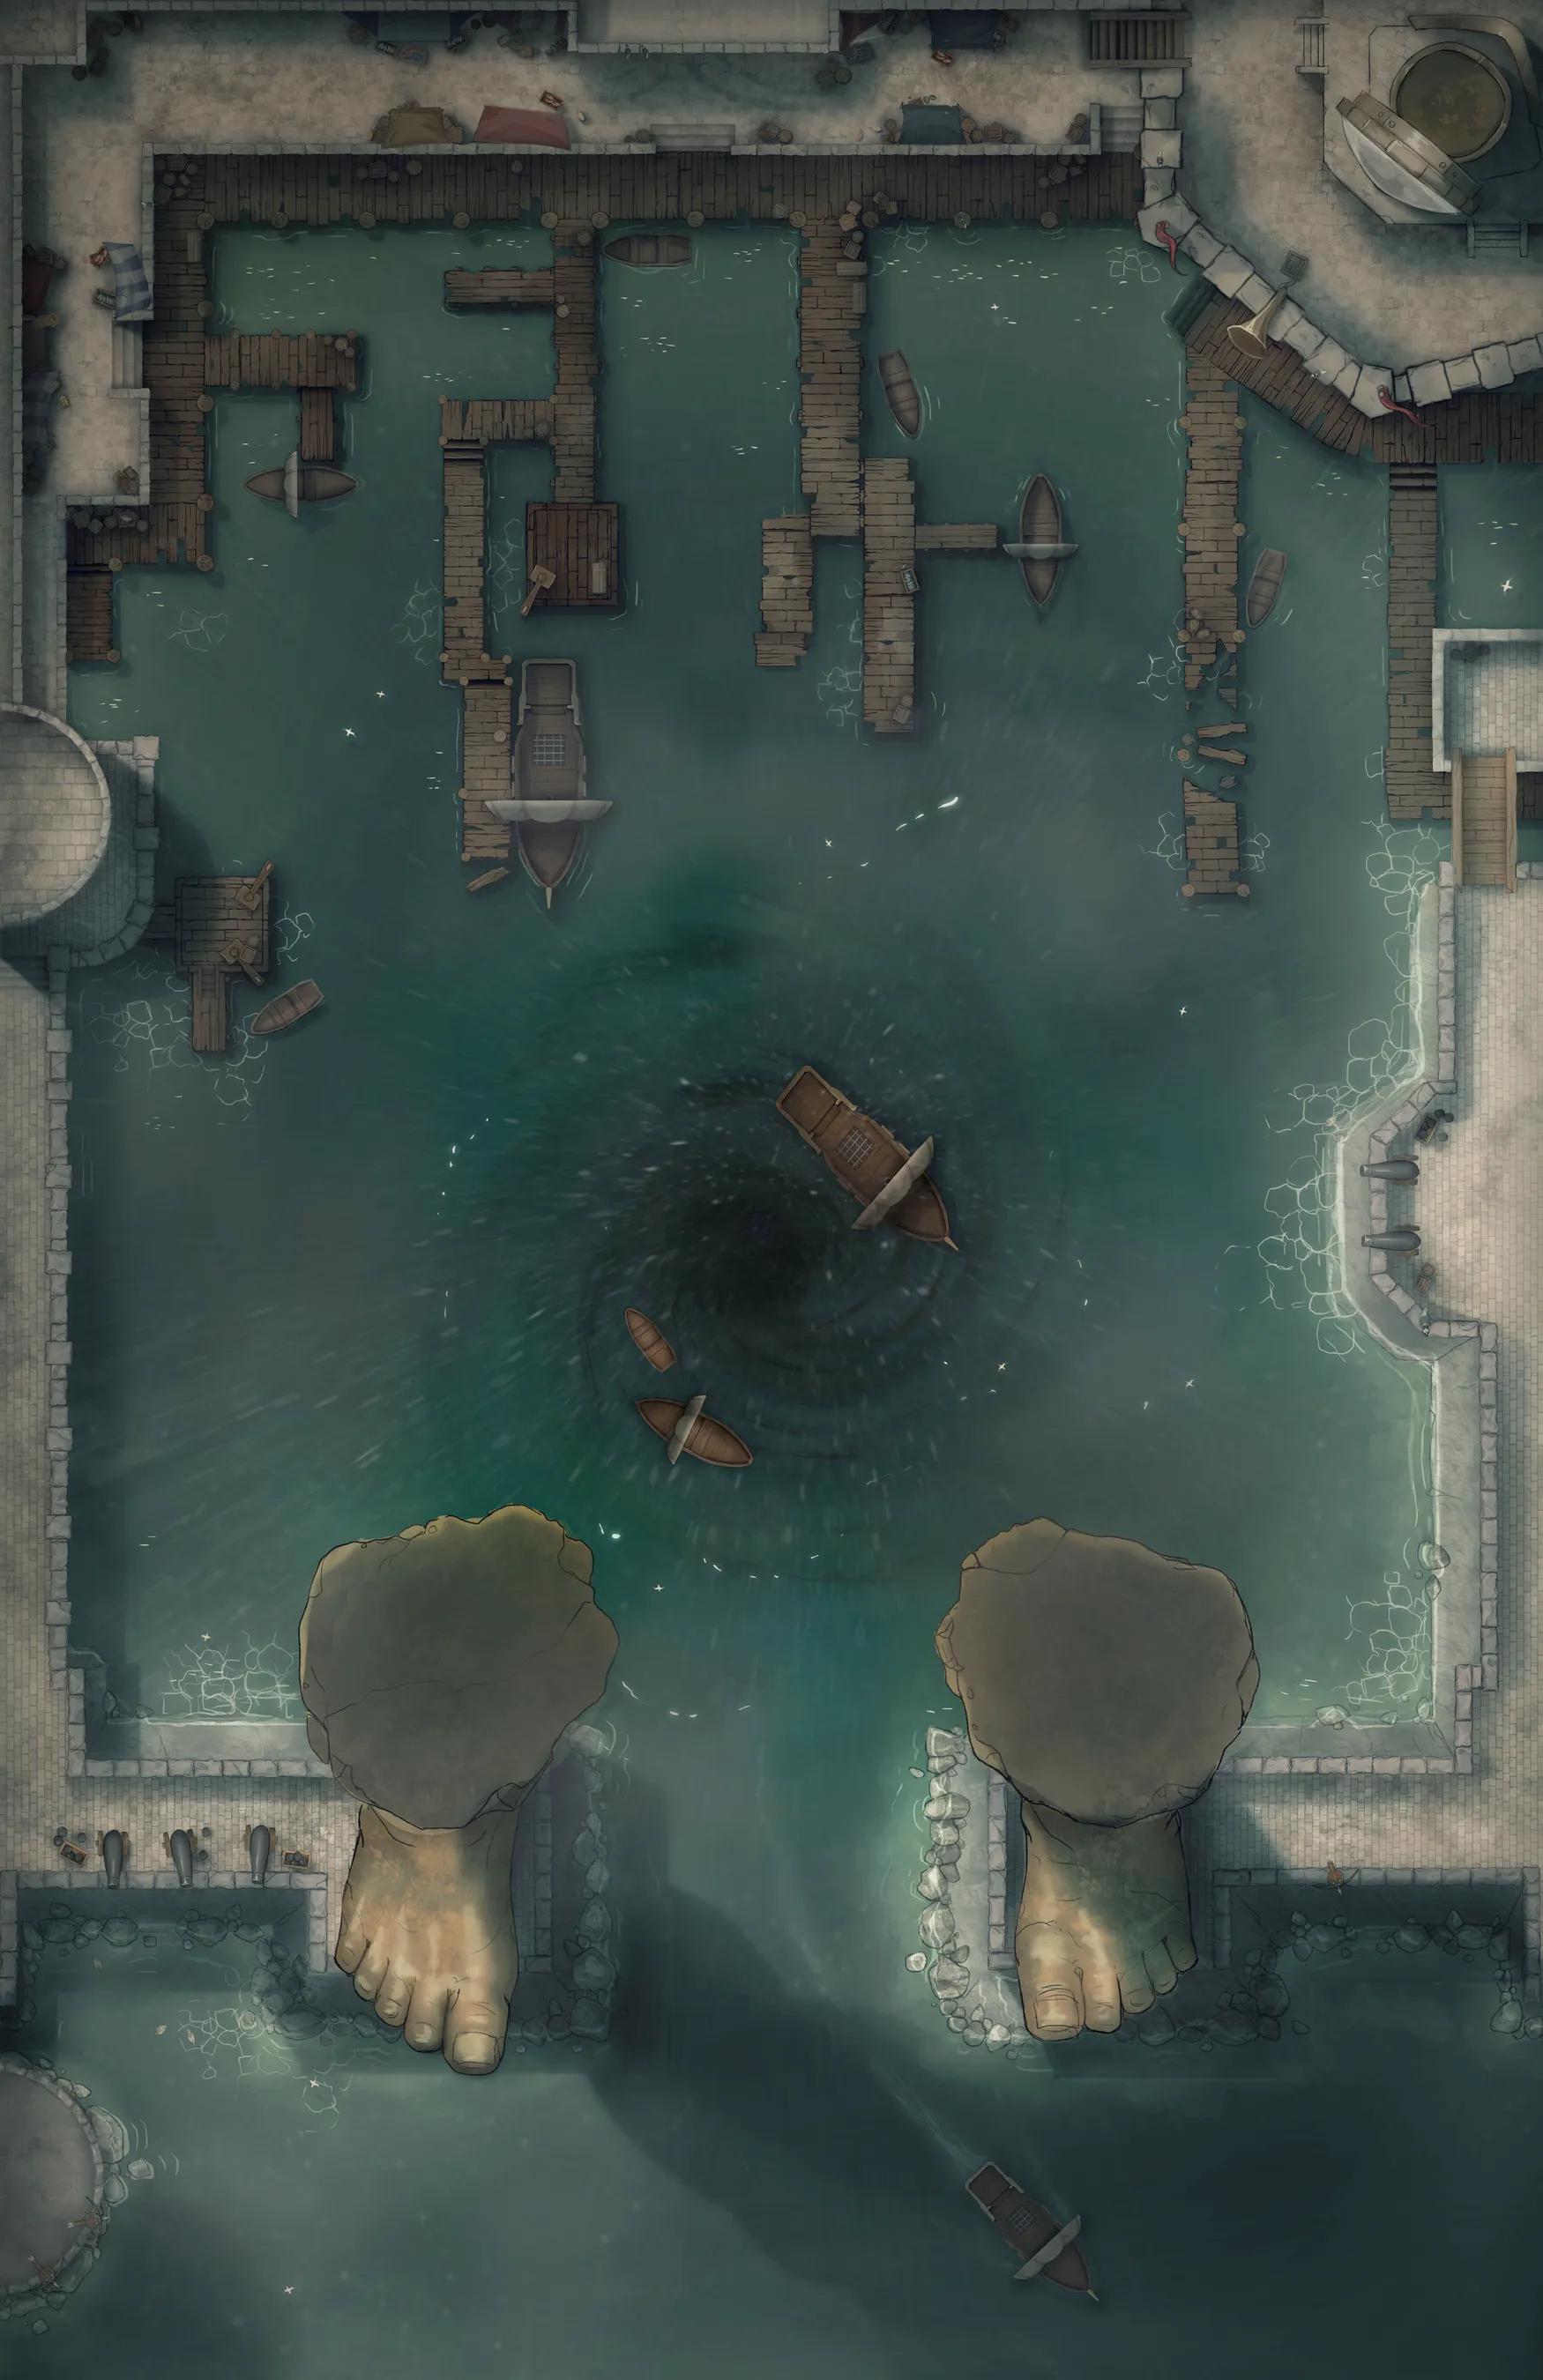
Colossus Port
Colossus Port

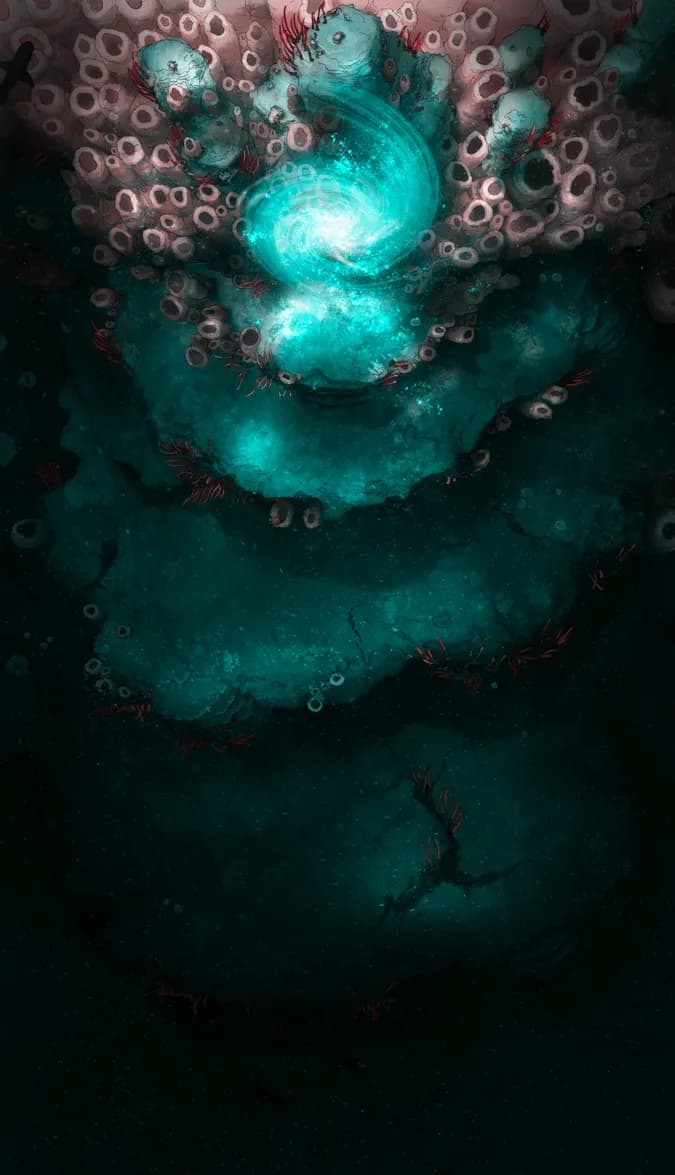
Deep Sea Hatching Chamber
Deep Sea Hatching Chamber
Deep Sea Organ
Deep Sea Organ
Desert Canyon (+1)
Desert Canyon (+1)
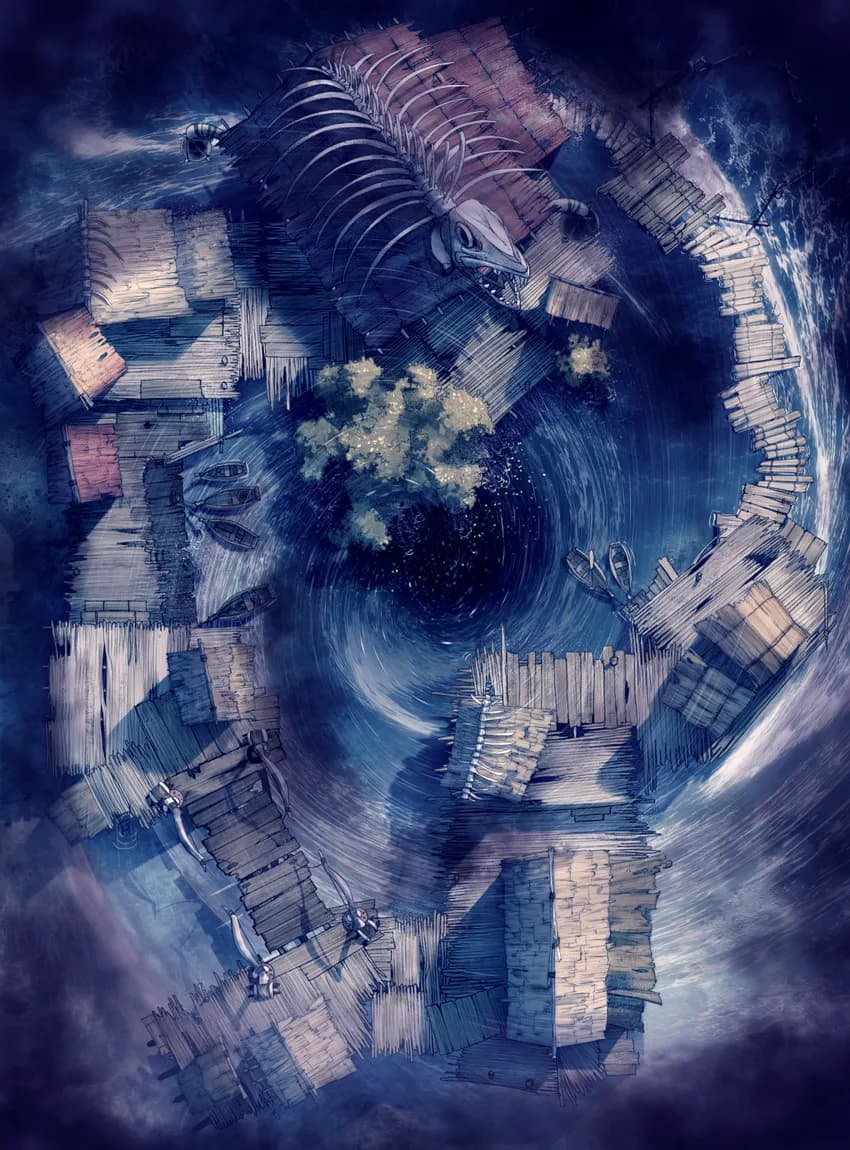
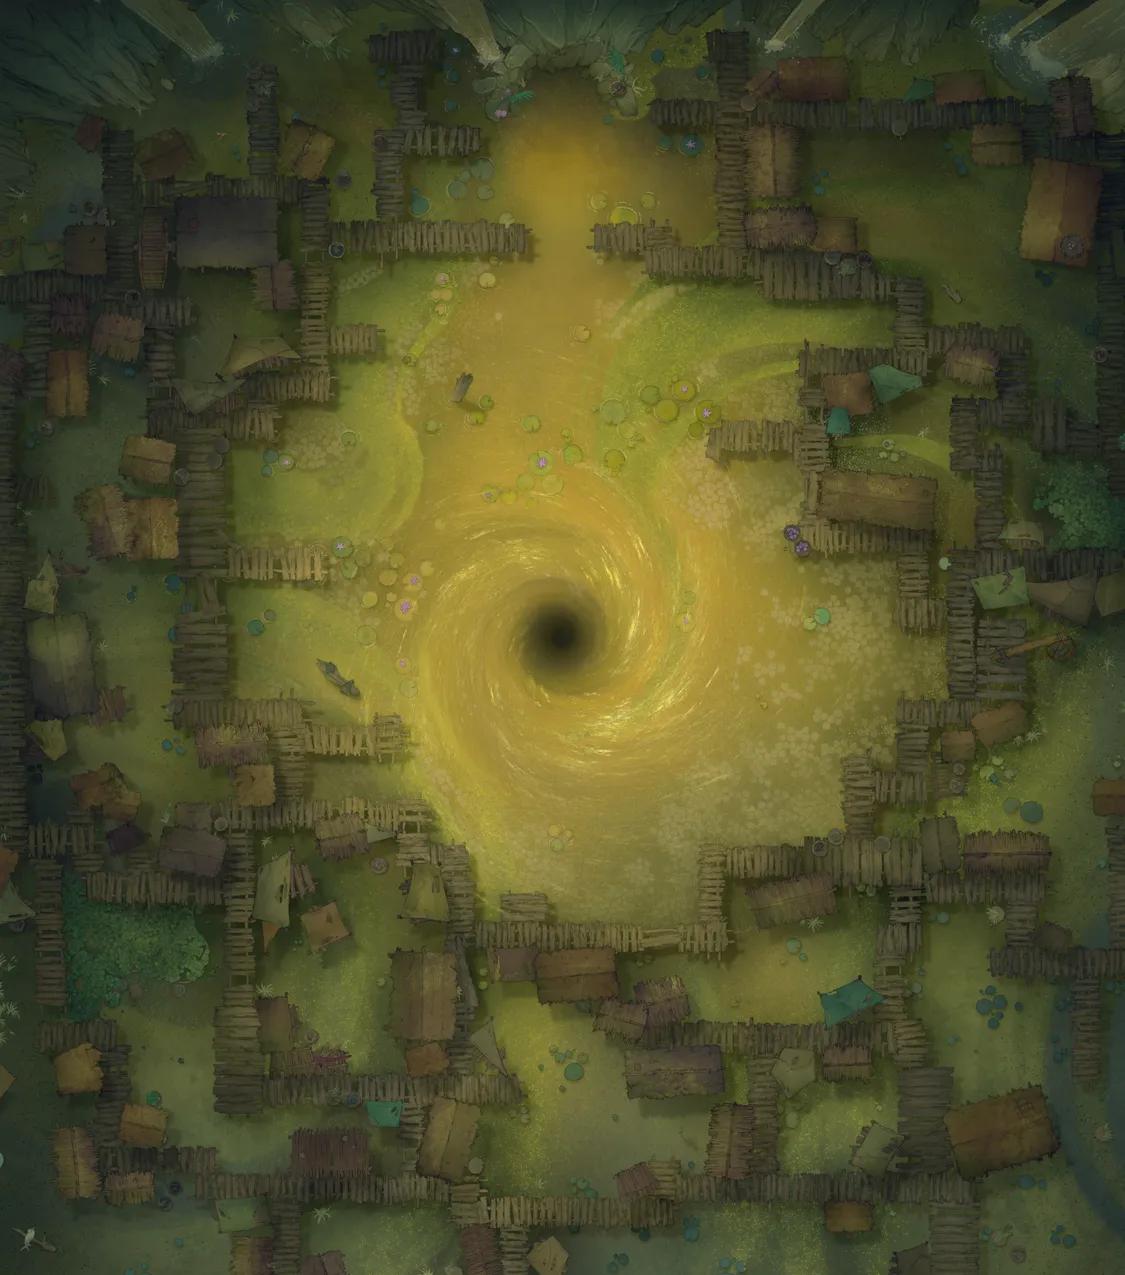
Floating Village
Floating Village
Green Dragon Lair
Green Dragon Lair
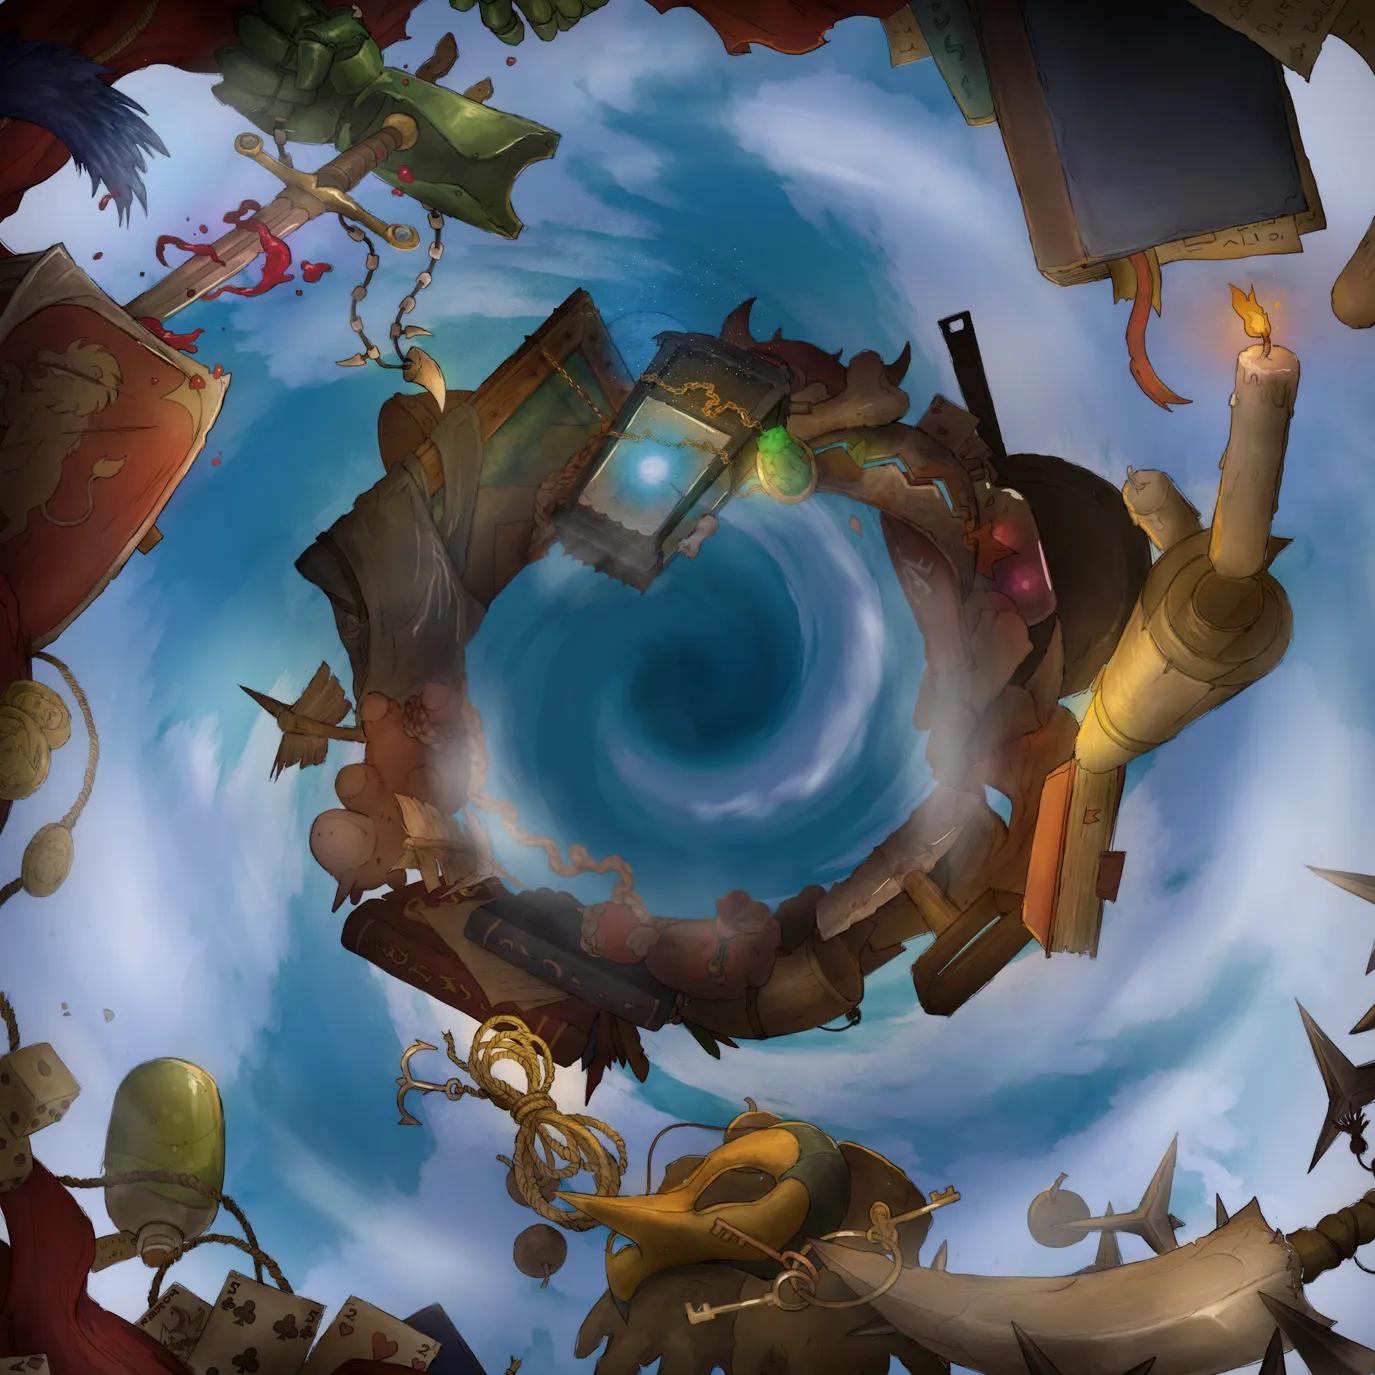
Inside a Bag of Holding (+2)
Inside a Bag of Holding (+2)
Mechanical Palace
Mechanical Palace
Midair Dragon Flight (+4)
Midair Dragon Flight (+4)
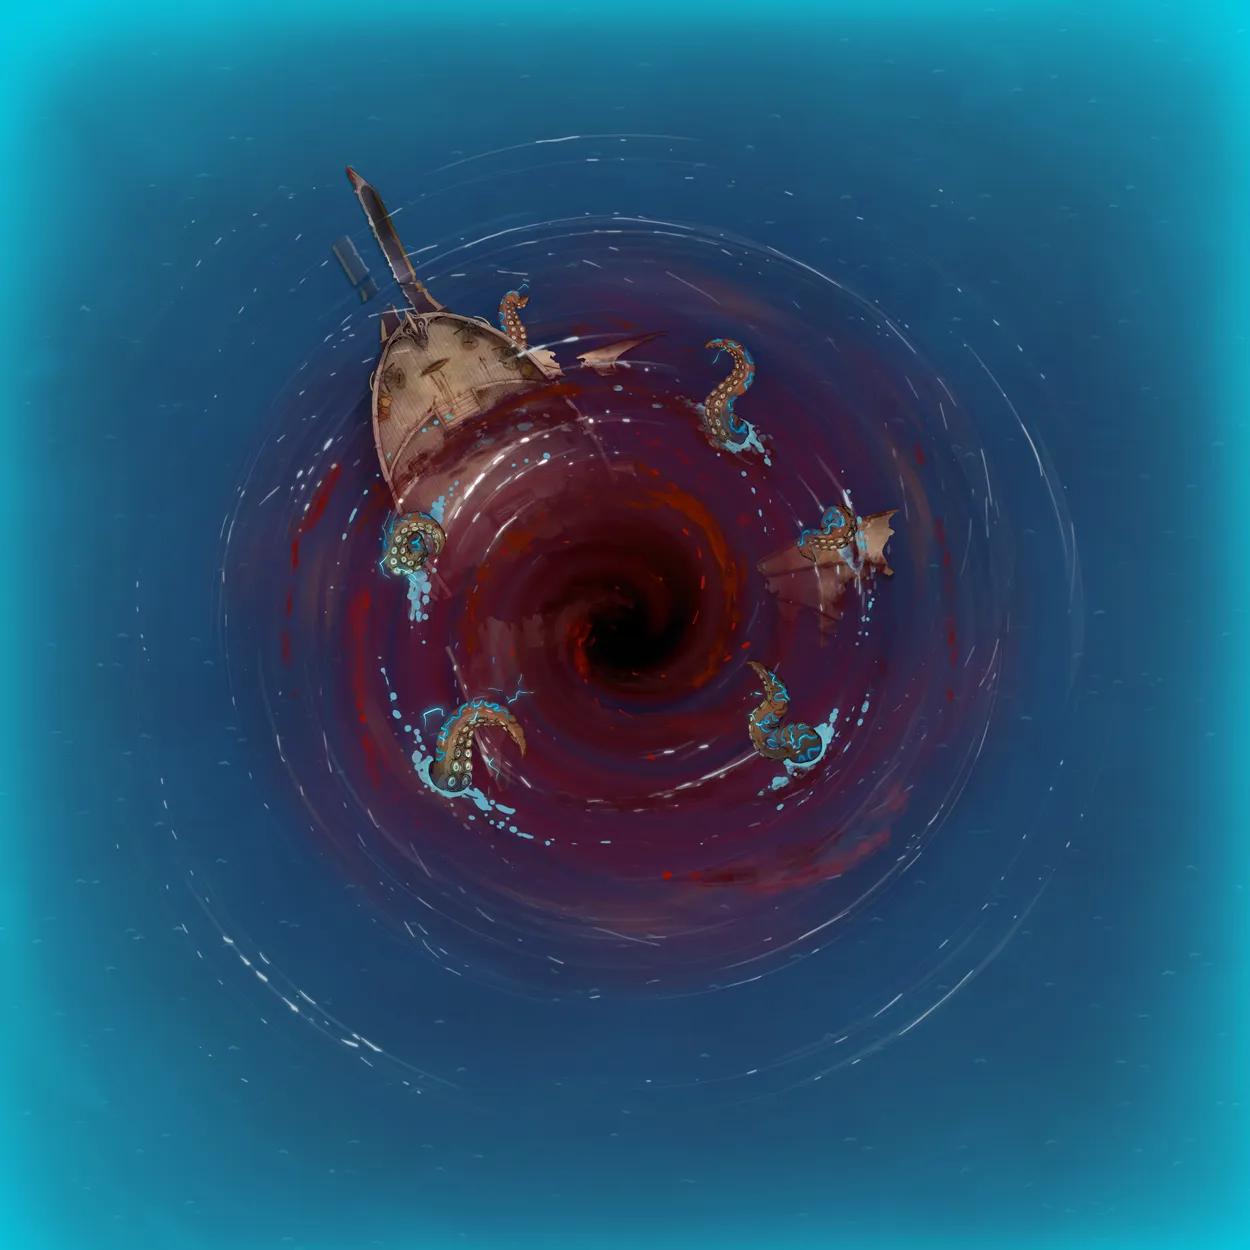
Open Ocean (+5)
Open Ocean (+5)
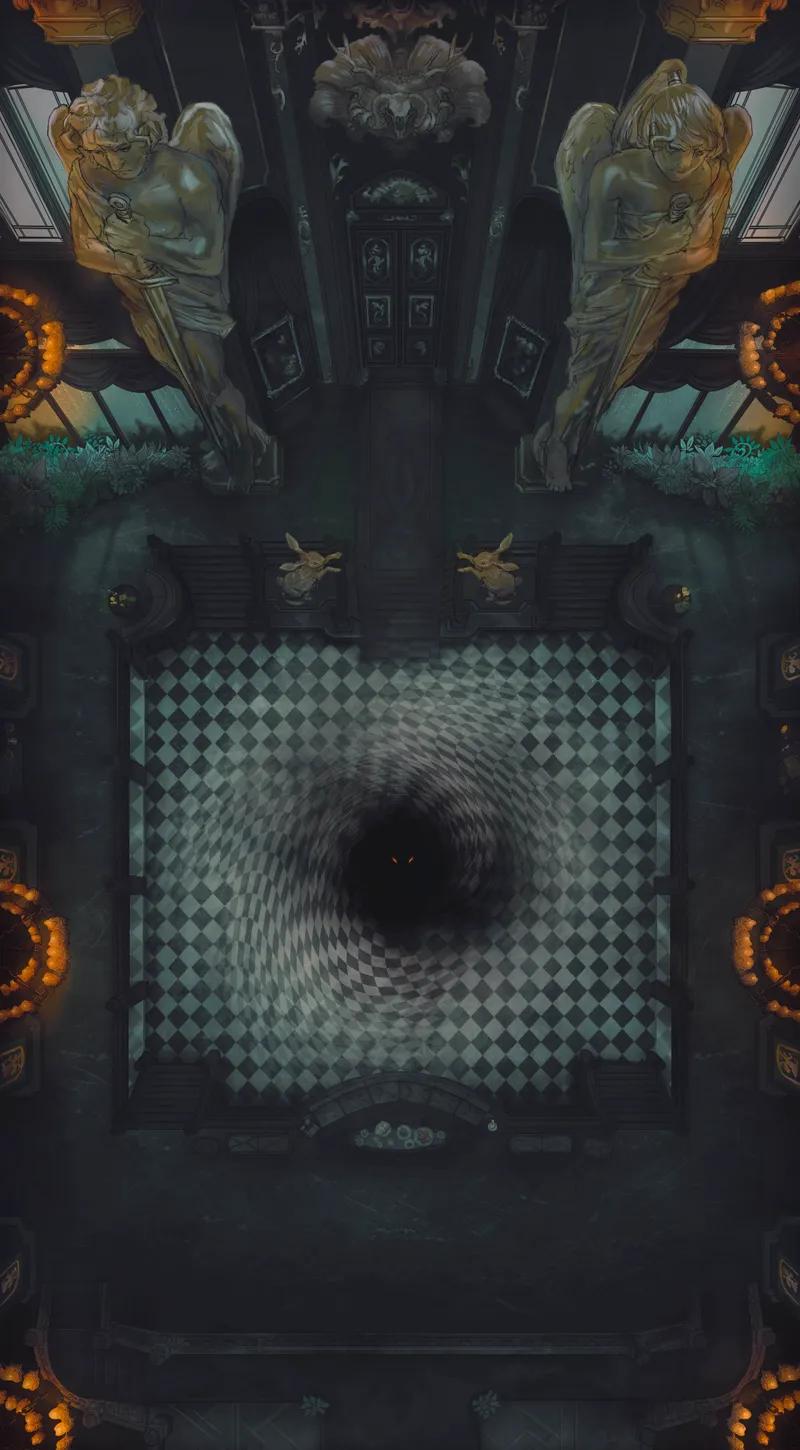
Opulent Ballroom
Opulent Ballroom
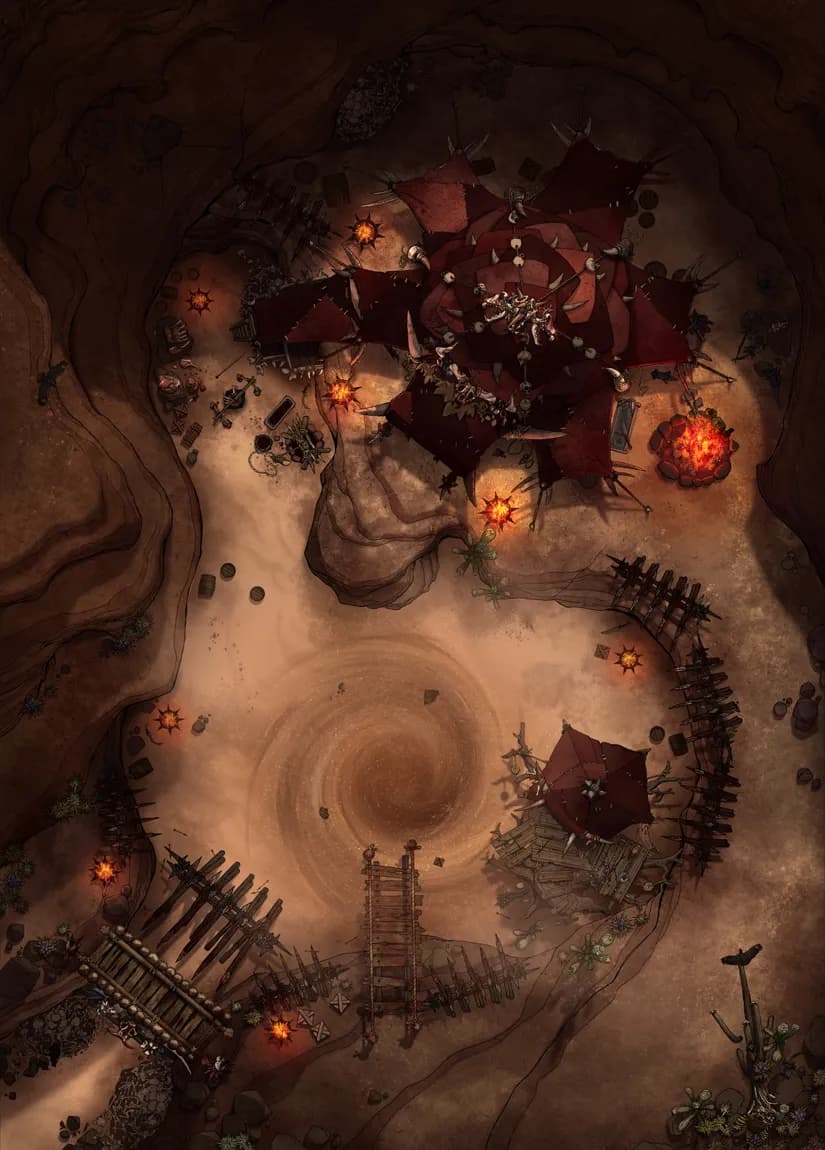
Orc Desert Camp
Orc Desert Camp
Plague Hospital
Plague Hospital
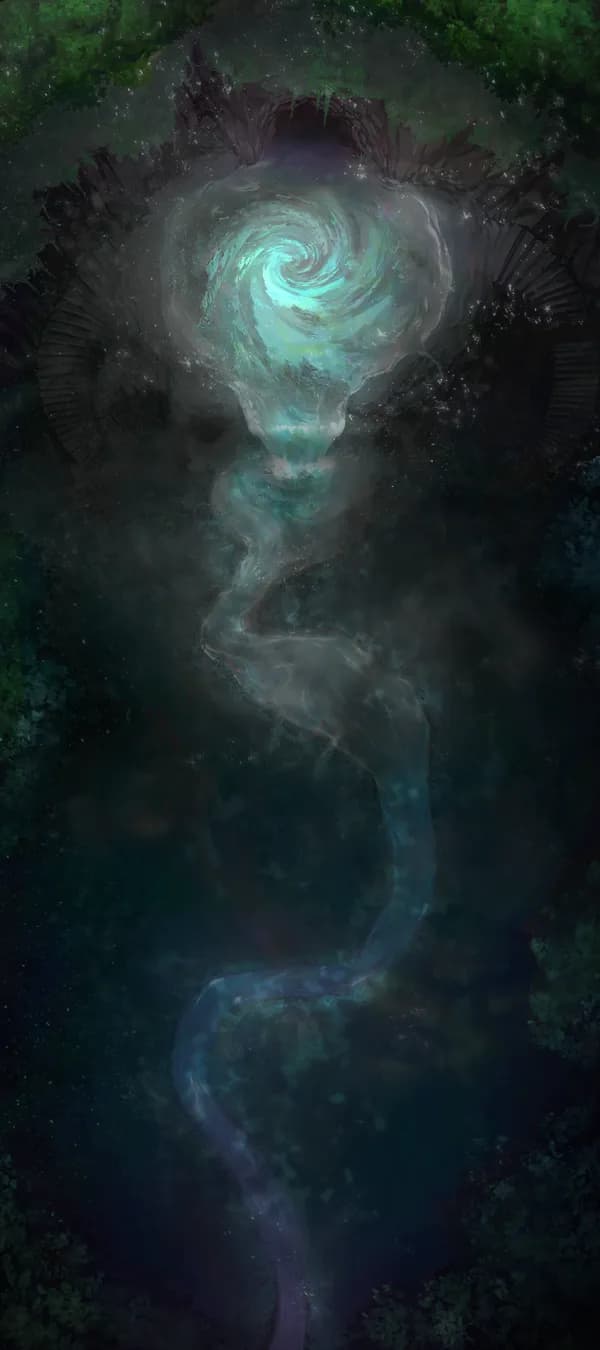
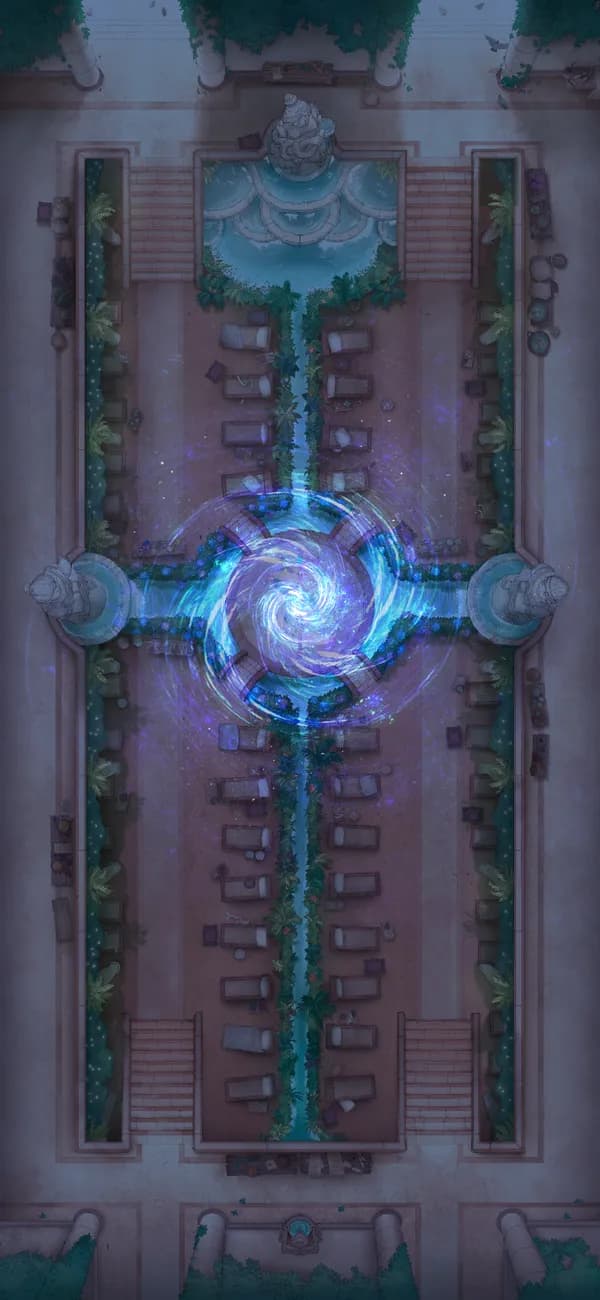
Secret Fey Fountain
Secret Fey Fountain
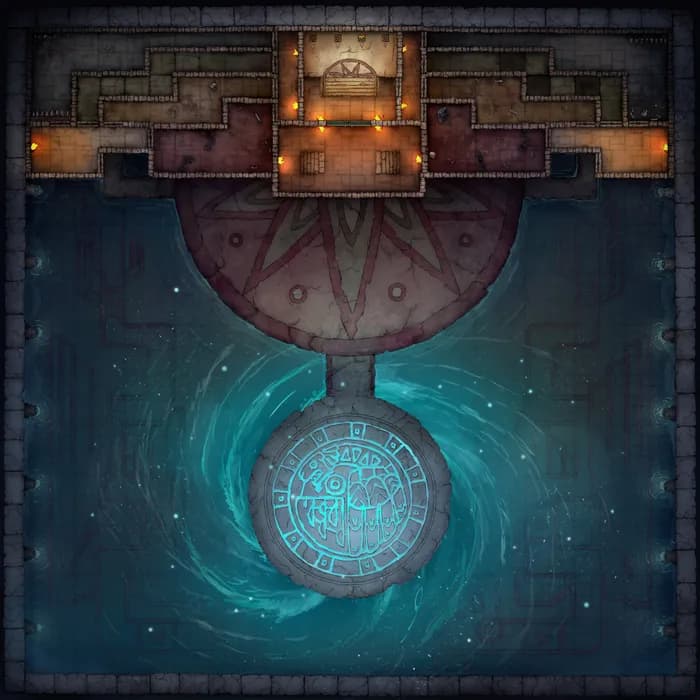
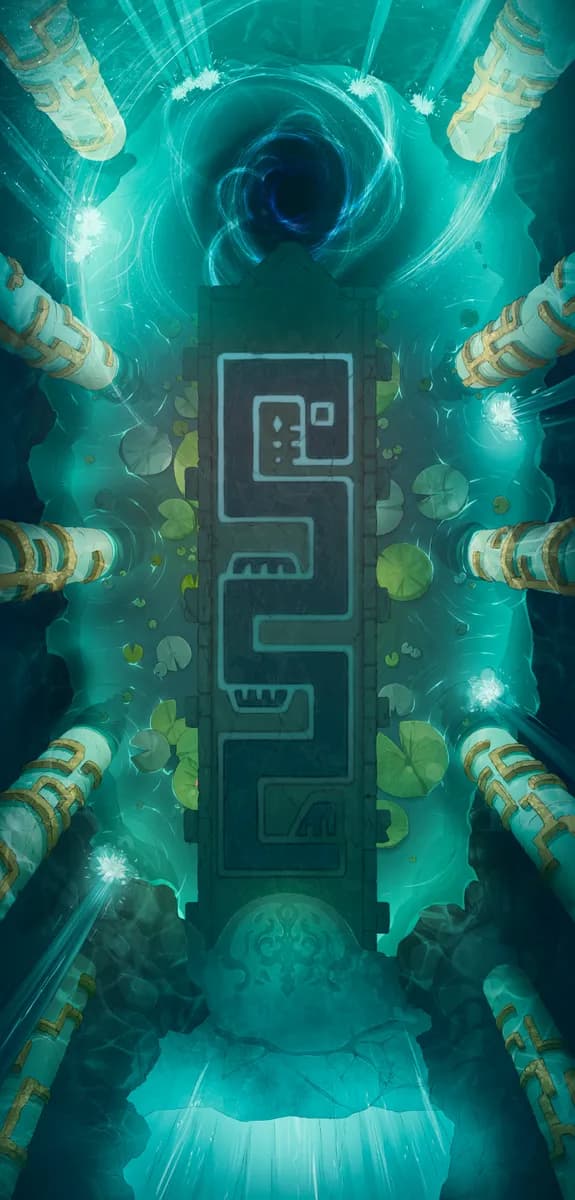
Temple of the Couatl Boss Room
Temple of the Couatl Boss Room
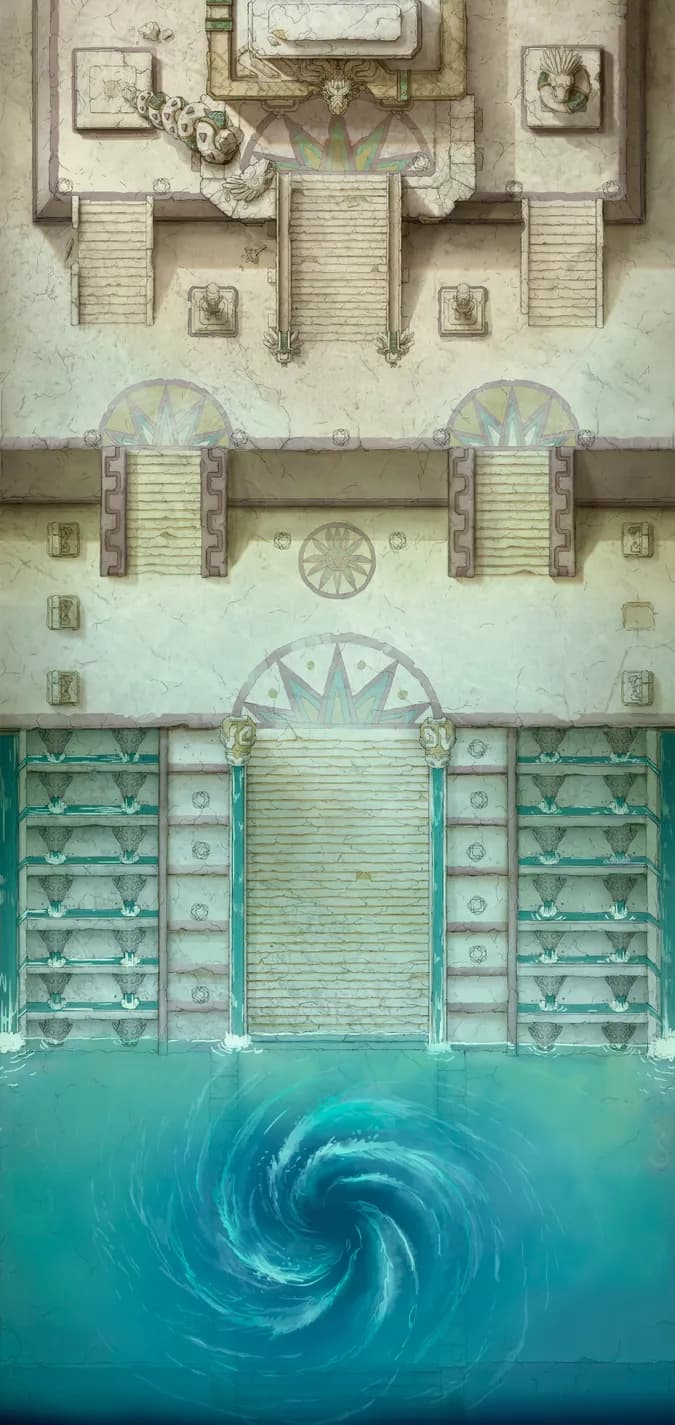
Temple of the Couatl Exterior
Temple of the Couatl Exterior
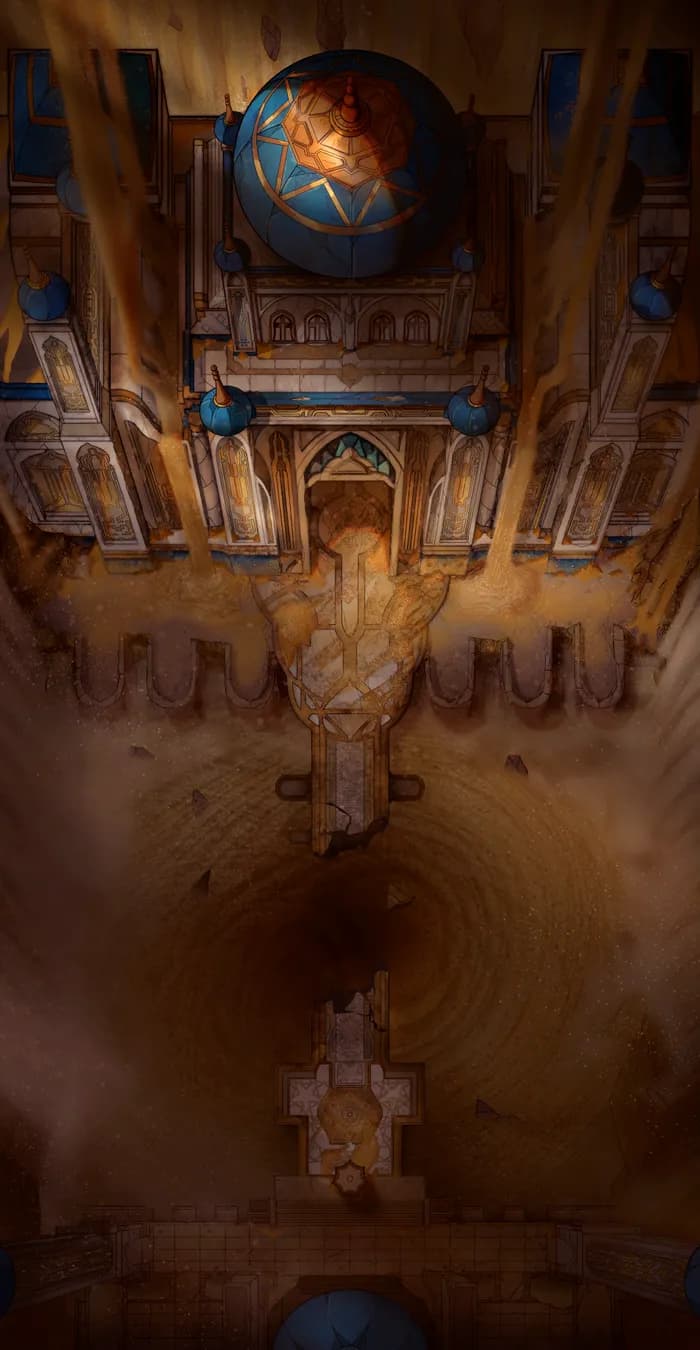
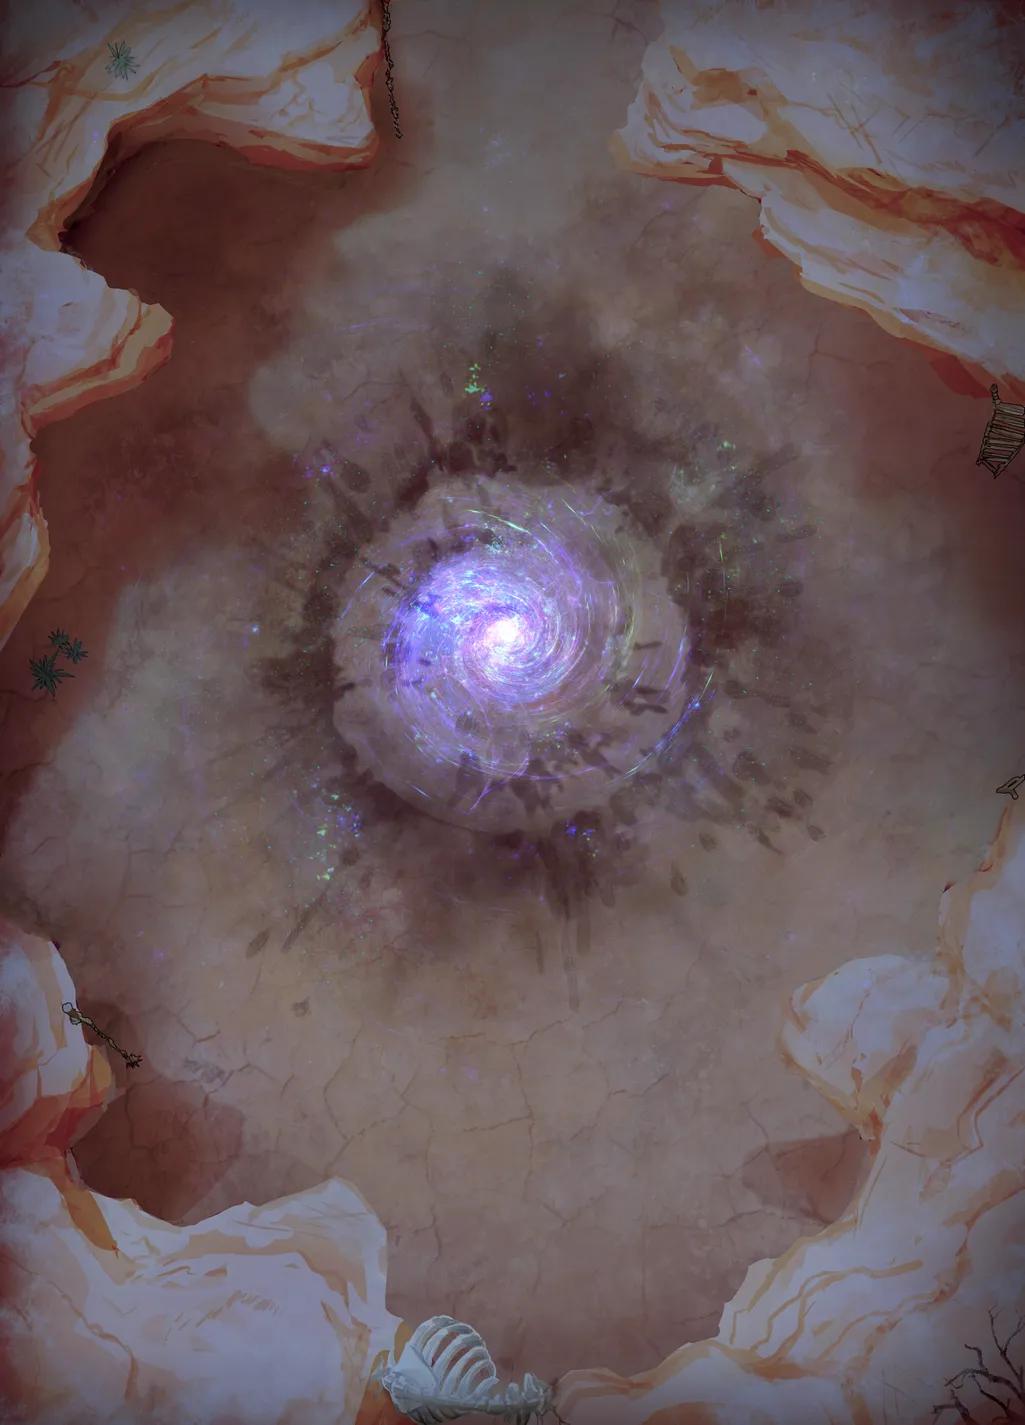
Tomb of Sand (+1)
Tomb of Sand (+1)
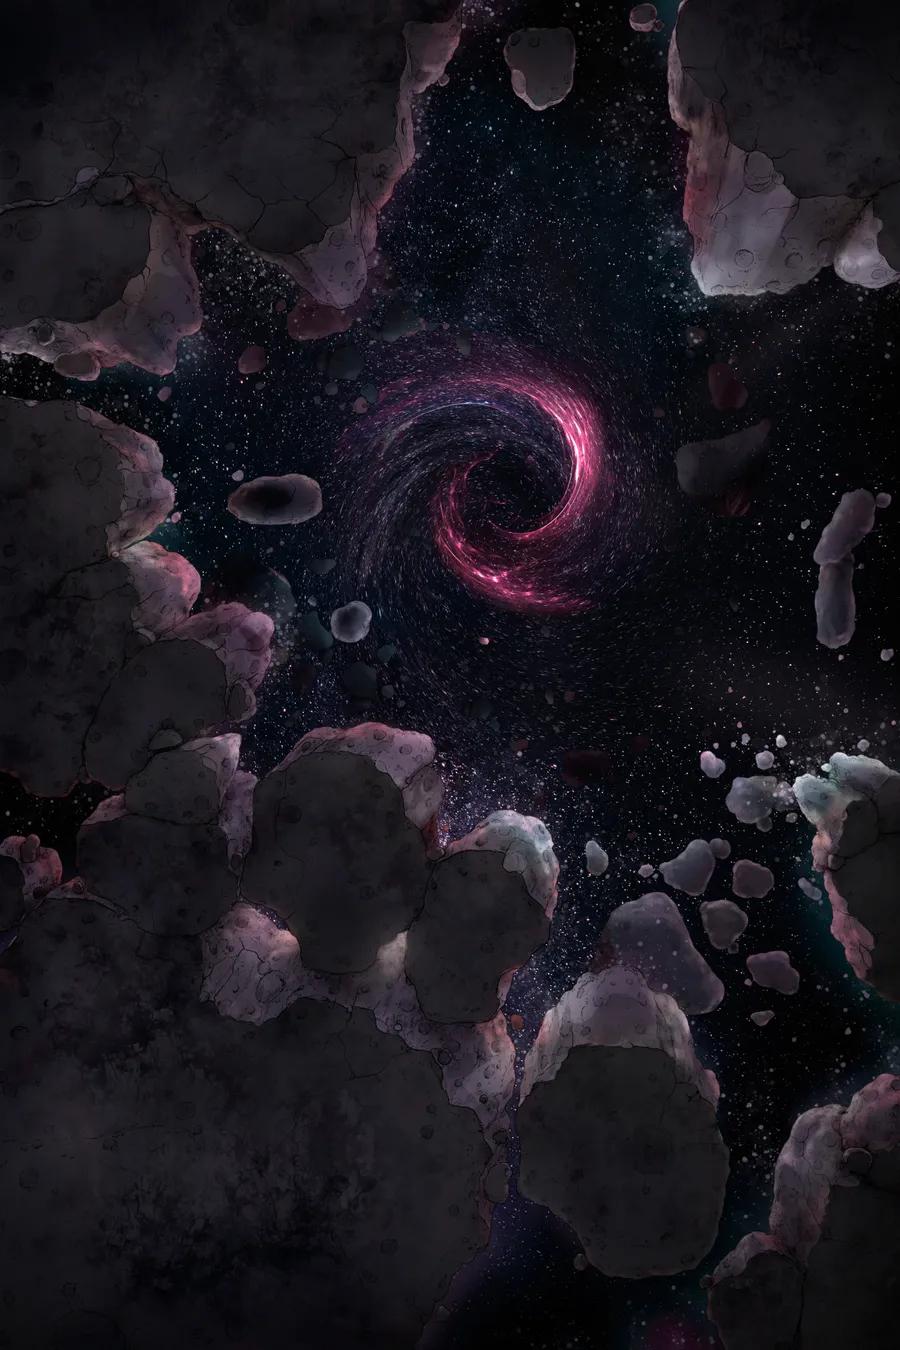
Void Dragon Lair
Void Dragon Lair
Yggdrasil Trunk (+1)
Yggdrasil Trunk (+1)