


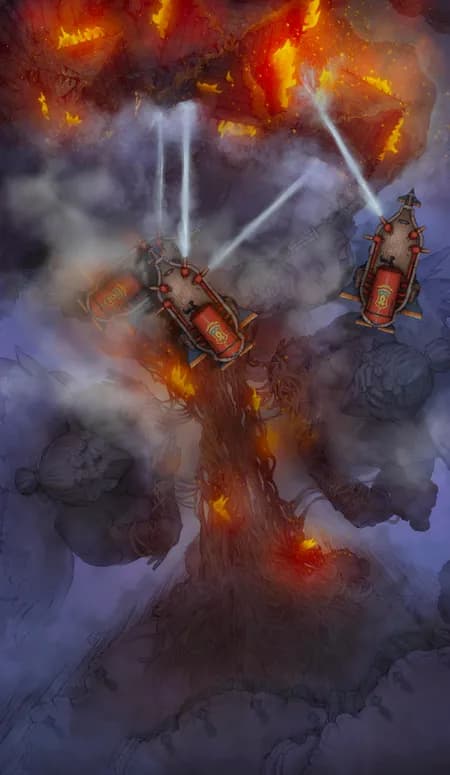
Airships! Pt. 3
Airships! Pt. 3
Ancient Stepwell (+25)
Ancient Stepwell (+25)
Blue Dragon Lair (+15)
Blue Dragon Lair (+15)
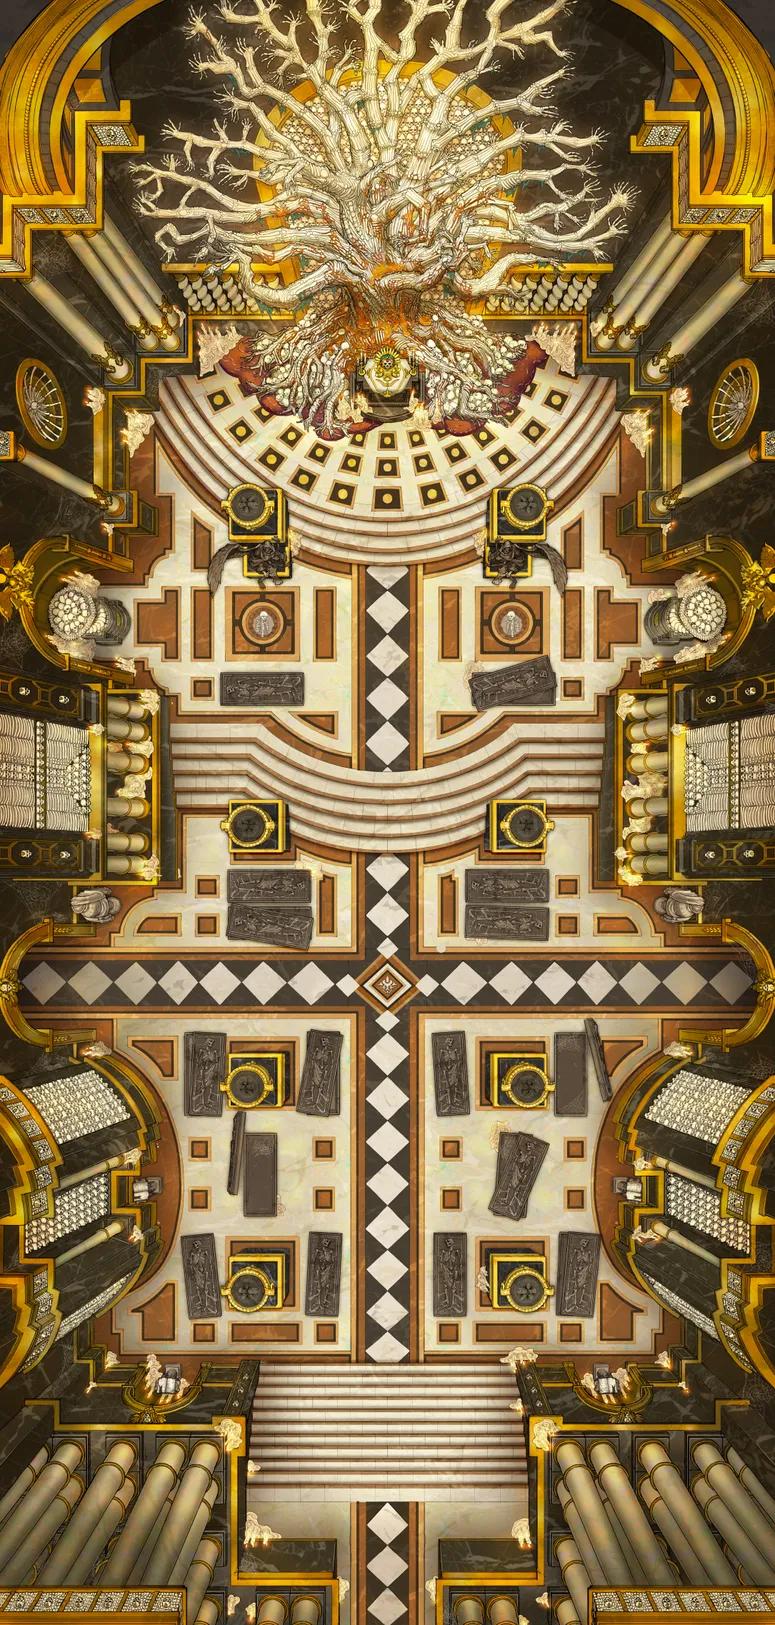
Bone Dryad Ossuary (+18)
Bone Dryad Ossuary (+18)
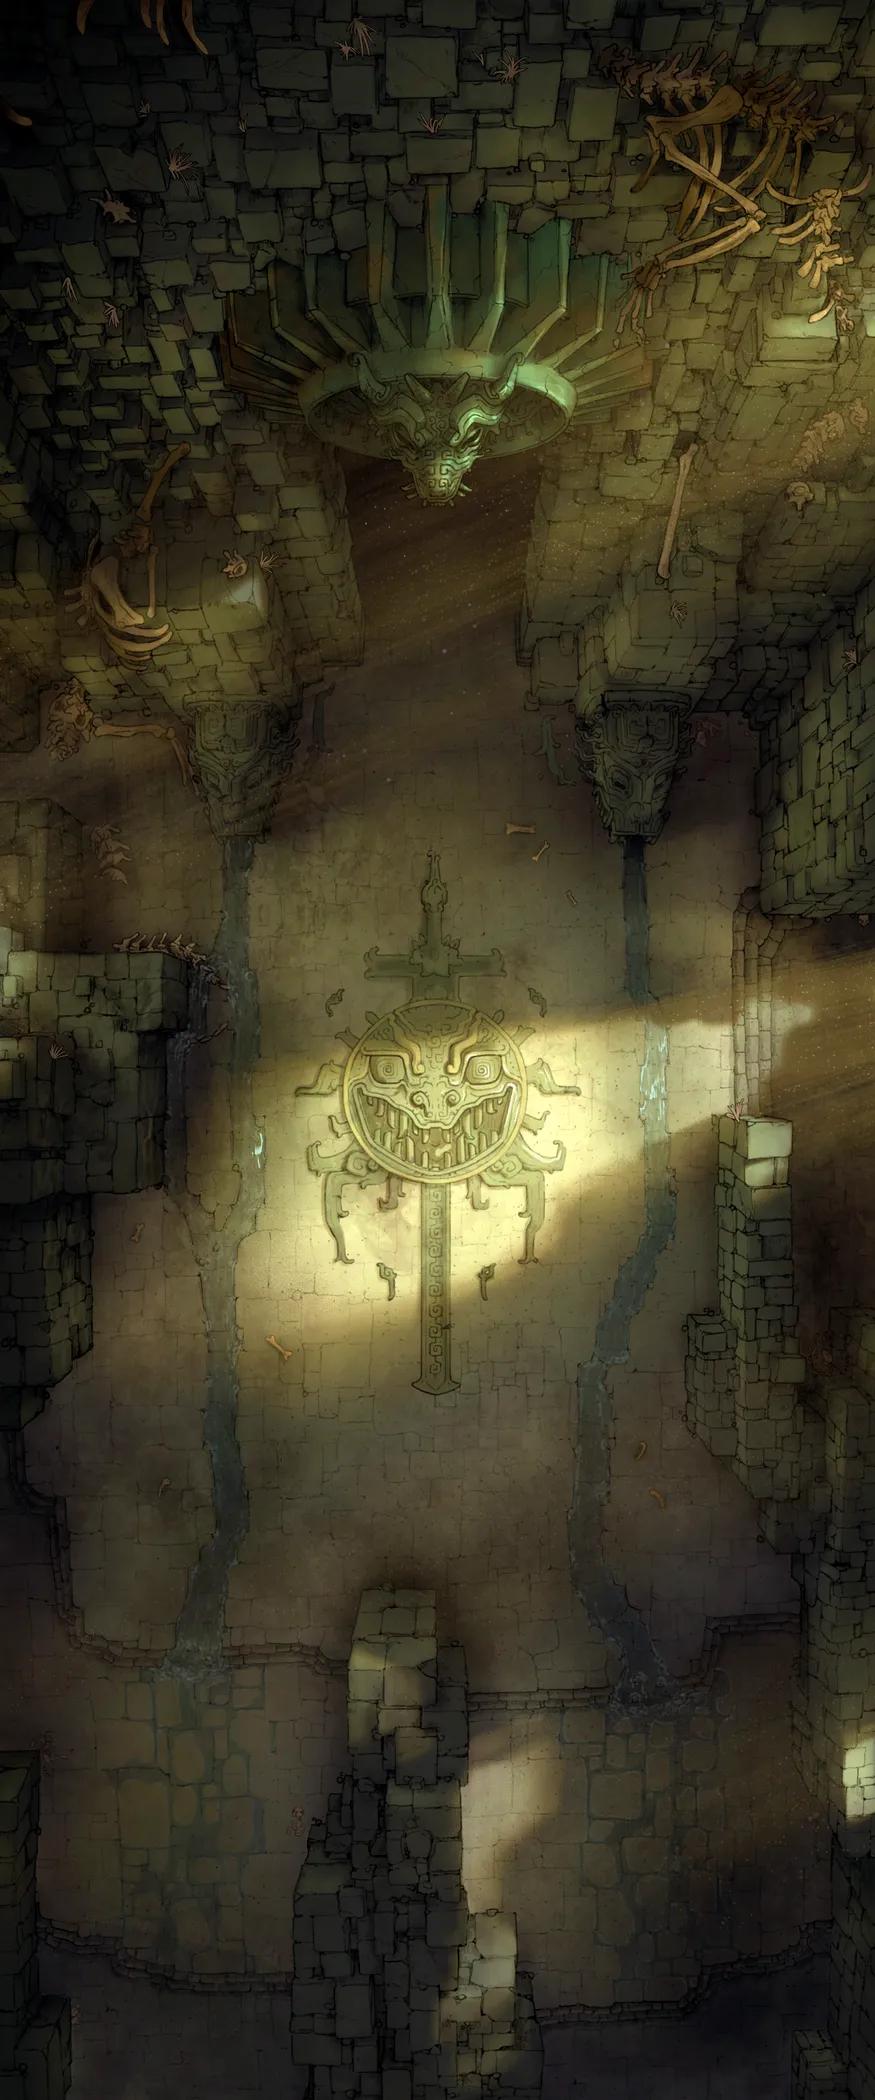
Cave Temple (+16)
Cave Temple (+16)
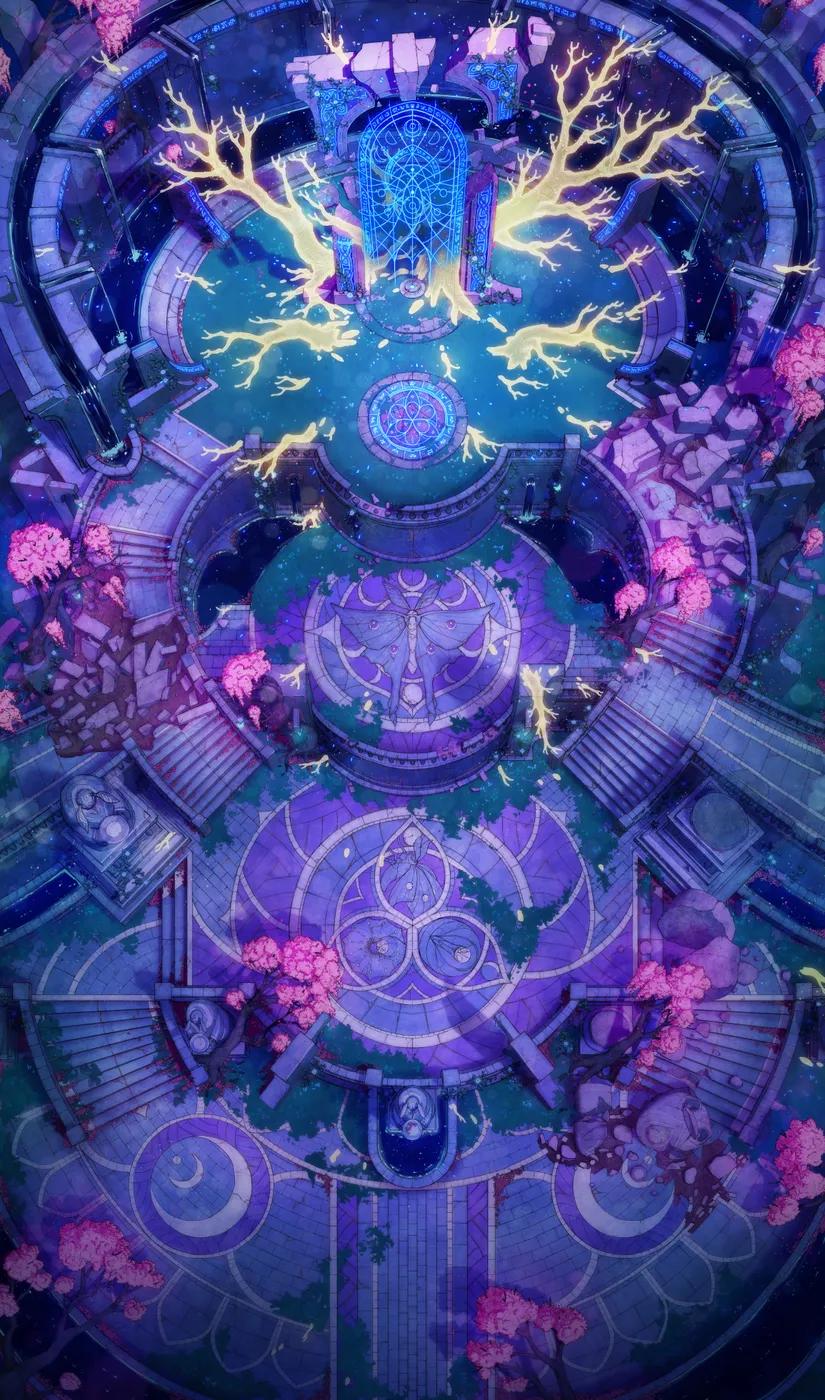
Celestial Chapel (+23)
Celestial Chapel (+23)
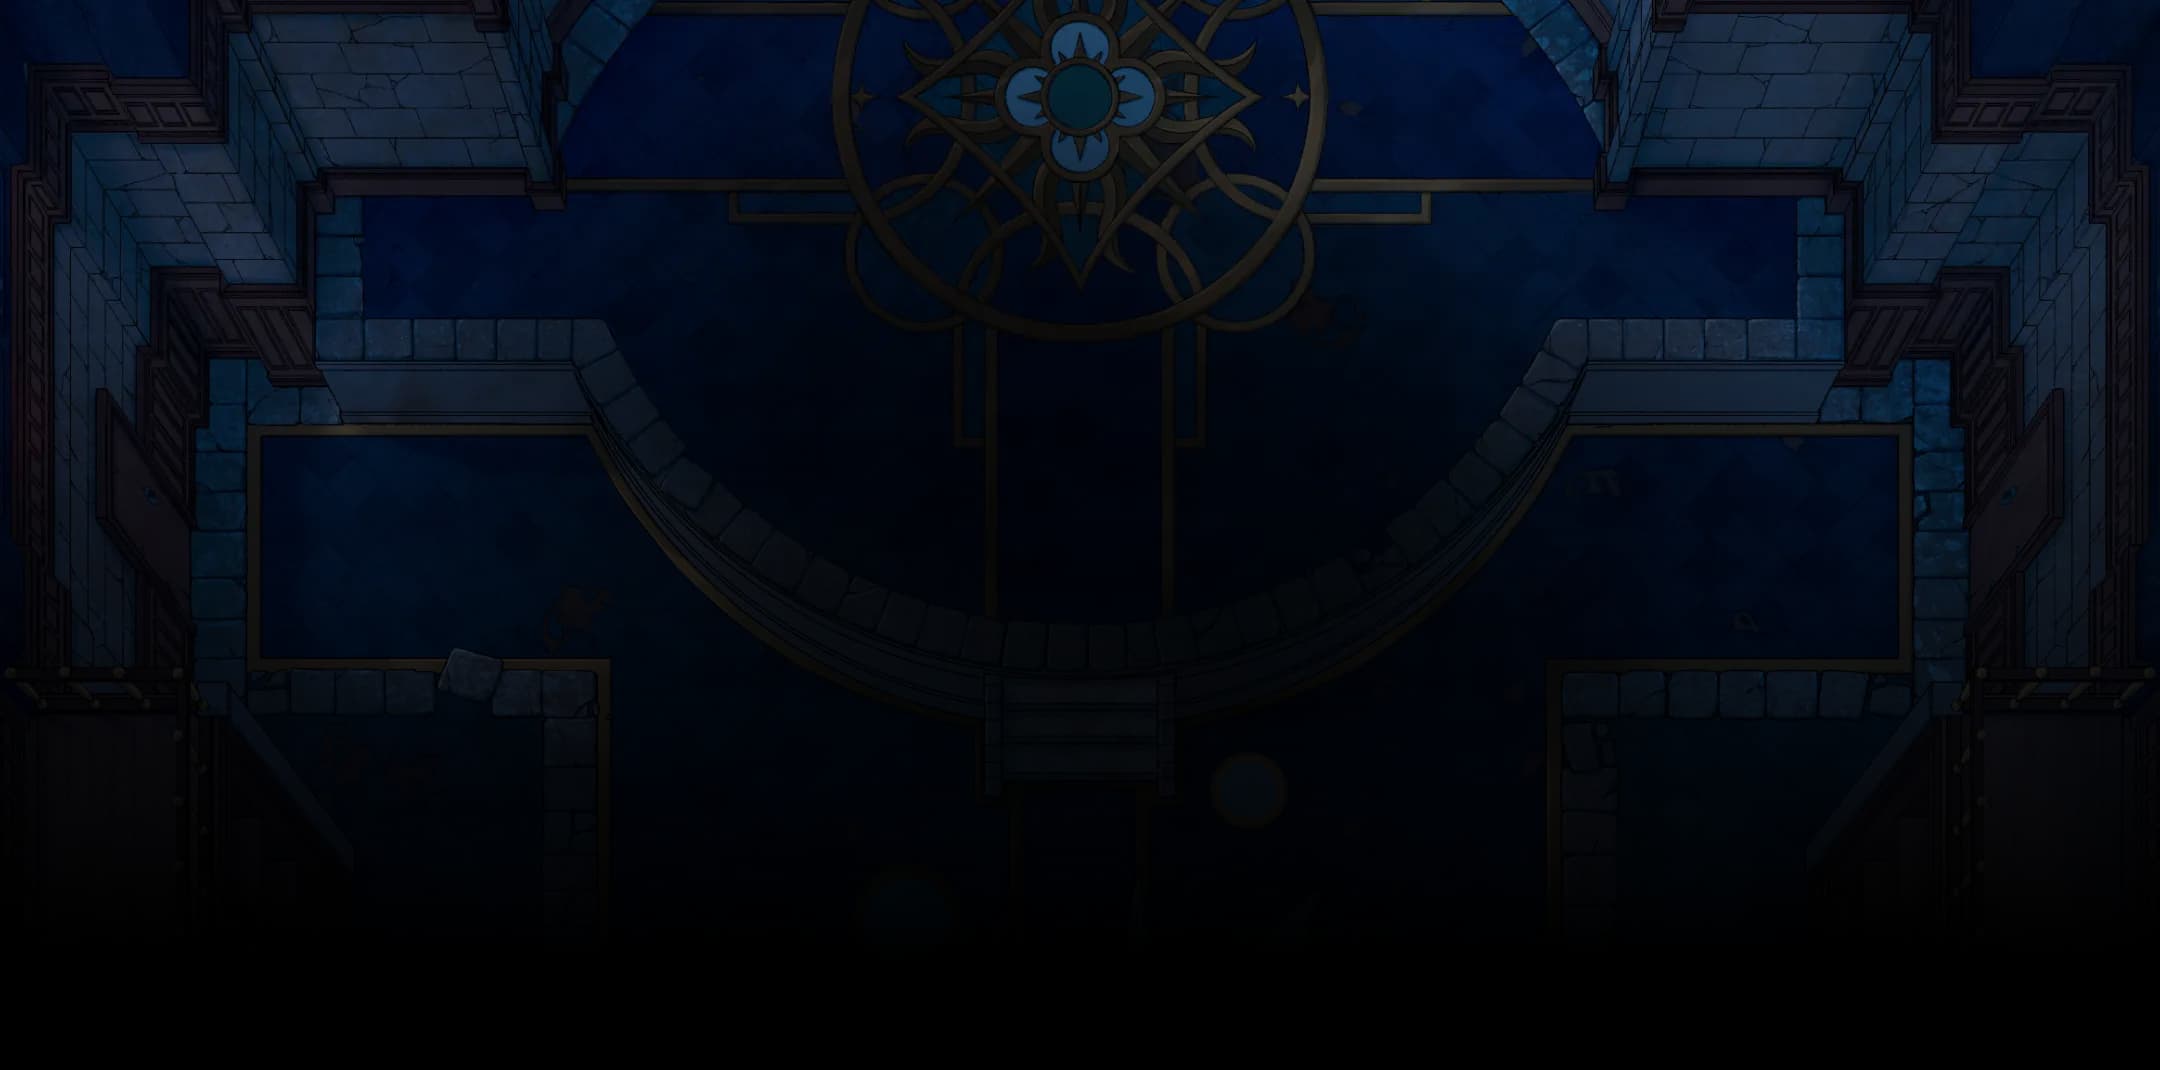
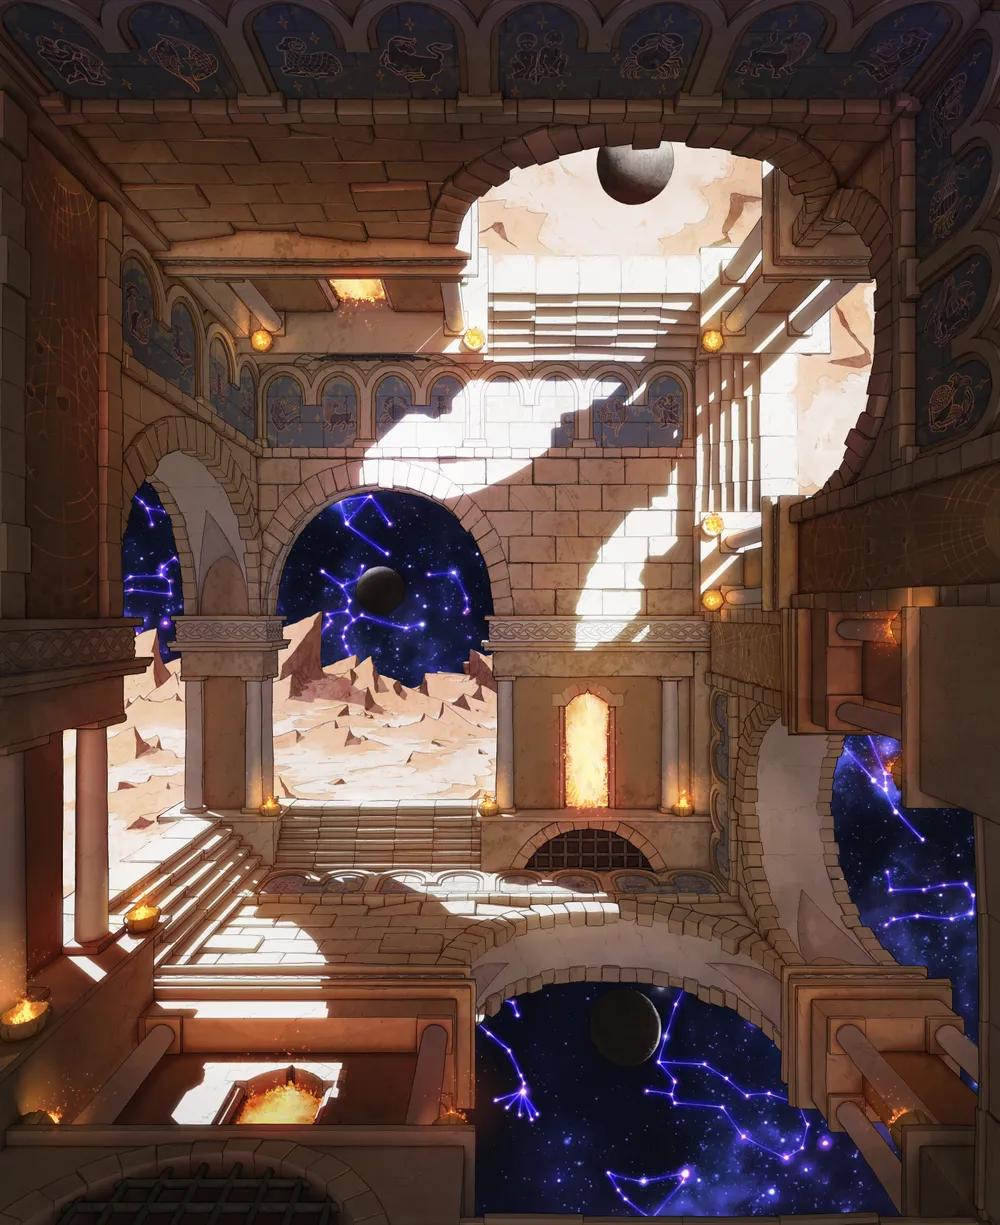
Celestial Chapel Interior (+19)
Celestial Chapel Interior (+19)
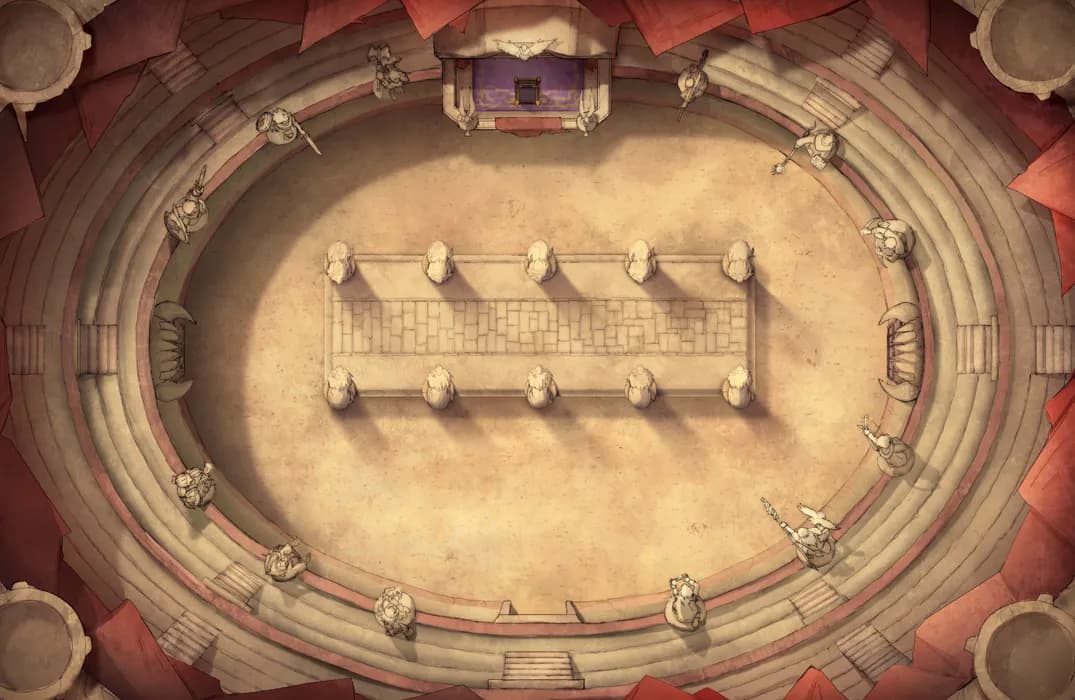
Colosseum of Challenges
Colosseum of Challenges
Deep Sea Organ (+2)
Deep Sea Organ (+2)
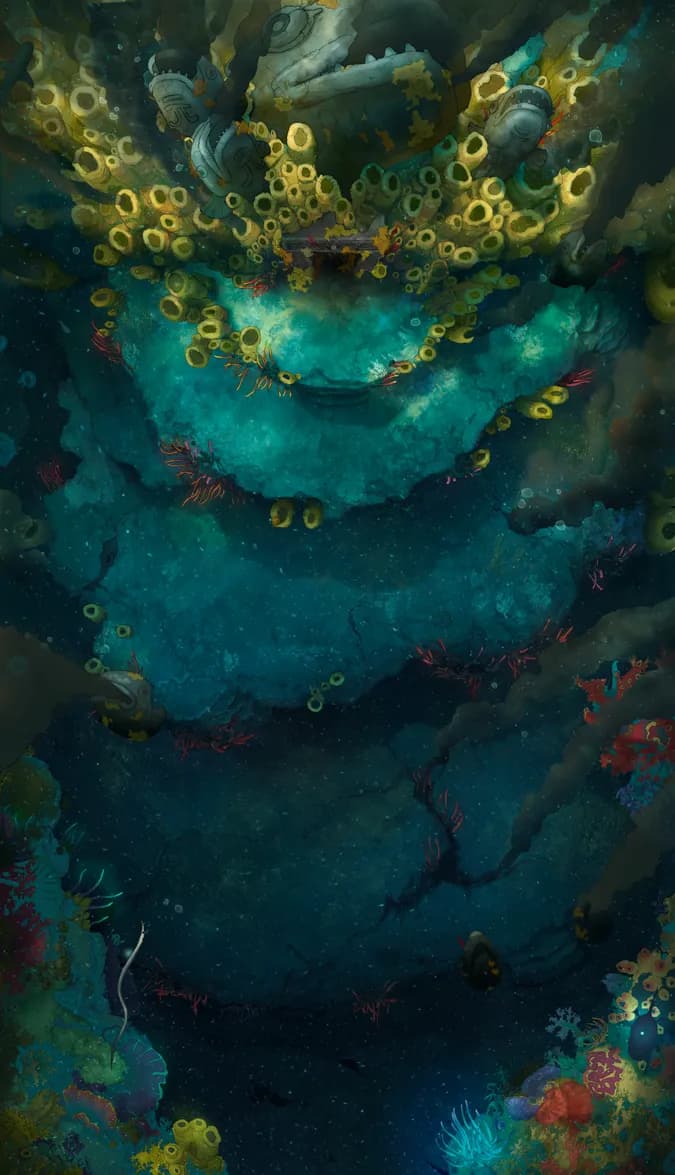
Deep Sea Temple (+1)
Deep Sea Temple (+1)
Dracolich Lair (+26)
Dracolich Lair (+26)
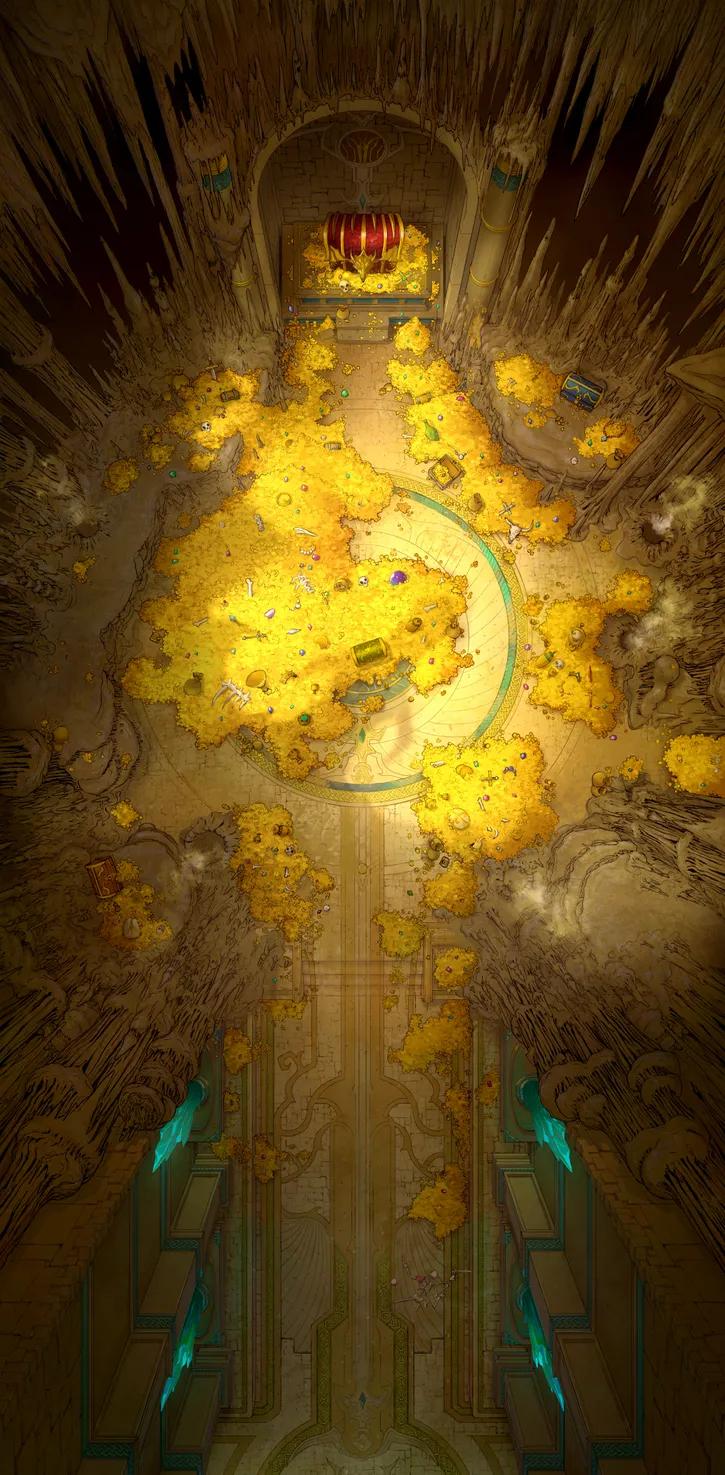
Dragon's Hoard (+20)
Dragon's Hoard (+20)
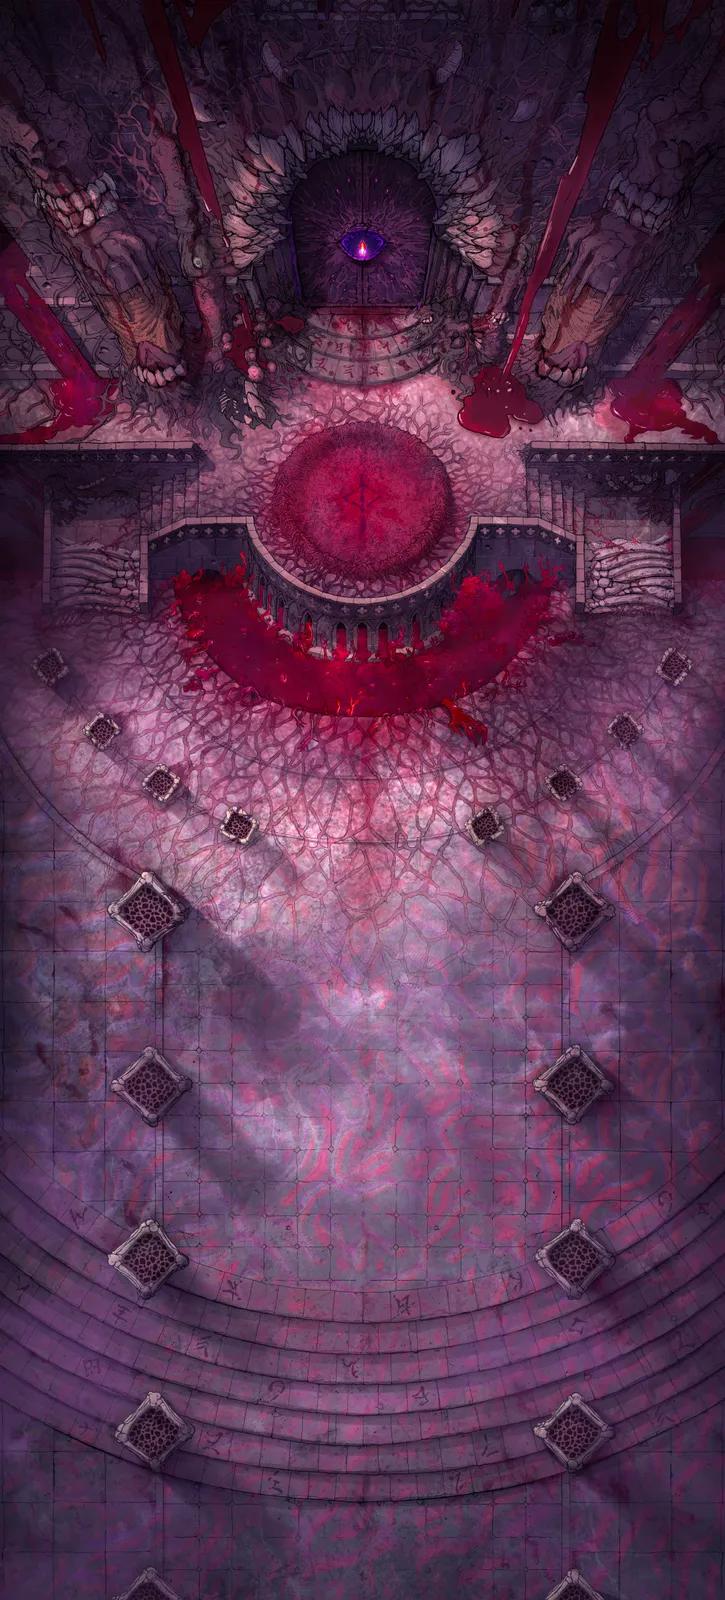
Eldritch Church (+23)
Eldritch Church (+23)
Fey Vineyard (+19)
Fey Vineyard (+19)
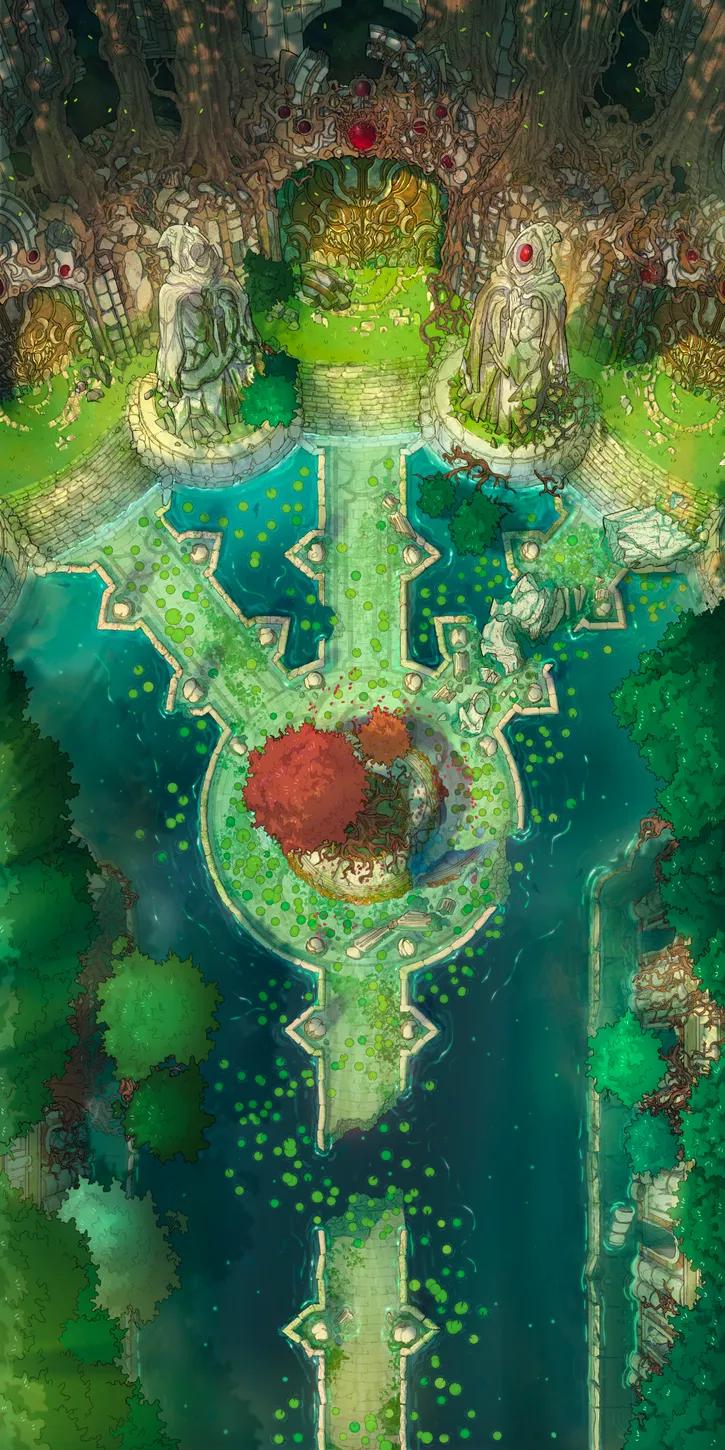
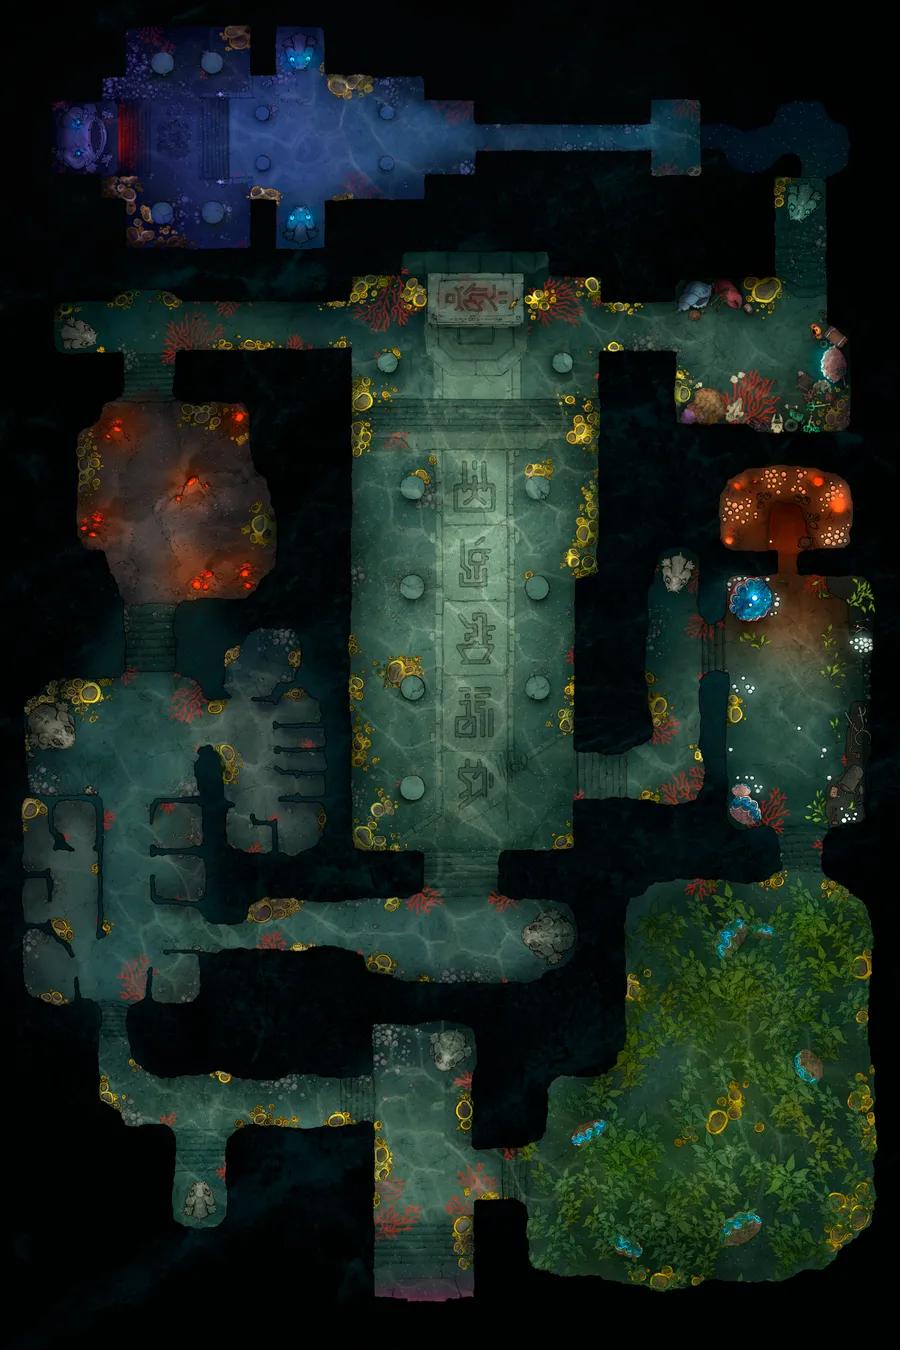
Flooded Fey Ruins (+29)
Flooded Fey Ruins (+29)
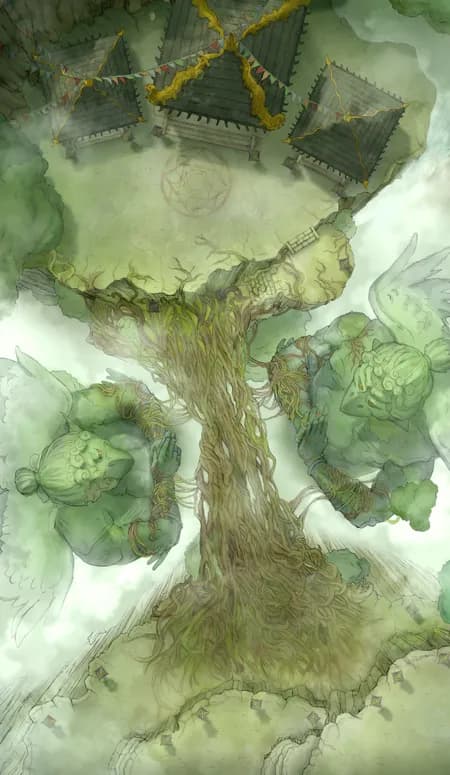
Forest Shrine Festival (+27)
Forest Shrine Festival (+27)
Forgotten Chapel Graveyard (+14)
Forgotten Chapel Graveyard (+14)
Golden Cathedral Rooftops (+17)
Golden Cathedral Rooftops (+17)
Grand Cathedral (+24)
Grand Cathedral (+24)

Grand Cathedral Crypt (+19)
Grand Cathedral Crypt (+19)
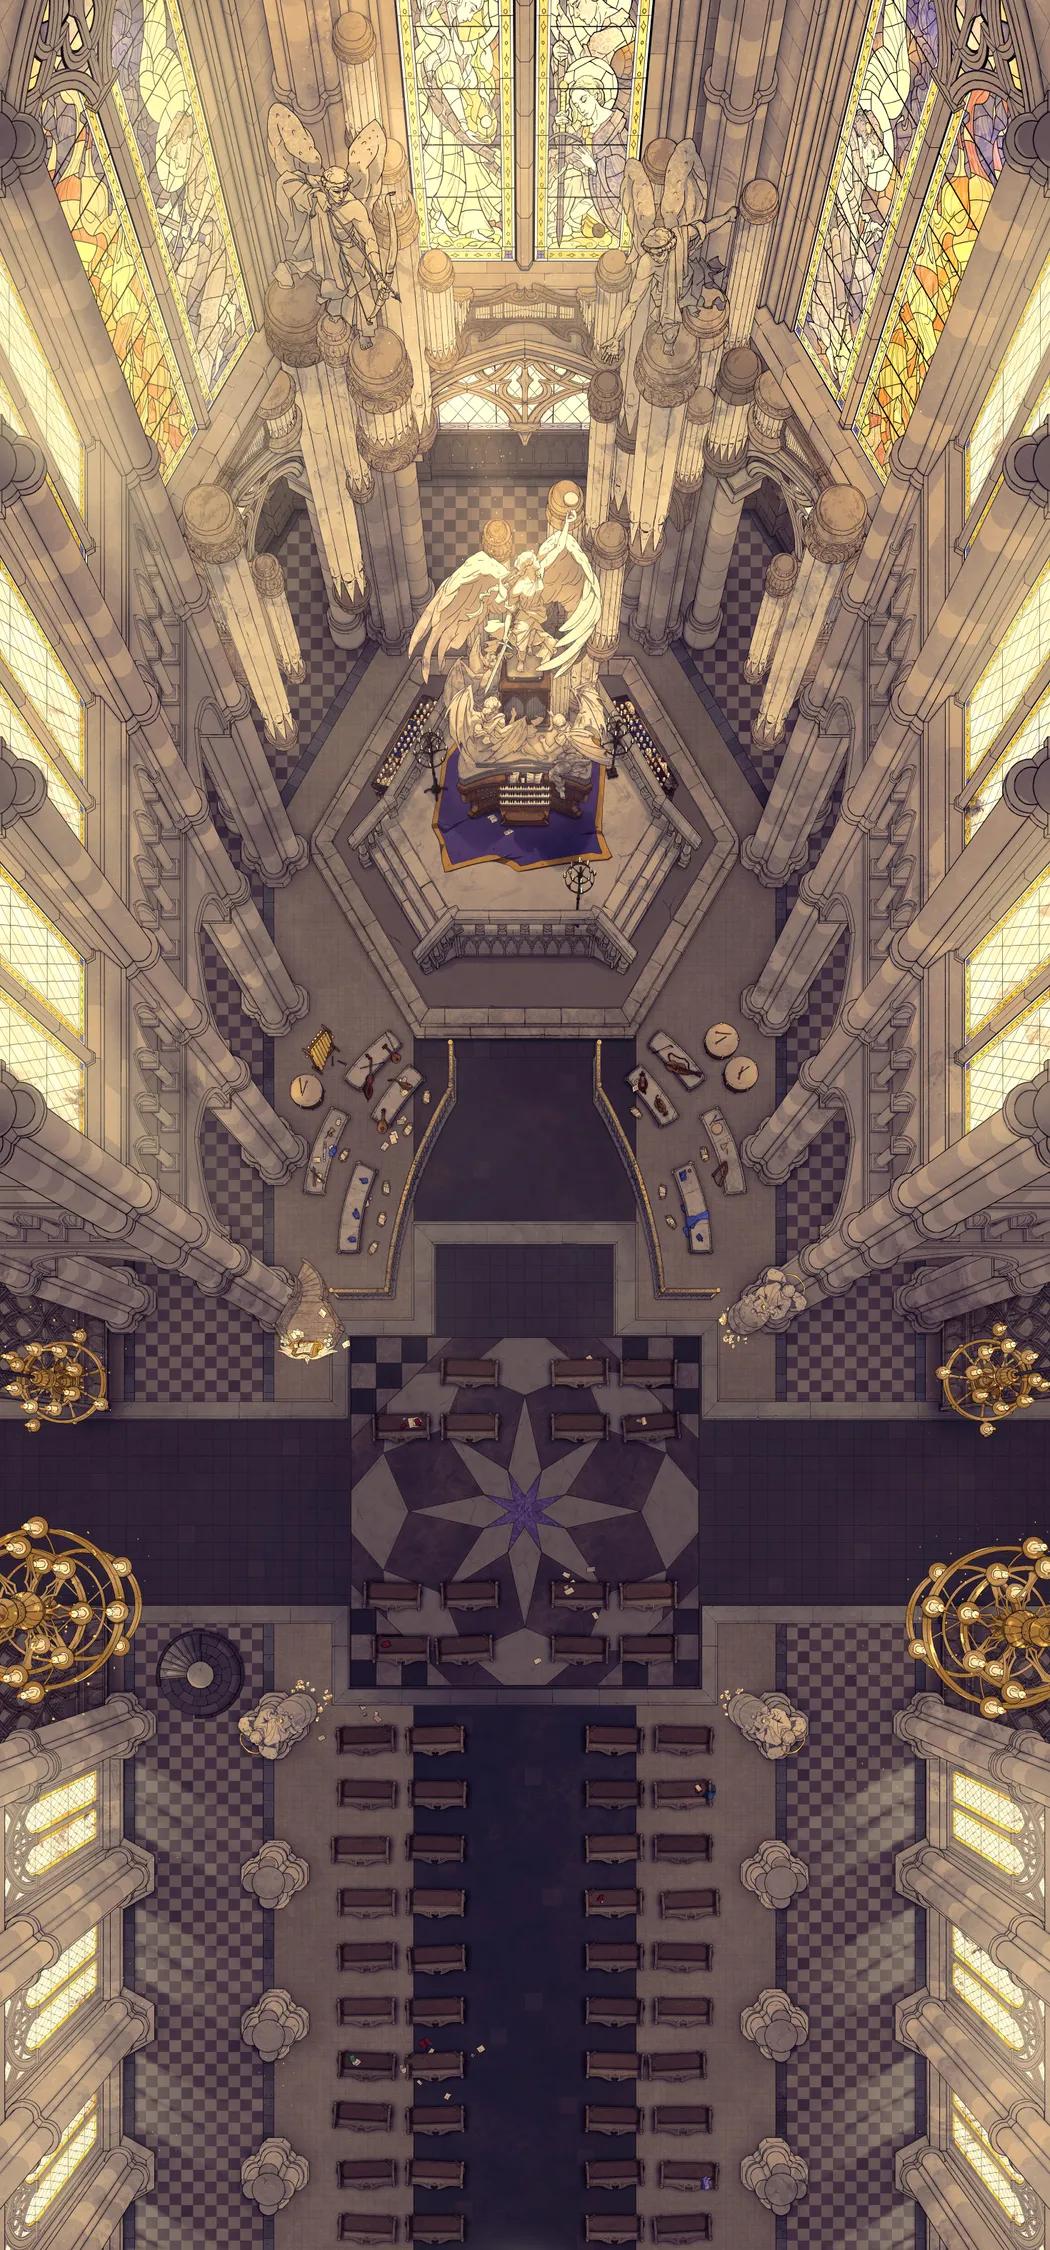
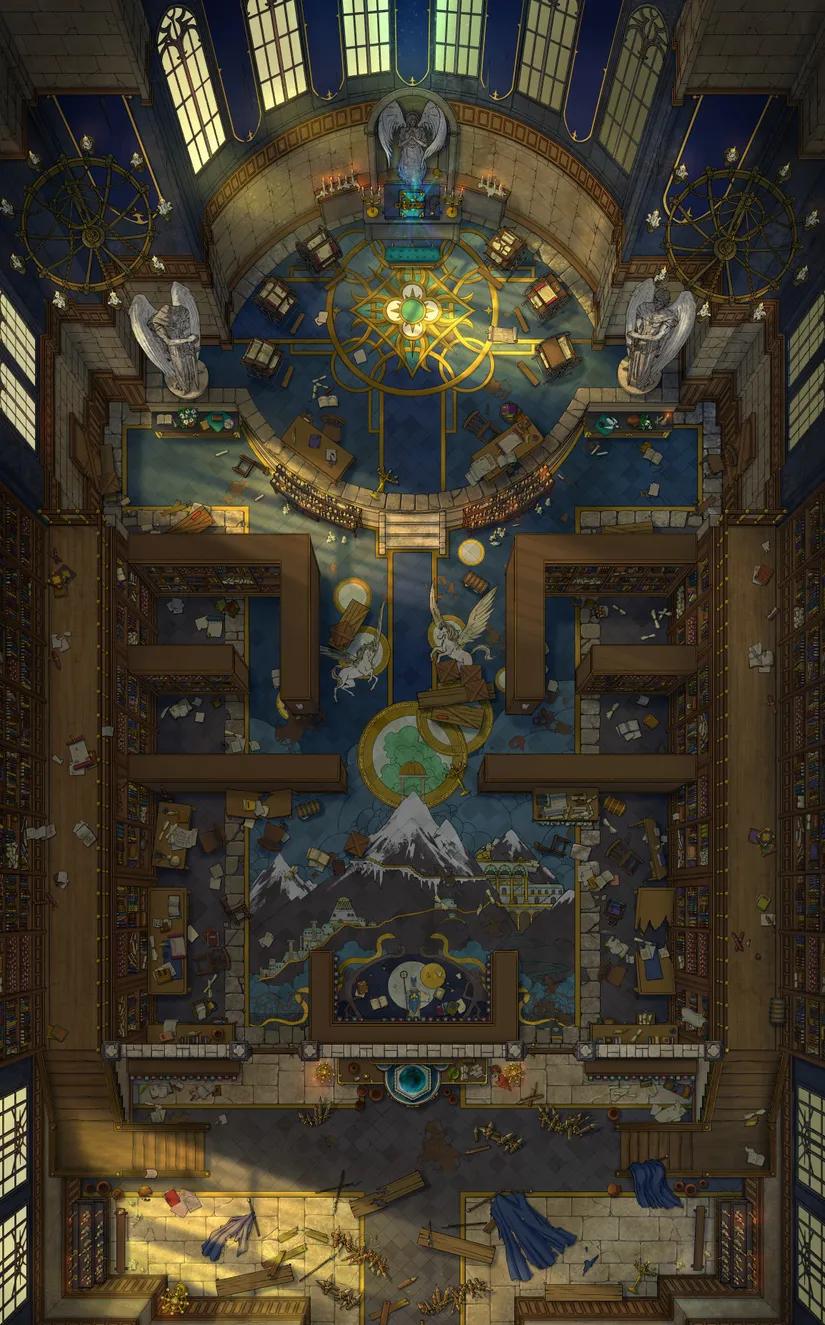
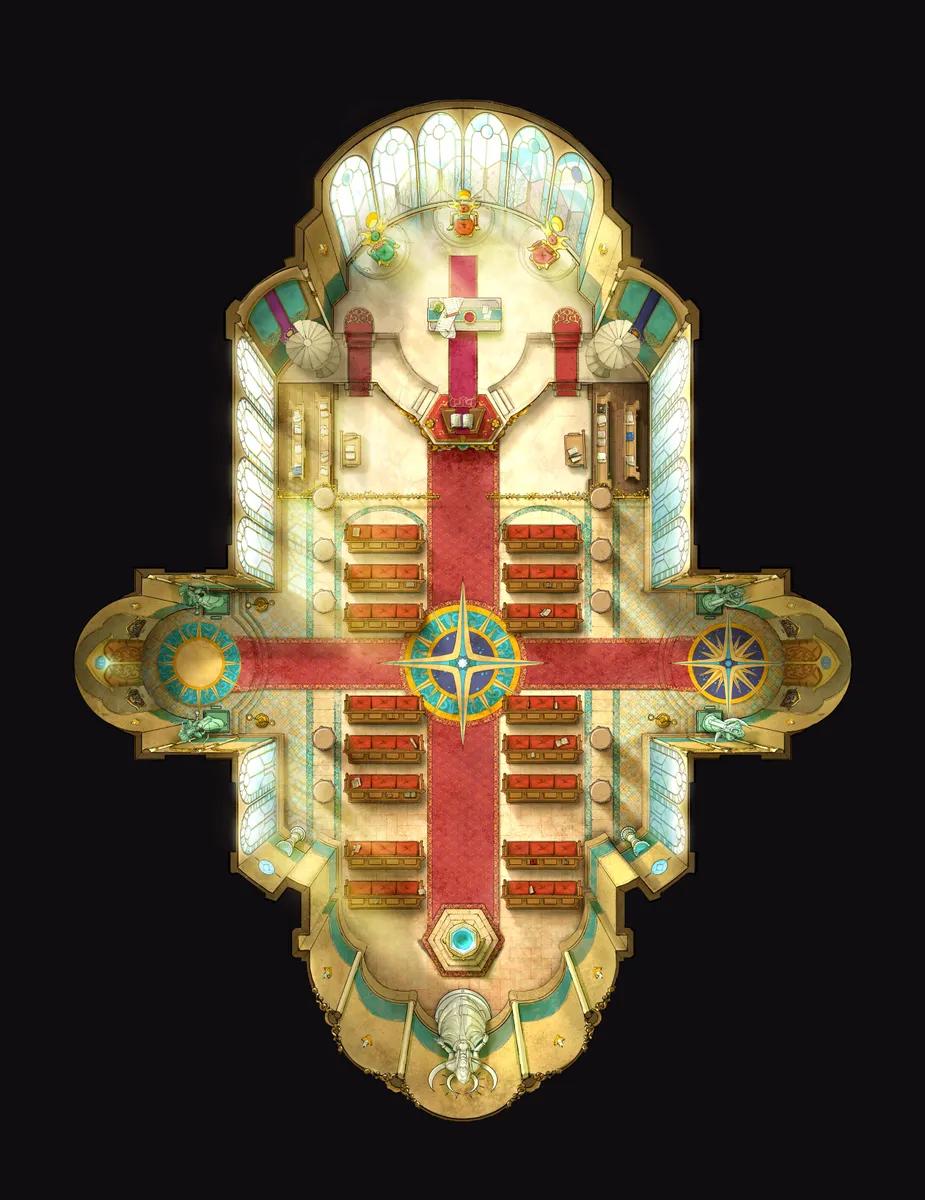
Grand Cathedral Interior (+19)
Grand Cathedral Interior (+19)
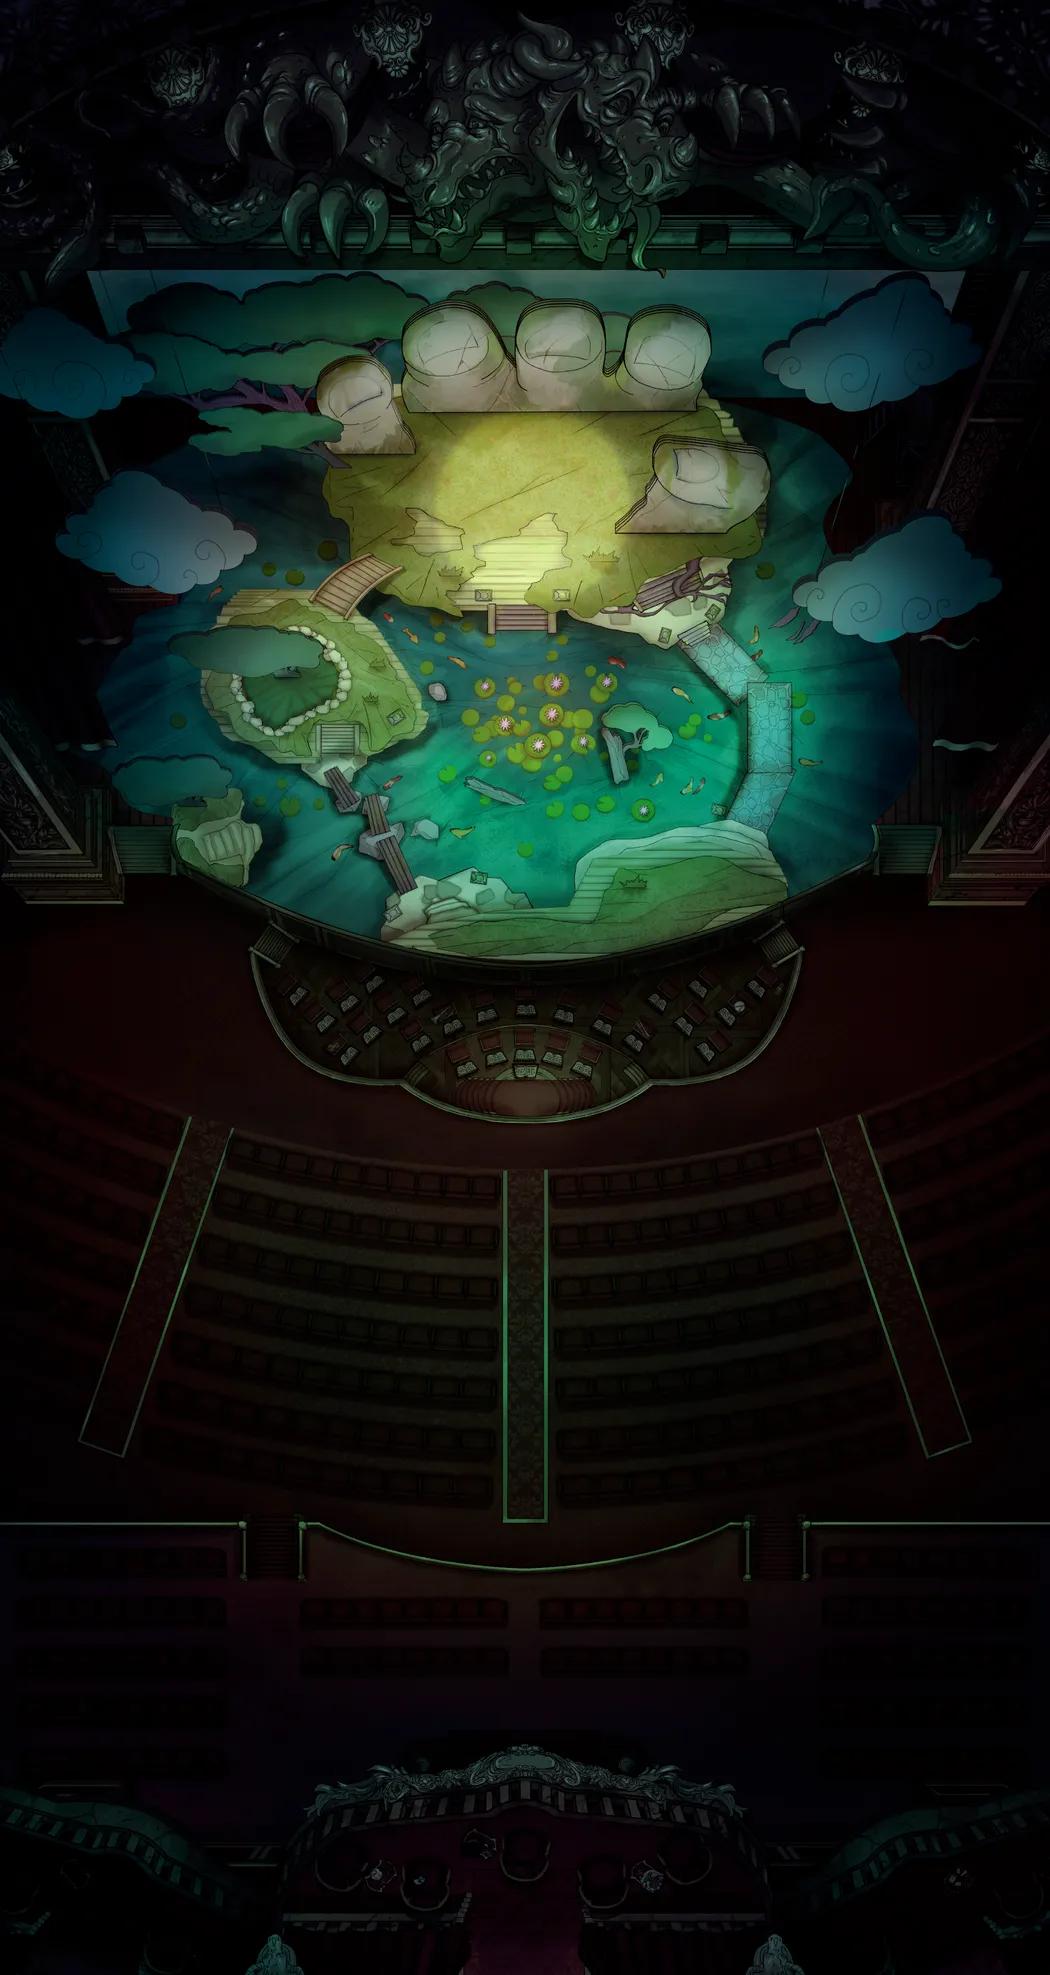
Grand Opera House
Grand Opera House
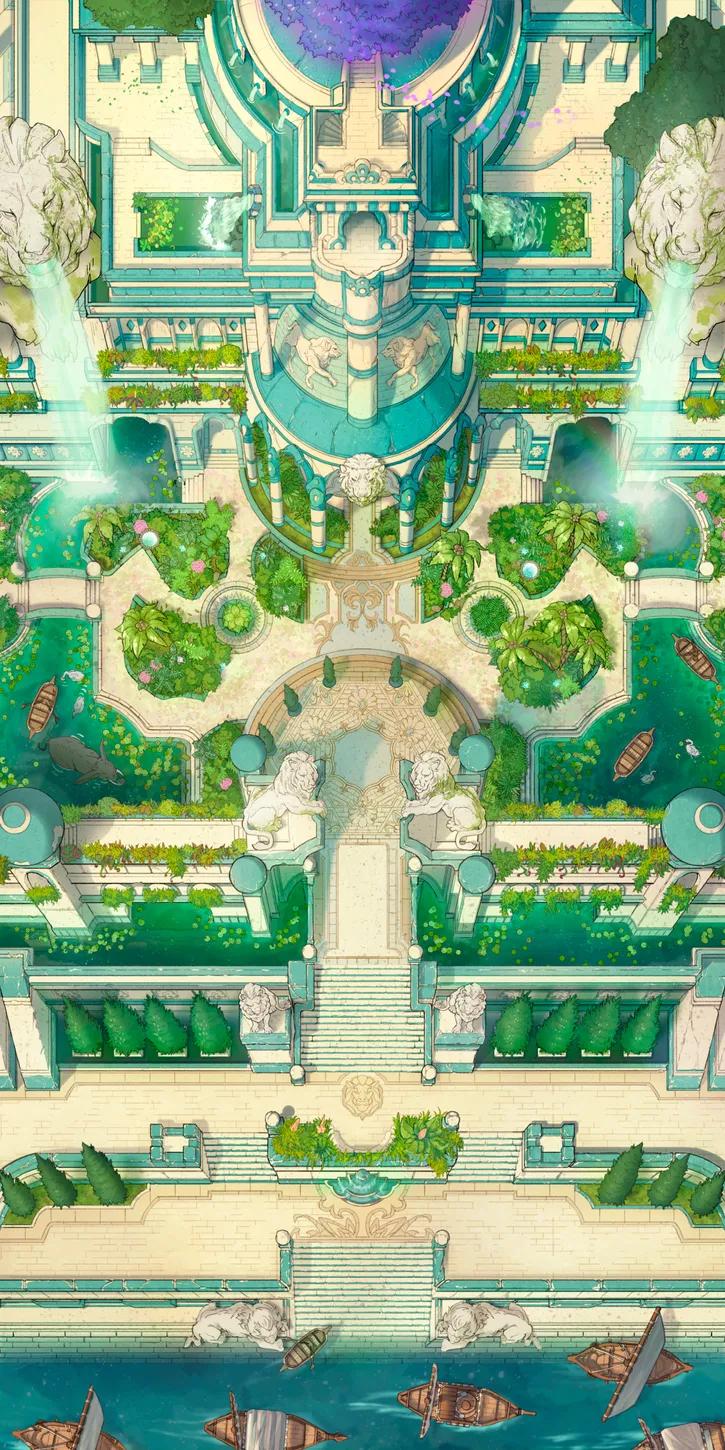
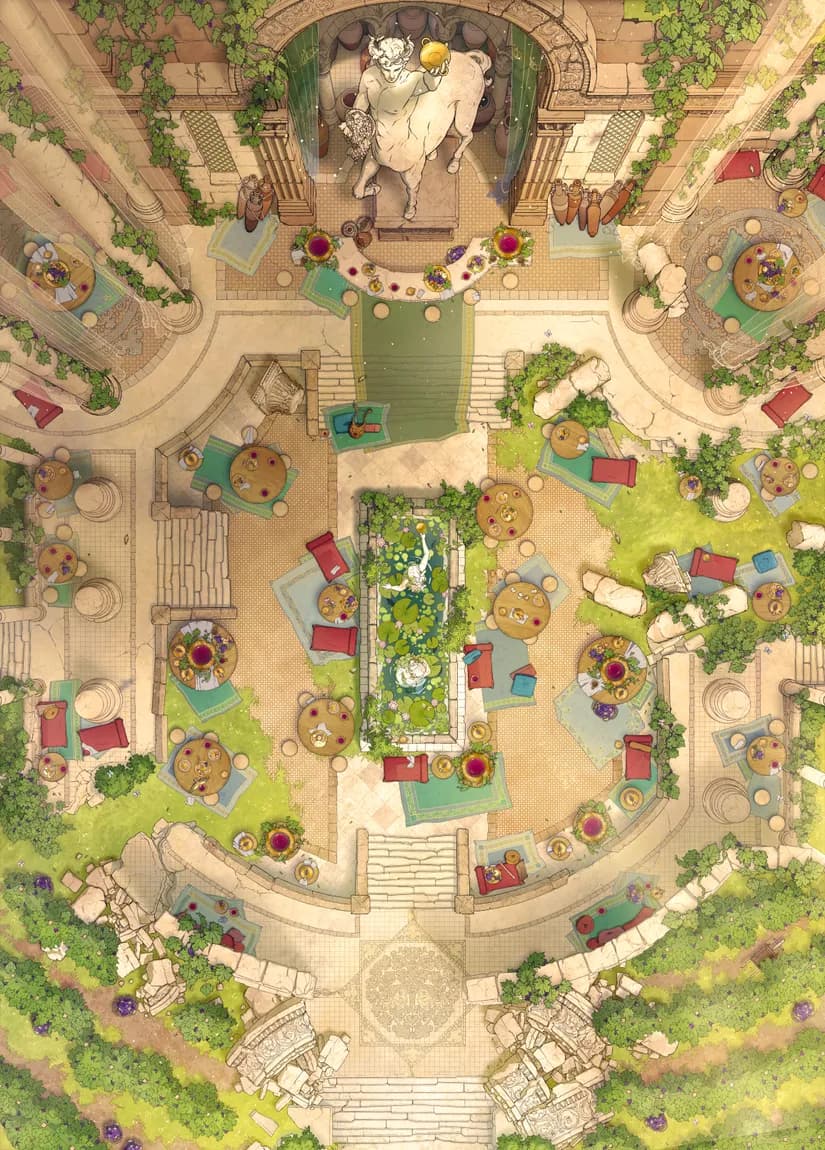
Hanging Gardens (+17)
Hanging Gardens (+17)
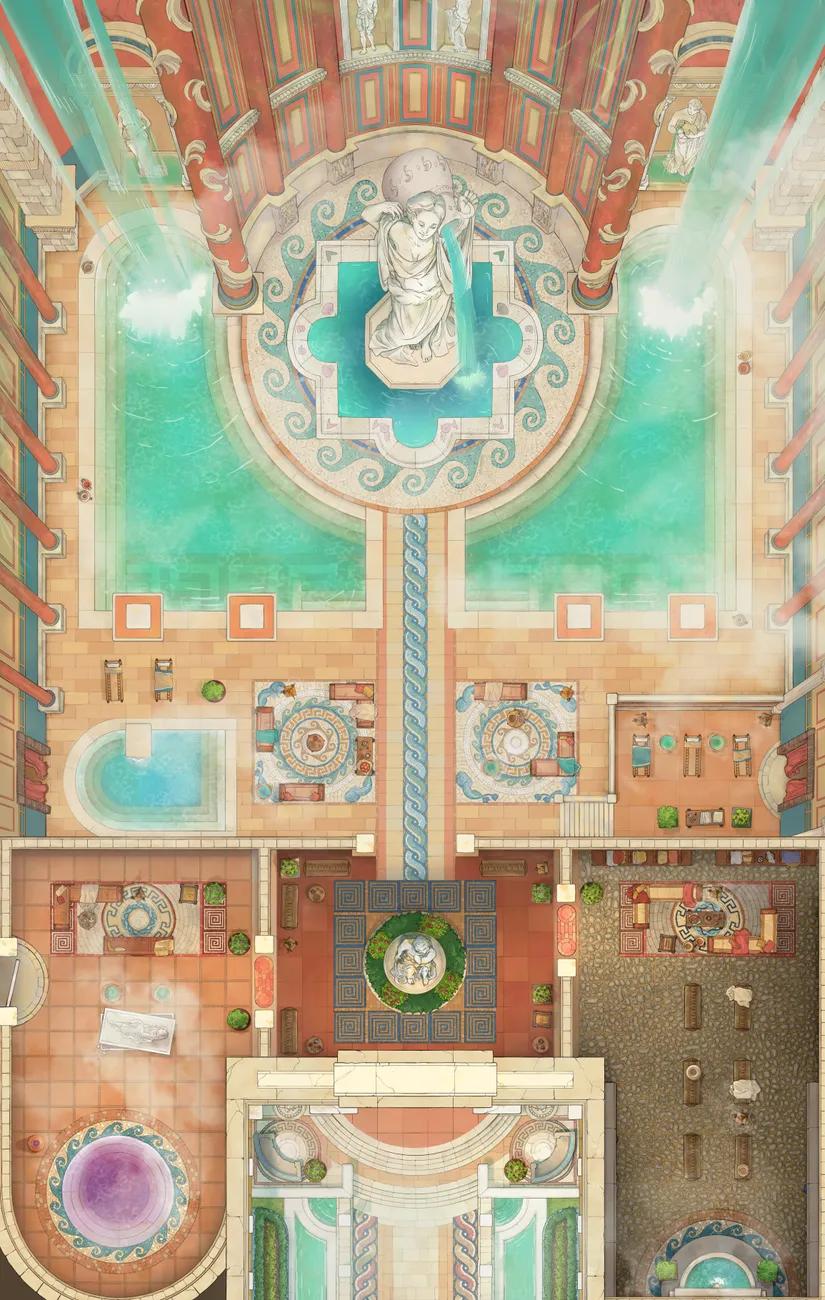
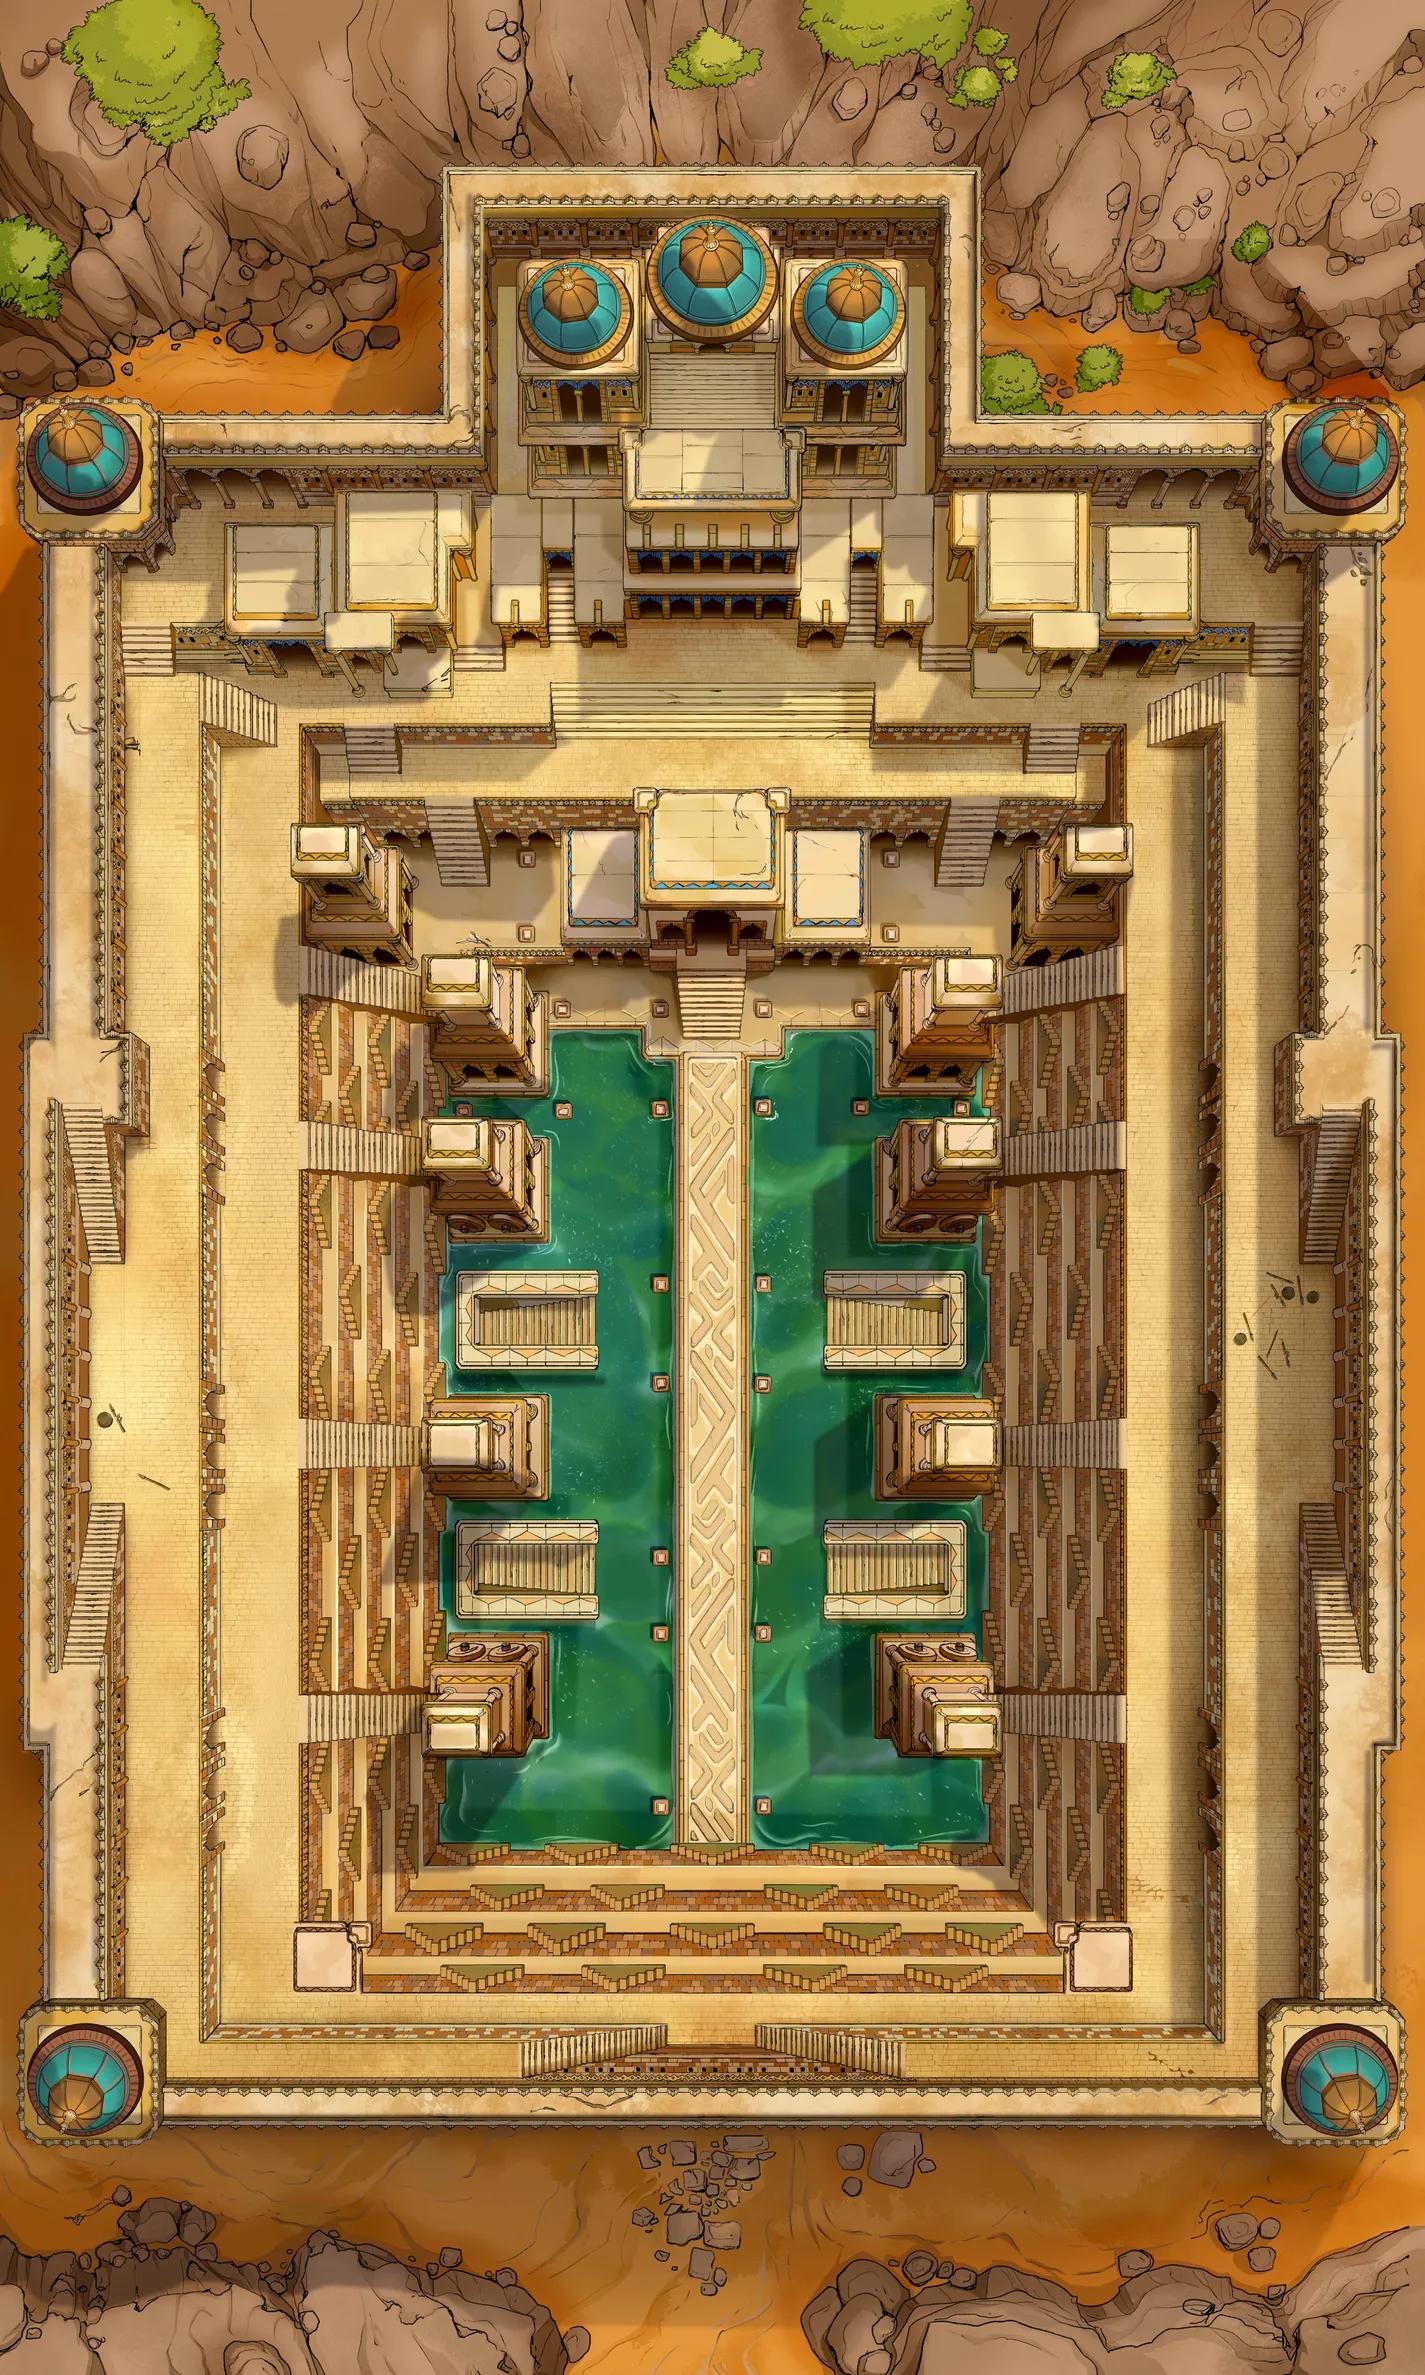
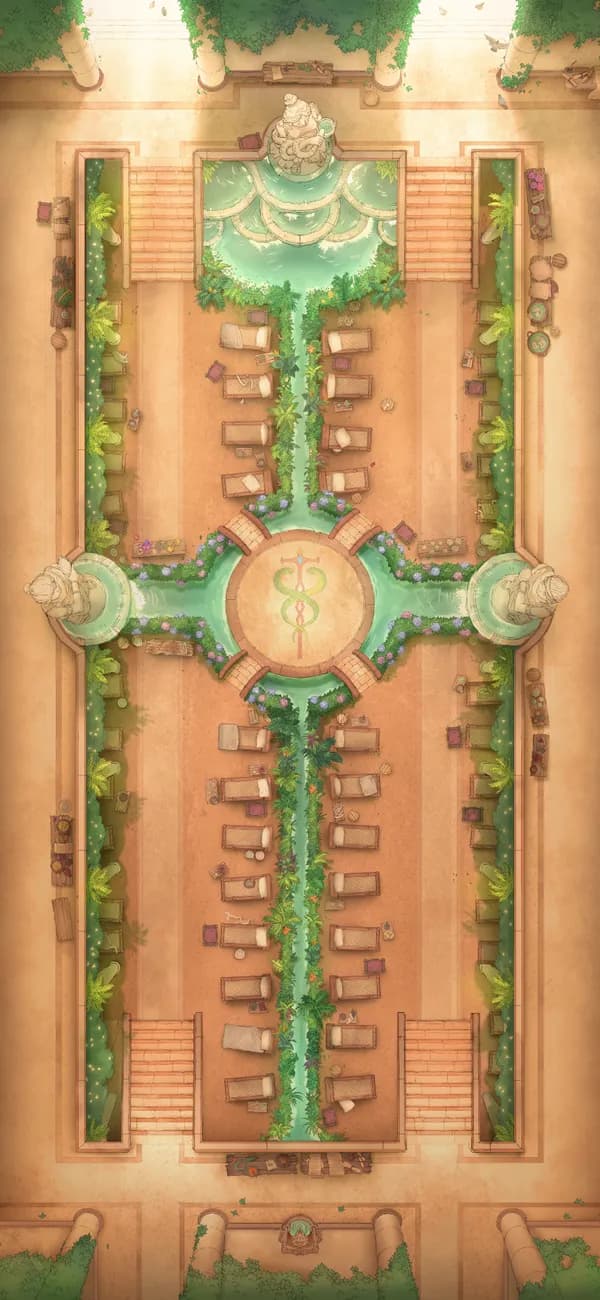
Imperial Bath Complex (+19)
Imperial Bath Complex (+19)
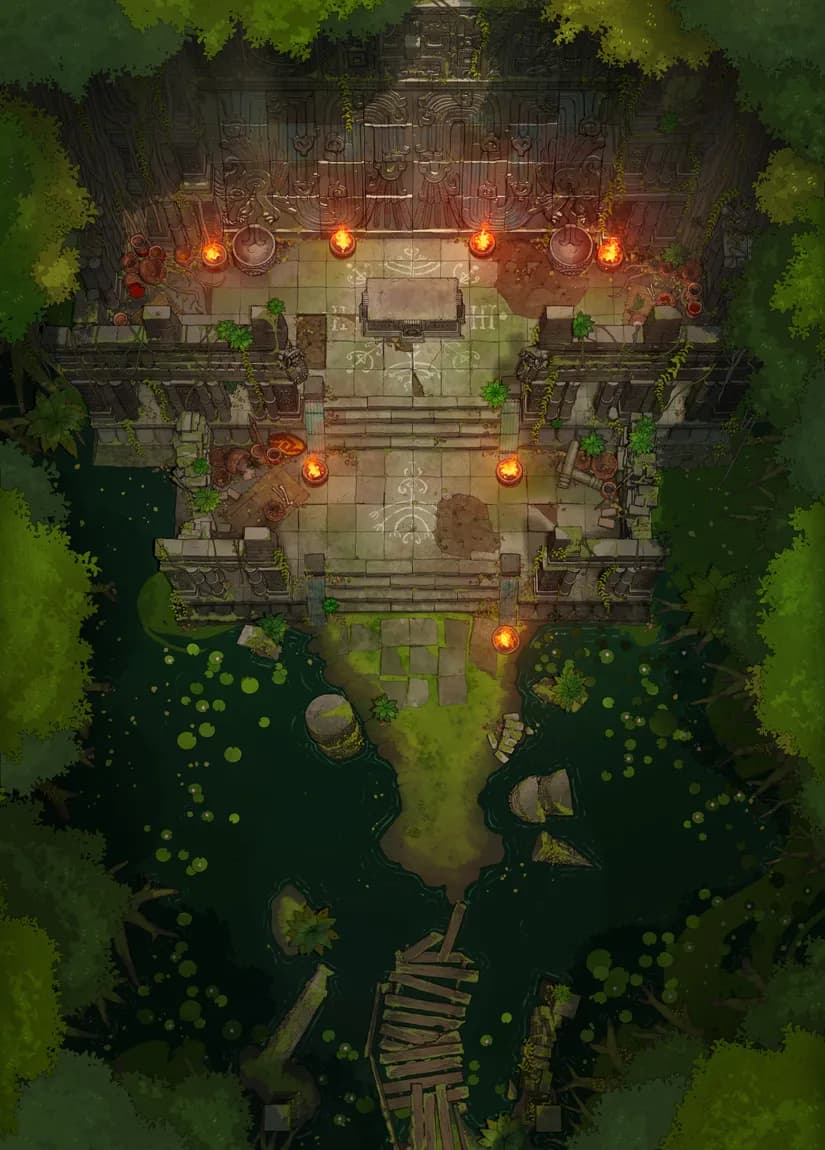
Jungle Temple Entrance (+21)
Jungle Temple Entrance (+21)
Magical Tournament Arena
Magical Tournament Arena
Moth God Temple (+19)
Moth God Temple (+19)
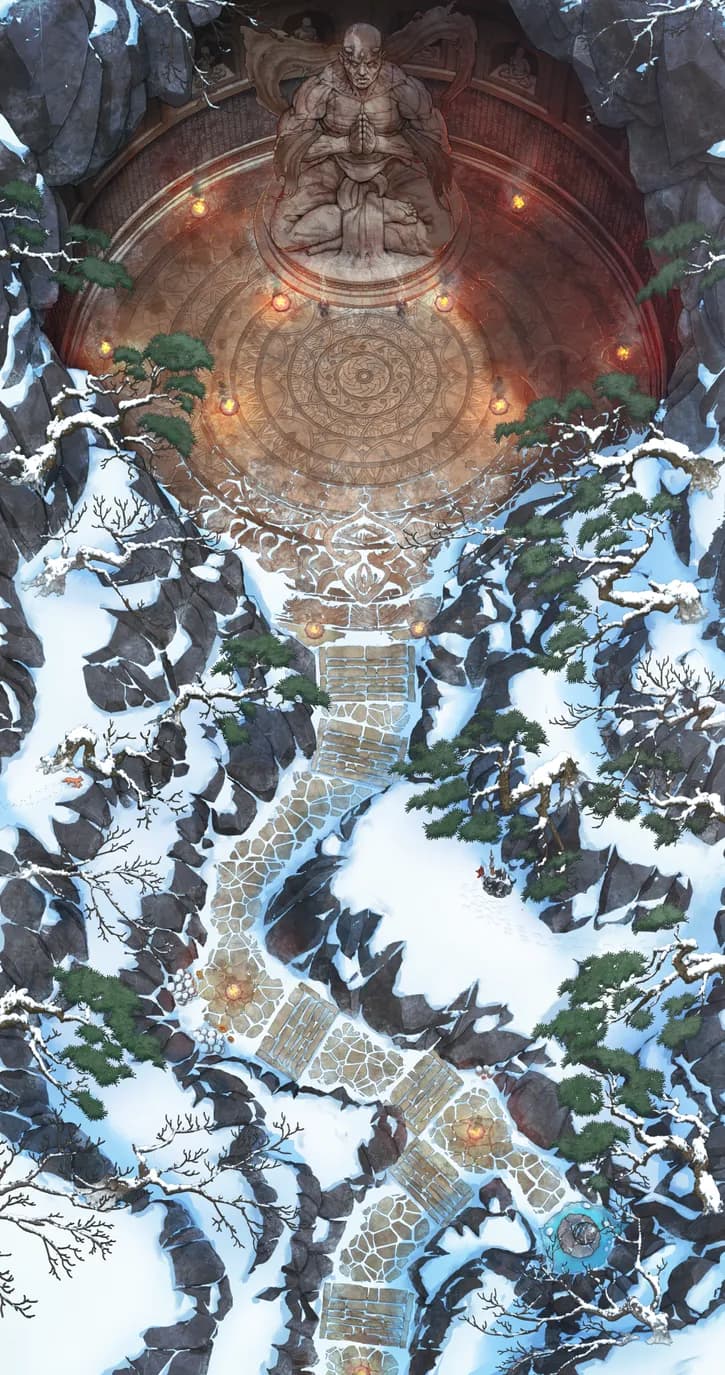
Mountain Monastery (+13)
Mountain Monastery (+13)
Nightmare Dragon Lair (+27)
Nightmare Dragon Lair (+27)
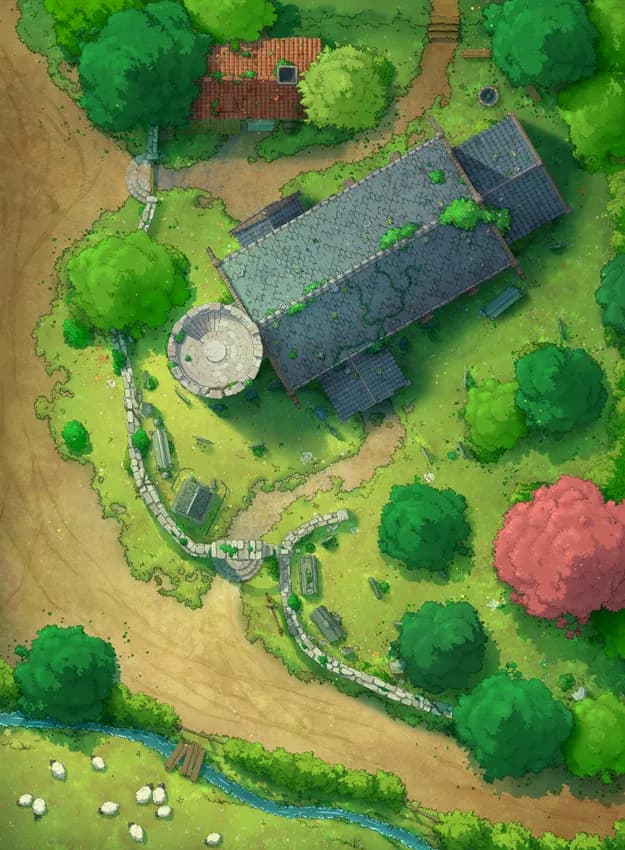
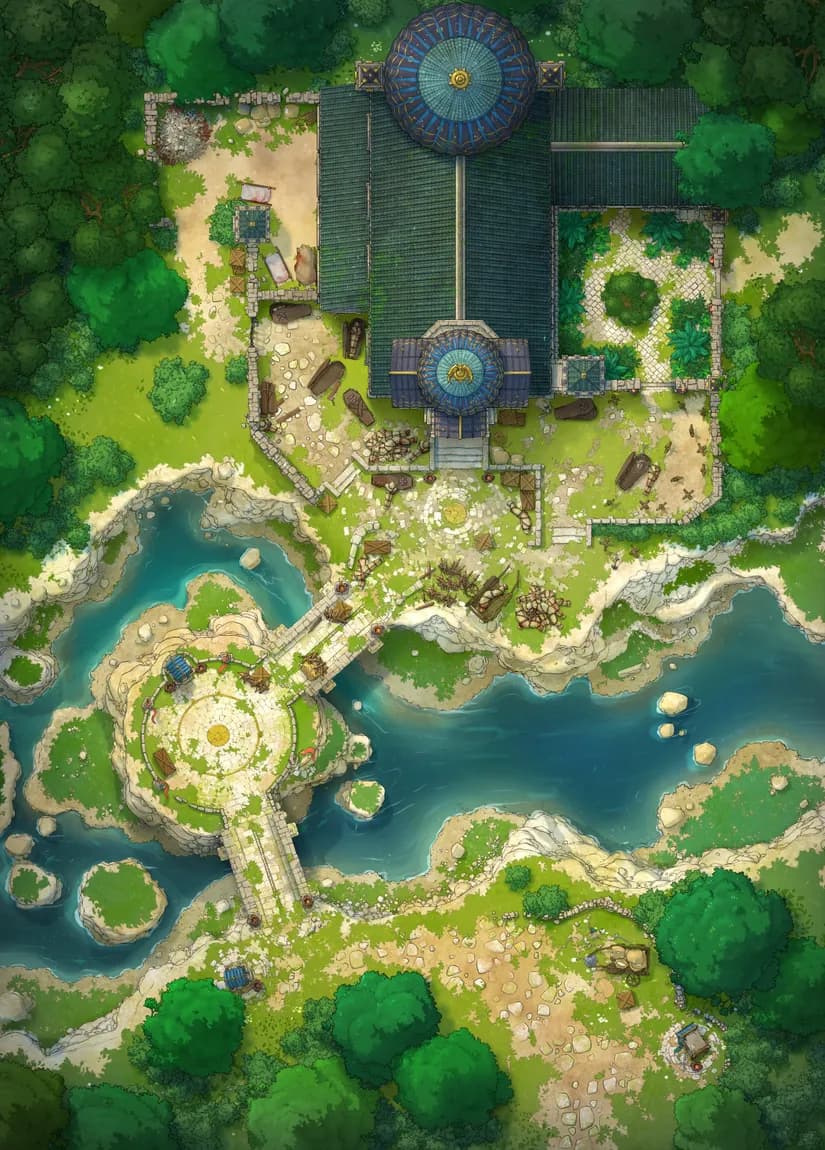
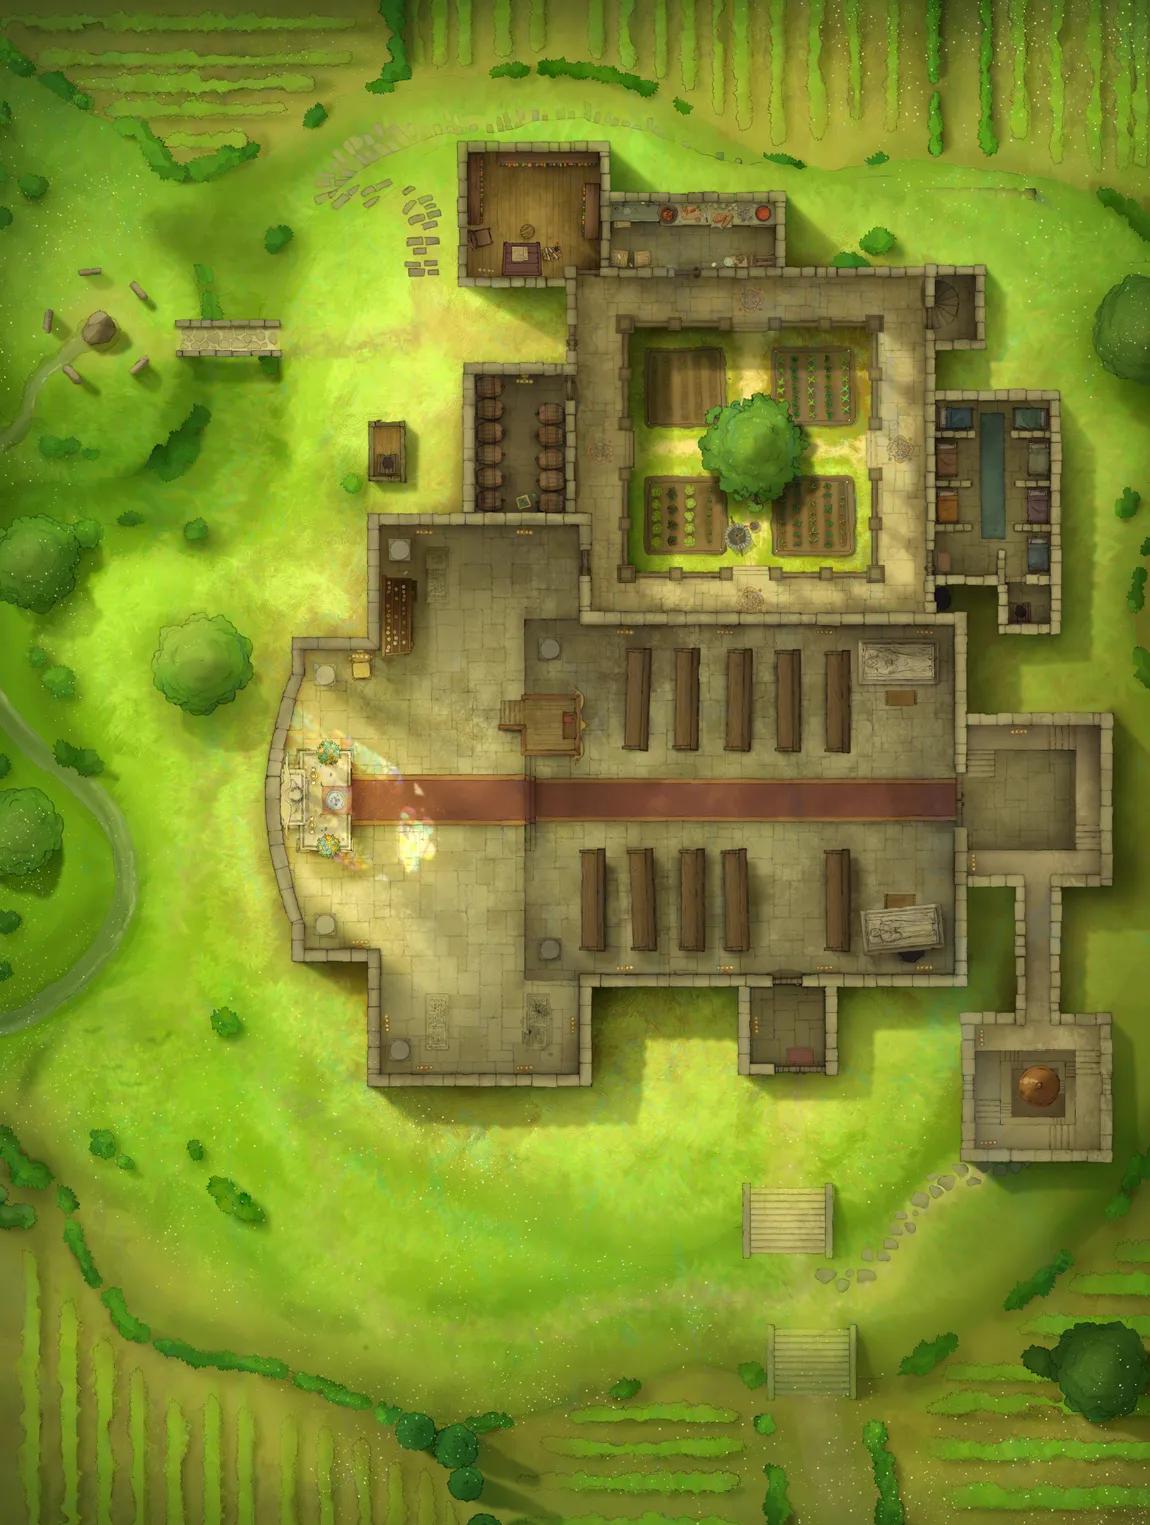
Peaceful Village Church (+17)
Peaceful Village Church (+17)
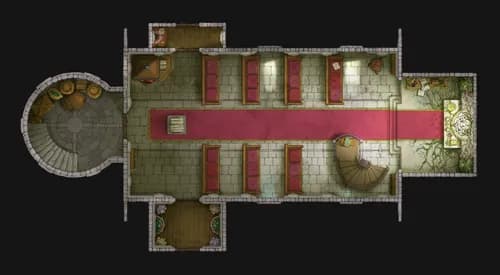
Peaceful Village Church Interior (+5)
Peaceful Village Church Interior (+5)
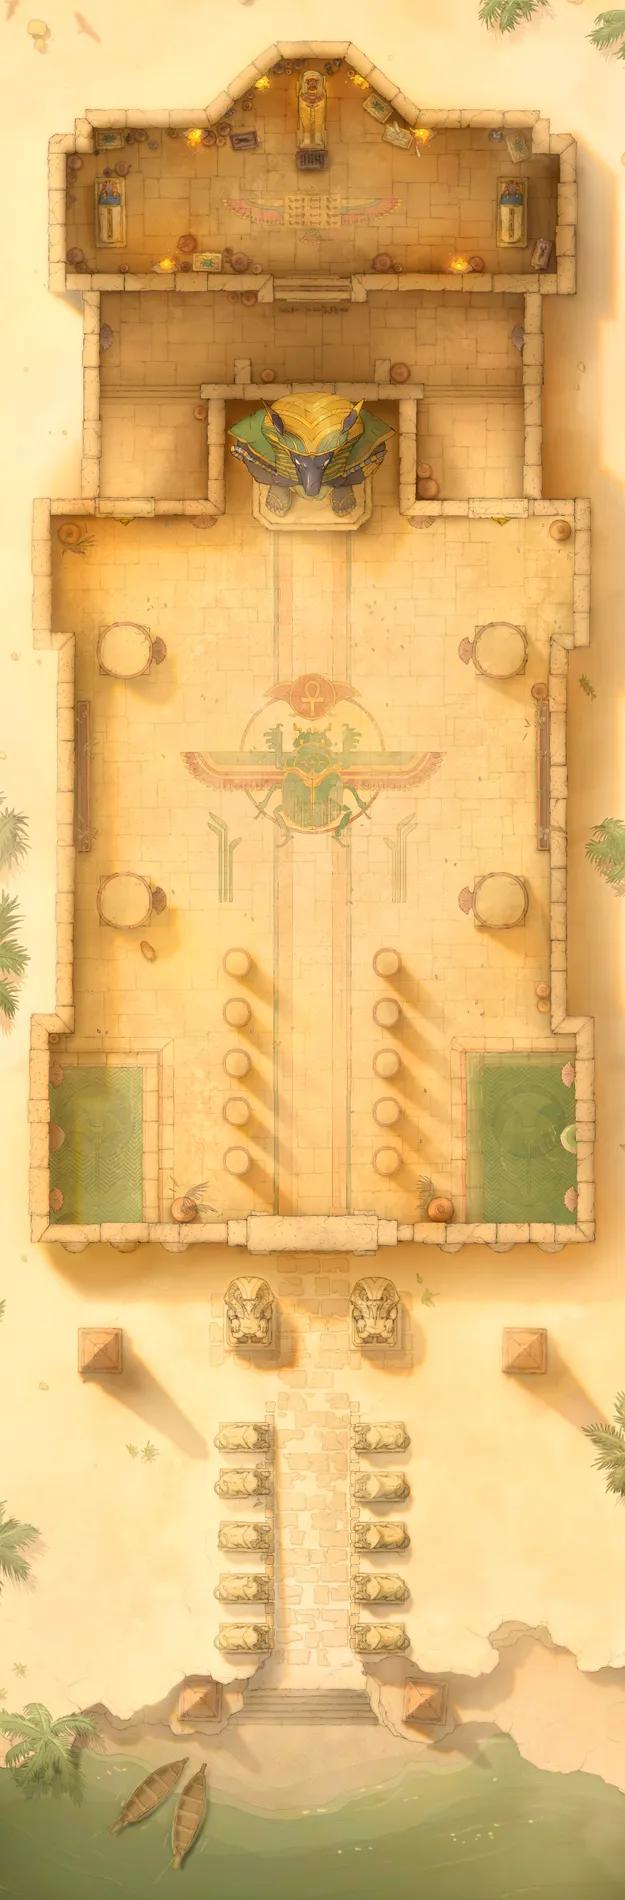
Pharaoh's Tomb (+13)
Pharaoh's Tomb (+13)
Plague Hospital (+16)
Plague Hospital (+16)
Pseudodragon Lair (+13)
Pseudodragon Lair (+13)
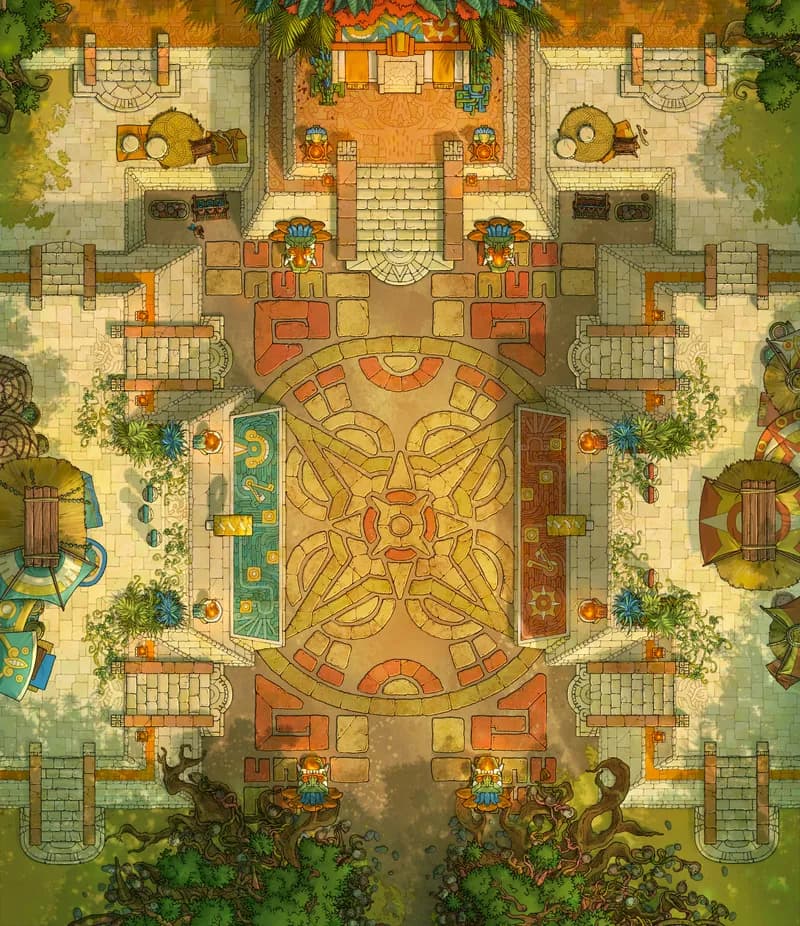
Sacred Ballcourt (+19)
Sacred Ballcourt (+19)
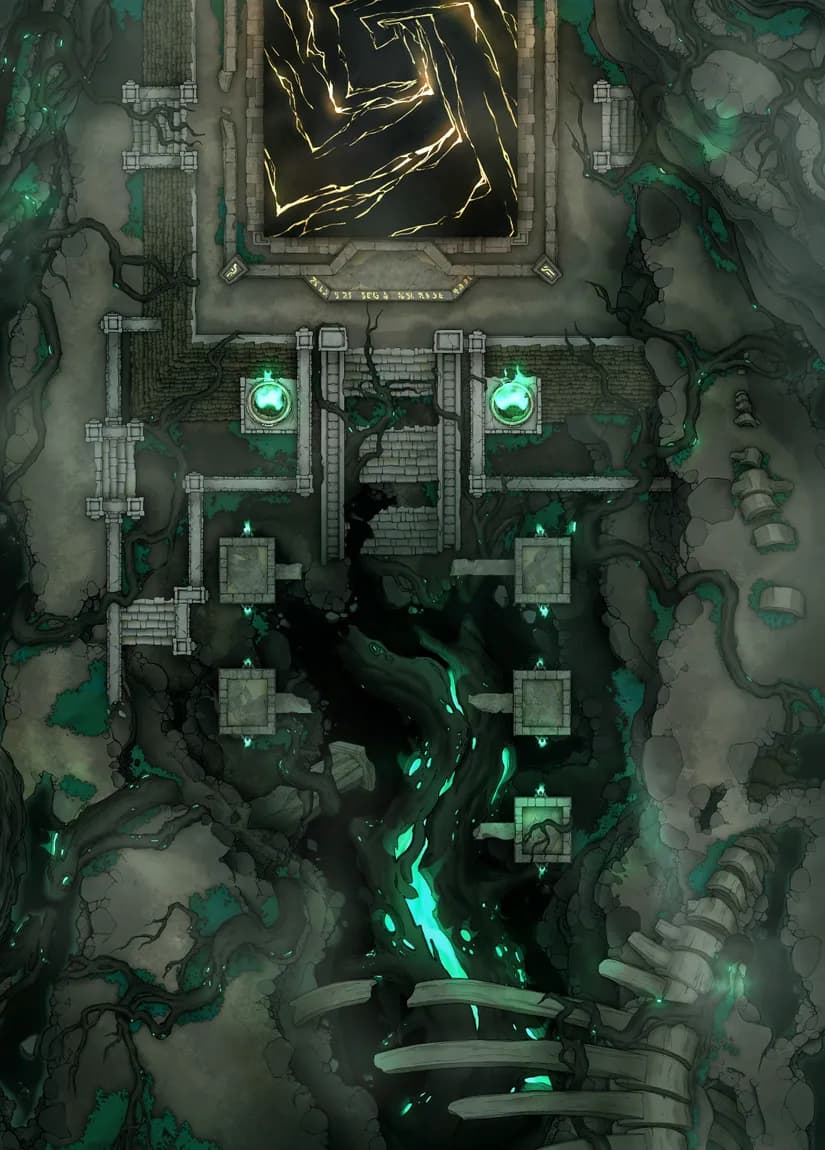
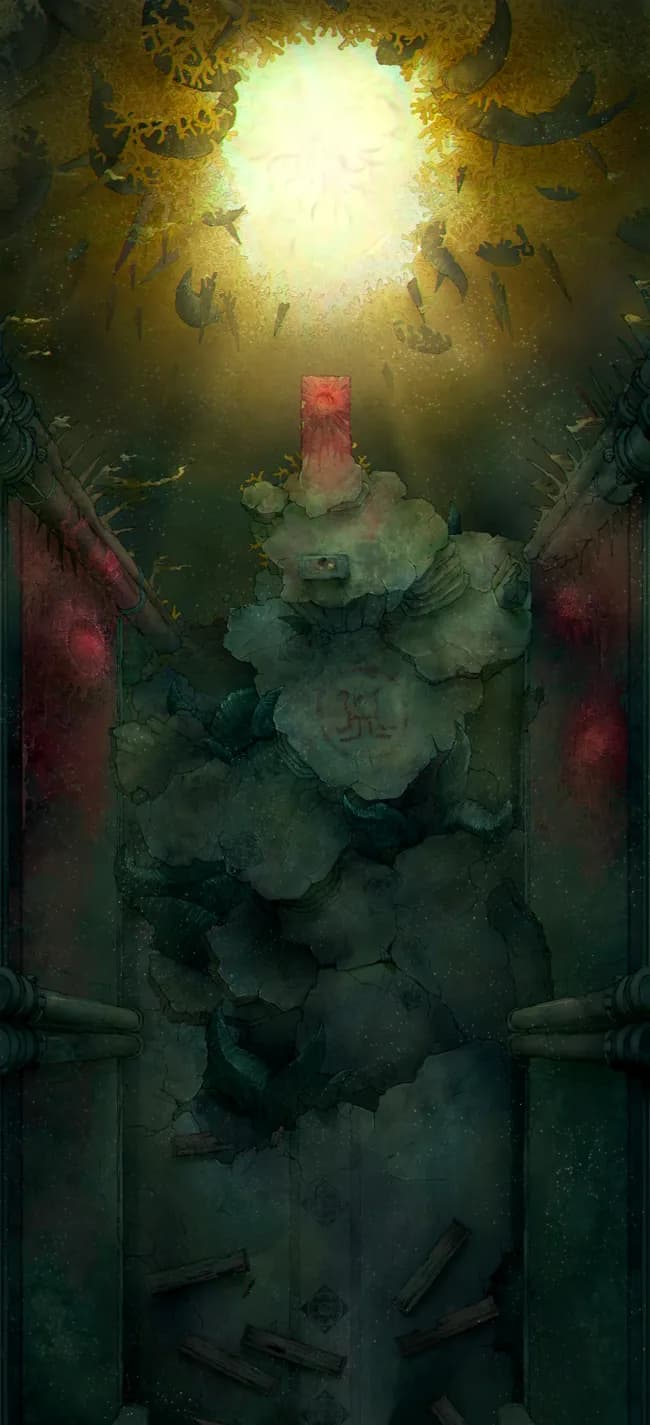
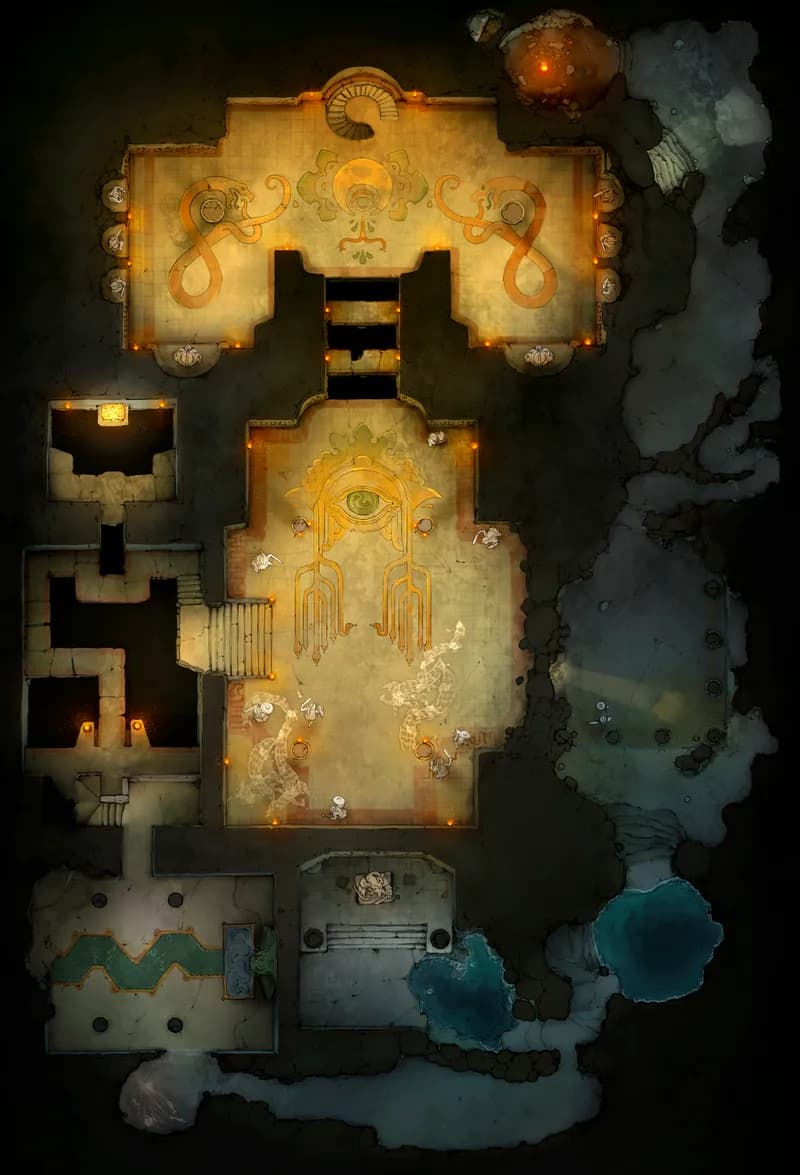
Shadowlands Pyramid (+19)
Shadowlands Pyramid (+19)
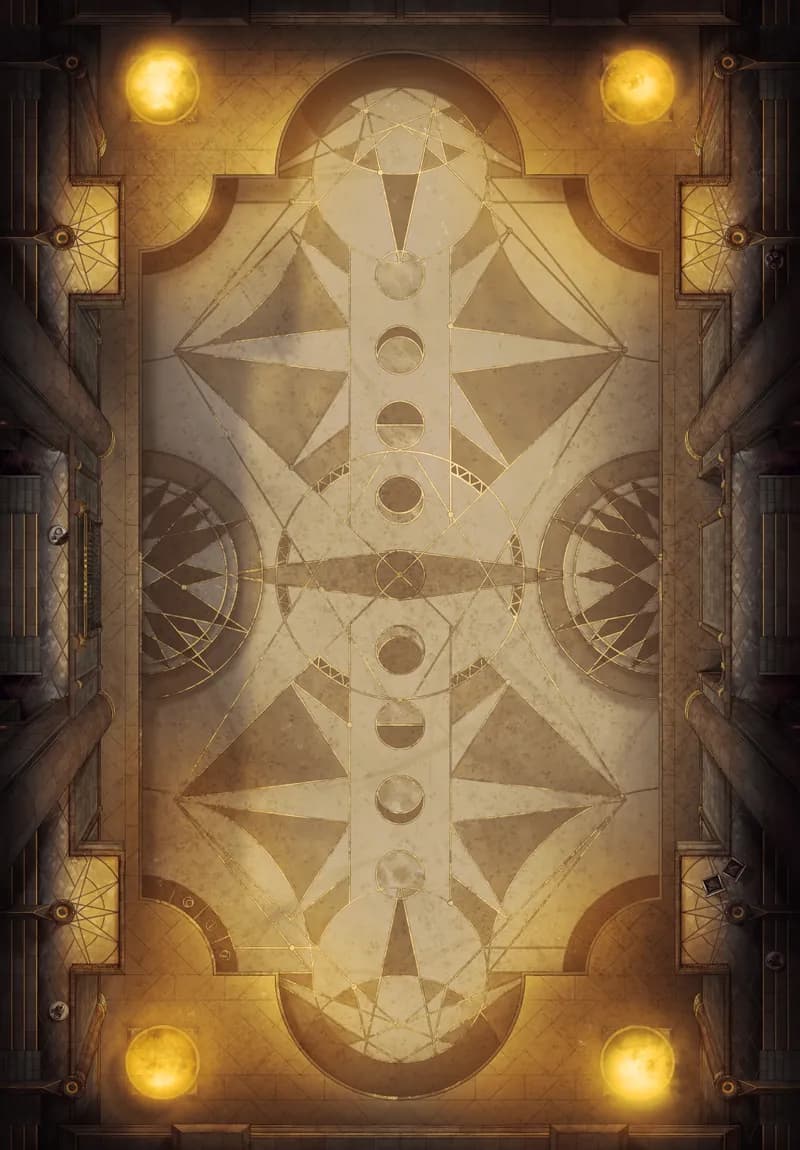
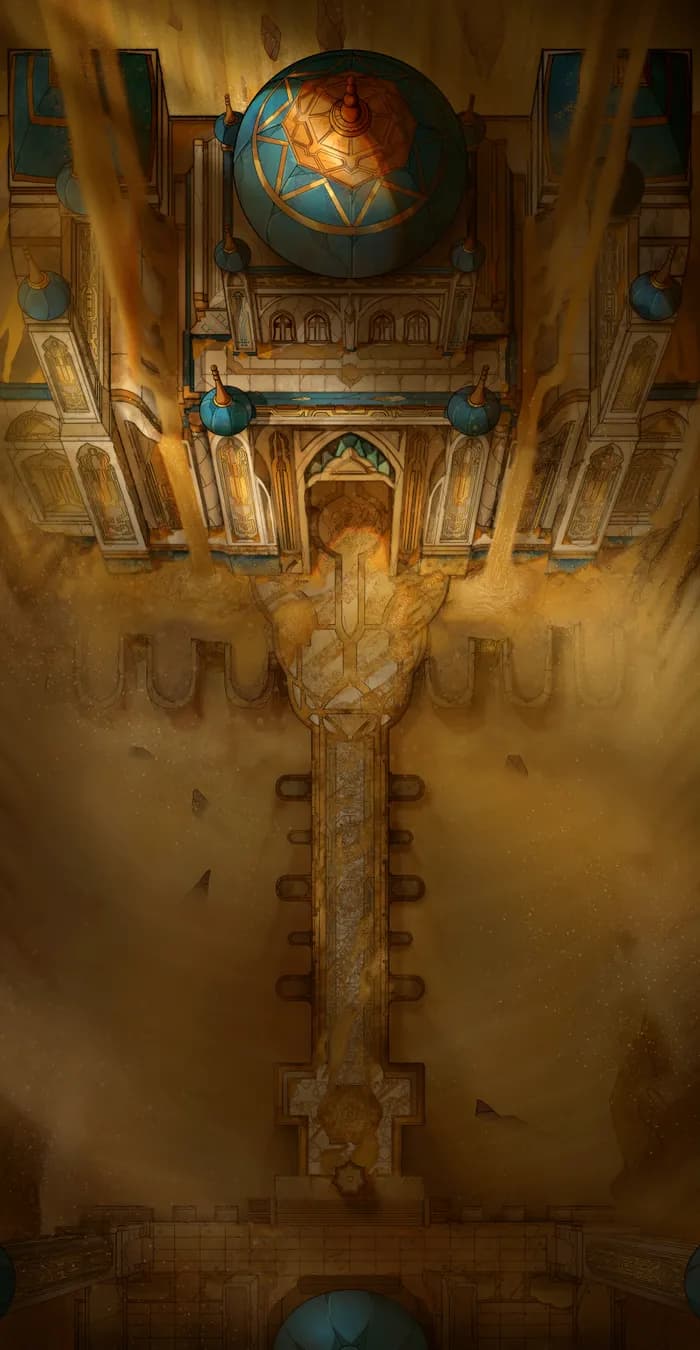
Solar Cathedral (+25)
Solar Cathedral (+25)
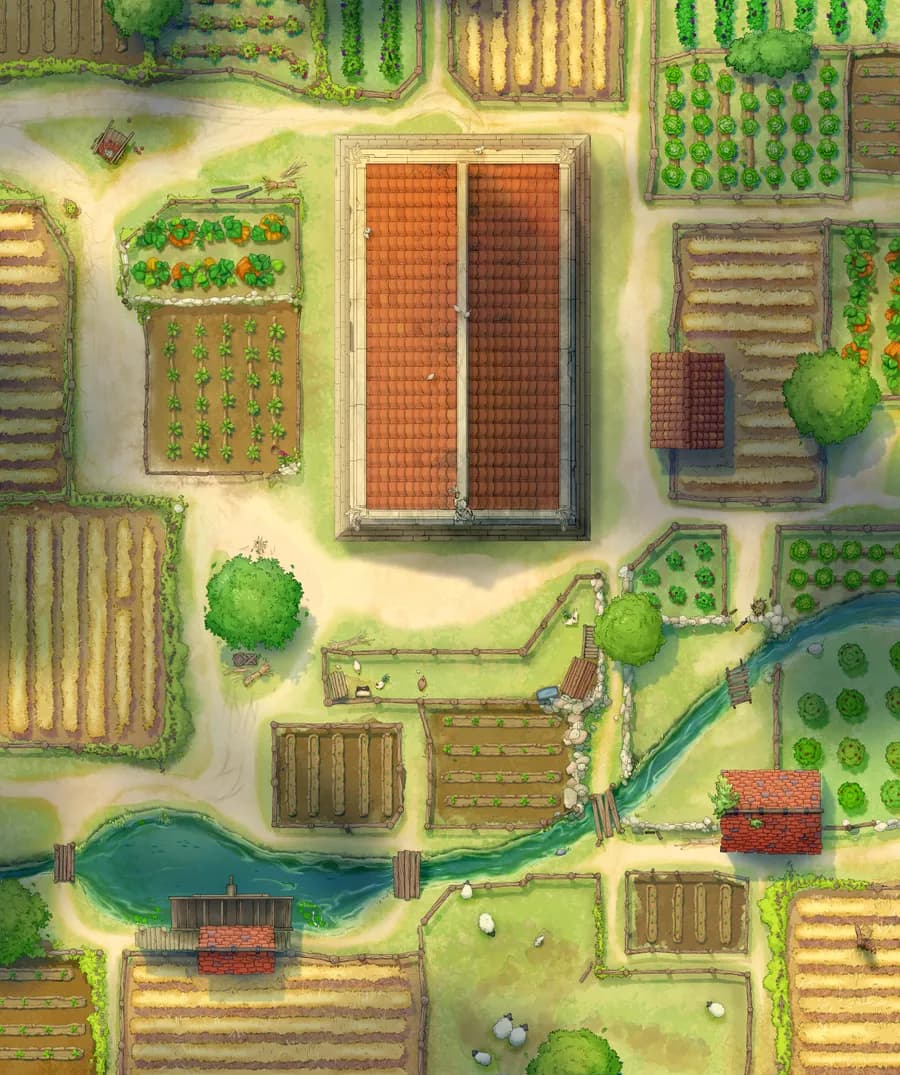
Temple Pastures (+19)
Temple Pastures (+19)

Temple of the Couatl Exterior (+17)
Temple of the Couatl Exterior (+17)
Temple of the Medusa (+1)
Temple of the Medusa (+1)
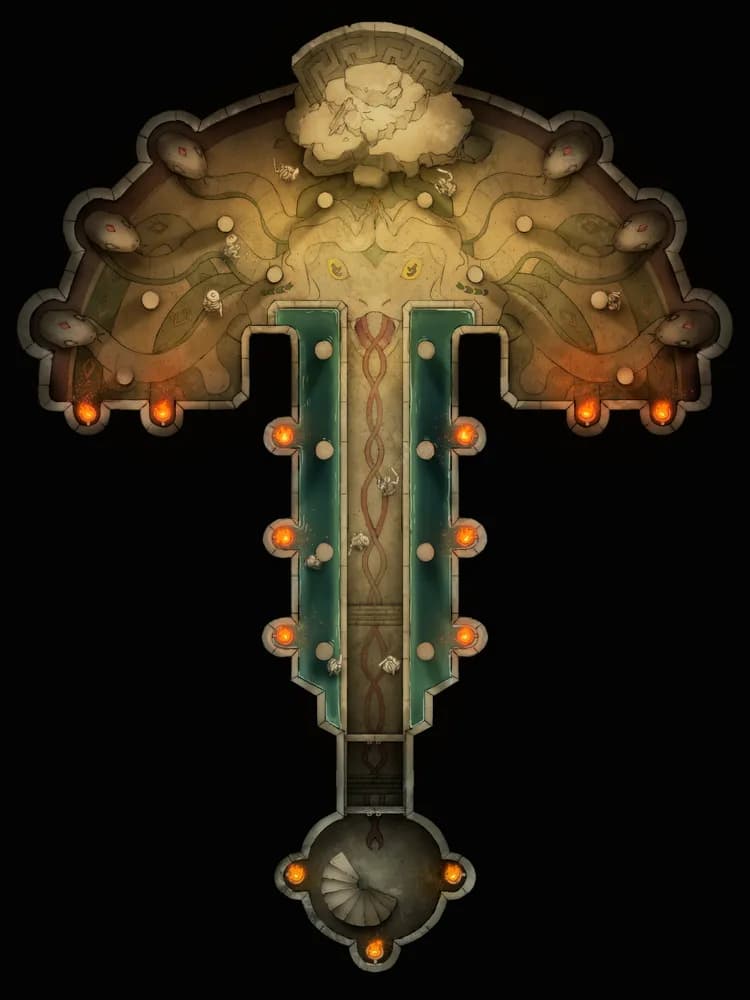
Temple of the Medusa Throne (+12)
Temple of the Medusa Throne (+12)
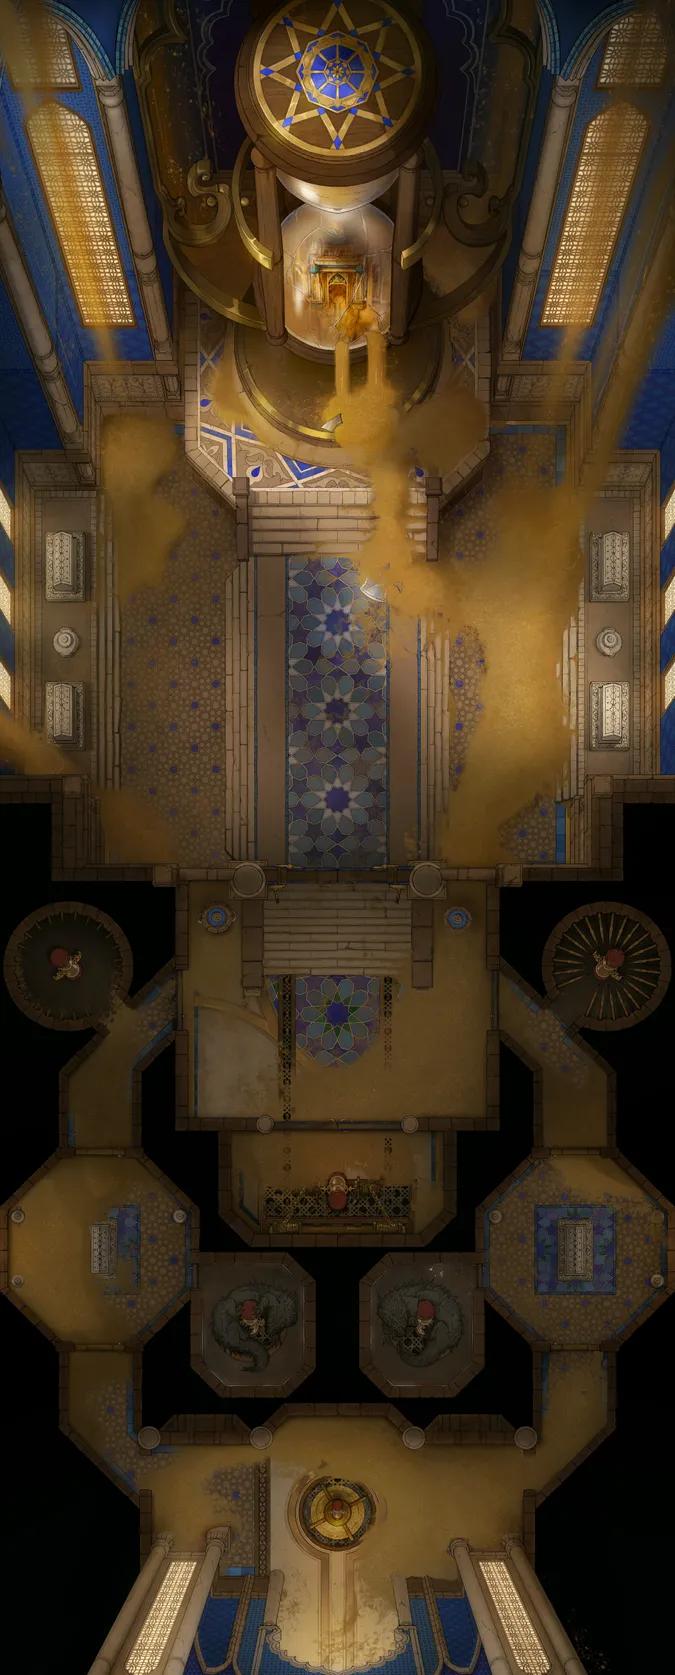
Tomb of Sand (+16)
Tomb of Sand (+16)
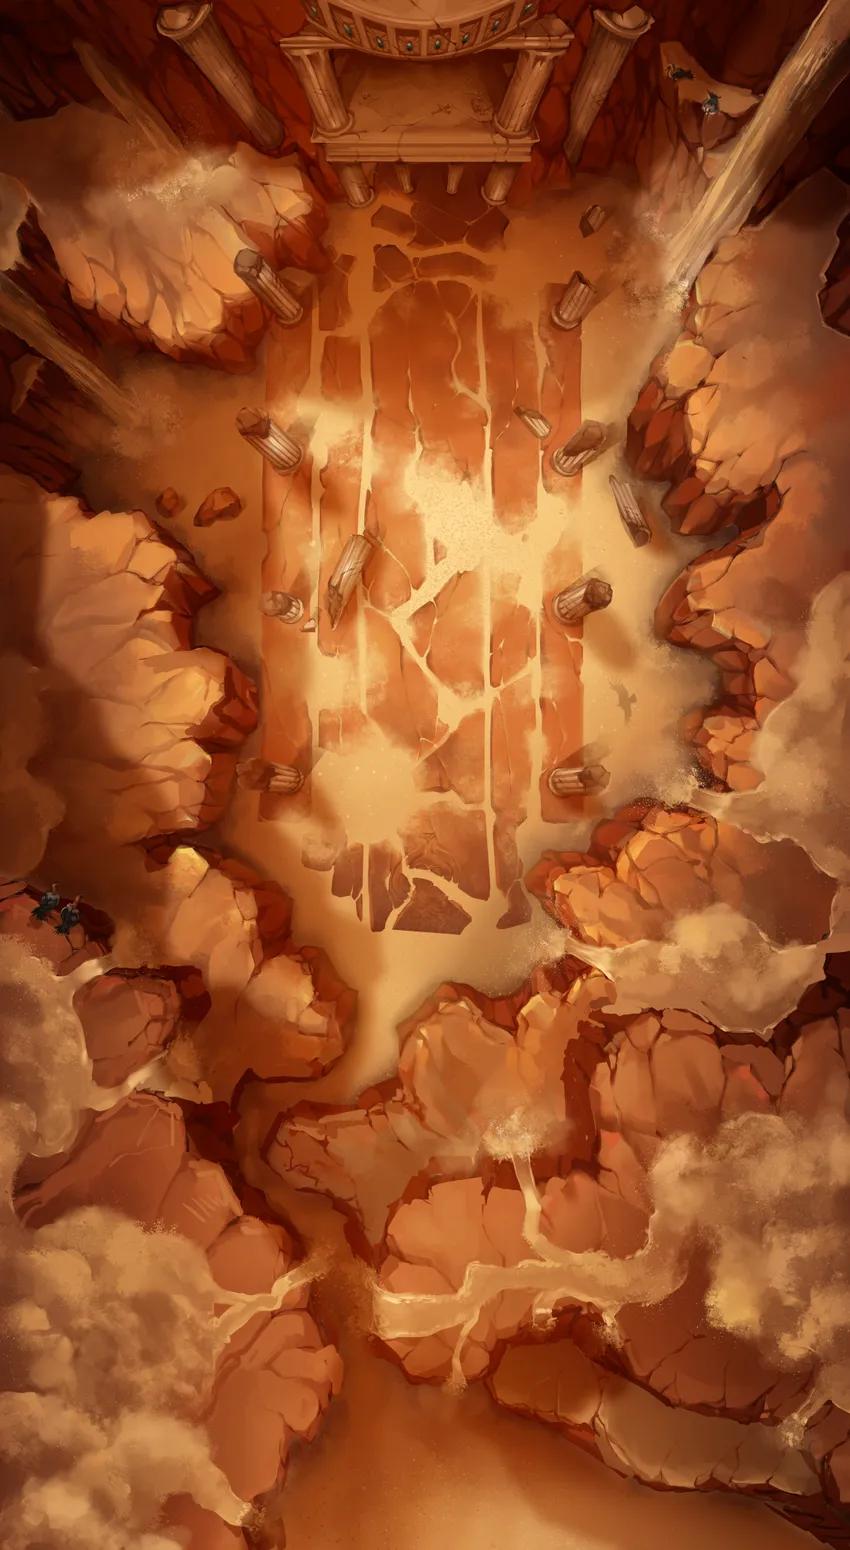
Tomb of Sand Interior (+21)
Tomb of Sand Interior (+21)
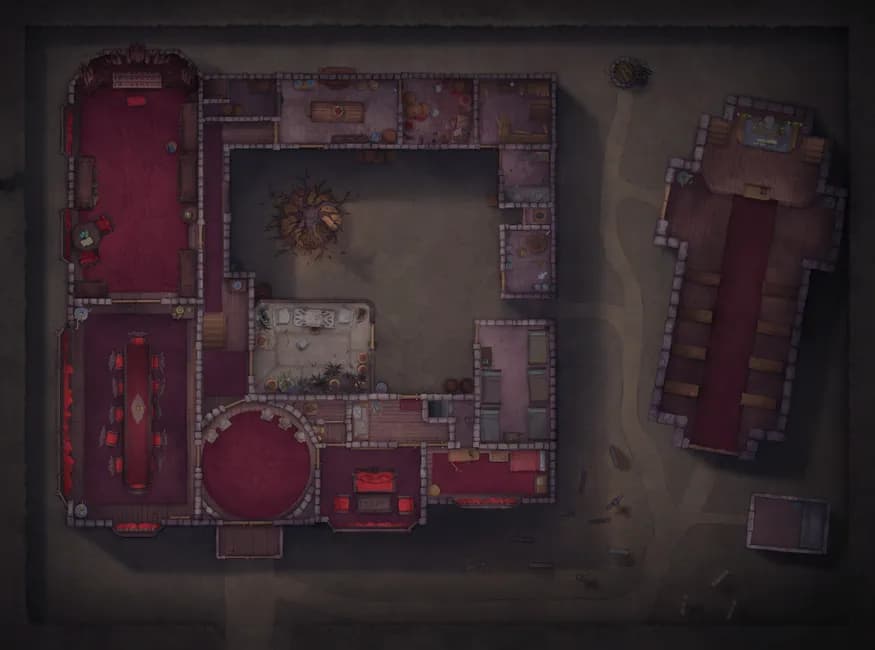
Vampire Mansion (+15)
Vampire Mansion (+15)
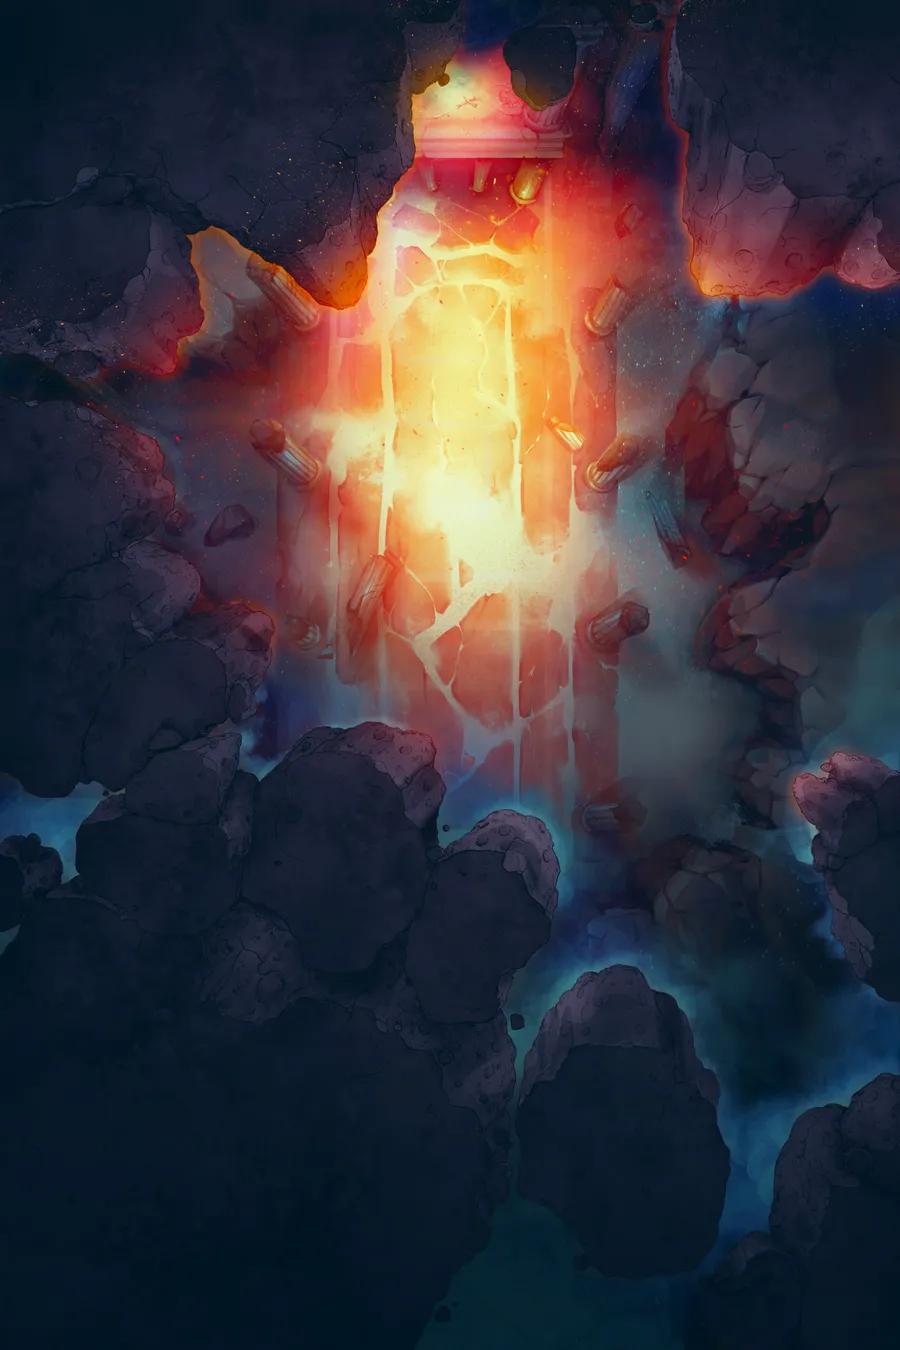
Void Dragon Lair
Void Dragon Lair
Wizard Prison Pt. 3 (+19)
Wizard Prison Pt. 3 (+19)