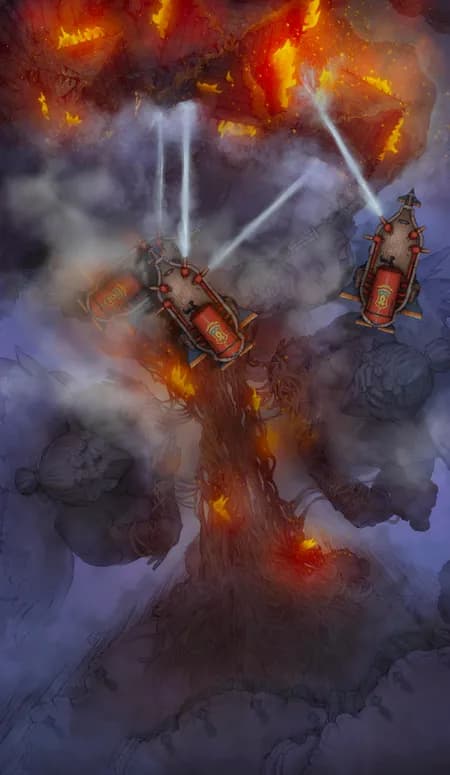
Airships! Pt. 3 (+1)
Airships! Pt. 3 (+1)
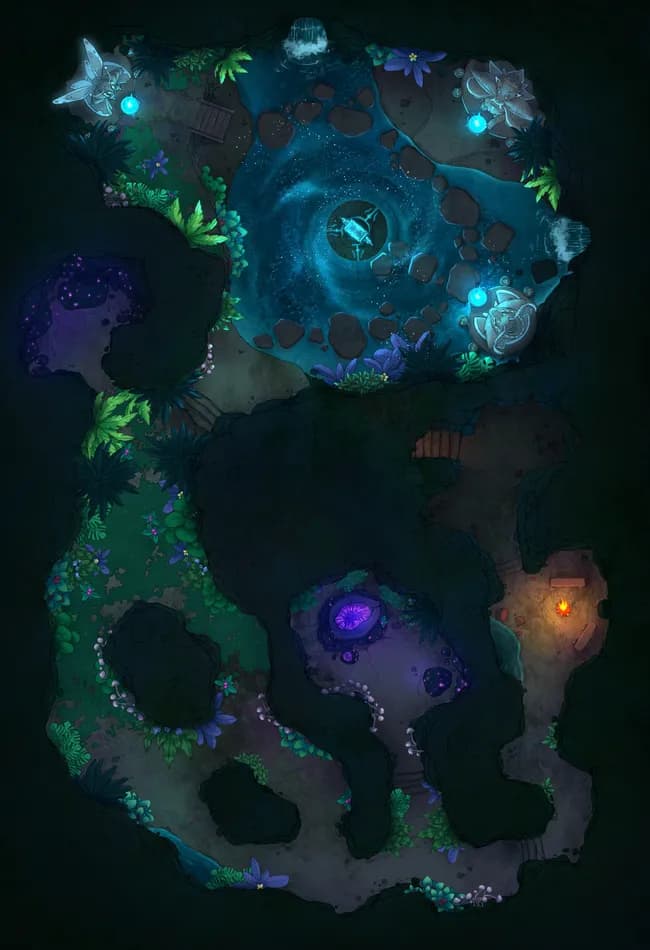
Blacksmith Secret Grotto (+3)
Blacksmith Secret Grotto (+3)
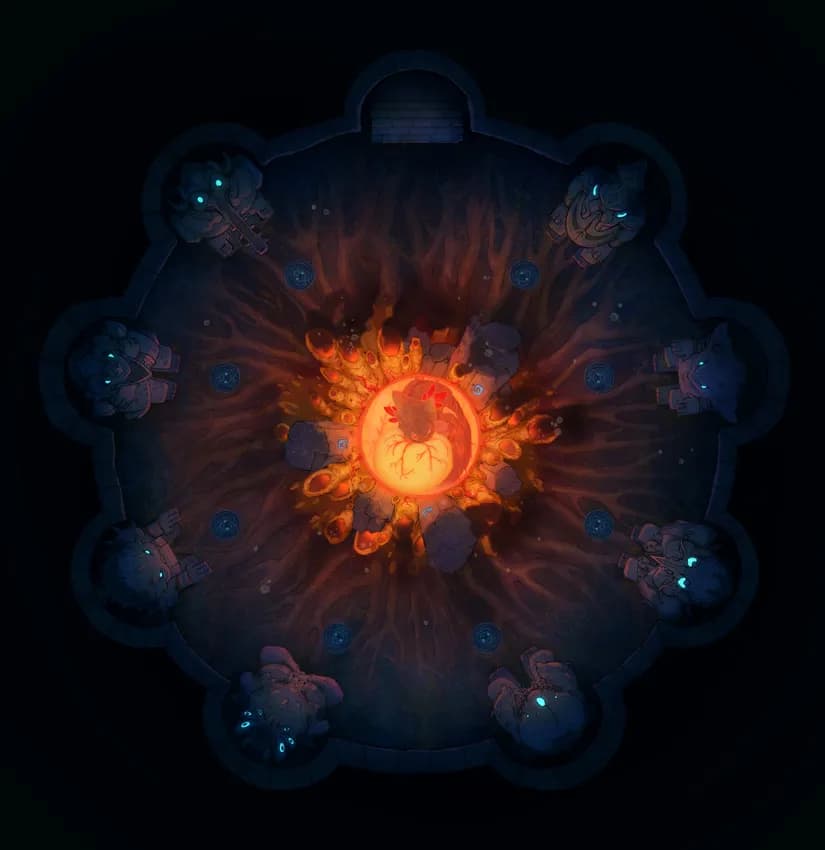
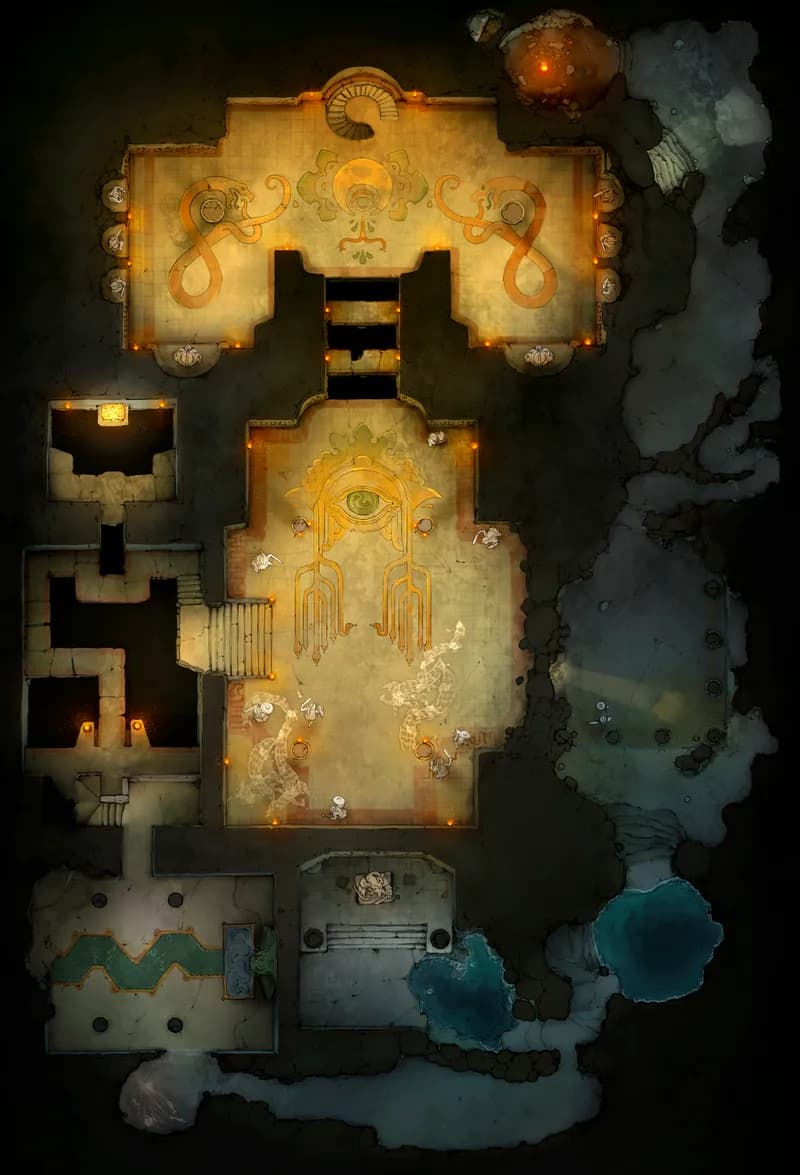
Cave Temple (+15)
Cave Temple (+15)
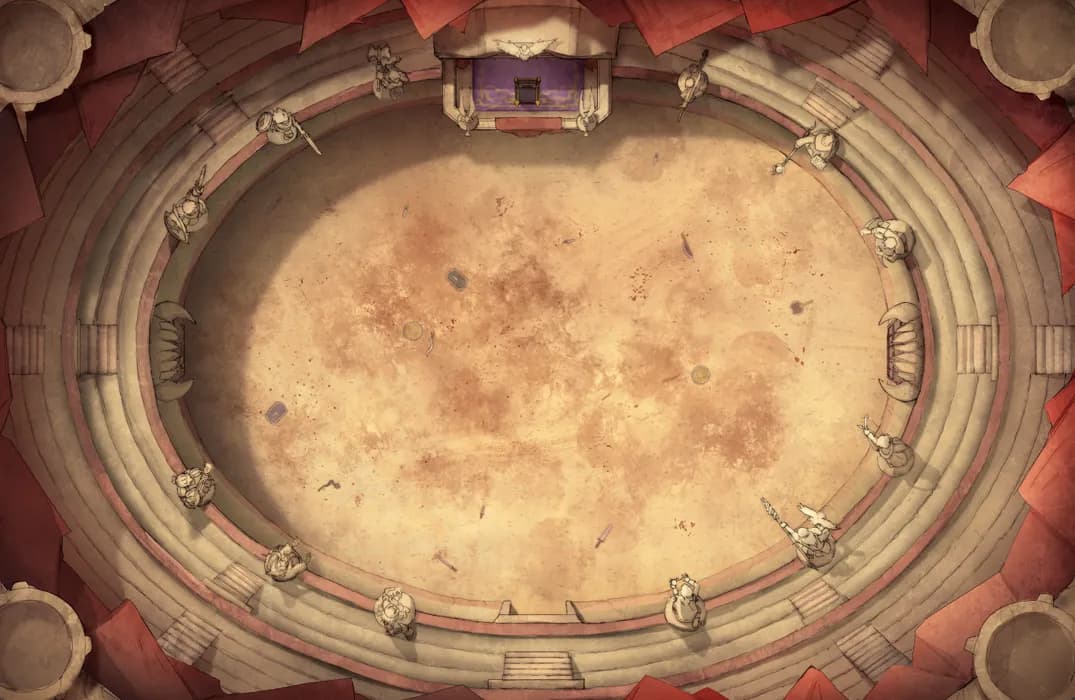
Colosseum of Challenges (+14)
Colosseum of Challenges (+14)
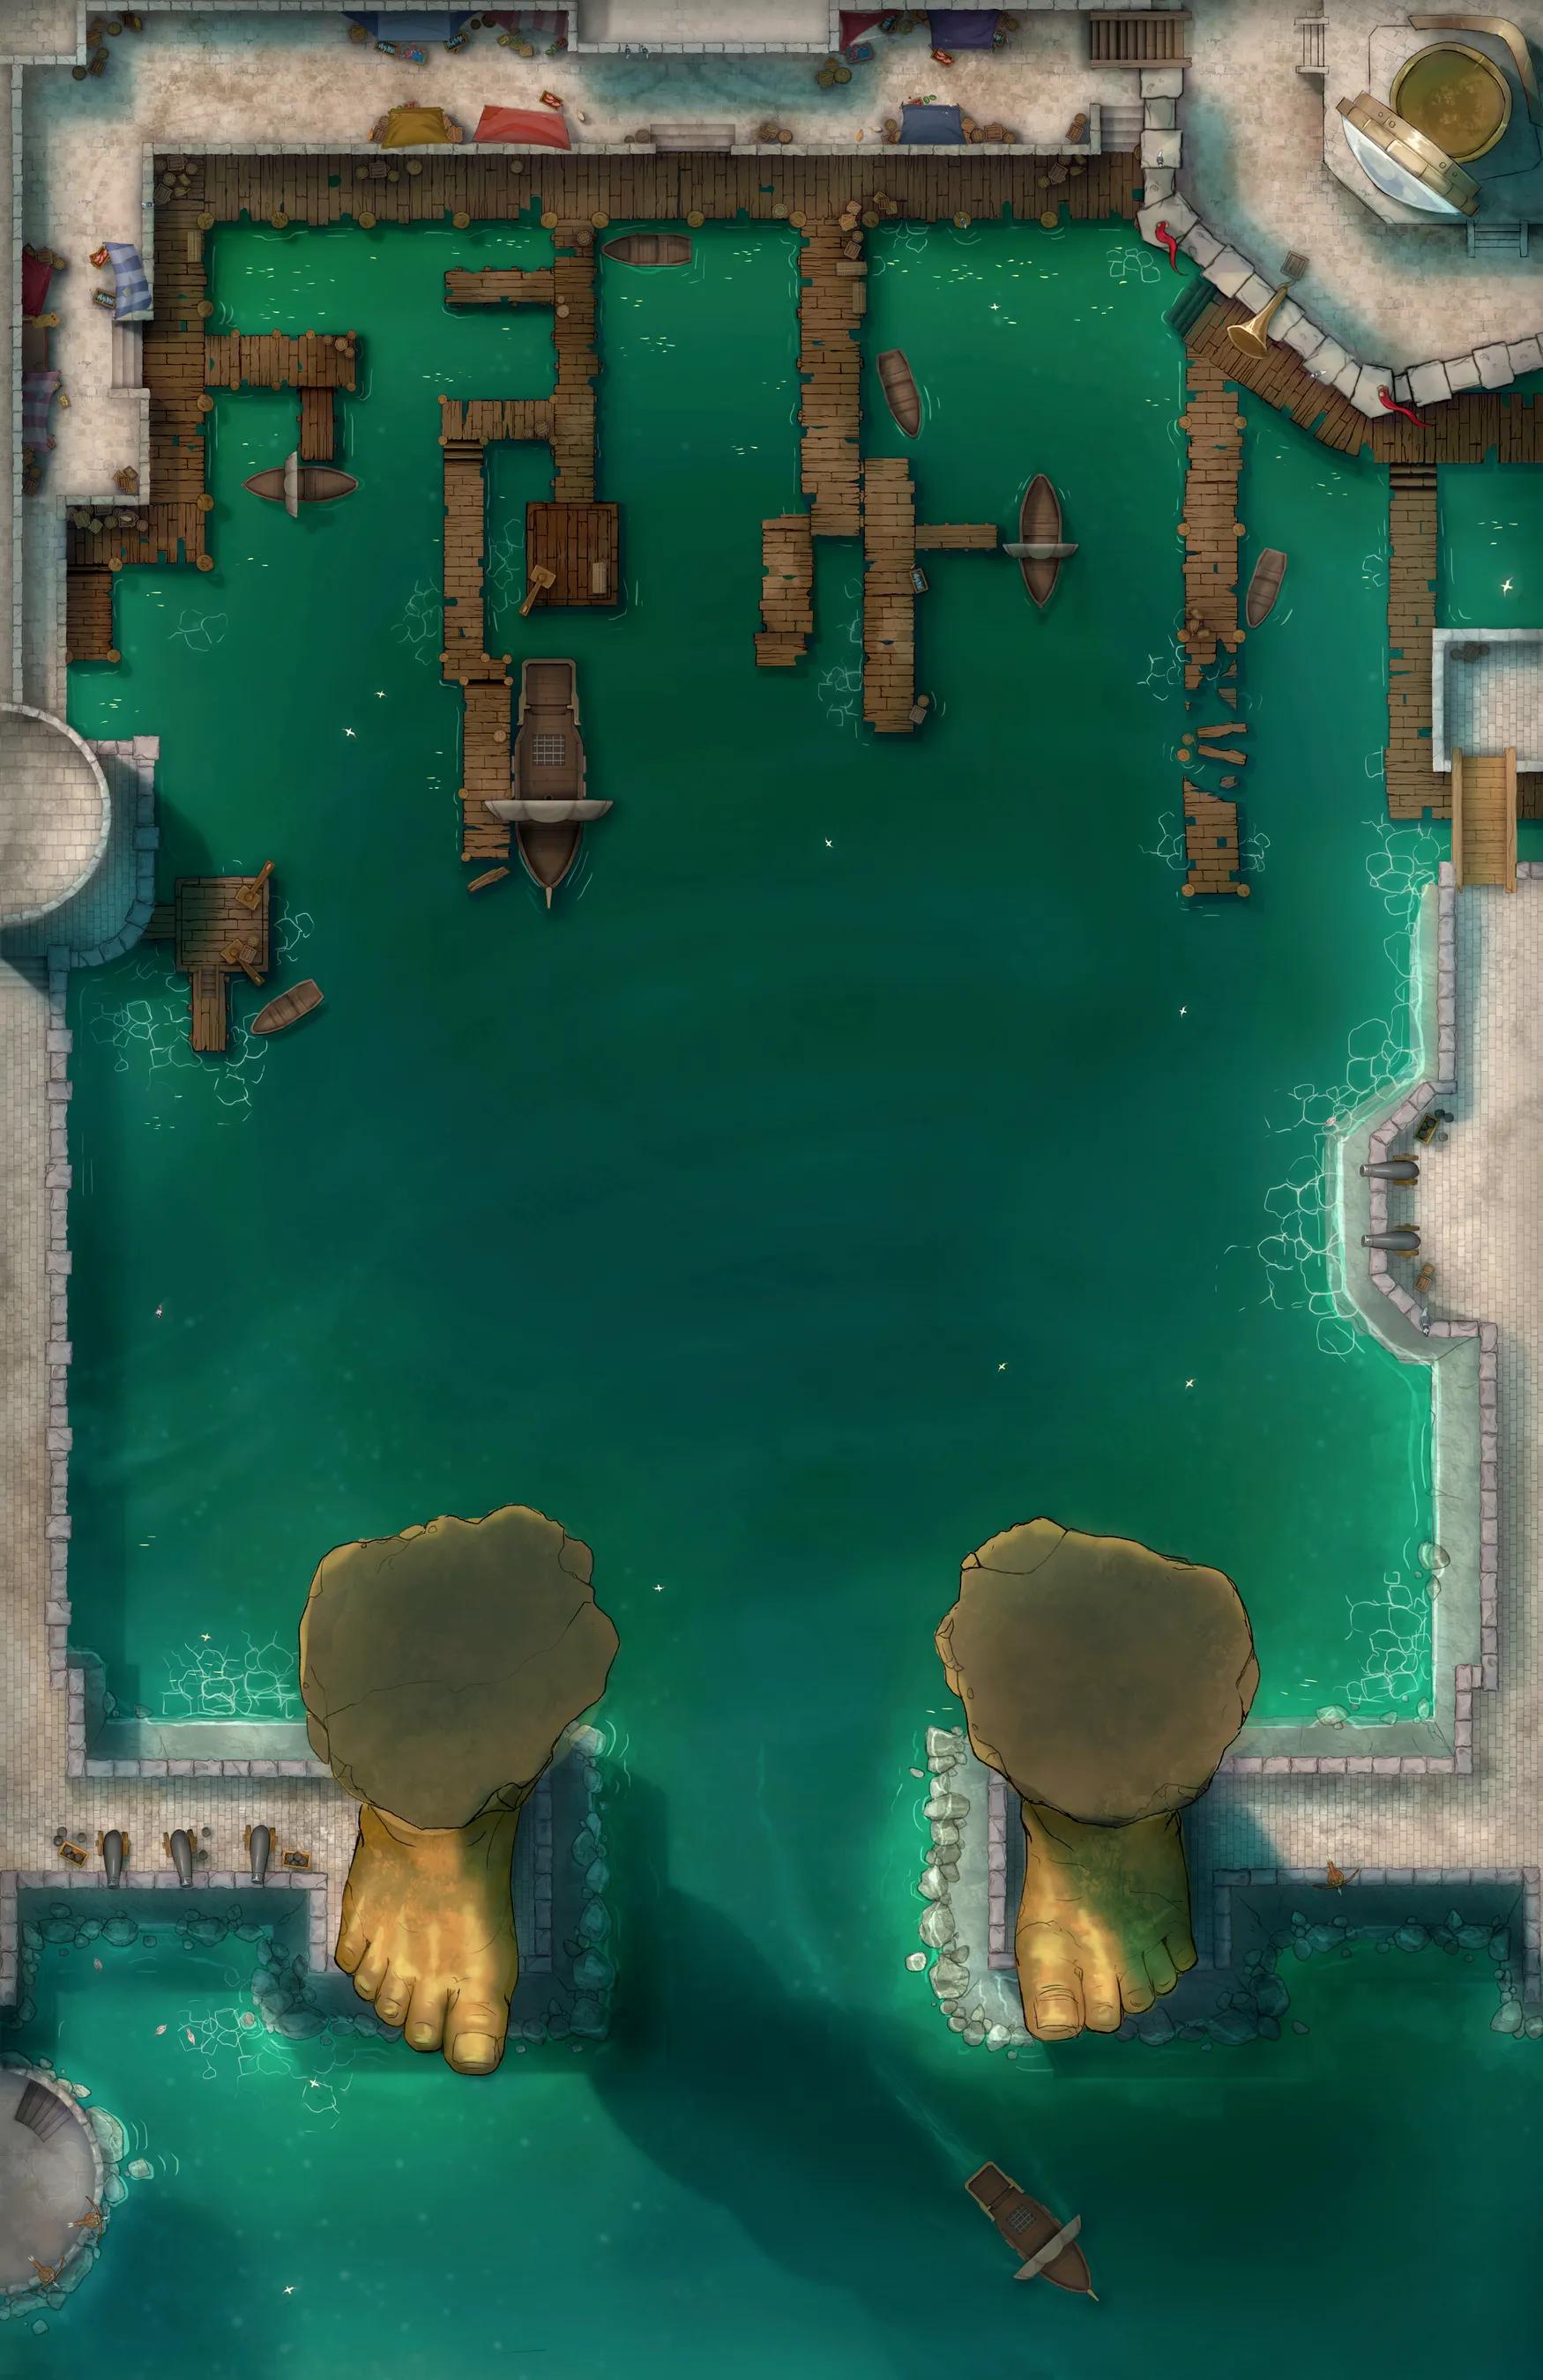
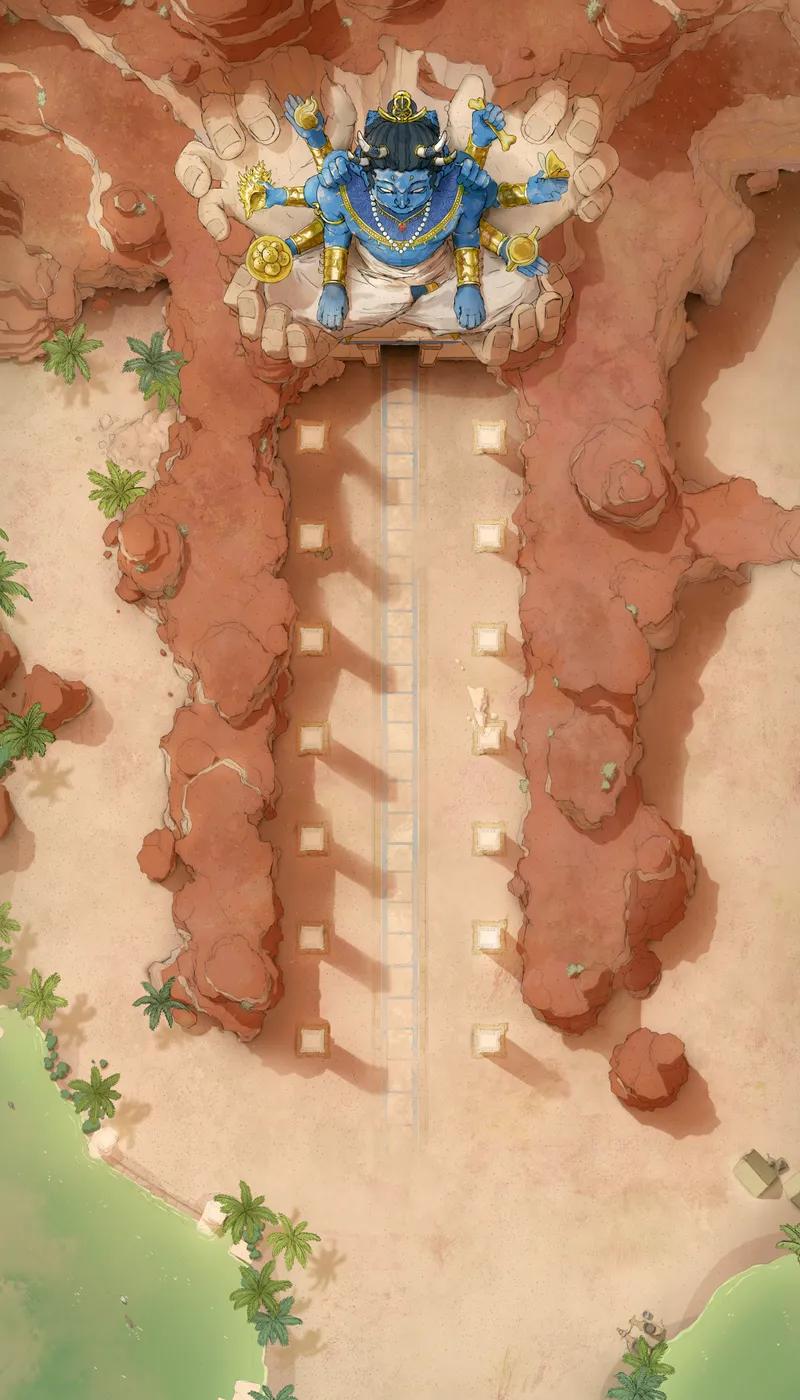
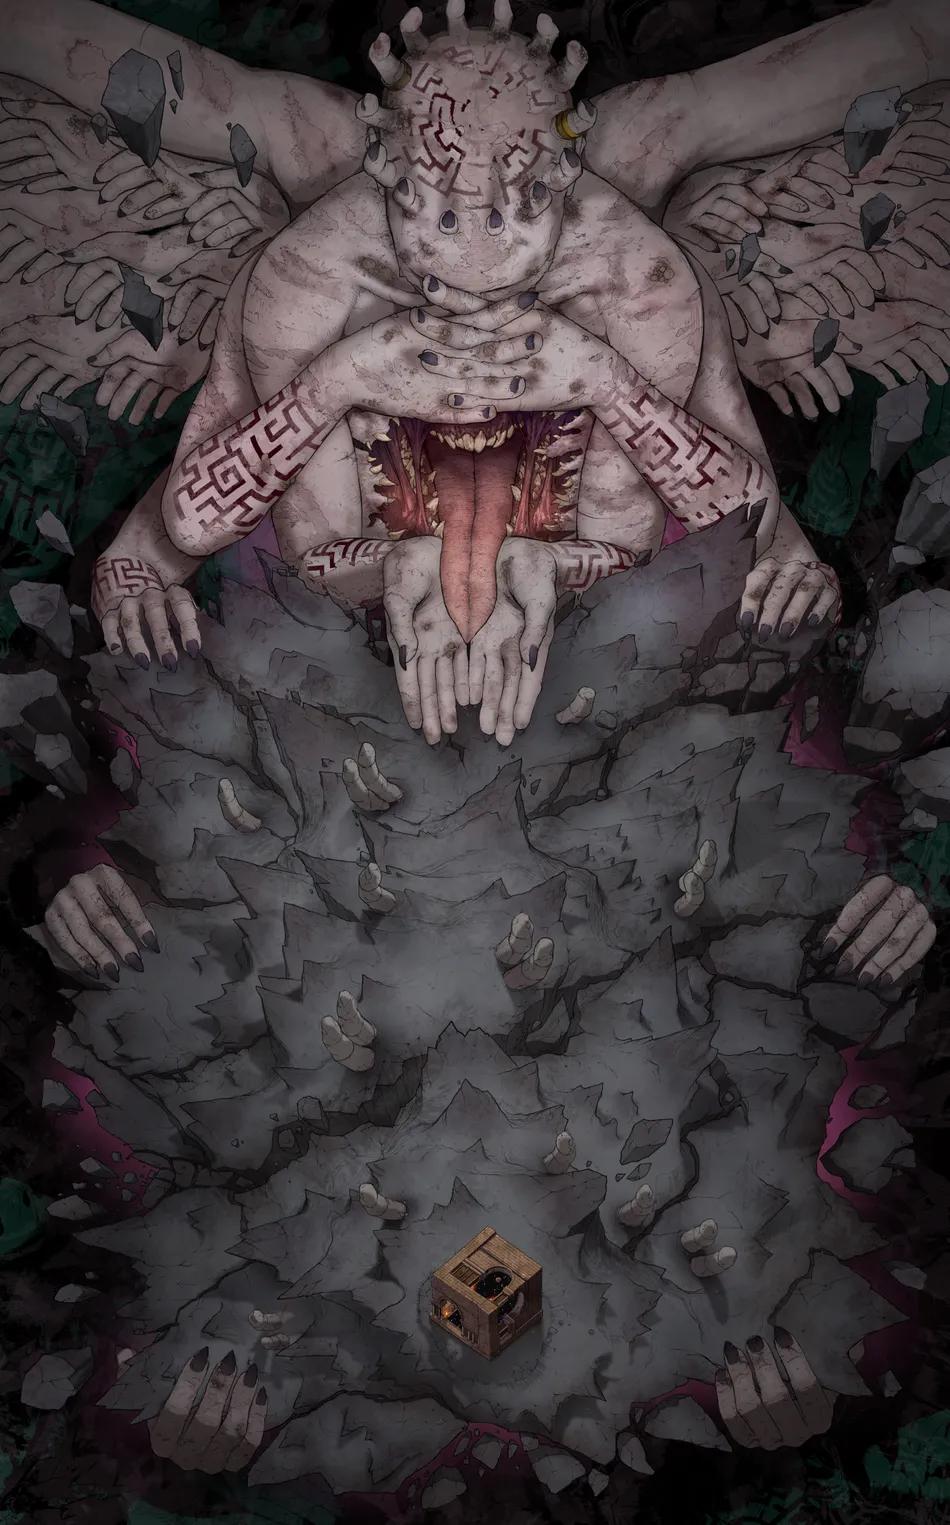
Colossus Port (+26)
Colossus Port (+26)
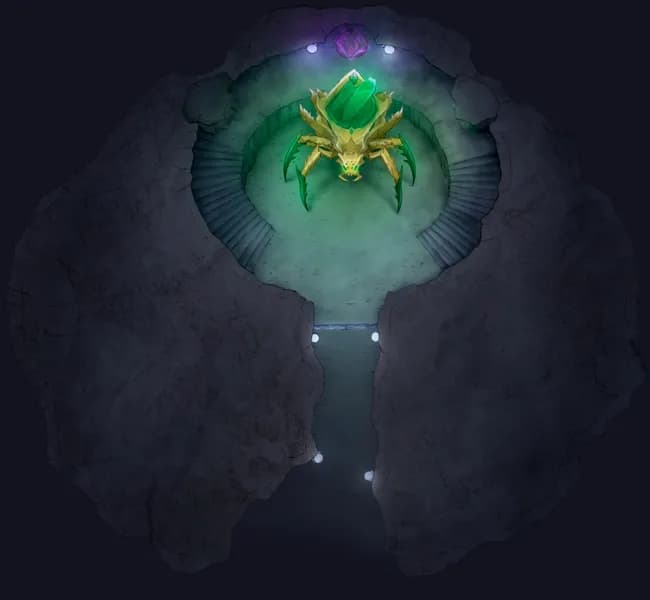
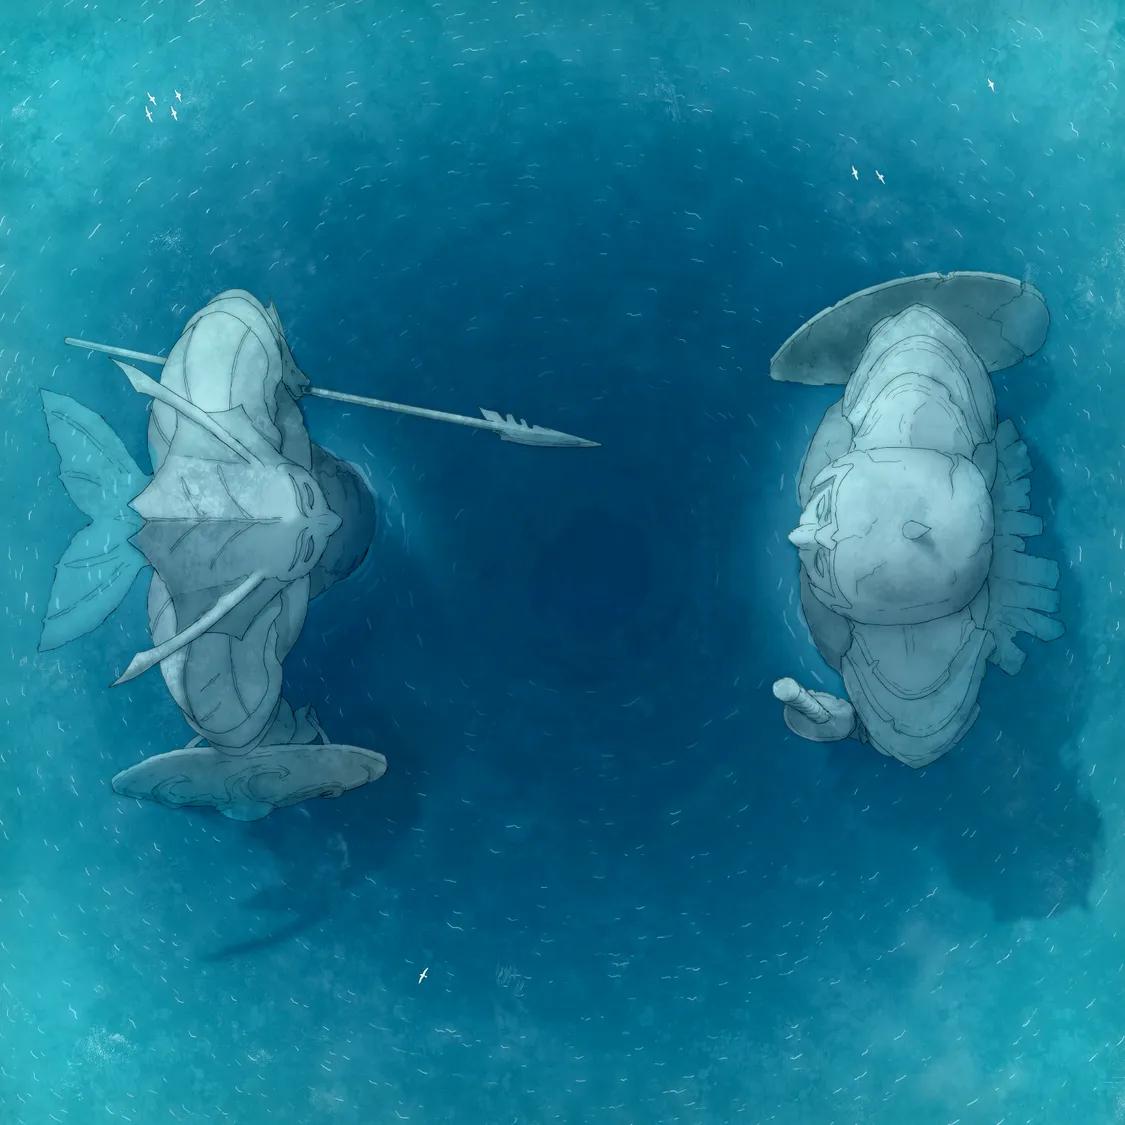
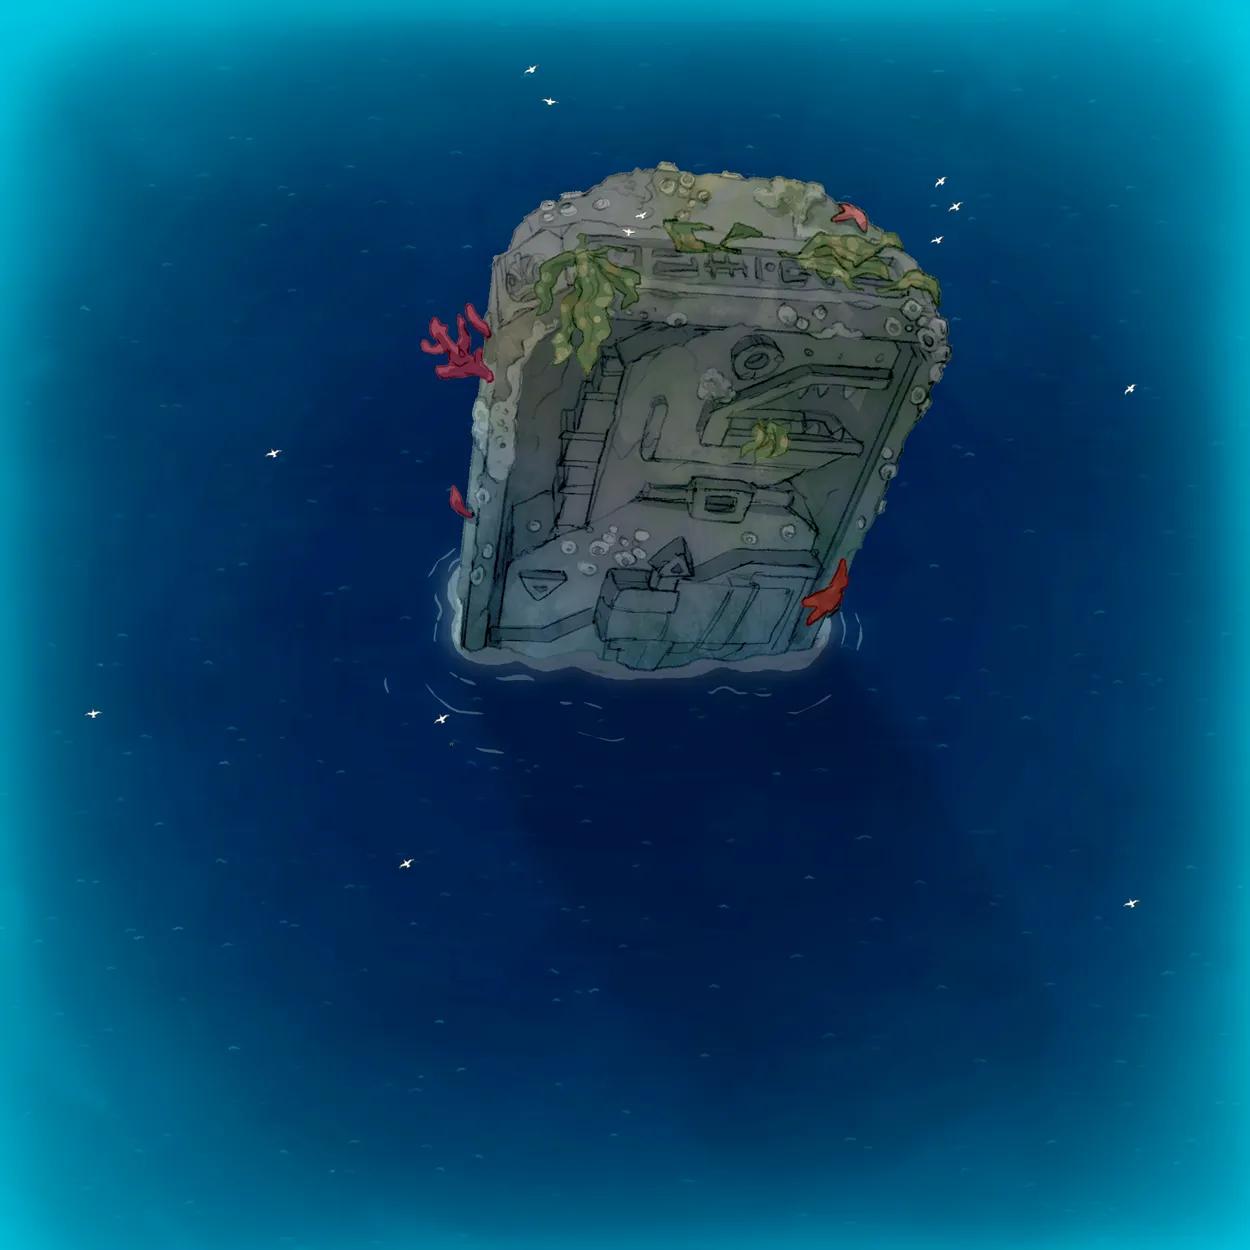
Deep Sea Hatching Chamber (+17)
Deep Sea Hatching Chamber (+17)
Drow Manor
Drow Manor
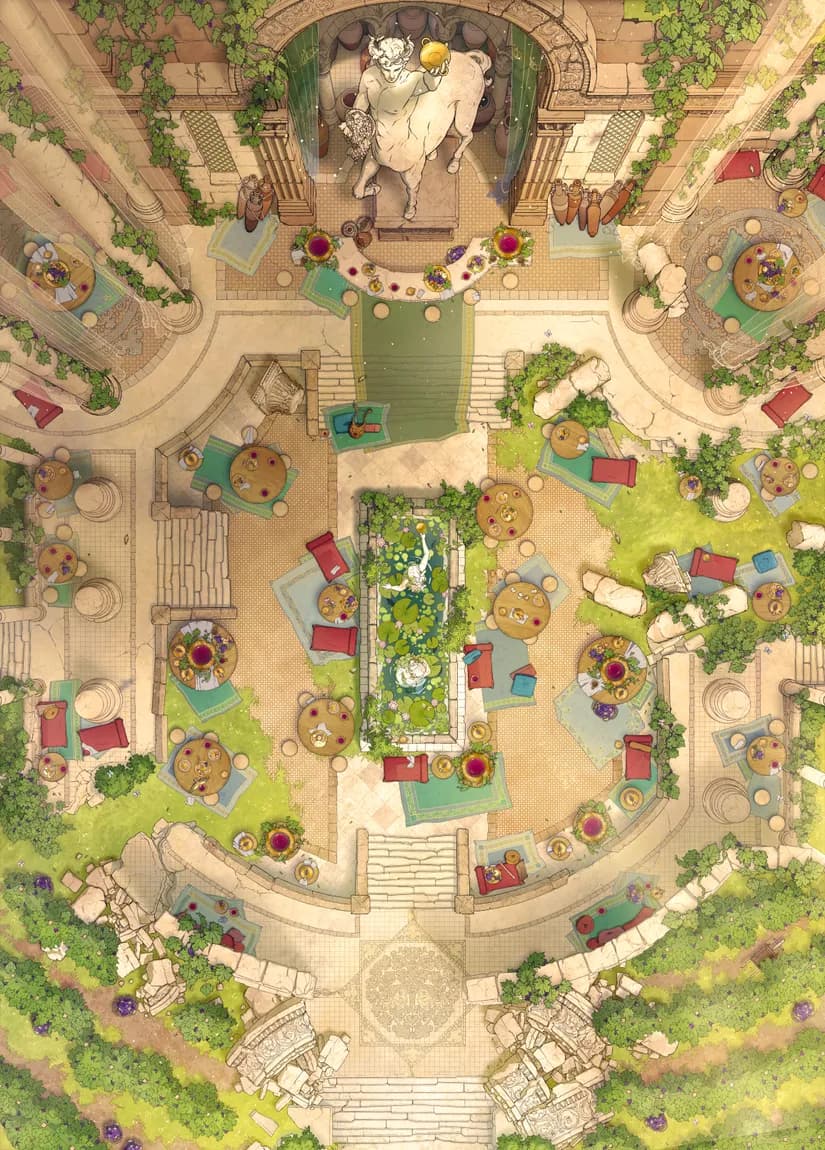
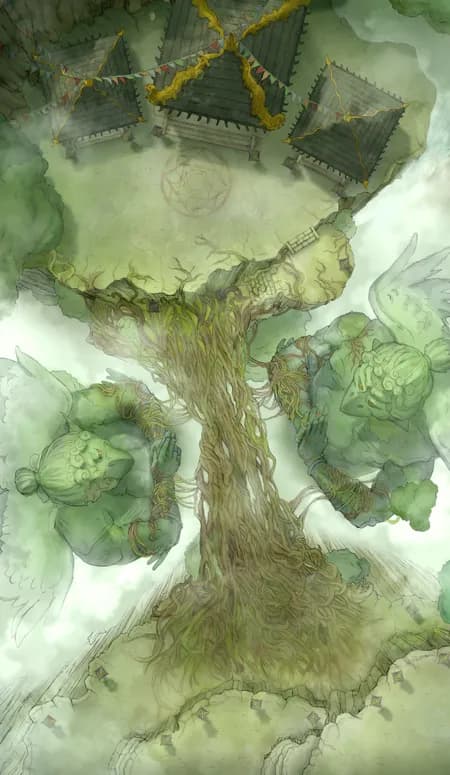
Fey Vineyard (+16)
Fey Vineyard (+16)
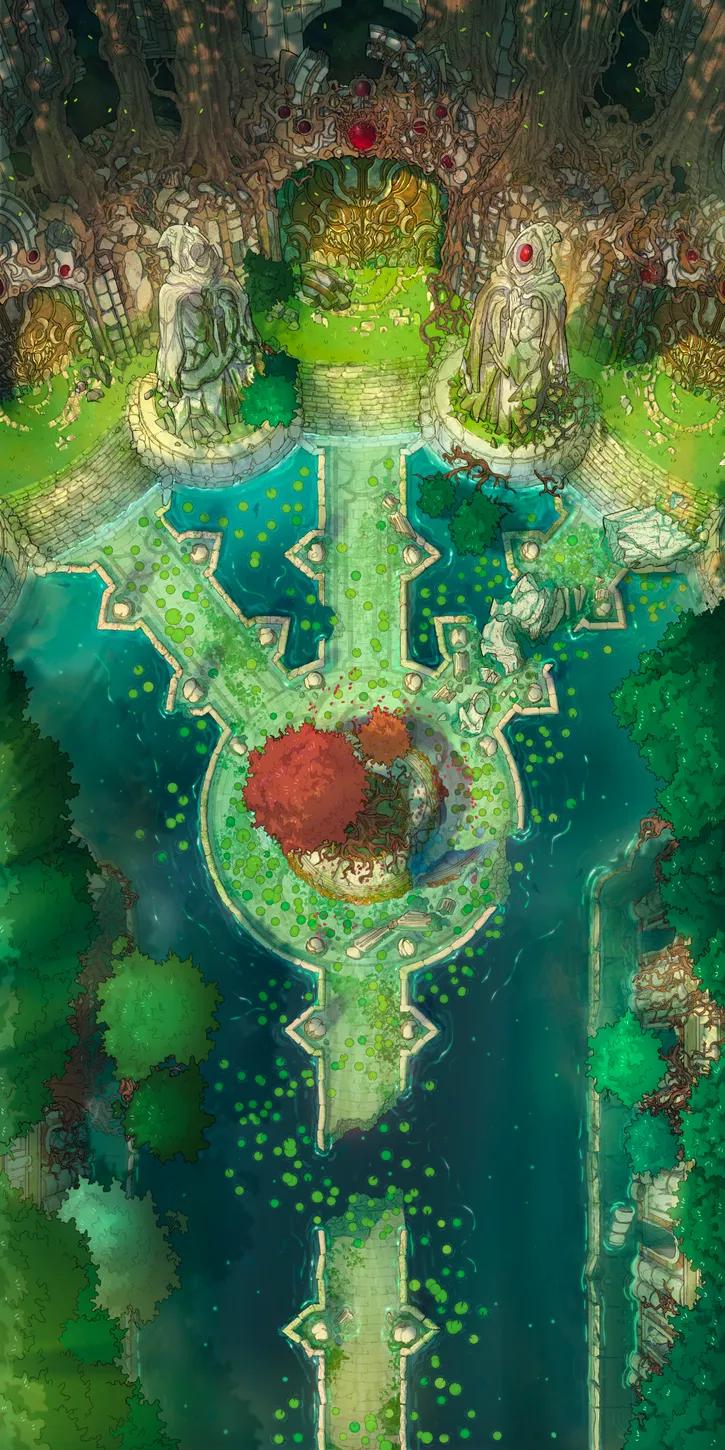
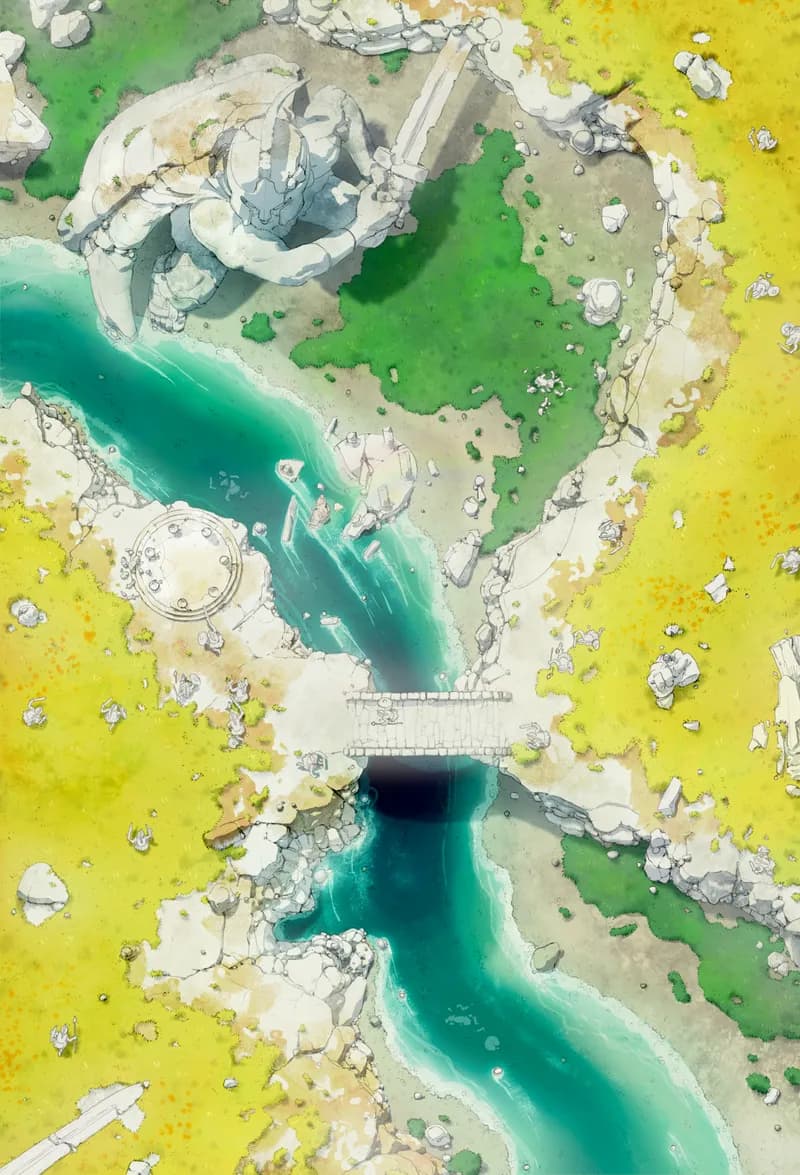
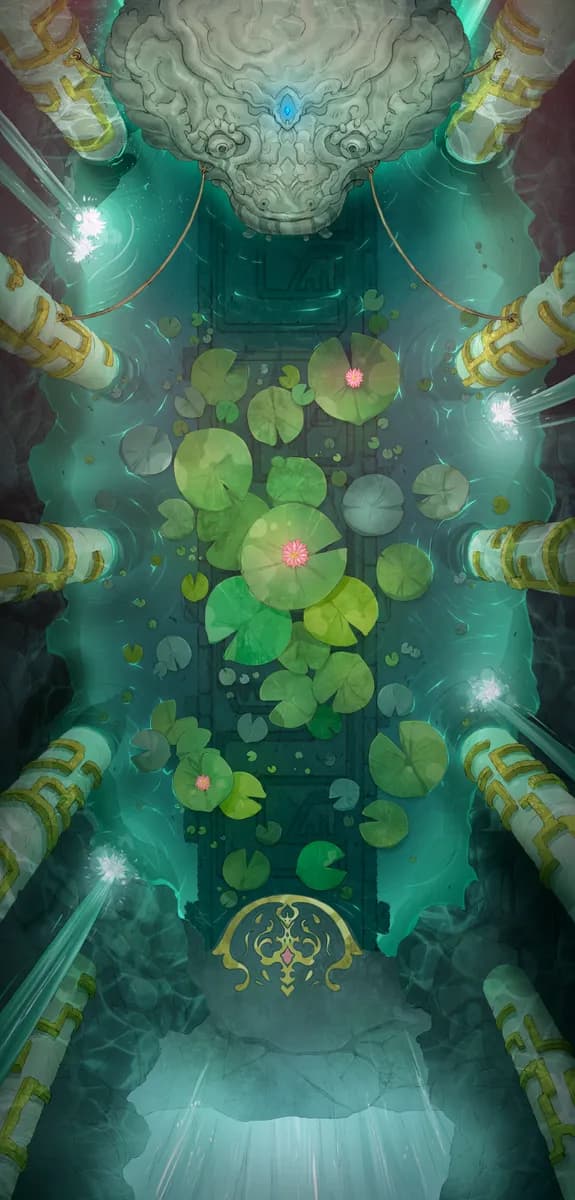
Flooded Fey Ruins (+19)
Flooded Fey Ruins (+19)
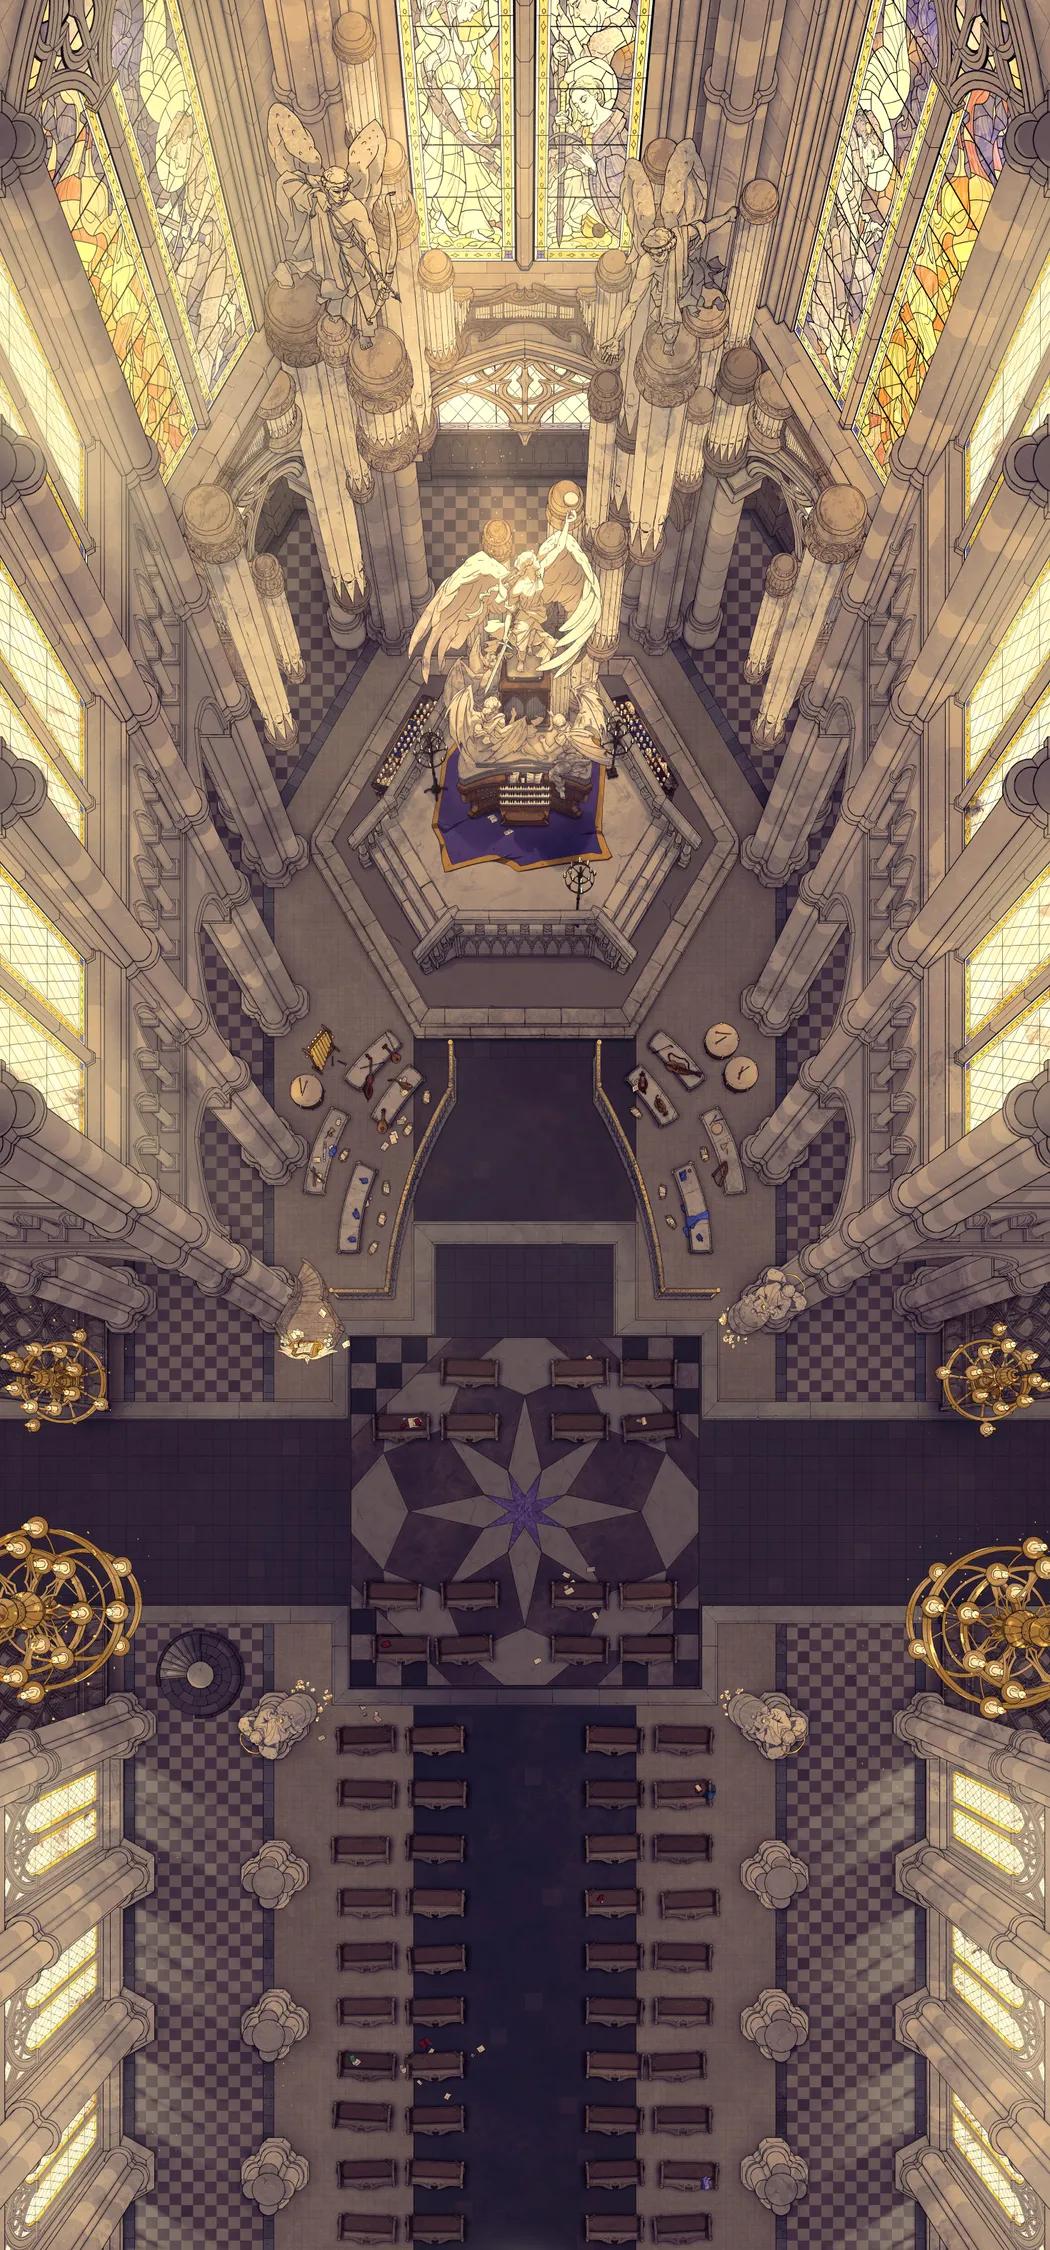
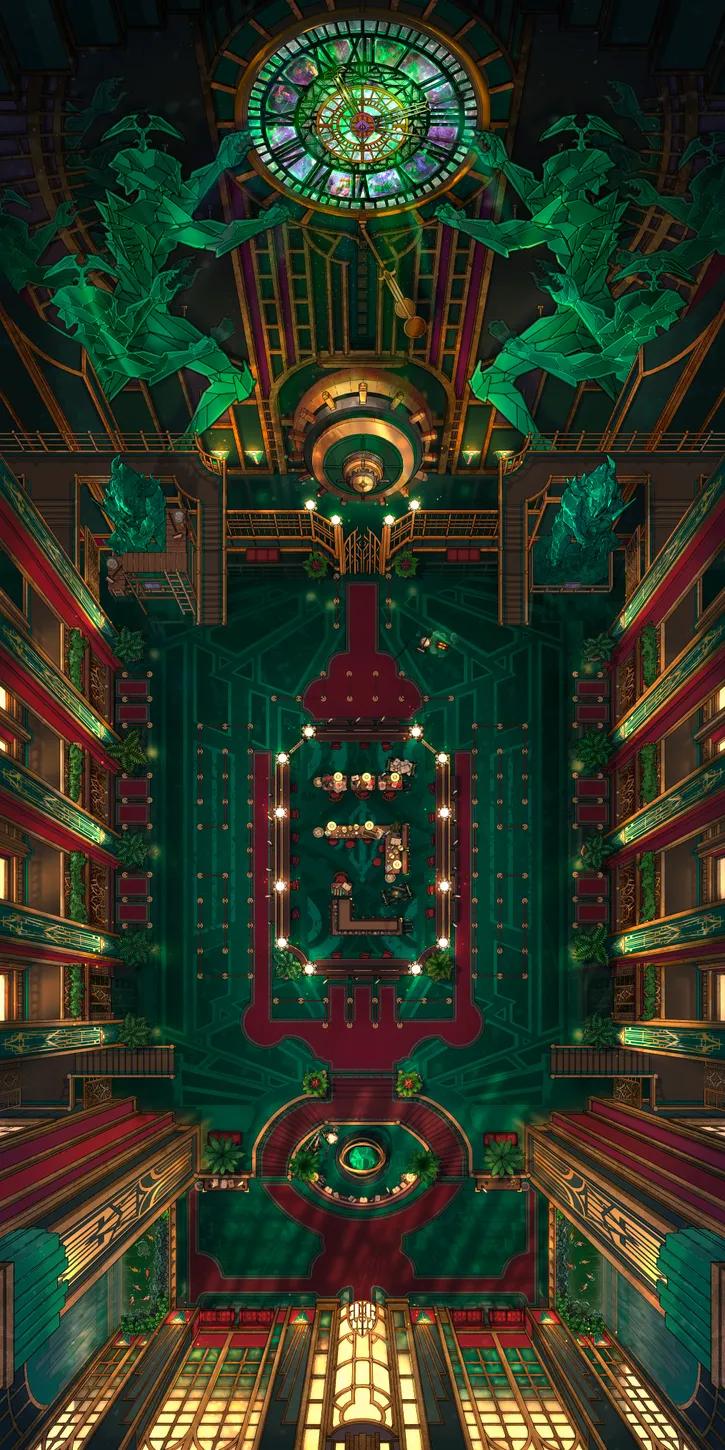
Grand Cathedral Interior (+17)
Grand Cathedral Interior (+17)
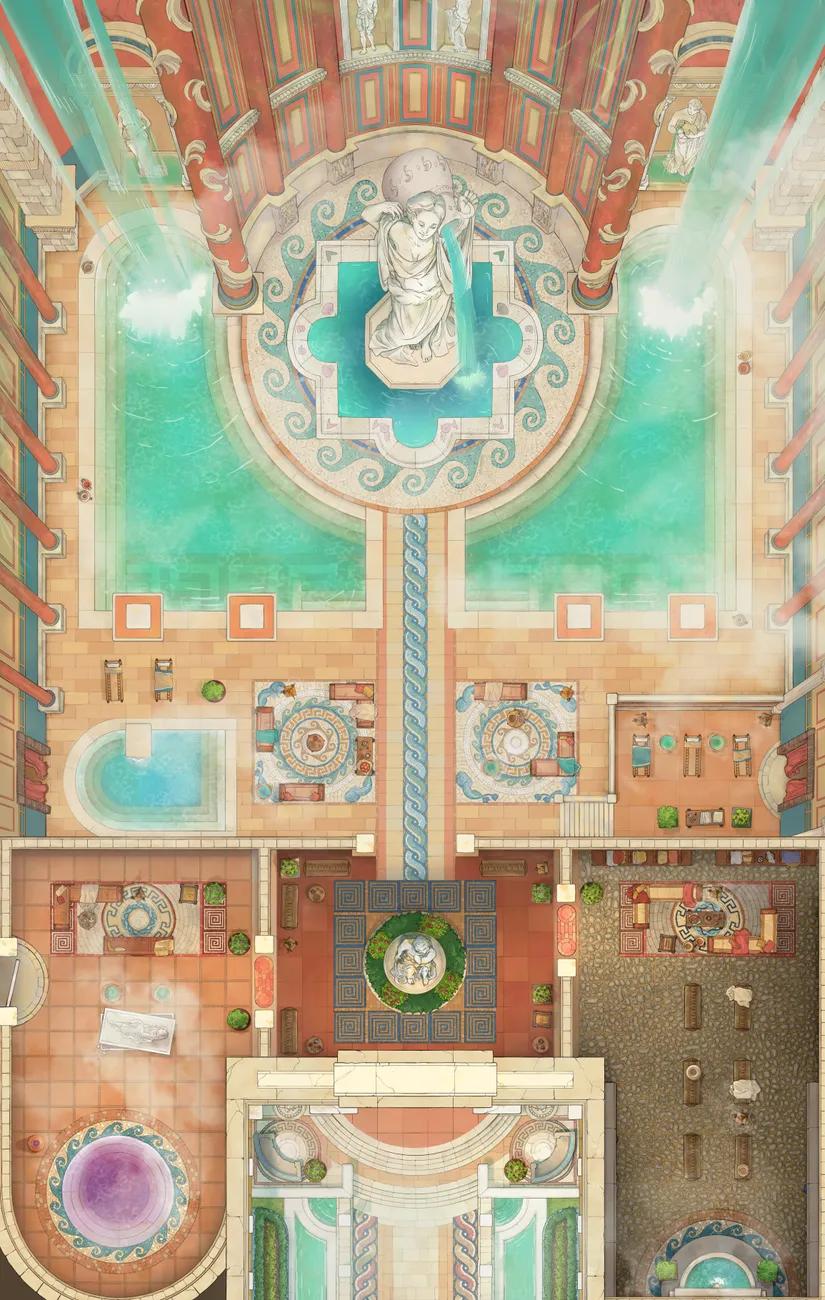
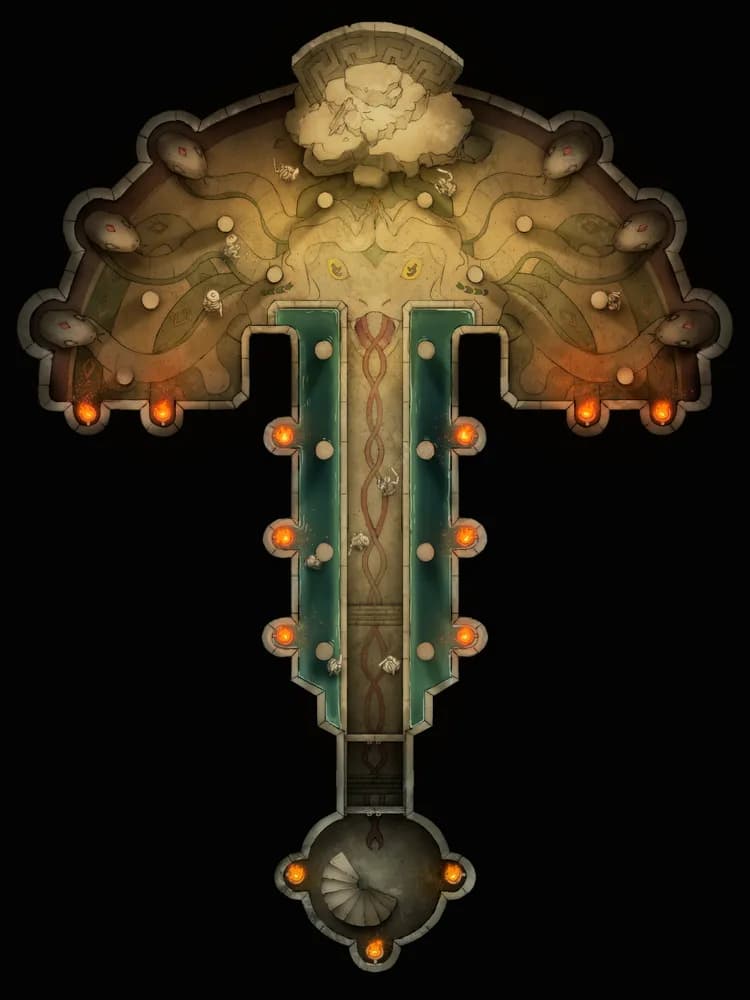
Imperial Bath Complex (+15)
Imperial Bath Complex (+15)
Imperial Graveyard (+23)
Imperial Graveyard (+23)
Medusa's Wake (+21)
Medusa's Wake (+21)
Midair Dragon Flight
Midair Dragon Flight
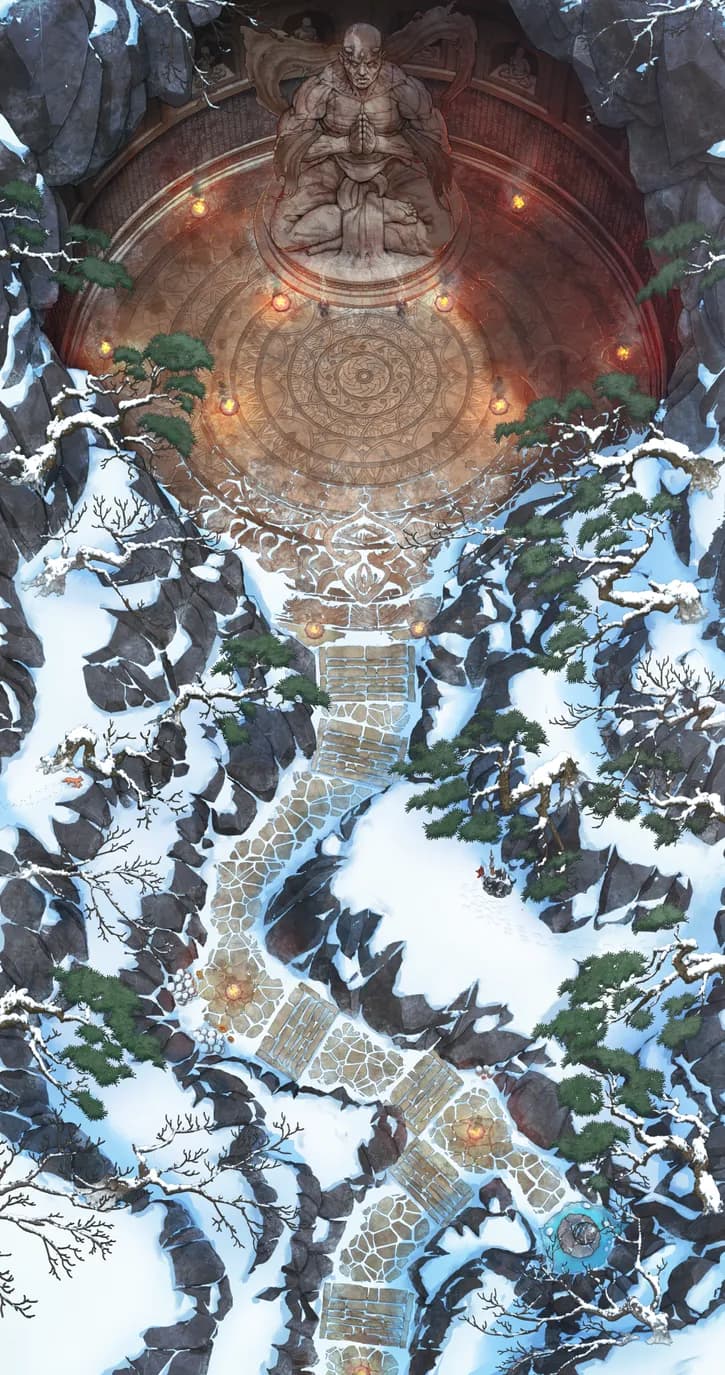
Mountain Monastery (+13)
Mountain Monastery (+13)
Necropolis Entrance (+22)
Necropolis Entrance (+22)
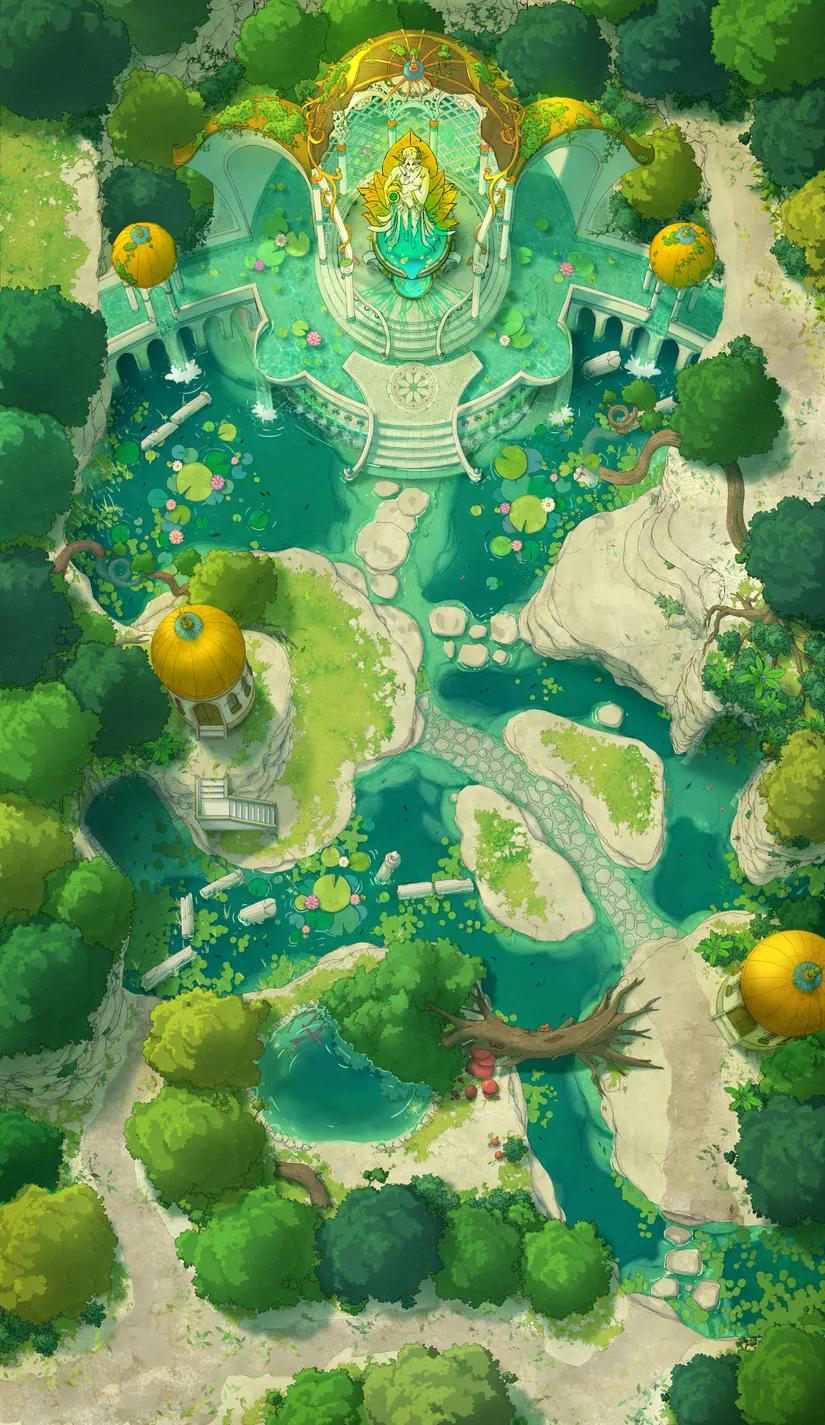
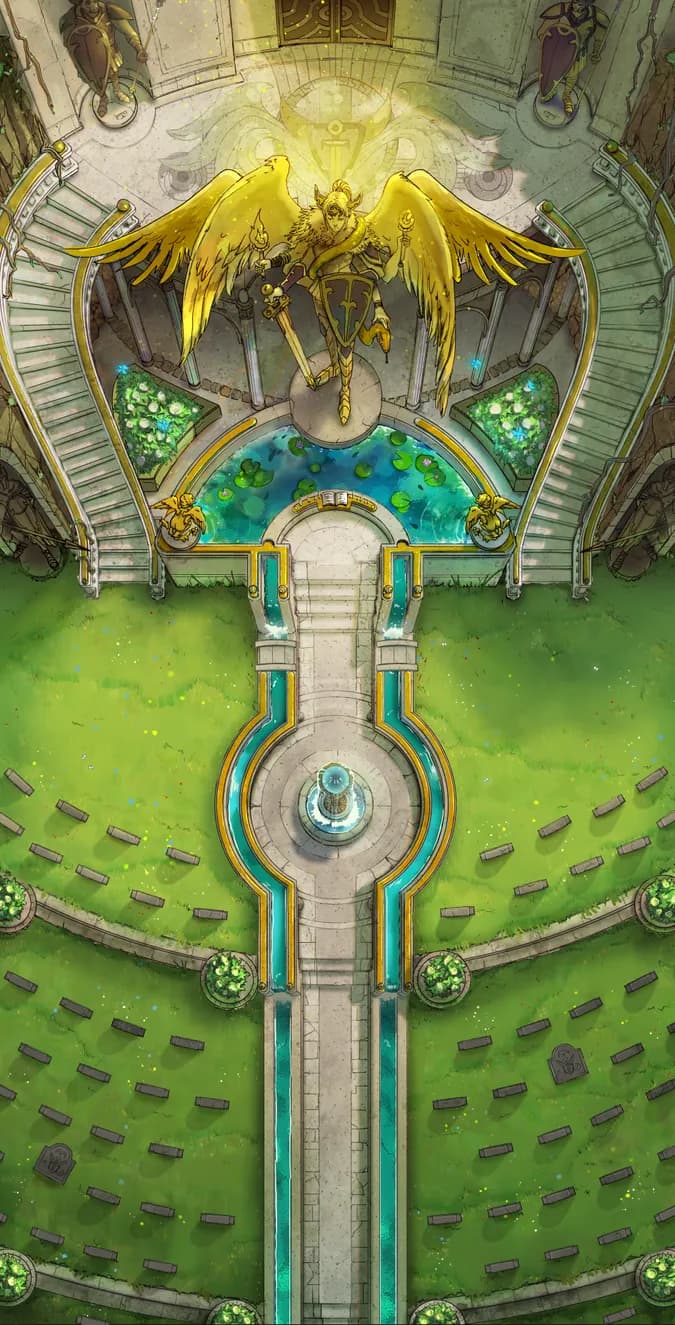
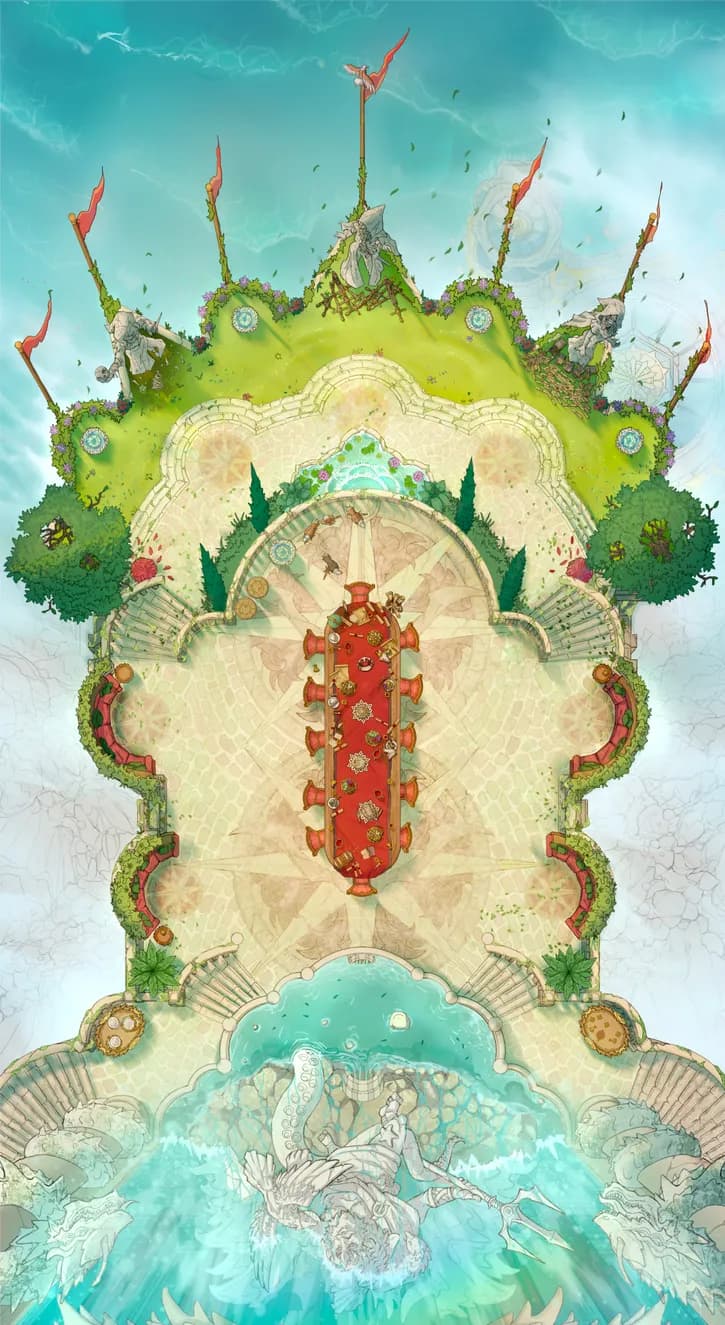
Nymph Fountain (+19)
Nymph Fountain (+19)
Open Ocean (+1)
Open Ocean (+1)
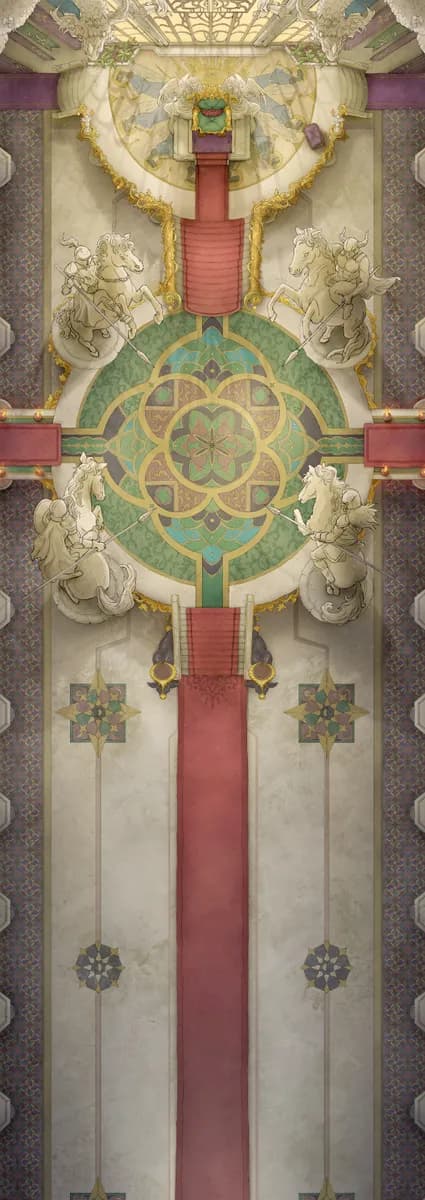
Royal Throne Room (+13)
Royal Throne Room (+13)
Secret Fey Fountain
Secret Fey Fountain
Temple of the Medusa (+1)
Temple of the Medusa (+1)
Temple of the Medusa Throne (+11)
Temple of the Medusa Throne (+11)
War Room Exterior (+15)
War Room Exterior (+15)
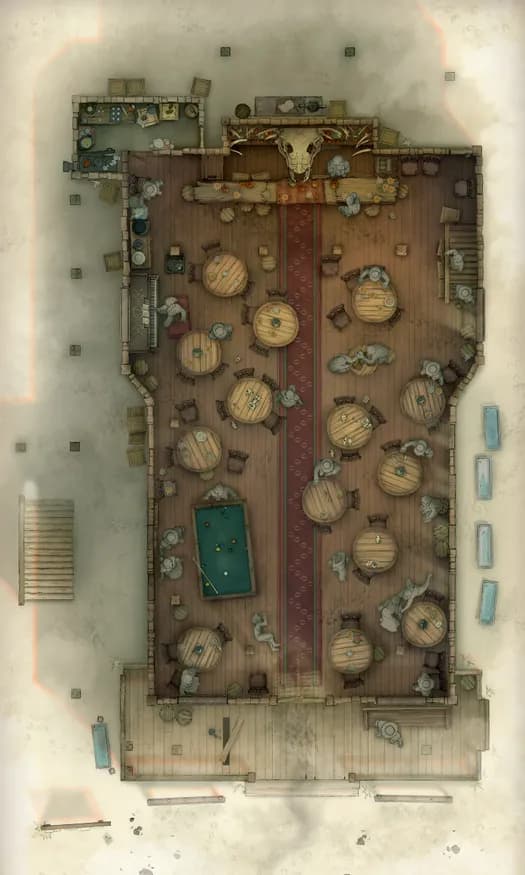
Wild West Saloon (+1)
Wild West Saloon (+1)
Wizard Bank Interior (+6)
Wizard Bank Interior (+6)
Wizard Prison Pt. 4 (+16)
Wizard Prison Pt. 4 (+16)
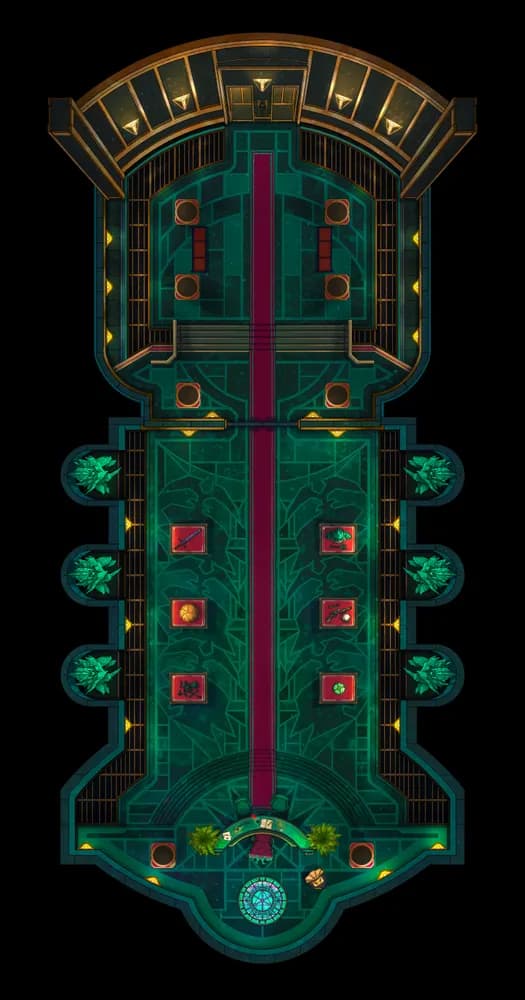
Wizard Vault (+29)
Wizard Vault (+29)