


Ages of the Vale: Coaching House (+7)
Ages of the Vale: Coaching House (+7)
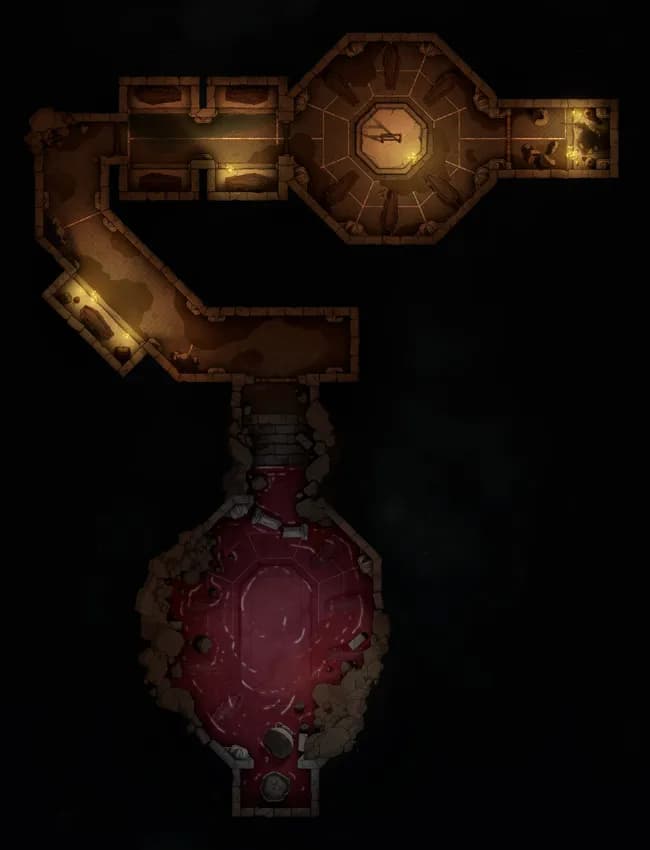
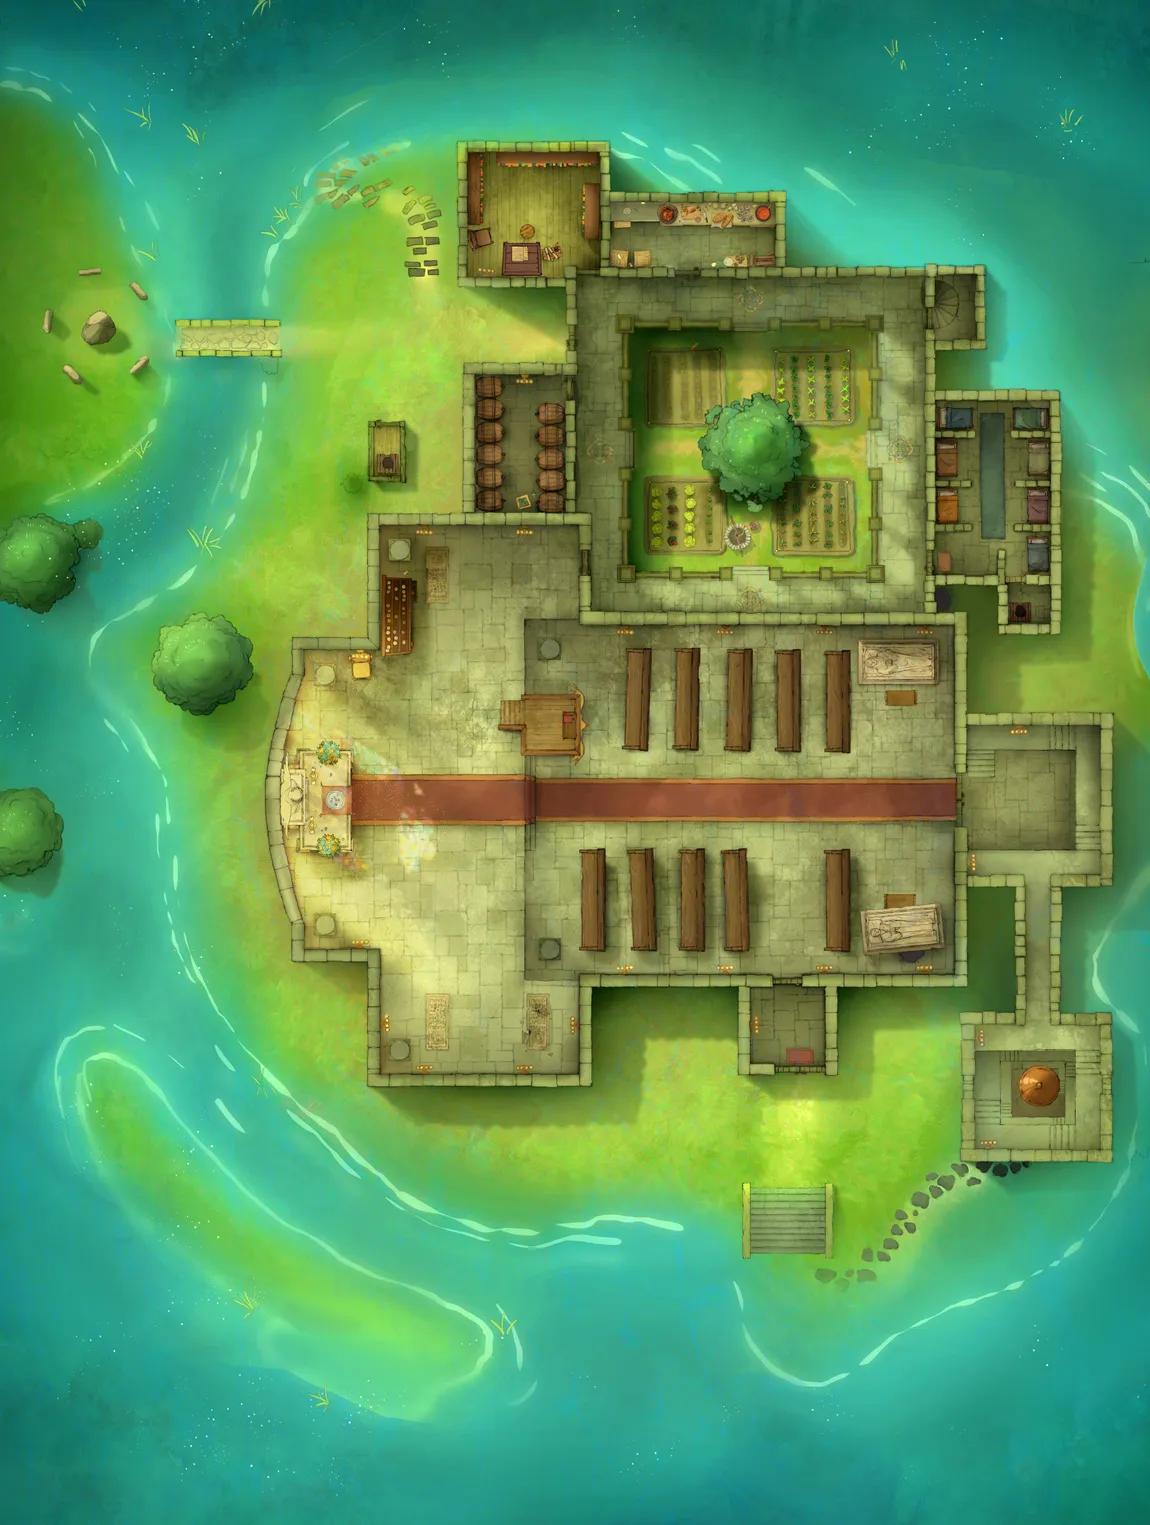
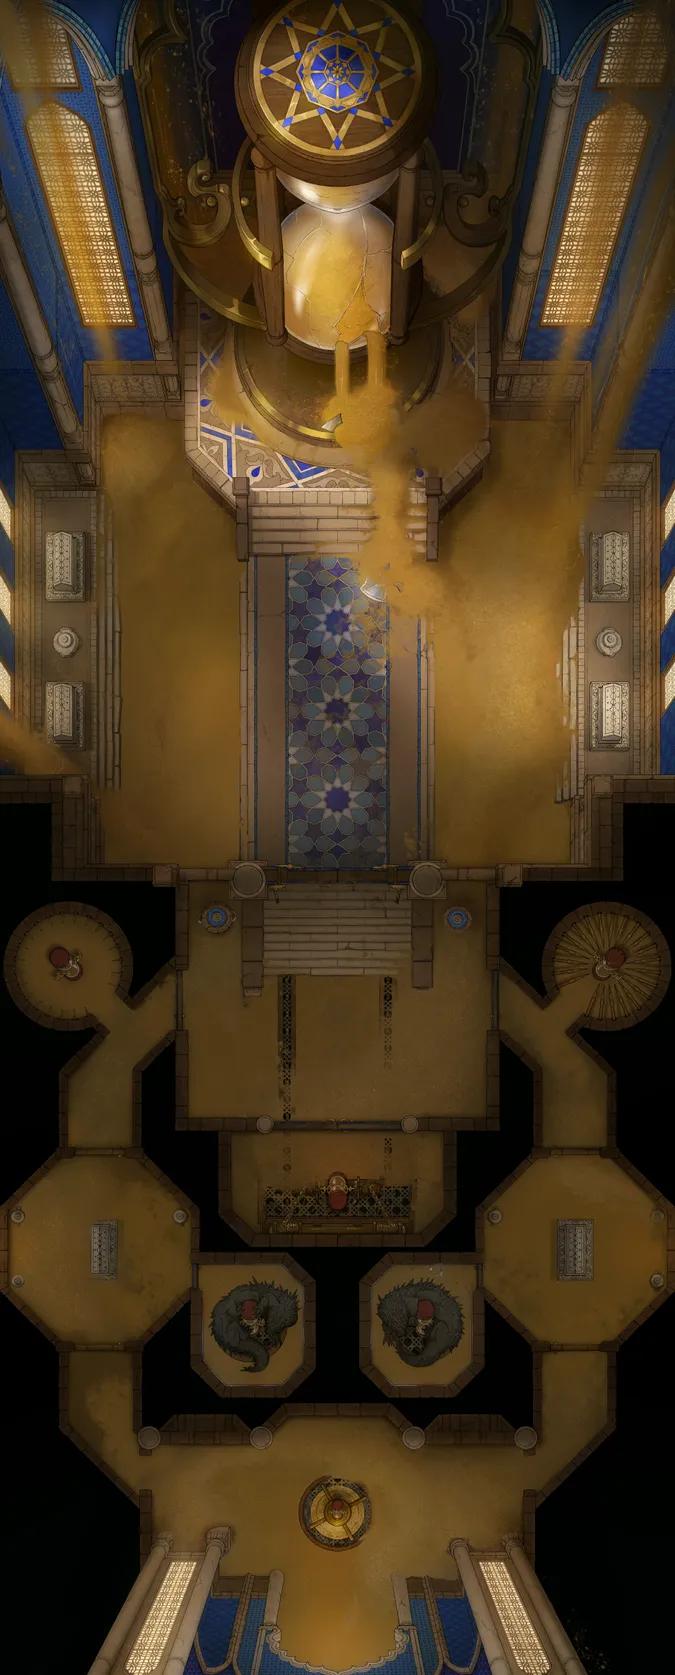
Ancient Stepwell (+1)
Ancient Stepwell (+1)
Ancient Tech Treasury
Ancient Tech Treasury
Archon's Catacombs (+5)
Archon's Catacombs (+5)
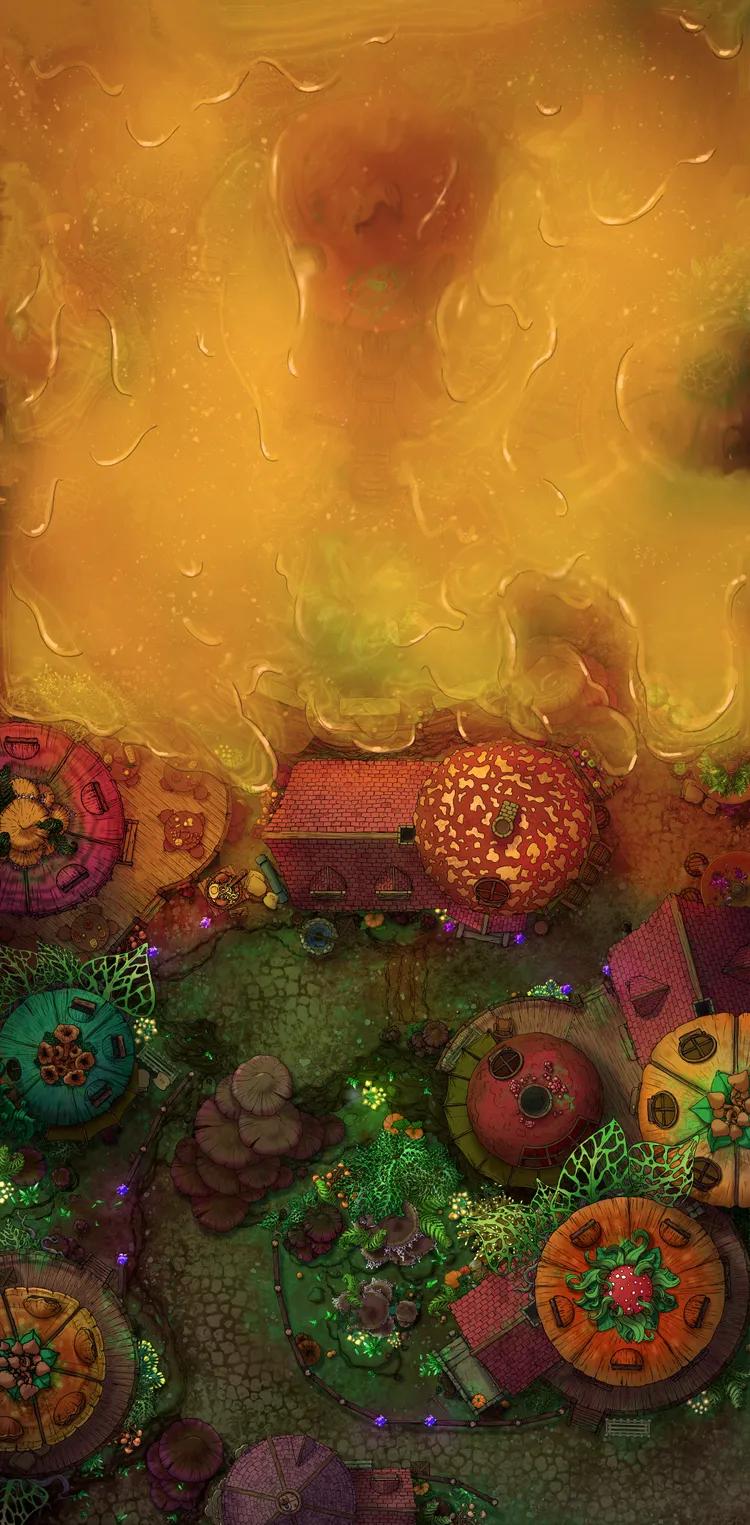
Baba Yaga's Domain (+3)
Baba Yaga's Domain (+3)
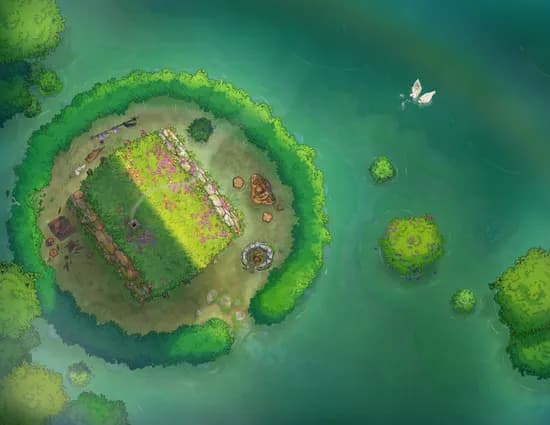
Badger Hill (+1)
Badger Hill (+1)
Bismuth Labyrinth (+5)
Bismuth Labyrinth (+5)
Black Market Streets
Black Market Streets
Blacksmith Secret Grotto
Blacksmith Secret Grotto
Blue Dragon Lair
Blue Dragon Lair
Bone Dryad Ossuary
Bone Dryad Ossuary
Bone Mill Lair
Bone Mill Lair
Burial Barrow (+1)
Burial Barrow (+1)
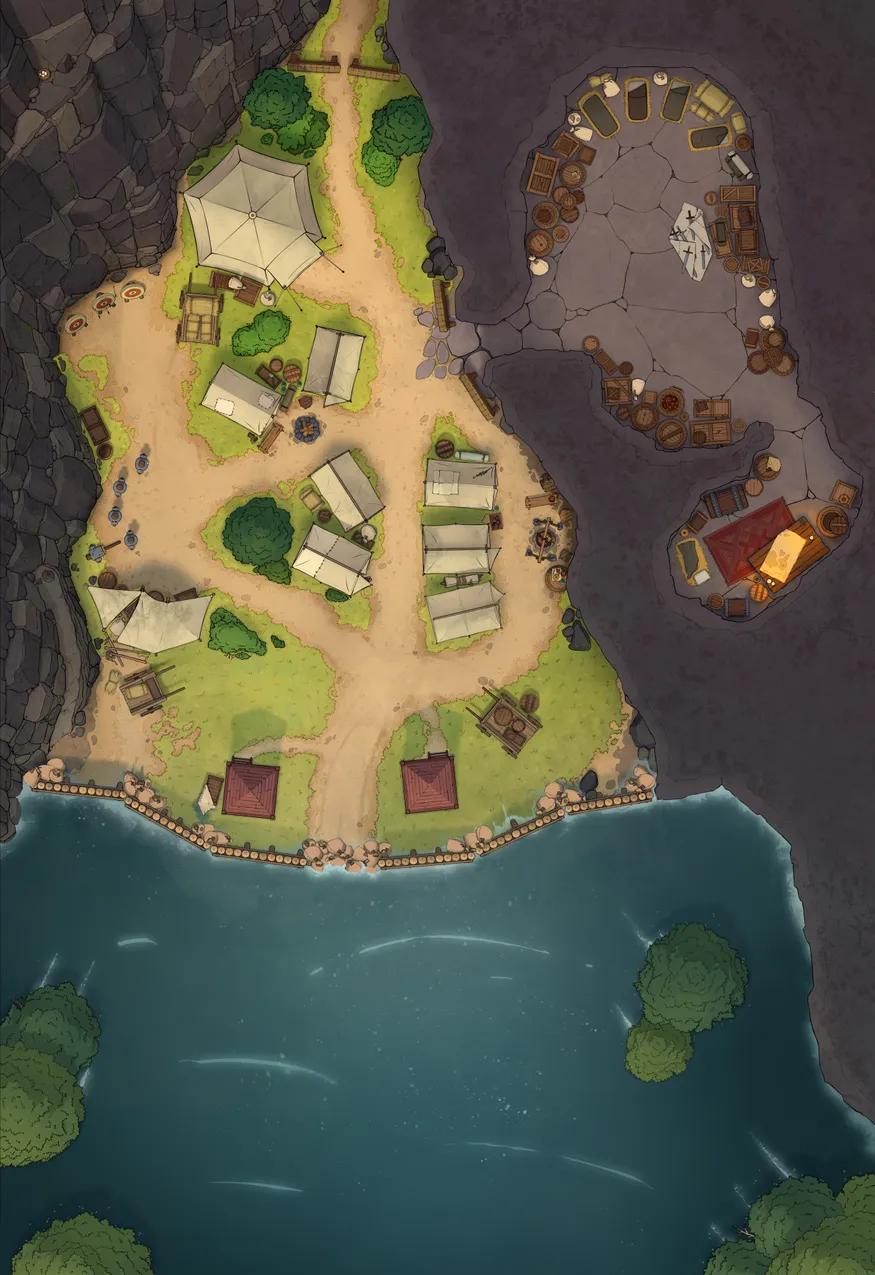
Caravan Camp
Caravan Camp
Cave Temple
Cave Temple
Celestial Chapel (+1)
Celestial Chapel (+1)
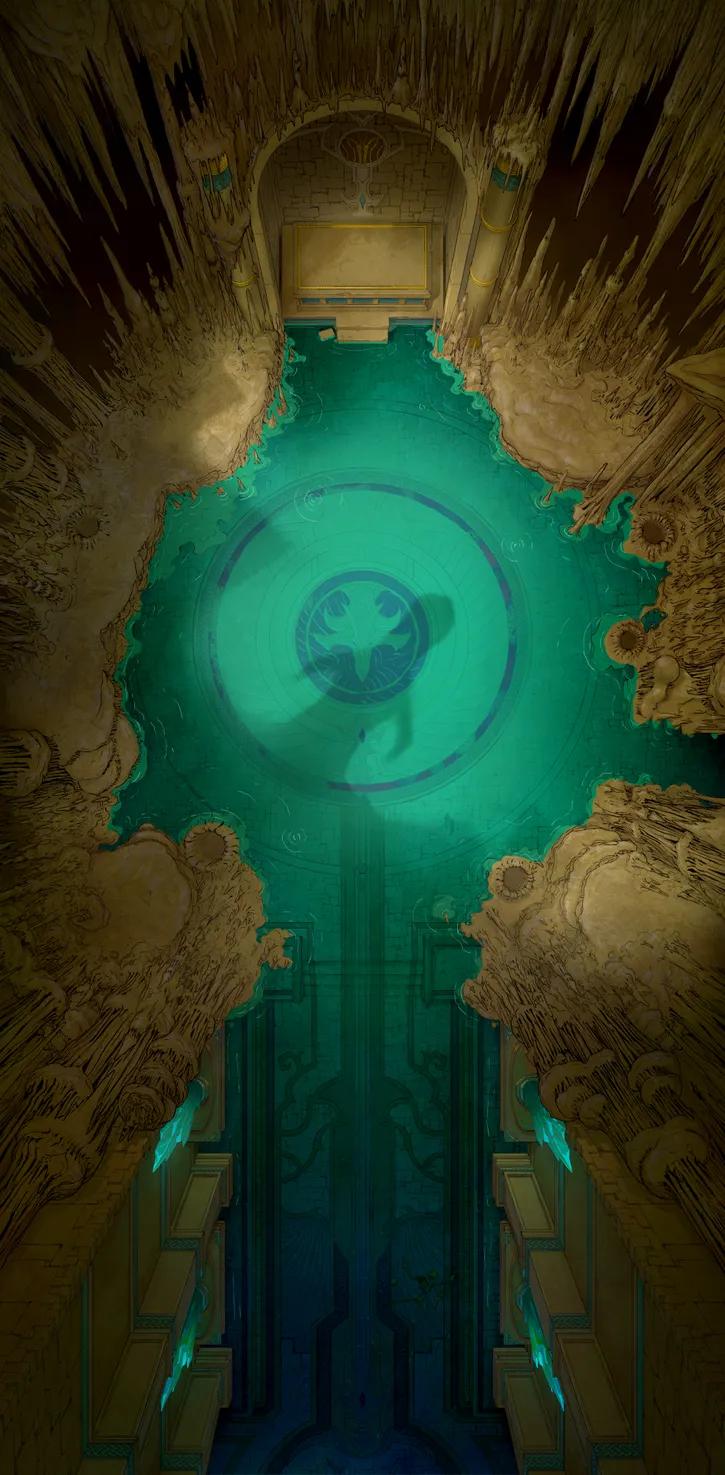
Celestial Gate
Celestial Gate
Clockwork Dragon Lair Exterior
Clockwork Dragon Lair Exterior
Clockwork Dragon Lair Interior (+2)
Clockwork Dragon Lair Interior (+2)
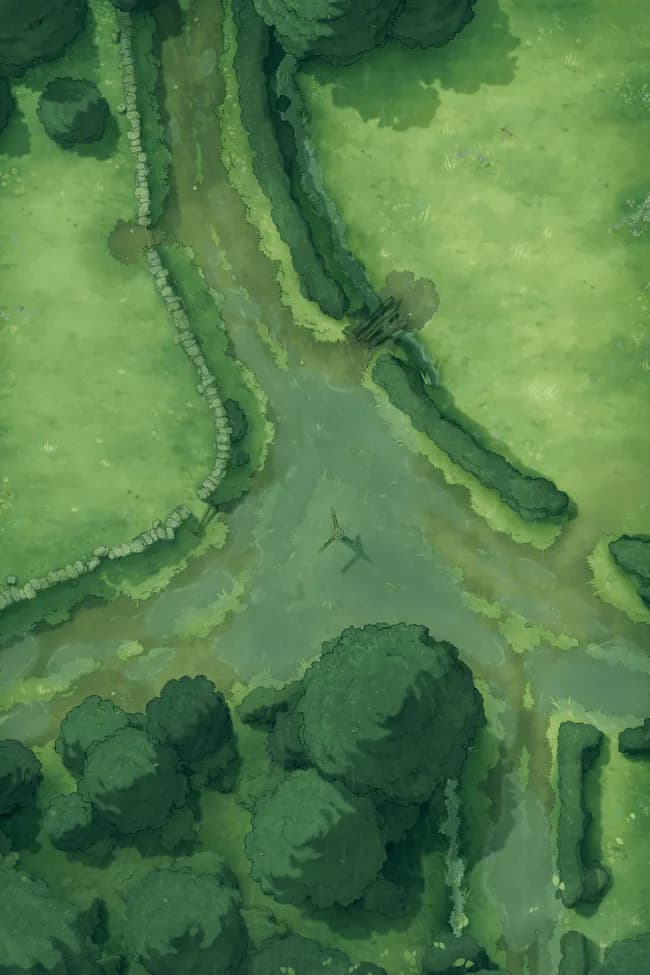
Crossroads
Crossroads
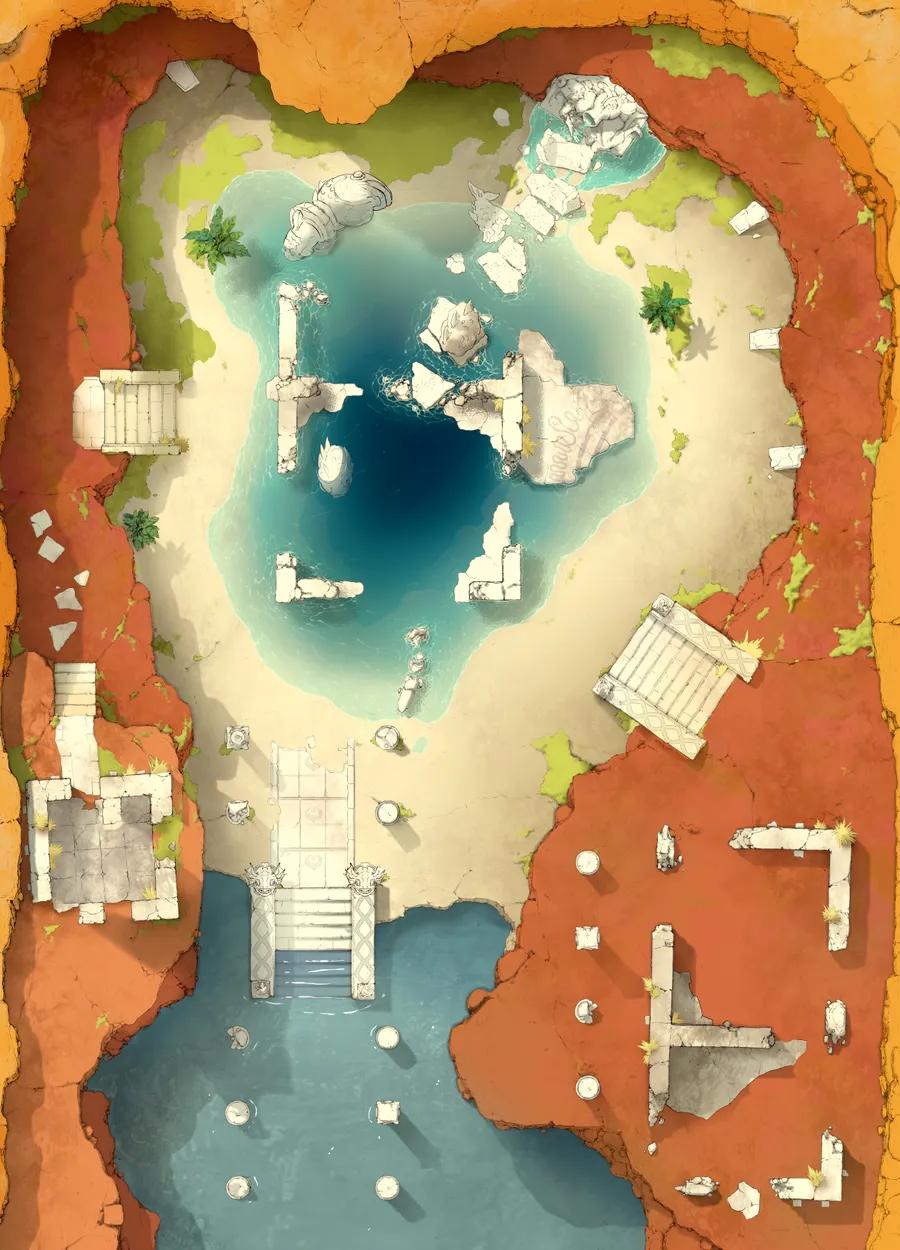
Desert Ruins (+2)
Desert Ruins (+2)
Dracolich Lair
Dracolich Lair
Dragon's Hoard
Dragon's Hoard
Fey Vineyard (+1)
Fey Vineyard (+1)
Fjordside Cabin
Fjordside Cabin
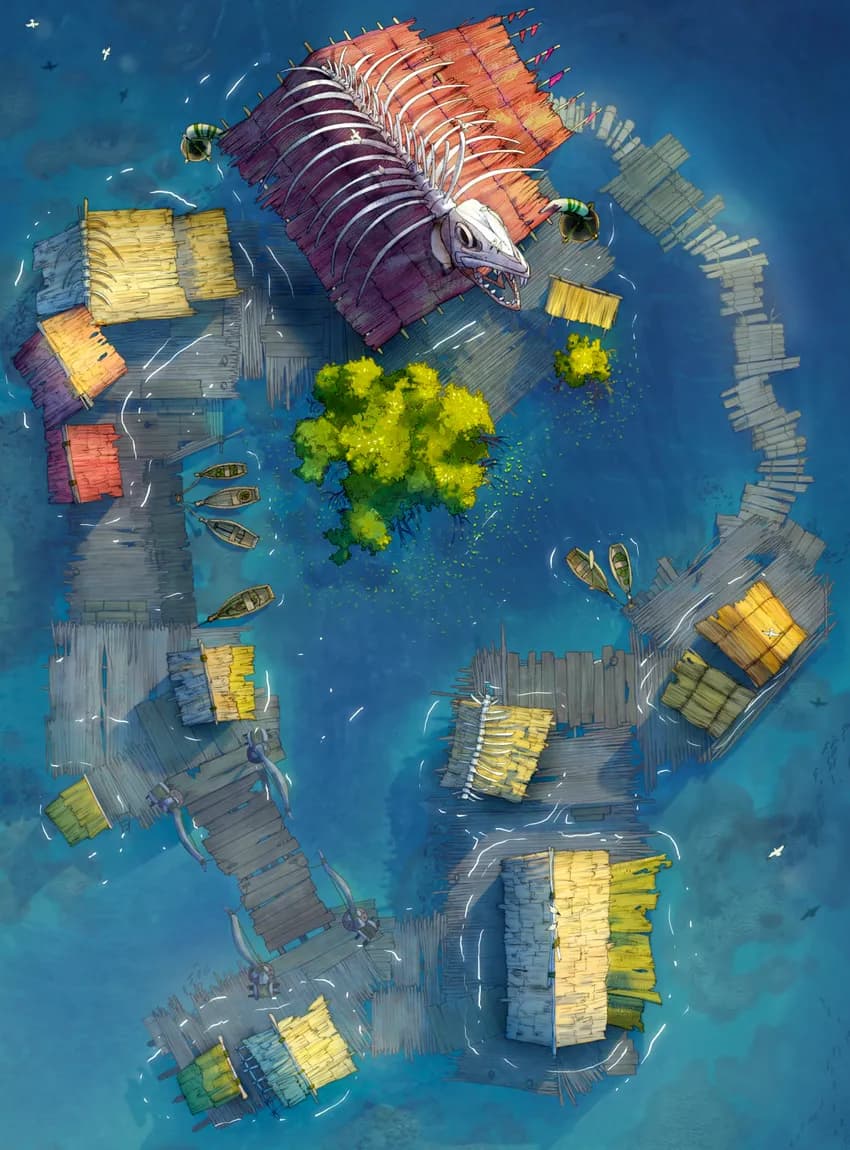
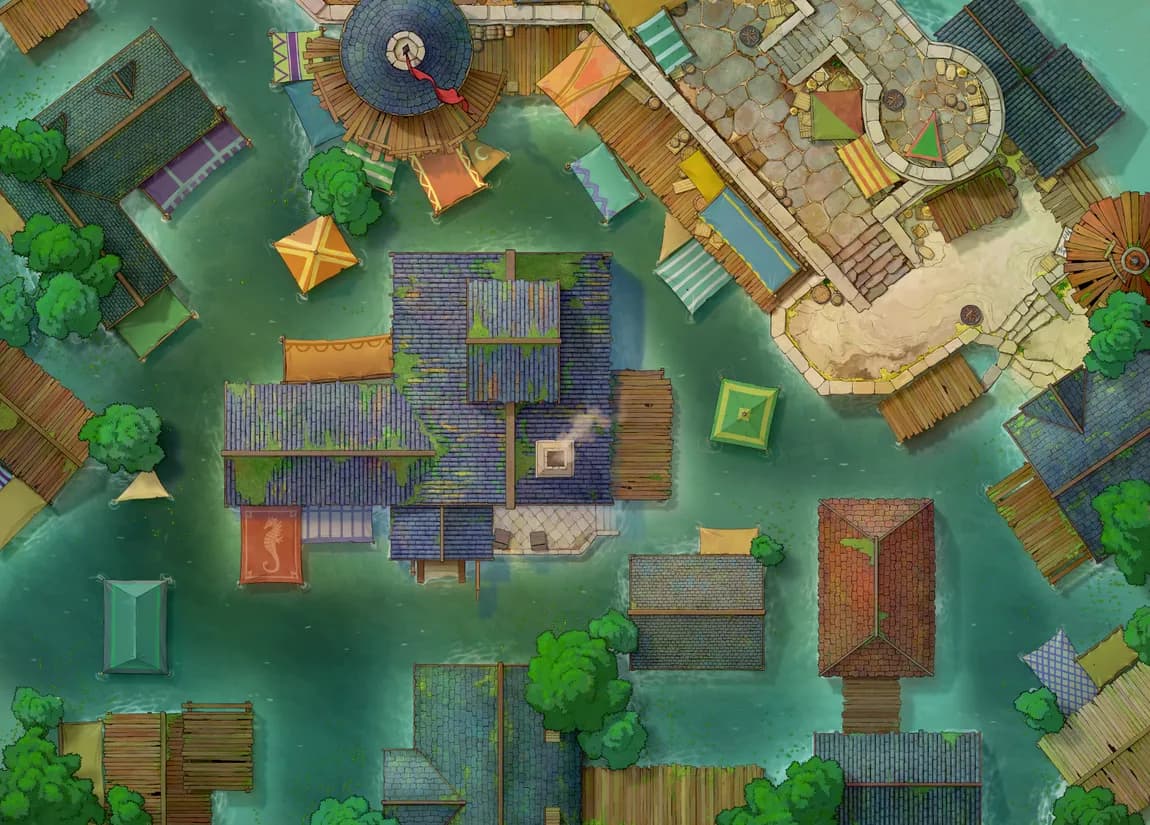
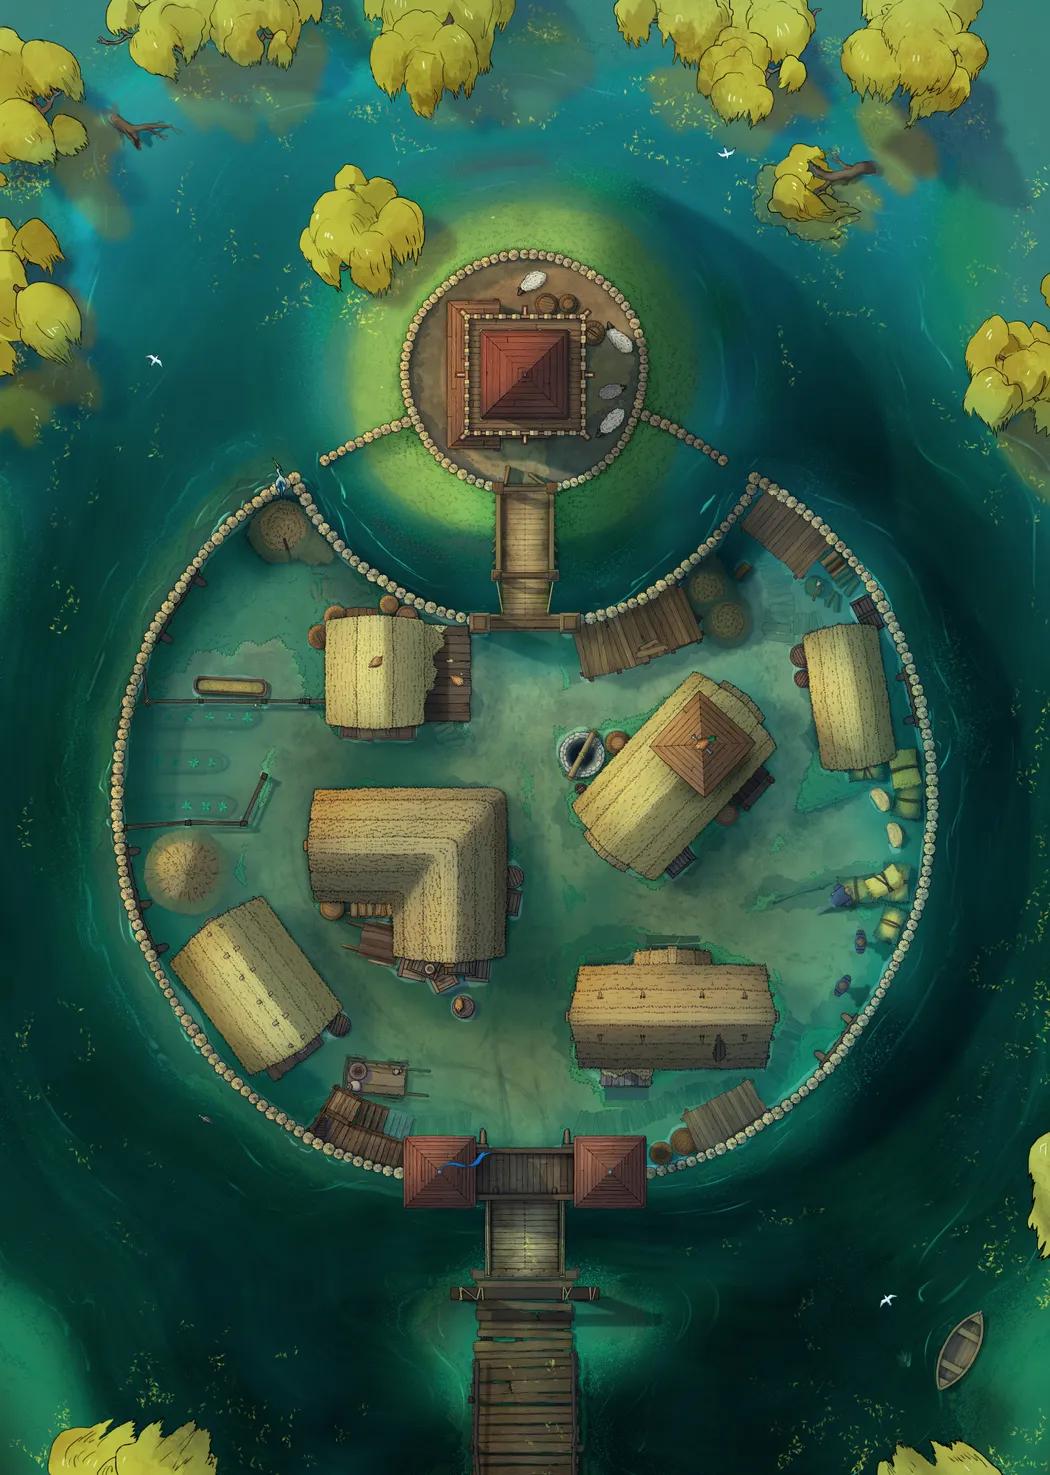
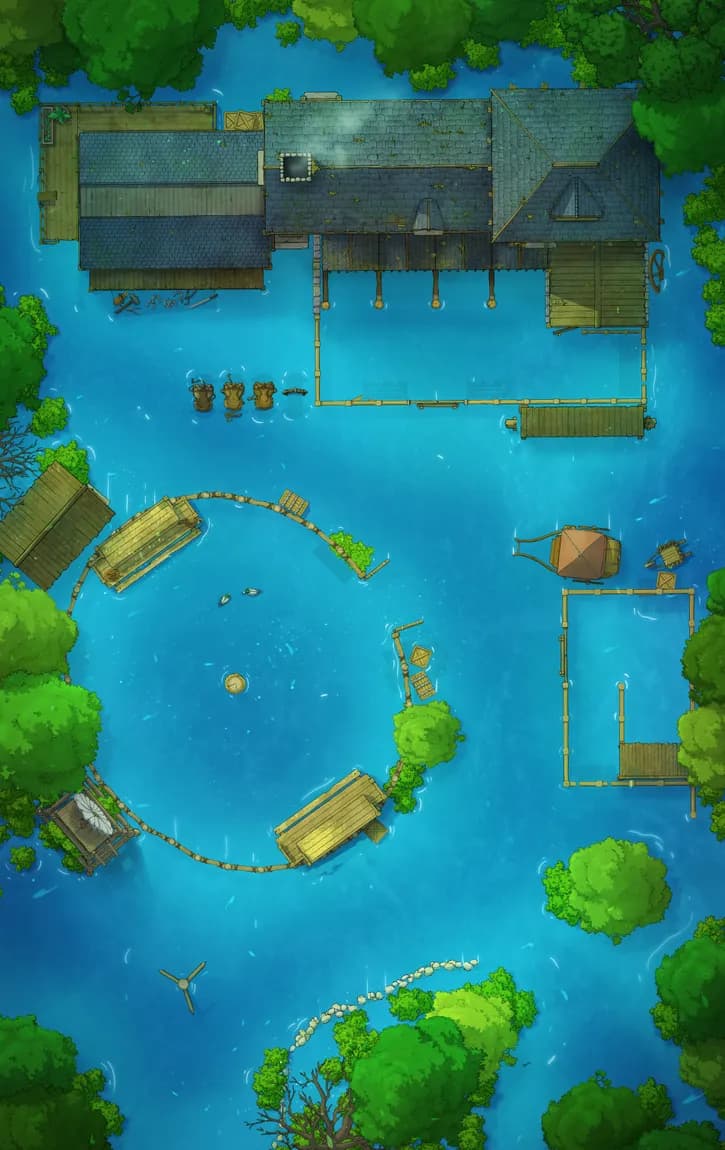
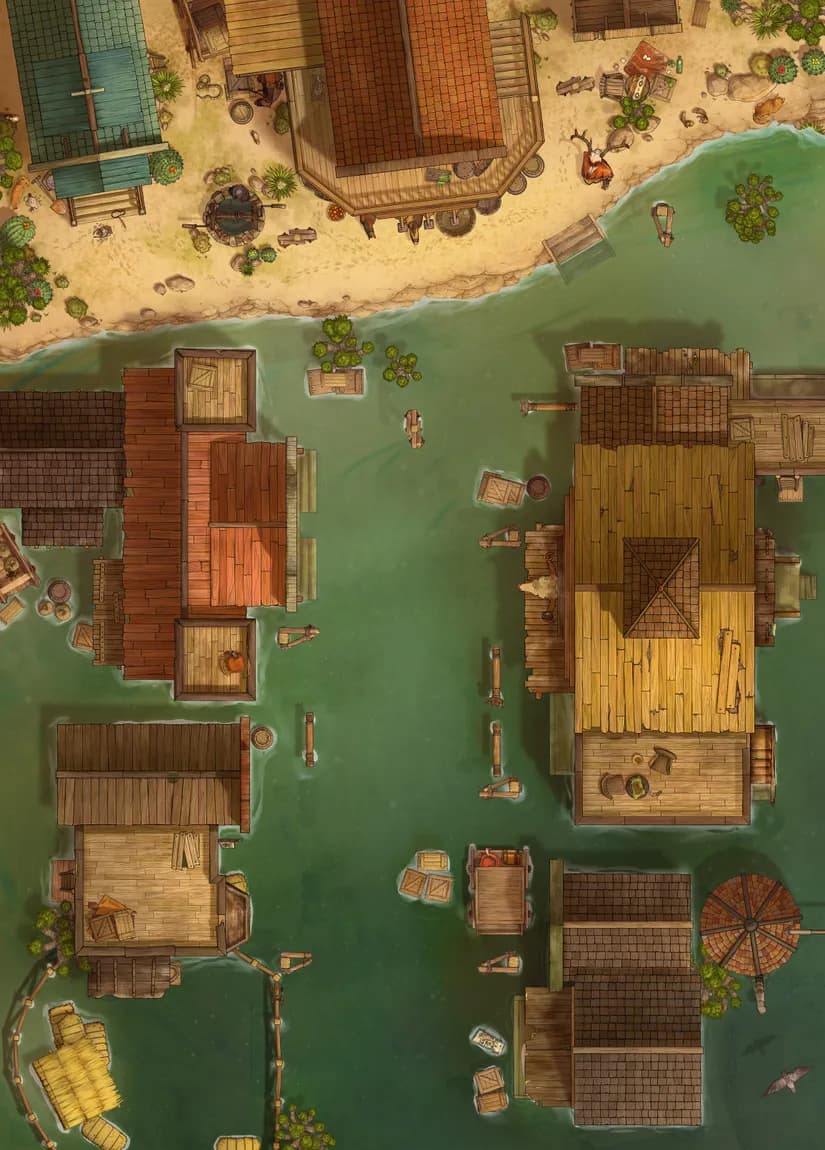
Floating Village
Floating Village
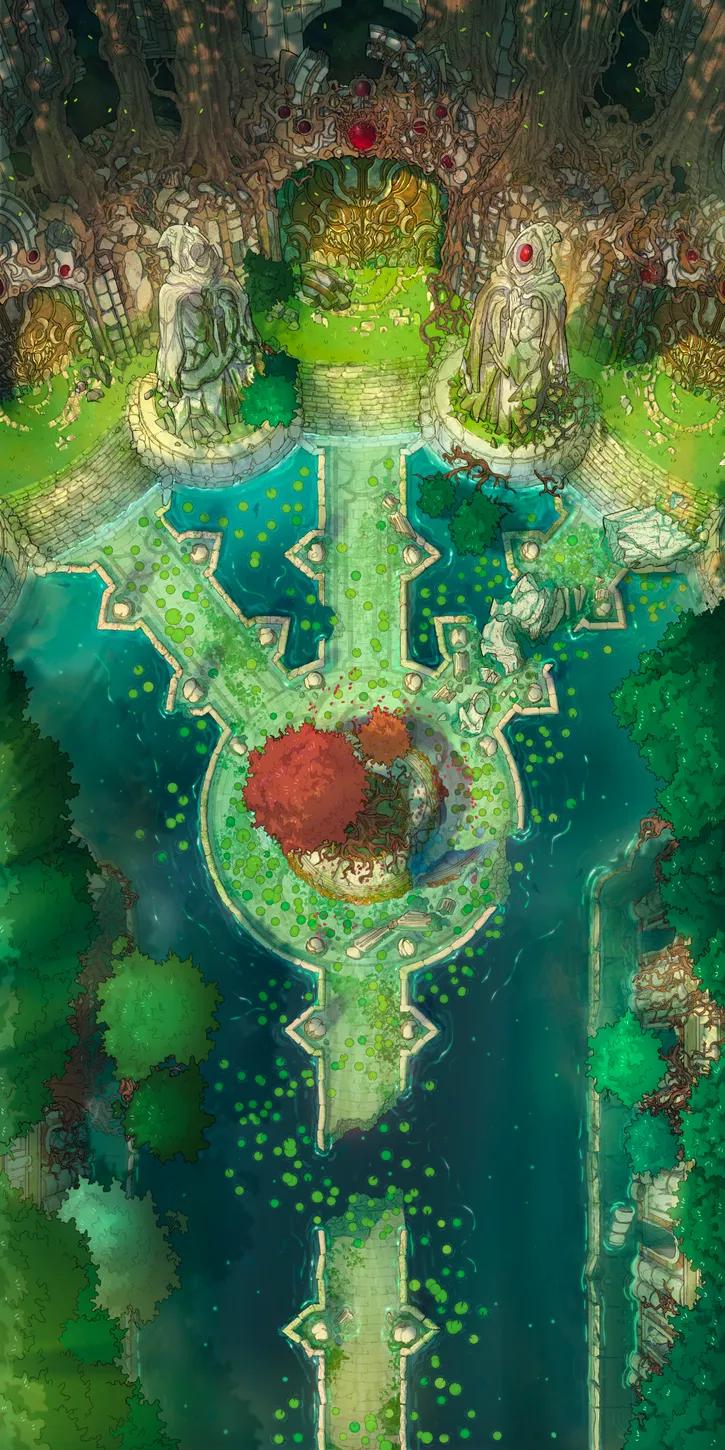
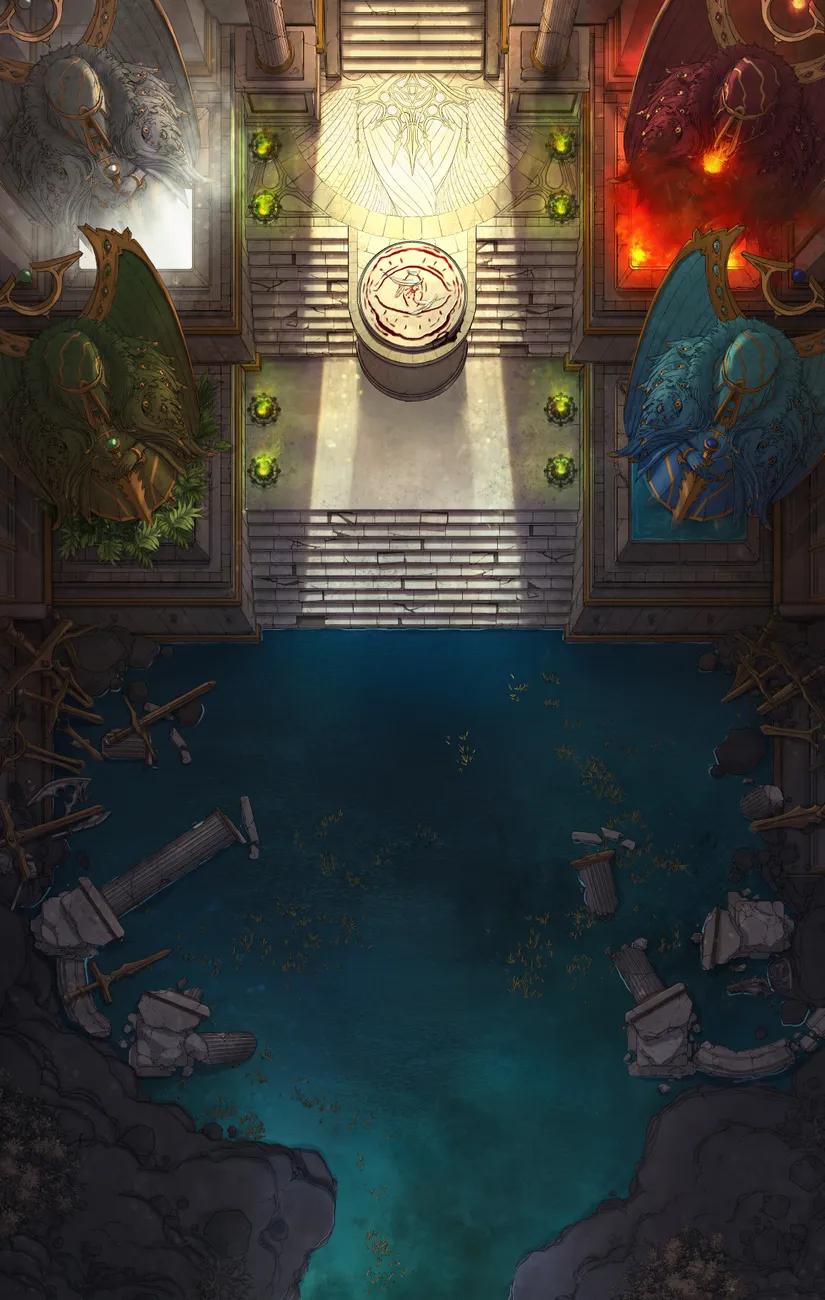
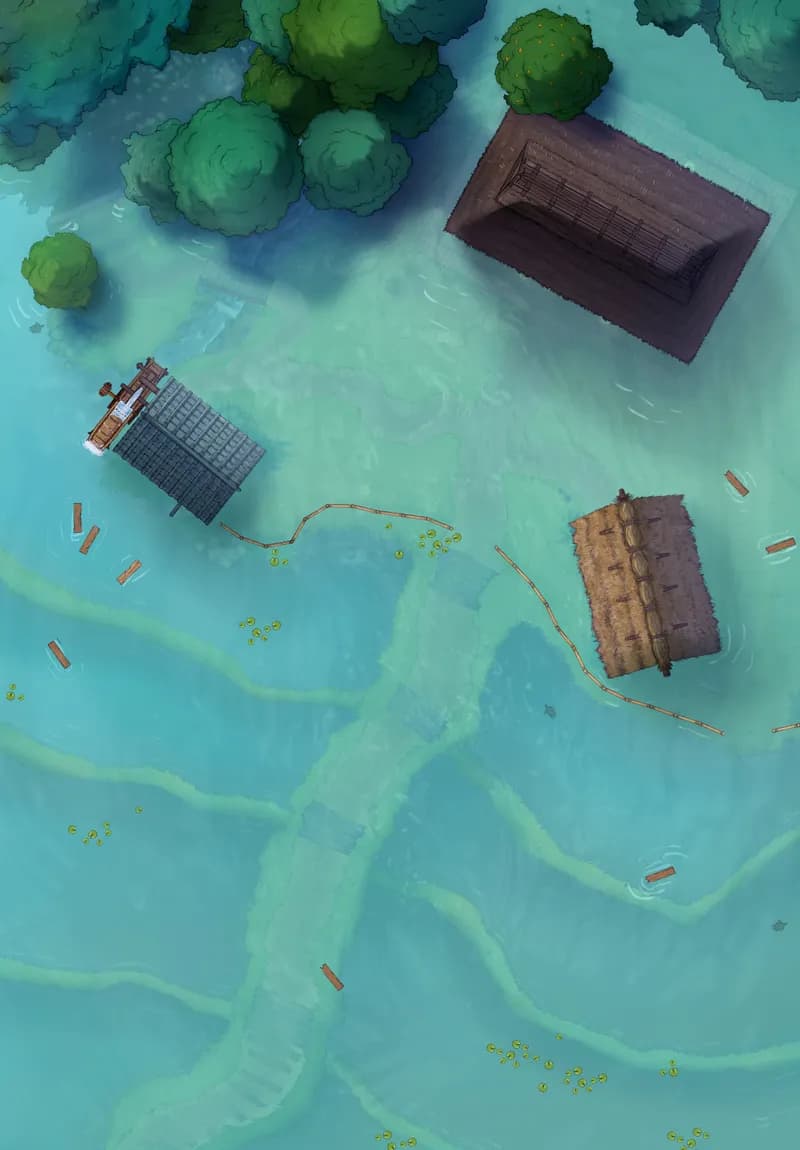
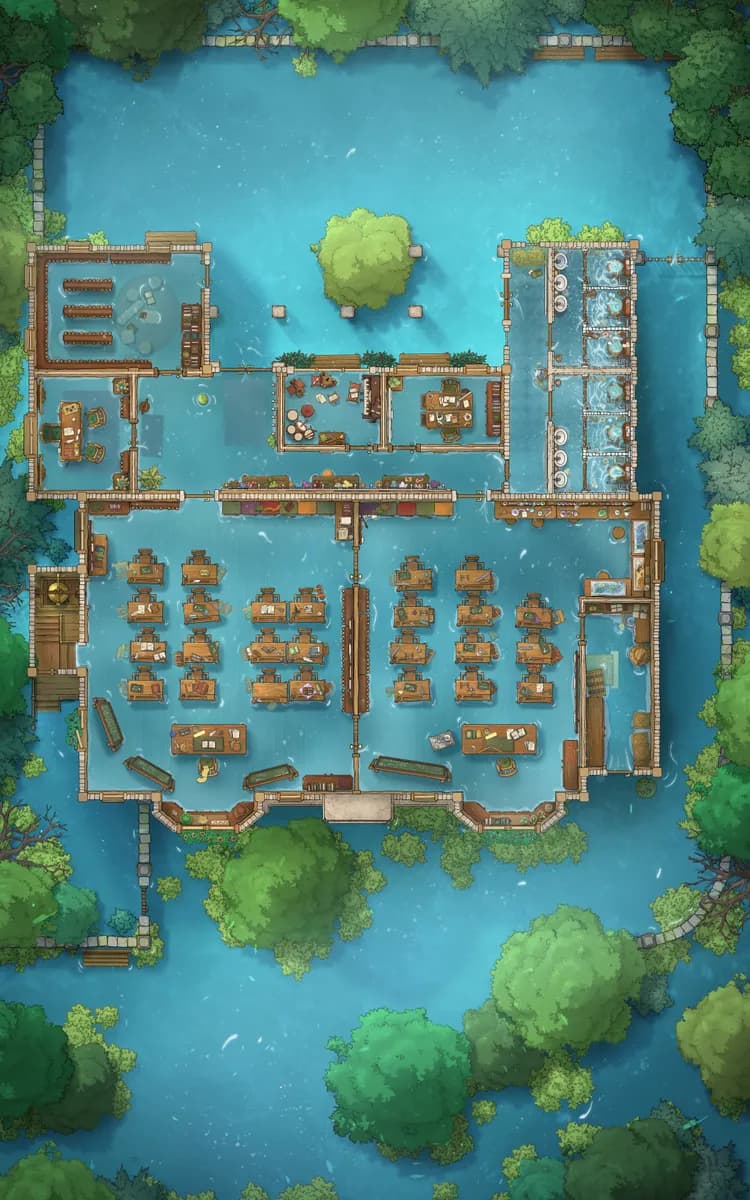
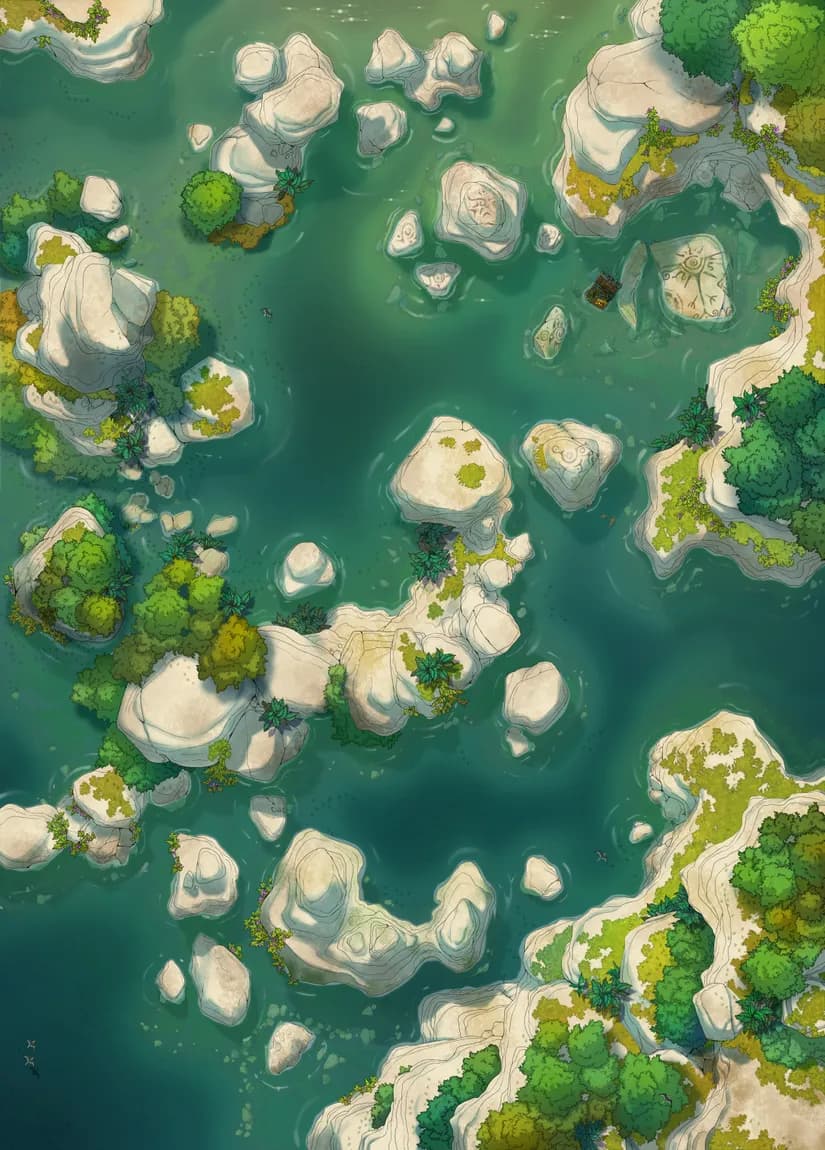
Flooded Fey Ruins (+21)
Flooded Fey Ruins (+21)
Forgotten Chapel Crypt (+1)
Forgotten Chapel Crypt (+1)
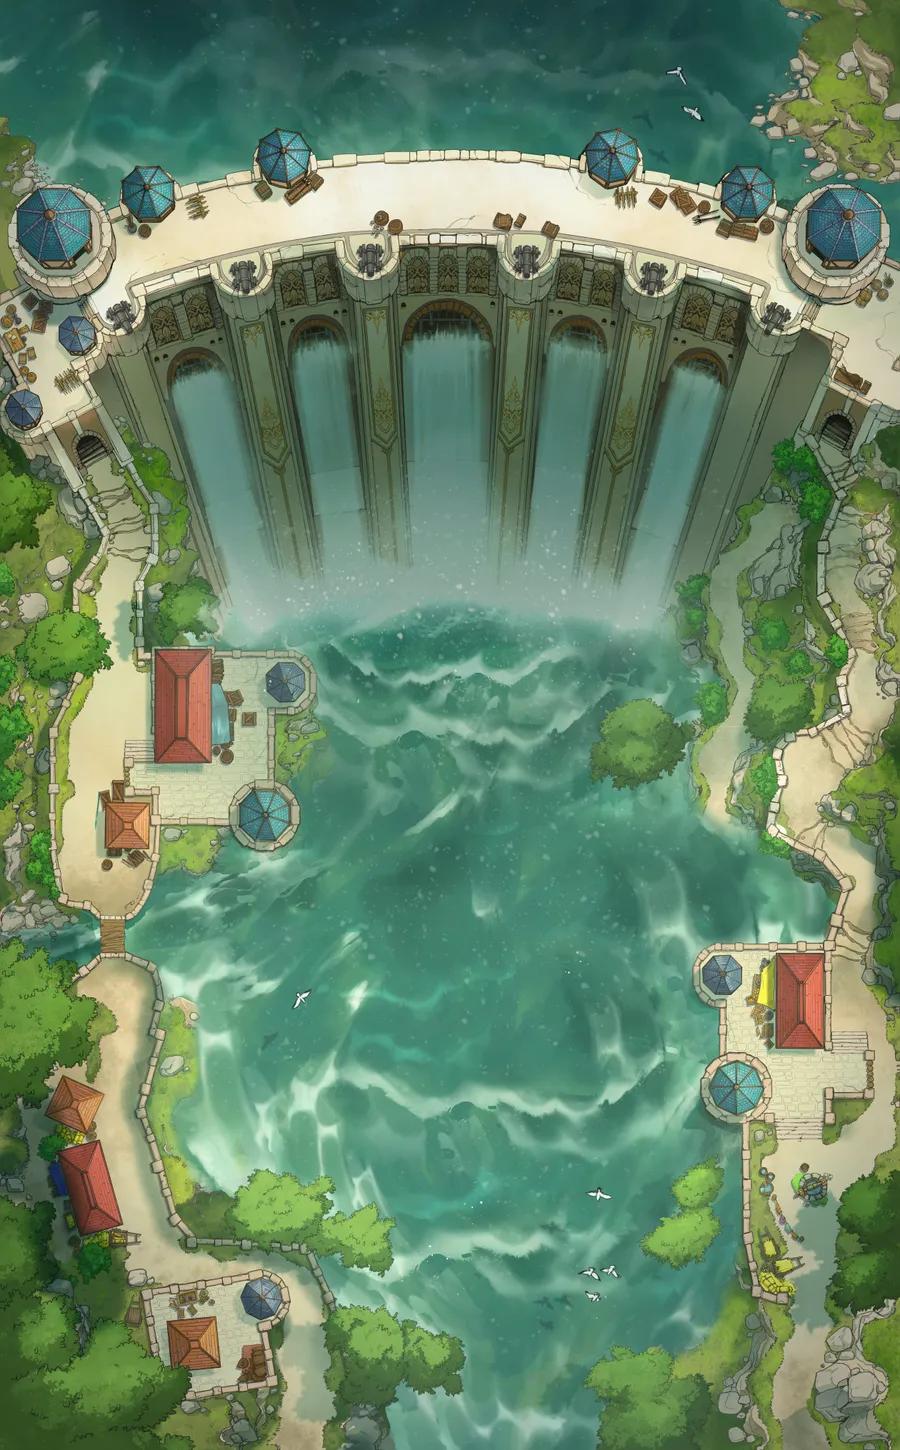
Fortified Dam (+1)
Fortified Dam (+1)
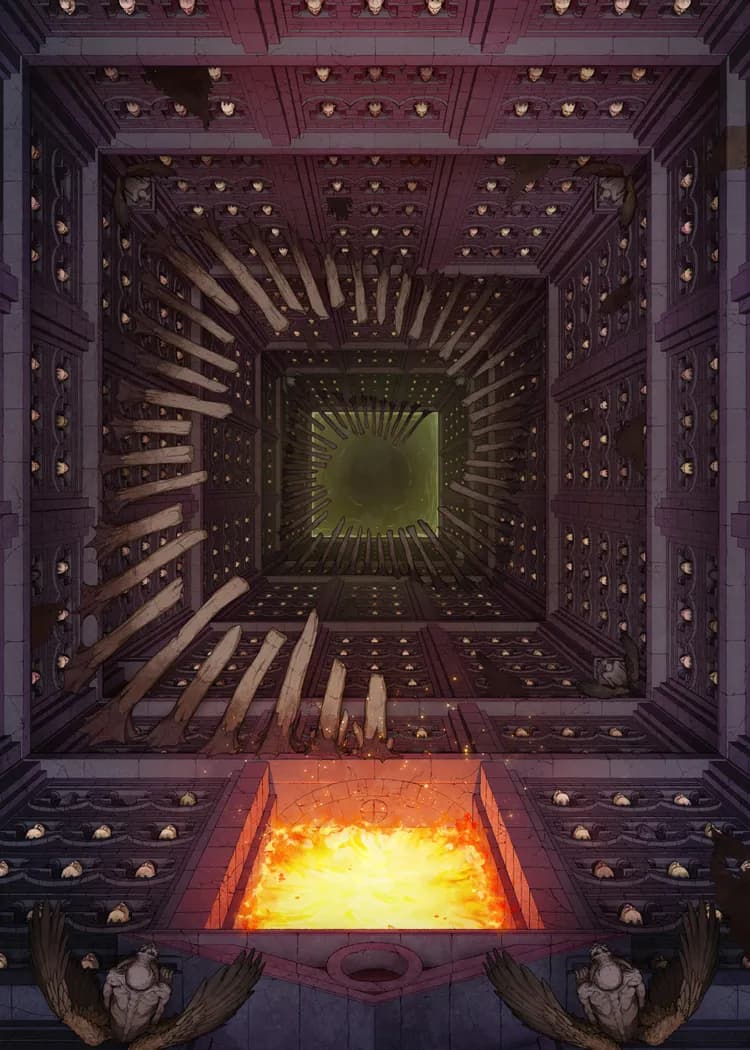
Gate of Angels
Gate of Angels
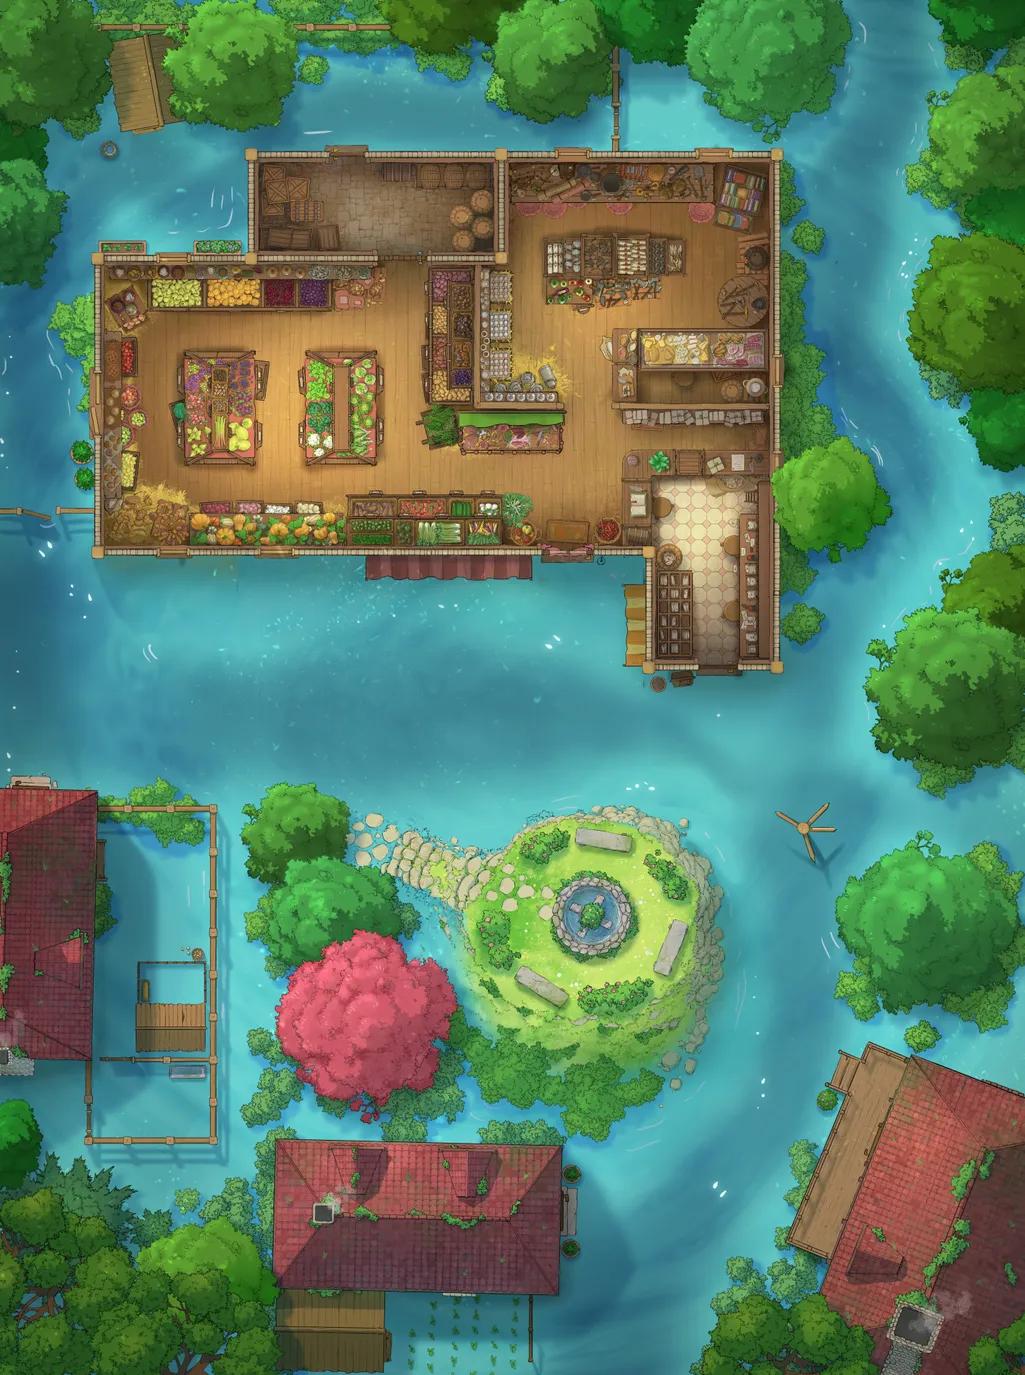
Gentle Village Greengrocer
Gentle Village Greengrocer
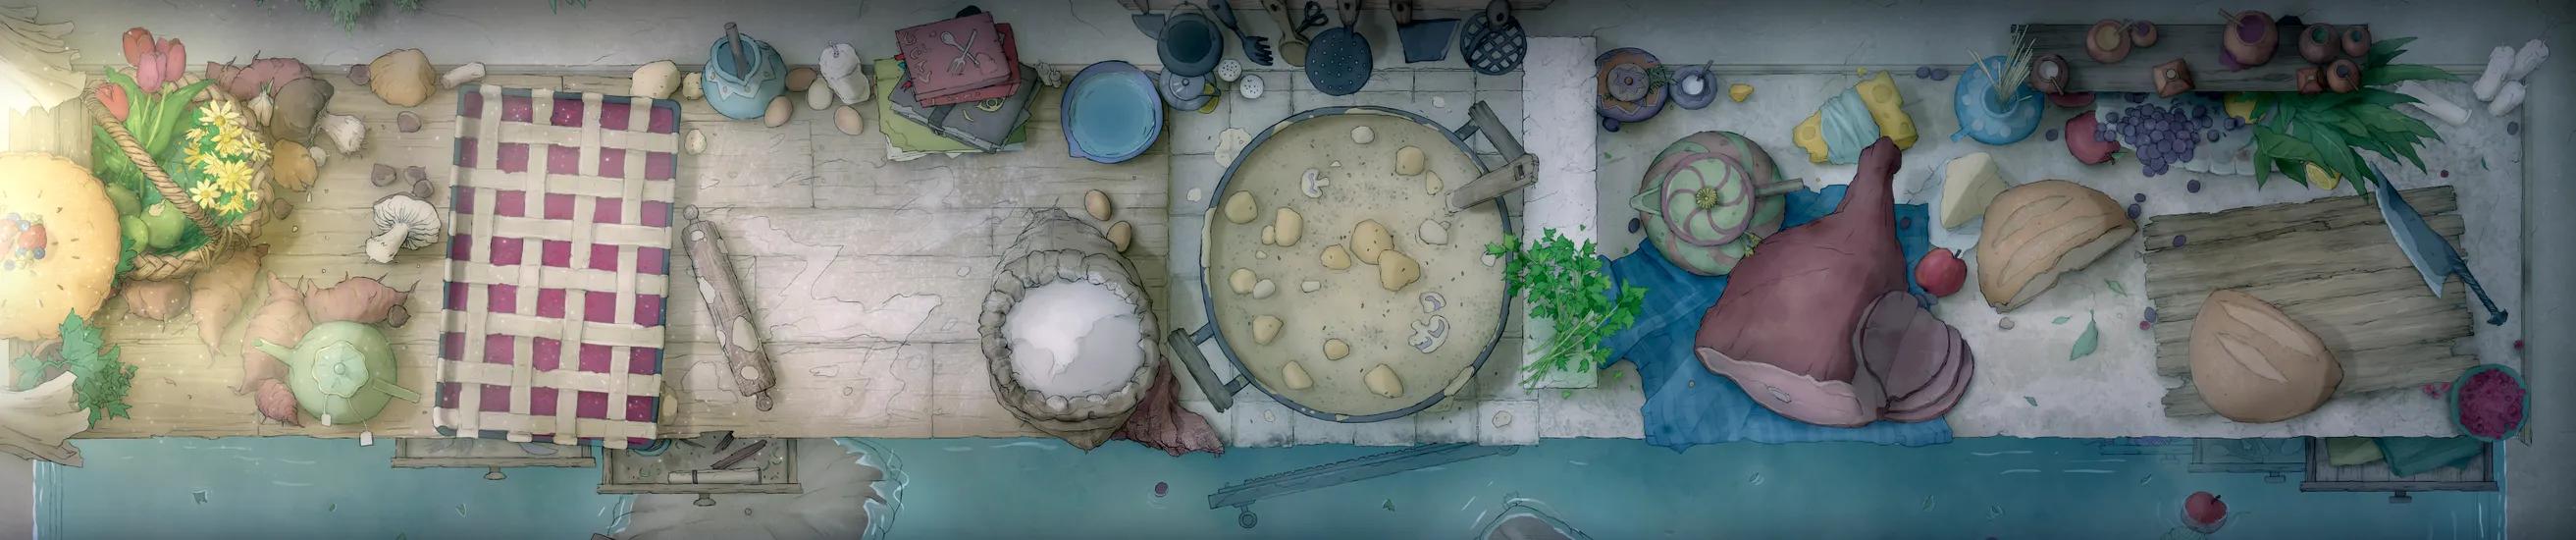
Giant Kitchen (+1)
Giant Kitchen (+1)
Gnome City Centre (+1)
Gnome City Centre (+1)
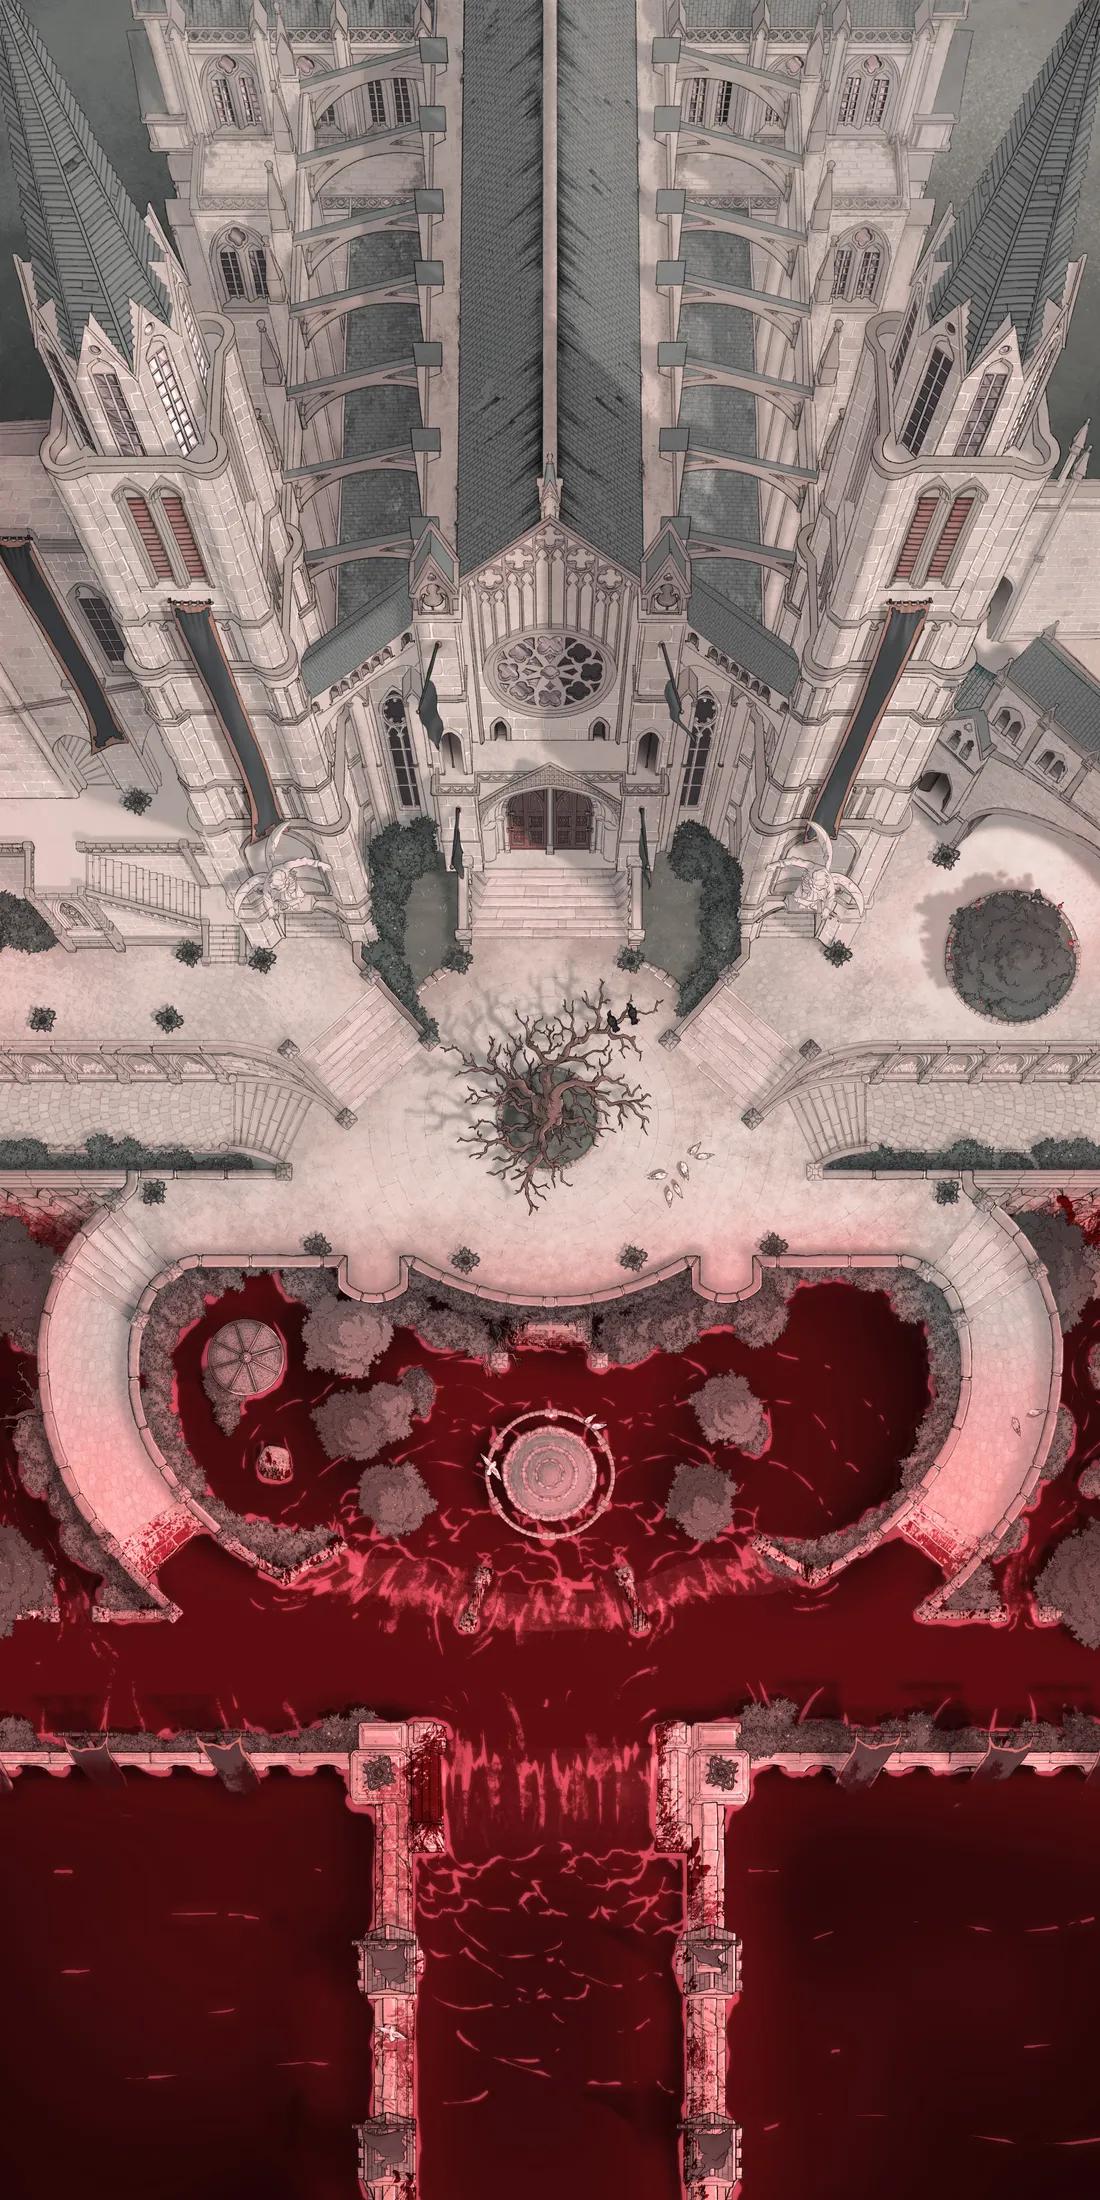
Grand Cathedral (+2)
Grand Cathedral (+2)
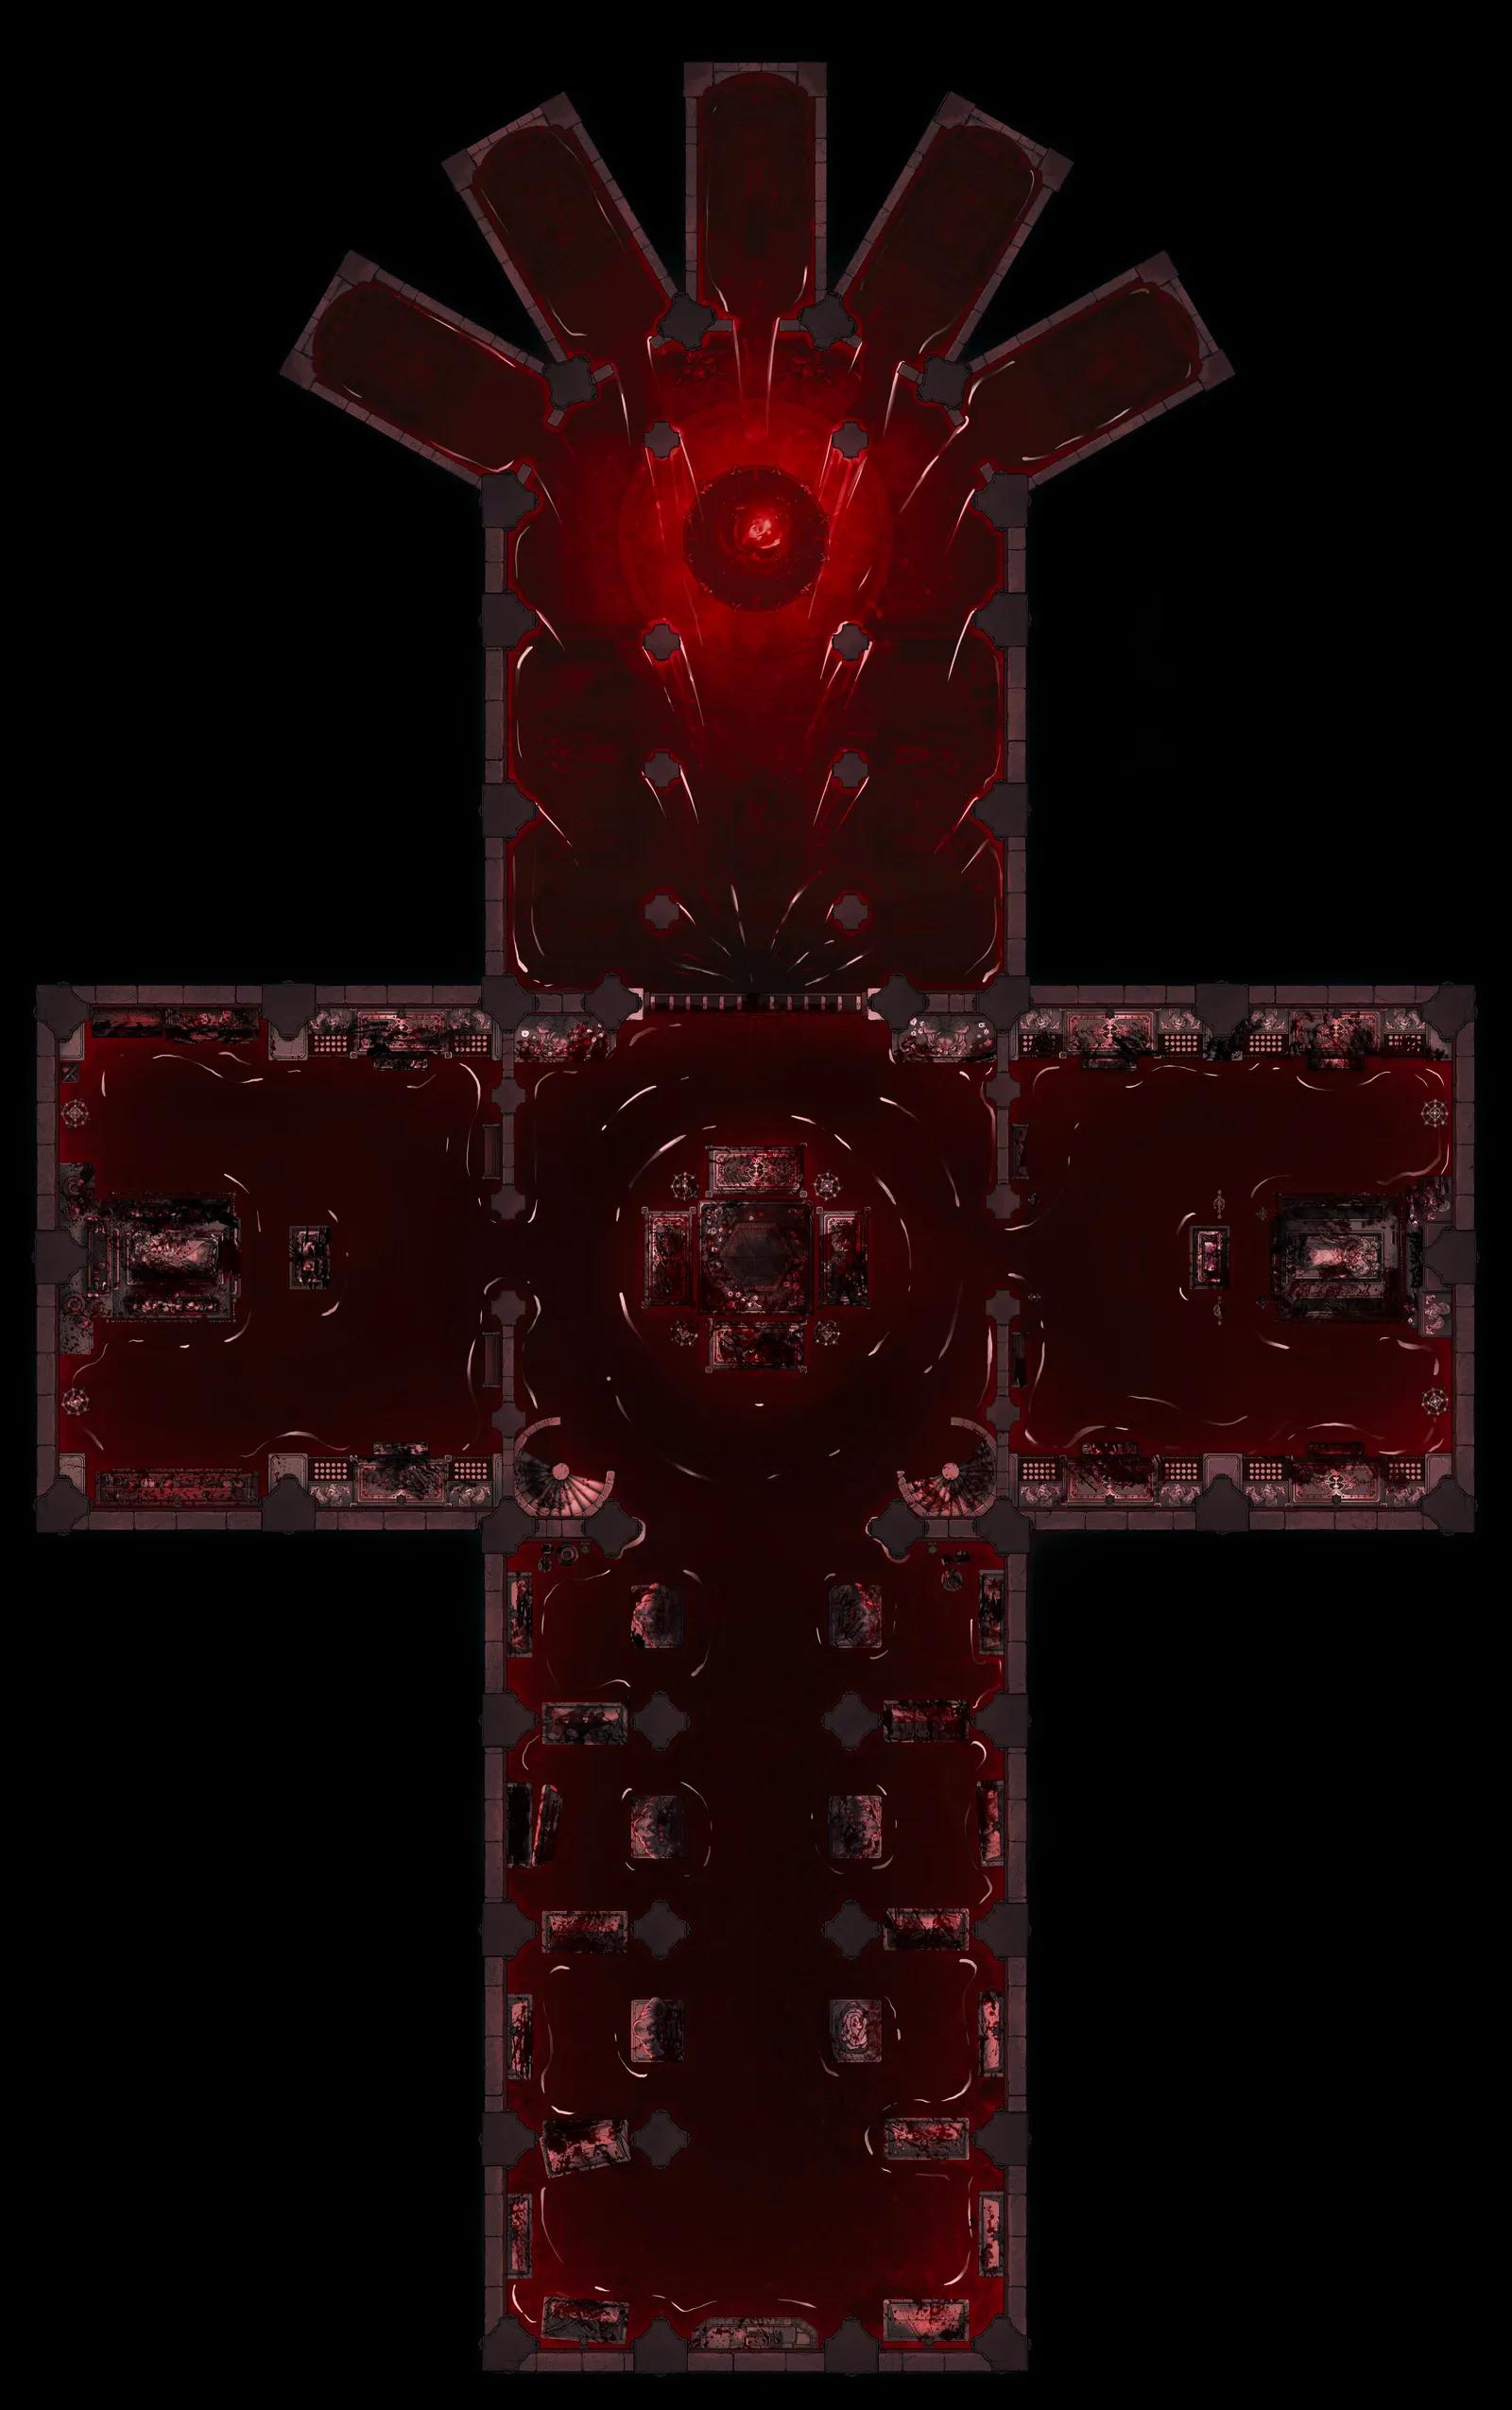
Grand Cathedral Crypt (+2)
Grand Cathedral Crypt (+2)
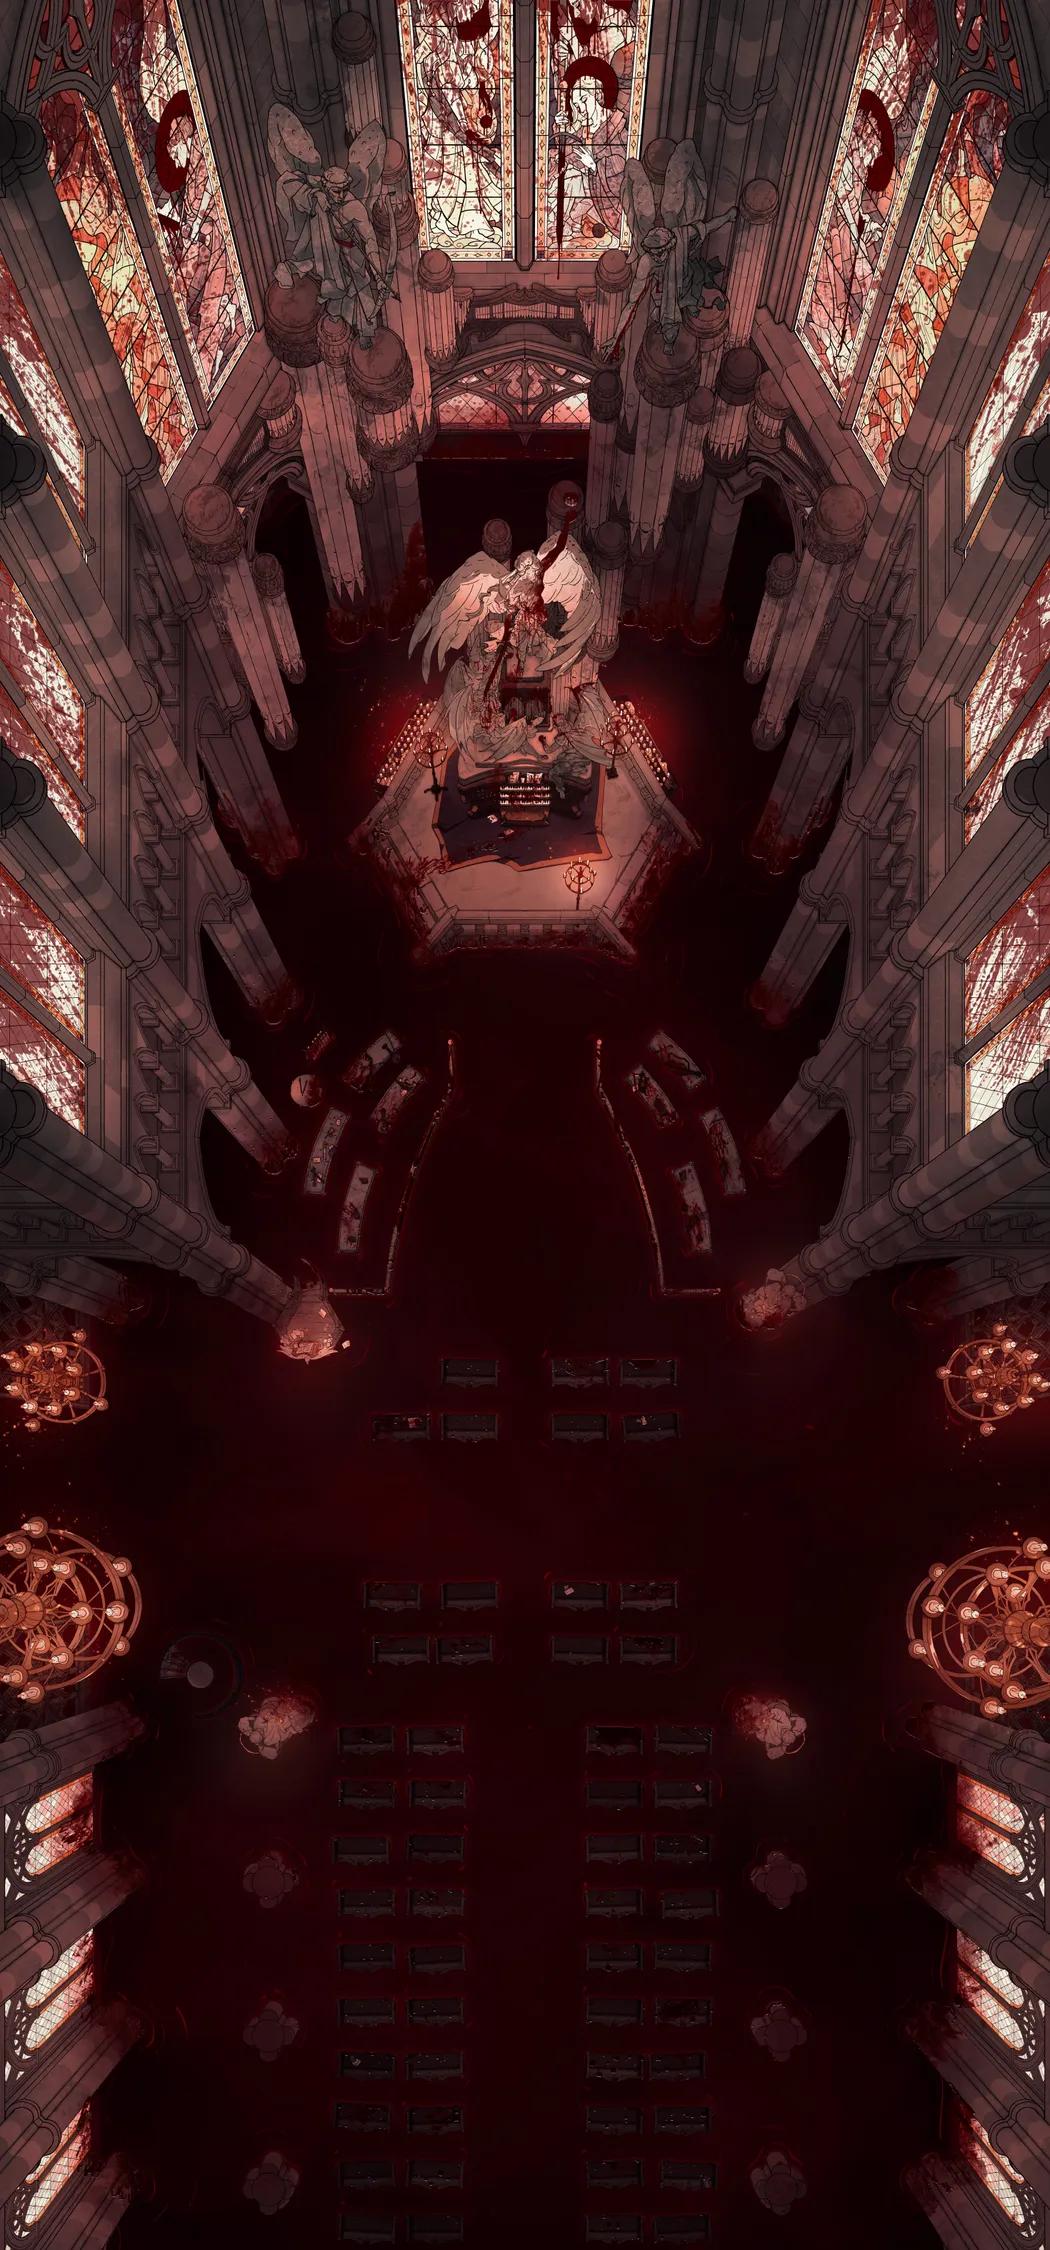
Grand Cathedral Interior (+2)
Grand Cathedral Interior (+2)
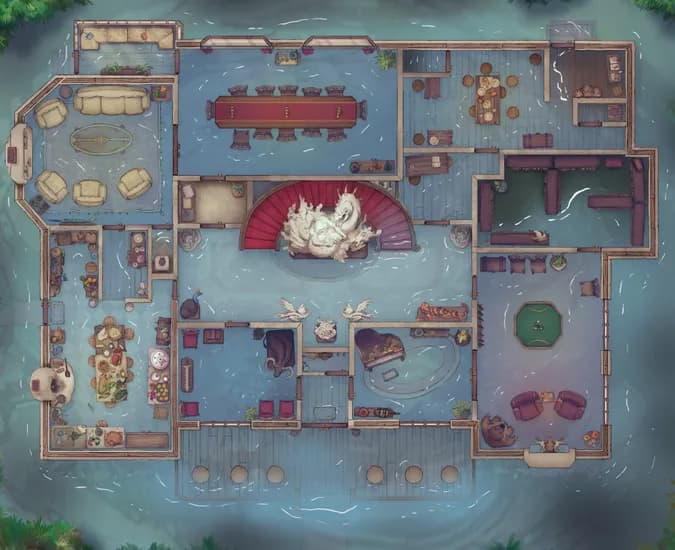
Grand Hunter's House (+2)
Grand Hunter's House (+2)
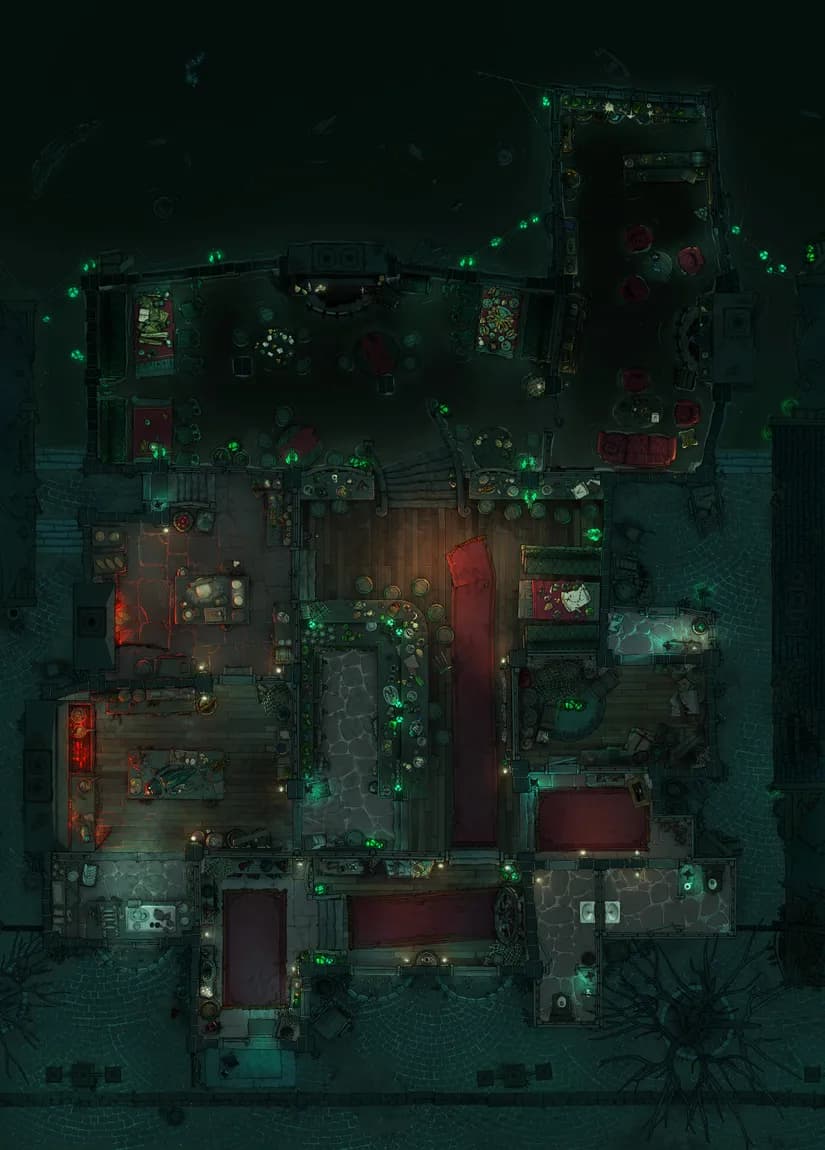
Haunted Dockside Tavern
Haunted Dockside Tavern
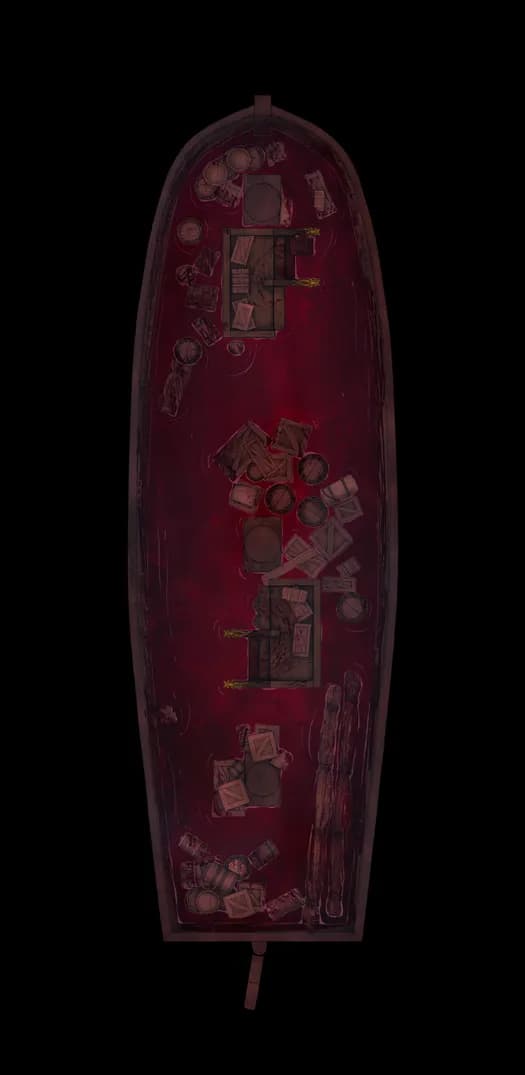
Haunted Ghost Ship Interior (+7)
Haunted Ghost Ship Interior (+7)
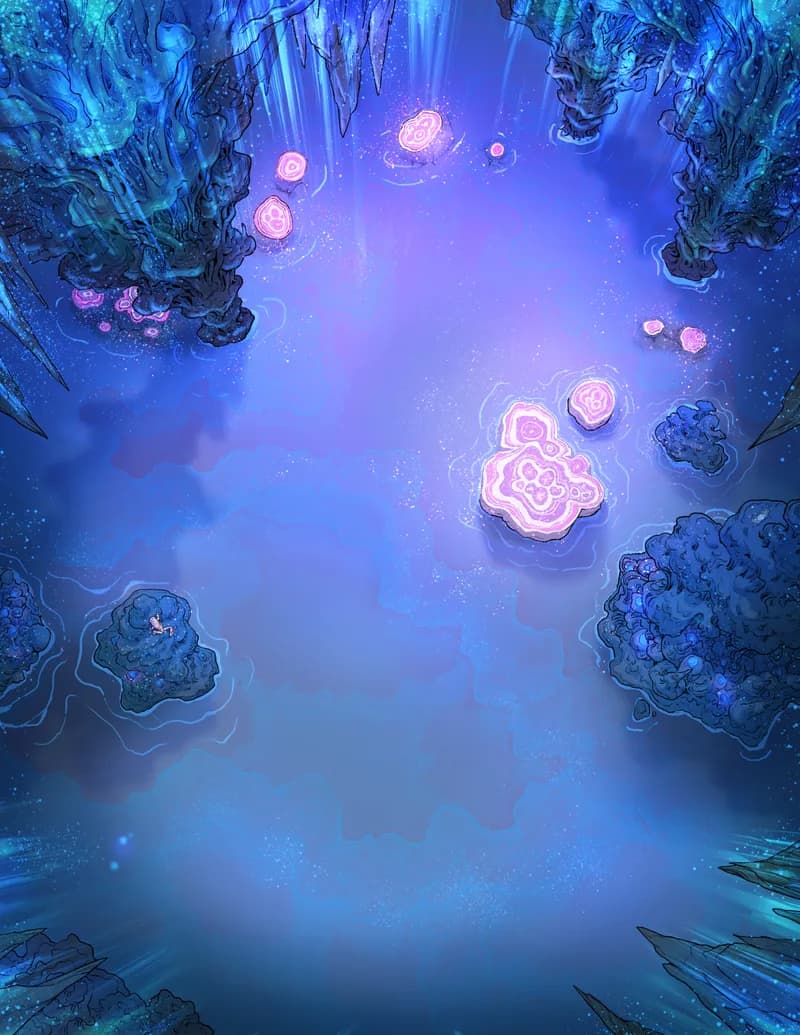
Healing Cave Spring
Healing Cave Spring
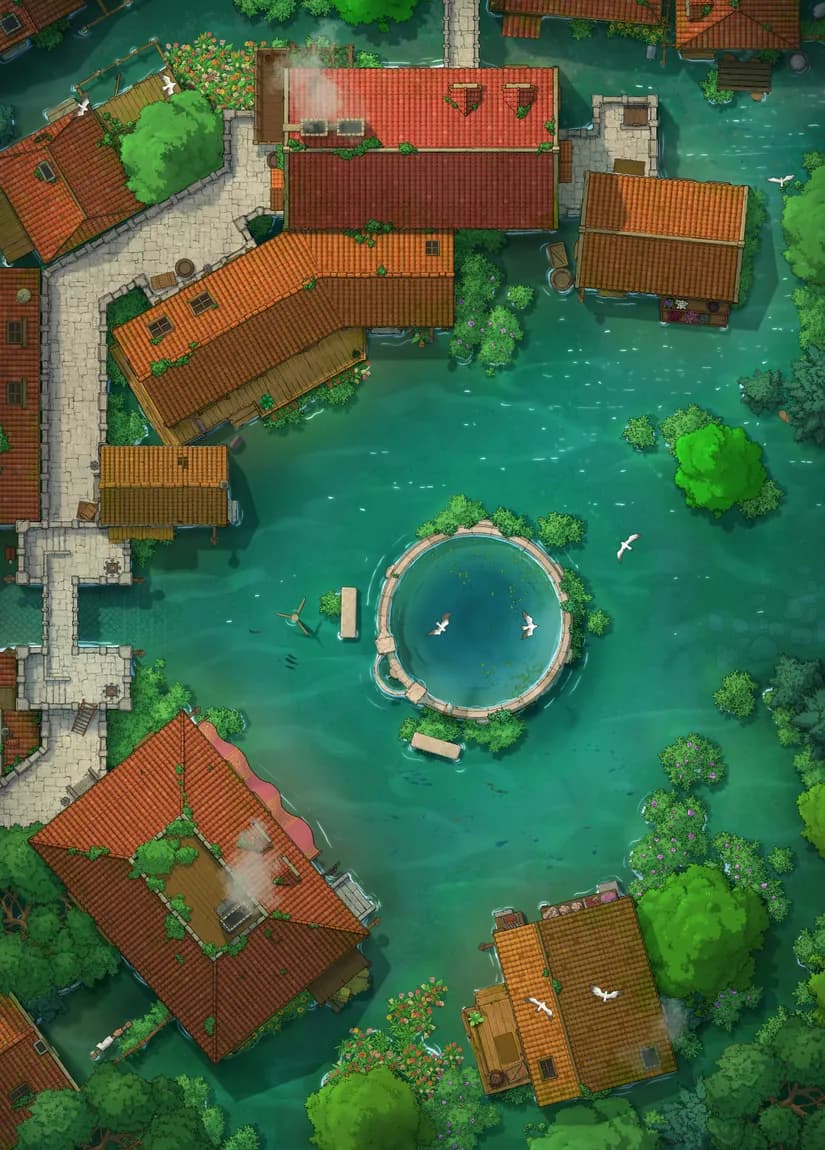
Heart of the Village
Heart of the Village
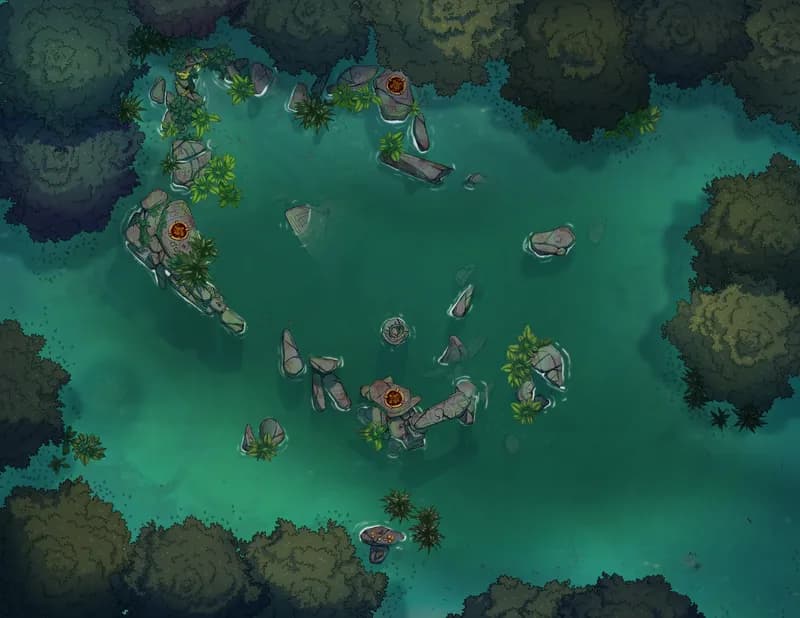
Henge Cave Entrance
Henge Cave Entrance
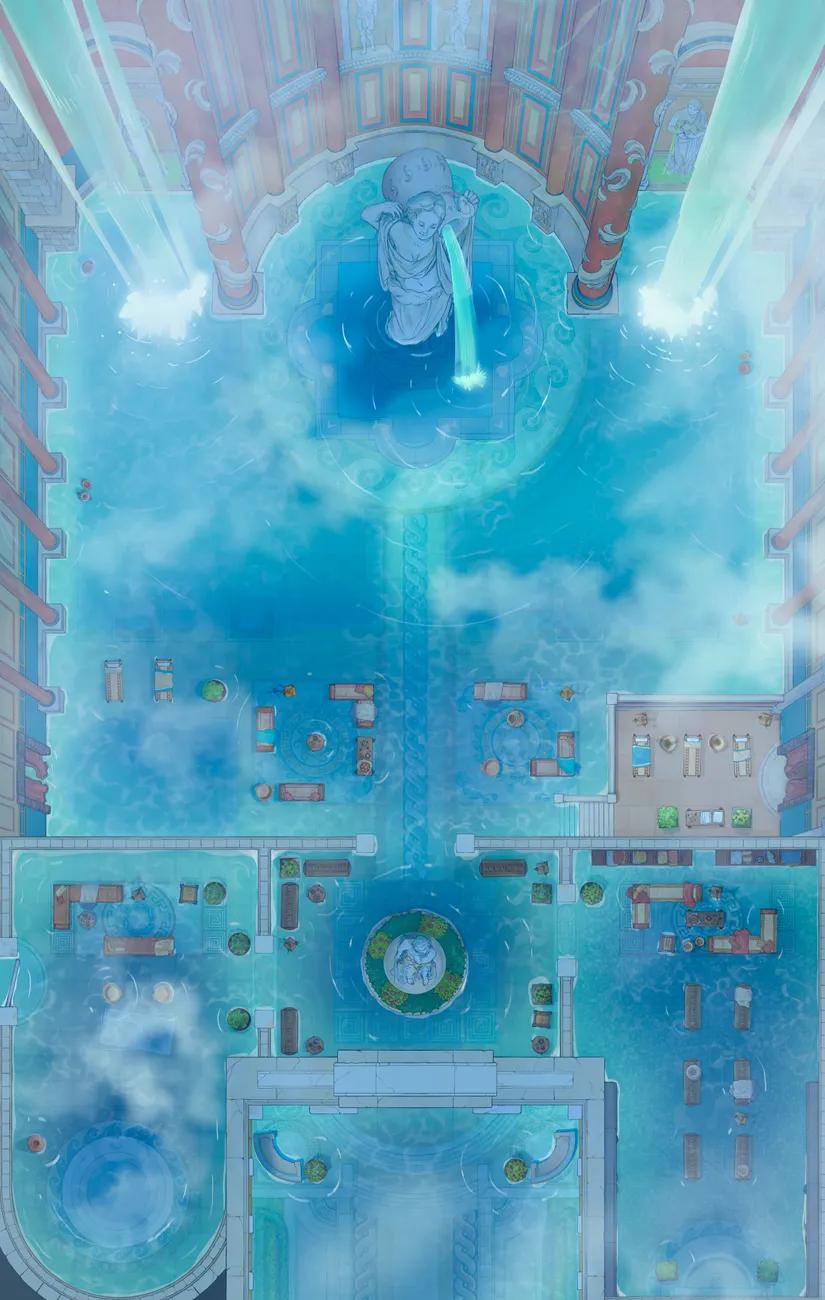
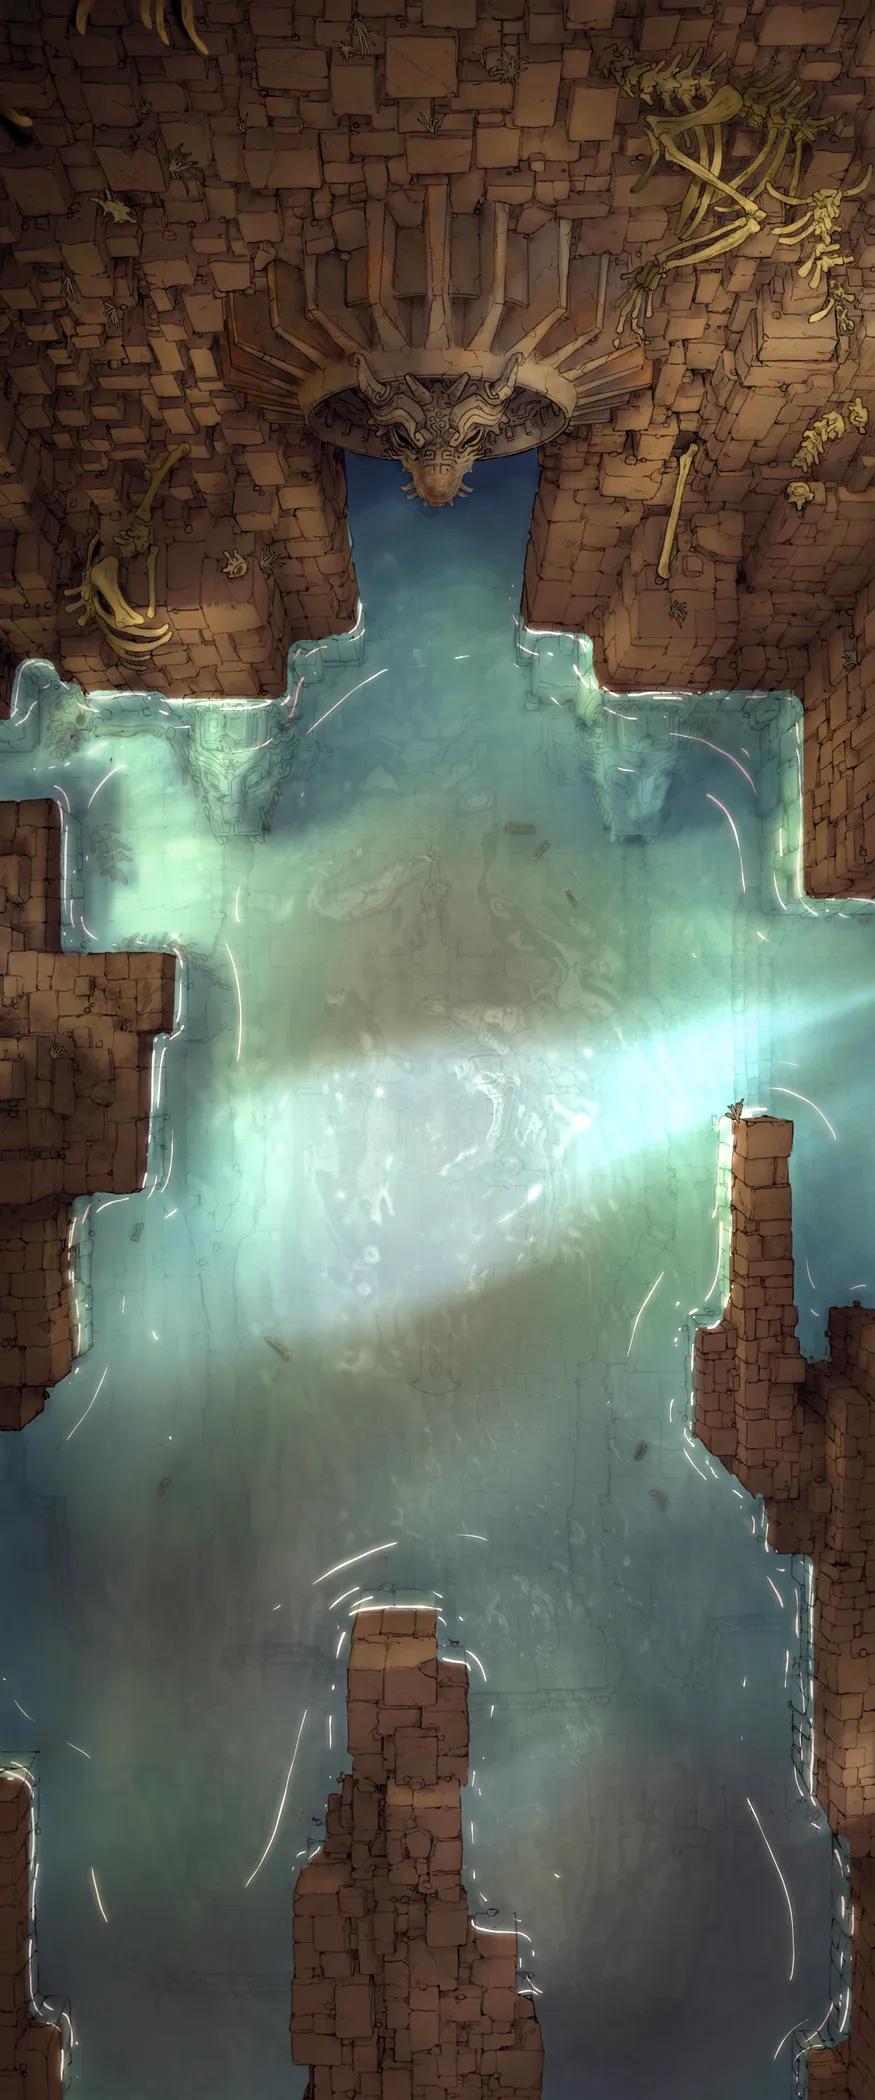
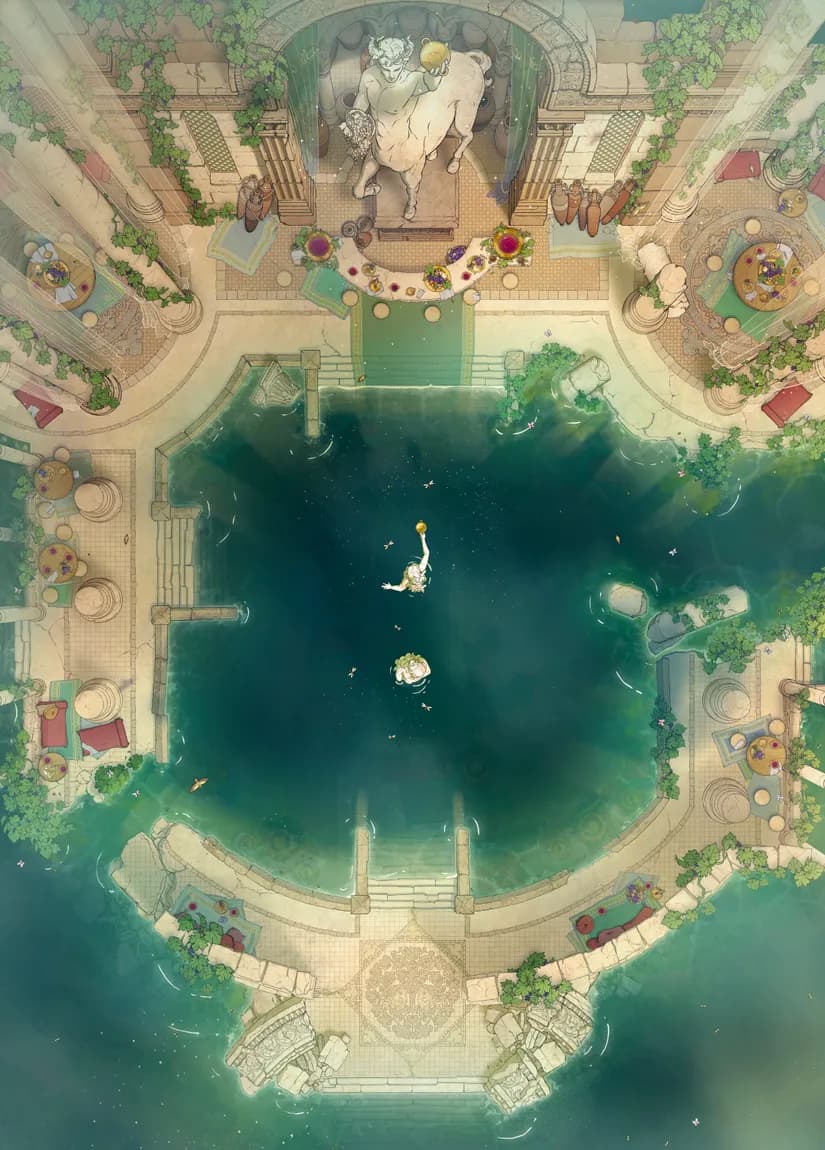
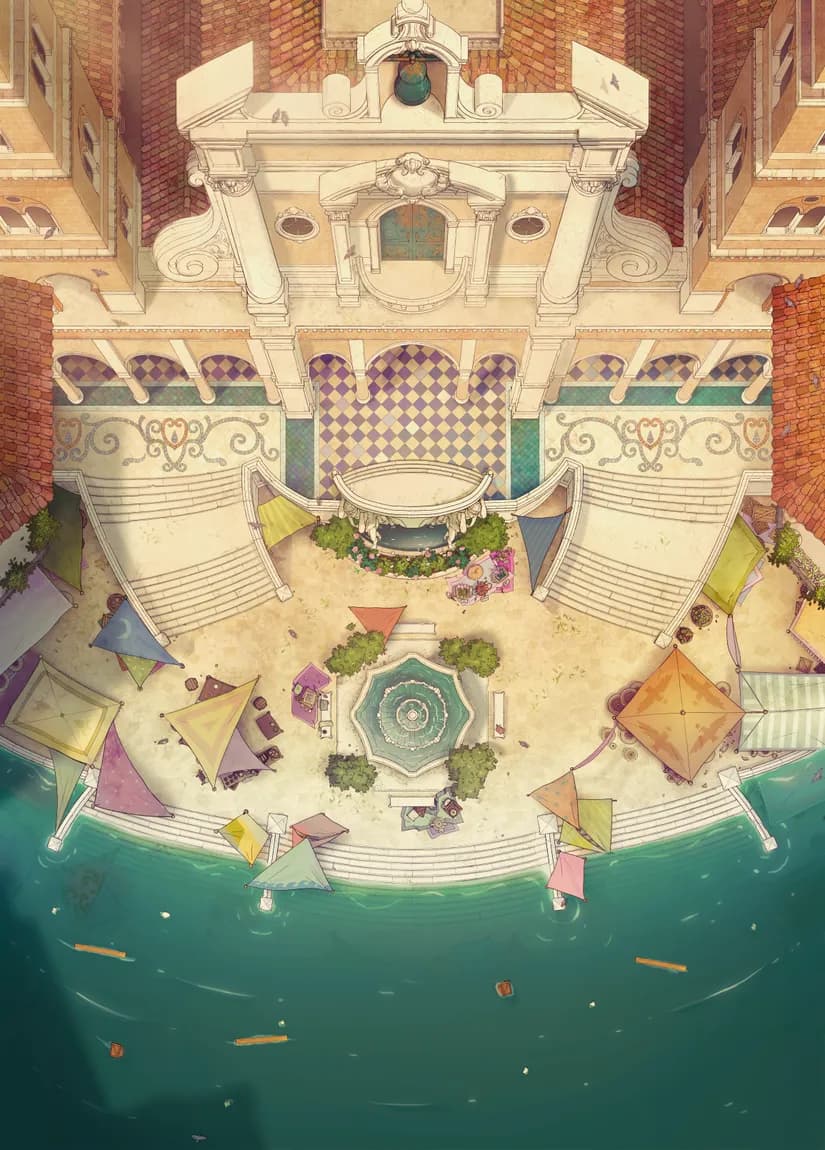
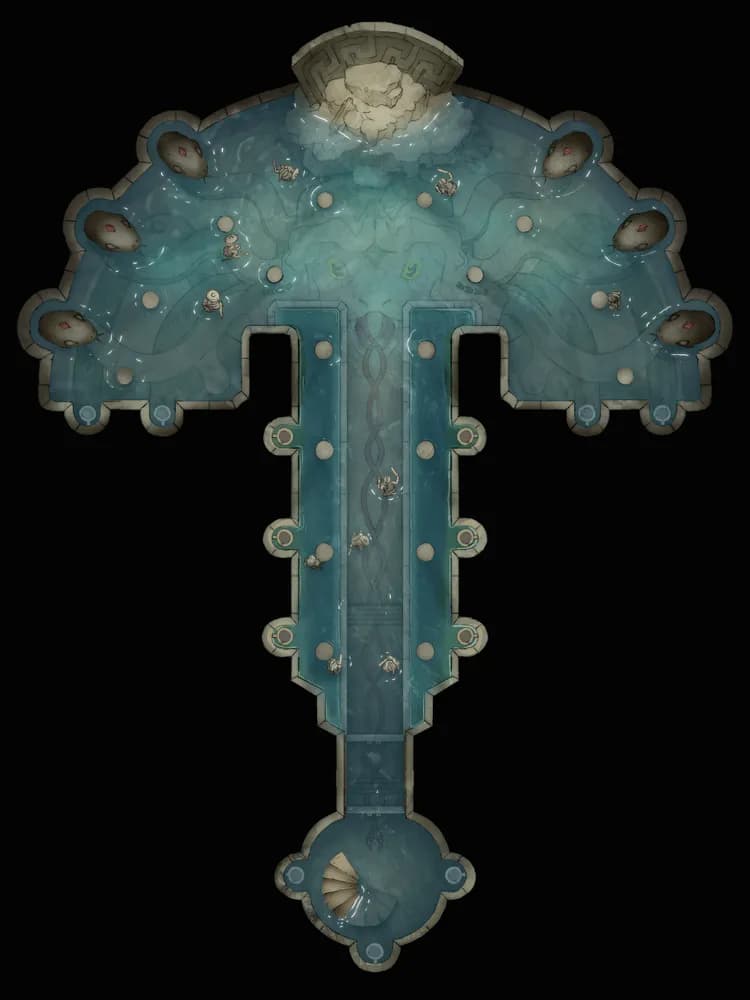
Imperial Bath Complex
Imperial Bath Complex
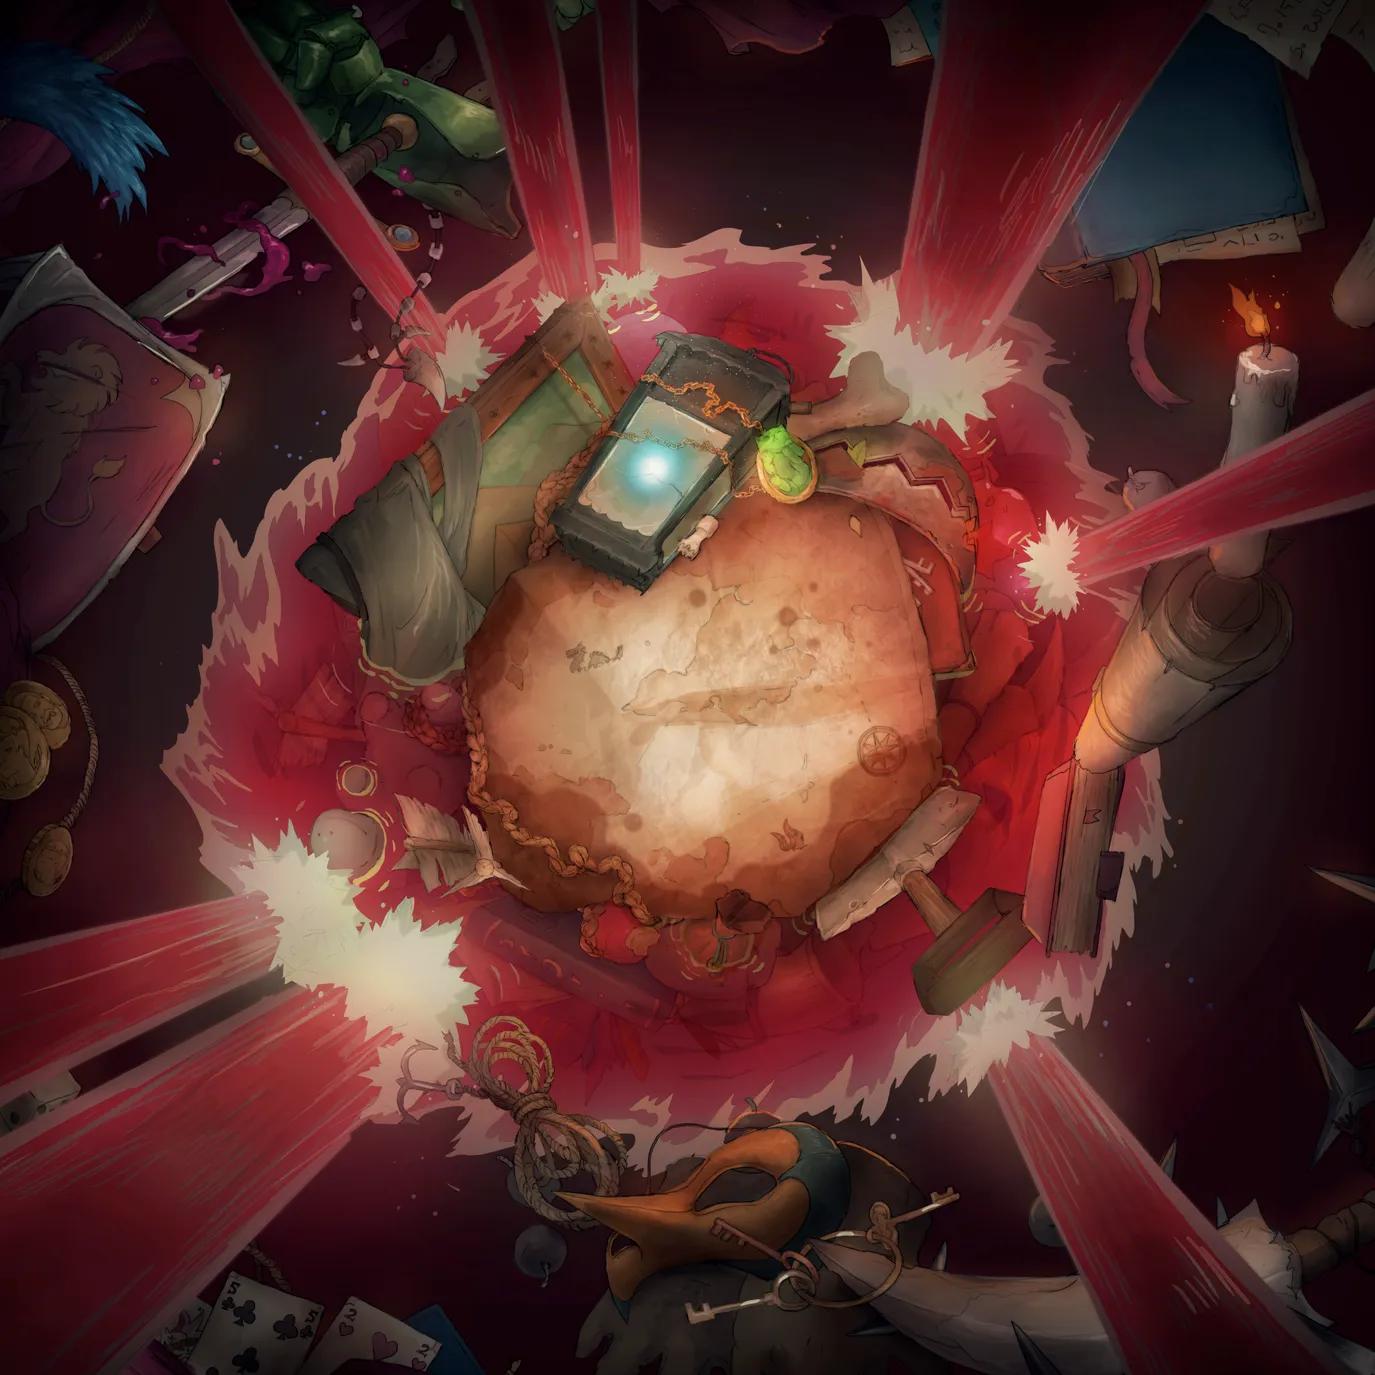
Inside a Bag of Holding (+1)
Inside a Bag of Holding (+1)
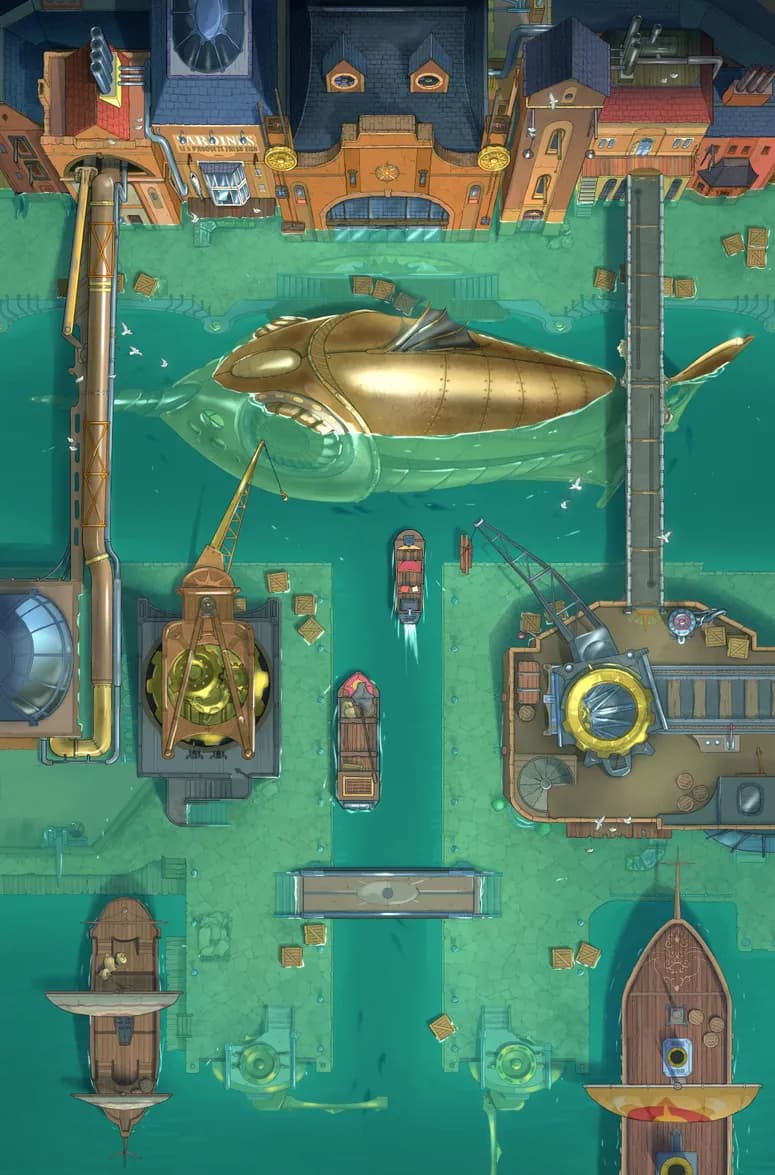
Iron Wharf
Iron Wharf
Lakeside Respite
Lakeside Respite
Lich Catacomb (+1)
Lich Catacomb (+1)
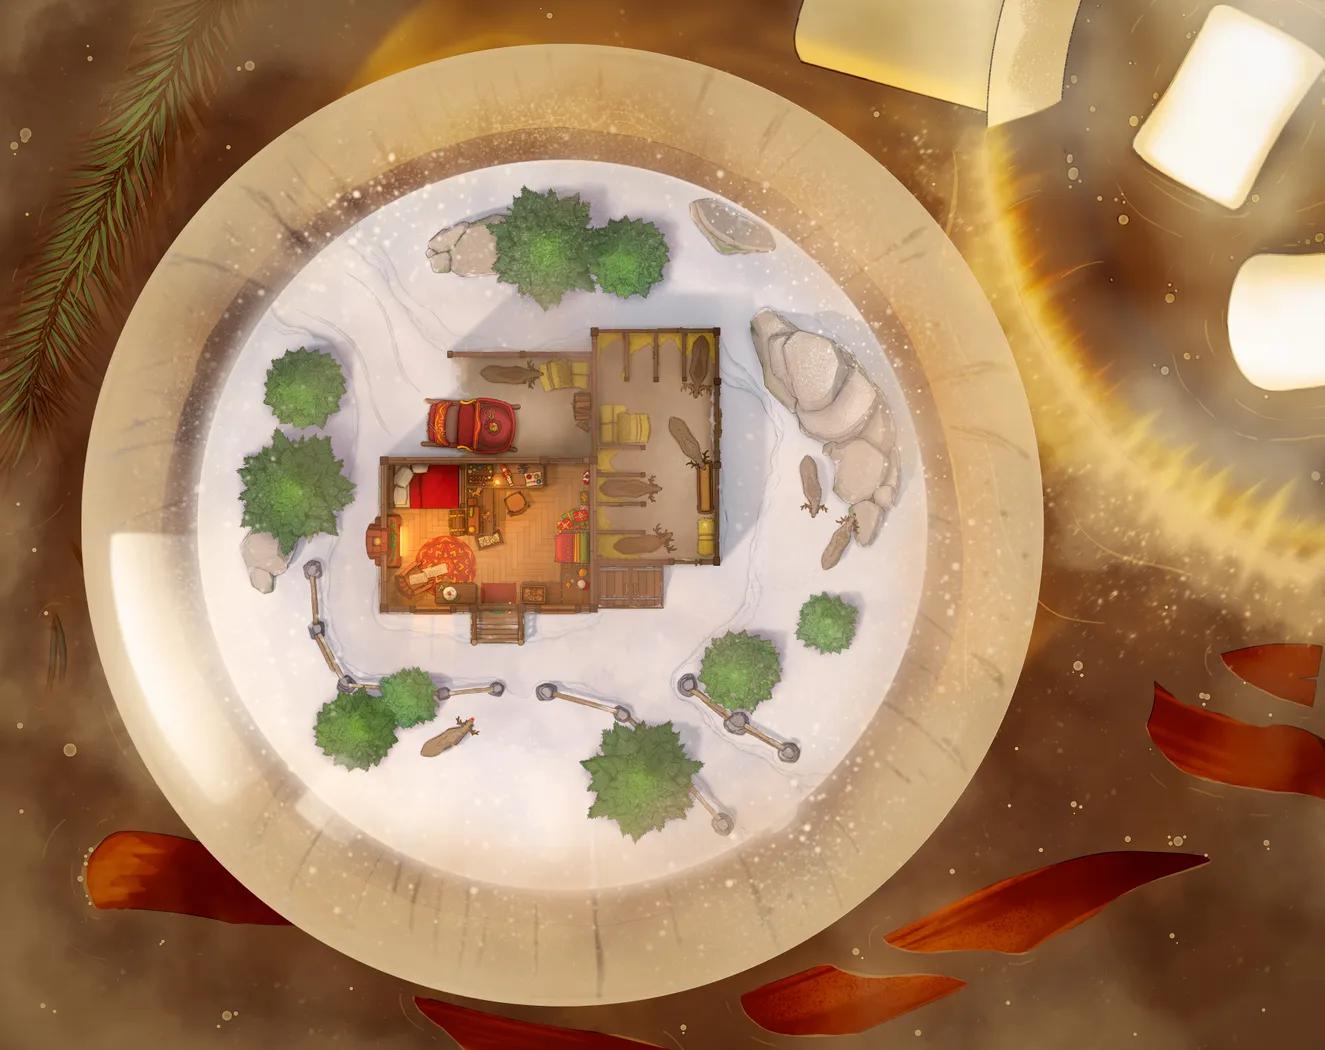
Magical Snowglobe
Magical Snowglobe
Magisters Market
Magisters Market
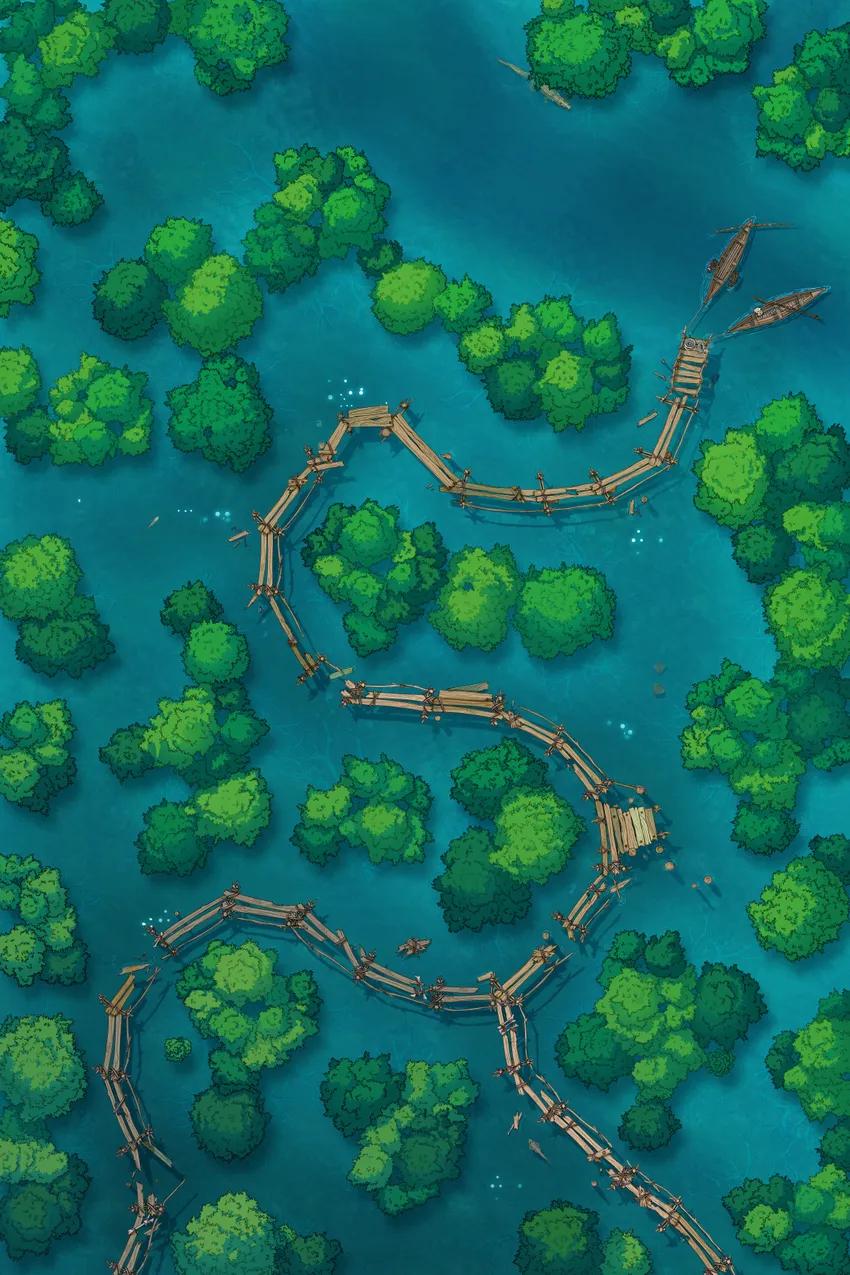
Mangrove Forest (+1)
Mangrove Forest (+1)
Market City Walls (+1)
Market City Walls (+1)
Market Streets (+1)
Market Streets (+1)
Medieval Jail
Medieval Jail
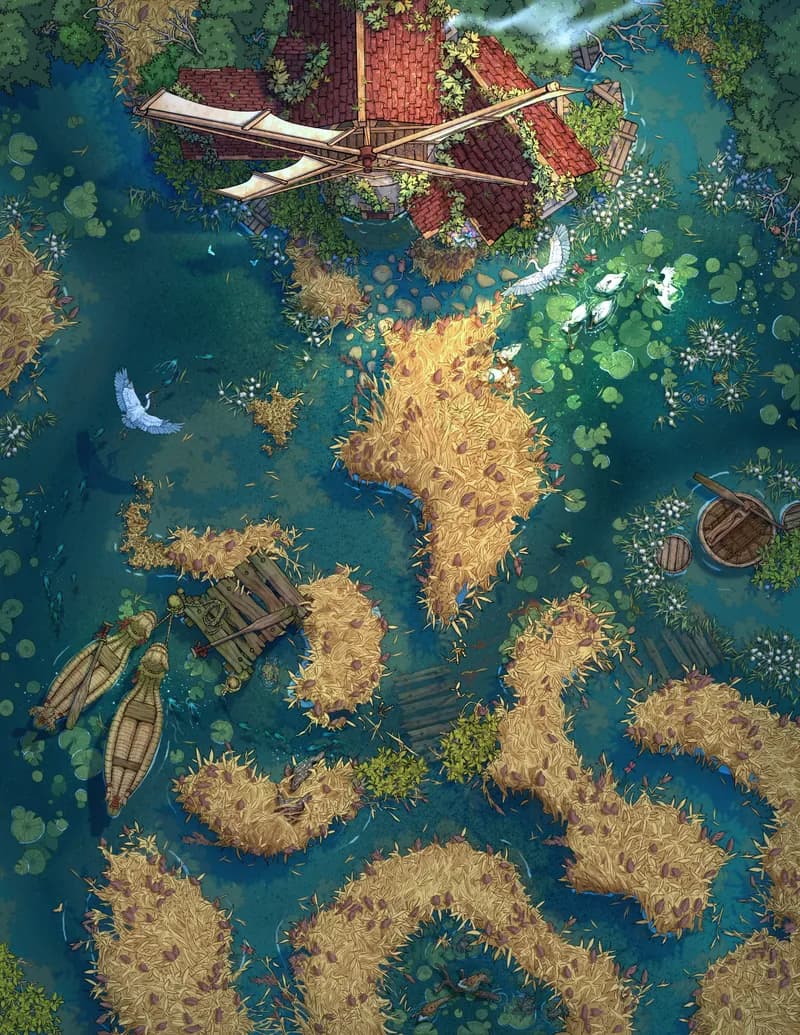
Mellow Marshland Mill
Mellow Marshland Mill
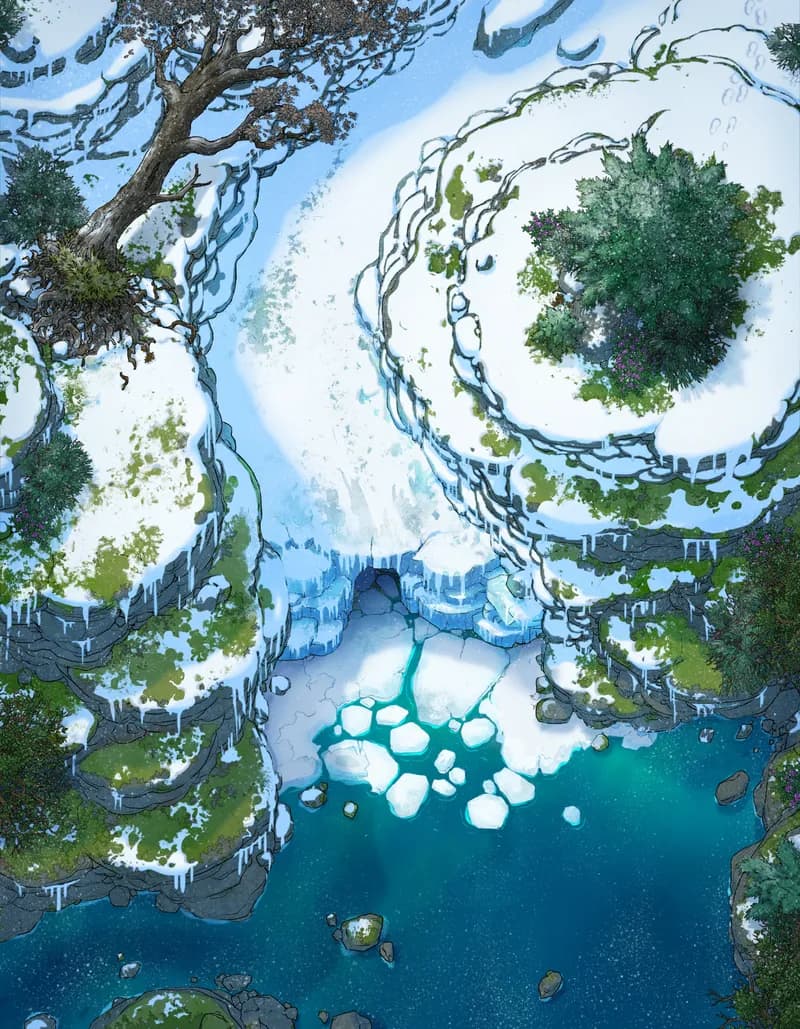
Melting Glacier
Melting Glacier
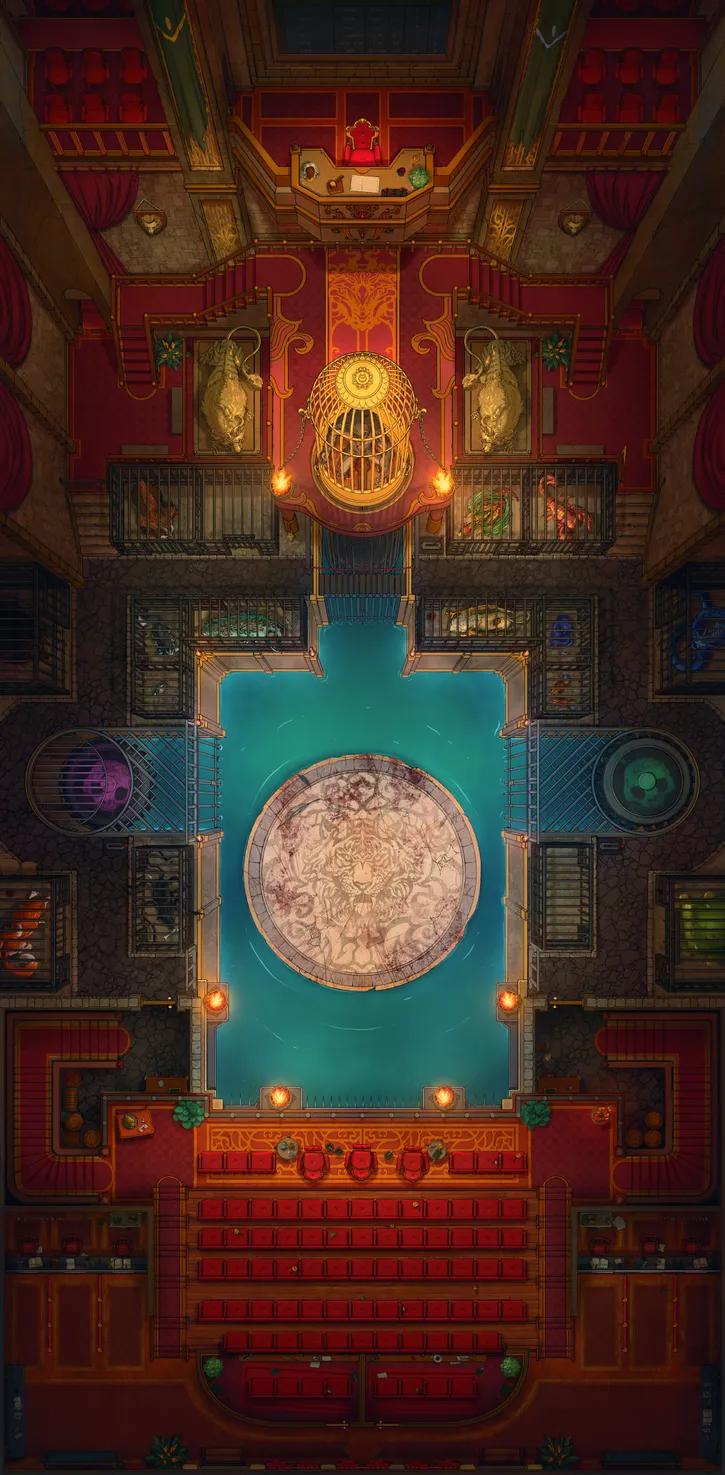
Monster Fighting Pit
Monster Fighting Pit
Motte and Bailey Castle (+1)
Motte and Bailey Castle (+1)
Mushroom Infested Mines
Mushroom Infested Mines
Mycelial Gate
Mycelial Gate
Mysterious Druid Grove
Mysterious Druid Grove
Necropolis Dungeon
Necropolis Dungeon
Nightmare Dragon Lair
Nightmare Dragon Lair
Oasis City
Oasis City
Oni Hideout
Oni Hideout

Overground Dwarven City Center (+3)
Overground Dwarven City Center (+3)
Pastoral Village Stables
Pastoral Village Stables
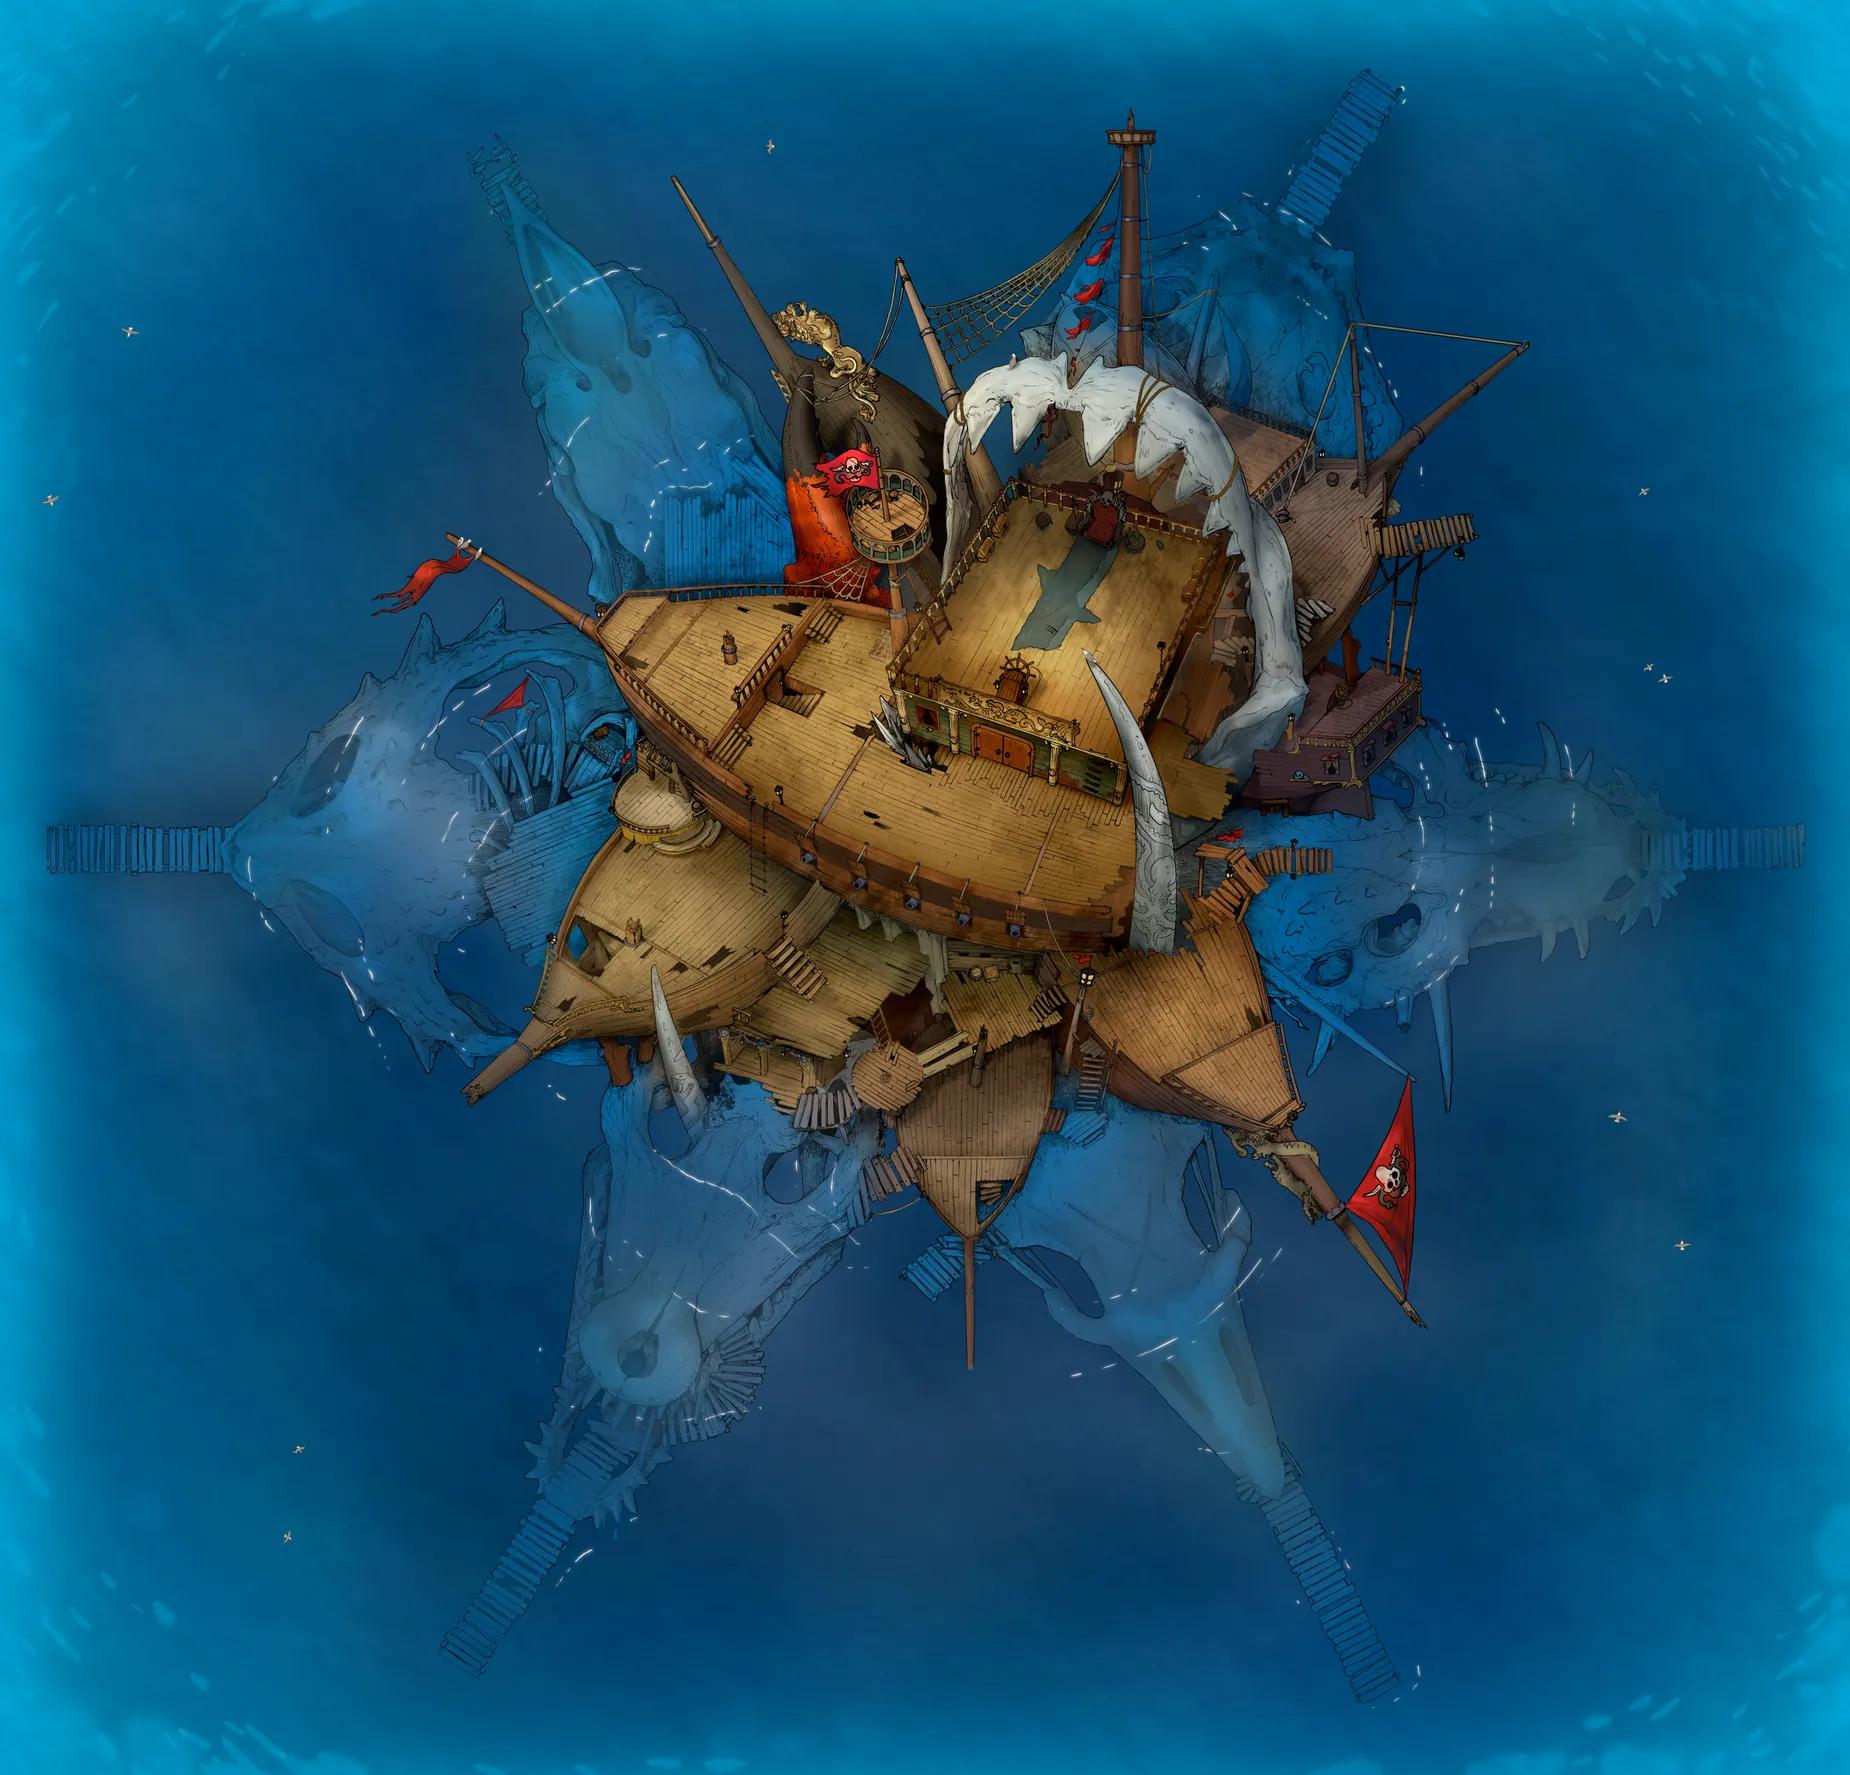
Pirate Lord's Lair
Pirate Lord's Lair
Pseudodragon Lair (+1)
Pseudodragon Lair (+1)
Quaint Village School (+1)
Quaint Village School (+1)
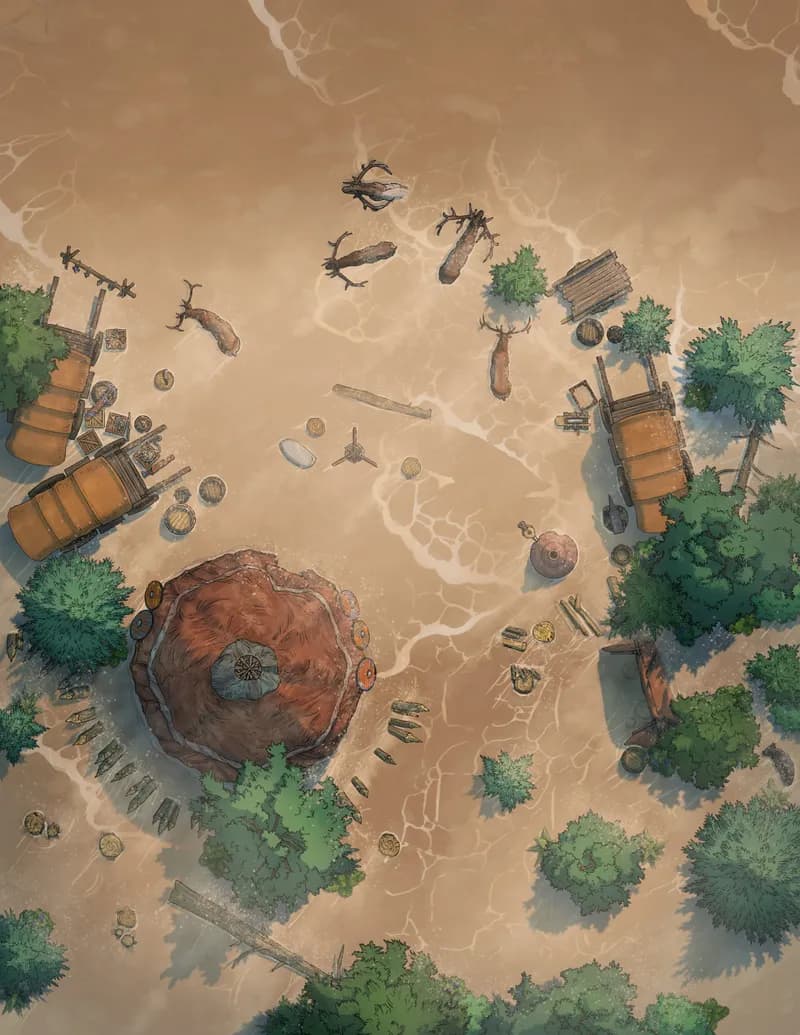
Rebel Camp (+3)
Rebel Camp (+3)
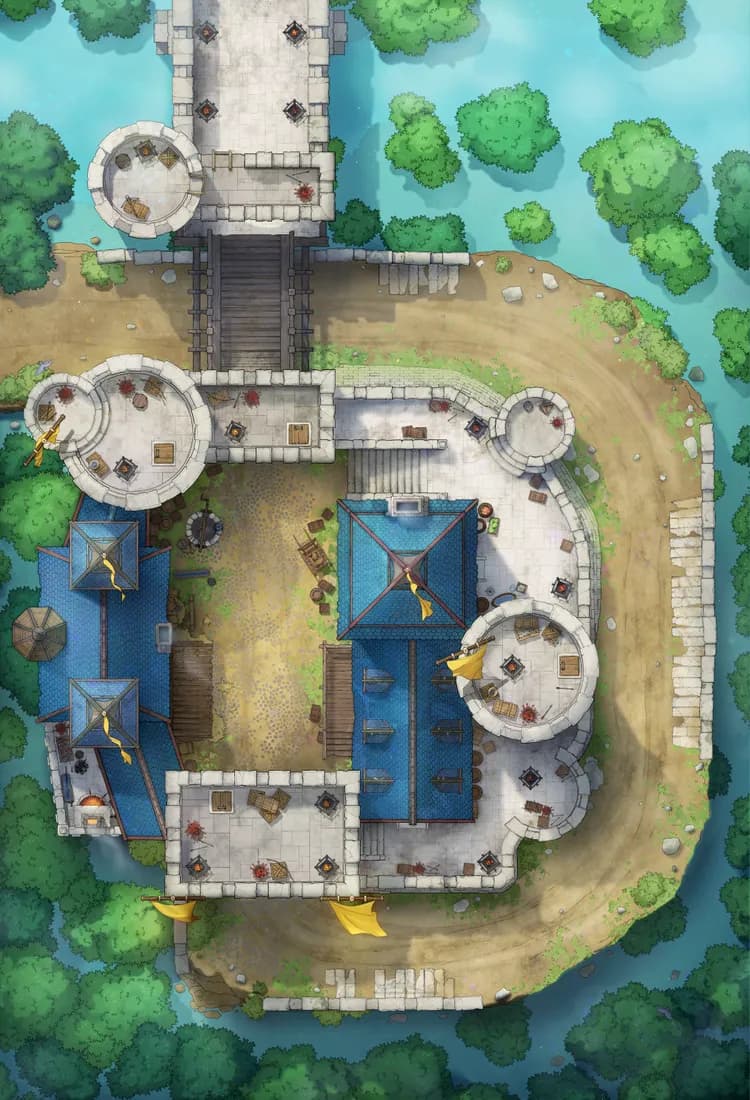
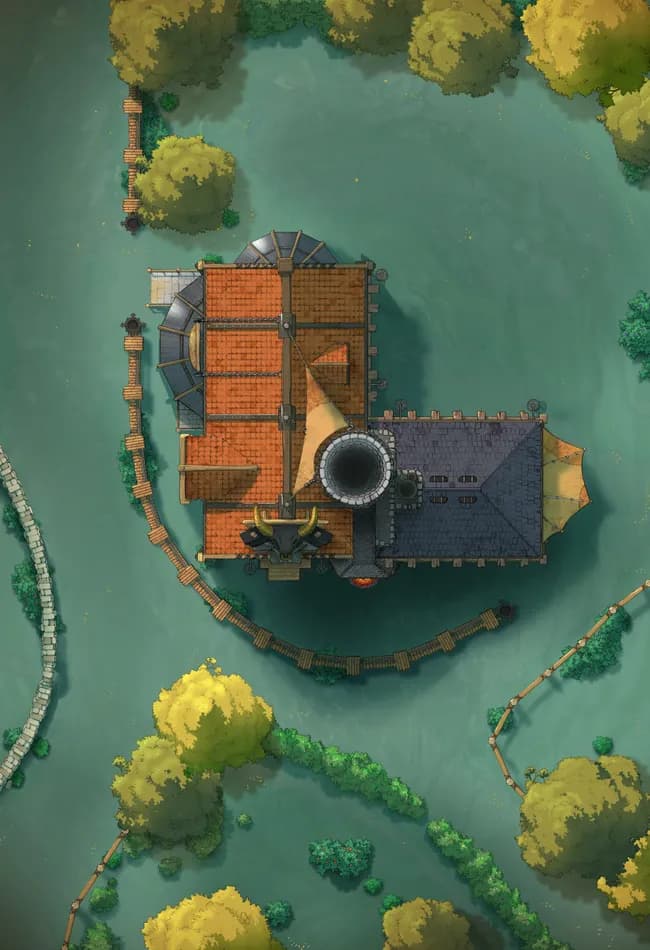
Riverwood Toll Castle
Riverwood Toll Castle
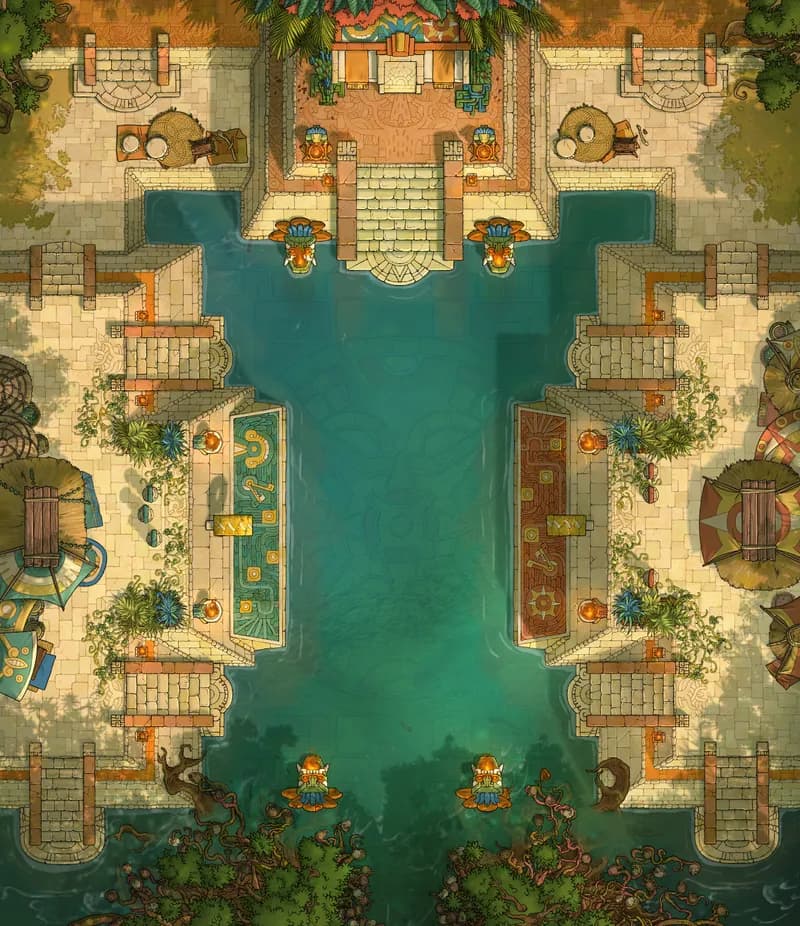
Sacred Ballcourt (+1)
Sacred Ballcourt (+1)
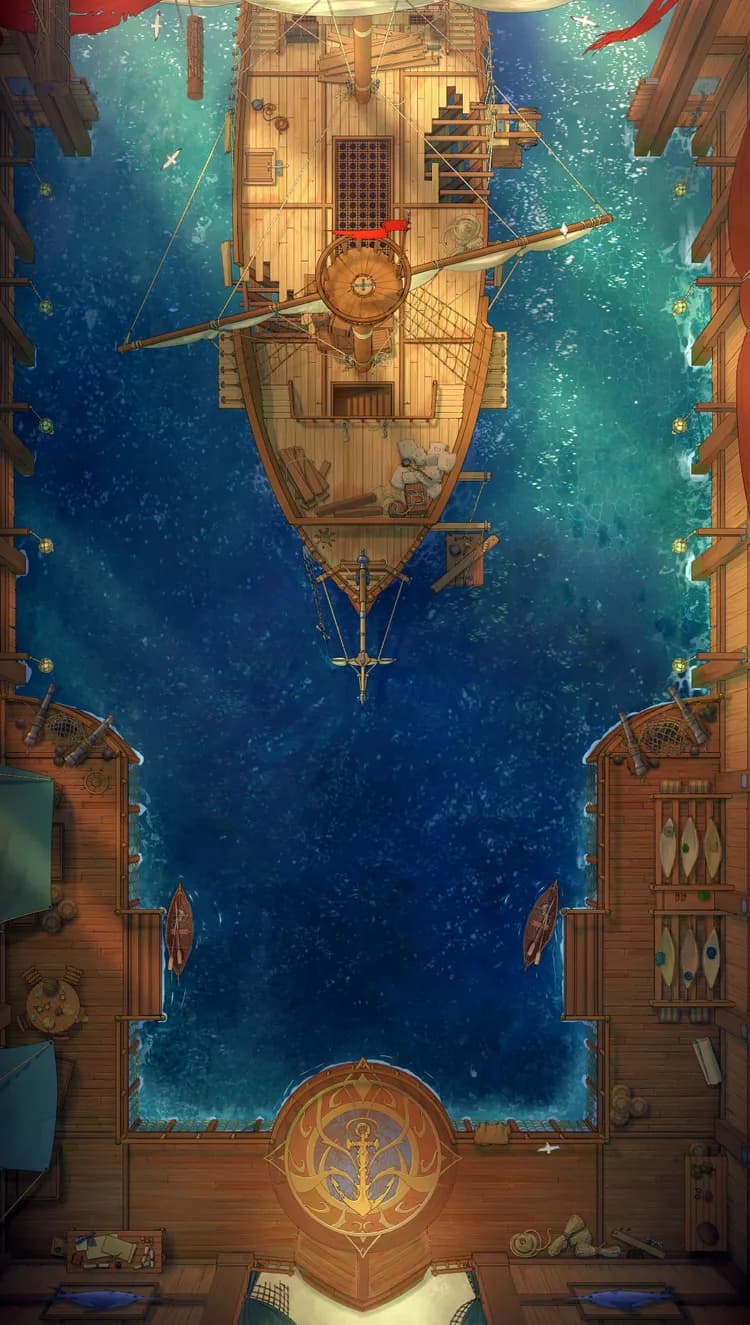
Secret Sailor Lair
Secret Sailor Lair
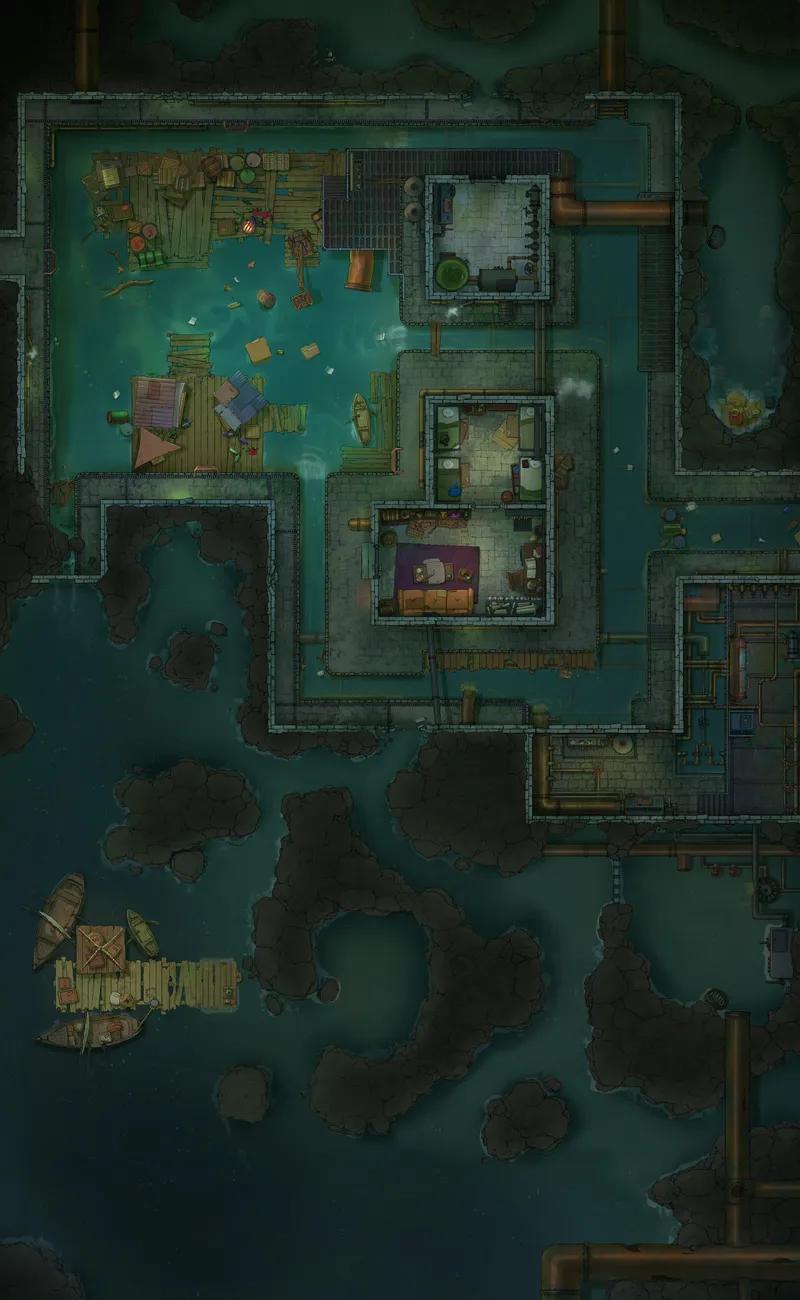
Sewer Tunnels
Sewer Tunnels

Temple Pastures
Temple Pastures
Temple of the Medusa Throne
Temple of the Medusa Throne
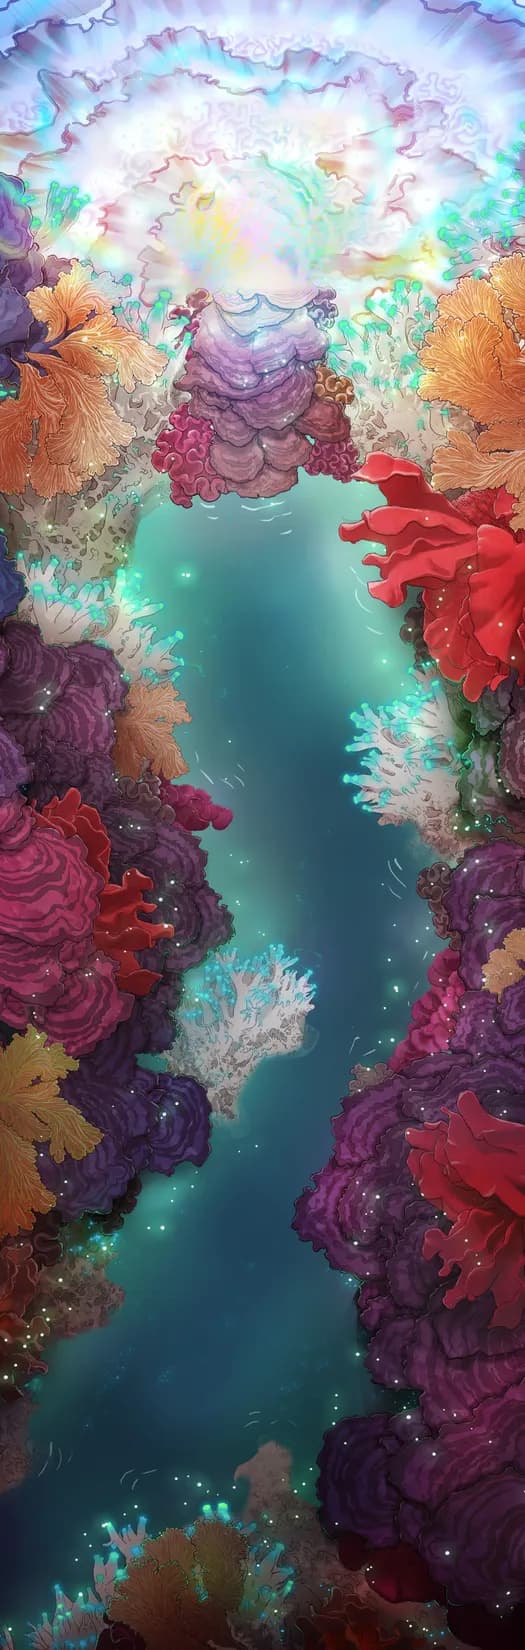
Tidal River (+5)
Tidal River (+5)
Tomb of Sand Interior (+4)
Tomb of Sand Interior (+4)
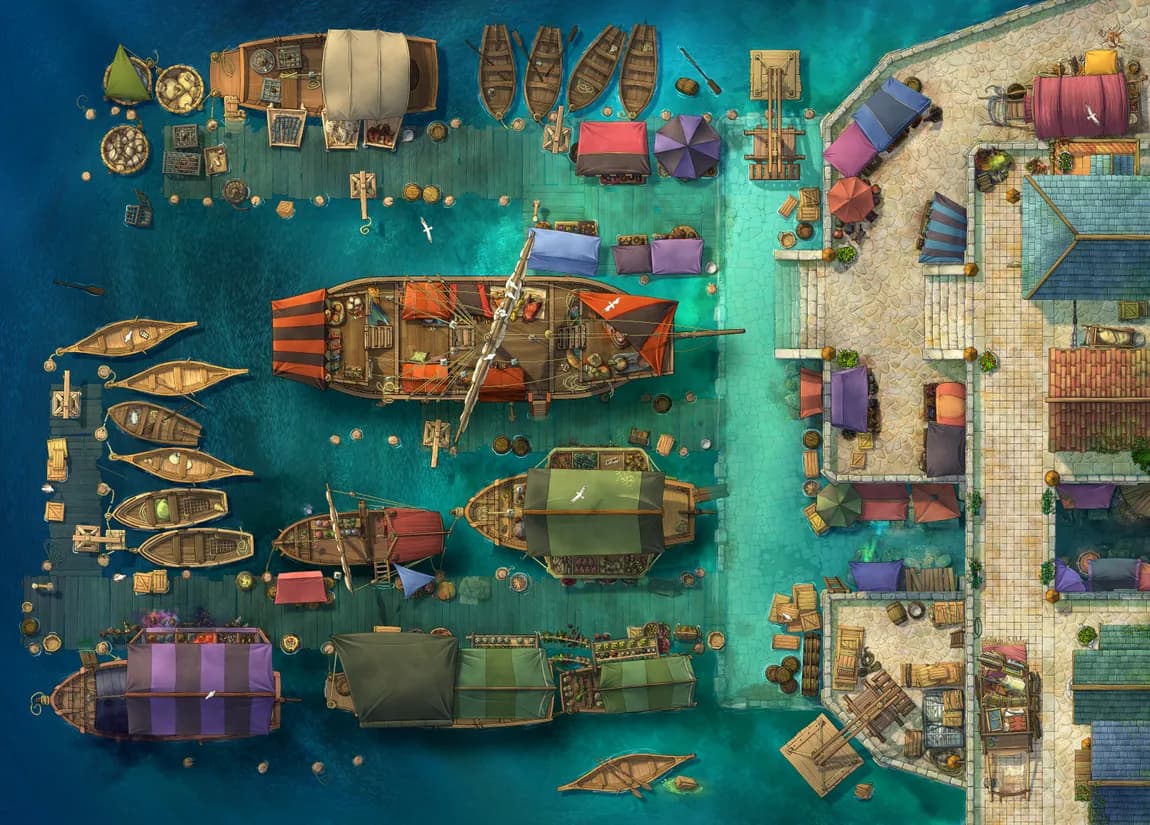
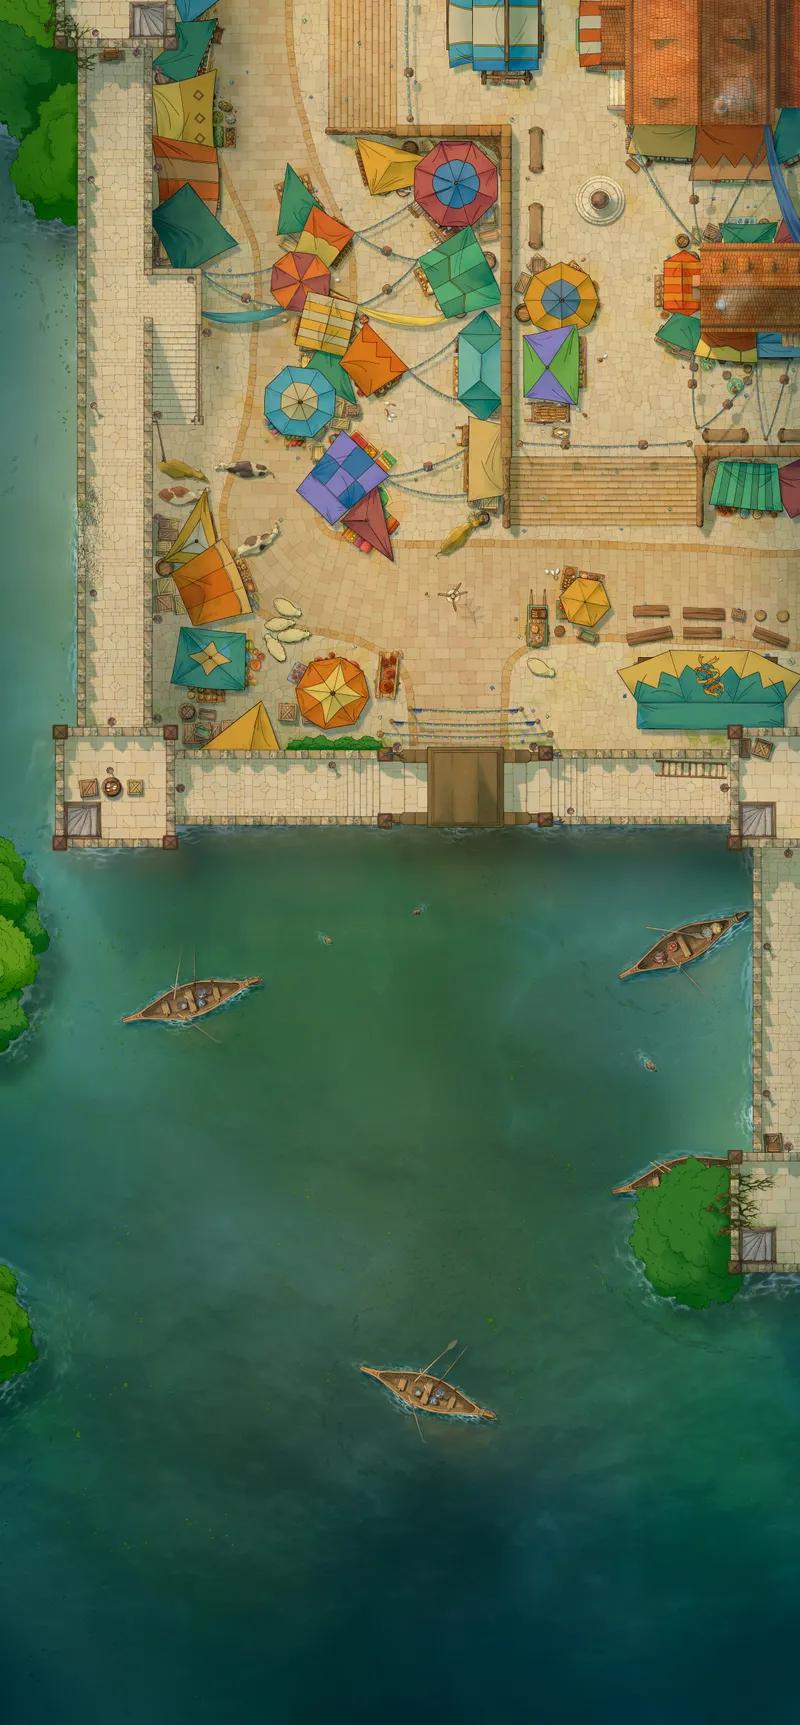
Trading Port (+3)
Trading Port (+3)
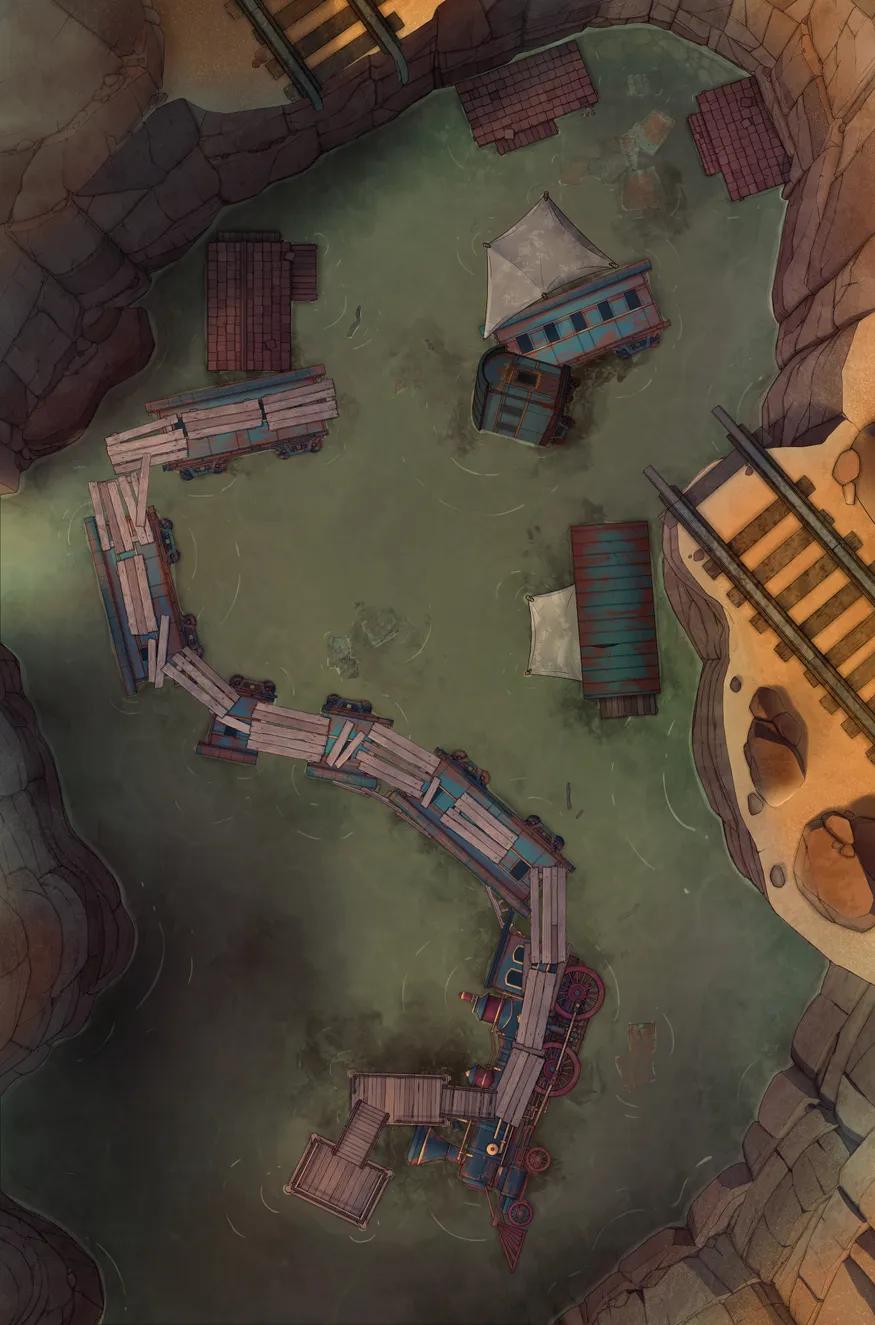
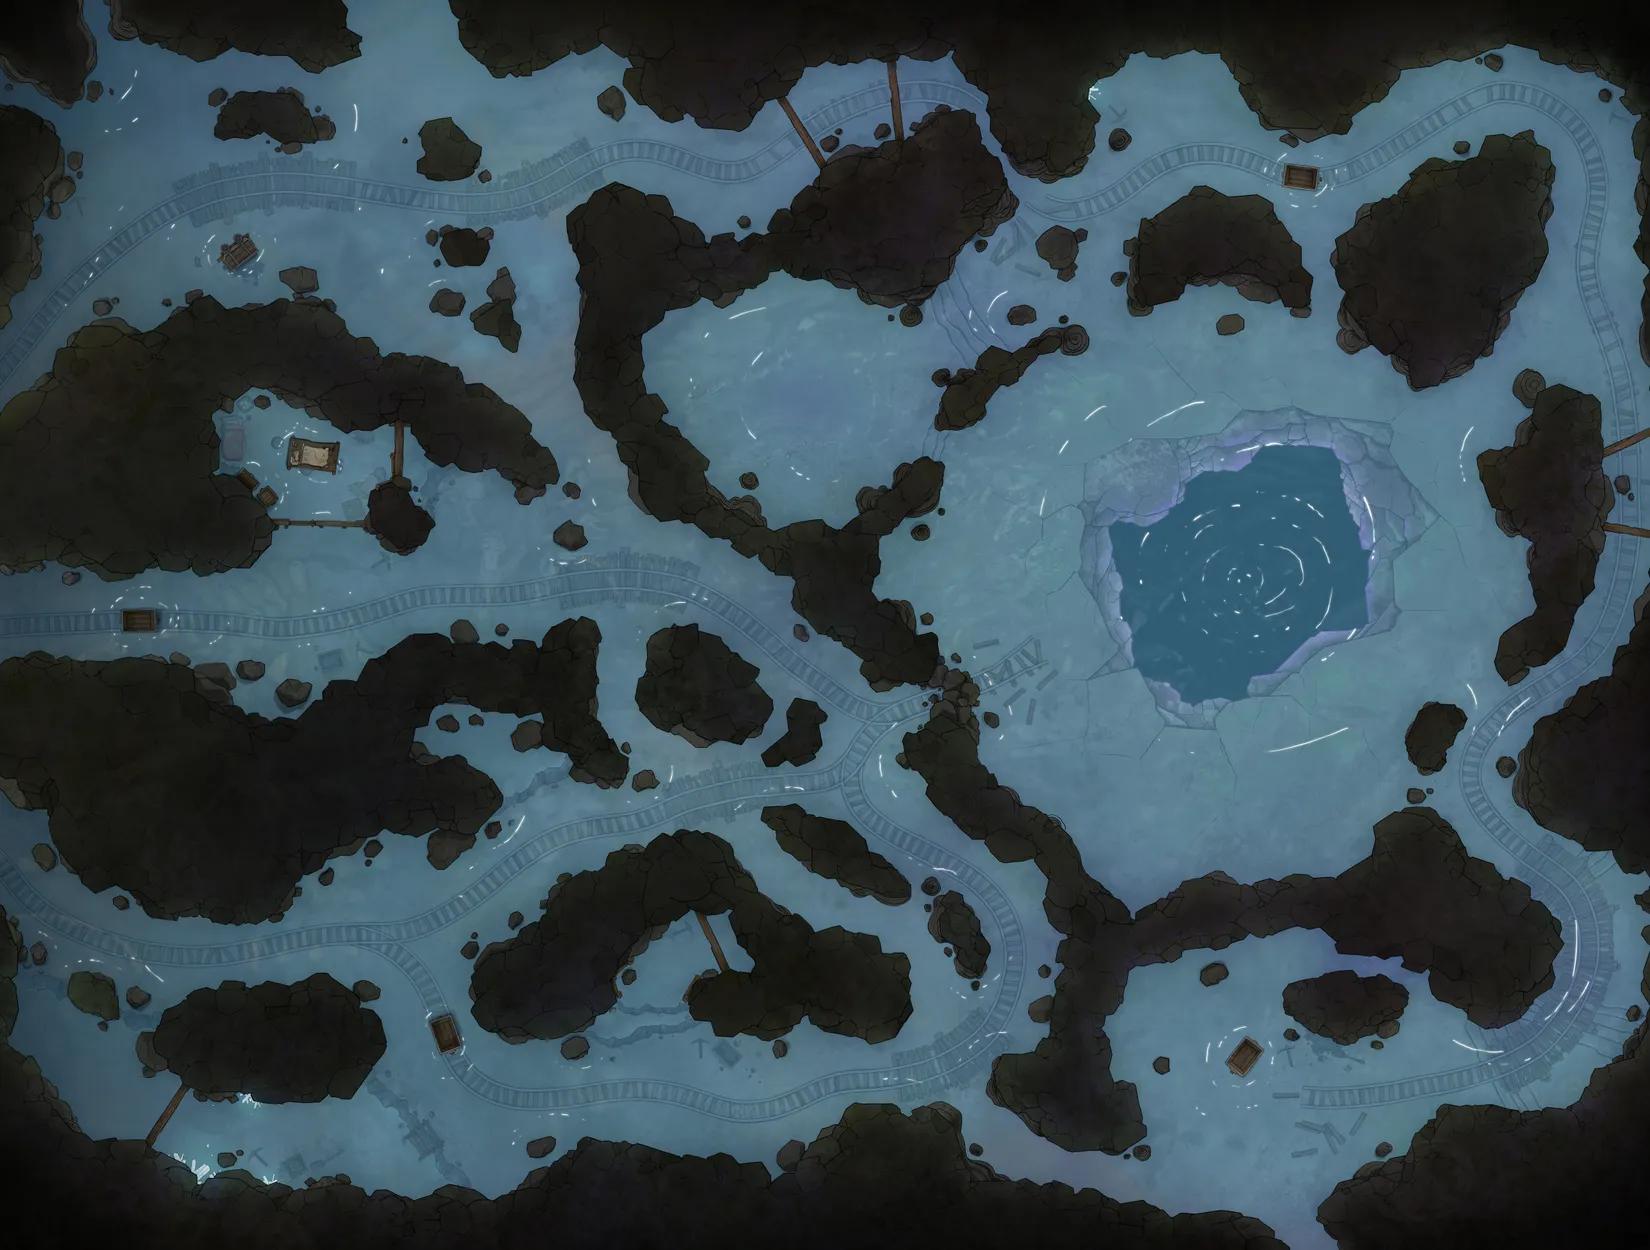
Trainwreck Village (+1)
Trainwreck Village (+1)
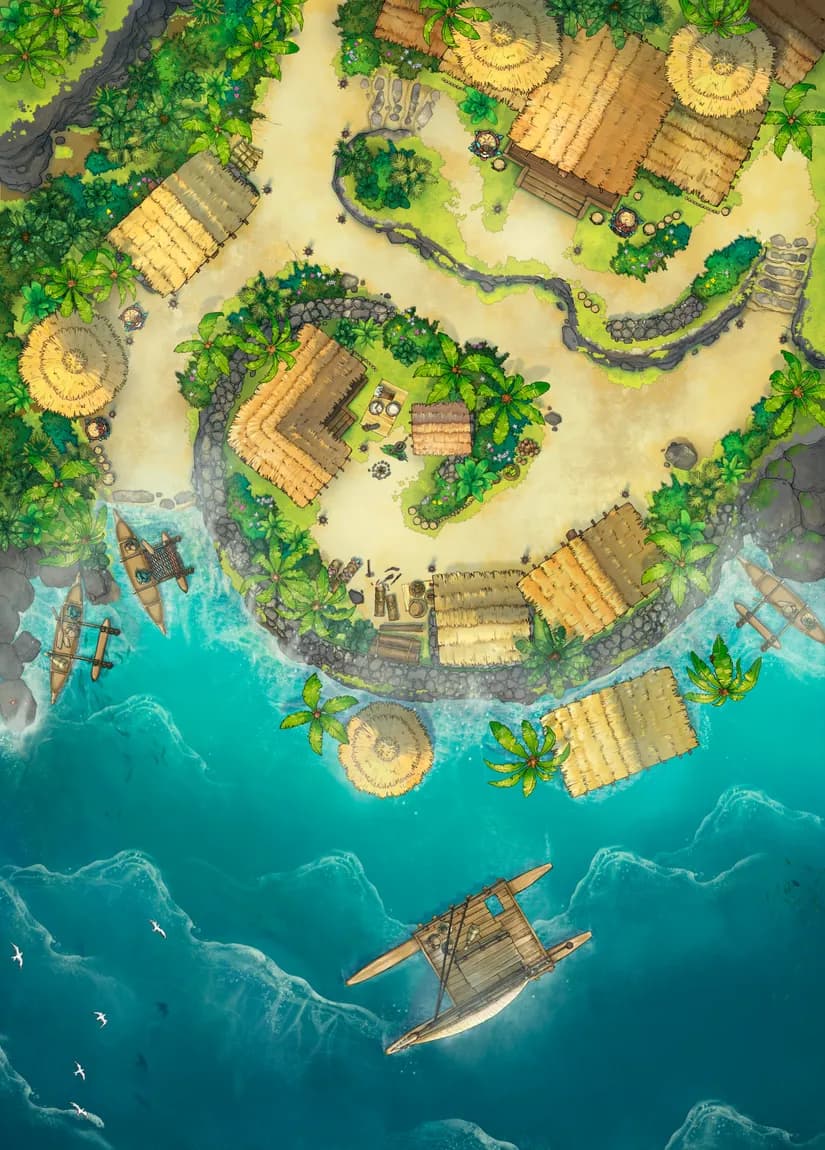
Tropical Island Village (+1)
Tropical Island Village (+1)
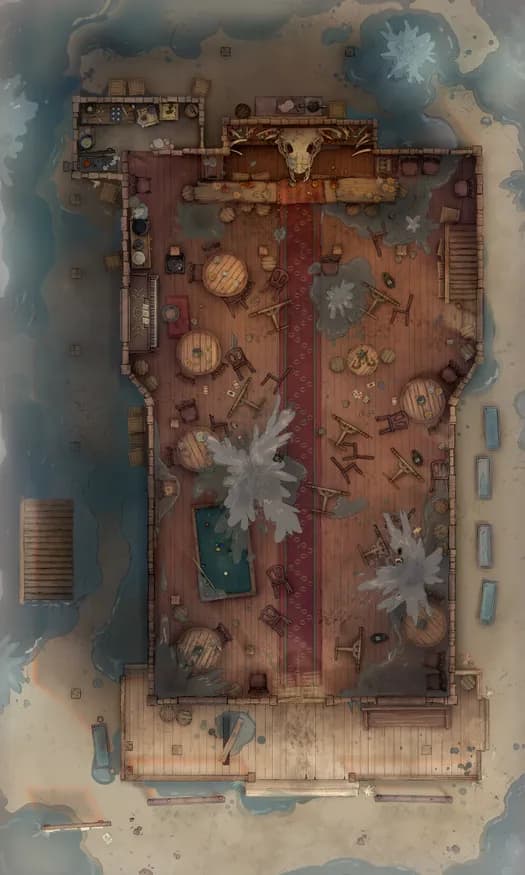
Twisted Tavern
Twisted Tavern
Underground Dwarven City Centre (+3)
Underground Dwarven City Centre (+3)
Verdant Oasis
Verdant Oasis
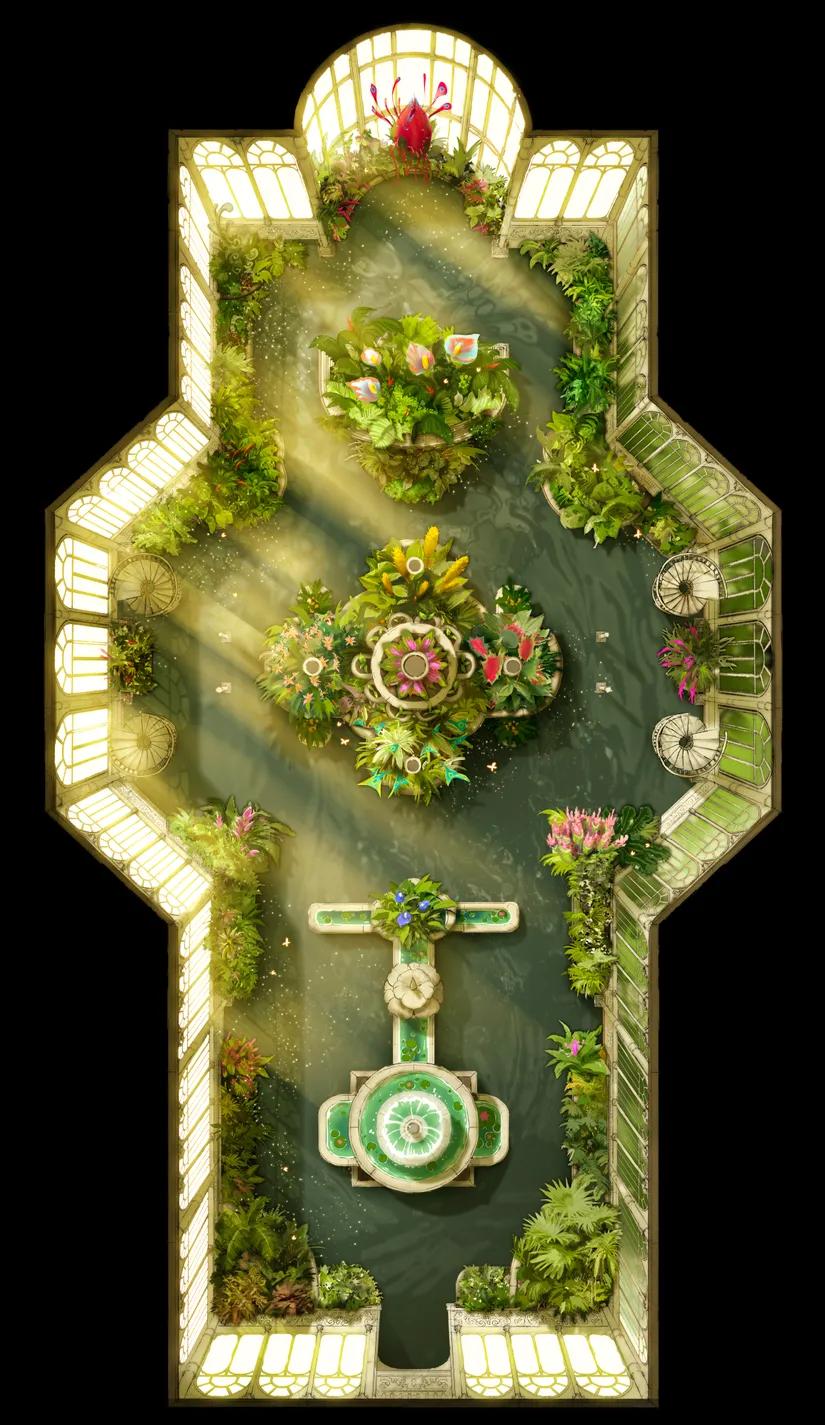
Victorian Greenhouse
Victorian Greenhouse
Village Blacksmith (+1)
Village Blacksmith (+1)
Wild West Saloon (+1)
Wild West Saloon (+1)
Wild West Town (+1)
Wild West Town (+1)
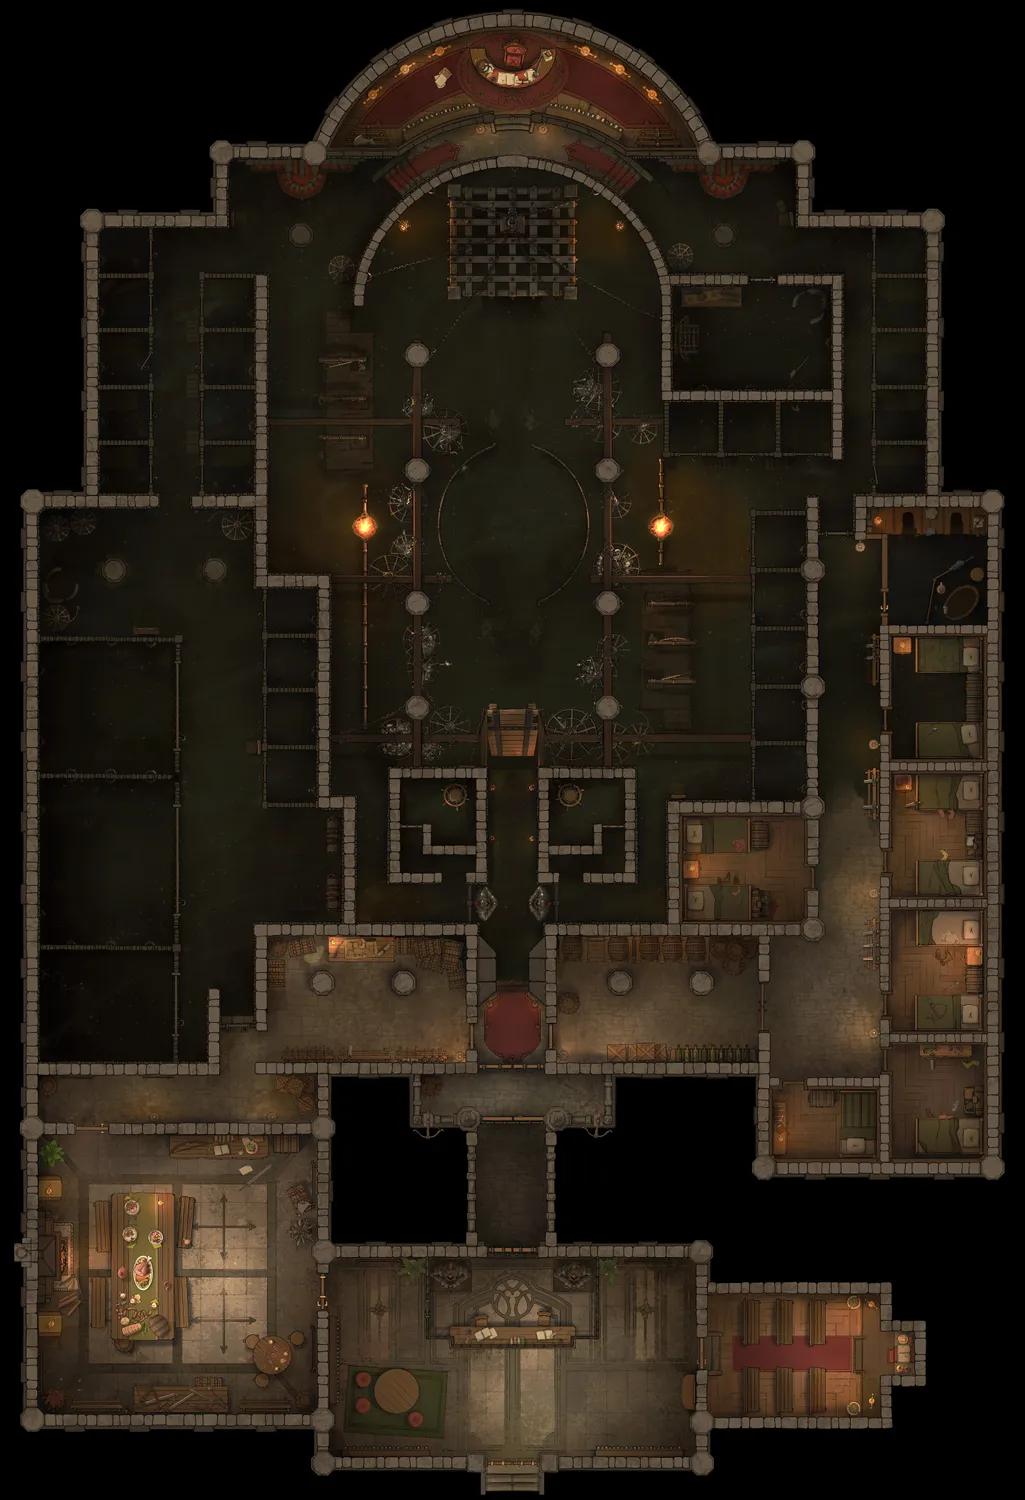
Wizard Prison Pt. 2 (+6)
Wizard Prison Pt. 2 (+6)
Yggdrasil Roots (+1)
Yggdrasil Roots (+1)
Yggdrasil Trunk
Yggdrasil Trunk

Yggdrasil Village
Yggdrasil Village
Young Adventurer's Hideout
Young Adventurer's Hideout