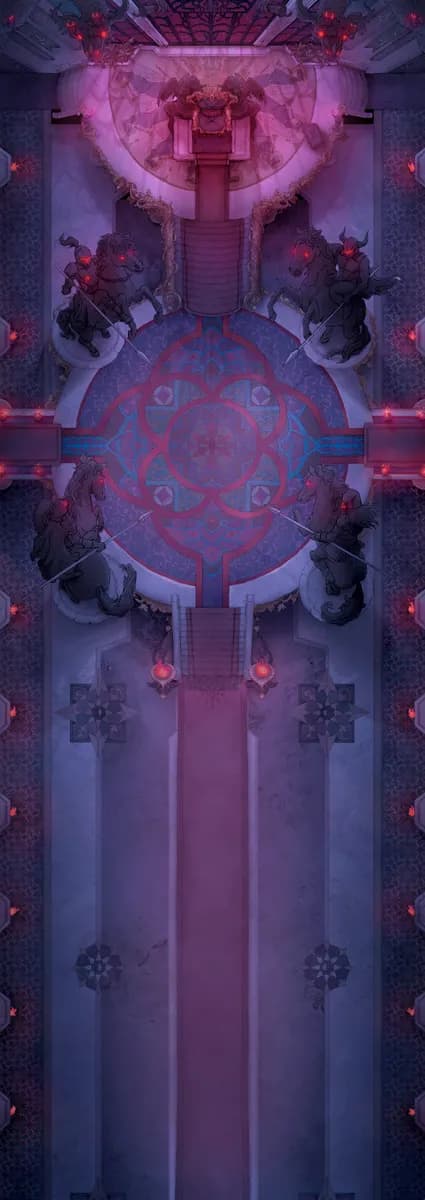
Wizard Prison Pt. 2 (+1)
Wizard Prison Pt. 2 (+1)
Wizard Prison Pt. 3
Wizard Prison Pt. 3
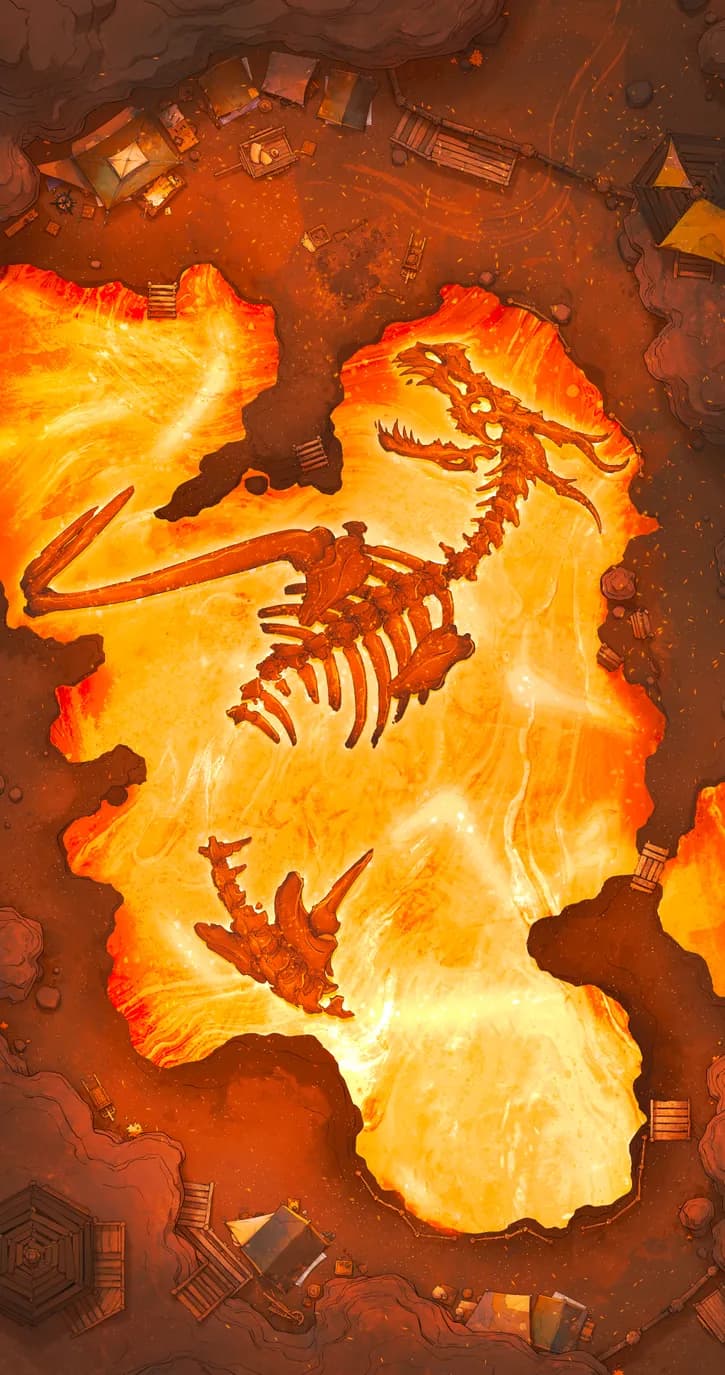
Ancient Battlefield
Ancient Battlefield
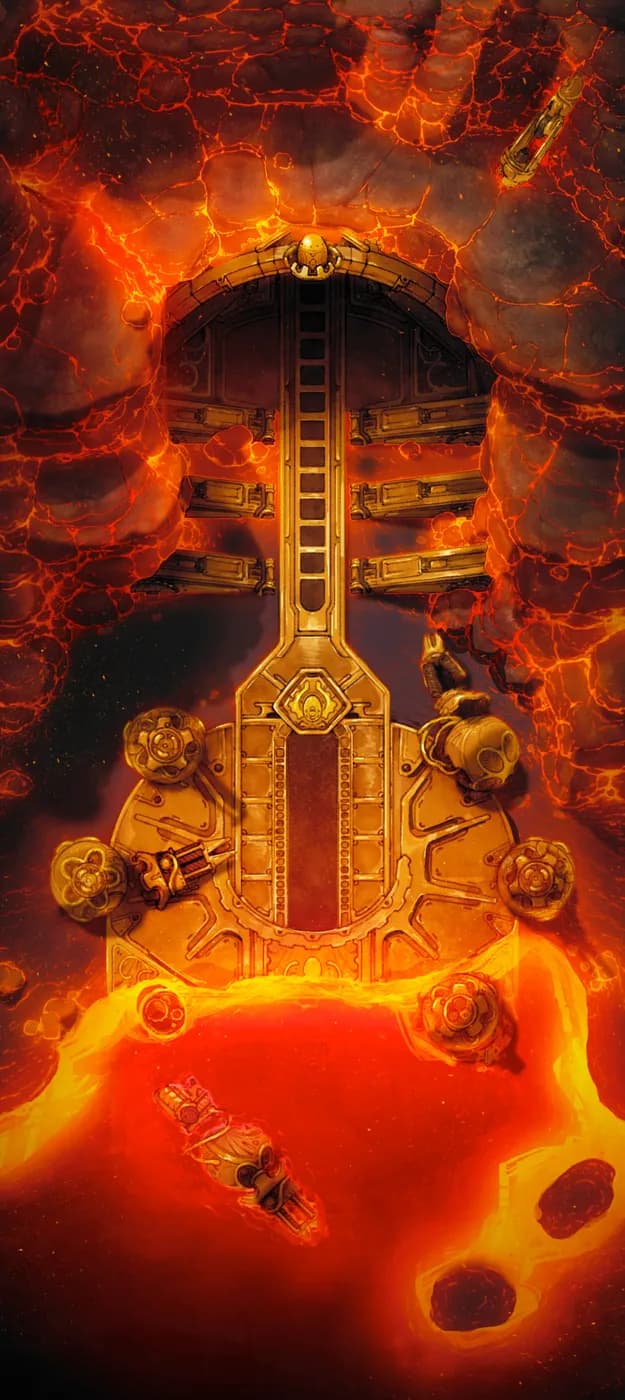
Ancient Tech Treasury
Ancient Tech Treasury
Archaeological Dig
Archaeological Dig
Arctic Expedition
Arctic Expedition
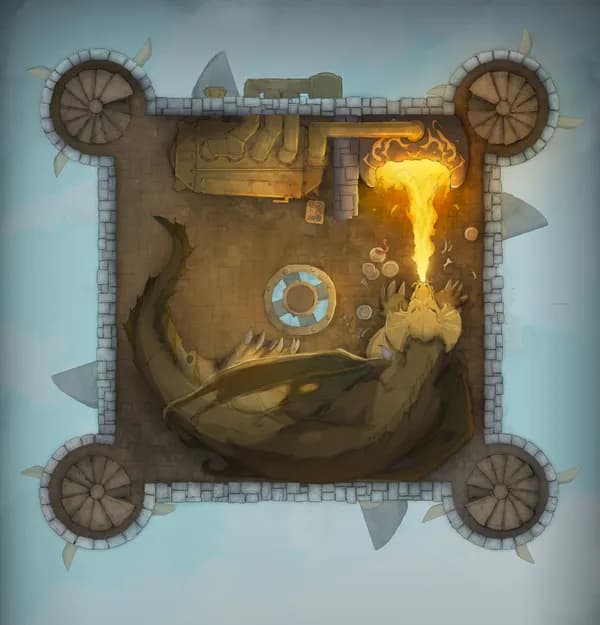
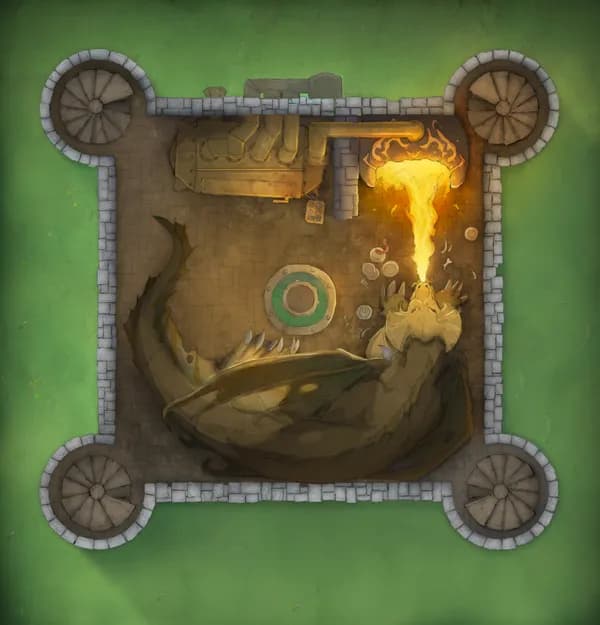
Clockwork Dragon Lair Exterior (+1)
Clockwork Dragon Lair Exterior (+1)
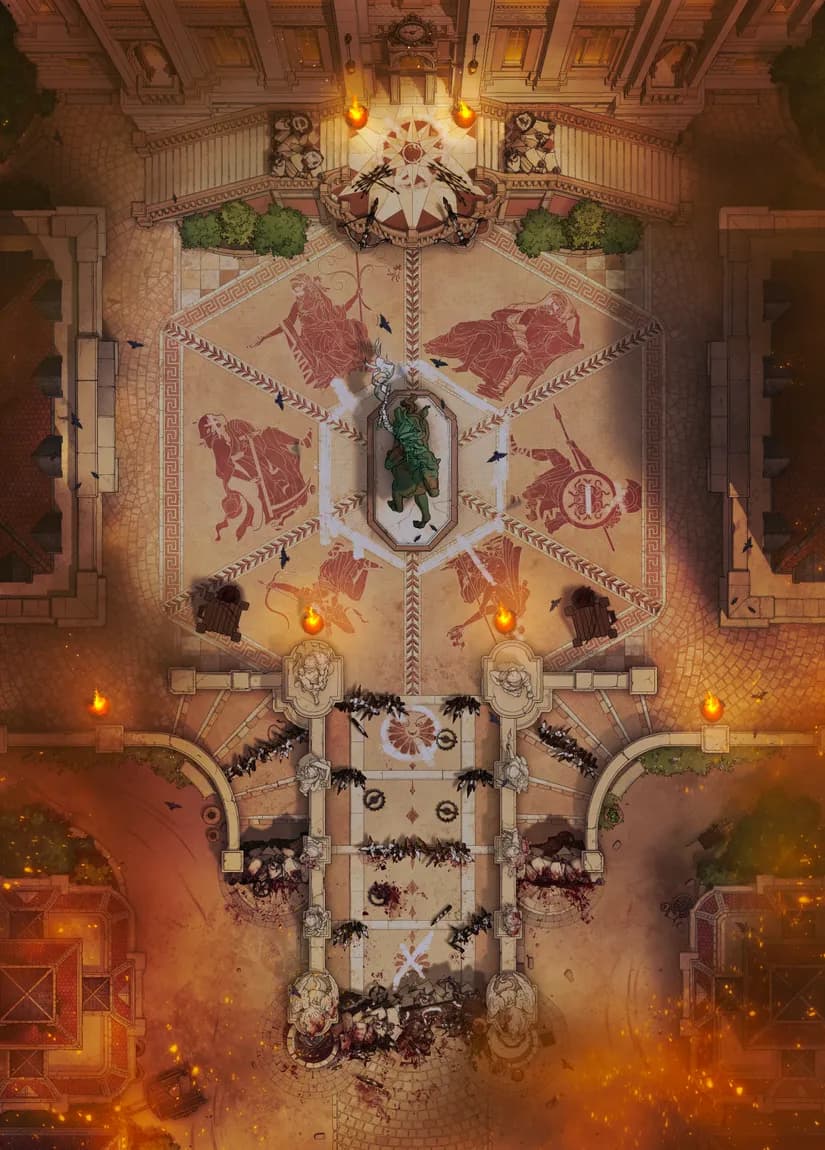
Court of Justice
Court of Justice
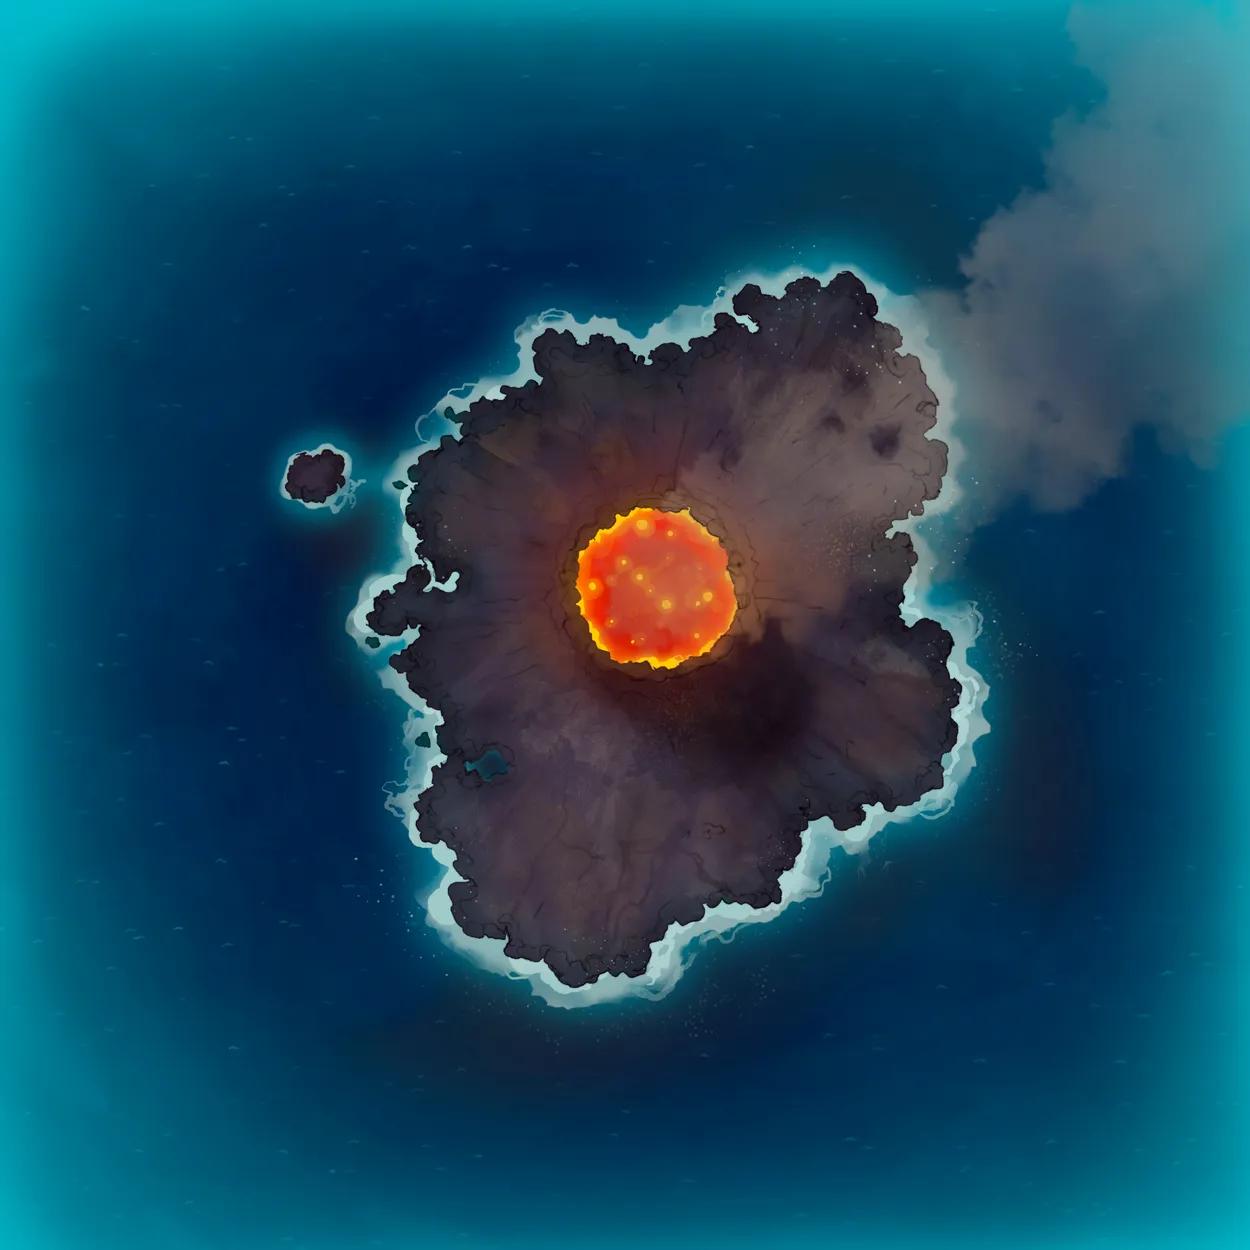
Deep Sea Hatching Chamber (+1)
Deep Sea Hatching Chamber (+1)
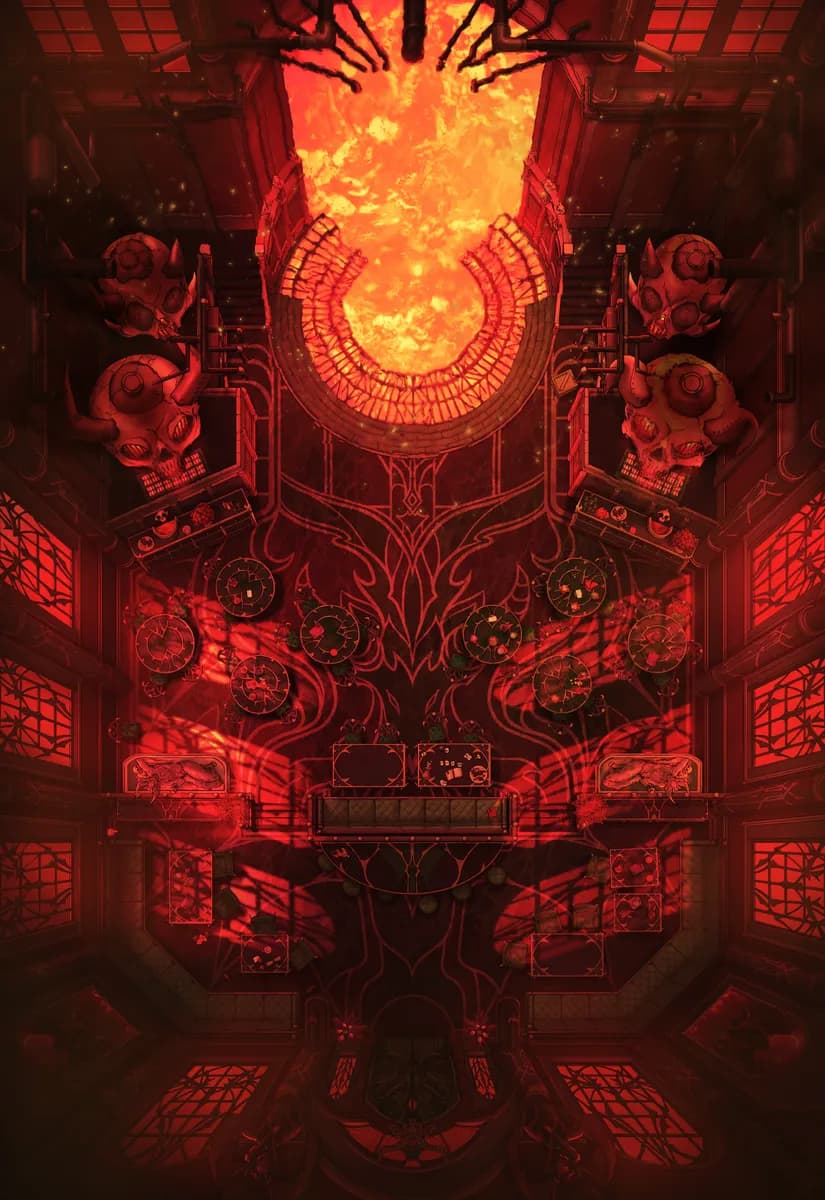
Deep Sea Organ (+1)
Deep Sea Organ (+1)
Drakescale Peak (+6)
Drakescale Peak (+6)
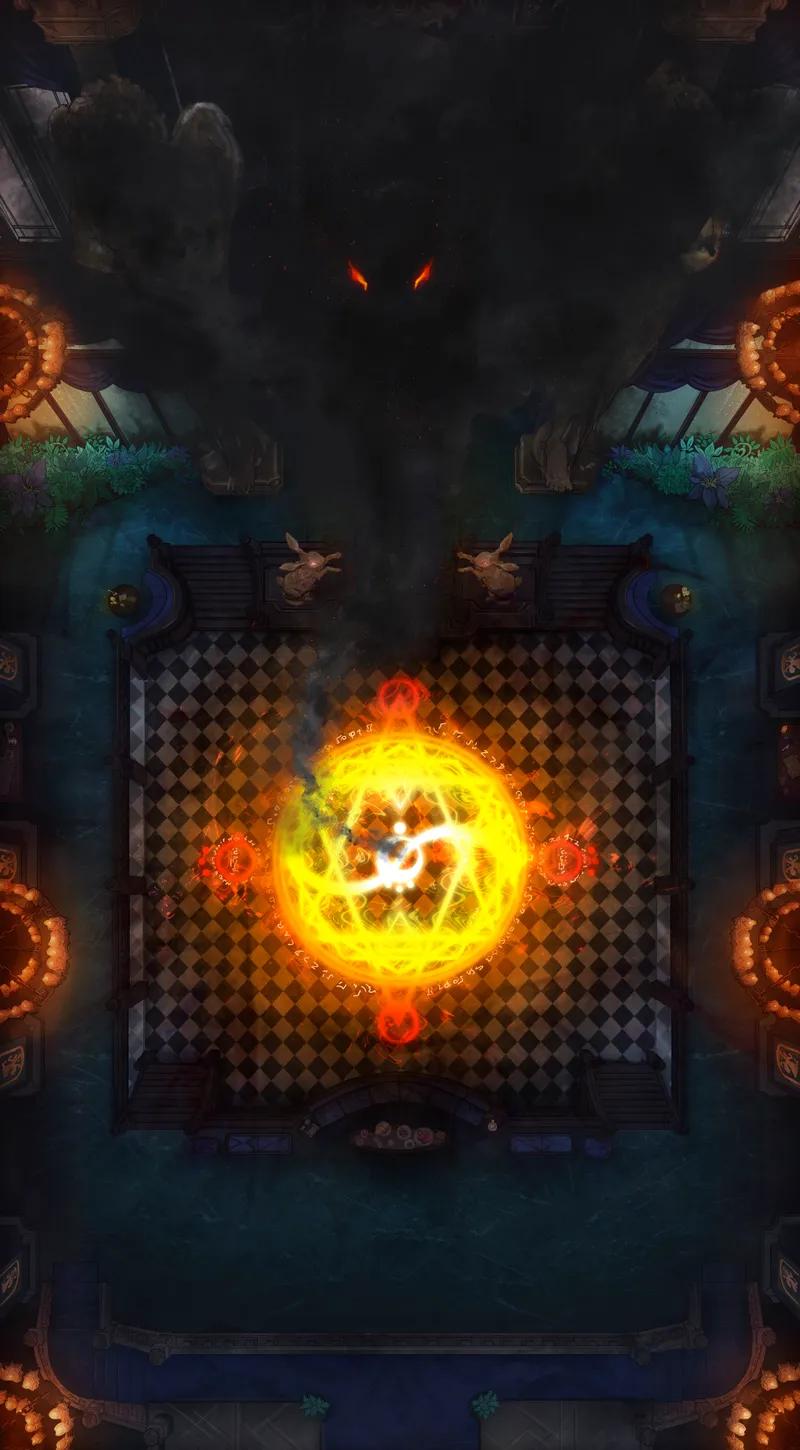
Eldritch Church (+1)
Eldritch Church (+1)
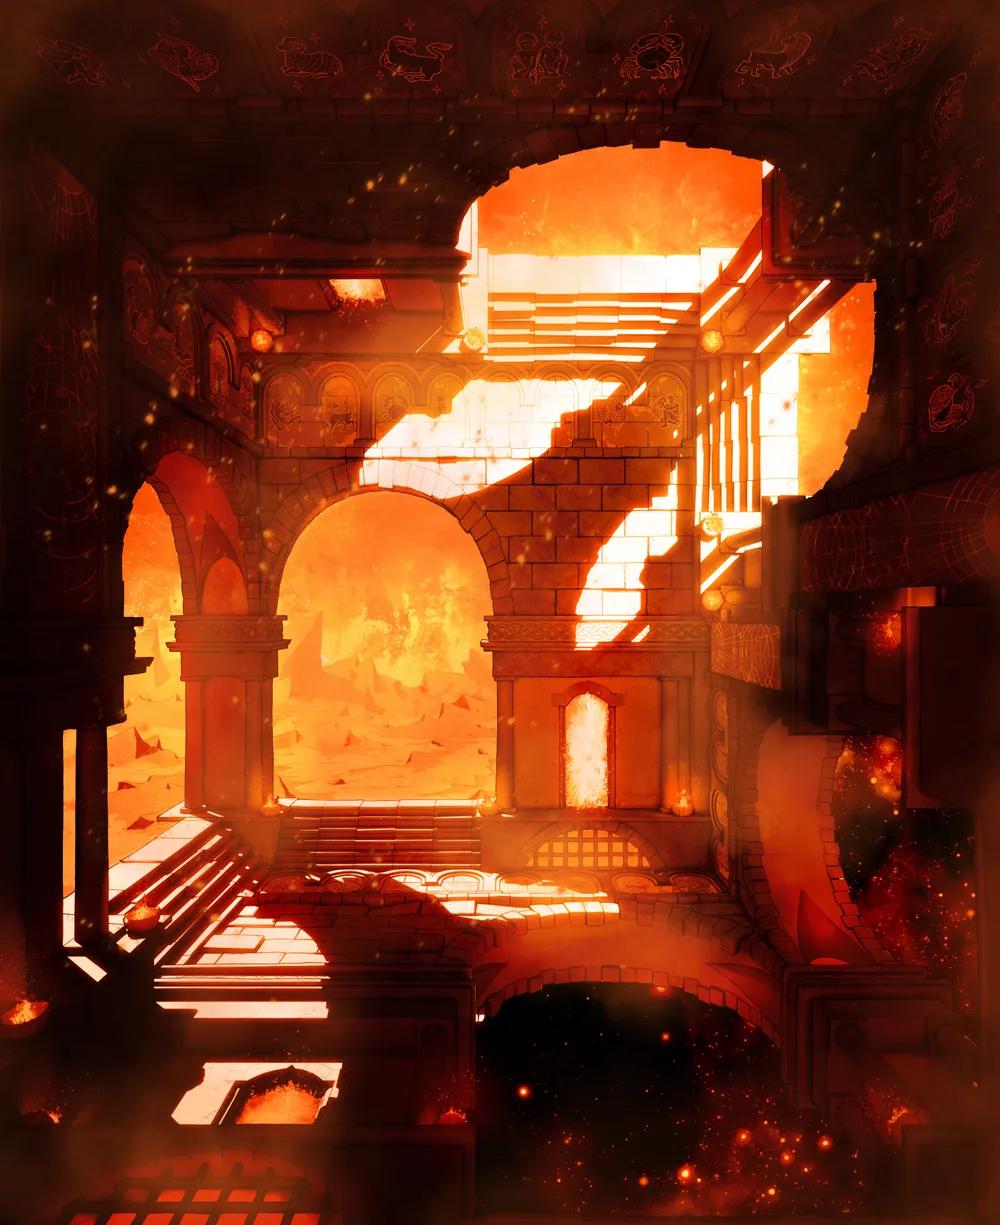
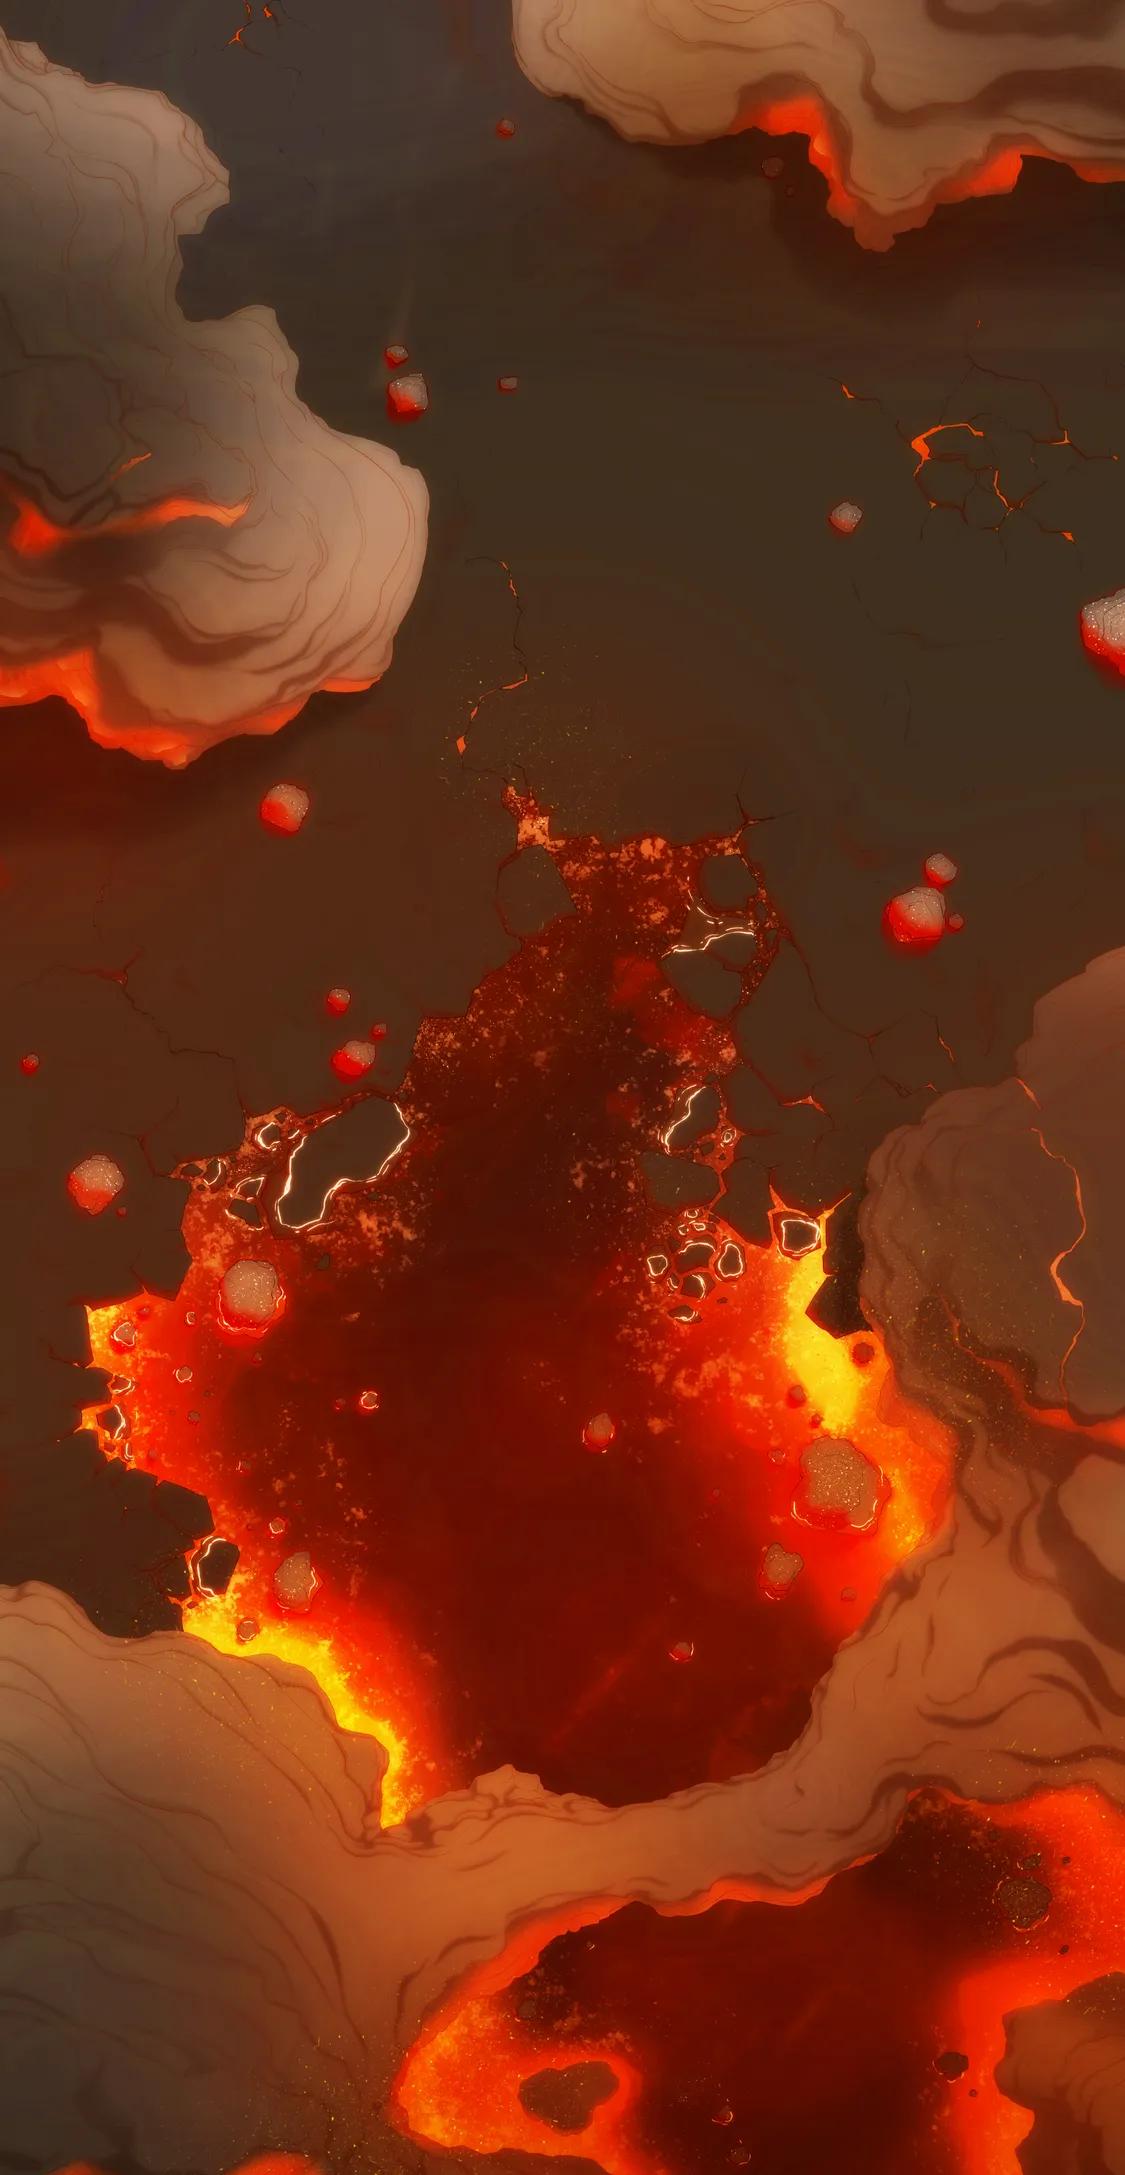
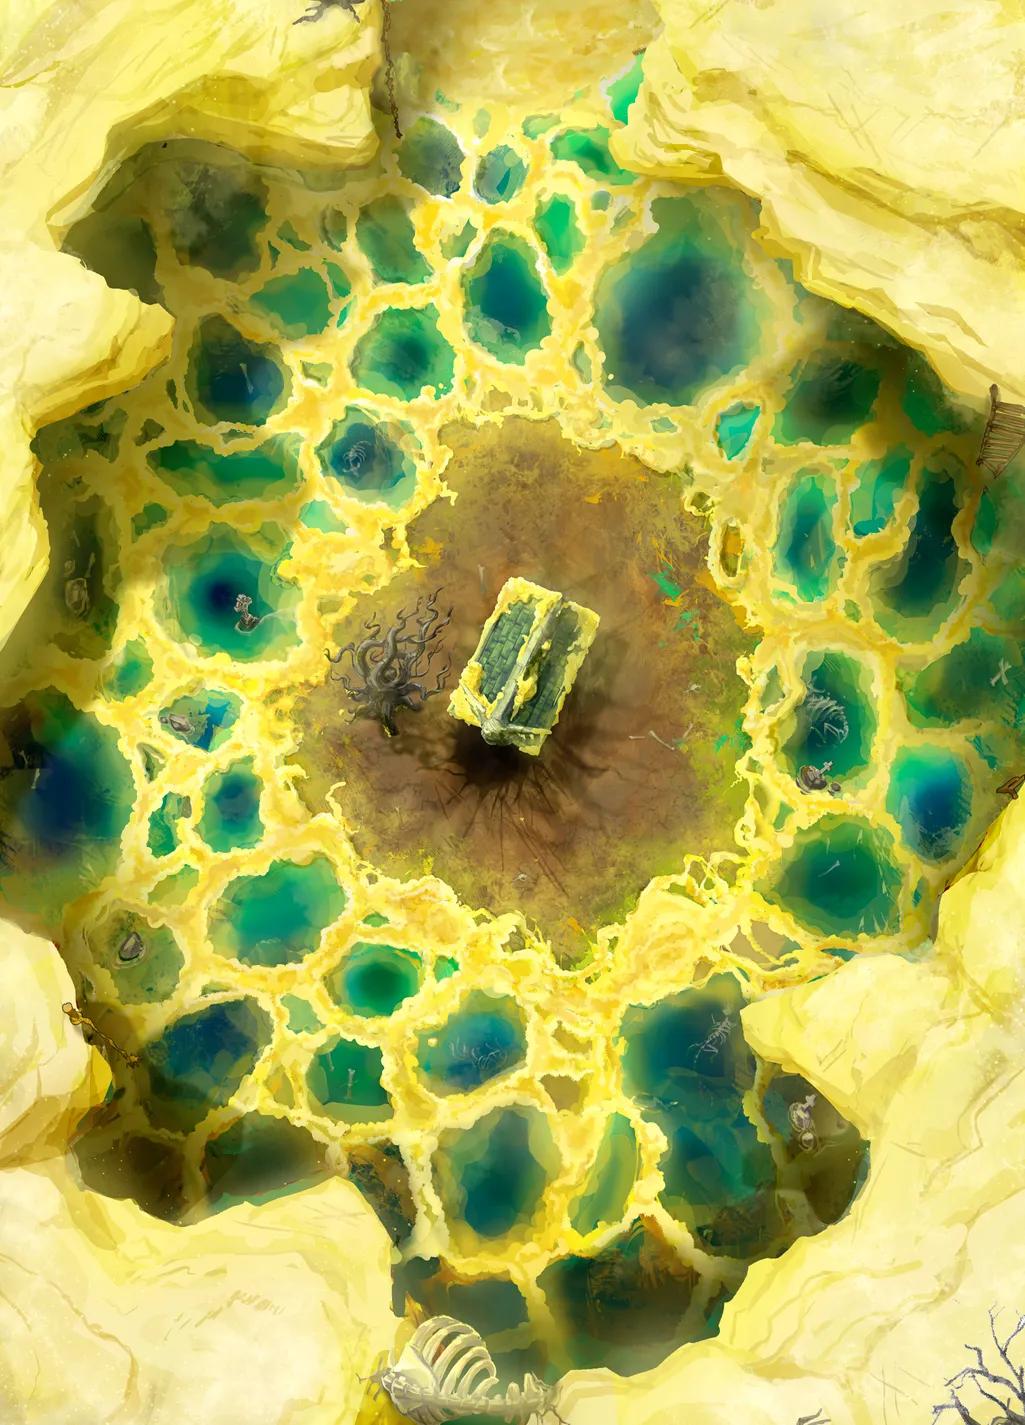
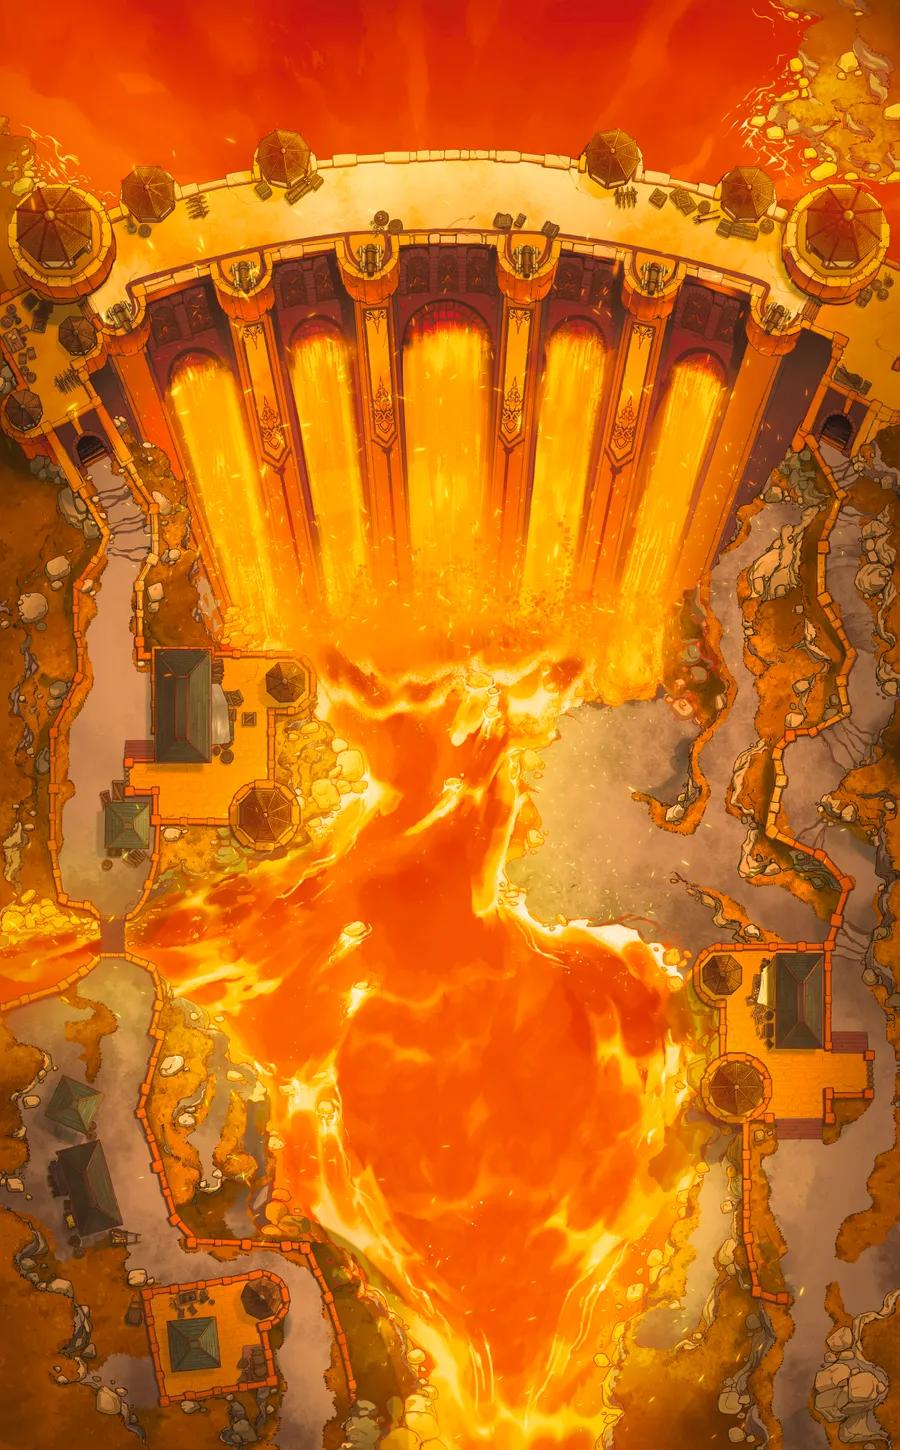
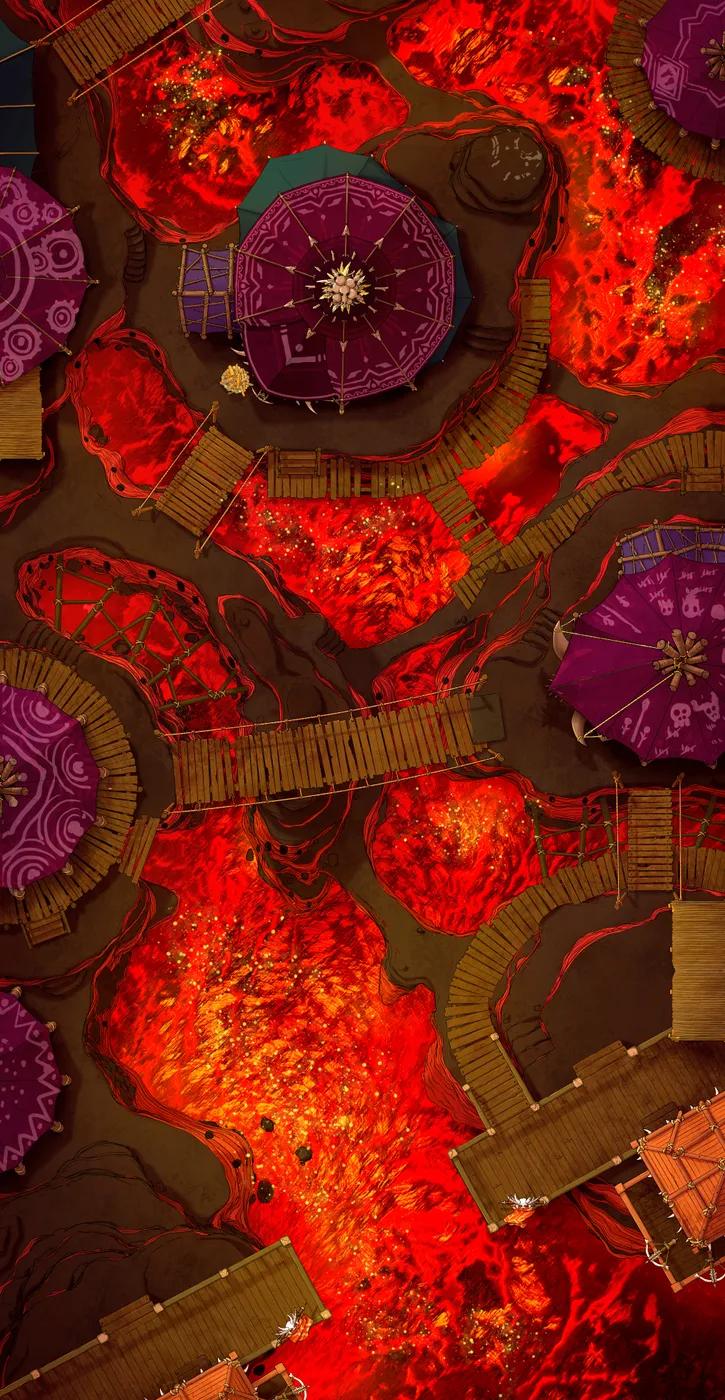
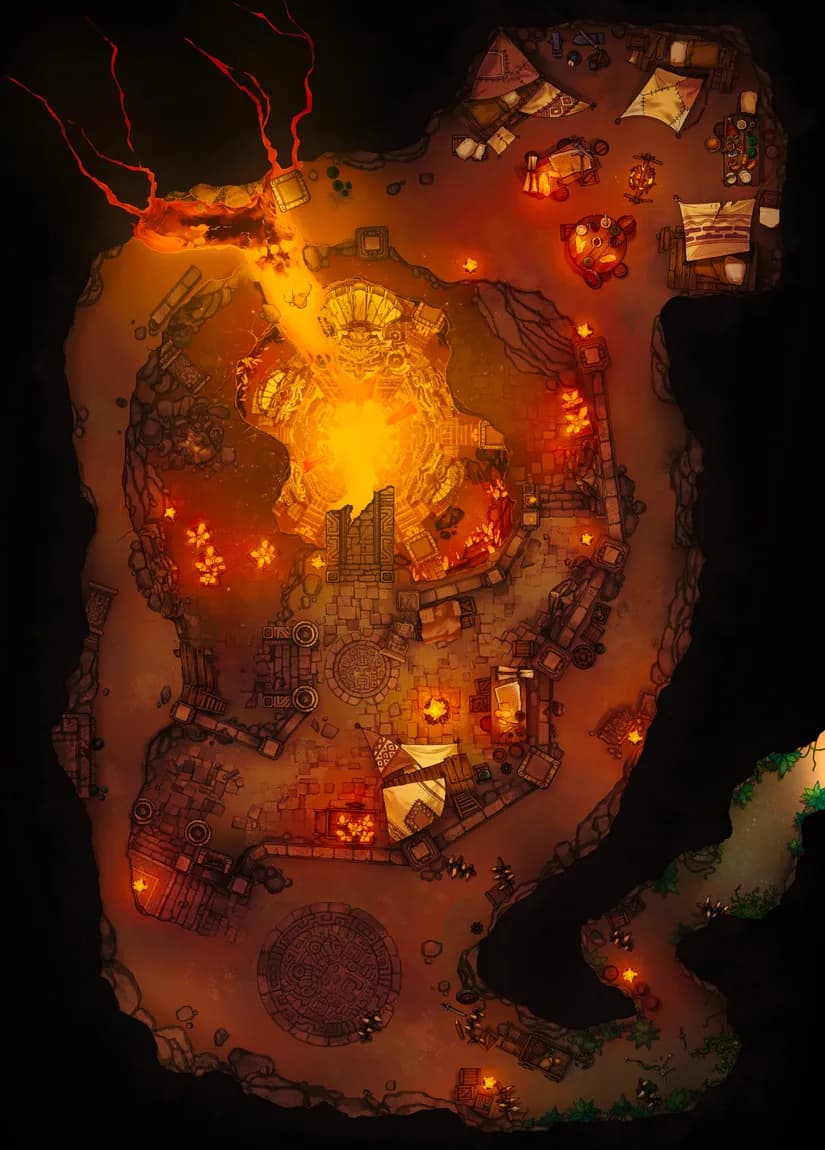
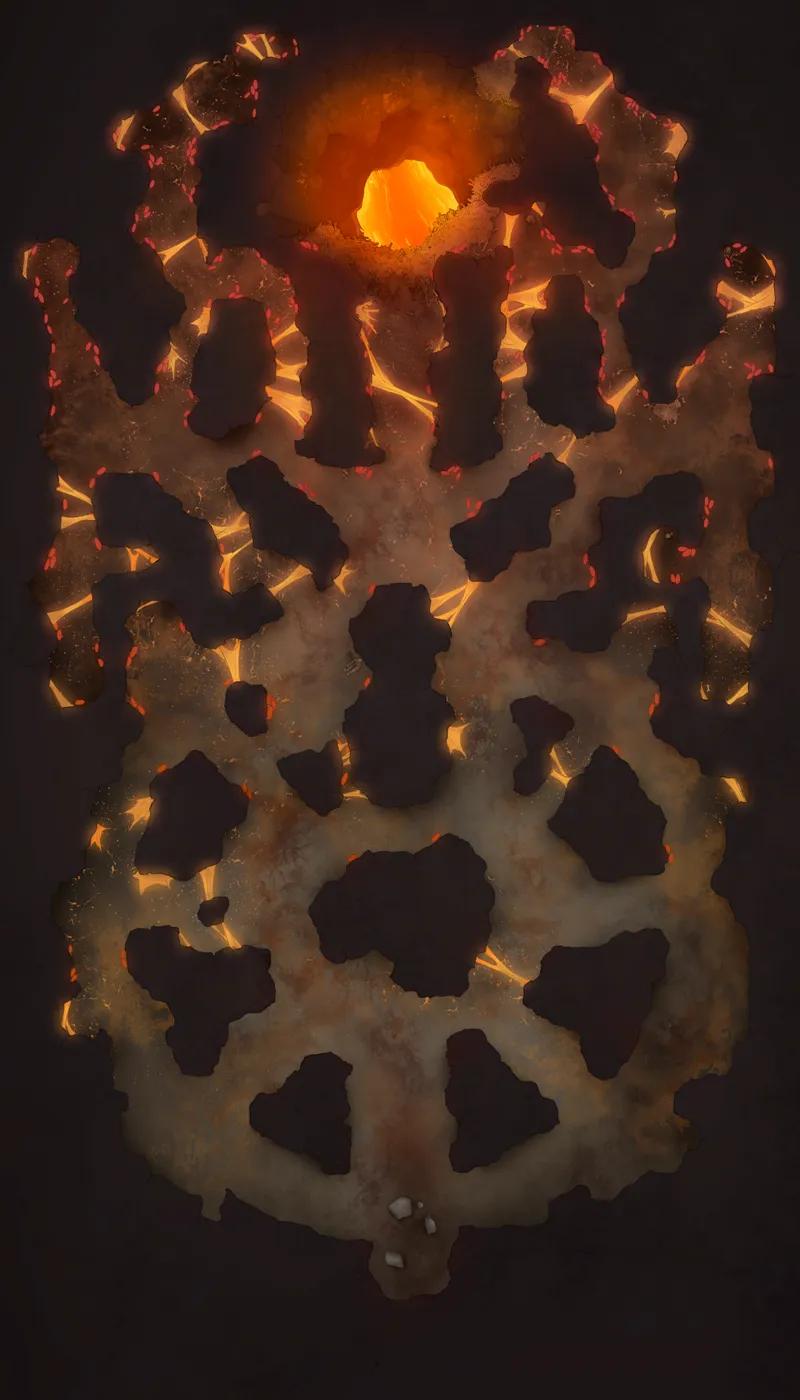
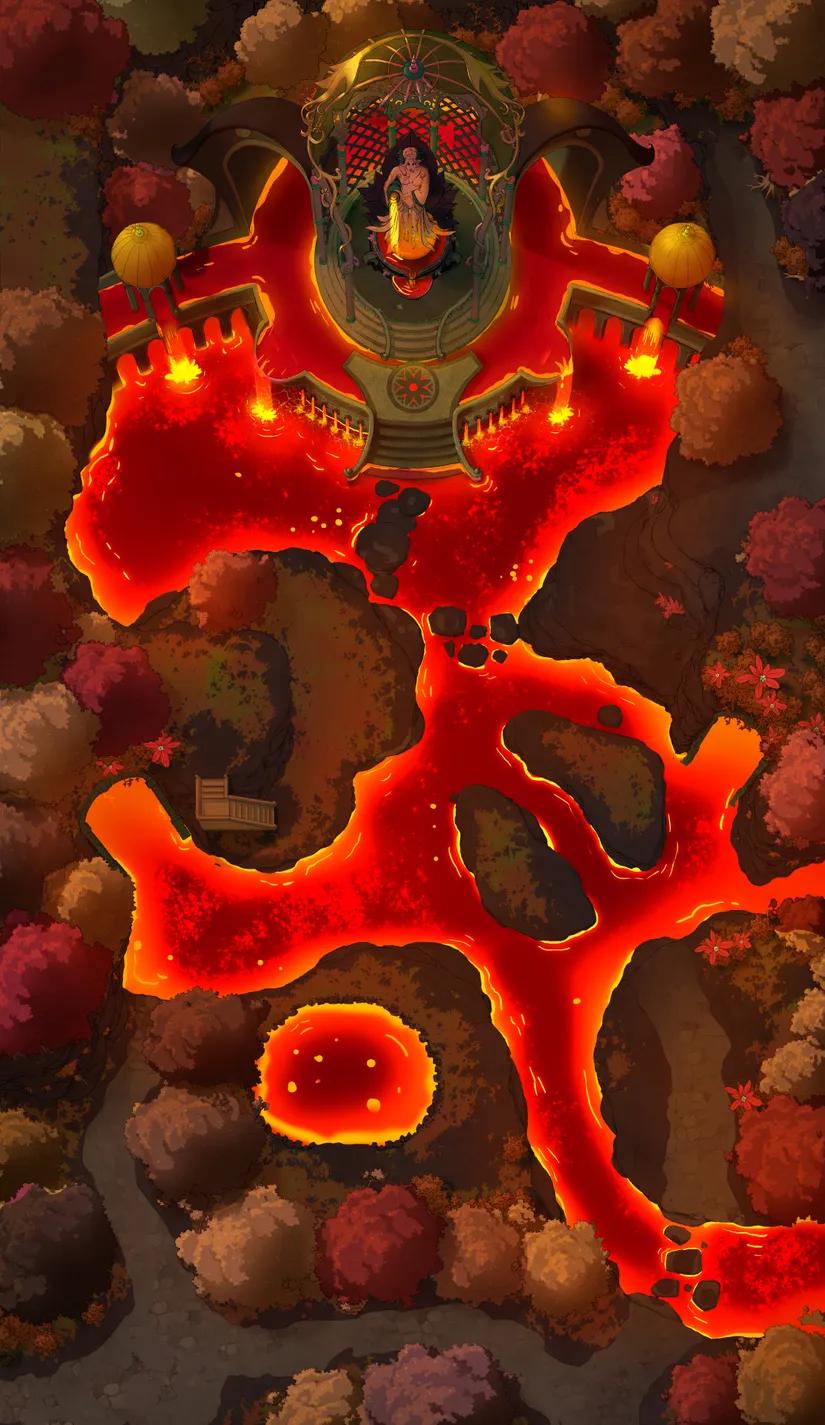
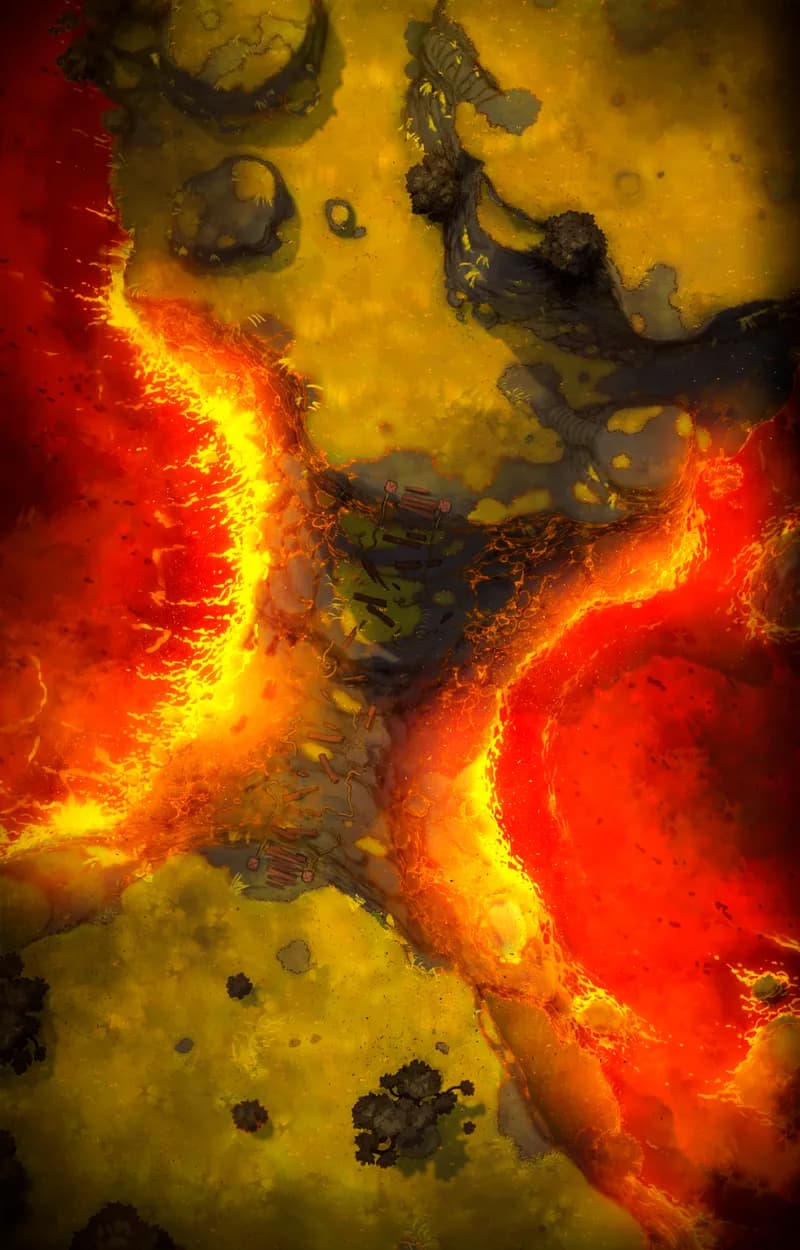
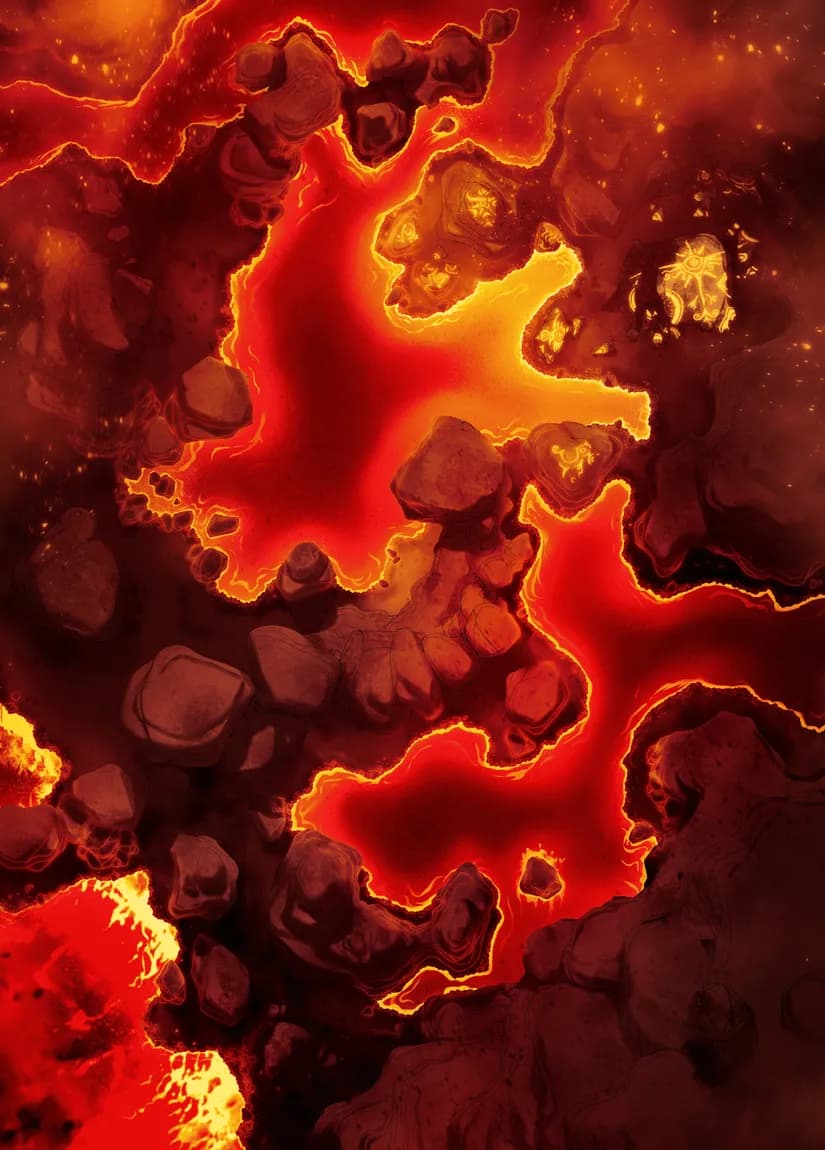
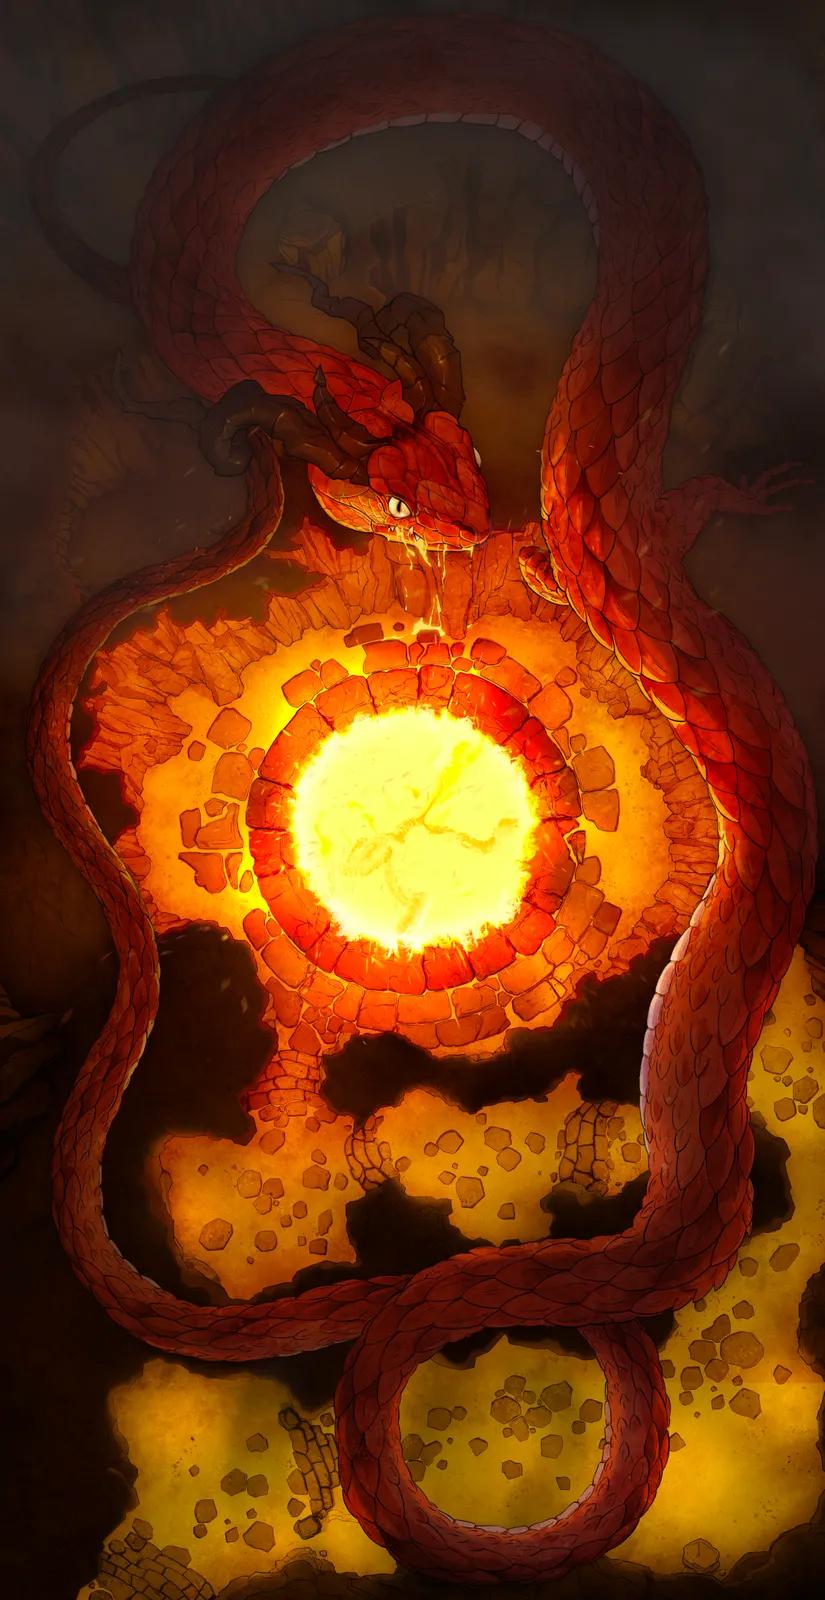
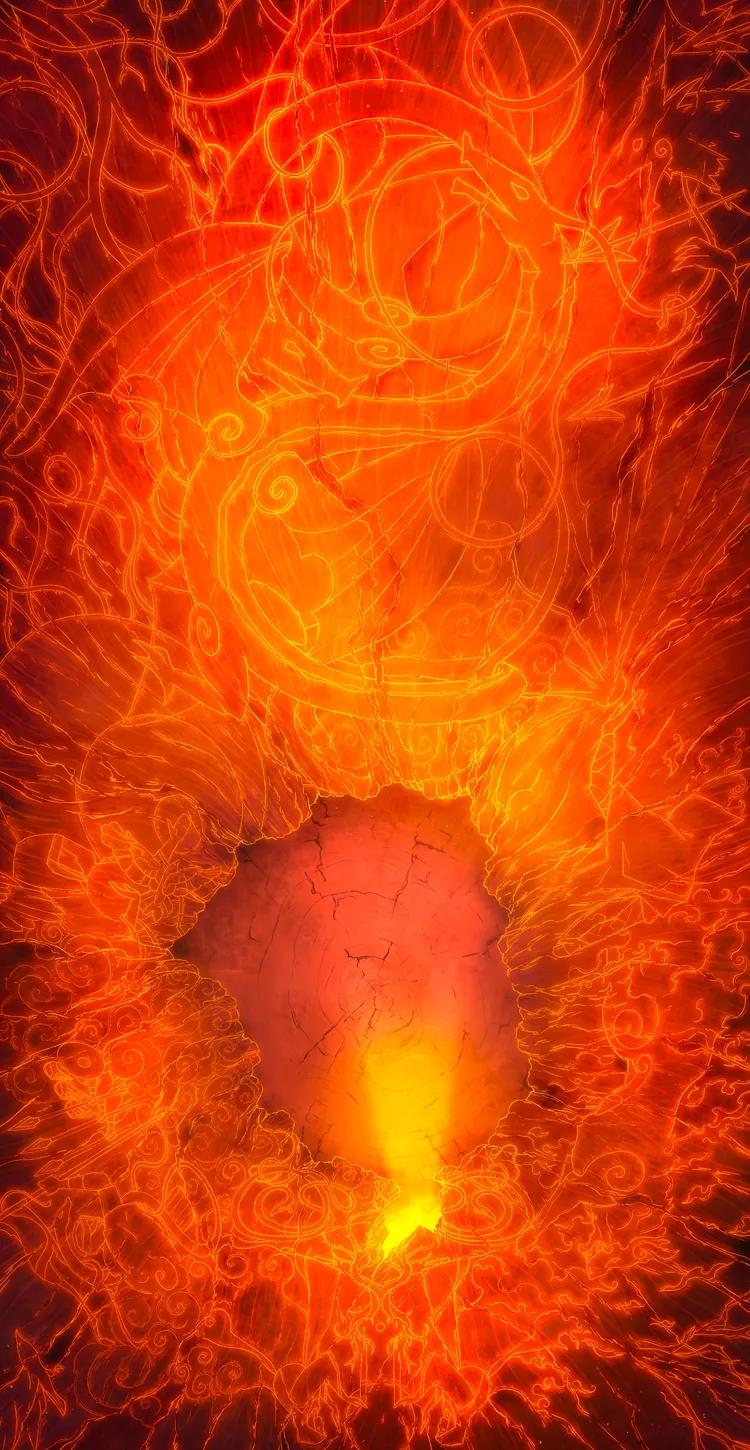
Geothermal Rift (+5)
Geothermal Rift (+5)
Grand Cathedral Crypt
Grand Cathedral Crypt
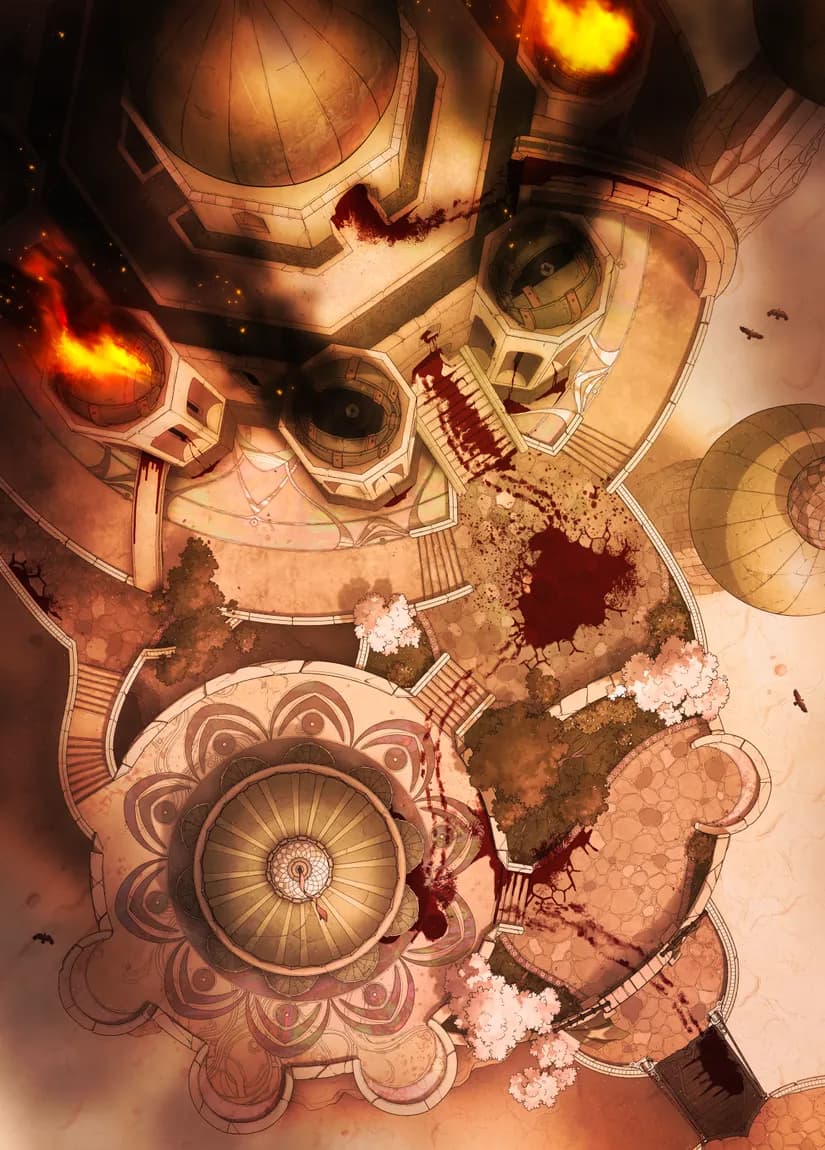
Grand Cathedral Interior (+2)
Grand Cathedral Interior (+2)
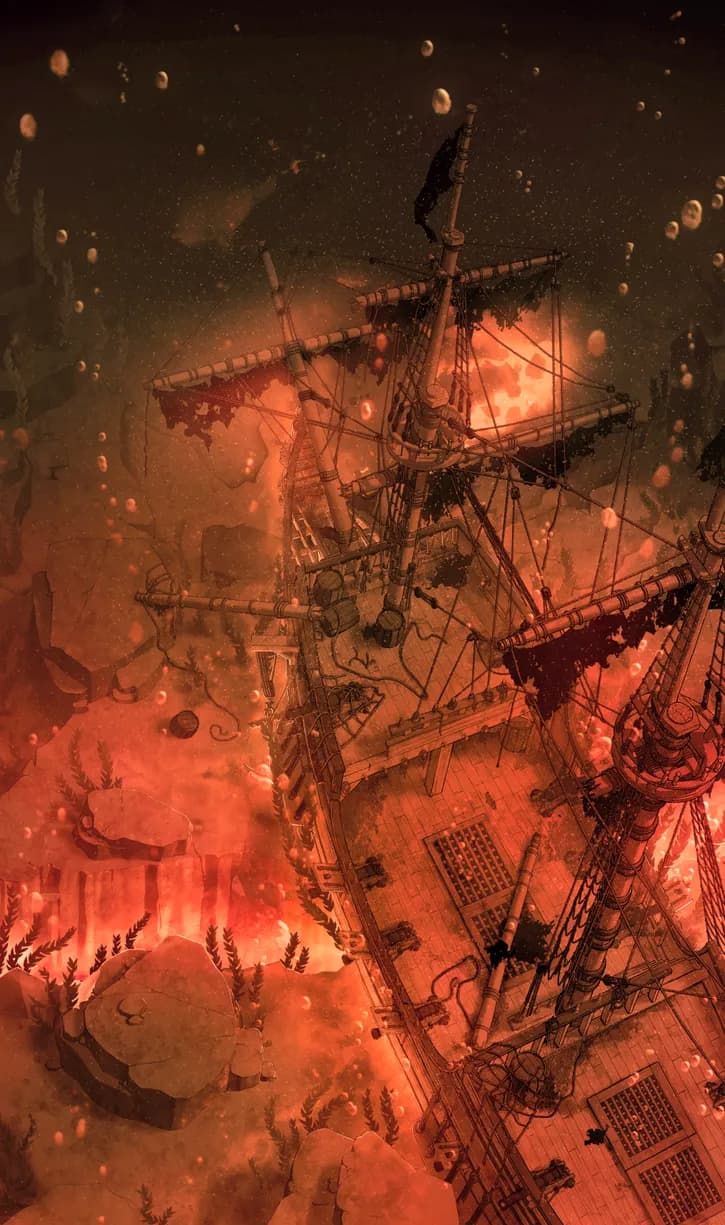
Haunted Ghost Ship Exterior
Haunted Ghost Ship Exterior
Hell's Cocktail Lounge (+19)
Hell's Cocktail Lounge (+19)
Hell's Tax Office (+9)
Hell's Tax Office (+9)
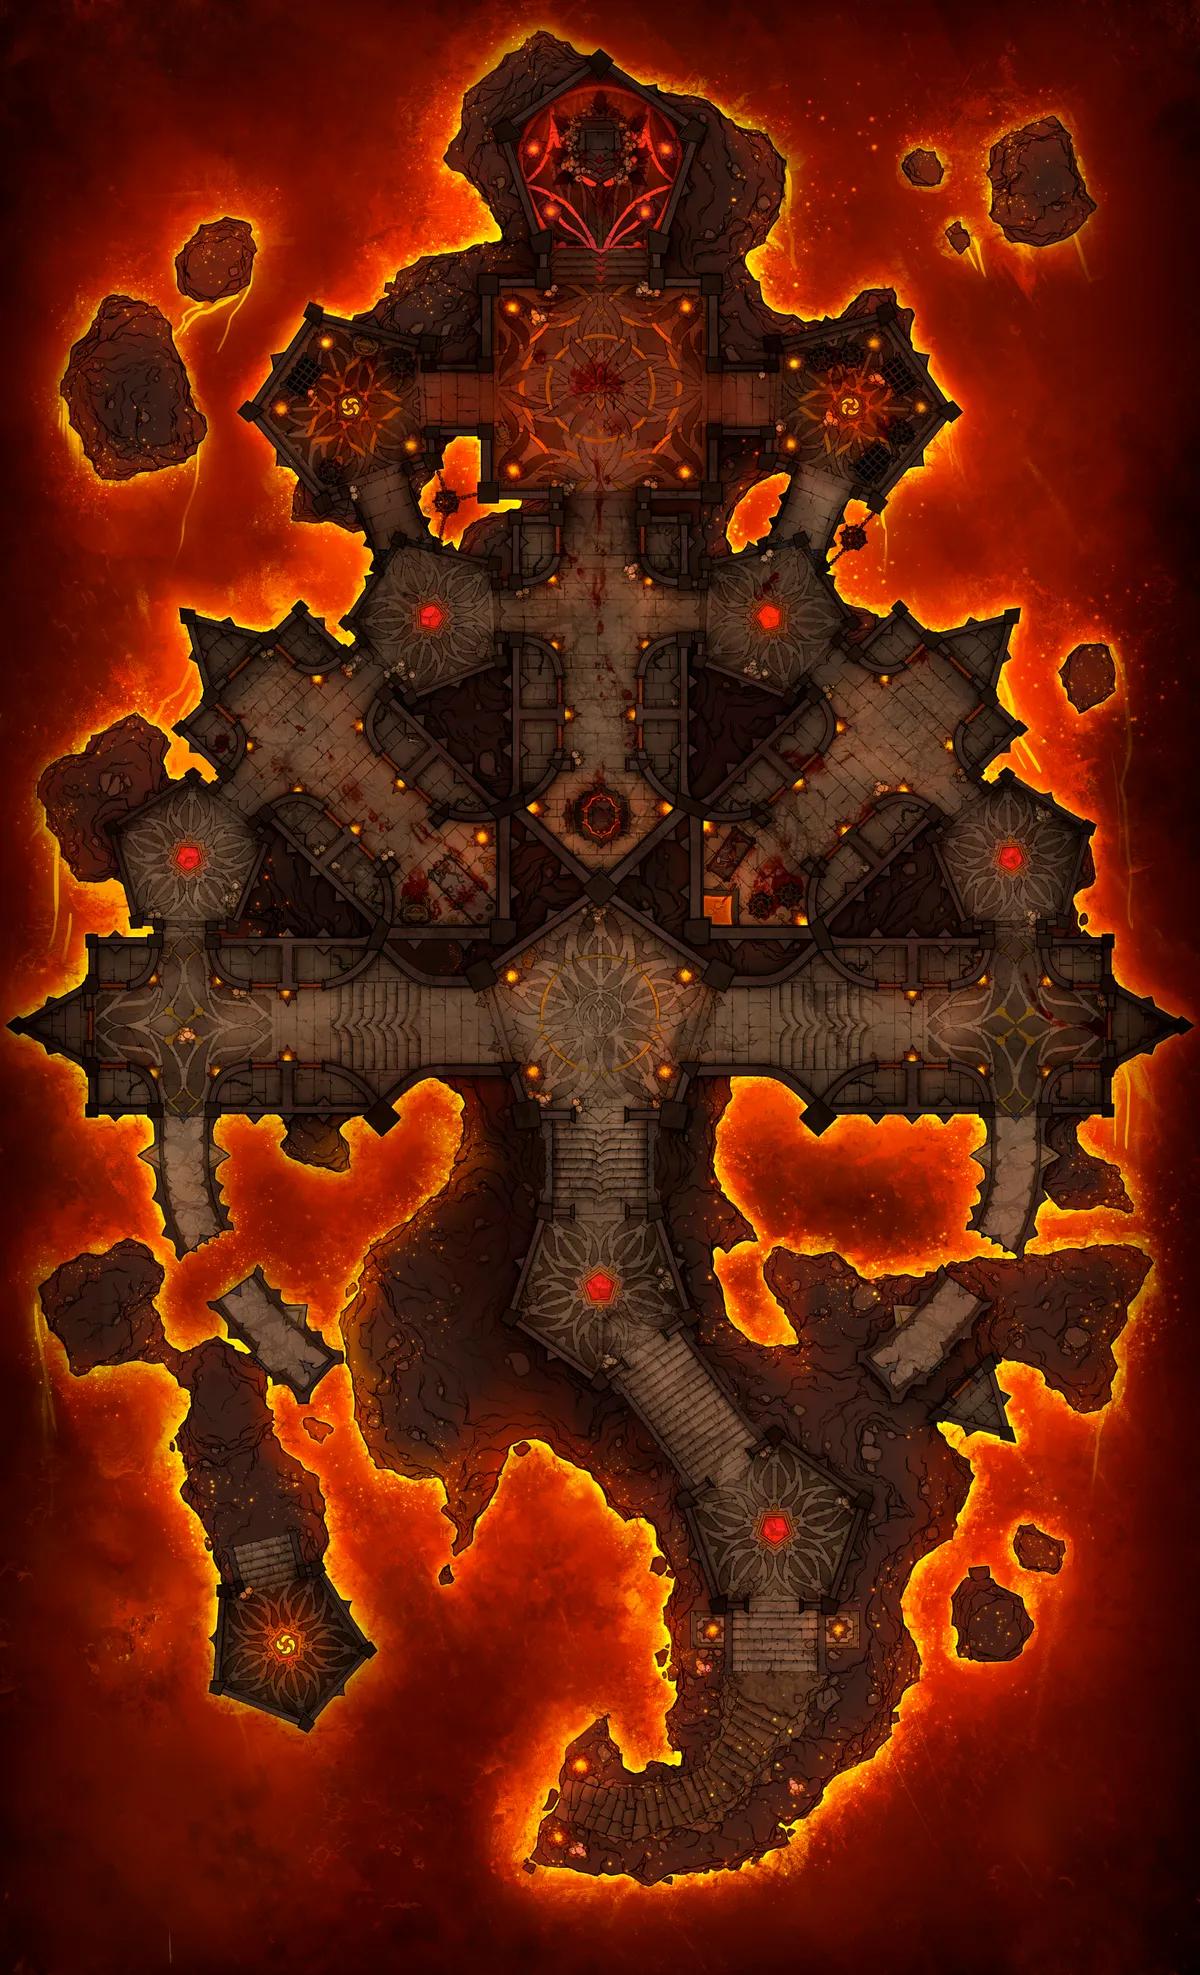
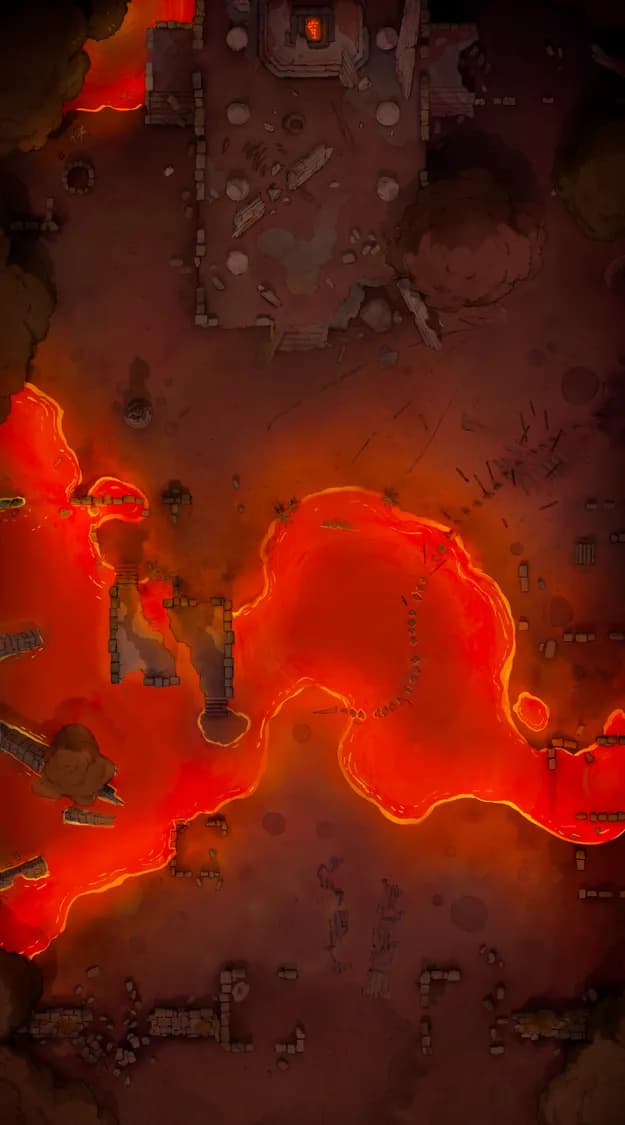
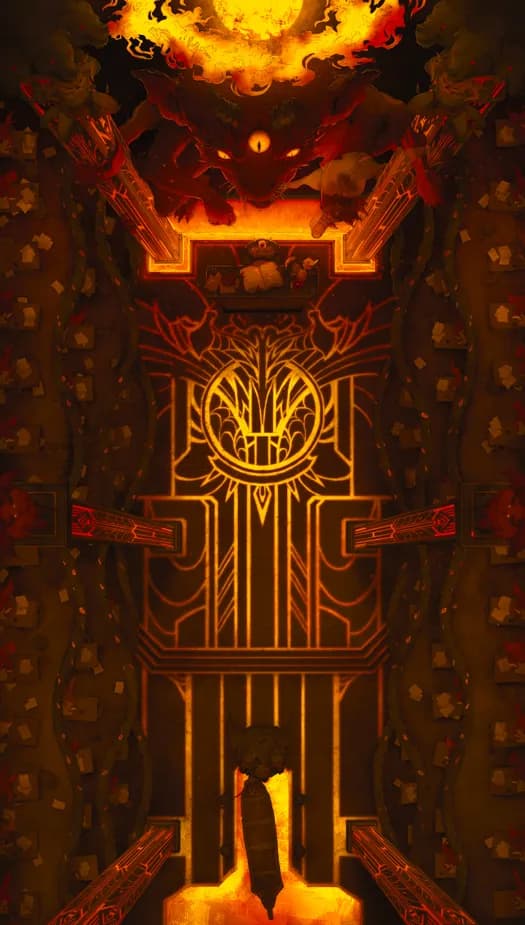
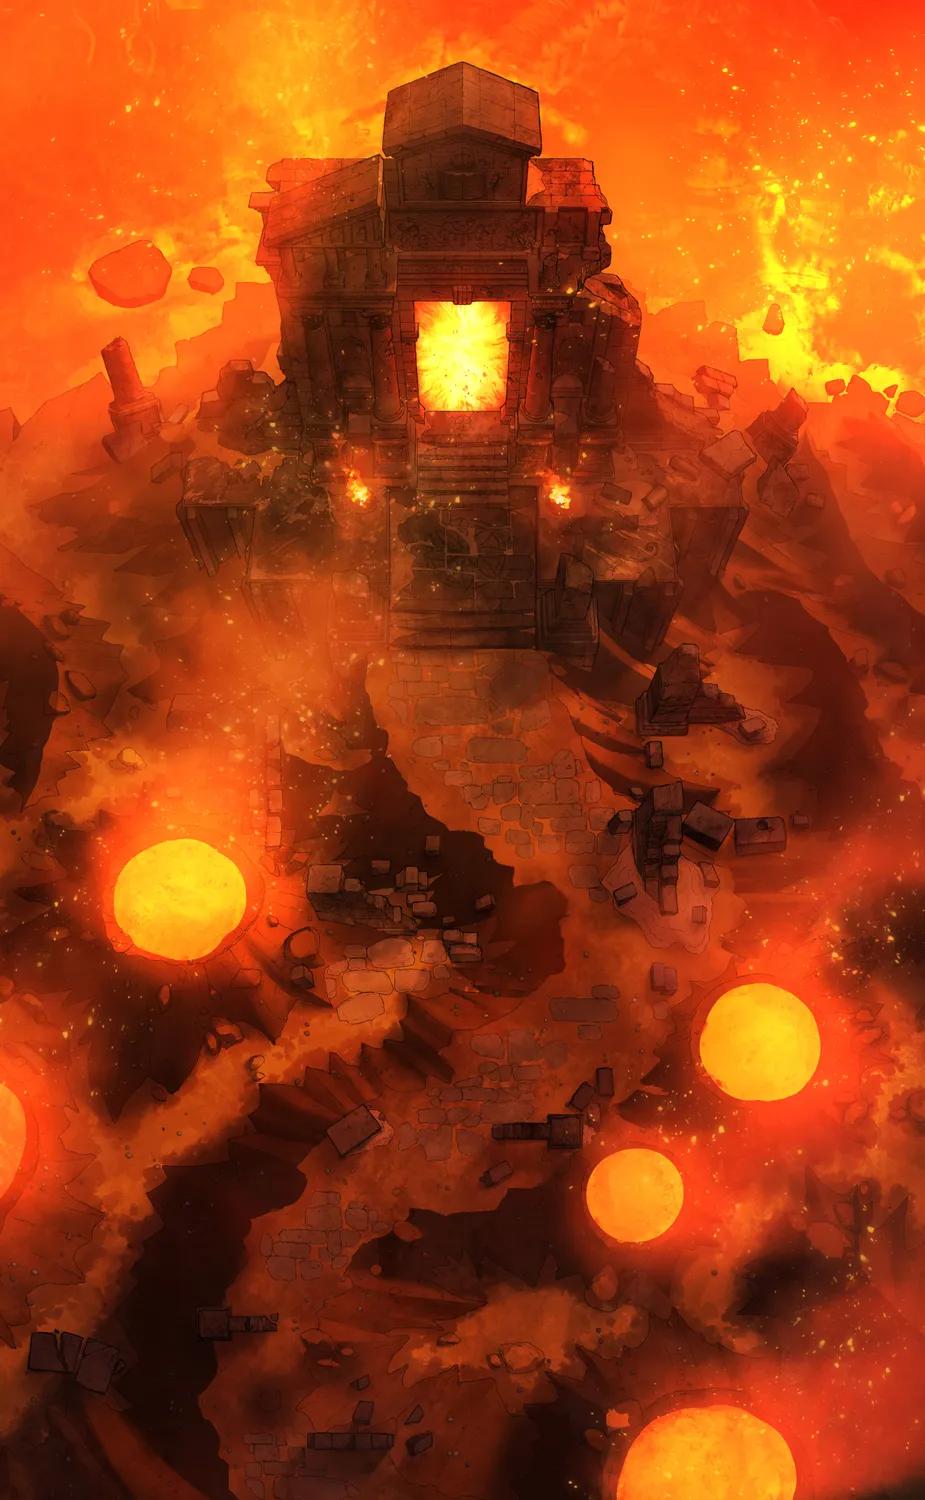
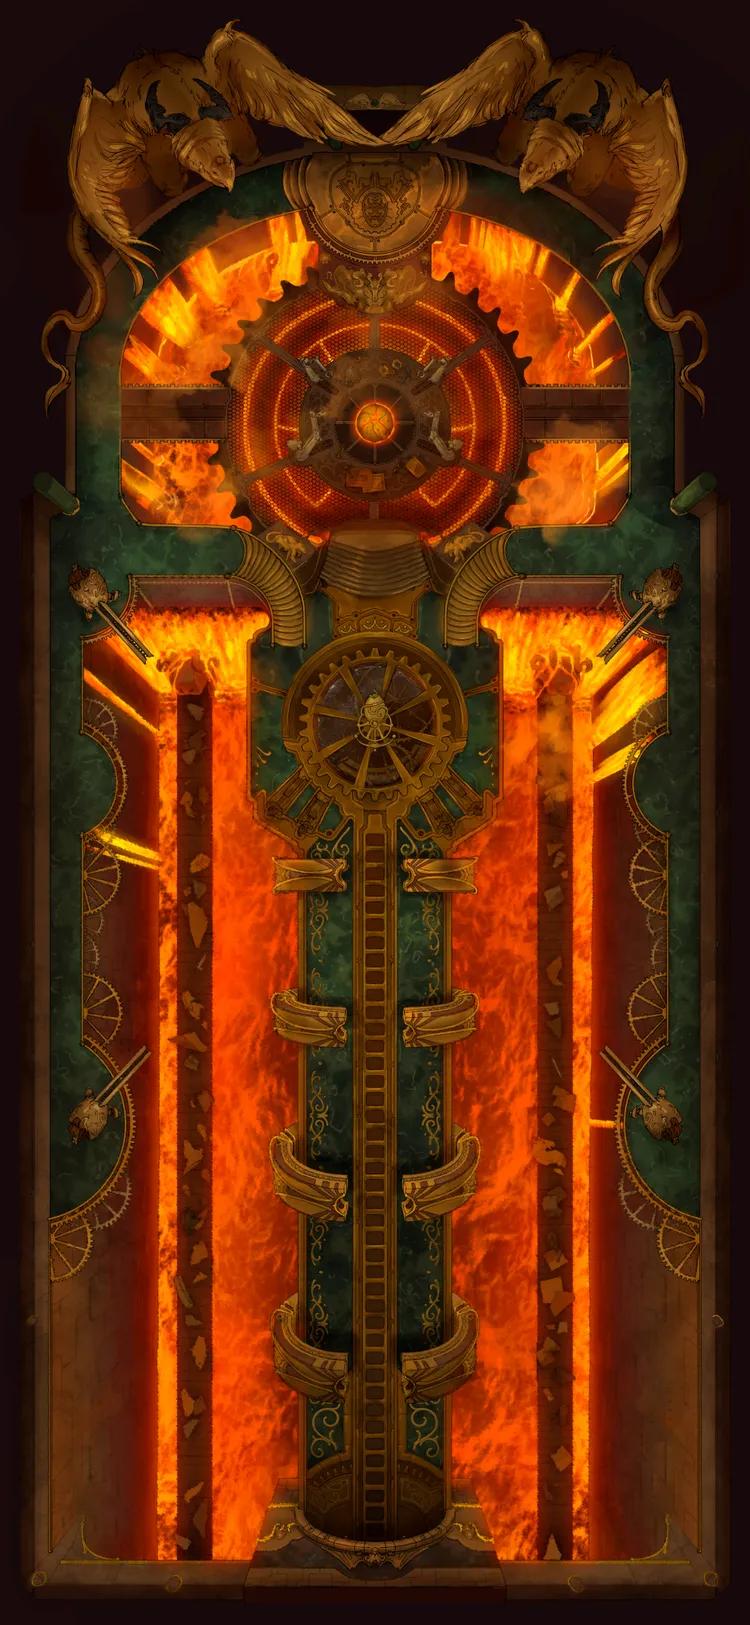
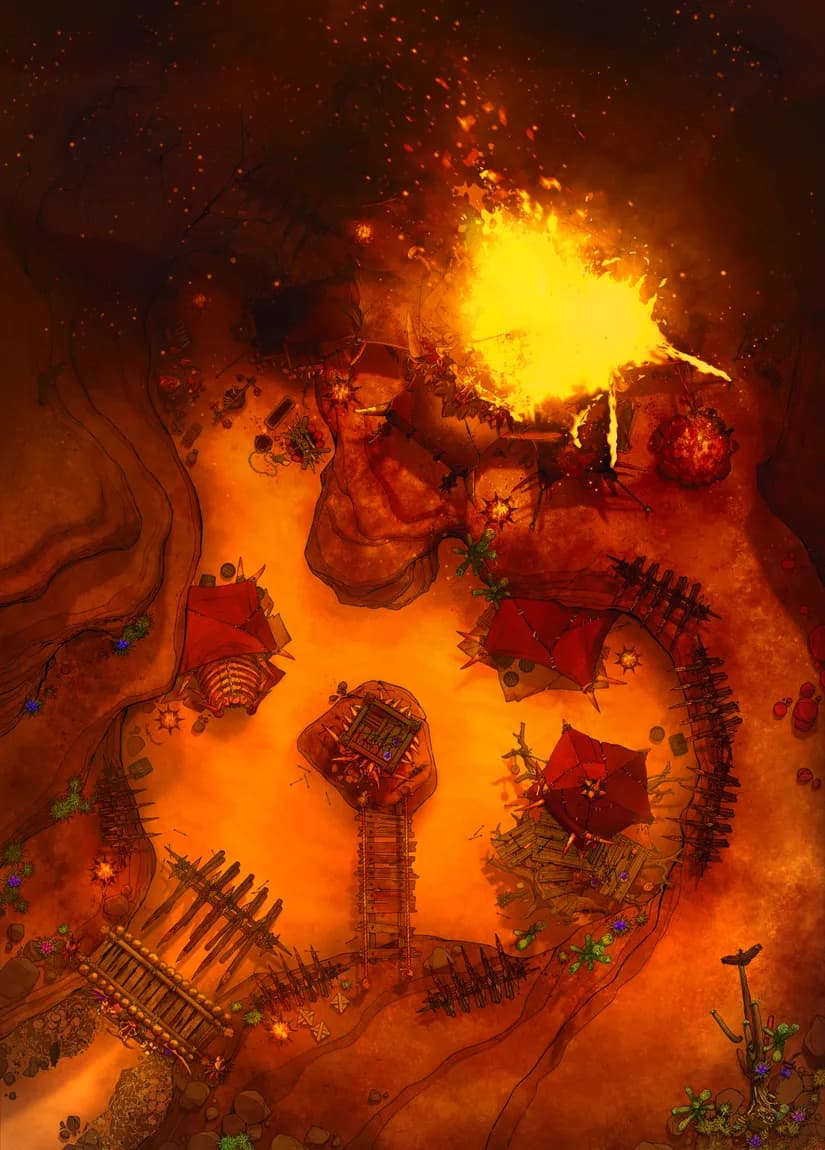
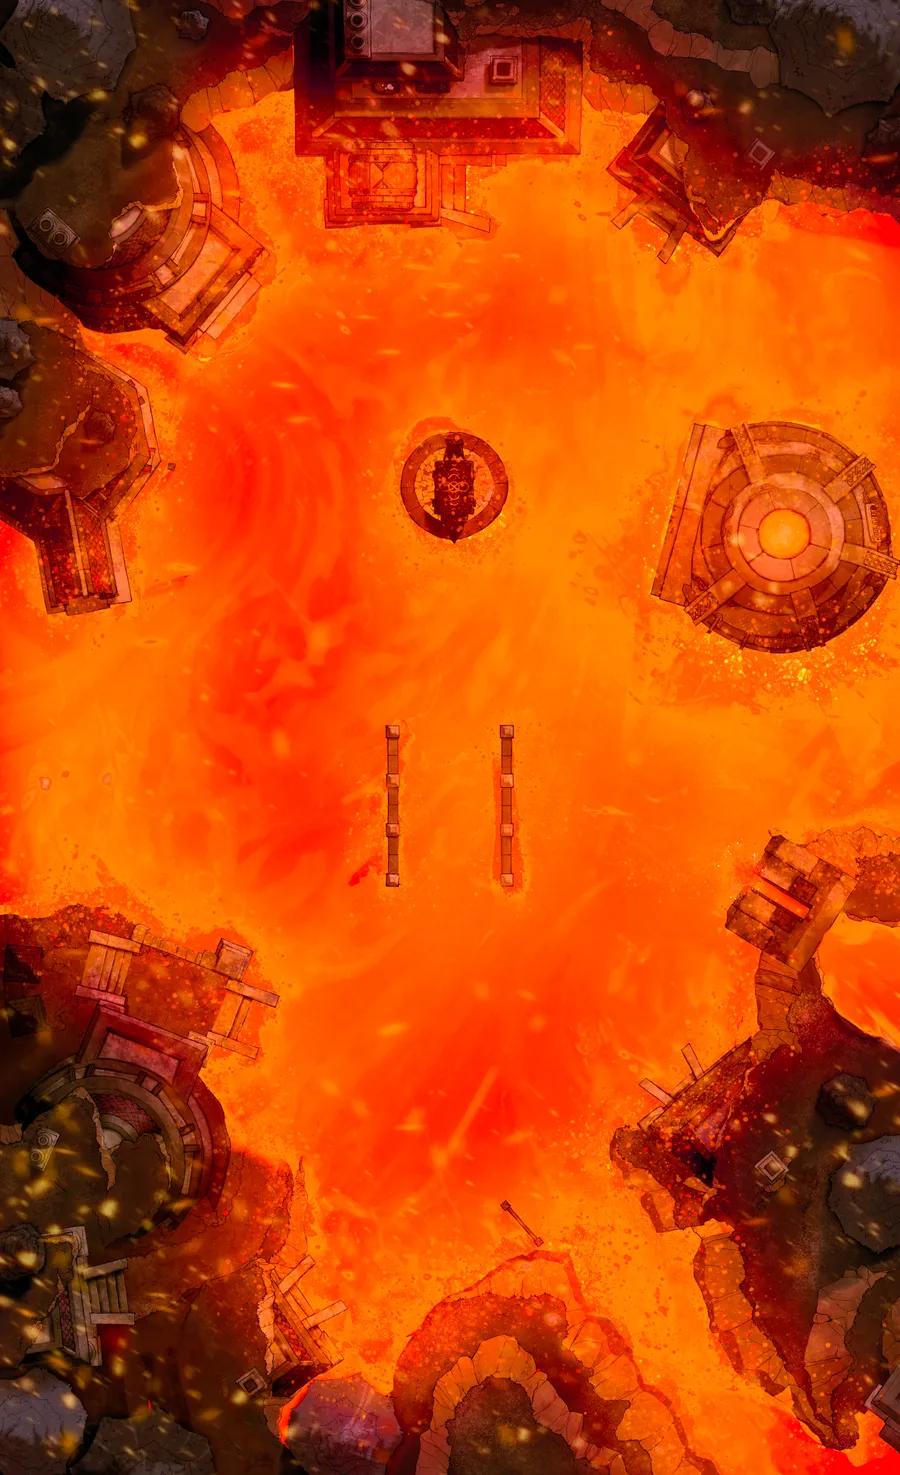
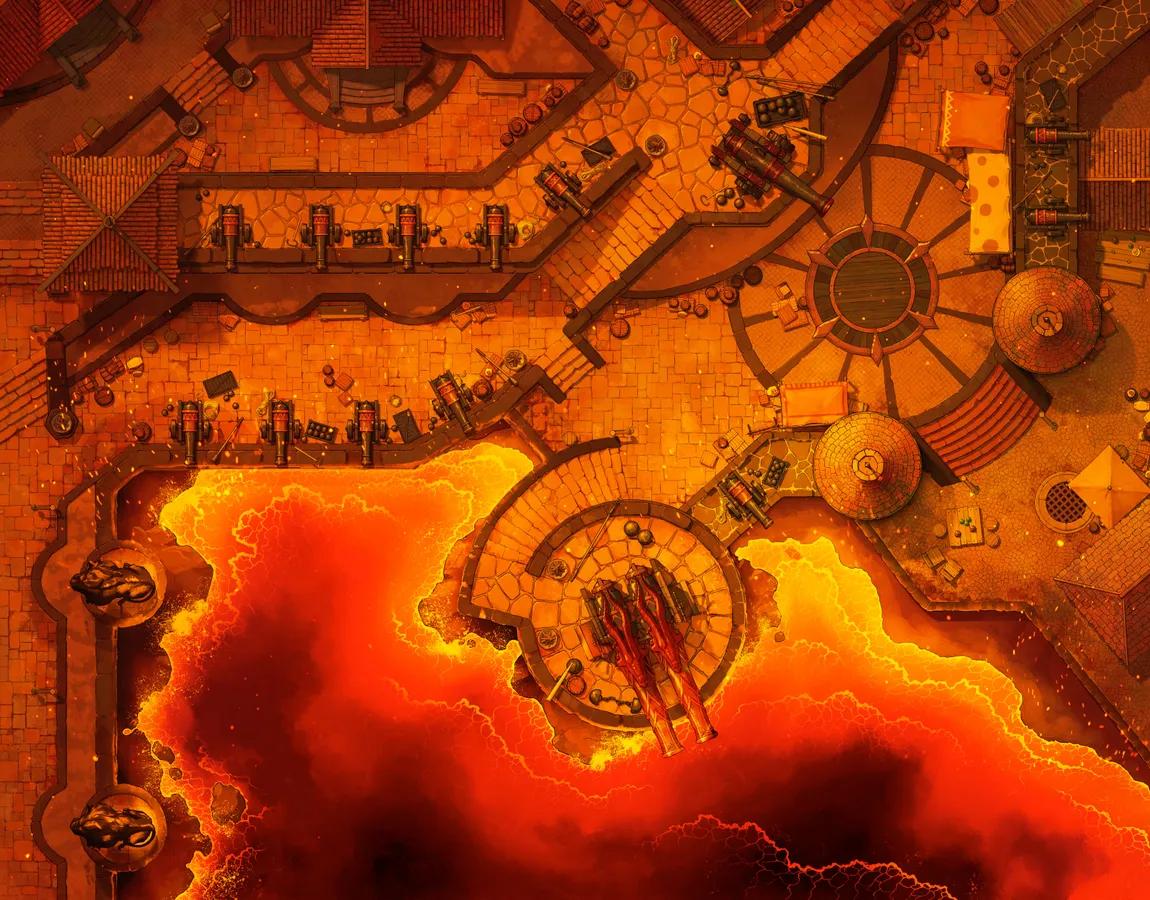
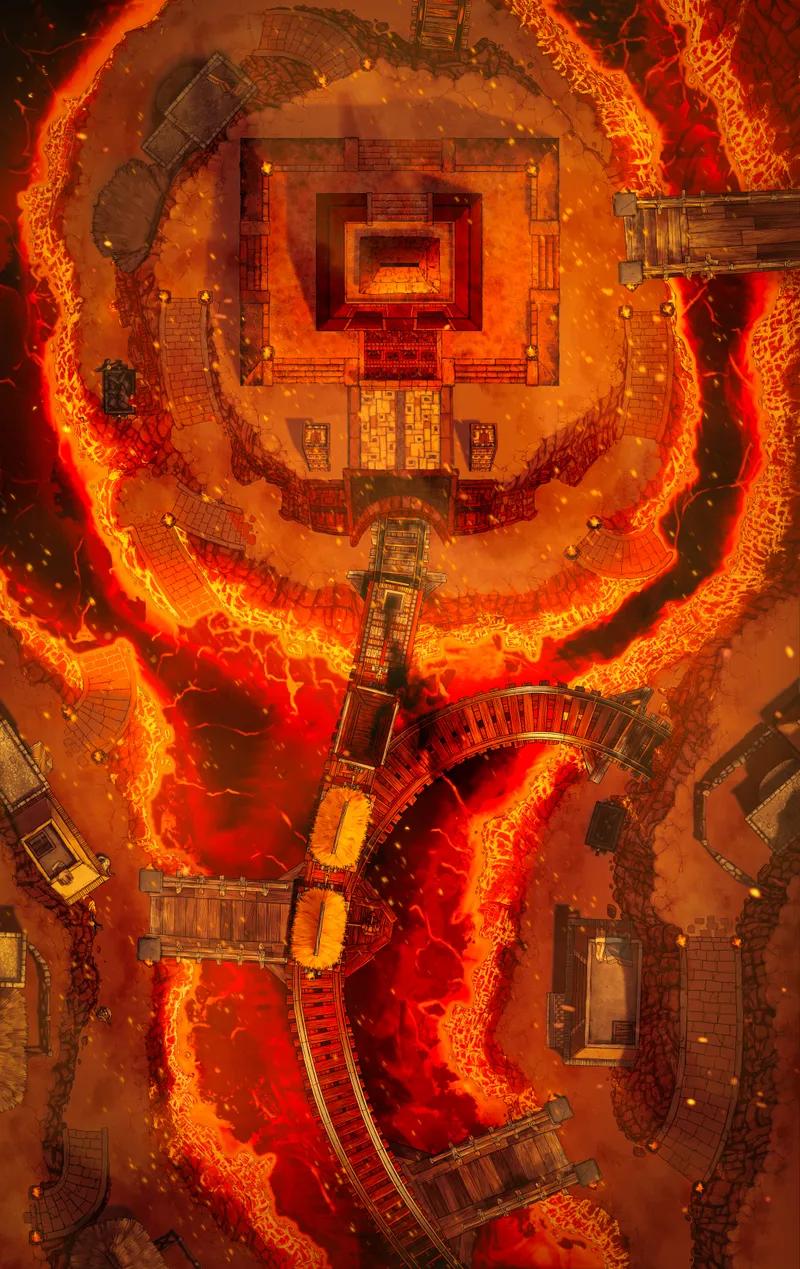
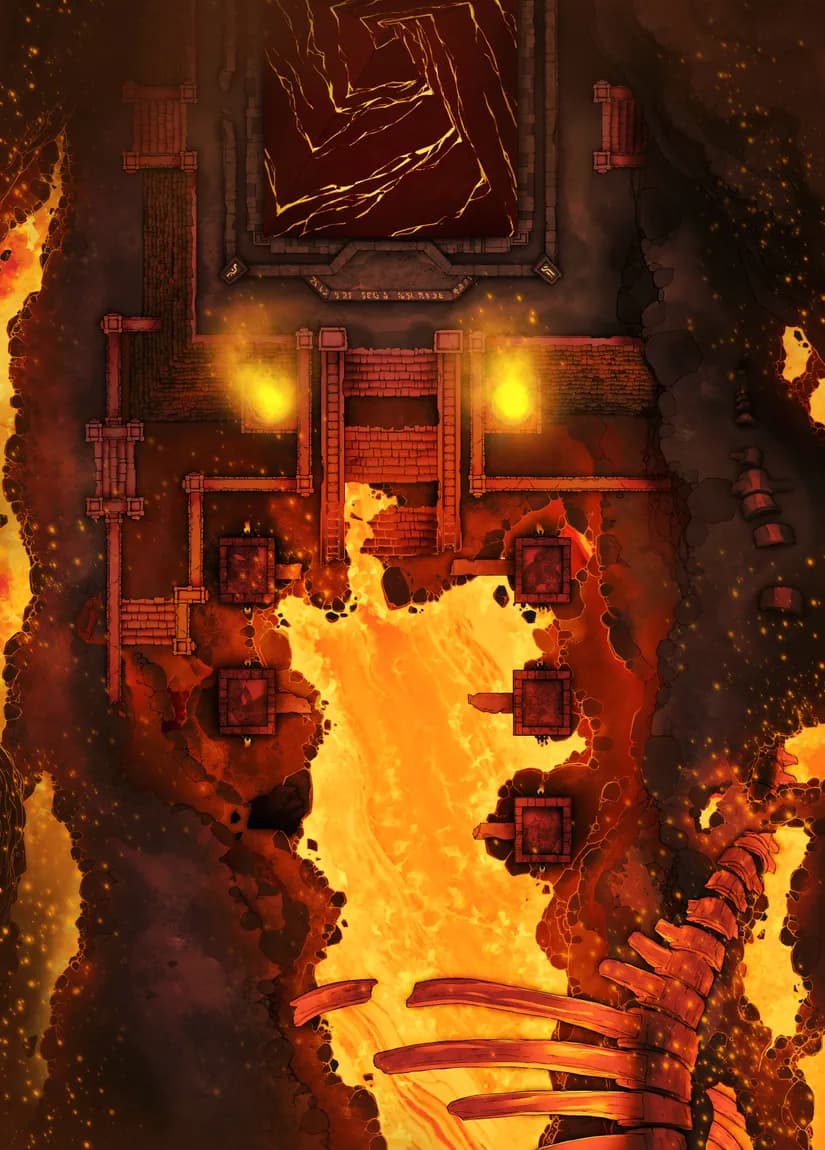
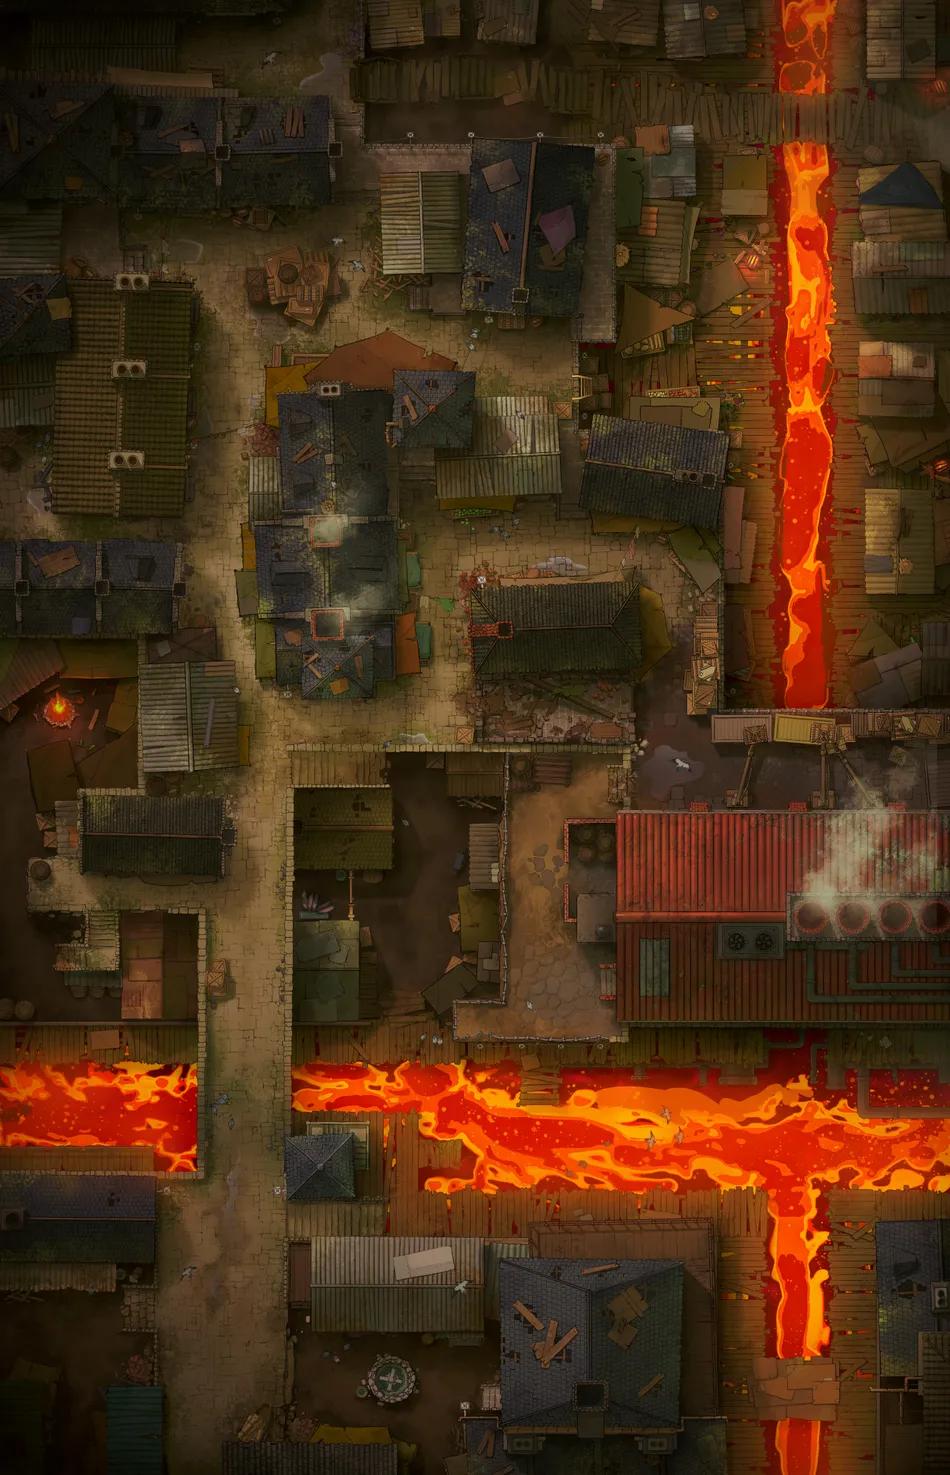
Hellfire Prison (+15)
Hellfire Prison (+15)
Imperial Graveyard (+3)
Imperial Graveyard (+3)
Iron Age Hamlet
Iron Age Hamlet

Megalith Gate
Megalith Gate
Merfolk Marina (+2)
Merfolk Marina (+2)
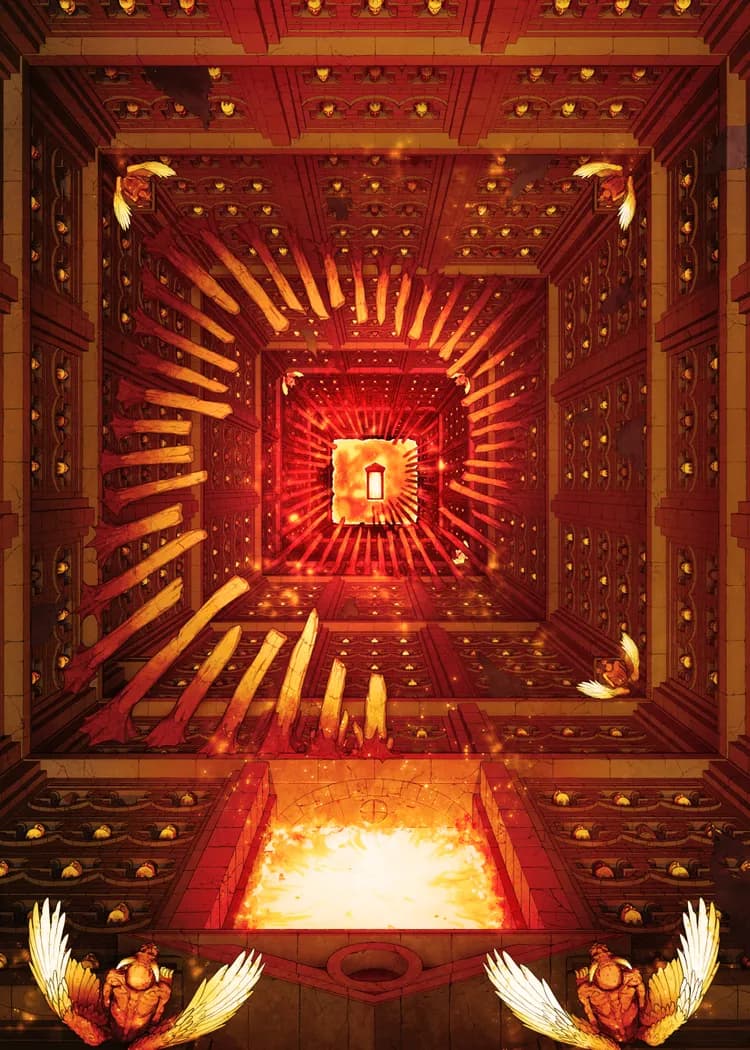
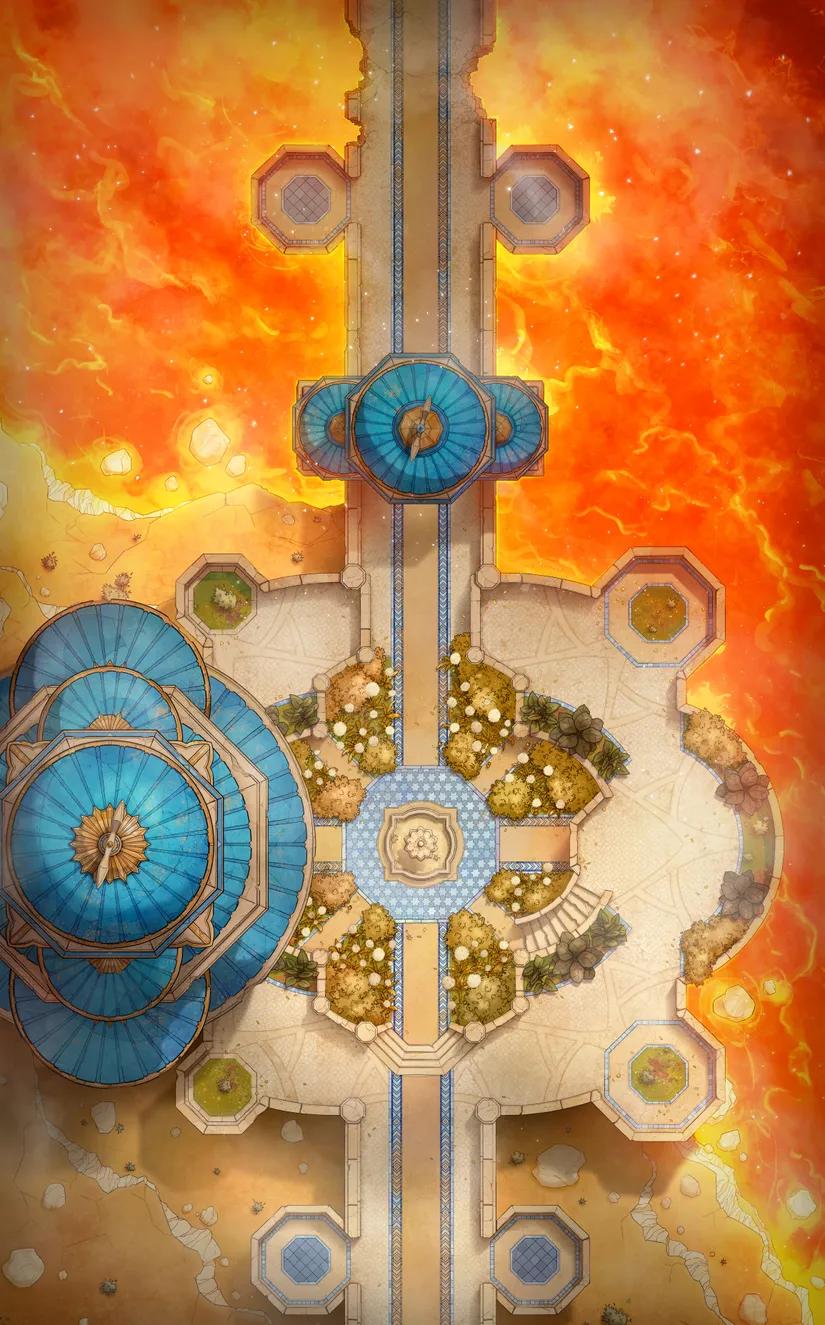
Solar Cathedral (+1)
Solar Cathedral (+1)
Spider Queen Throne
Spider Queen Throne
Underground Dwarven City Centre (+11)
Underground Dwarven City Centre (+11)
Void Dragon Lair
Void Dragon Lair
War Room Exterior
War Room Exterior
Wizard Prison Pt. 1 (+2)
Wizard Prison Pt. 1 (+2)
Wizard Prison Pt. 4
Wizard Prison Pt. 4
Yggdrasil Treetop (+1)
Yggdrasil Treetop (+1)
Abyssal Fall (+2)
Abyssal Fall (+2)
Adventurers' Guildhall
Adventurers' Guildhall
Ages of the Vale: Public House (+2)
Ages of the Vale: Public House (+2)
Ages of the Vale: Tavern (+1)
Ages of the Vale: Tavern (+1)
Airships! (+4)
Airships! (+4)

Airships! Pt. 2
Airships! Pt. 2
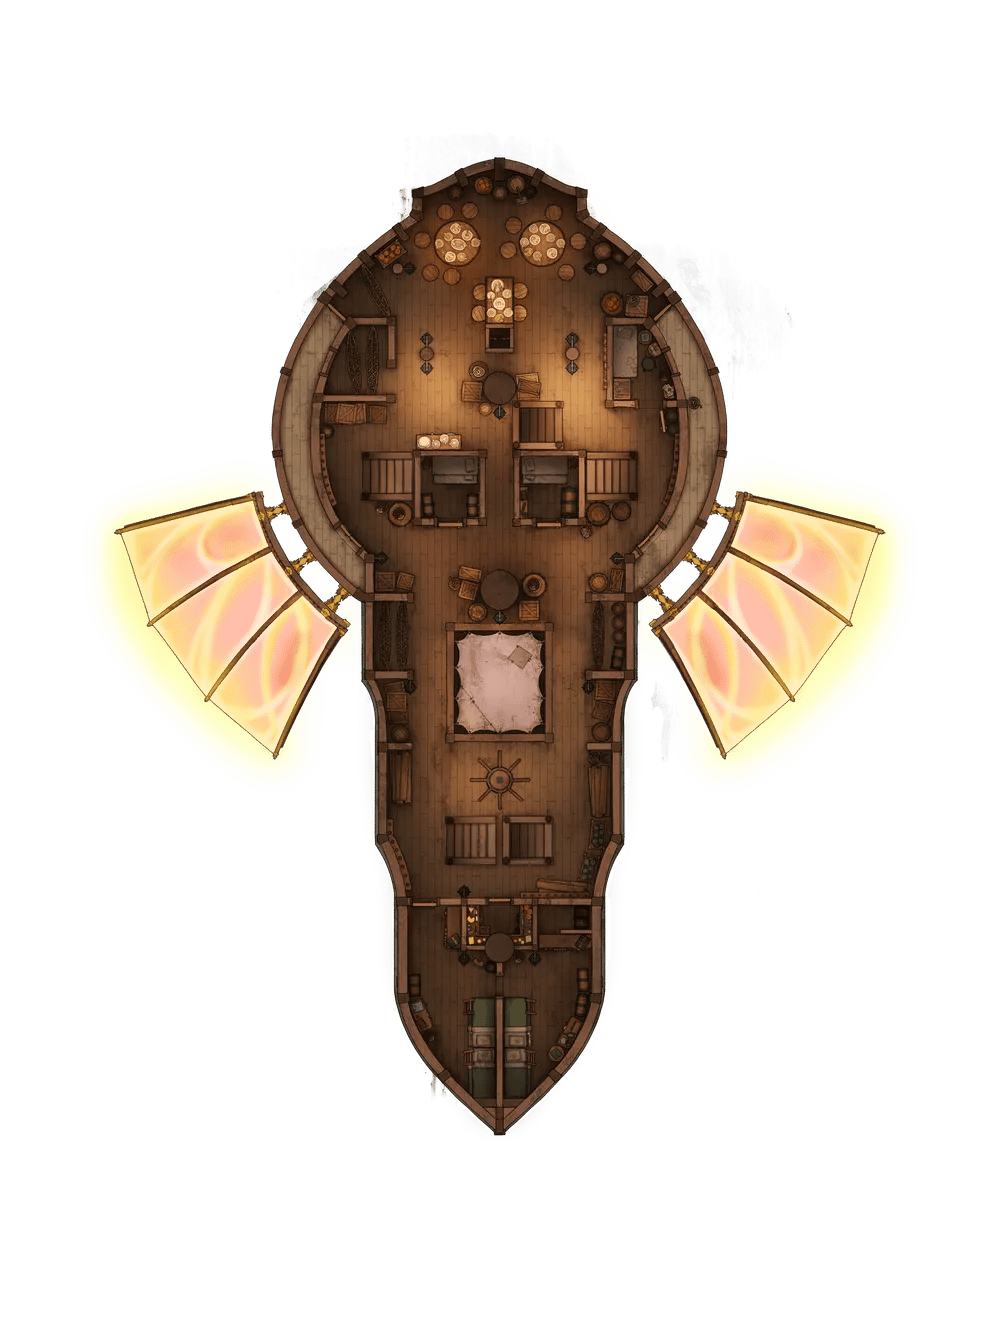
Airships! Pt. 3 (+26)
Airships! Pt. 3 (+26)
Annis Hag Lair
Annis Hag Lair
Antlion Canyon
Antlion Canyon
Astral Plane
Astral Plane
Badger Hill
Badger Hill
Banshee Moor
Banshee Moor
Beach Town (+2)
Beach Town (+2)
Birdfolk Village
Birdfolk Village
Blue Dragon Lair
Blue Dragon Lair
Bone Dryad Ossuary
Bone Dryad Ossuary
Bone Mill Lair
Bone Mill Lair
Candlestair Shrine
Candlestair Shrine
Celestial Chapel Interior (+1)
Celestial Chapel Interior (+1)
Celestial Gate
Celestial Gate
Celestial Realm
Celestial Realm
Chrono Chaos Ruins
Chrono Chaos Ruins
Chrono Chaos Ruins Interior
Chrono Chaos Ruins Interior
Chthonic Lighthouse
Chthonic Lighthouse
City Marketplace
City Marketplace
Clifftop Warcamp
Clifftop Warcamp
Clockwork Dragon Lair Interior (+13)
Clockwork Dragon Lair Interior (+13)
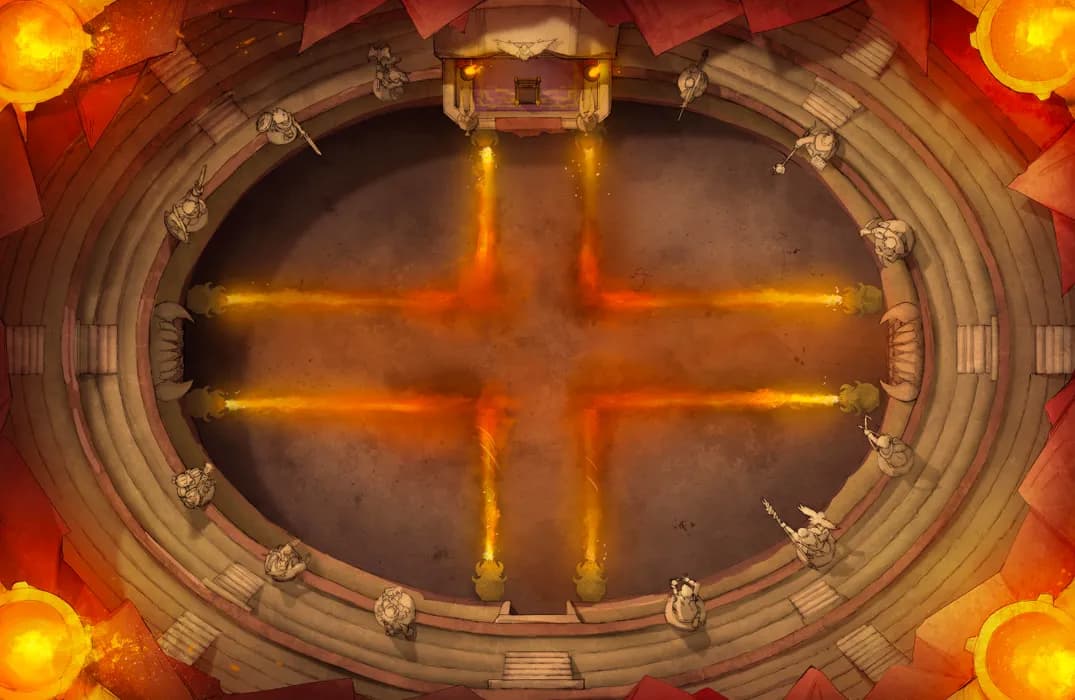
Colosseum of Challenges
Colosseum of Challenges
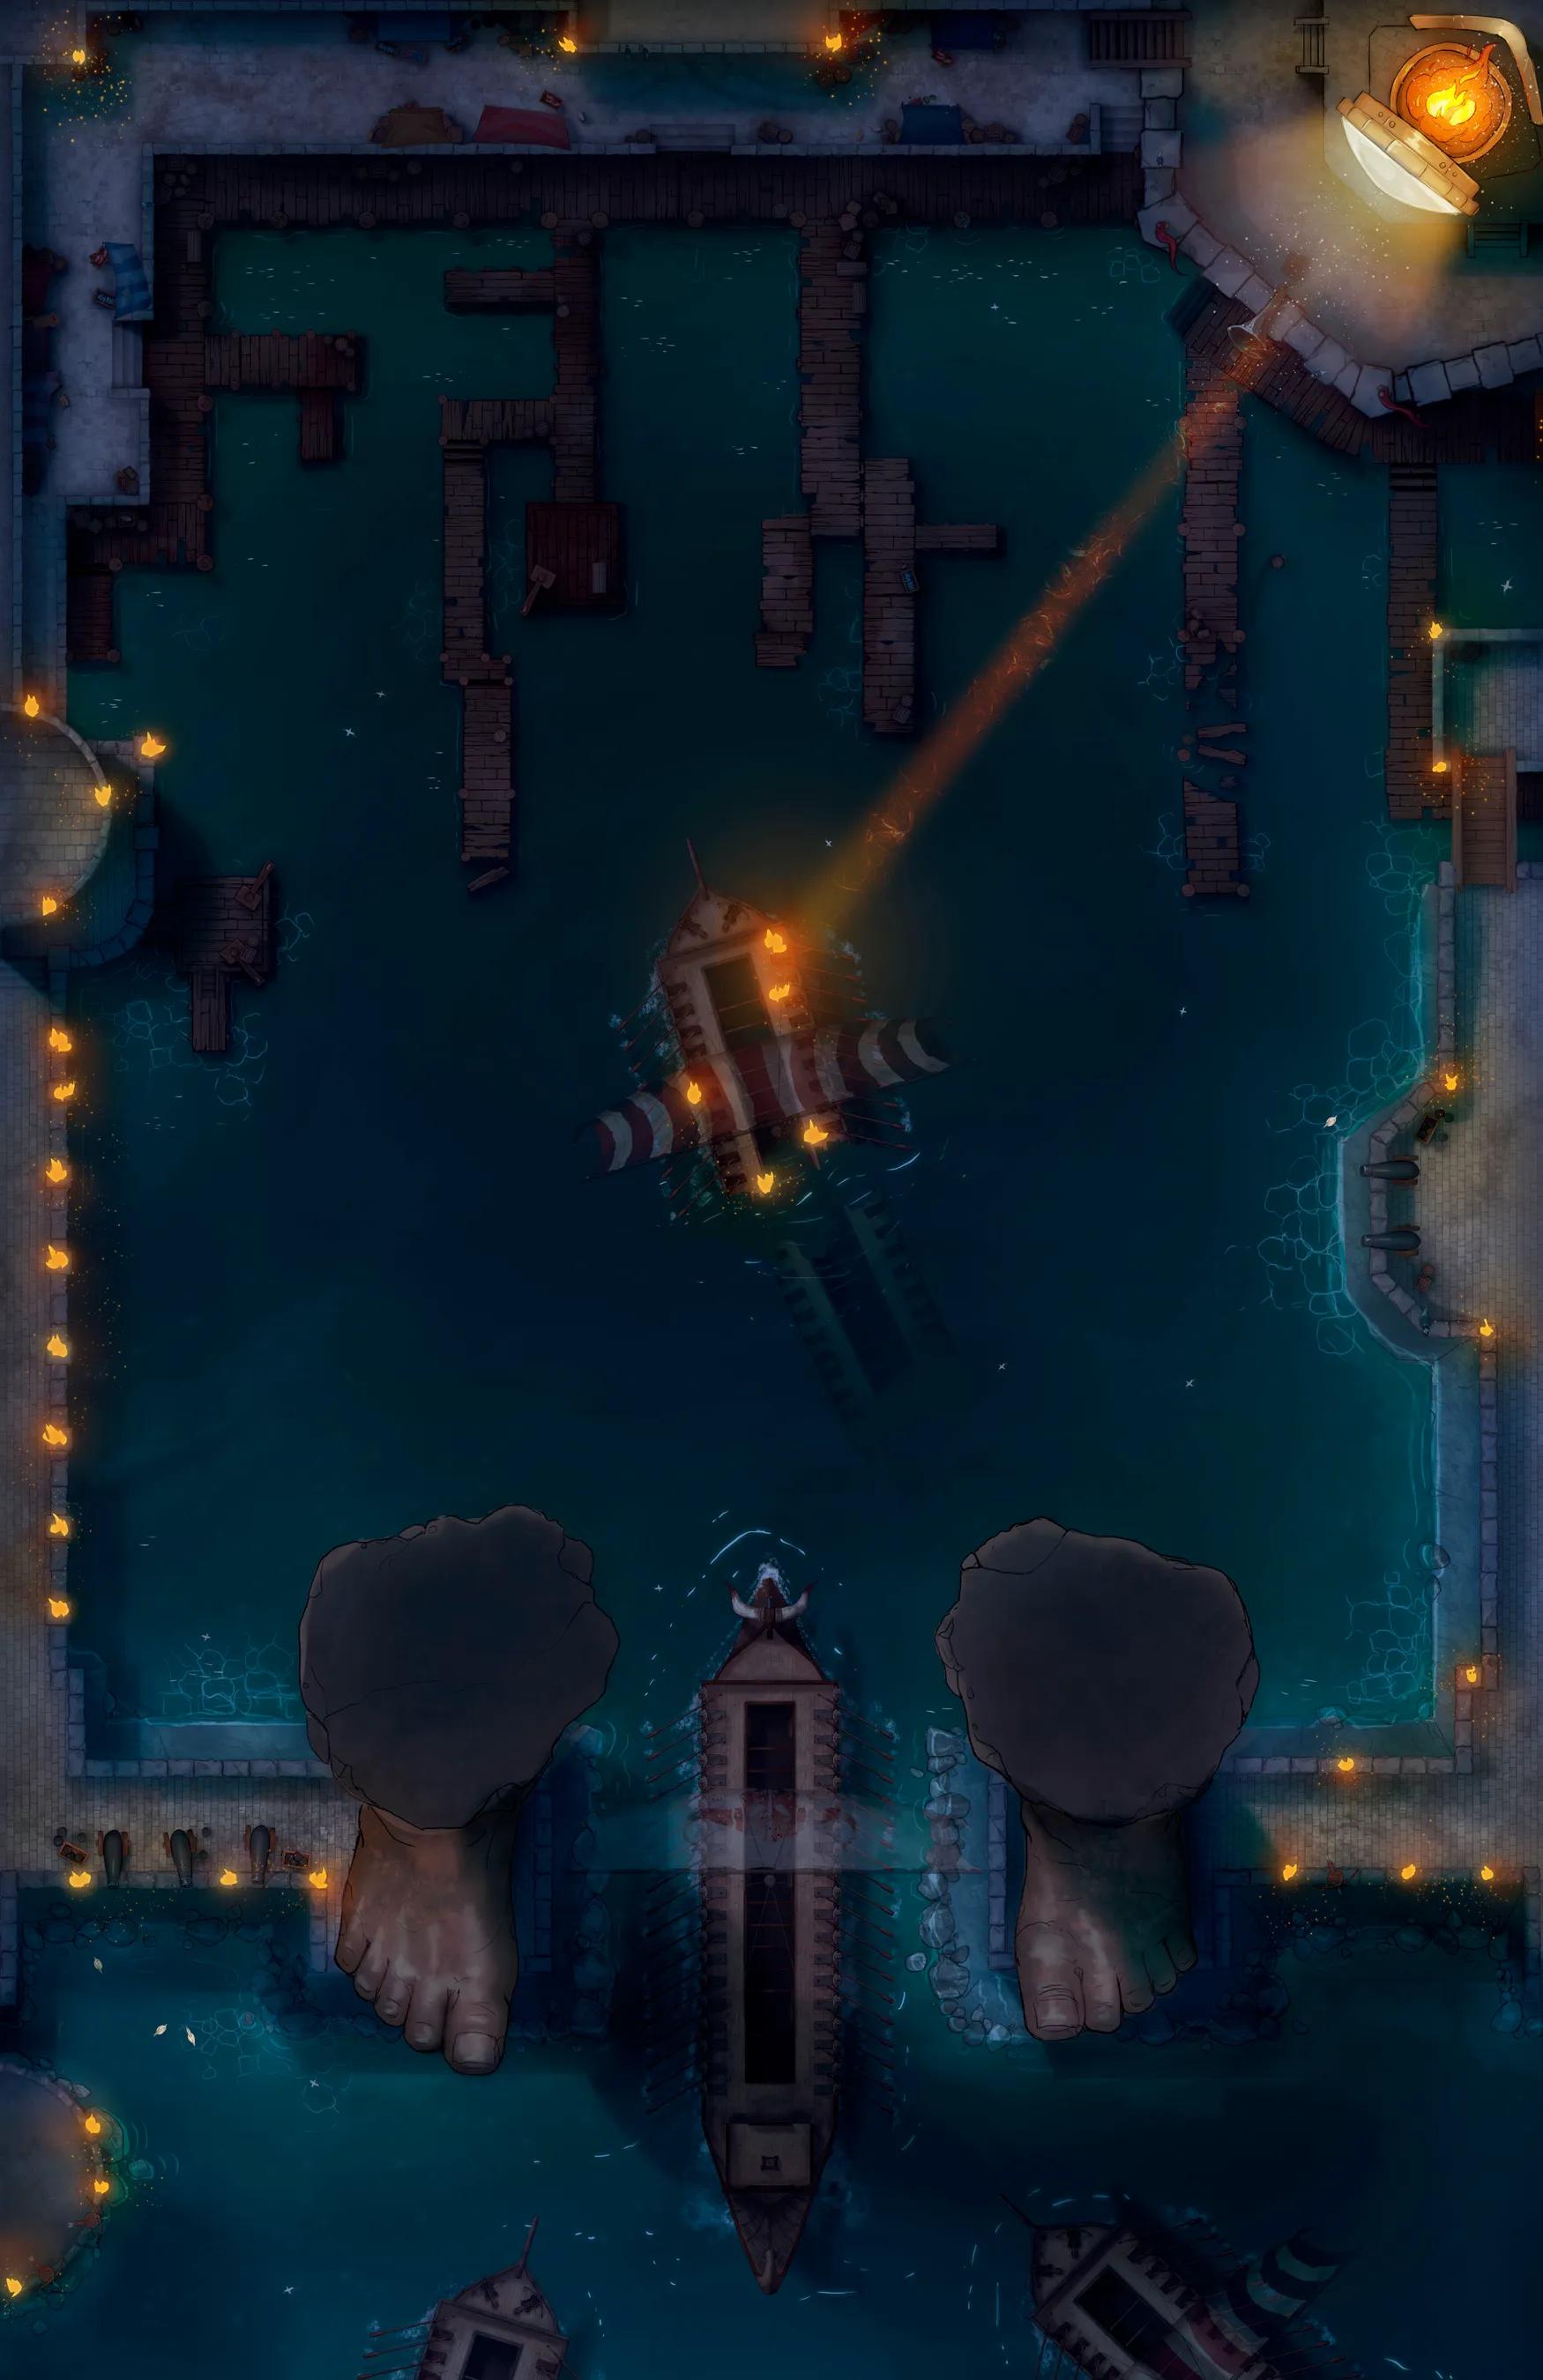
Colossus Port
Colossus Port
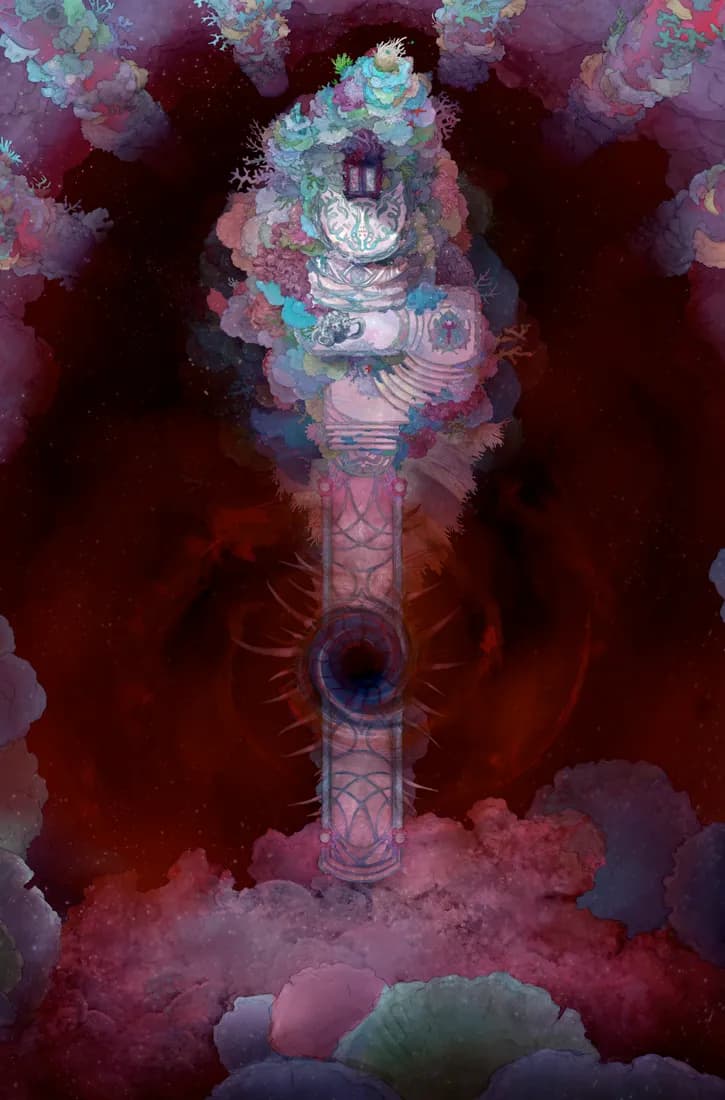
Coral Throne
Coral Throne
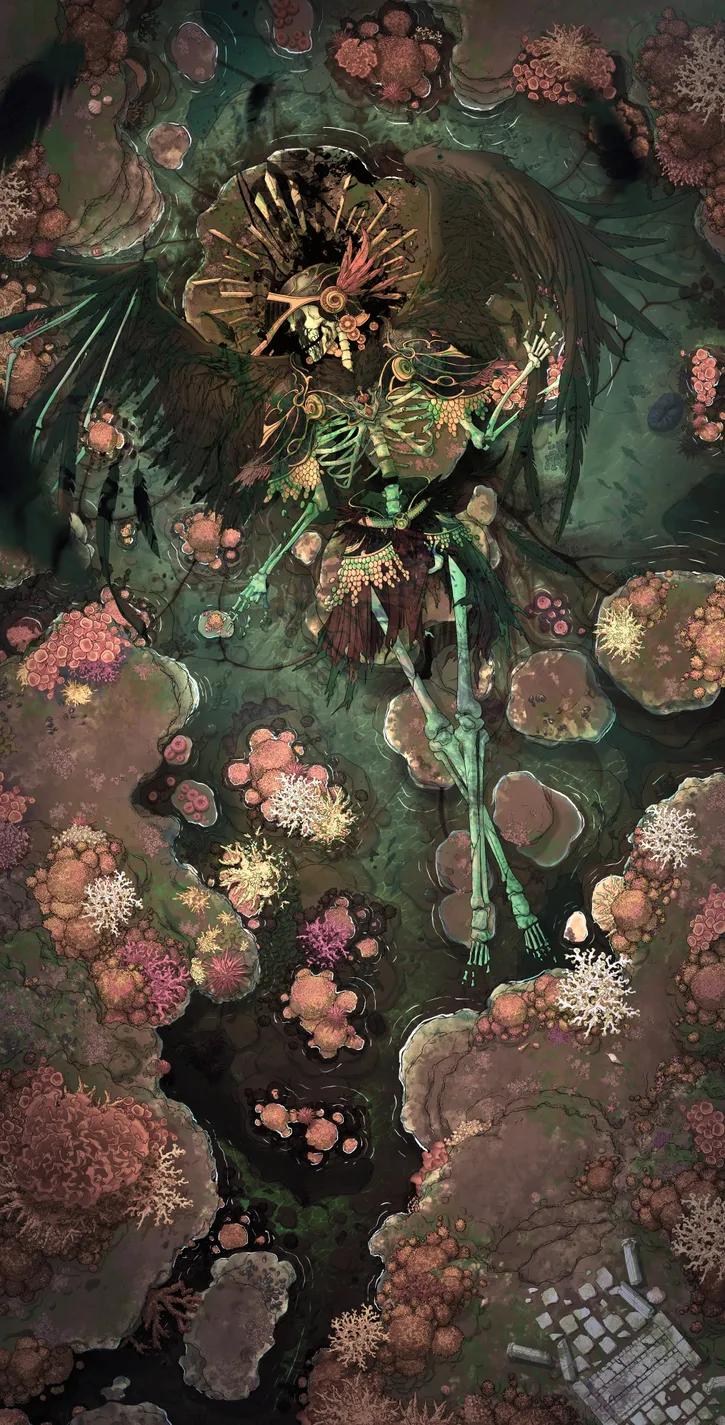
Dead Angel Reef
Dead Angel Reef
Desert Canyon
Desert Canyon
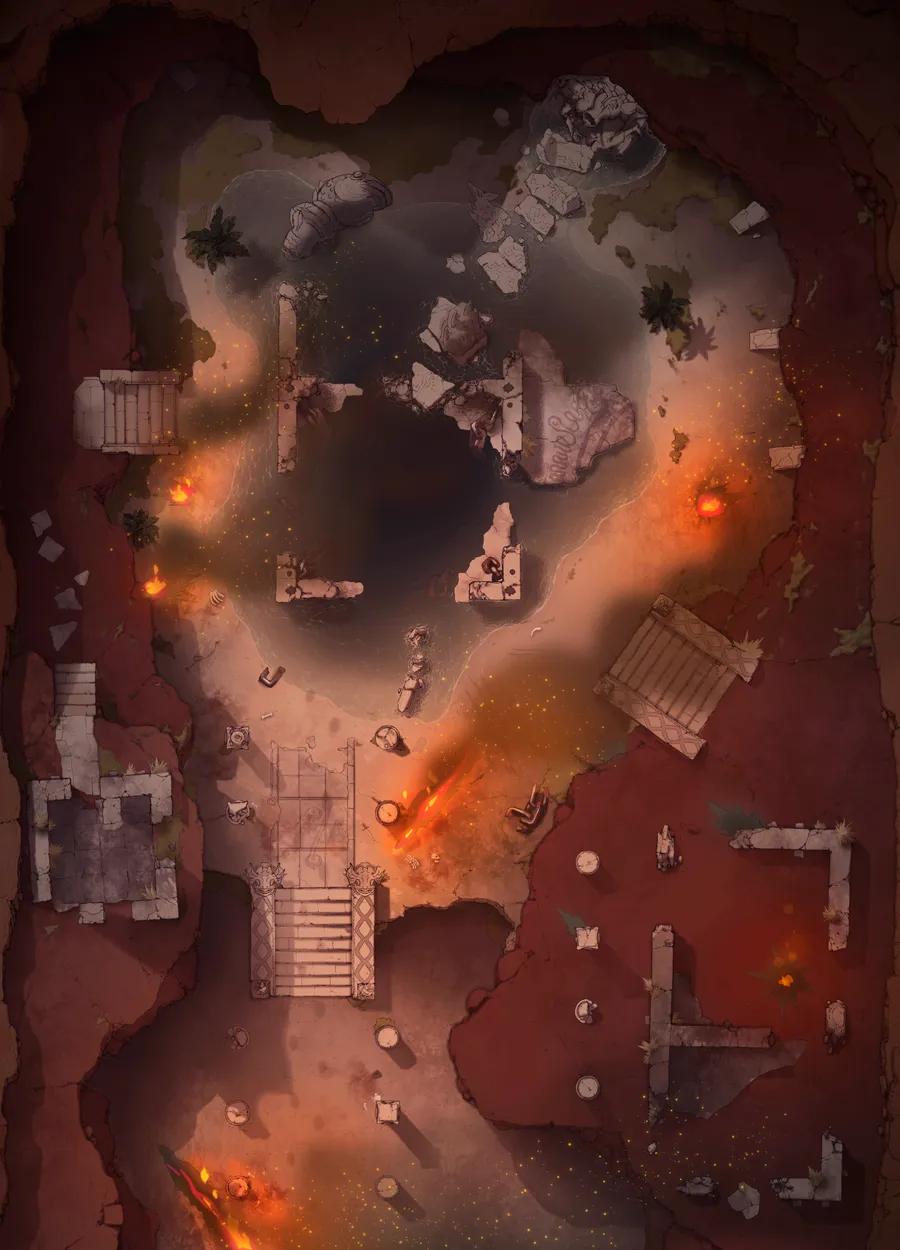
Desert Ruins
Desert Ruins
Djinn Gardens
Djinn Gardens
Dracolich Lair (+1)
Dracolich Lair (+1)
Dragon's Hoard
Dragon's Hoard
Drow War Port
Drow War Port
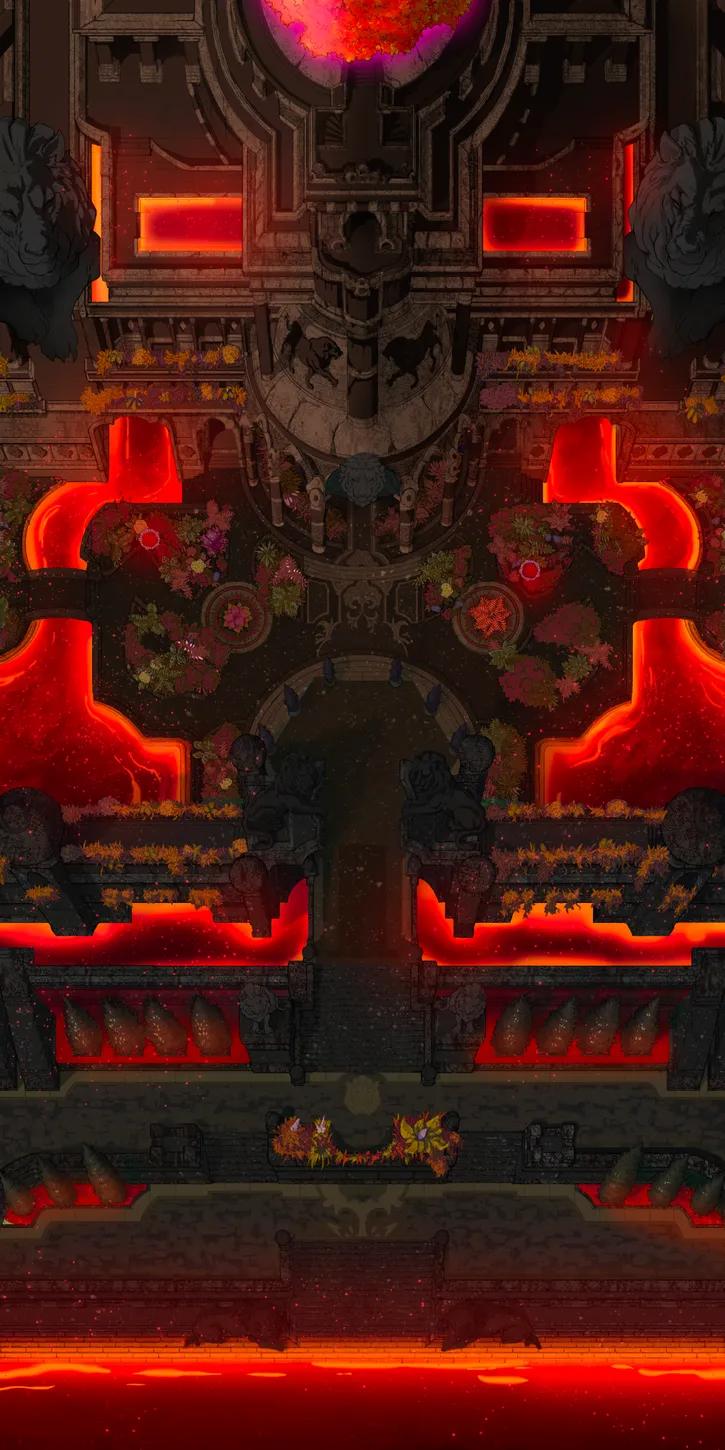
Dwarven Throne Hall (+10)
Dwarven Throne Hall (+10)
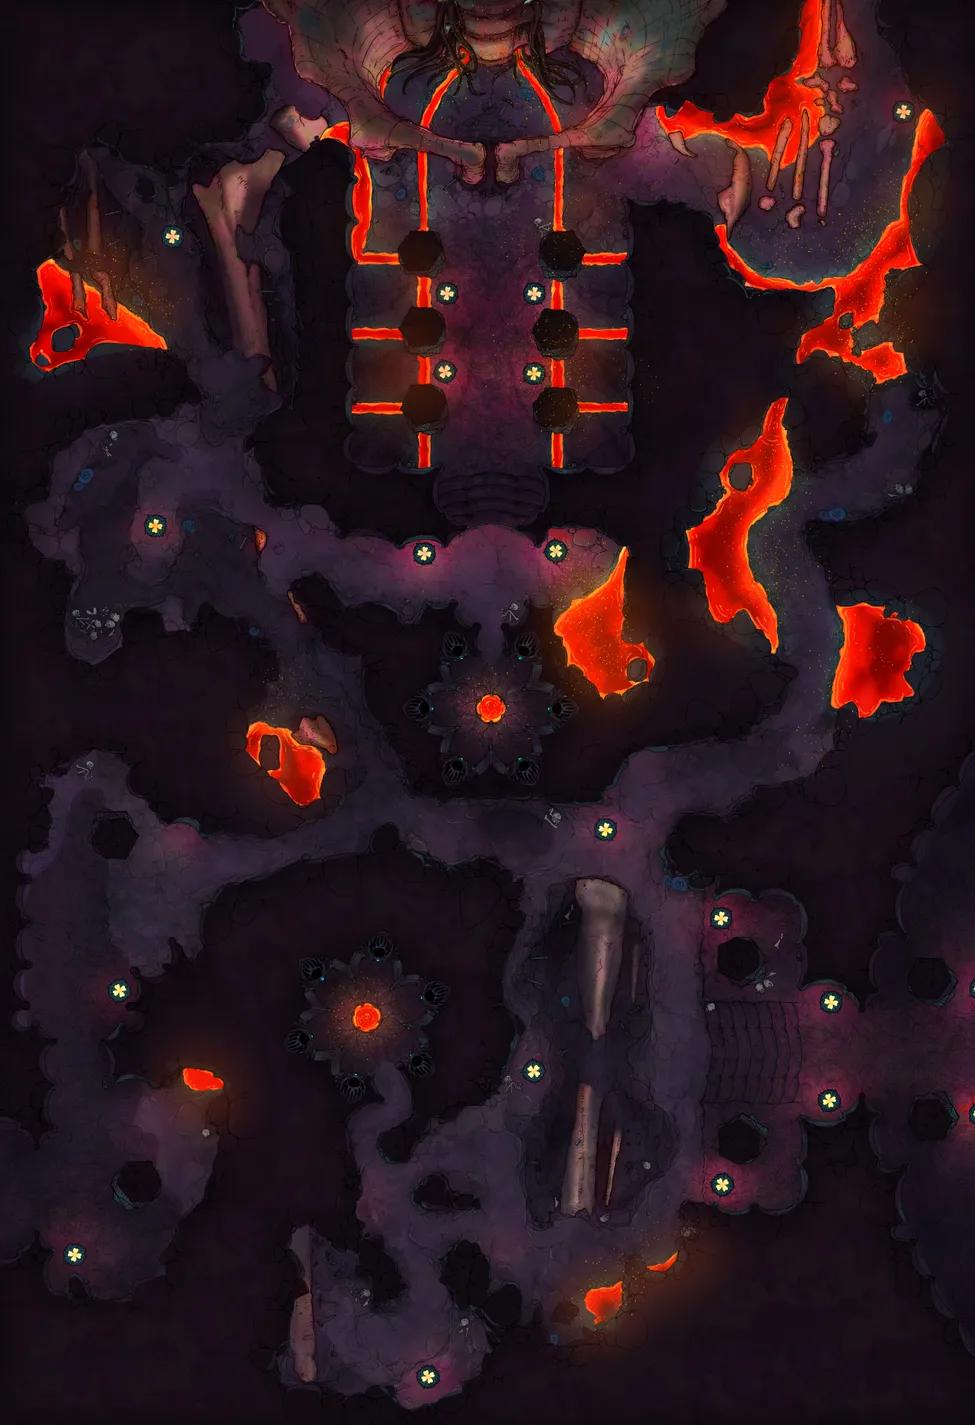
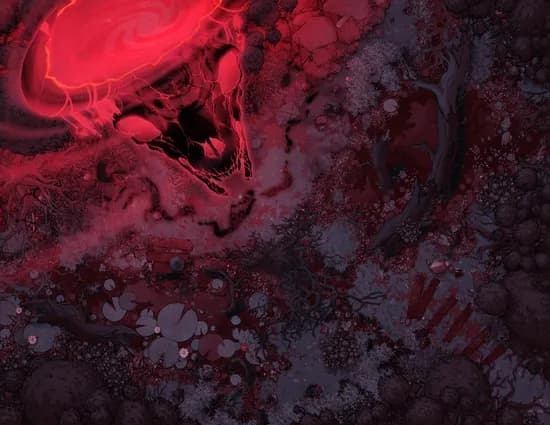
Elder Brain Sacrum Shrine
Elder Brain Sacrum Shrine
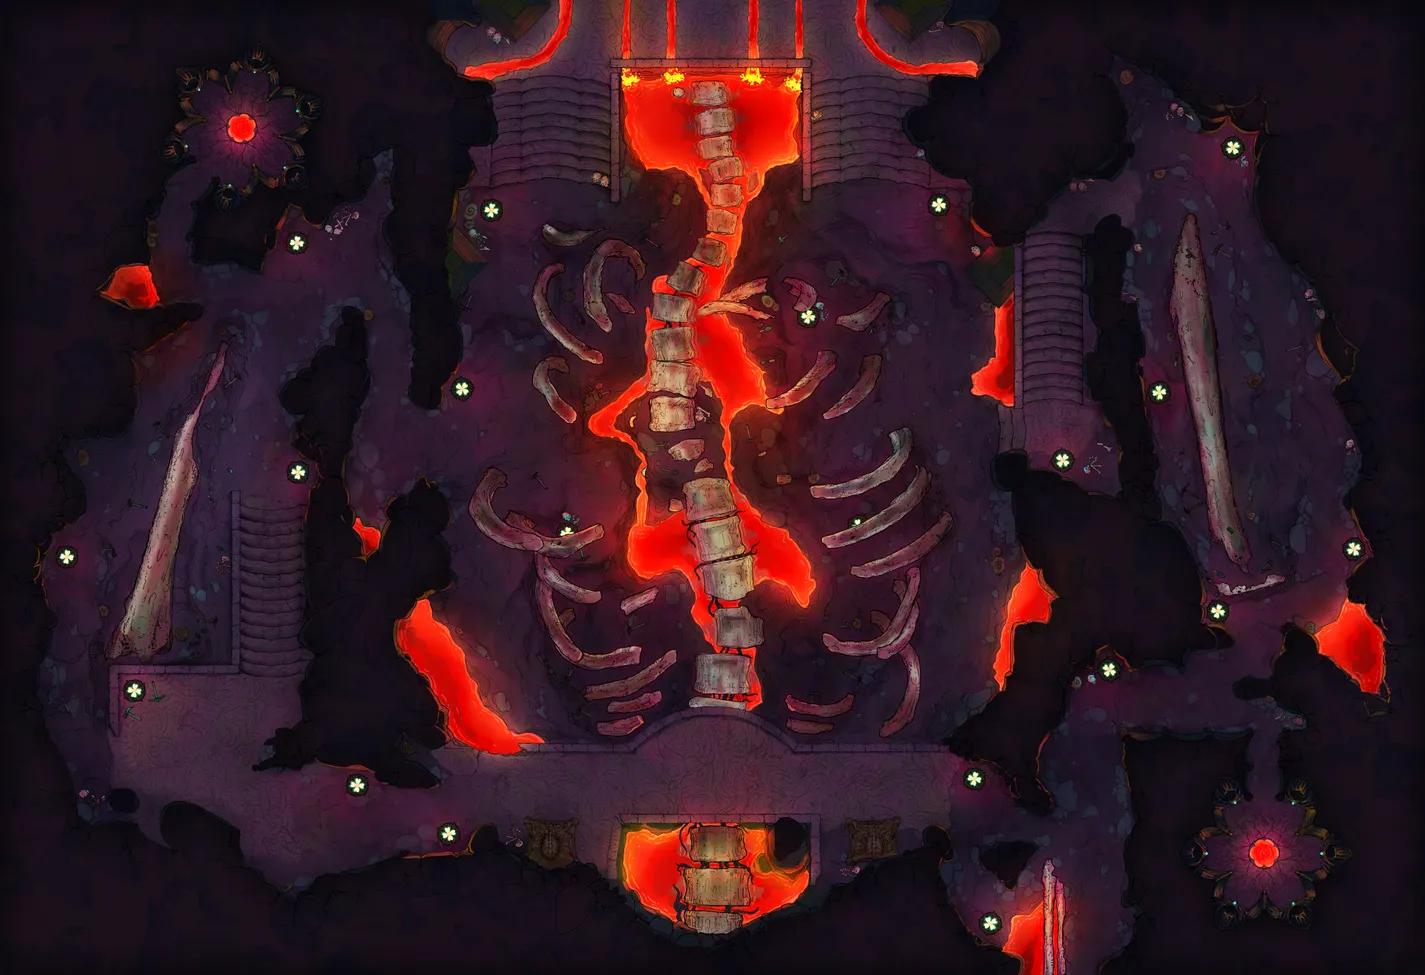
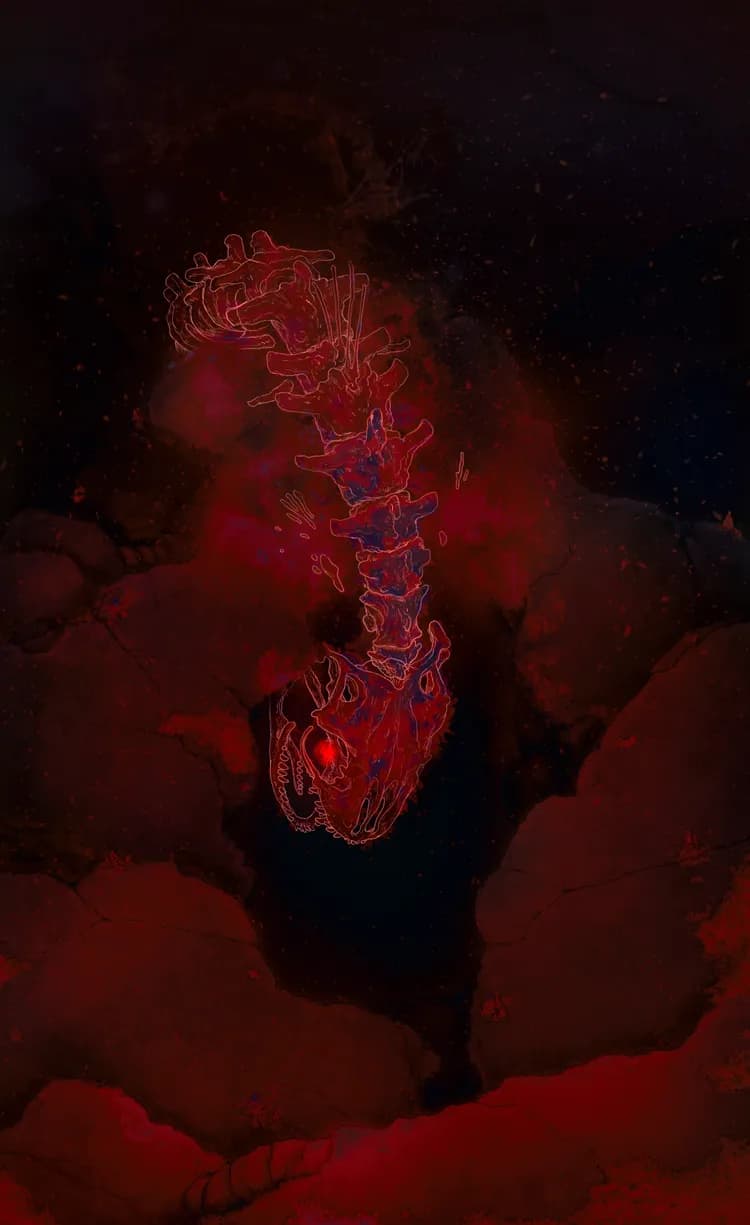
Elder Brain Spine Mine
Elder Brain Spine Mine
Elven Magitech Portal (+1)
Elven Magitech Portal (+1)
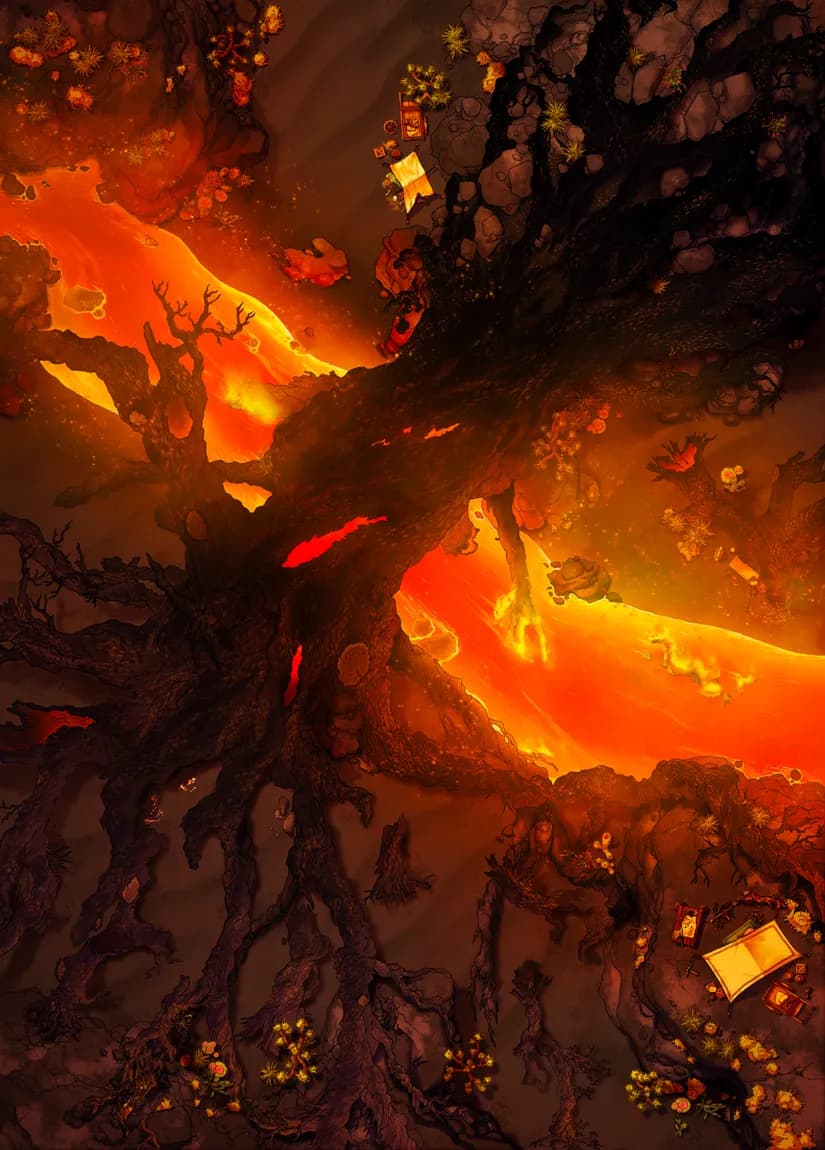
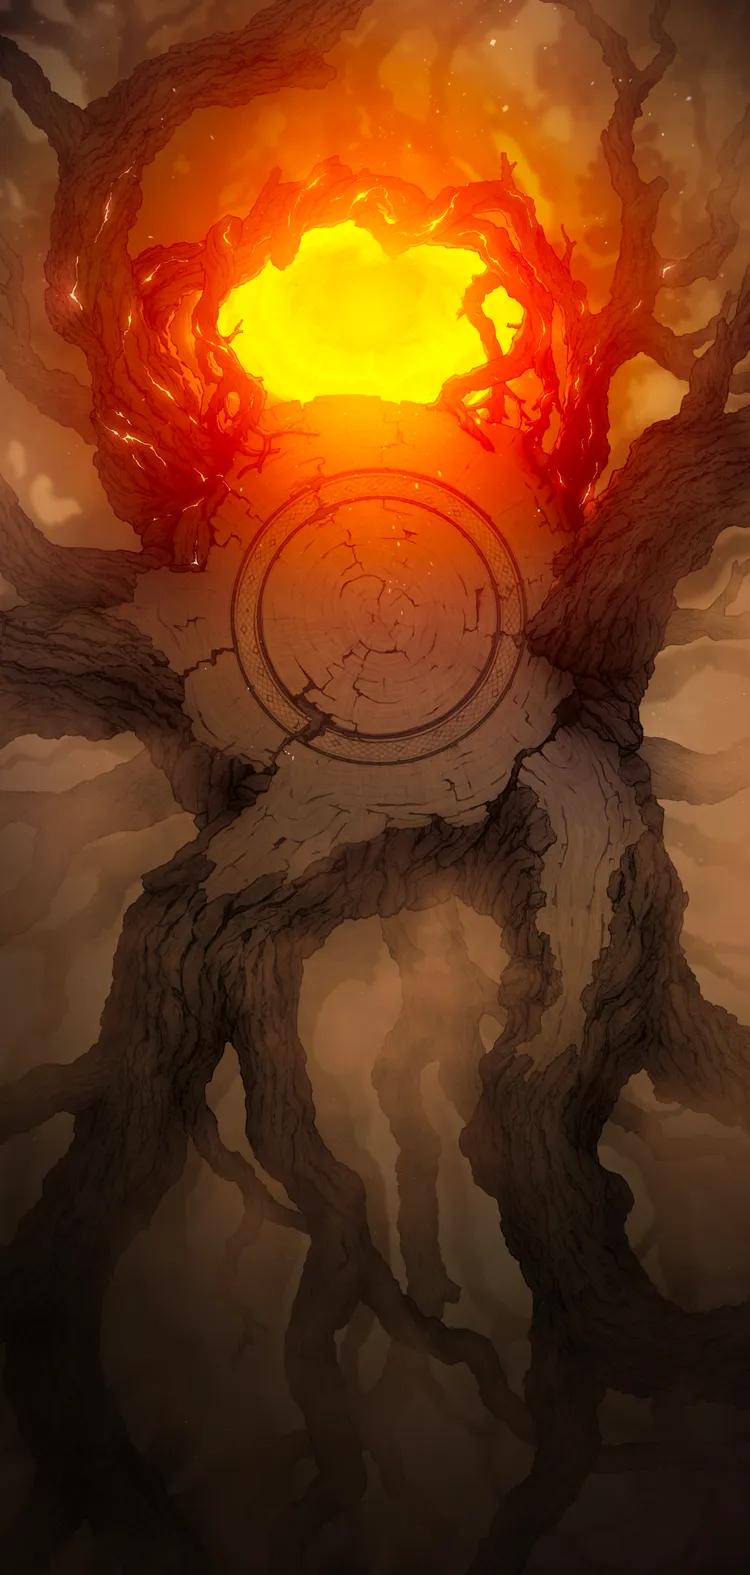
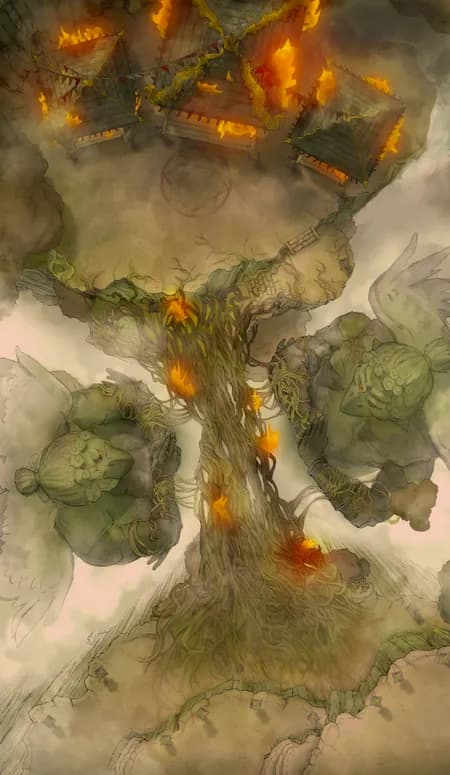
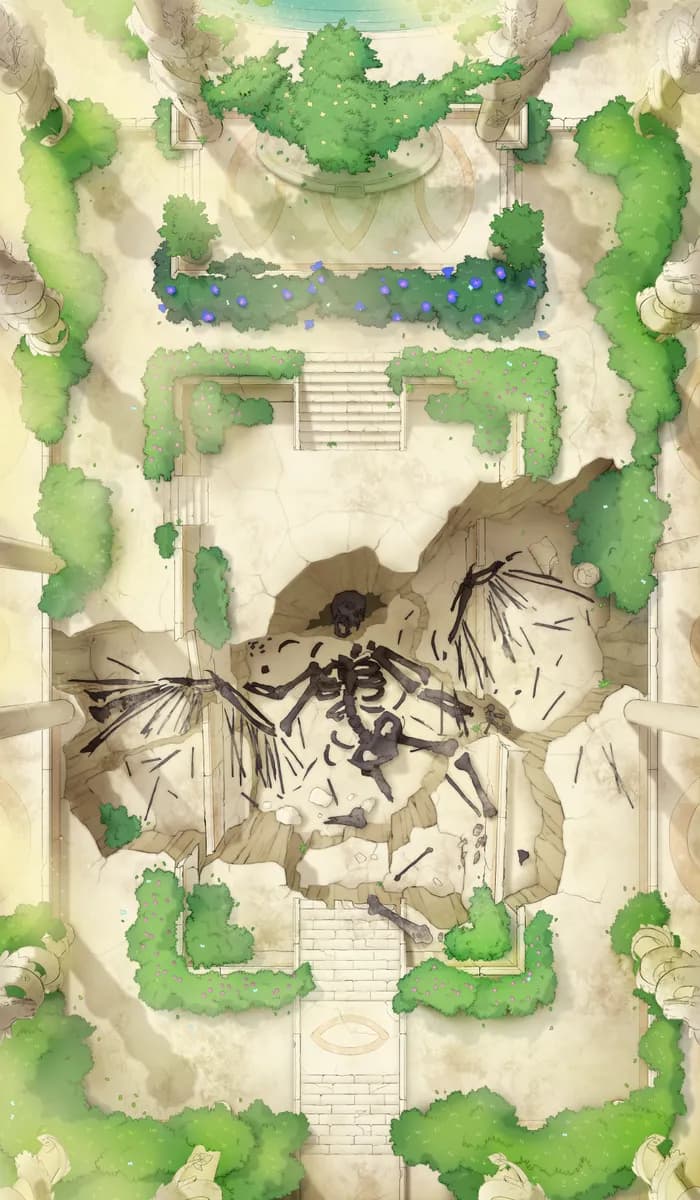
Fallen Ancient Tree
Fallen Ancient Tree
Floating Castle (+1)
Floating Castle (+1)
Forest Shrine Festival (+1)
Forest Shrine Festival (+1)
Fortified Dam
Fortified Dam
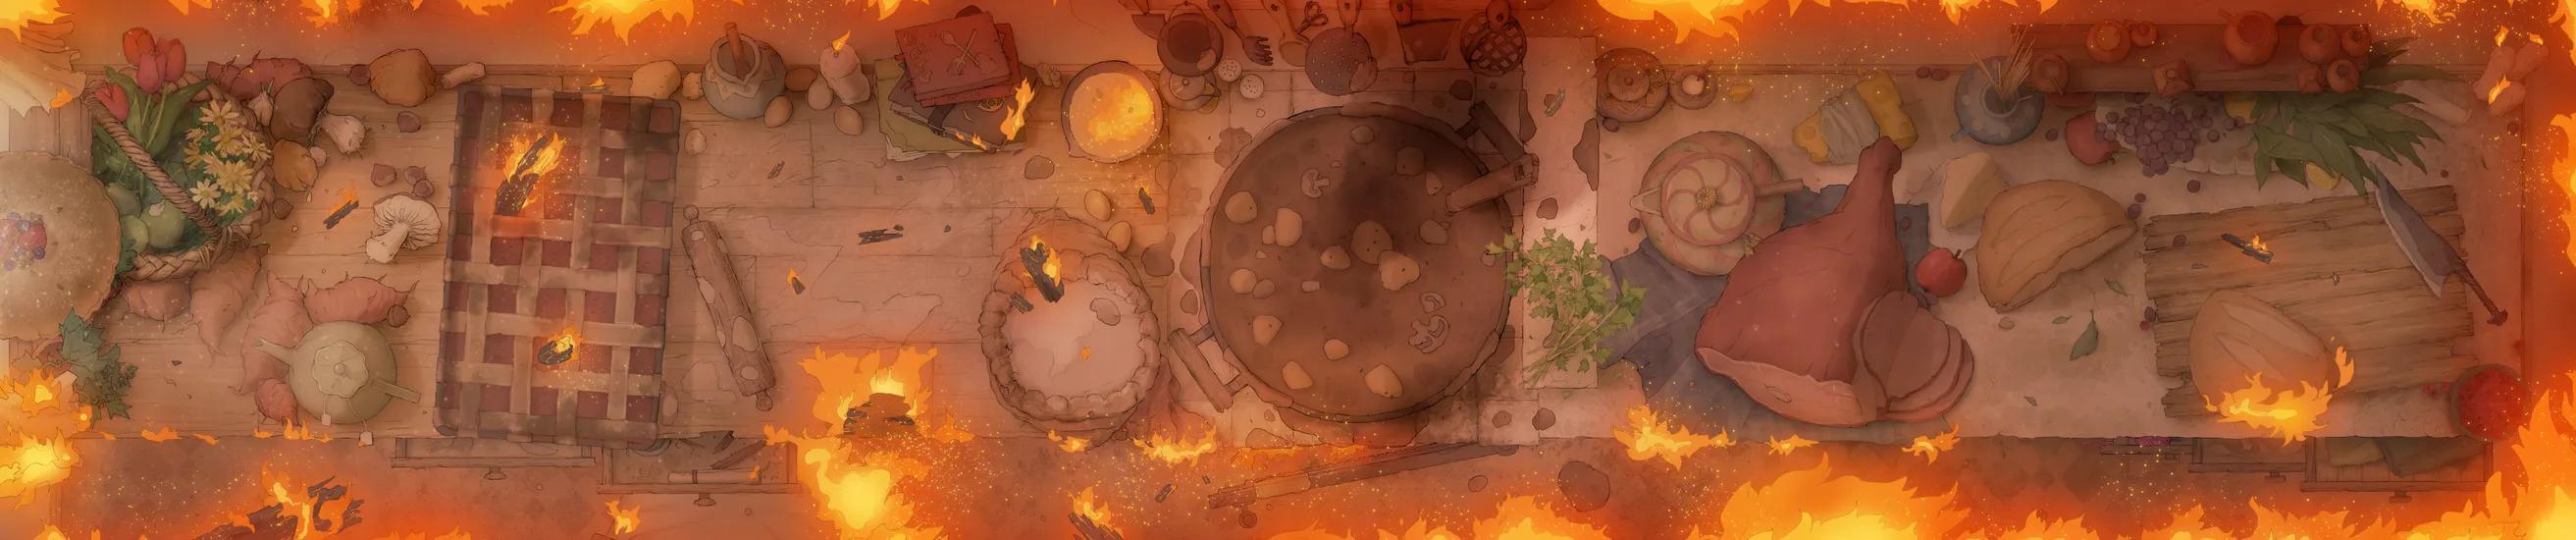
Giant Kitchen (+3)
Giant Kitchen (+3)
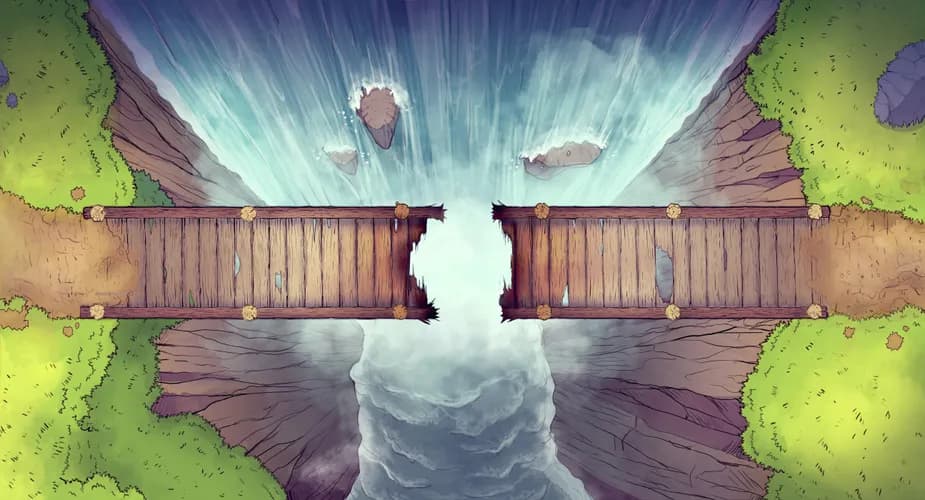
Goblin Bridge (+1)
Goblin Bridge (+1)
Goblin City Centre
Goblin City Centre
Goblin Forest Fortress
Goblin Forest Fortress
Grand Duke's Plaza
Grand Duke's Plaza
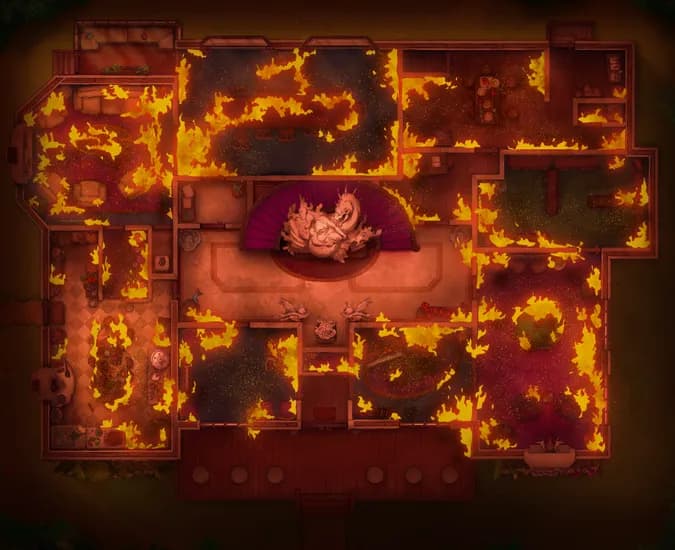
Grand Hunter's House (+2)
Grand Hunter's House (+2)
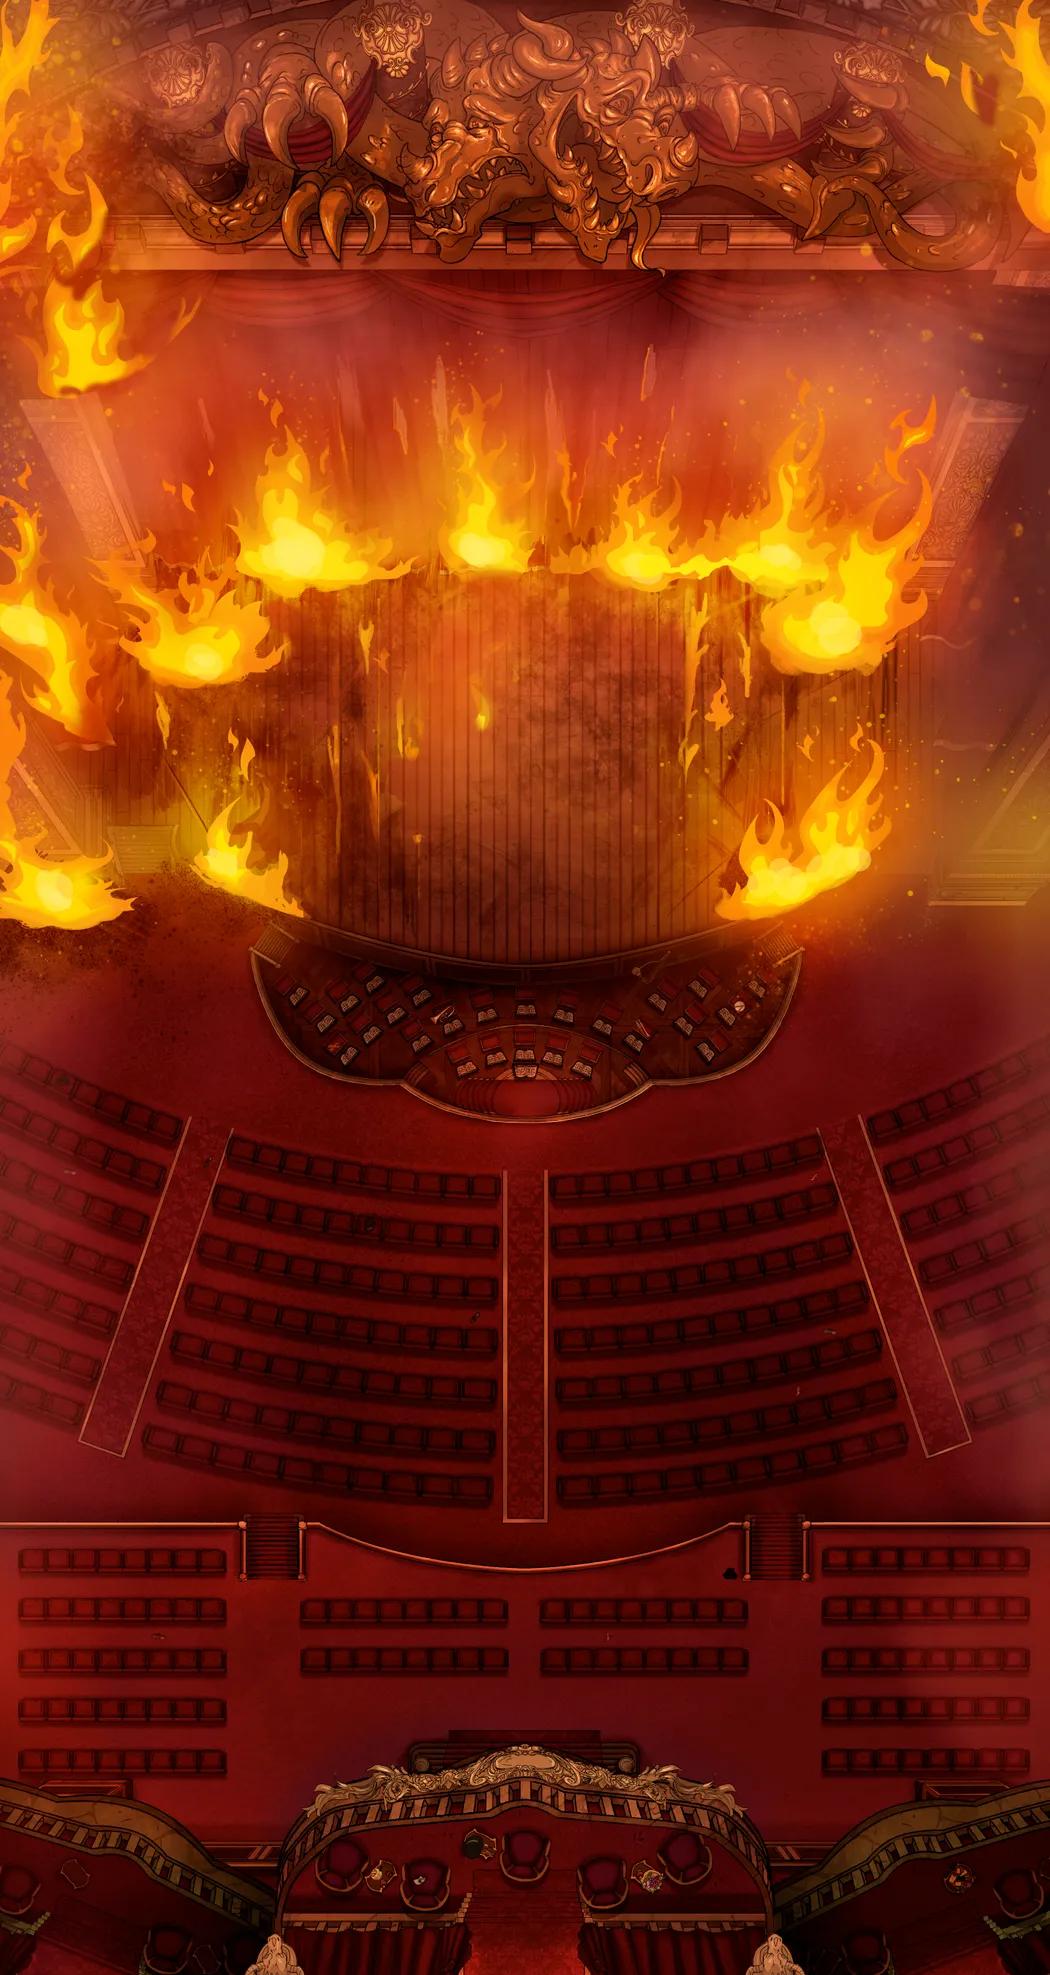
Grand Opera House (+1)
Grand Opera House (+1)
Grounded Castle (+4)
Grounded Castle (+4)

Hangar Bay (+1)
Hangar Bay (+1)
Hanging Gardens
Hanging Gardens
Harpy Cove (+2)
Harpy Cove (+2)
Haunted Ghost Ship Interior (+3)
Haunted Ghost Ship Interior (+3)
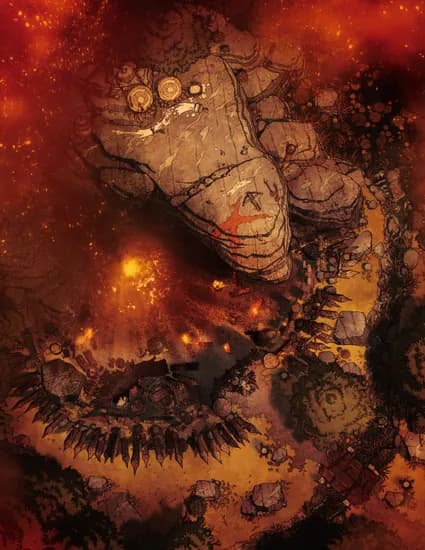
Impact Site (+6)
Impact Site (+6)
Imperial Bath Complex
Imperial Bath Complex
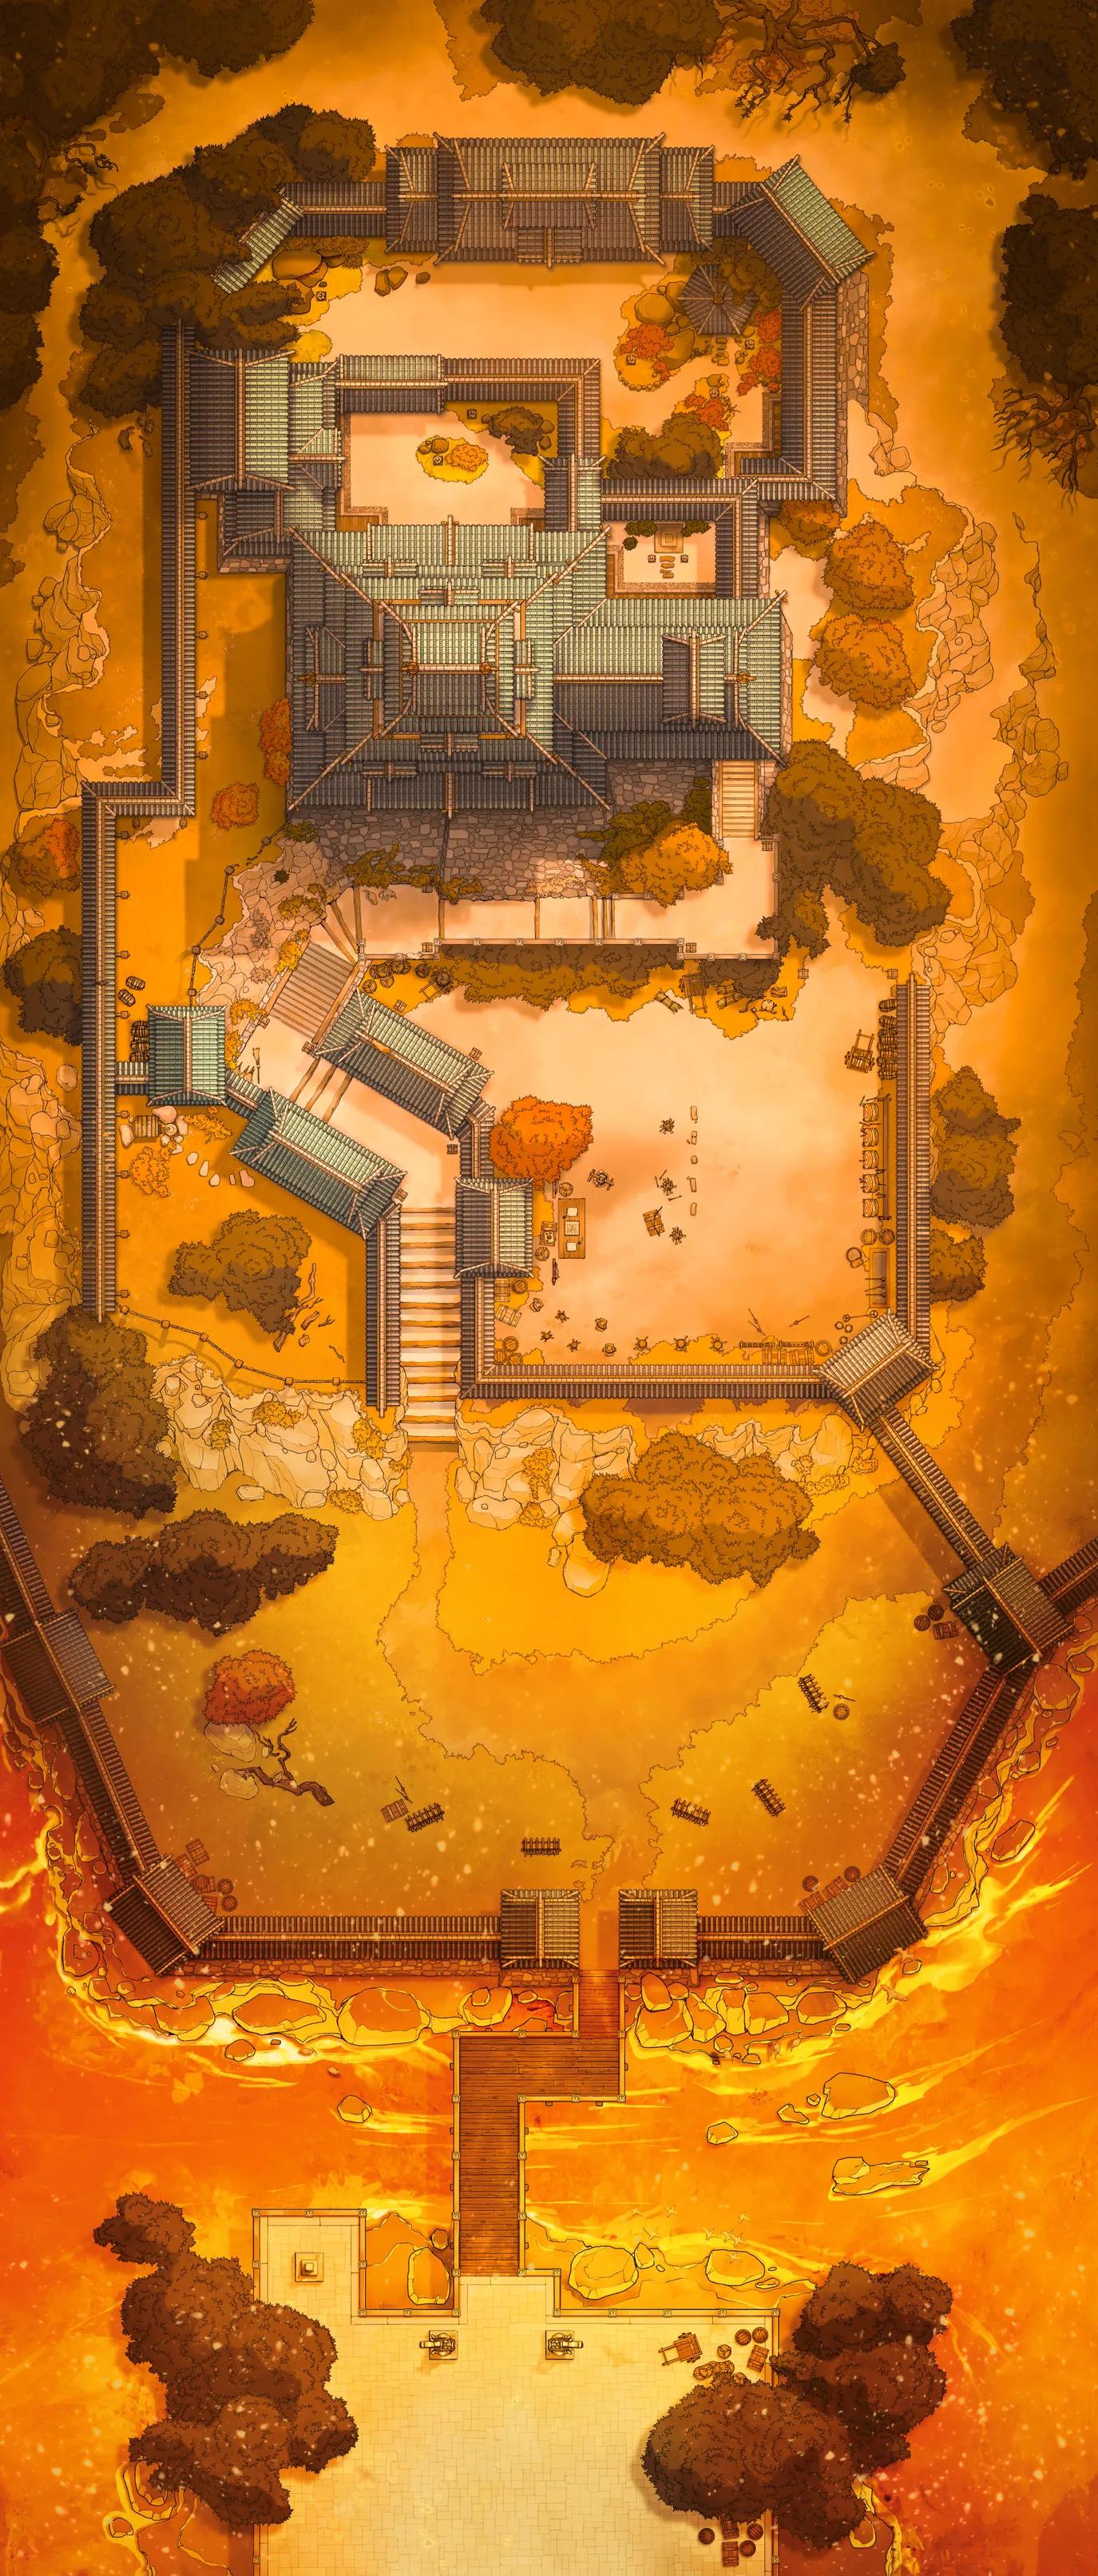
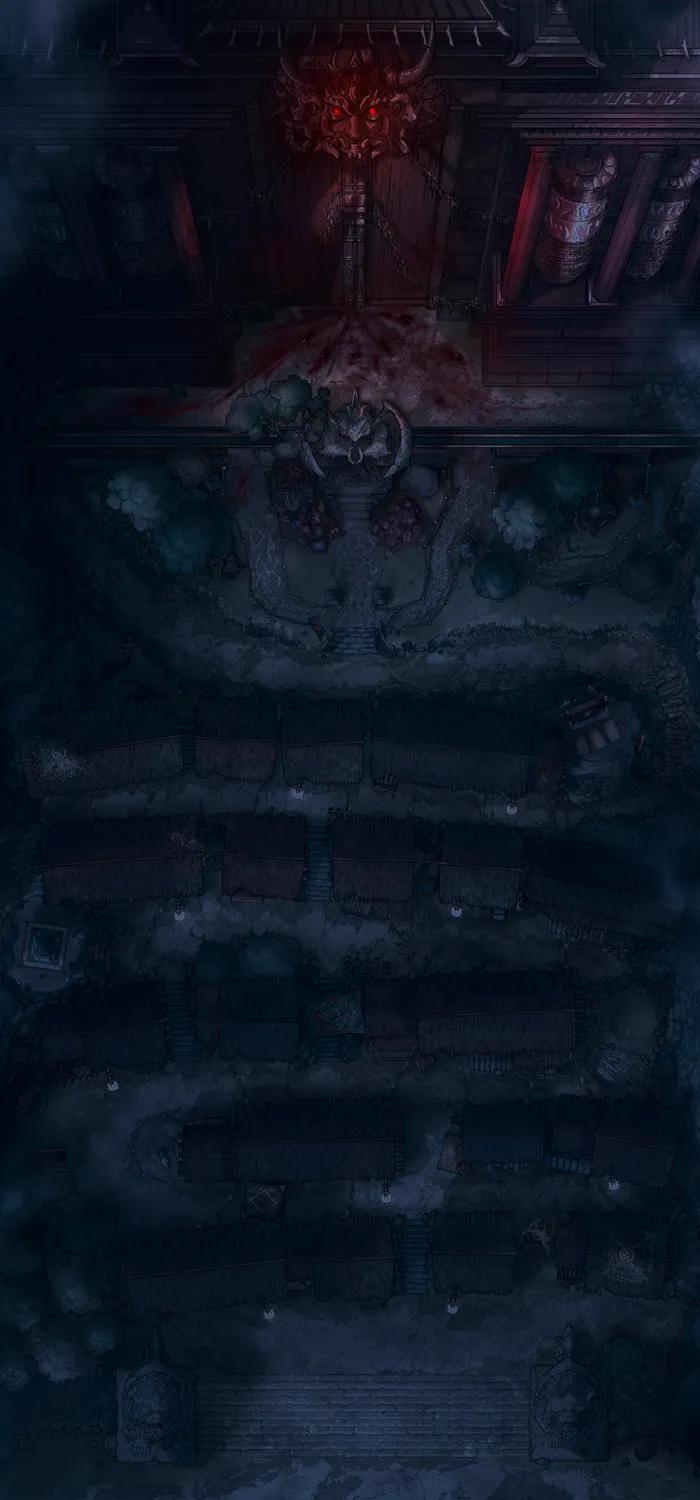
Japanese Castle Exterior
Japanese Castle Exterior
Jungle Cave Tunnel
Jungle Cave Tunnel
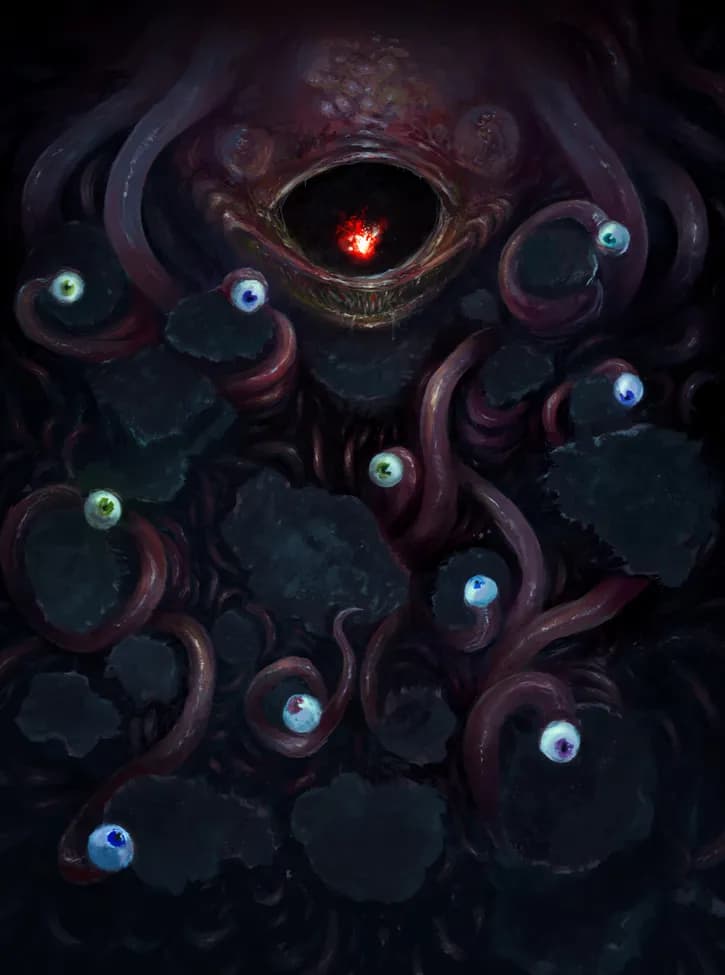
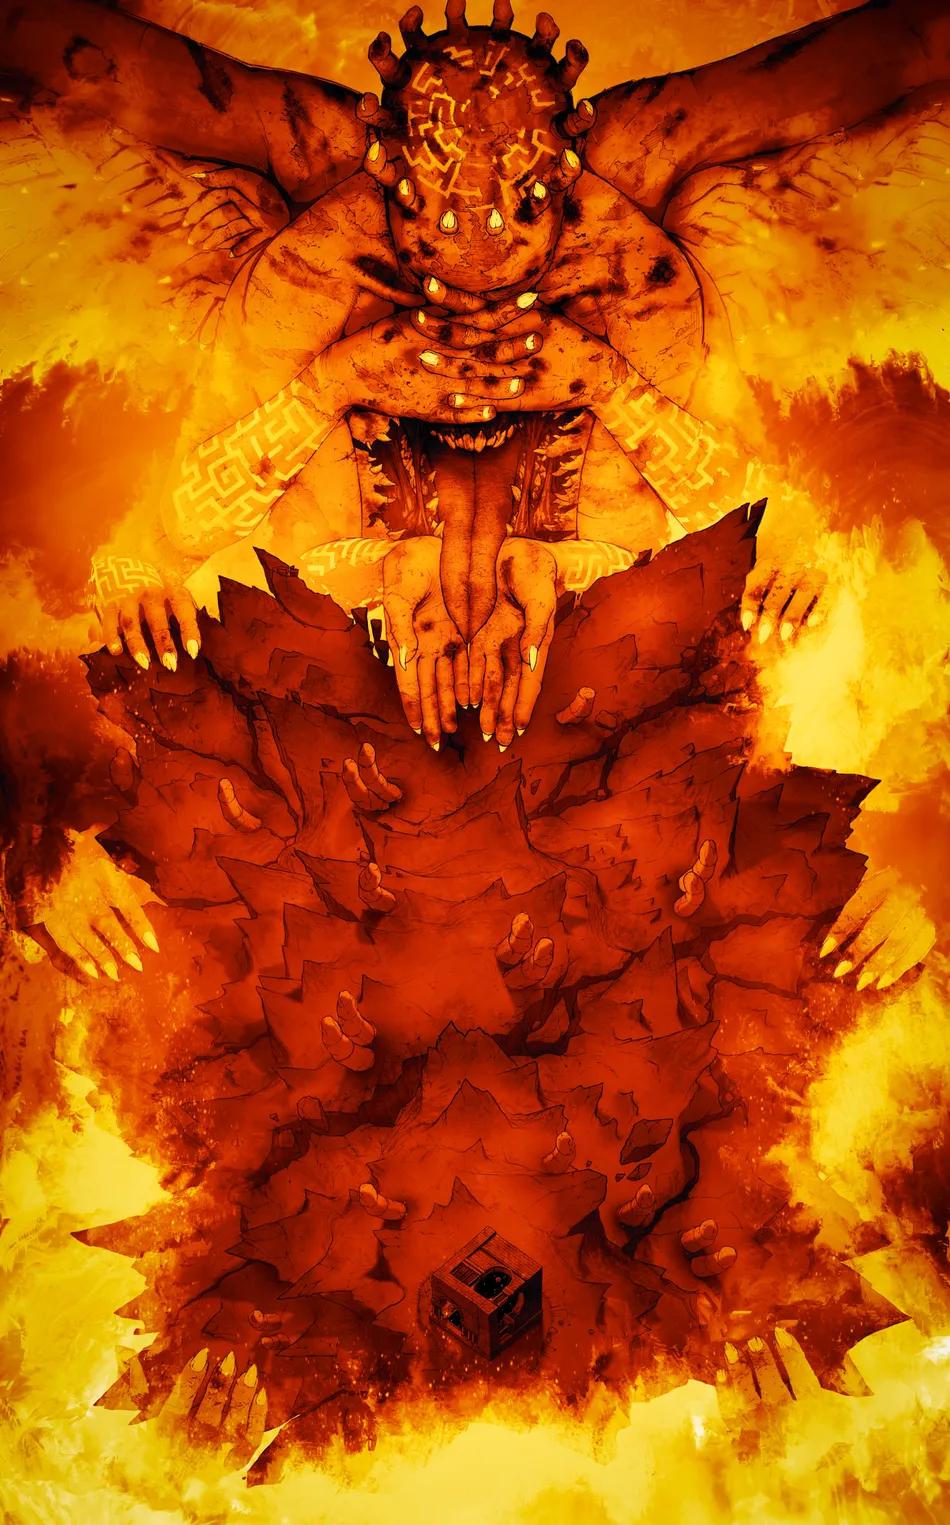
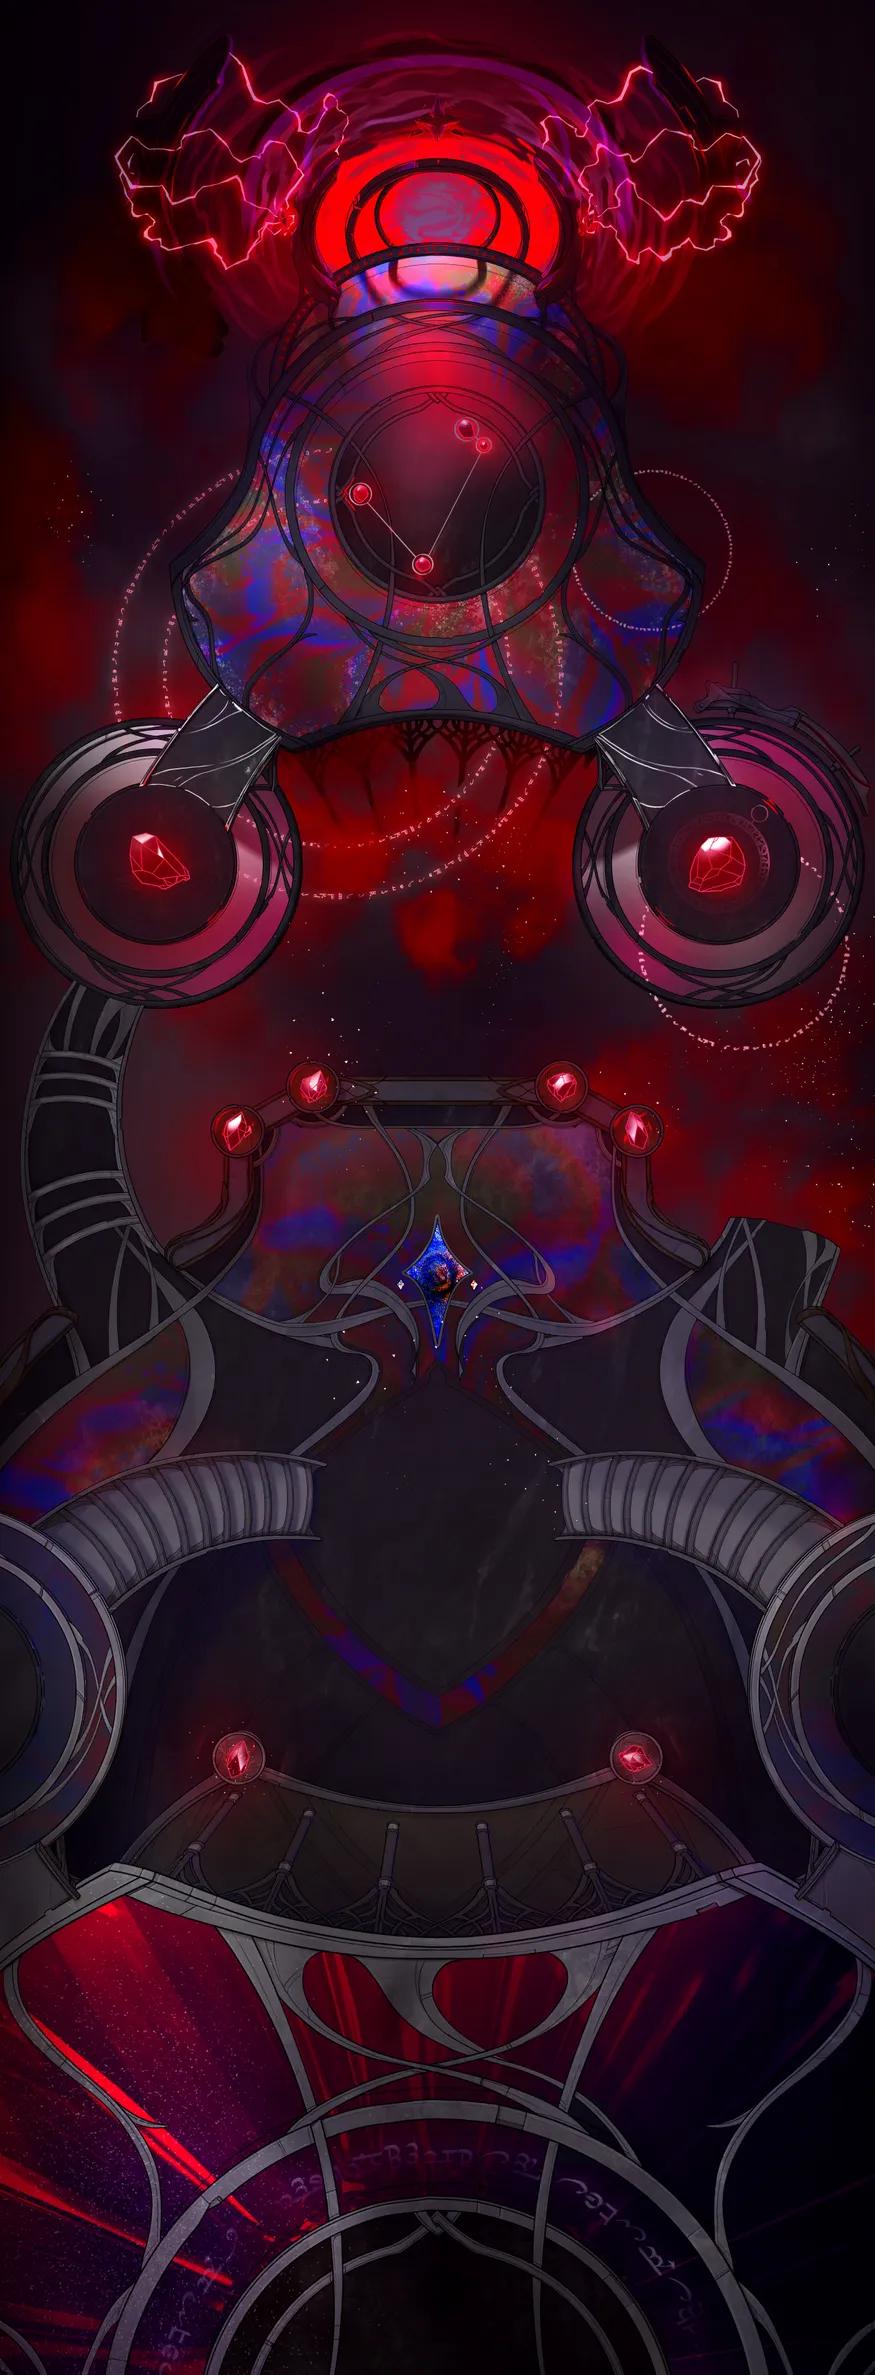
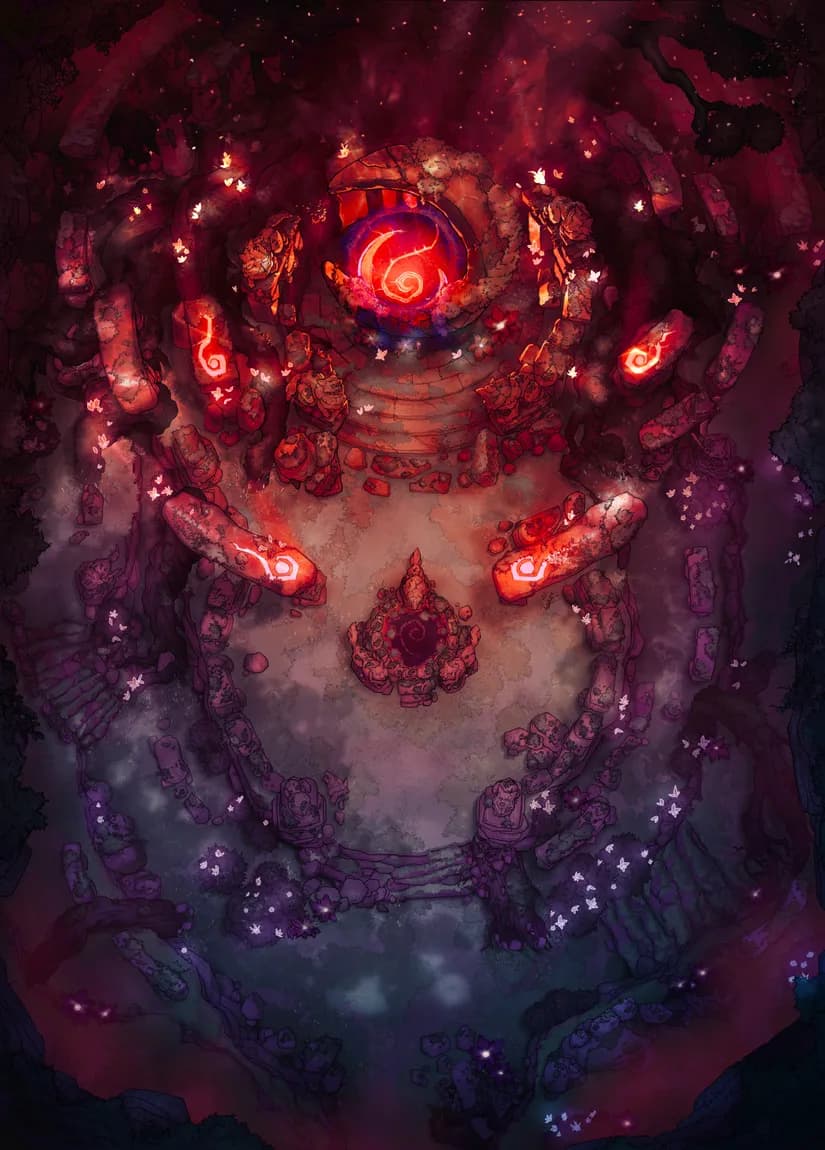
Lair of the Many Eyed God
Lair of the Many Eyed God
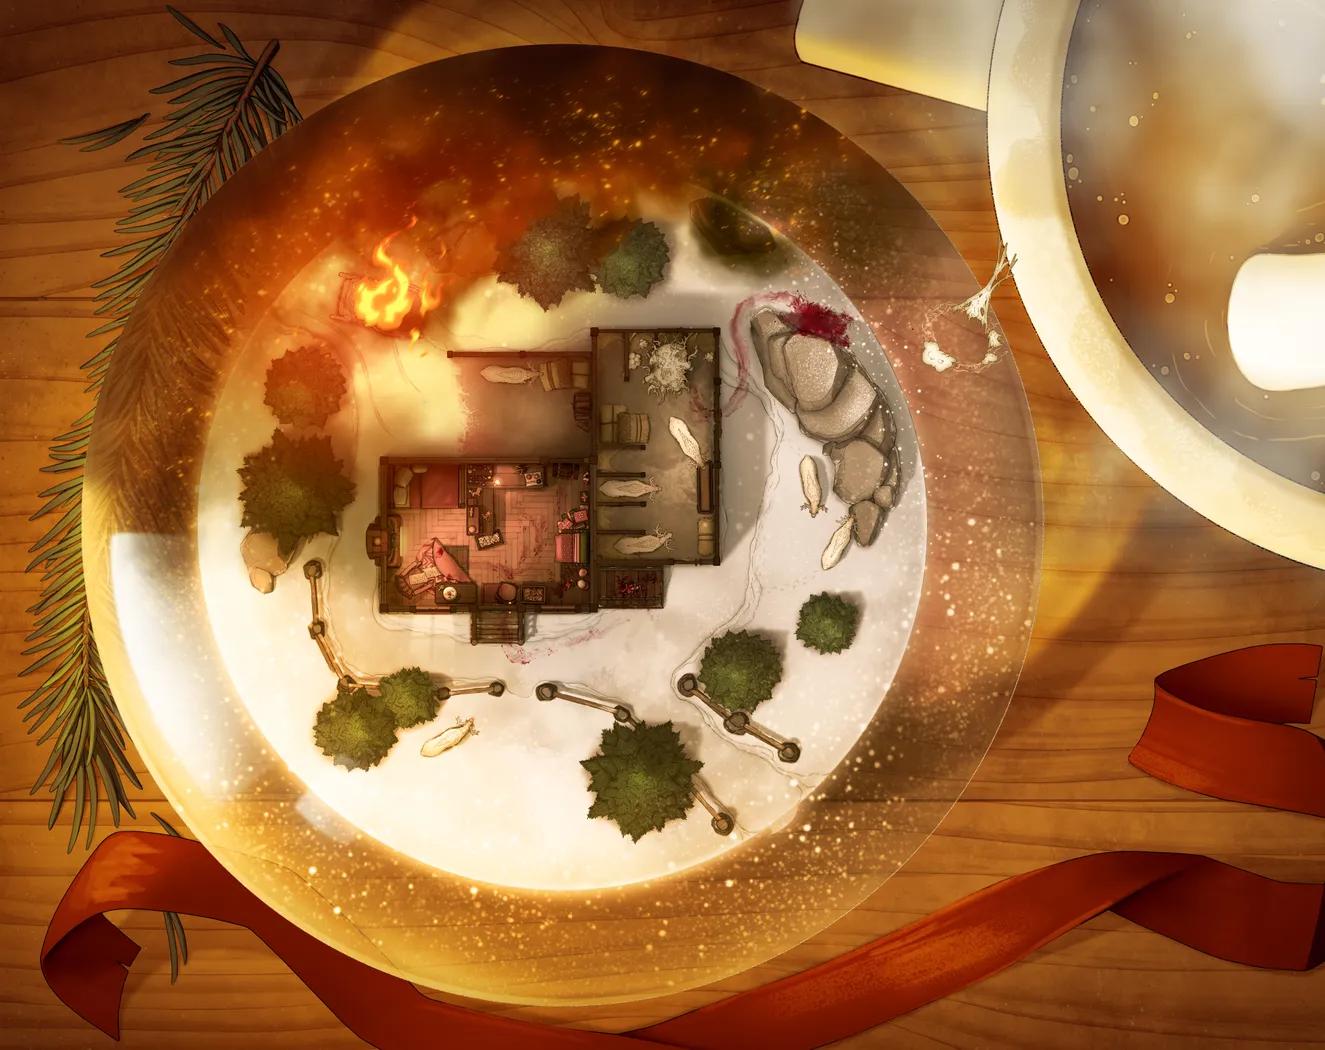
Magical Snowglobe
Magical Snowglobe
Magical Tournament Arena
Magical Tournament Arena
Magisters Market (+1)
Magisters Market (+1)
Mangrove Forest
Mangrove Forest
Marketplace Festival (+1)
Marketplace Festival (+1)
Mechanical Palace (+1)
Mechanical Palace (+1)
Medusa's Wake
Medusa's Wake
Midair Dragon Flight (+1)
Midair Dragon Flight (+1)
Modular Caves (+13)
Modular Caves (+13)

Monster Fighting Pit (+1)
Monster Fighting Pit (+1)
Mountain Monastery (+1)
Mountain Monastery (+1)
Mysterious Druid Grove
Mysterious Druid Grove
Necropolis Dungeon
Necropolis Dungeon
Necropolis Entrance (+1)
Necropolis Entrance (+1)

Nightmare Dragon Lair (+1)
Nightmare Dragon Lair (+1)
Nymph Fountain
Nymph Fountain
Open Ocean (+1)
Open Ocean (+1)
Opulent Ballroom
Opulent Ballroom
Orc Desert Camp
Orc Desert Camp
Overground Dwarven City Center (+2)
Overground Dwarven City Center (+2)
Port Bastion
Port Bastion
River Stronghold (+2)
River Stronghold (+2)
Ropebridge Chasm
Ropebridge Chasm
Royal Mine Town
Royal Mine Town
Royal Throne Room
Royal Throne Room
Ruined Courtyard (+2)
Ruined Courtyard (+2)
Salt Plains Observatory
Salt Plains Observatory
Secret Cave Hideout
Secret Cave Hideout
Sewer Tunnels
Sewer Tunnels
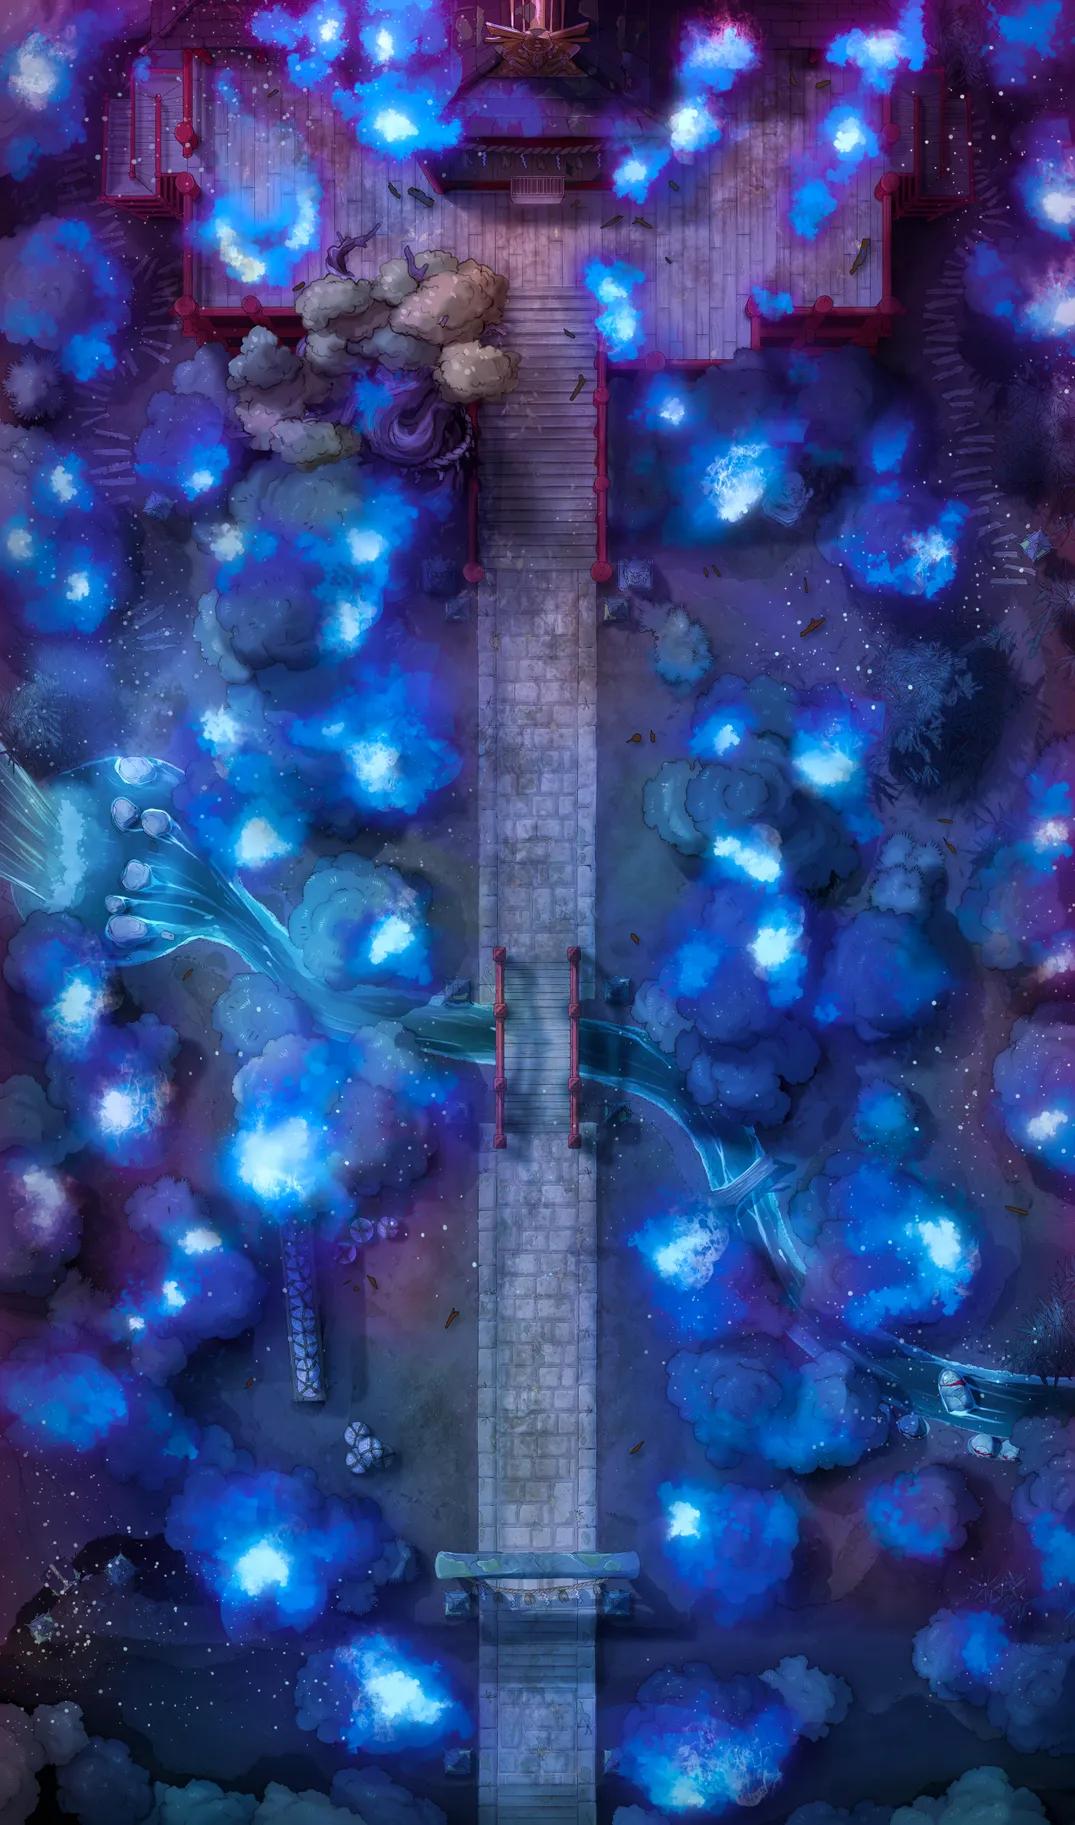
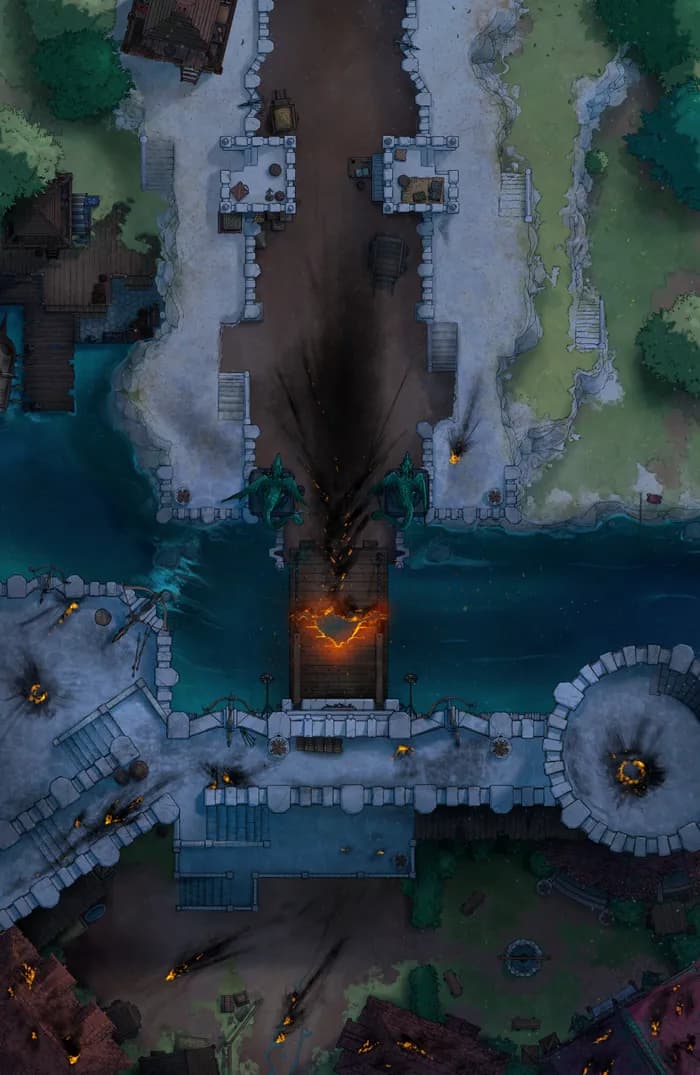
Shadowfell Fortress Bridge
Shadowfell Fortress Bridge
Shadowfell Fortress Interior
Shadowfell Fortress Interior
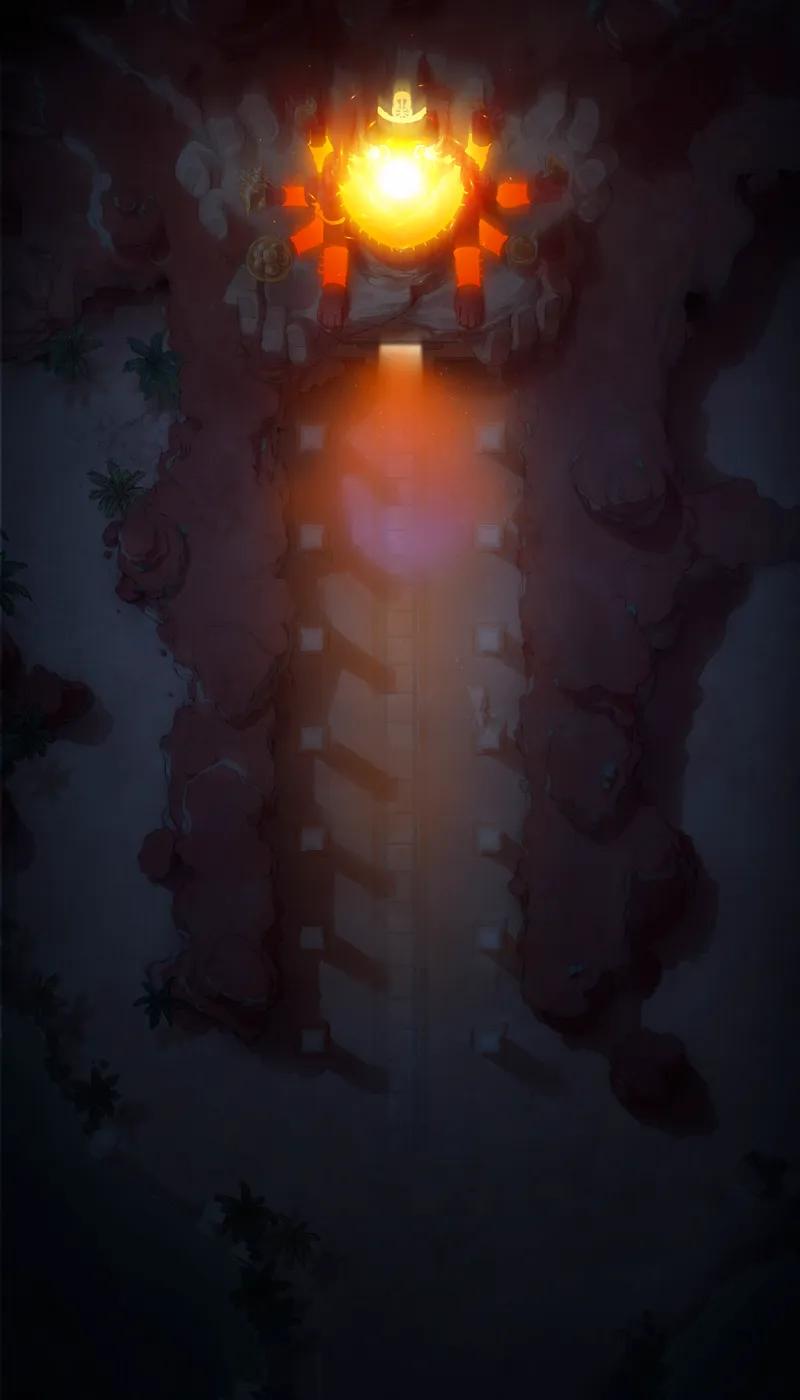
Shadowlands Pyramid
Shadowlands Pyramid
Slum District
Slum District
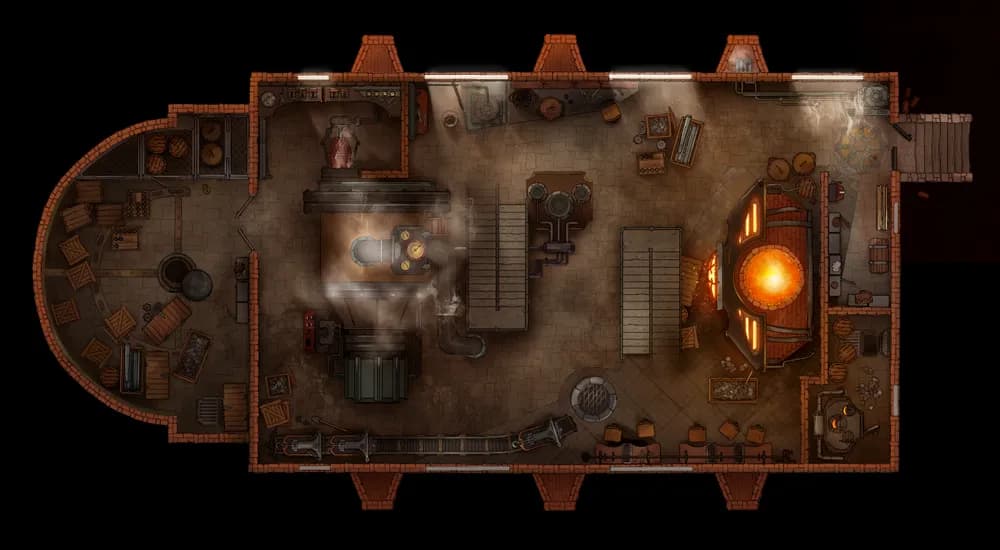
Steam Factory (+2)
Steam Factory (+2)
Swamp Graveyard
Swamp Graveyard
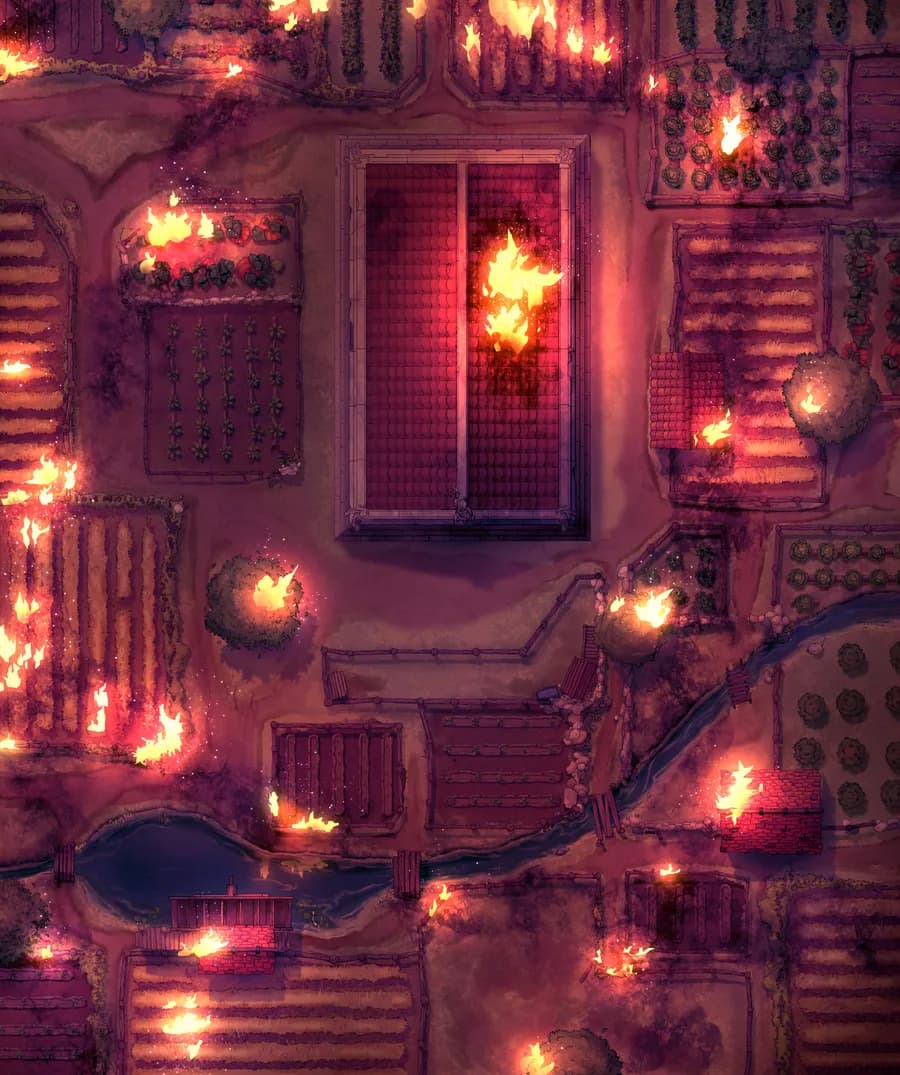
Temple Pastures
Temple Pastures
The Crystal Veil (+3)
The Crystal Veil (+3)
The Forbidden Gates (+1)
The Forbidden Gates (+1)
Tidal River
Tidal River

Train Station Platforms
Train Station Platforms
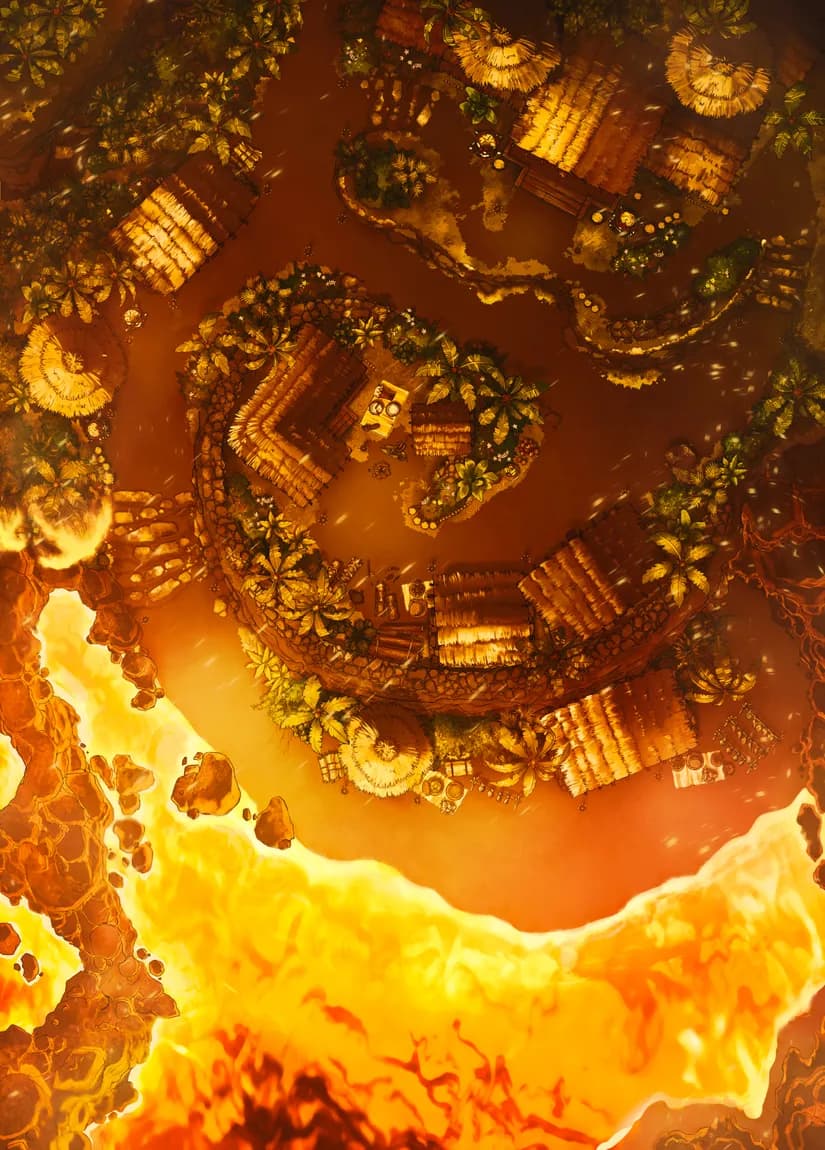
Tropical Island Village
Tropical Island Village
Village Hunting Guild
Village Hunting Guild
Wizard Prison Pt. 6 (+1)
Wizard Prison Pt. 6 (+1)
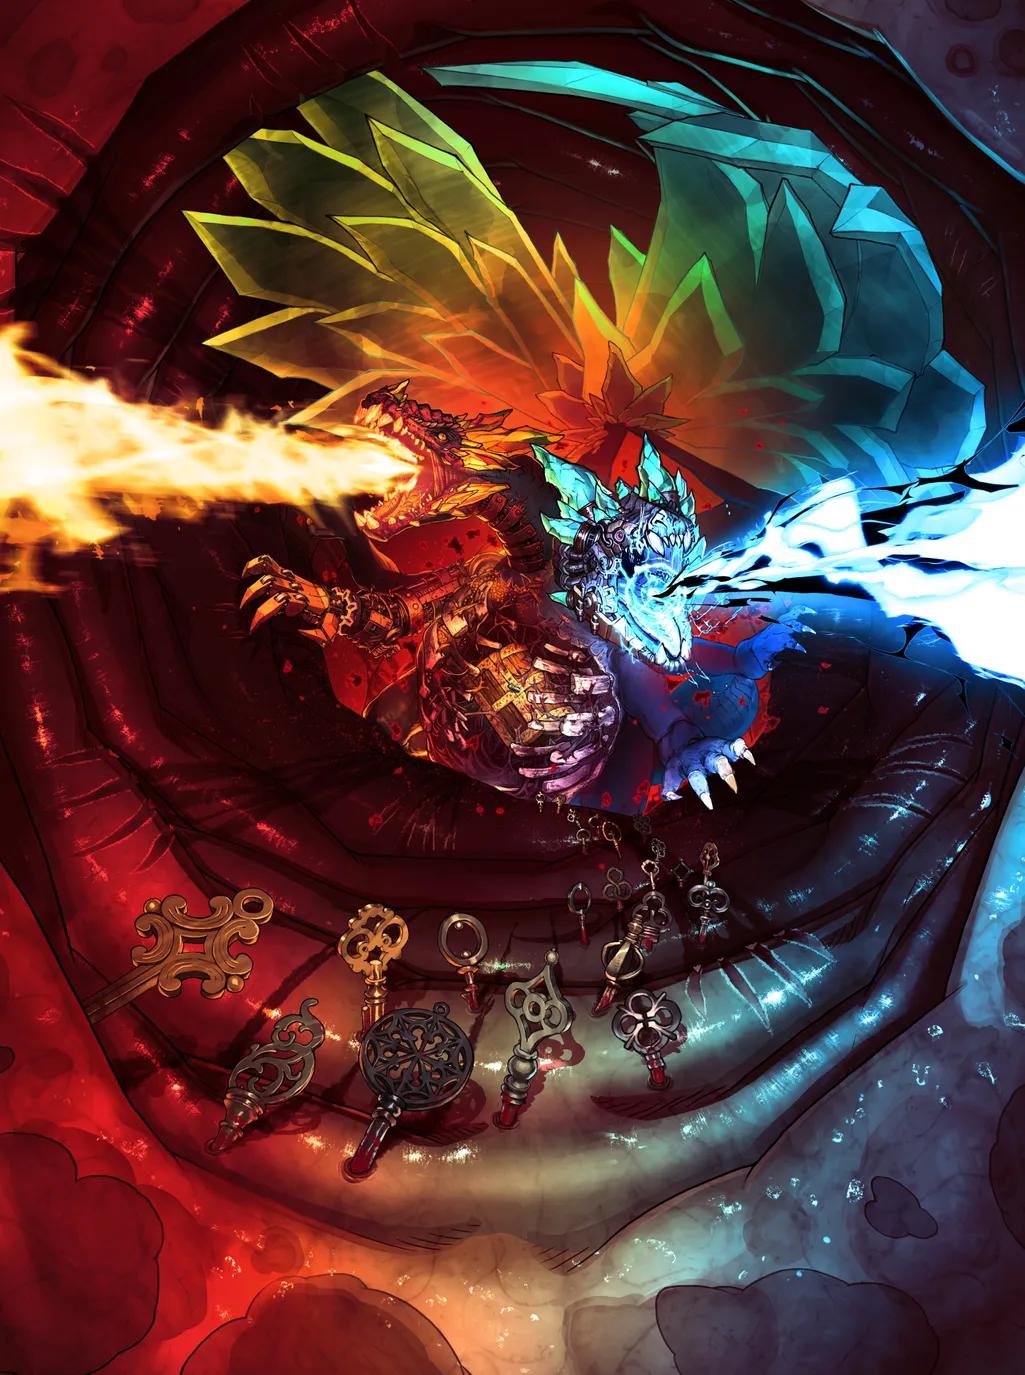
Wizard Vault (+2)
Wizard Vault (+2)
Yggdrasil Roots (+1)
Yggdrasil Roots (+1)
Yggdrasil Trunk
Yggdrasil Trunk