Alchemy Dungeon
Alchemy Dungeon

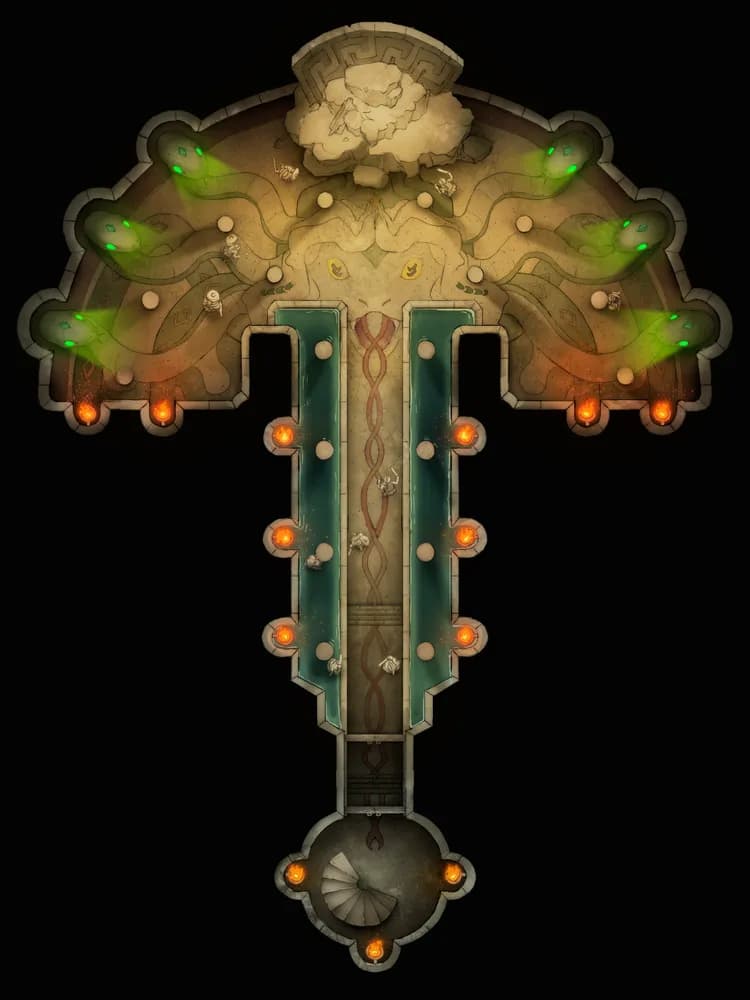
Bullywug Swamp (+1)
Bullywug Swamp (+1)
Eldritch Church (+1)
Eldritch Church (+1)
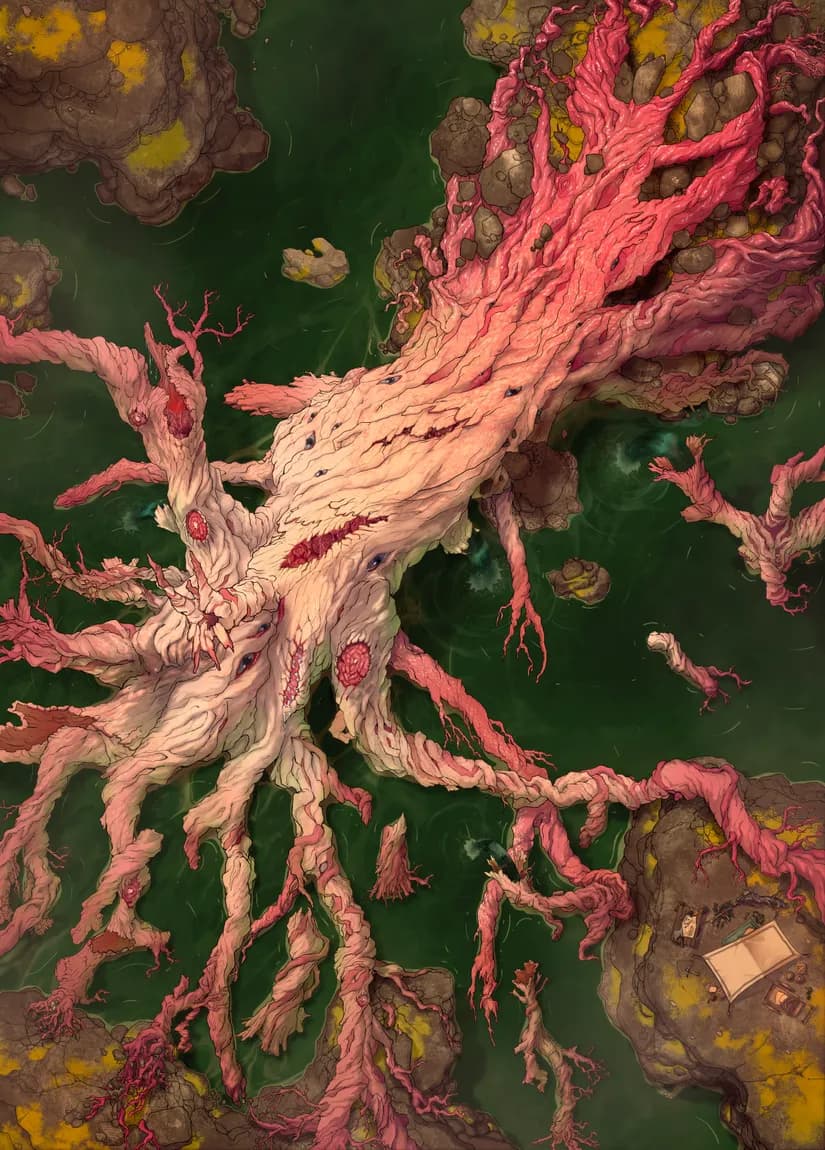
Fallen Ancient Tree
Fallen Ancient Tree
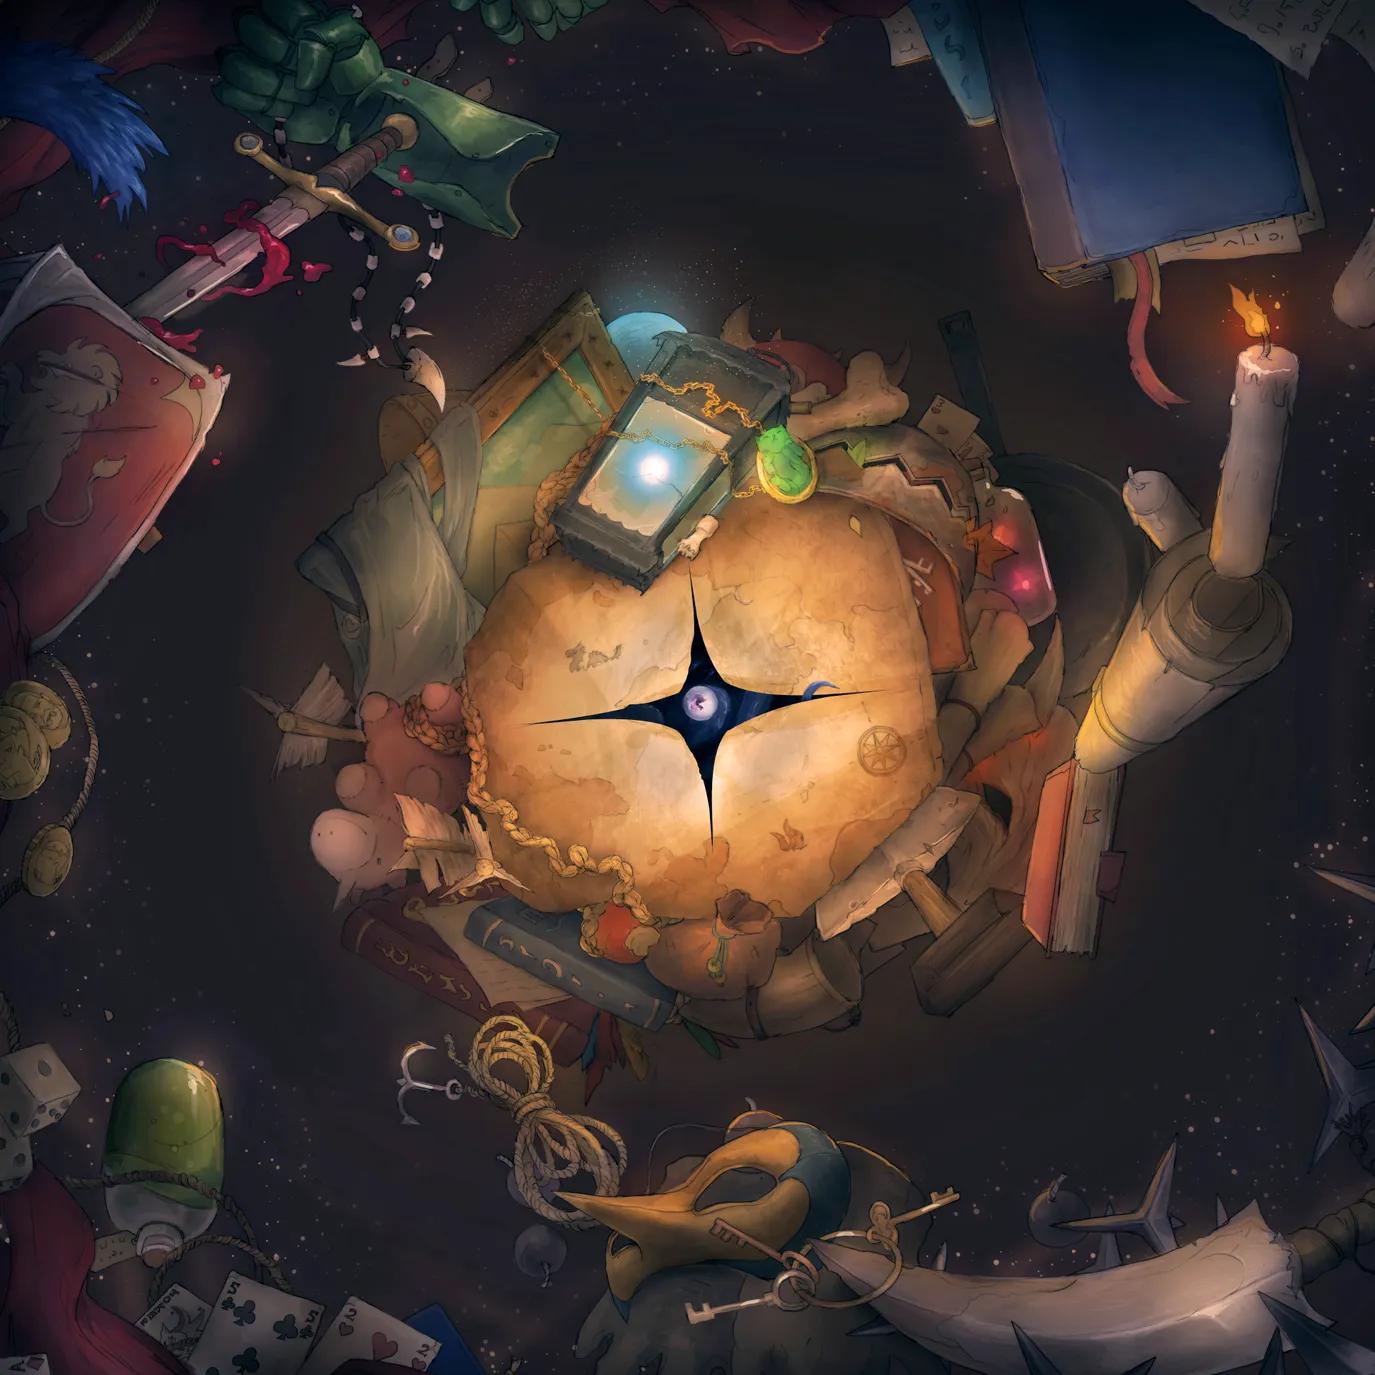
Inside a Bag of Holding (+1)
Inside a Bag of Holding (+1)

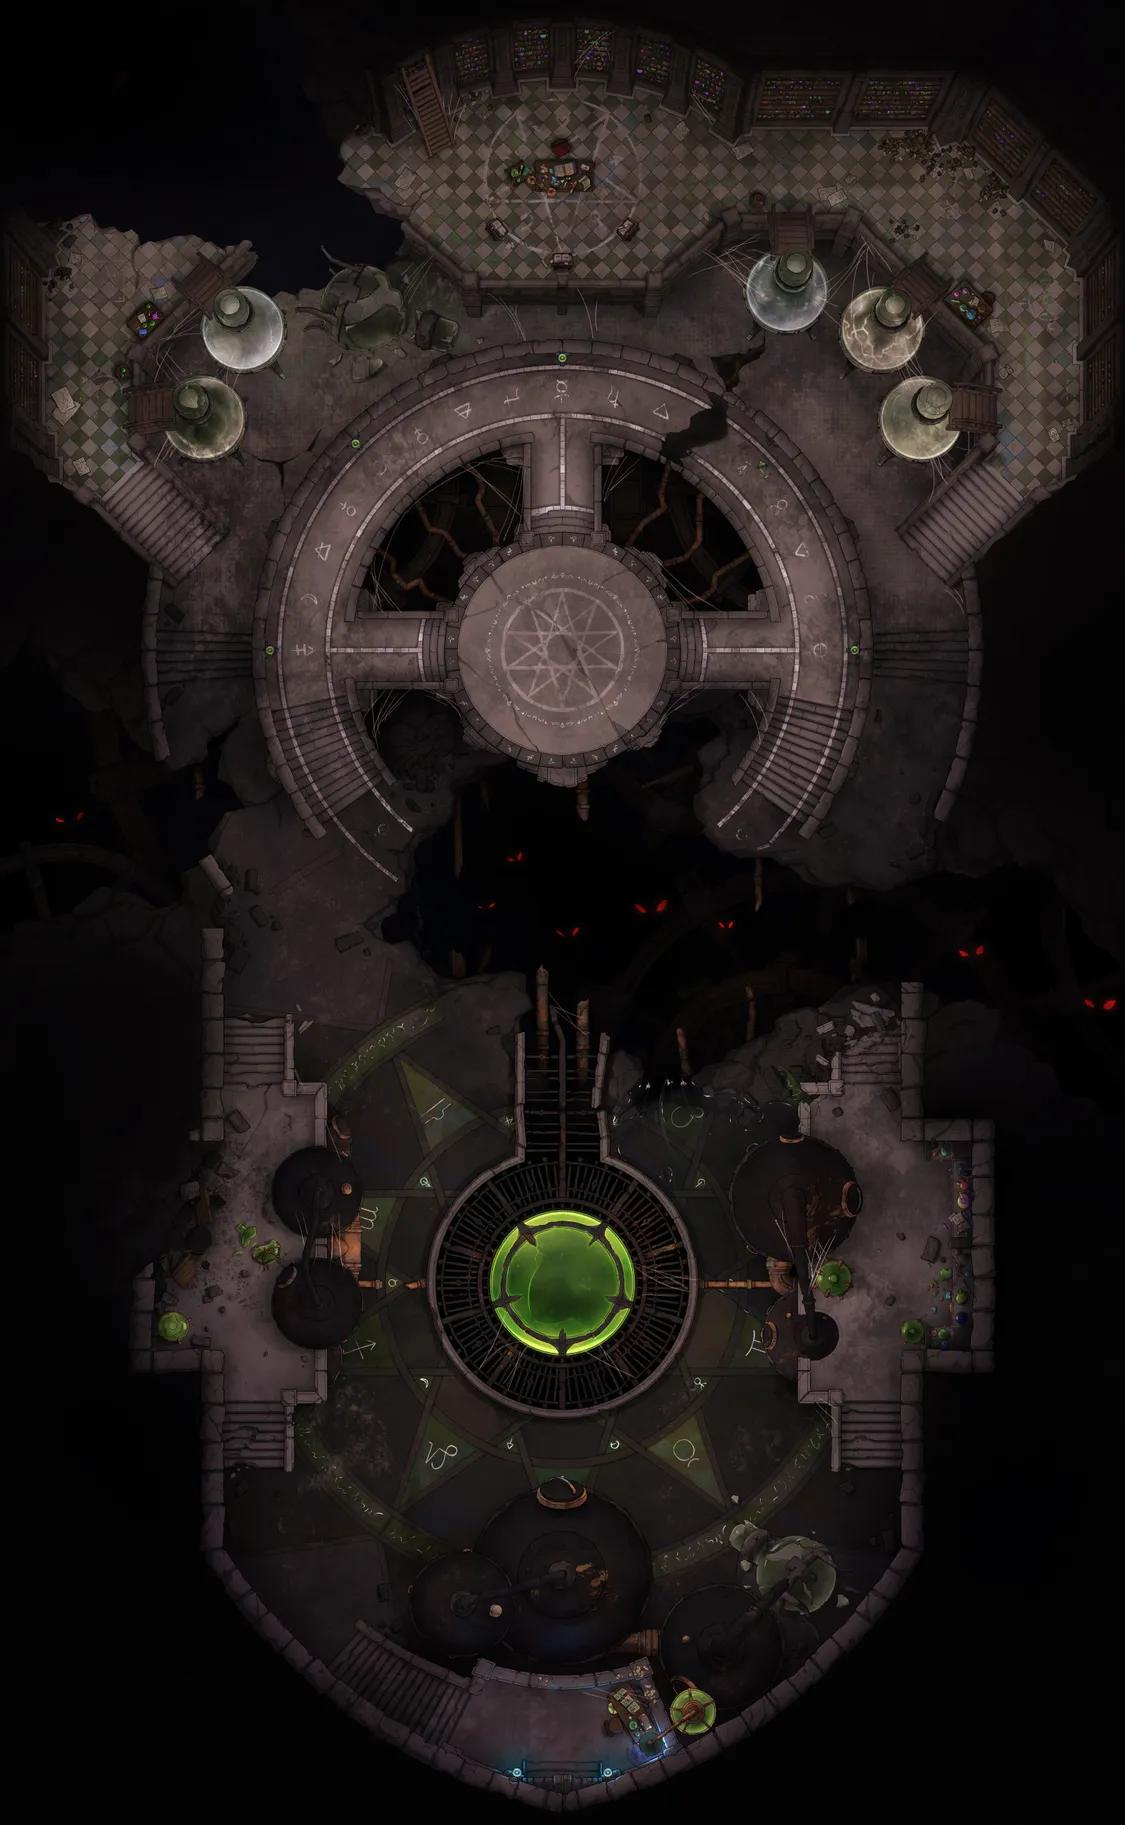
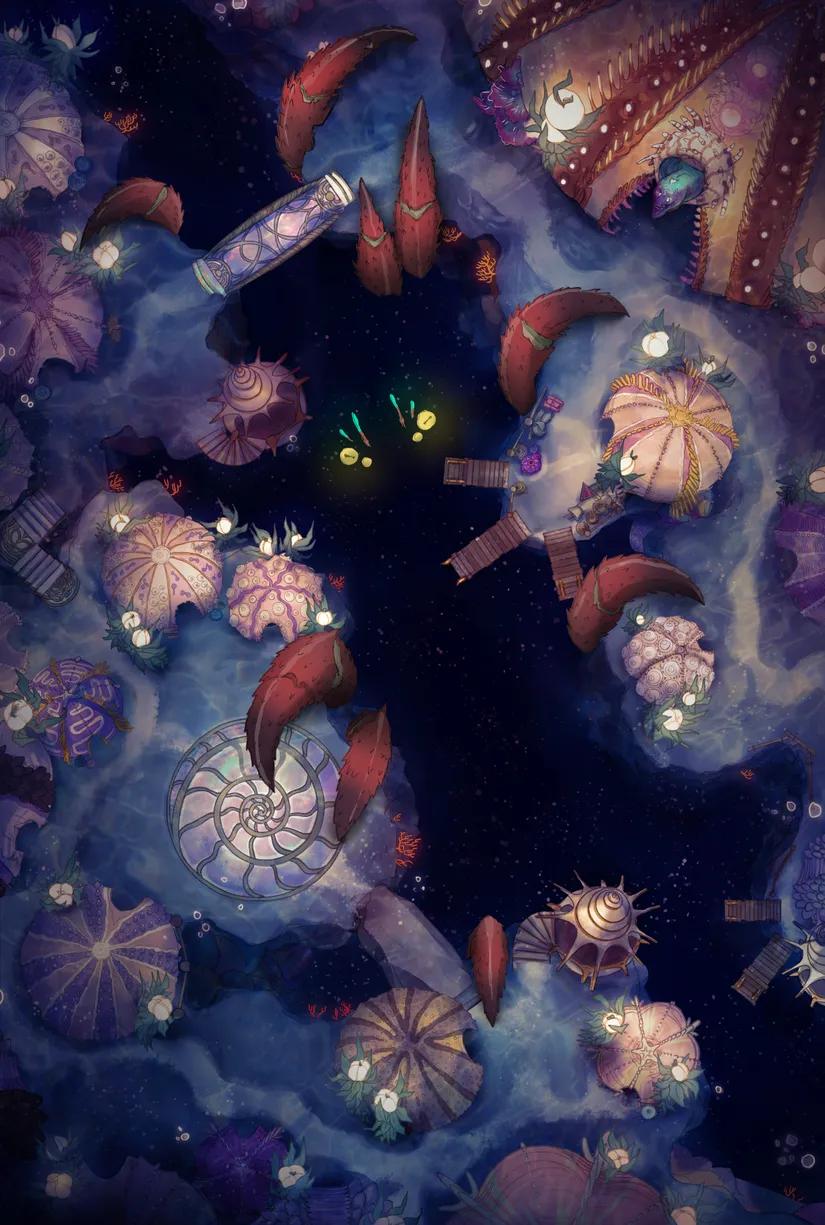
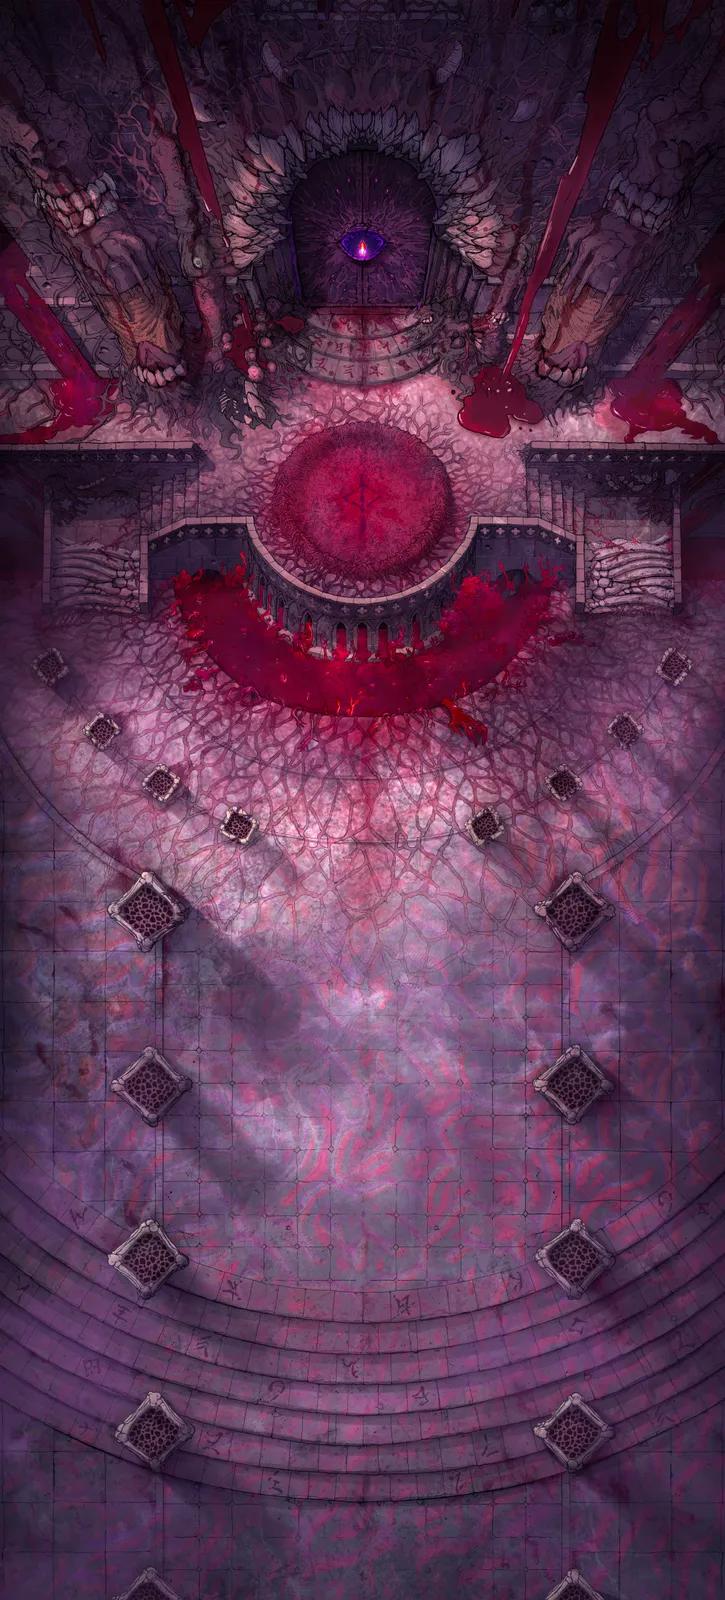
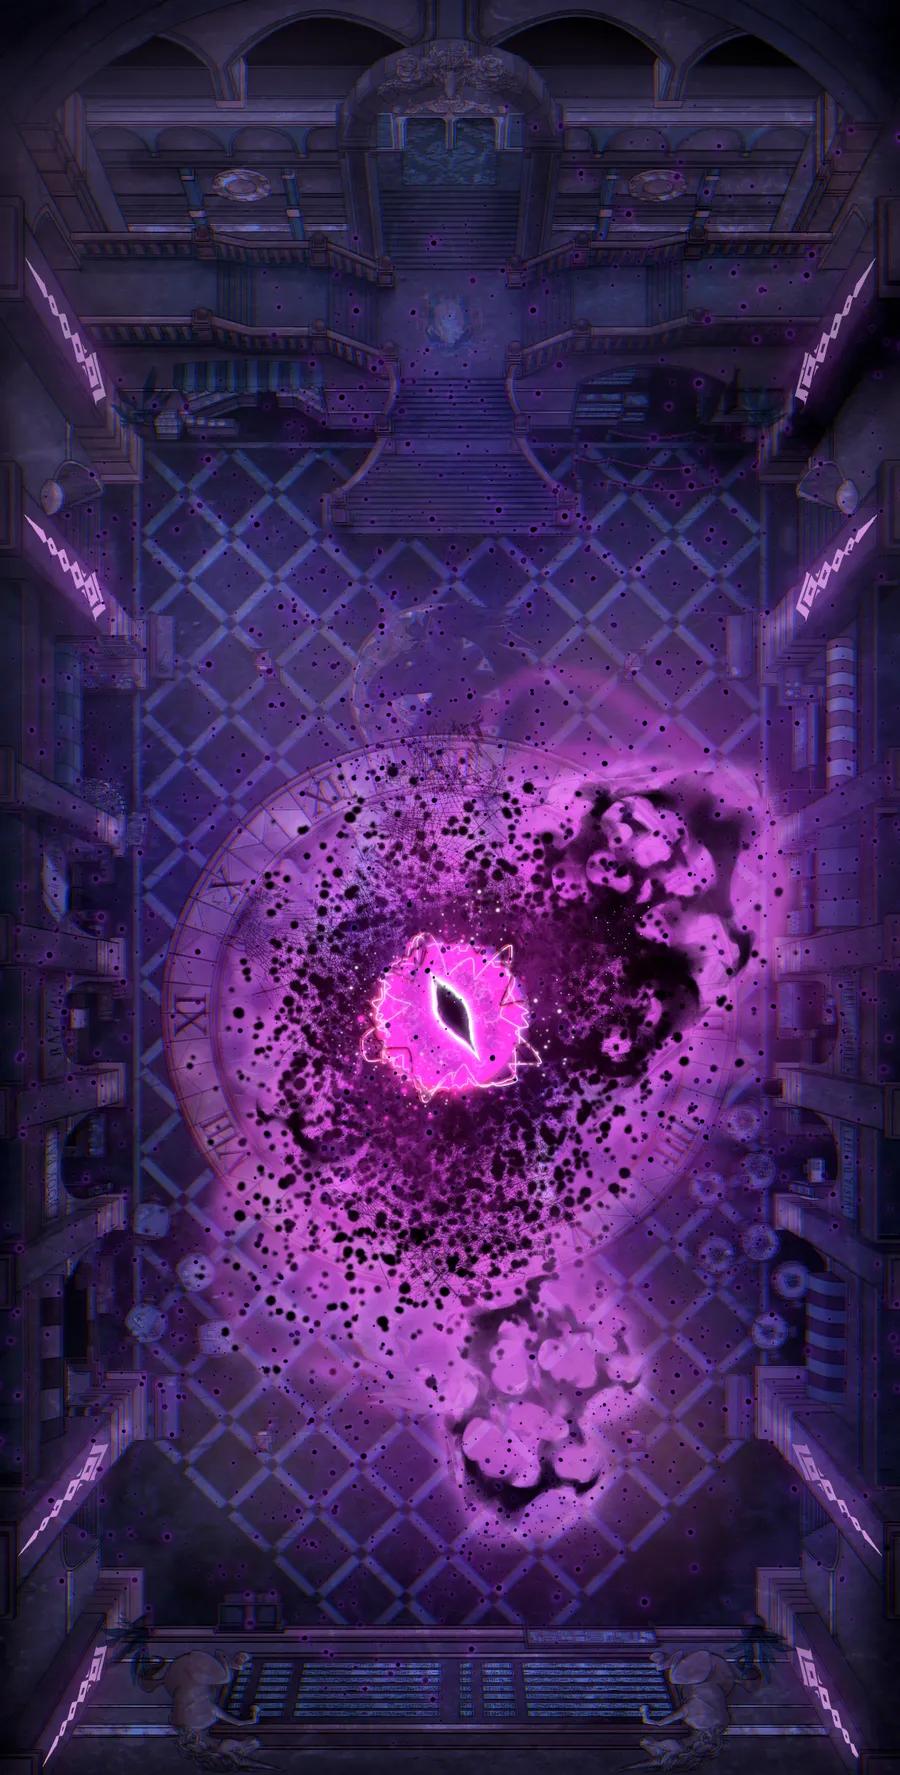
Lair of the Many Eyed God (+7)
Lair of the Many Eyed God (+7)
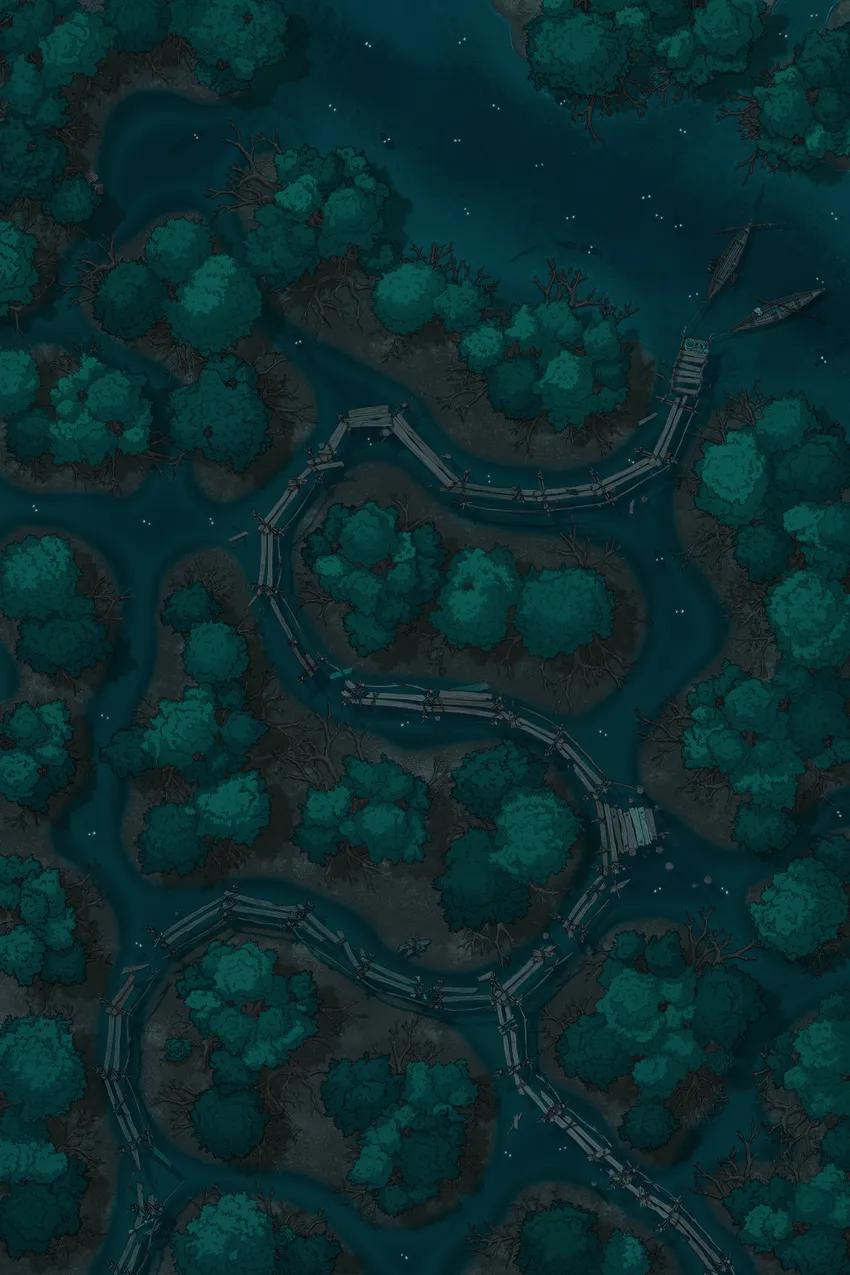
Mangrove Forest
Mangrove Forest
Medusa's Wake
Medusa's Wake
Merfolk Marina
Merfolk Marina
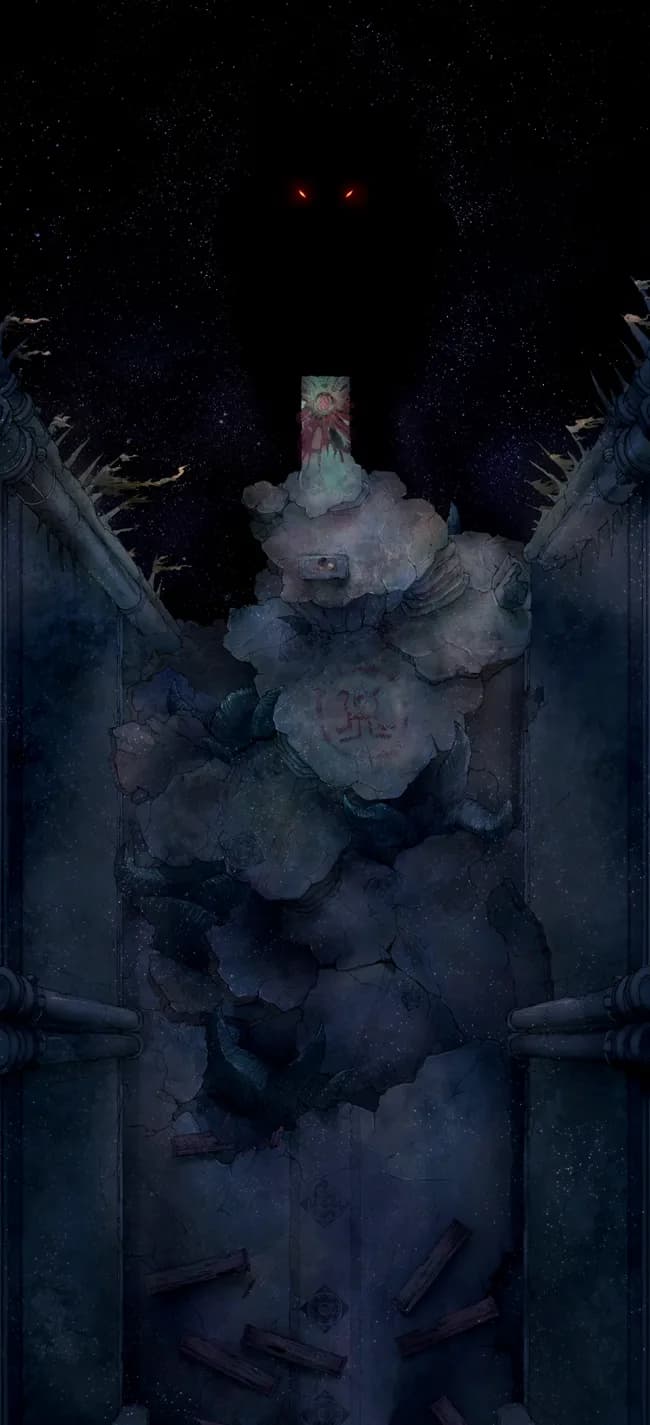
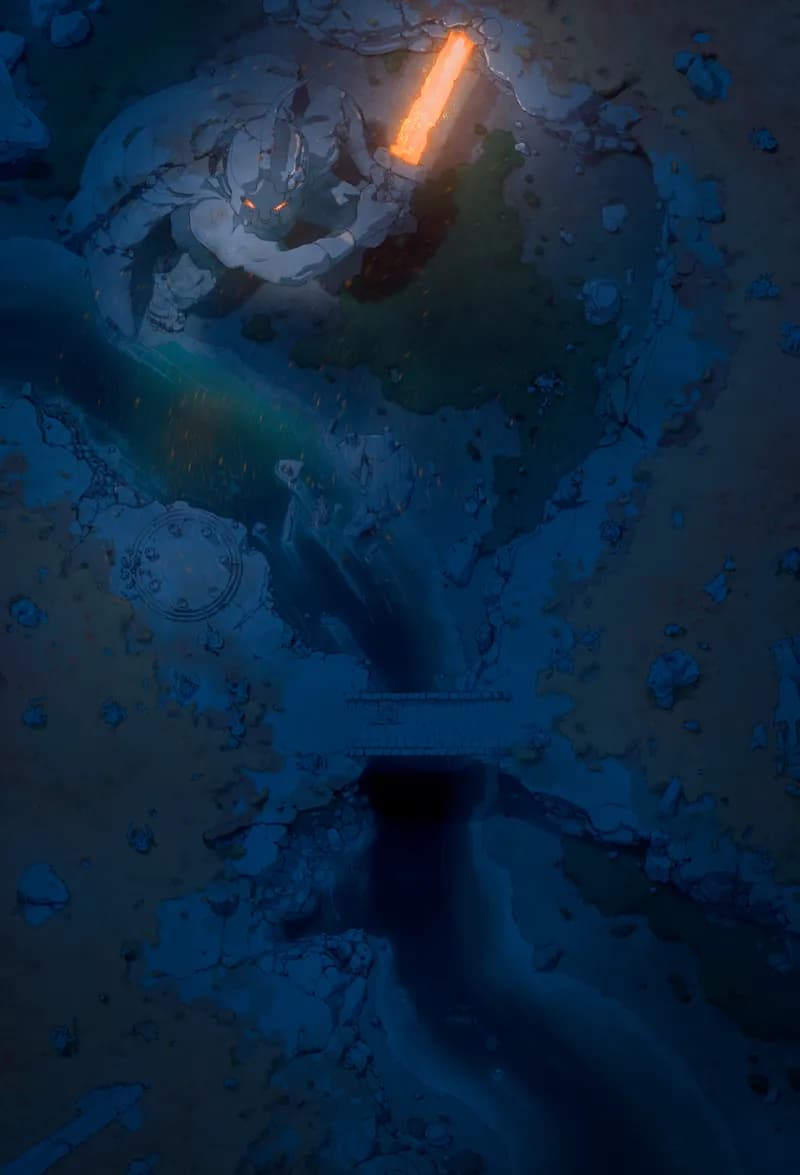
Nightmare Dragon Lair (+26)
Nightmare Dragon Lair (+26)
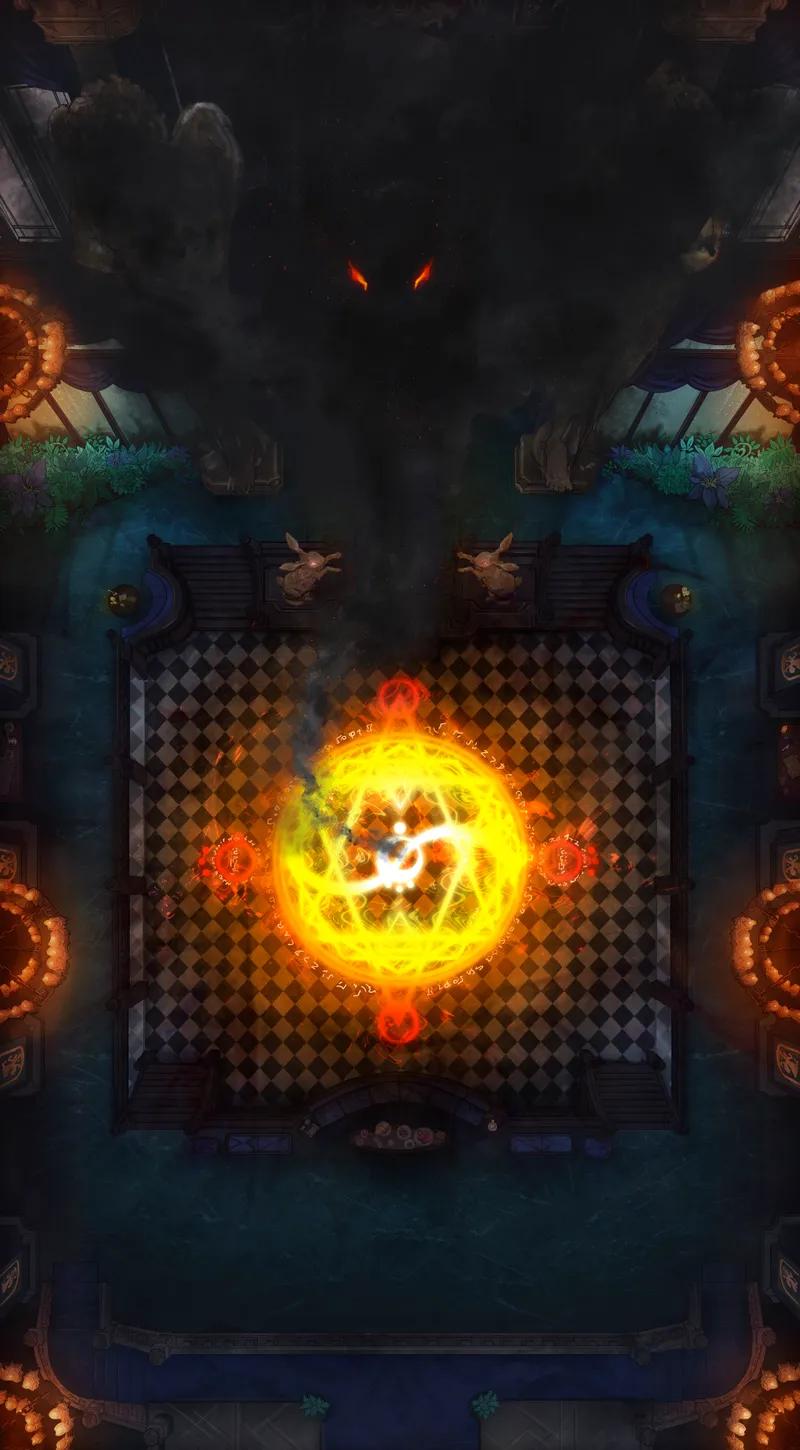
Opulent Ballroom (+1)
Opulent Ballroom (+1)
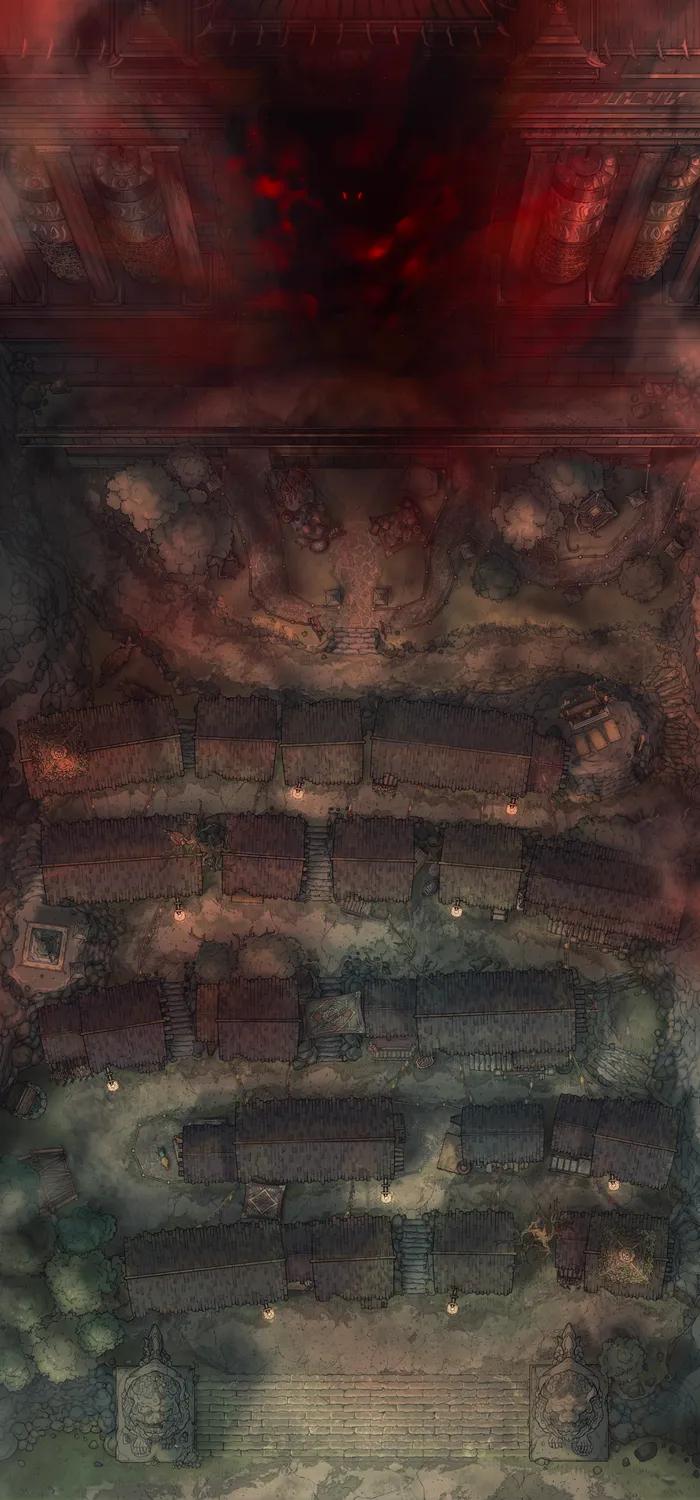
Ruined Courtyard
Ruined Courtyard
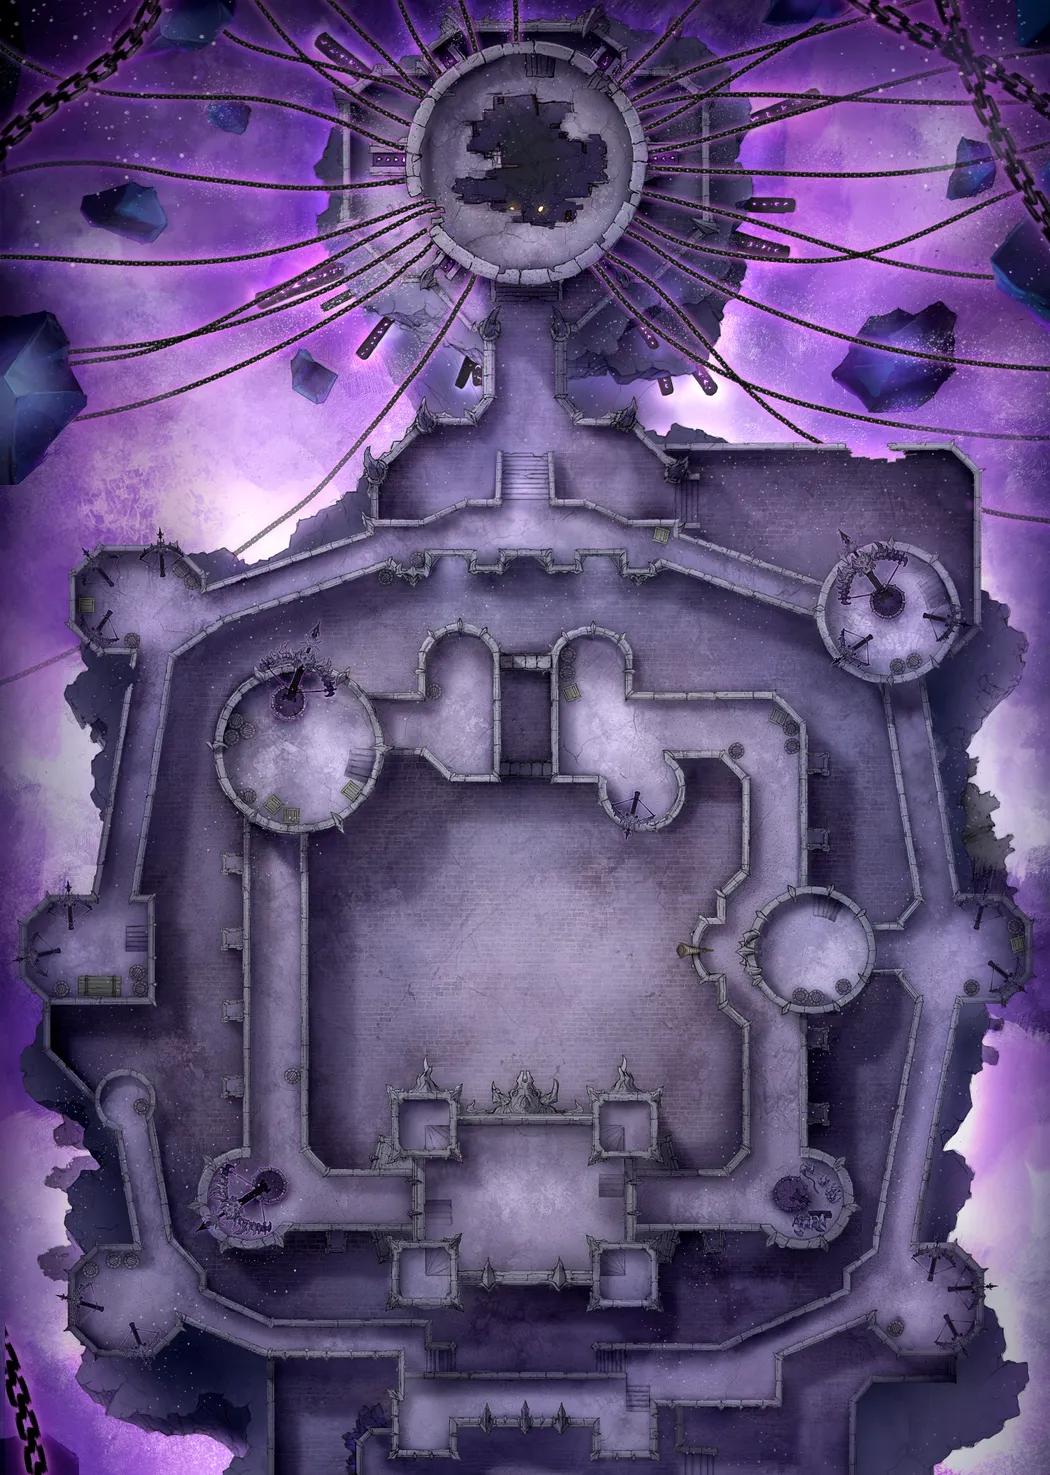
Shadowfell Fortress Interior (+2)
Shadowfell Fortress Interior (+2)
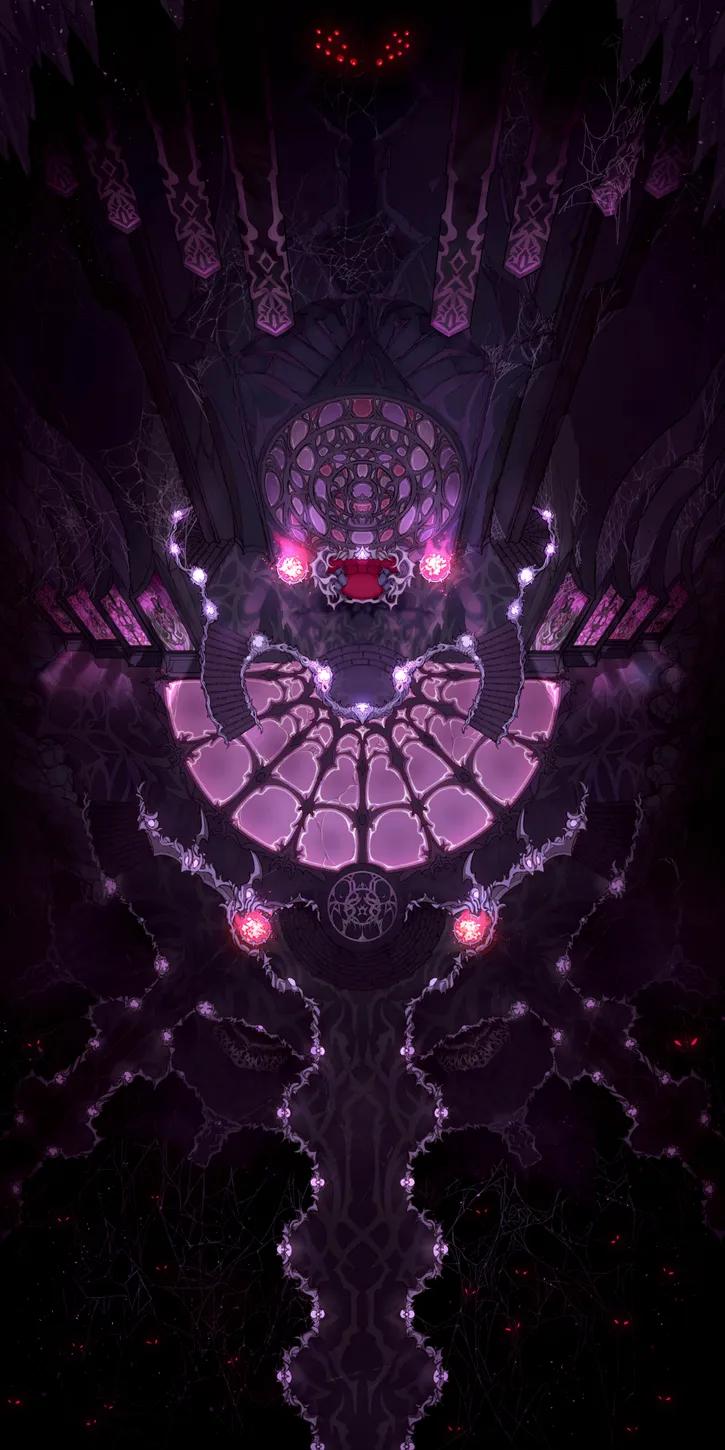
Spider Queen Throne
Spider Queen Throne
Temple of the Medusa Throne (+1)
Temple of the Medusa Throne (+1)
The Forbidden Gates (+1)
The Forbidden Gates (+1)
Train Station Concourse
Train Station Concourse

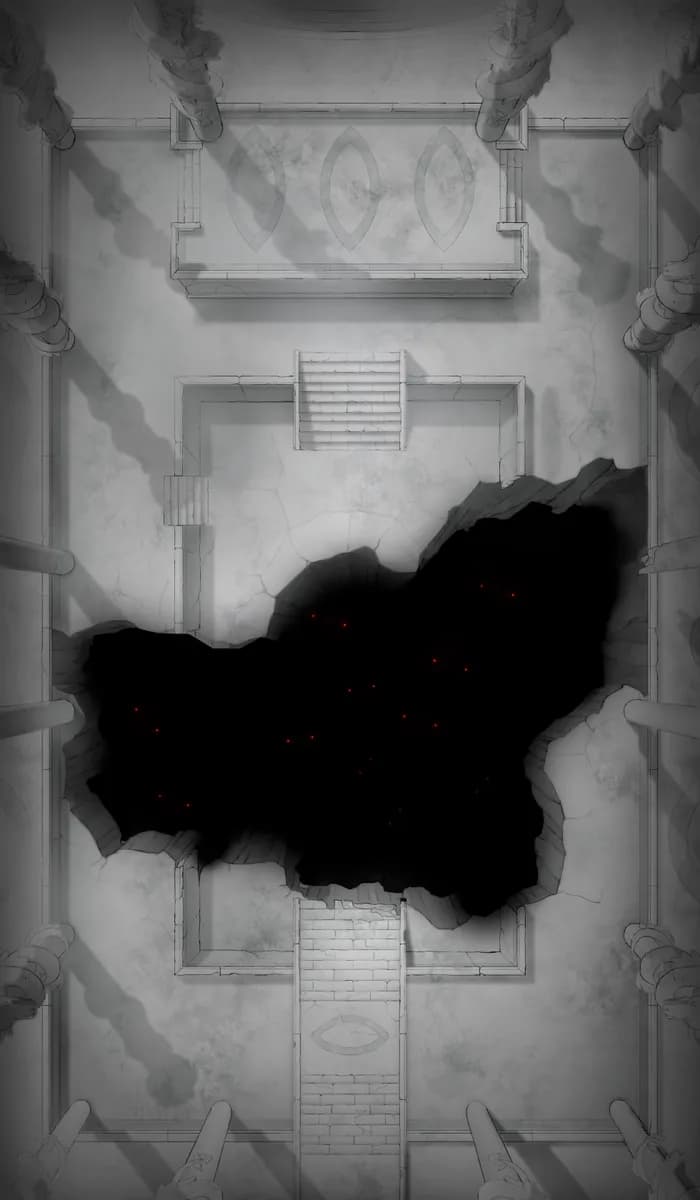
Wizard Prison Pt. 6
Wizard Prison Pt. 6