


Drakescale Peak (+8)
Drakescale Peak (+8)
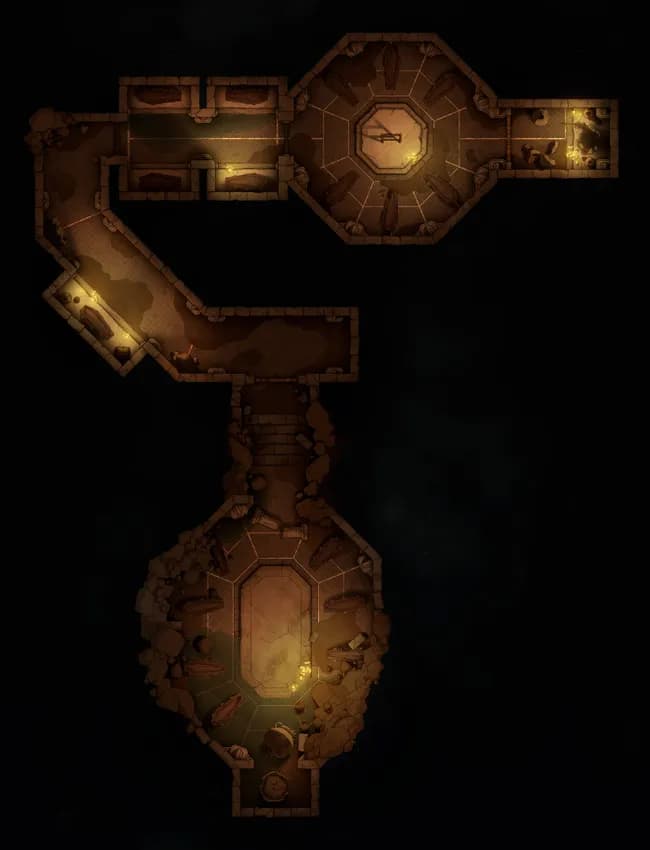
Lich Catacomb (+19)
Lich Catacomb (+19)
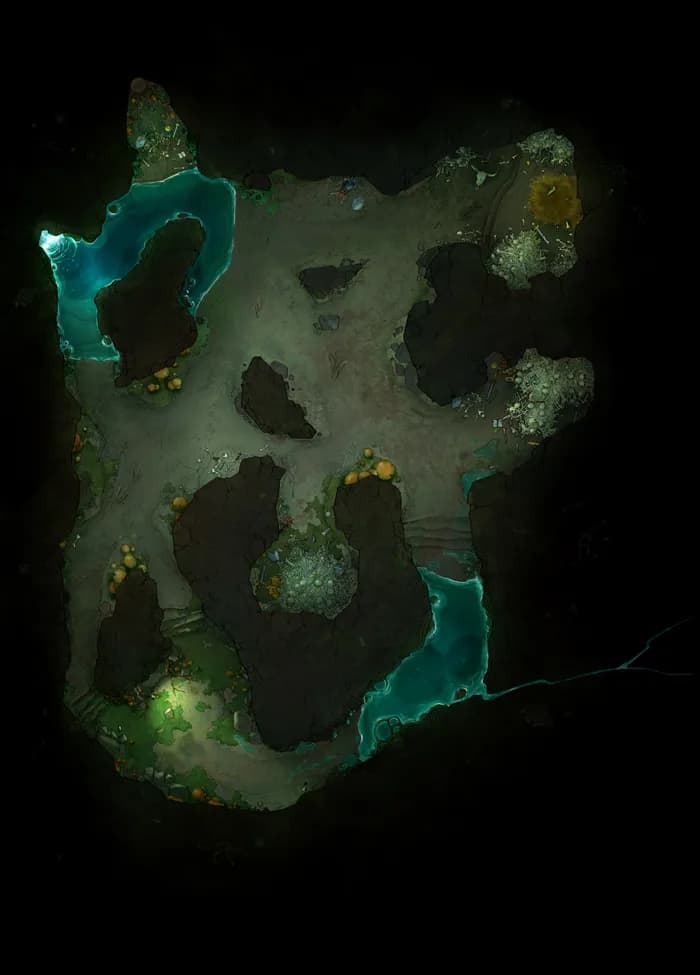
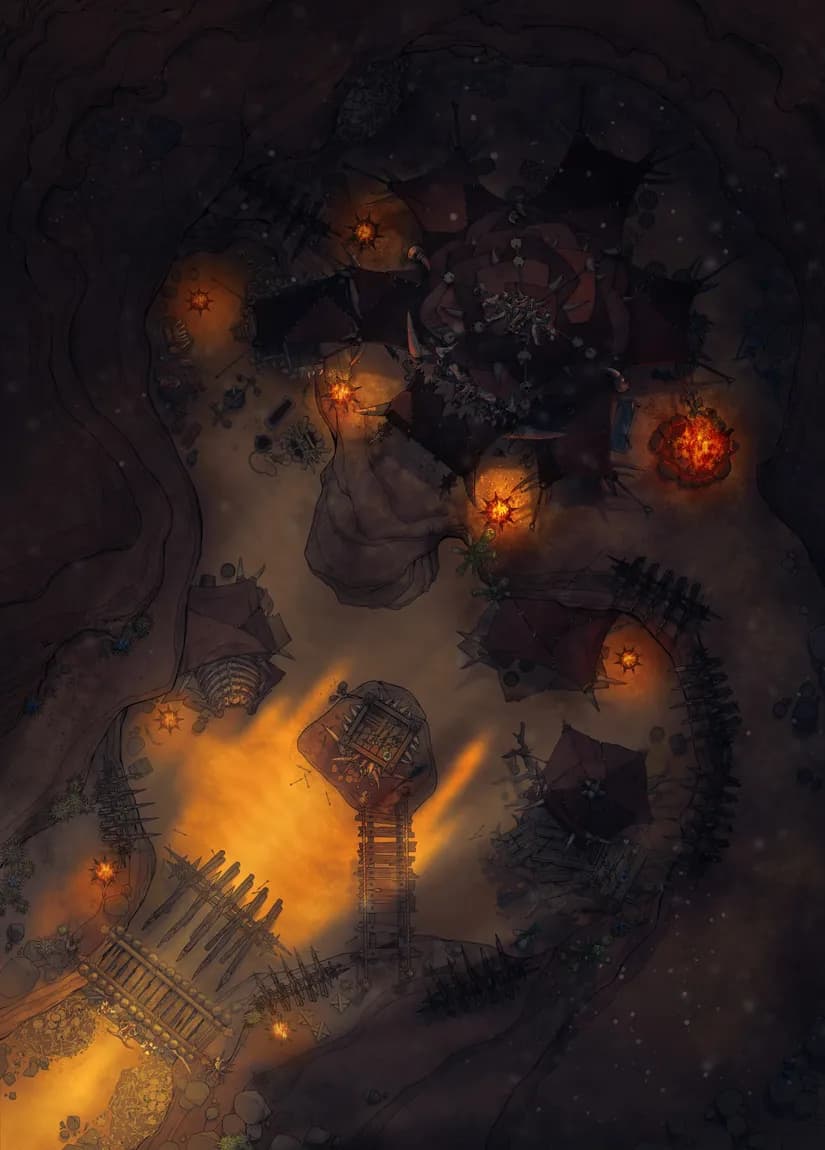
Mushroom Infested Mines (+15)
Mushroom Infested Mines (+15)
Necropolis Dungeon (+18)
Necropolis Dungeon (+18)
Temple of the Medusa (+1)
Temple of the Medusa (+1)
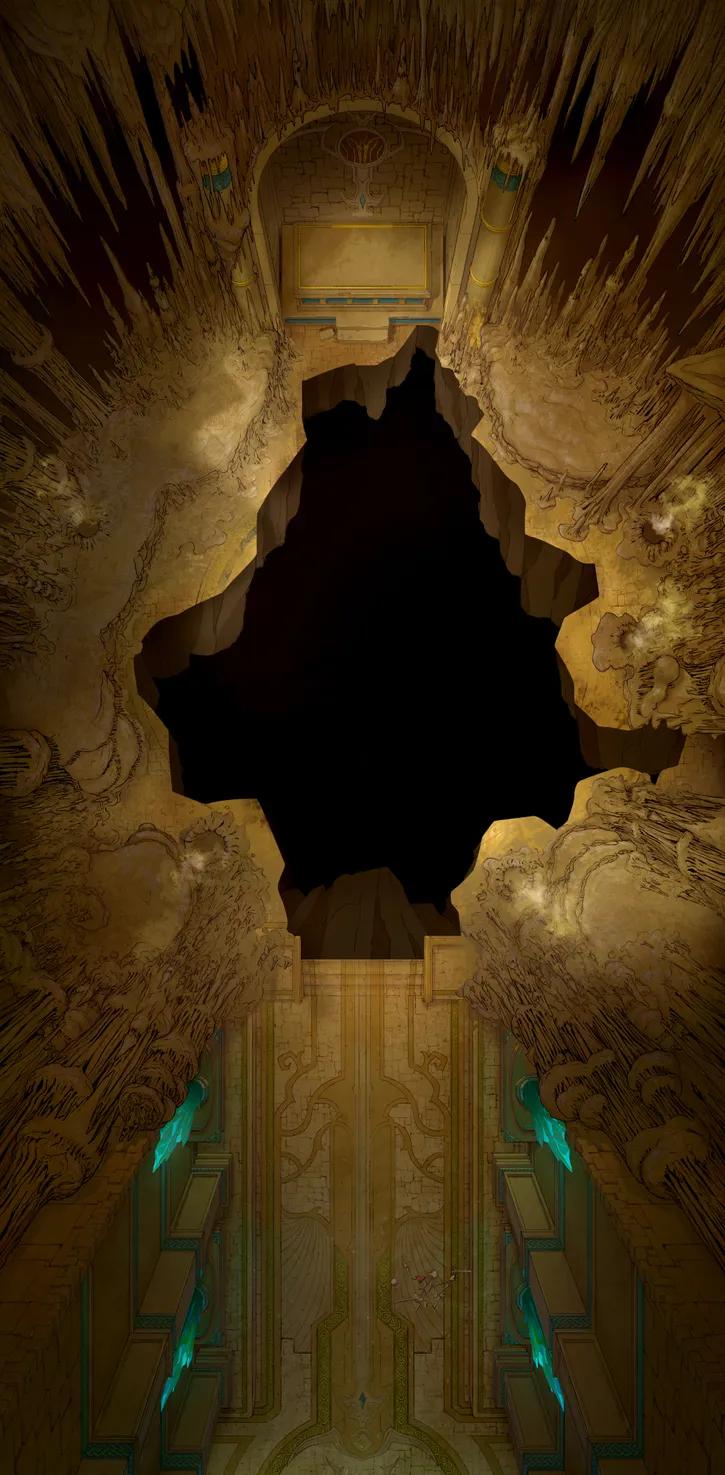
Abyssal Fall (+28)
Abyssal Fall (+28)
Archon's Catacombs (+19)
Archon's Catacombs (+19)
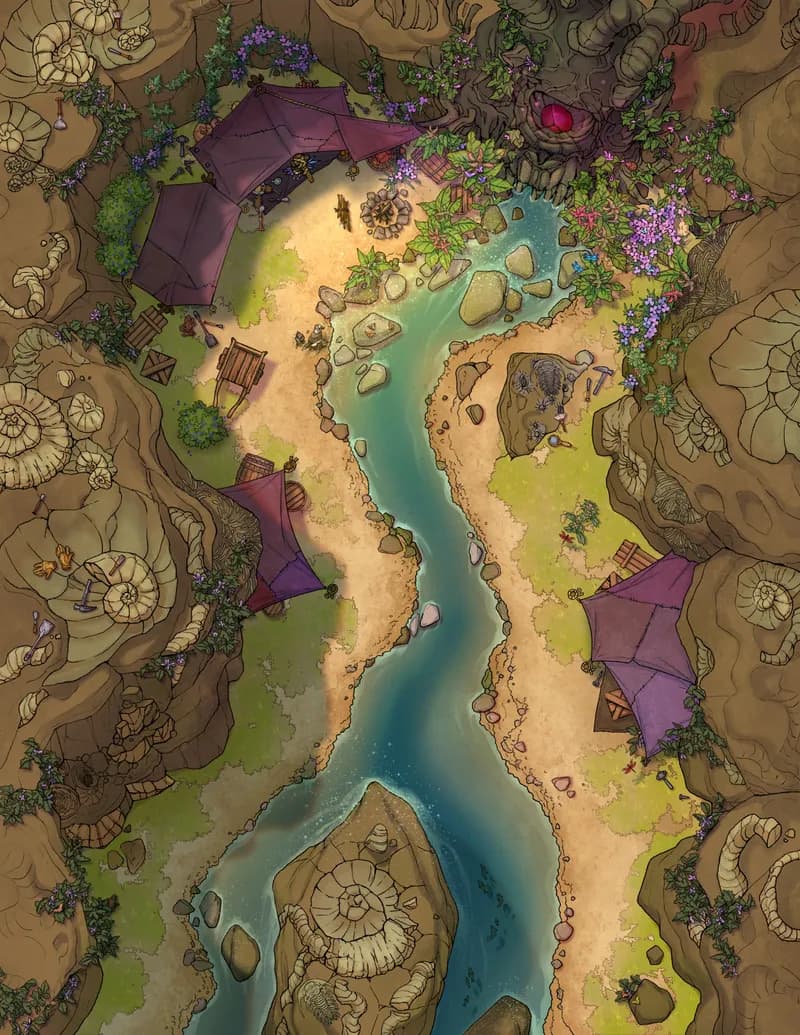
Beetle Tribe Canyon (+19)
Beetle Tribe Canyon (+19)
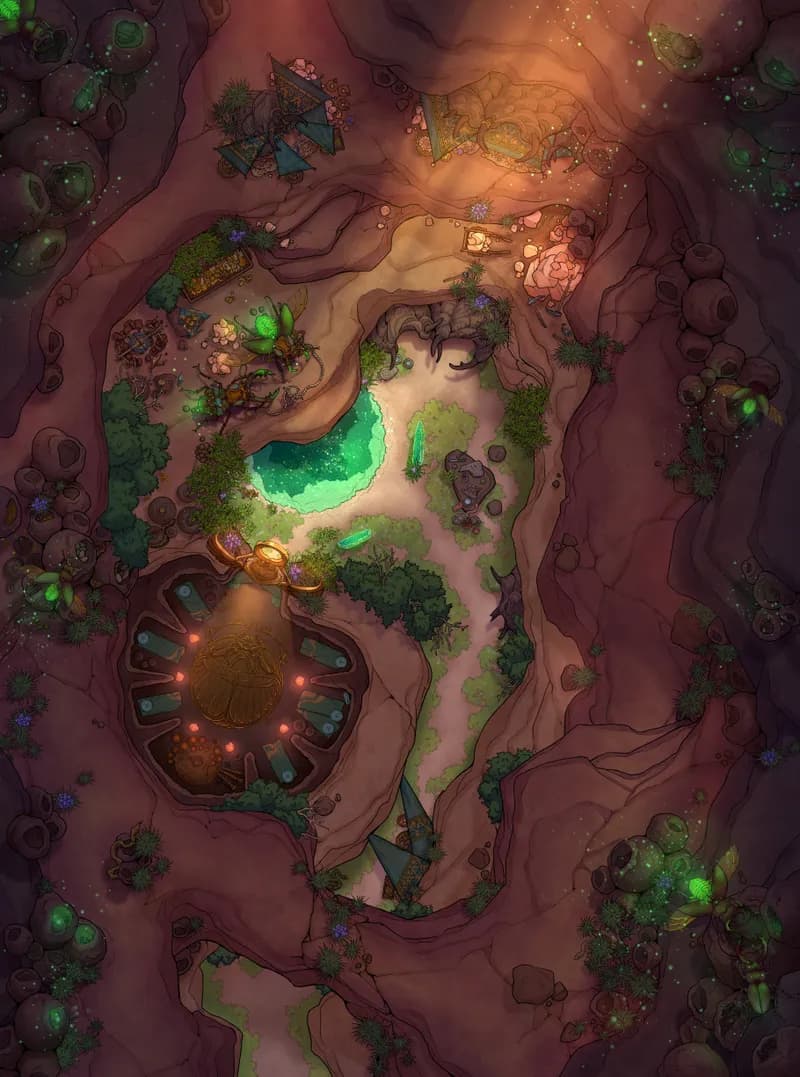
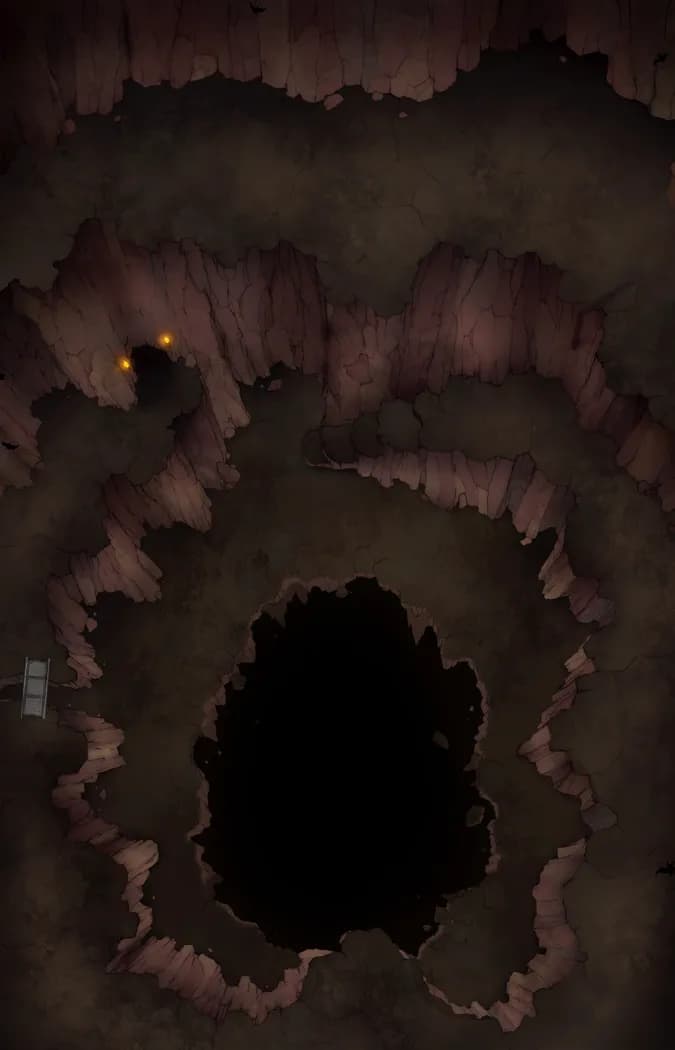
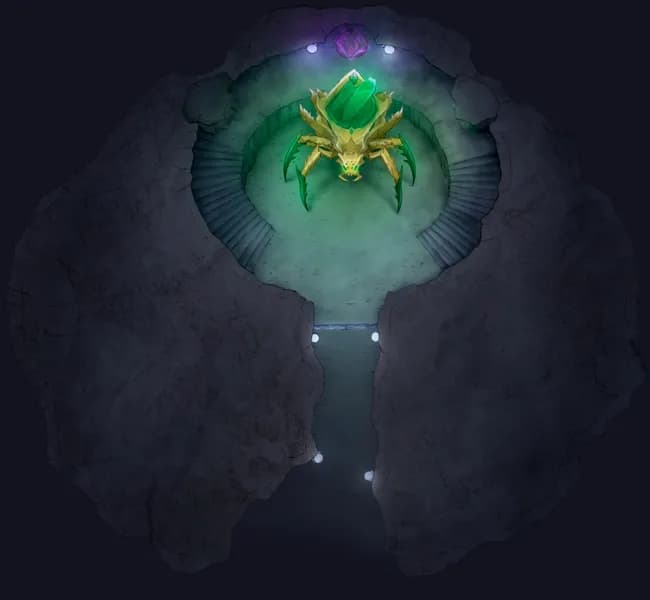
Cavern of the Venom Queen (+7)
Cavern of the Venom Queen (+7)
Crumbling Platform Boss Fight (+31)
Crumbling Platform Boss Fight (+31)
Dragon's Hoard (+20)
Dragon's Hoard (+20)
Geothermal Rift (+15)
Geothermal Rift (+15)

Haunted Ghost Ship Exterior (+7)
Haunted Ghost Ship Exterior (+7)
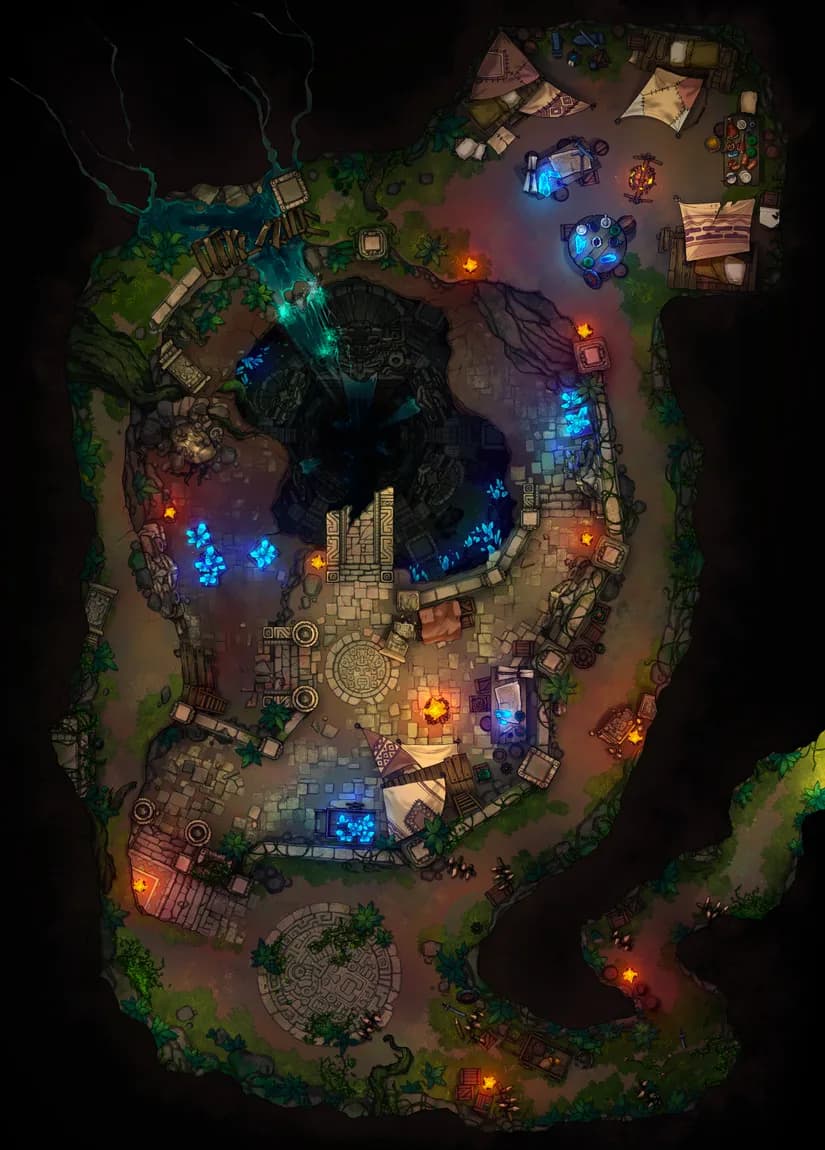
Jungle Cave Tunnel (+19)
Jungle Cave Tunnel (+19)
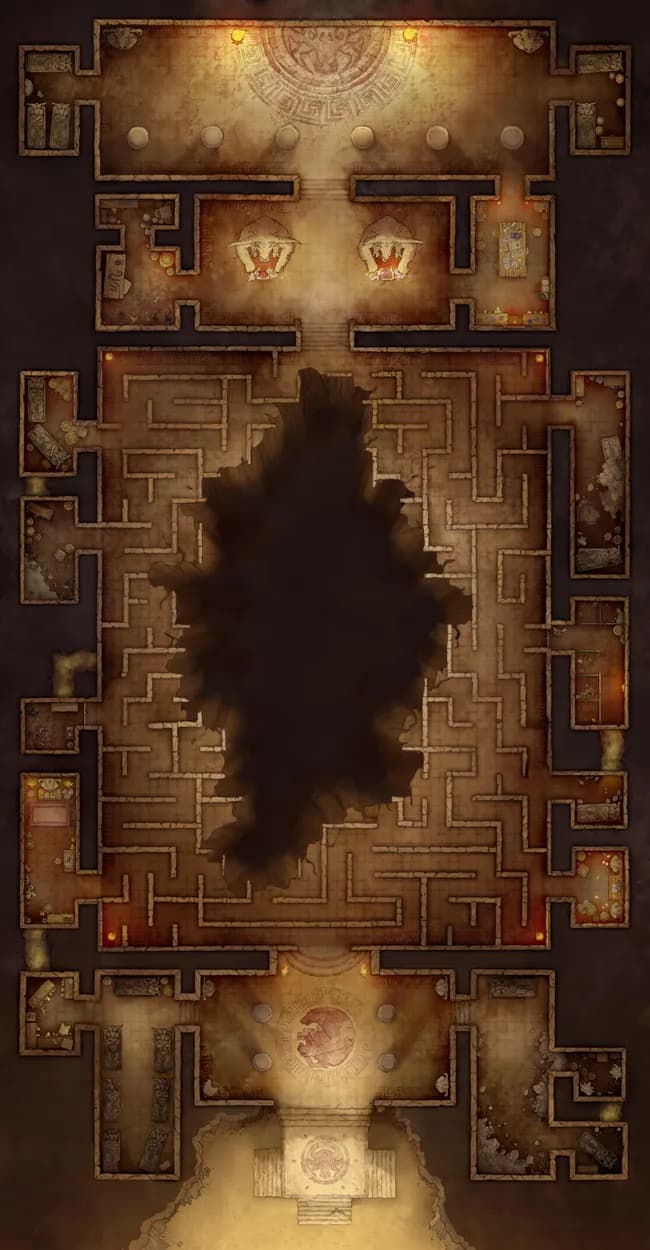
Minotaur Labyrinth (+5)
Minotaur Labyrinth (+5)
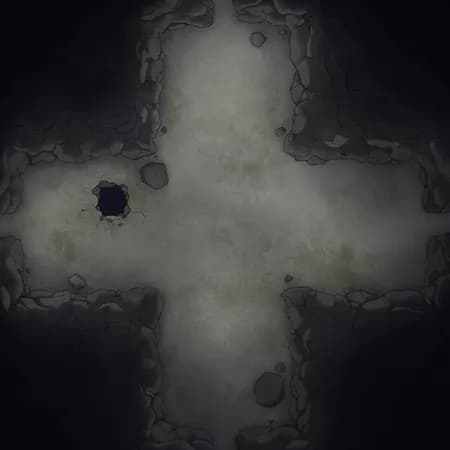
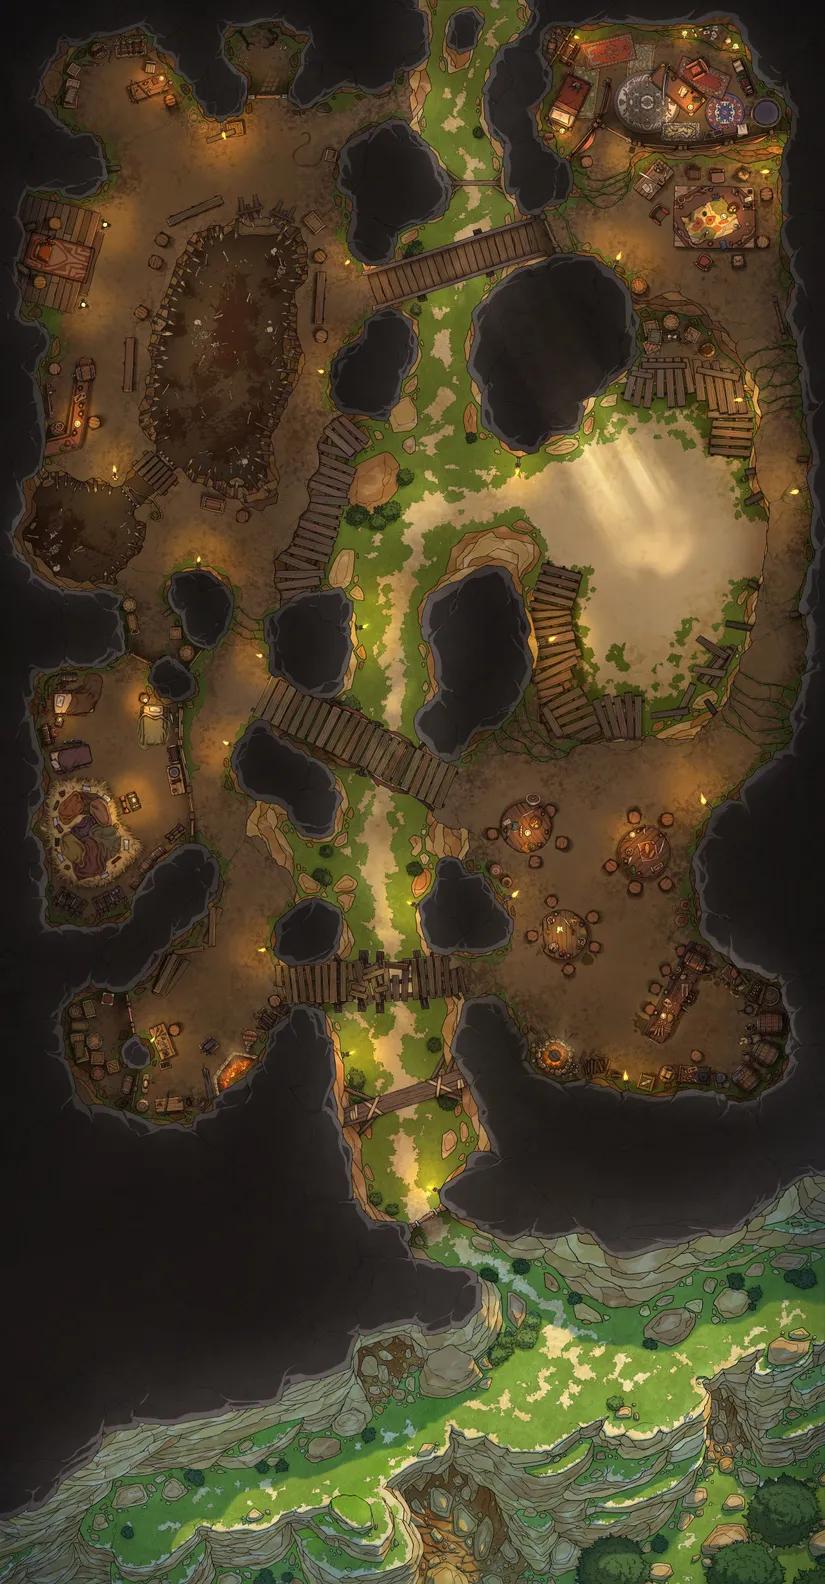
Modular Caves (+138)
Modular Caves (+138)

Pseudodragon Lair (+1)
Pseudodragon Lair (+1)
Shadowlands Pyramid (+19)
Shadowlands Pyramid (+19)
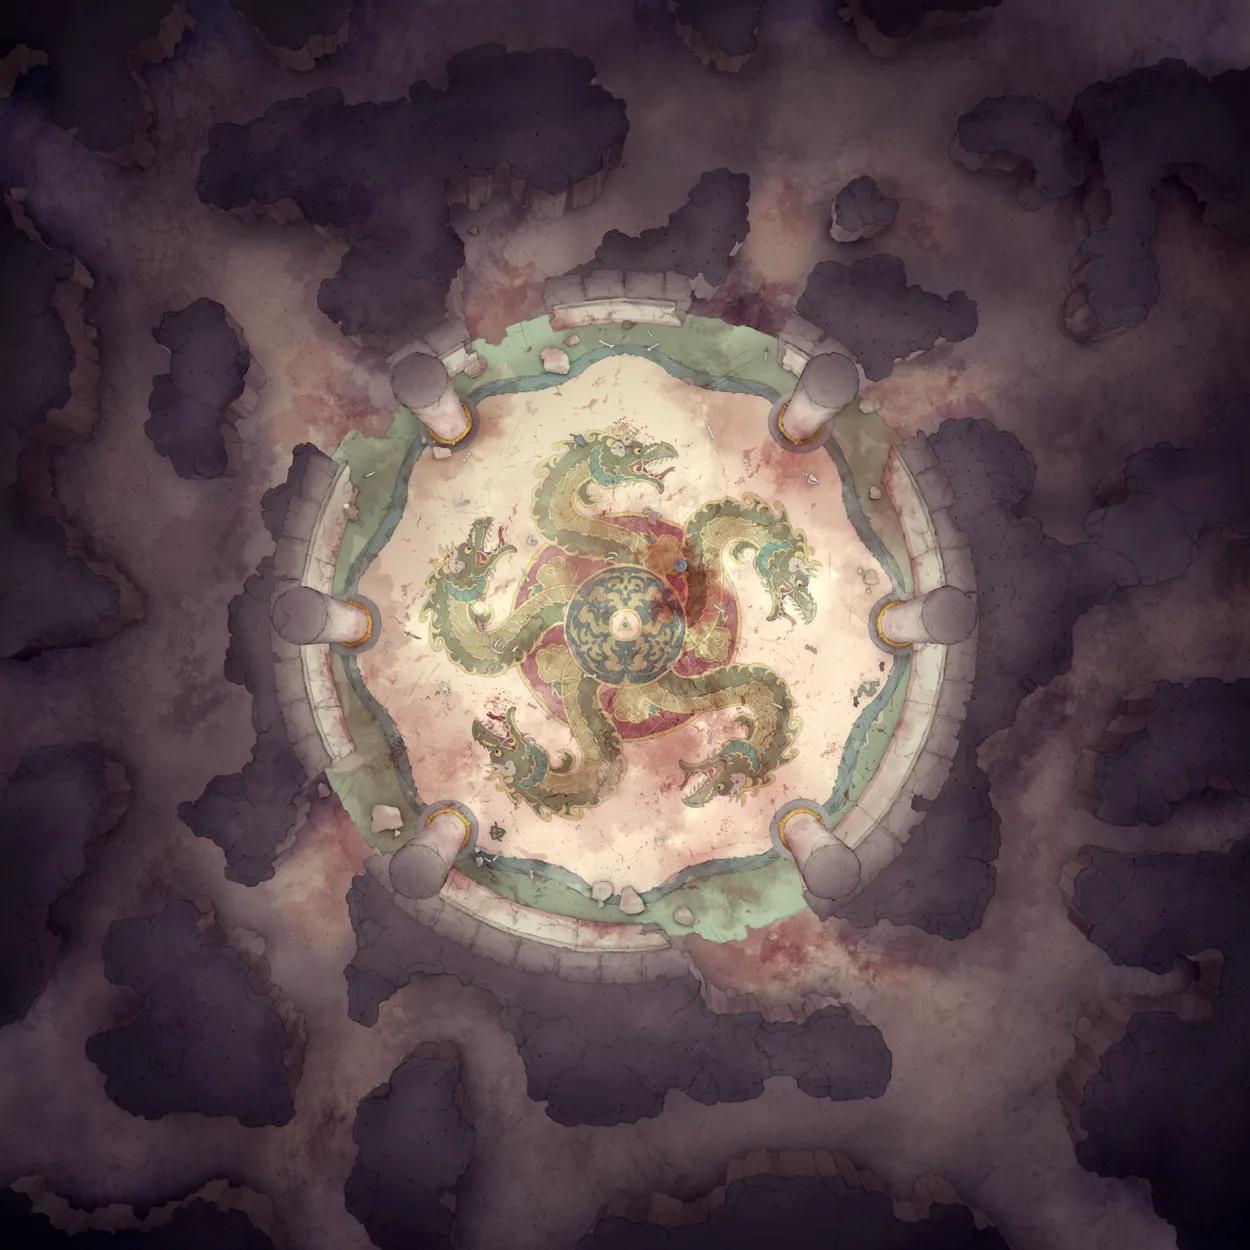
Temple of the Couatl Boss Room (+12)
Temple of the Couatl Boss Room (+12)
Void Dragon Lair (+3)
Void Dragon Lair (+3)
Wizard Prison Pt. 6 (+18)
Wizard Prison Pt. 6 (+18)
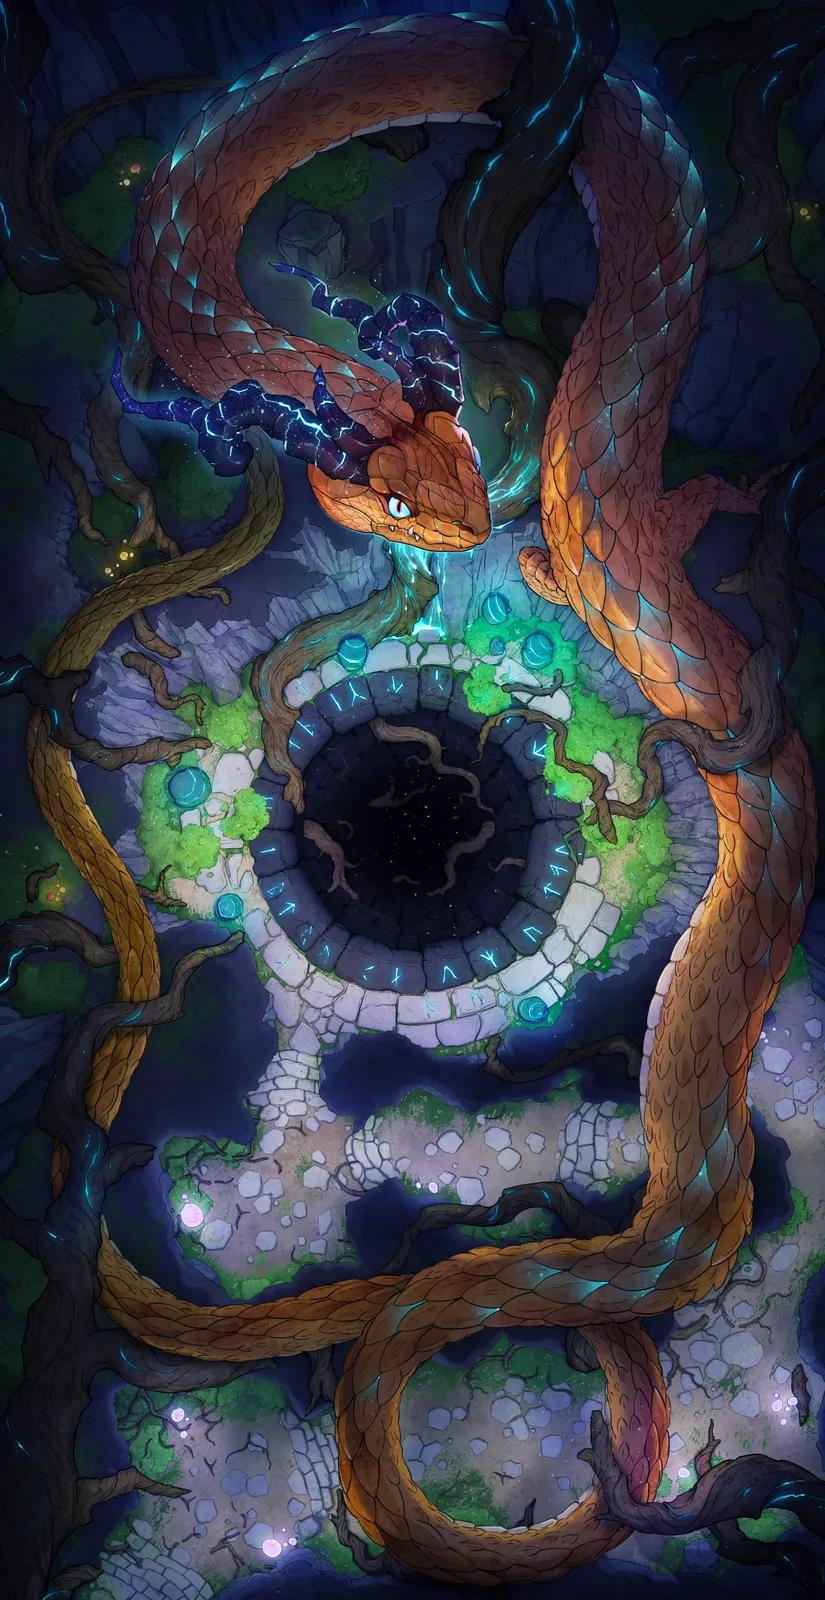
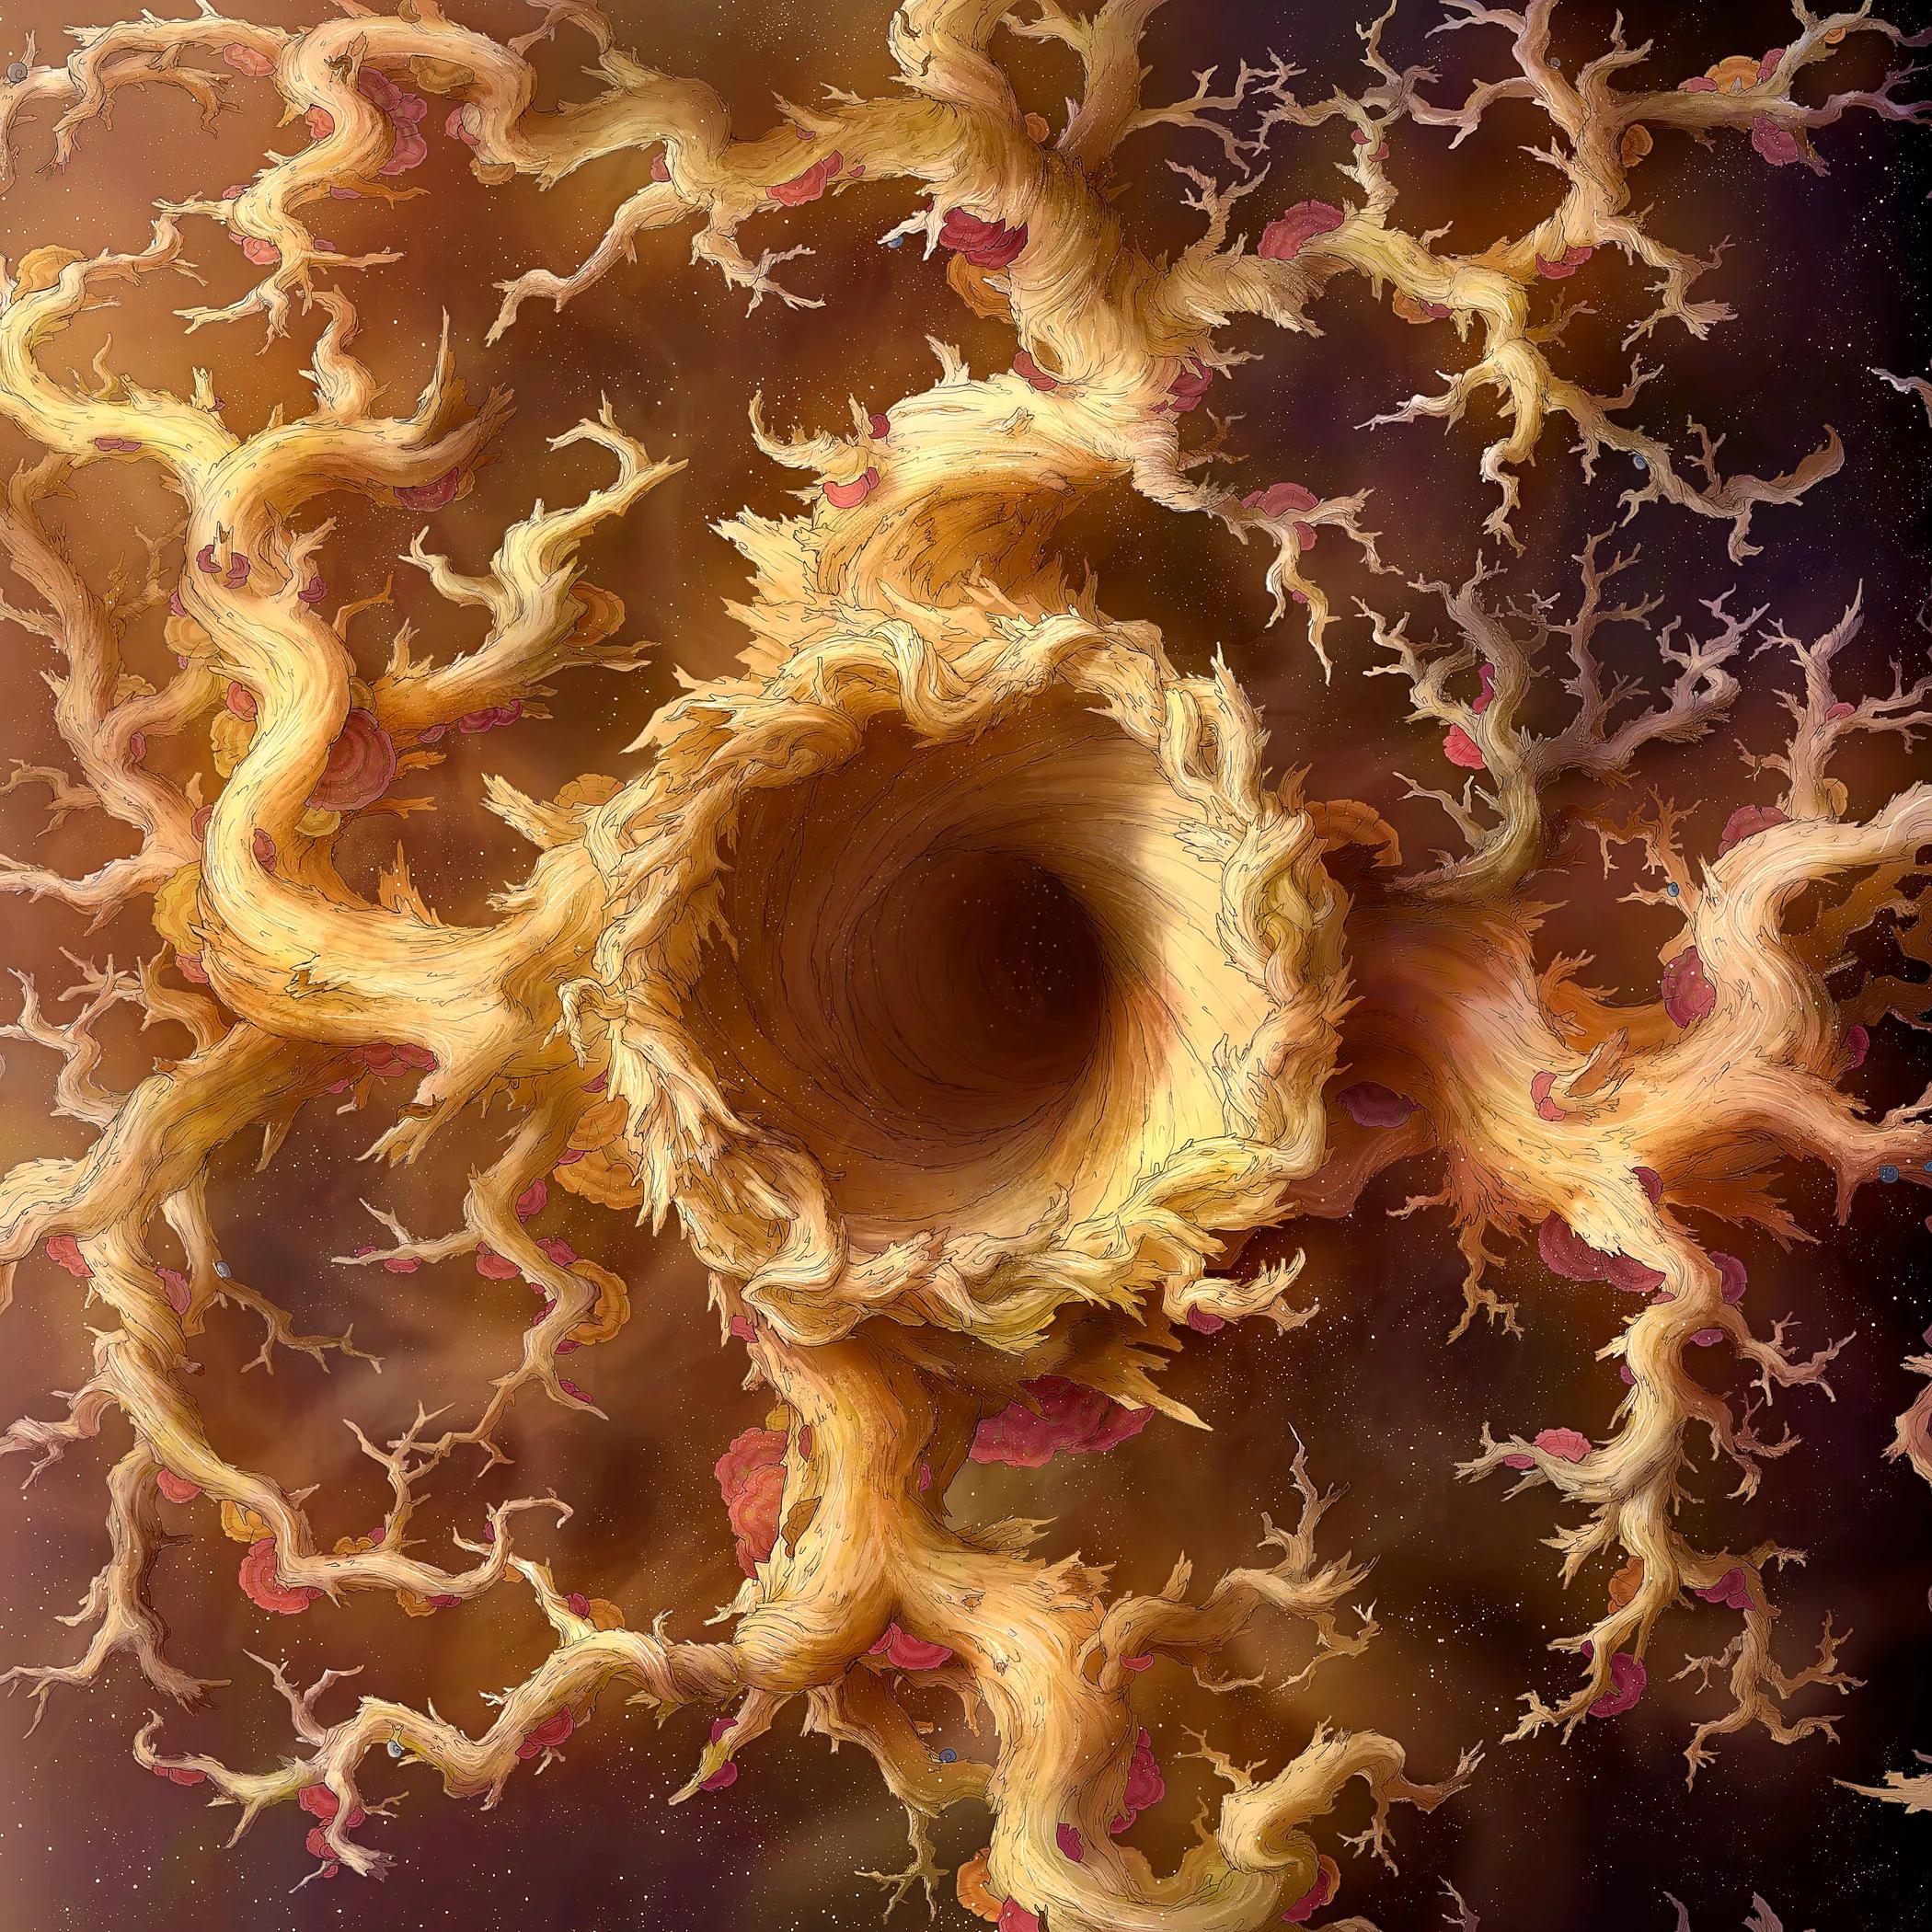
Yggdrasil Roots (+29)
Yggdrasil Roots (+29)

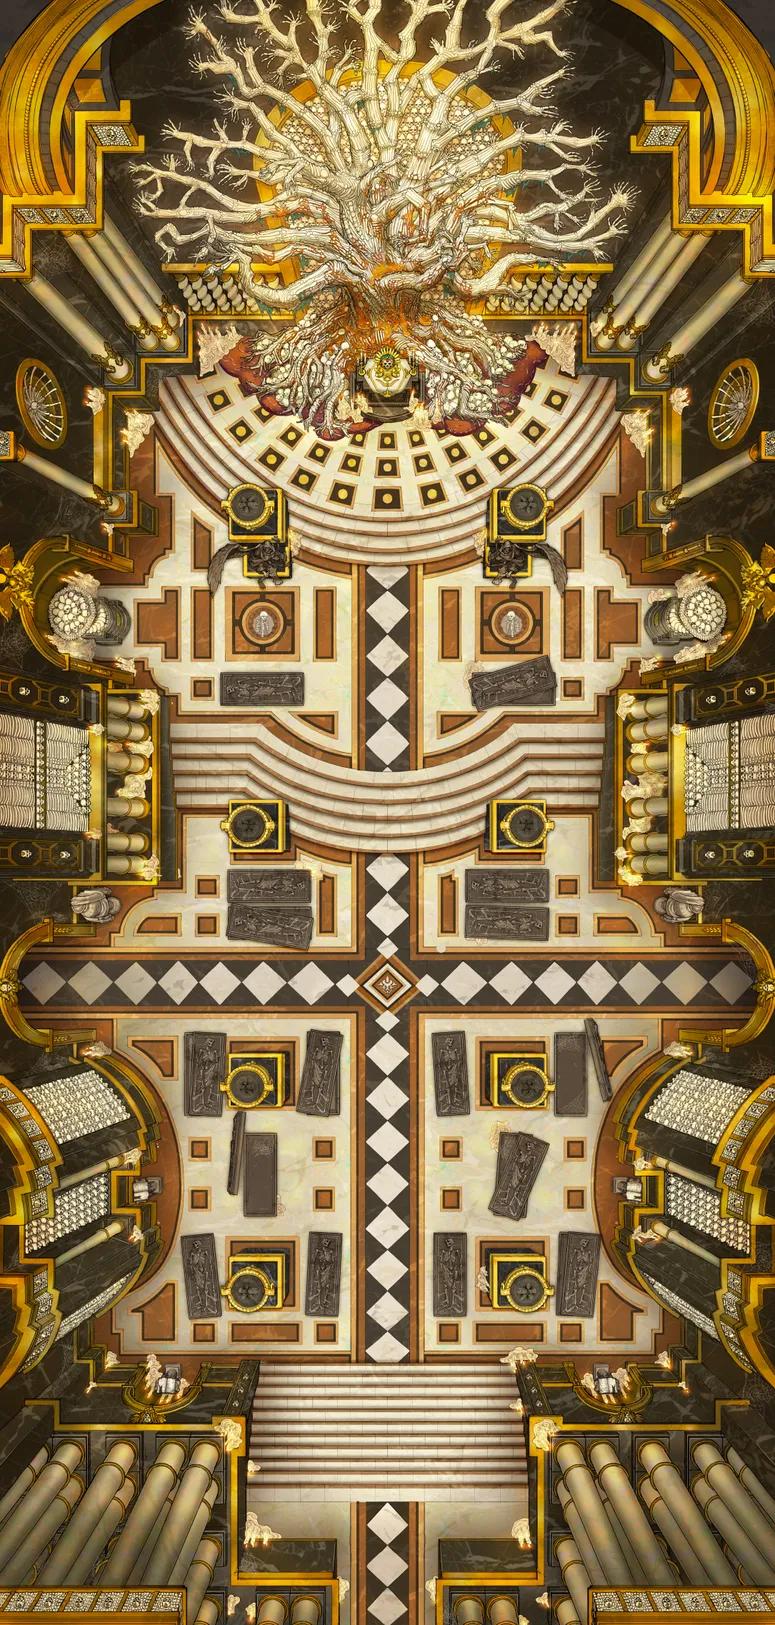
Yggdrasil Trunk (+21)
Yggdrasil Trunk (+21)
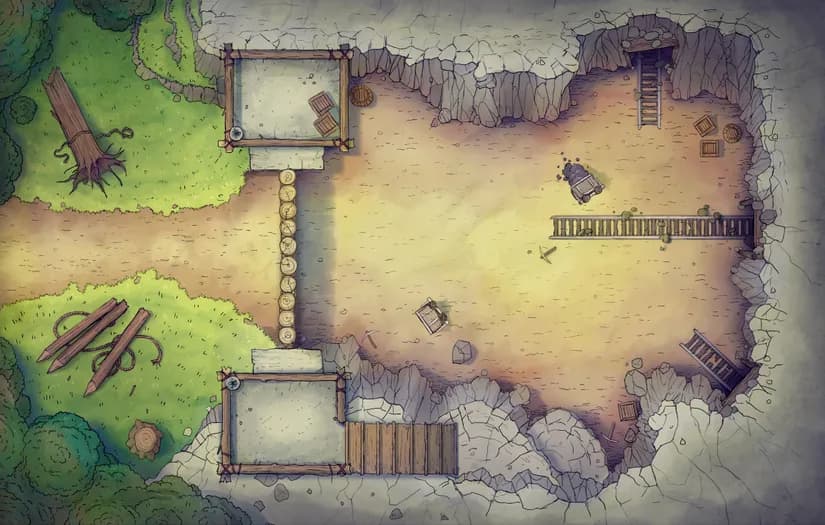
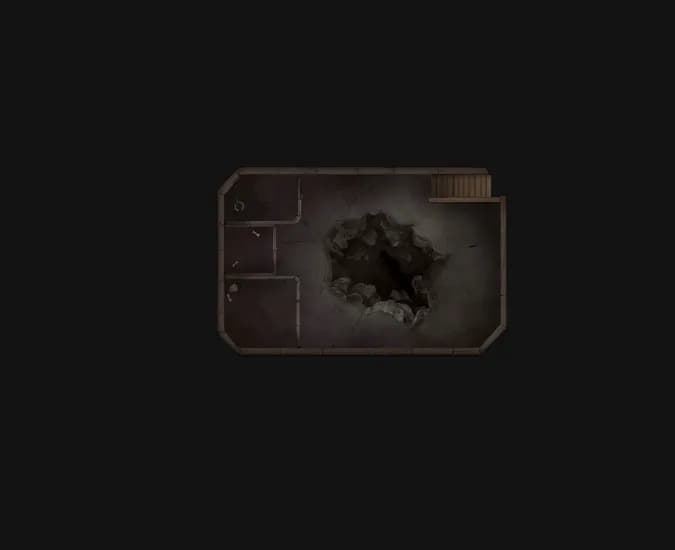
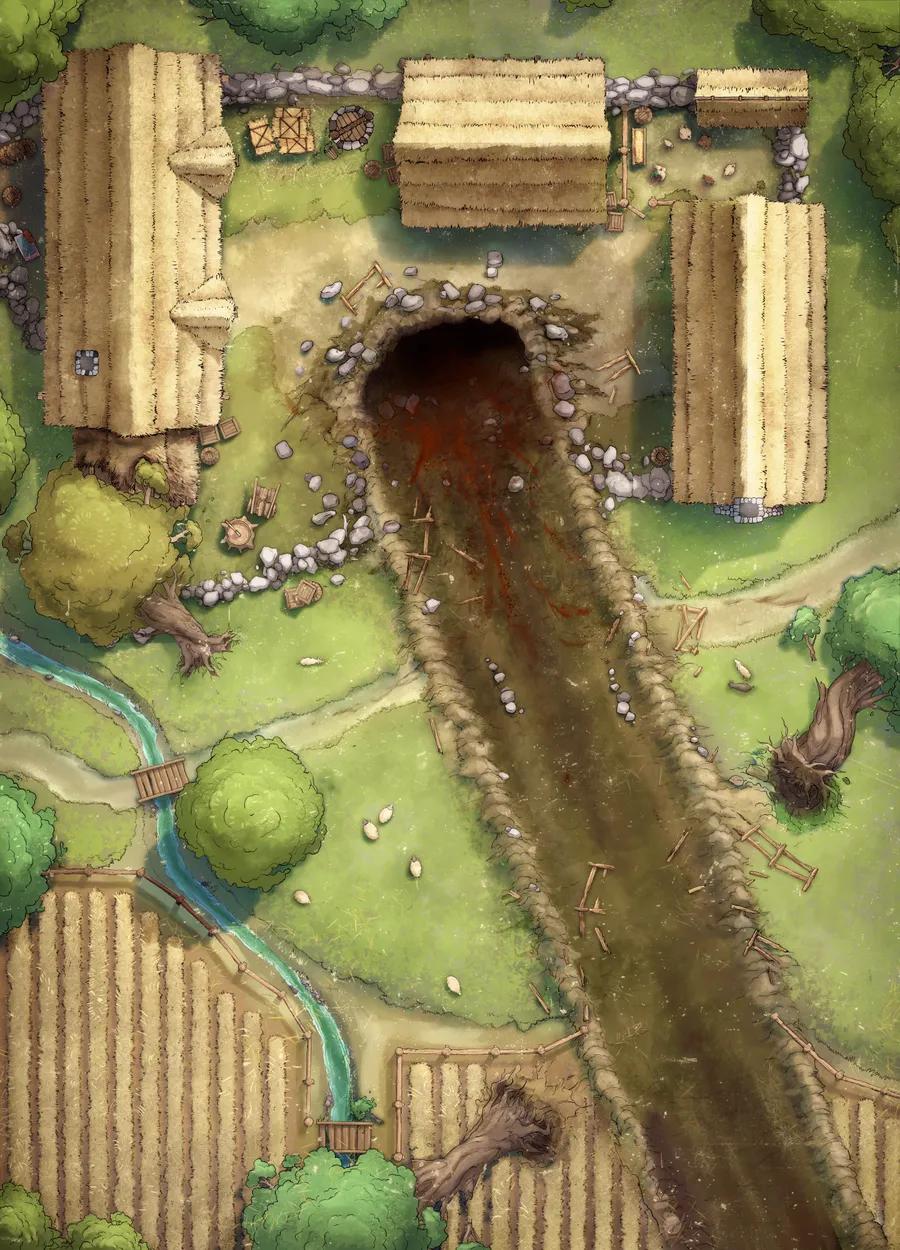
Abandoned Mine Entrance (+11)
Abandoned Mine Entrance (+11)
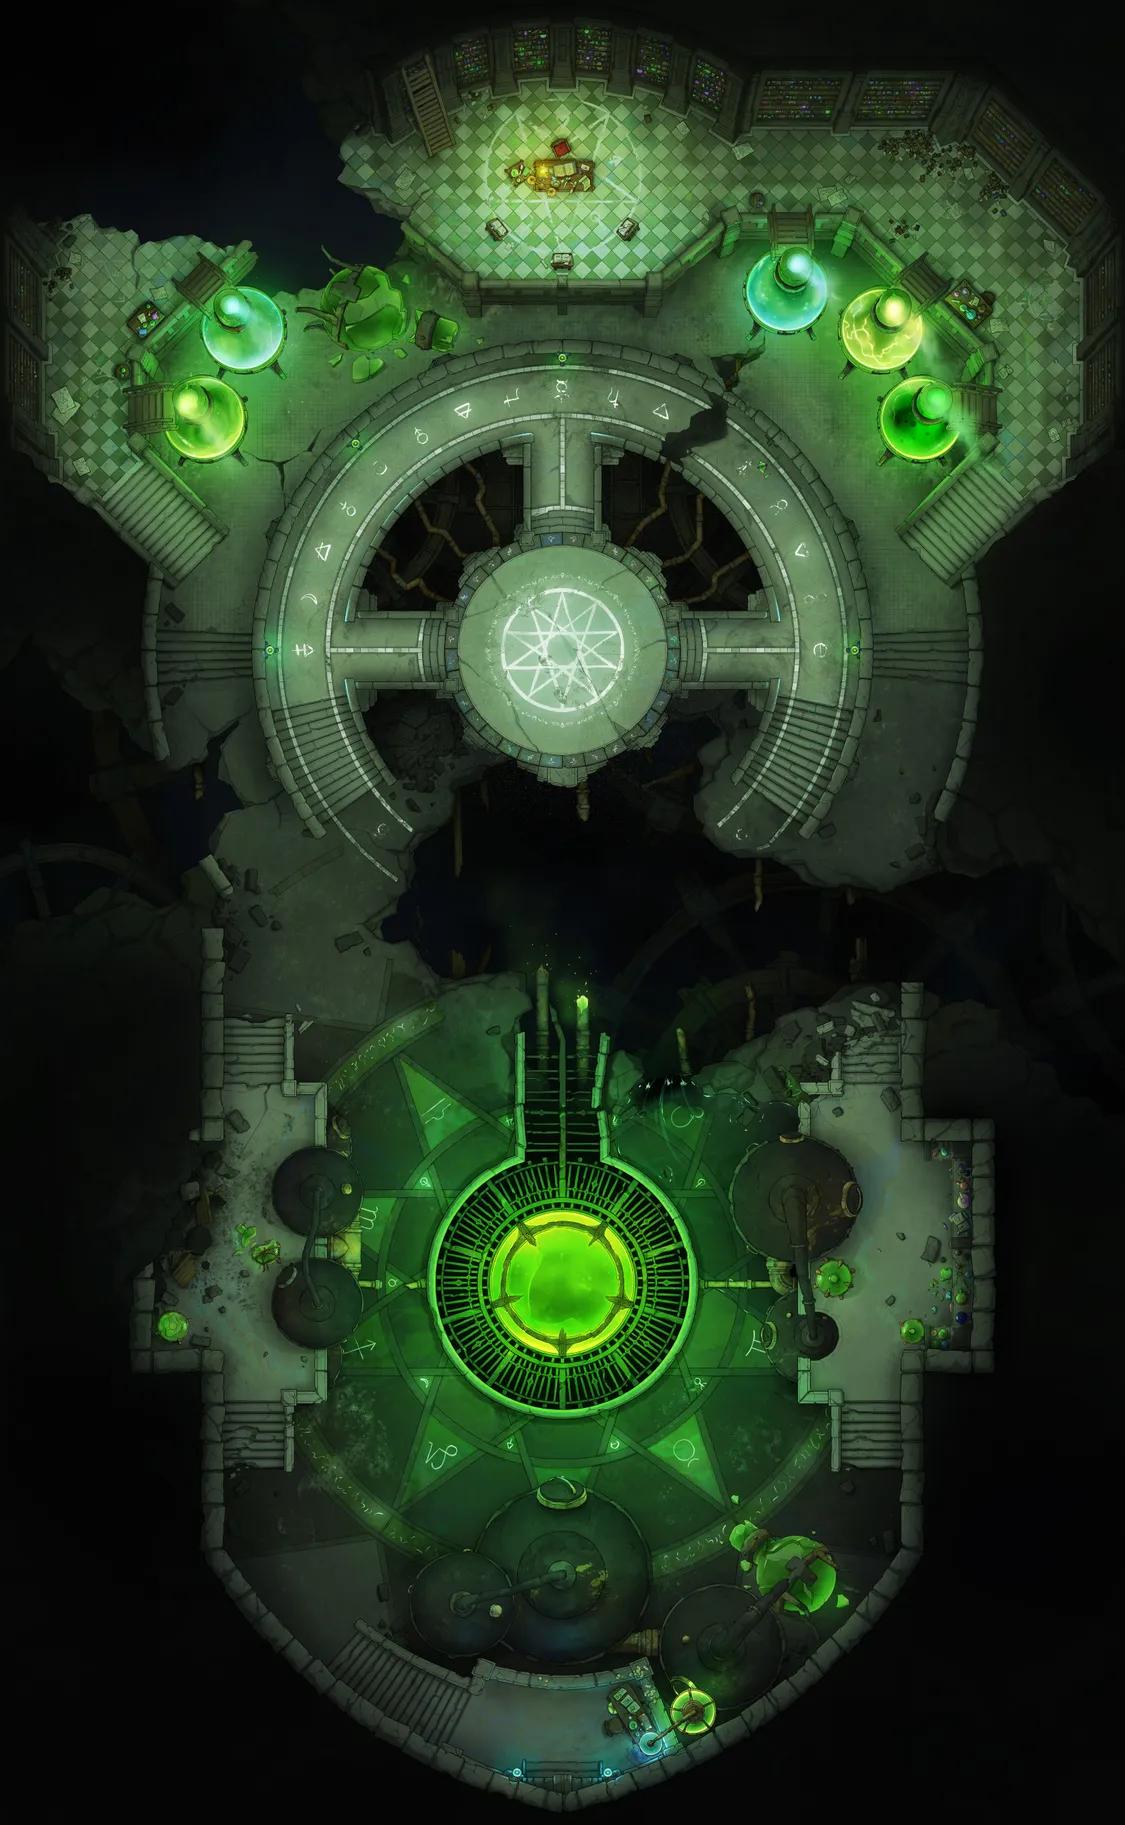
Alchemy Dungeon (+13)
Alchemy Dungeon (+13)
Ancient Hydra Lair (+15)
Ancient Hydra Lair (+15)
Ancient Tech Treasury (+19)
Ancient Tech Treasury (+19)
Badger Hill Underground (+2)
Badger Hill Underground (+2)
Blacksmith Secret Grotto (+11)
Blacksmith Secret Grotto (+11)
Blue Dragon Lair (+1)
Blue Dragon Lair (+1)
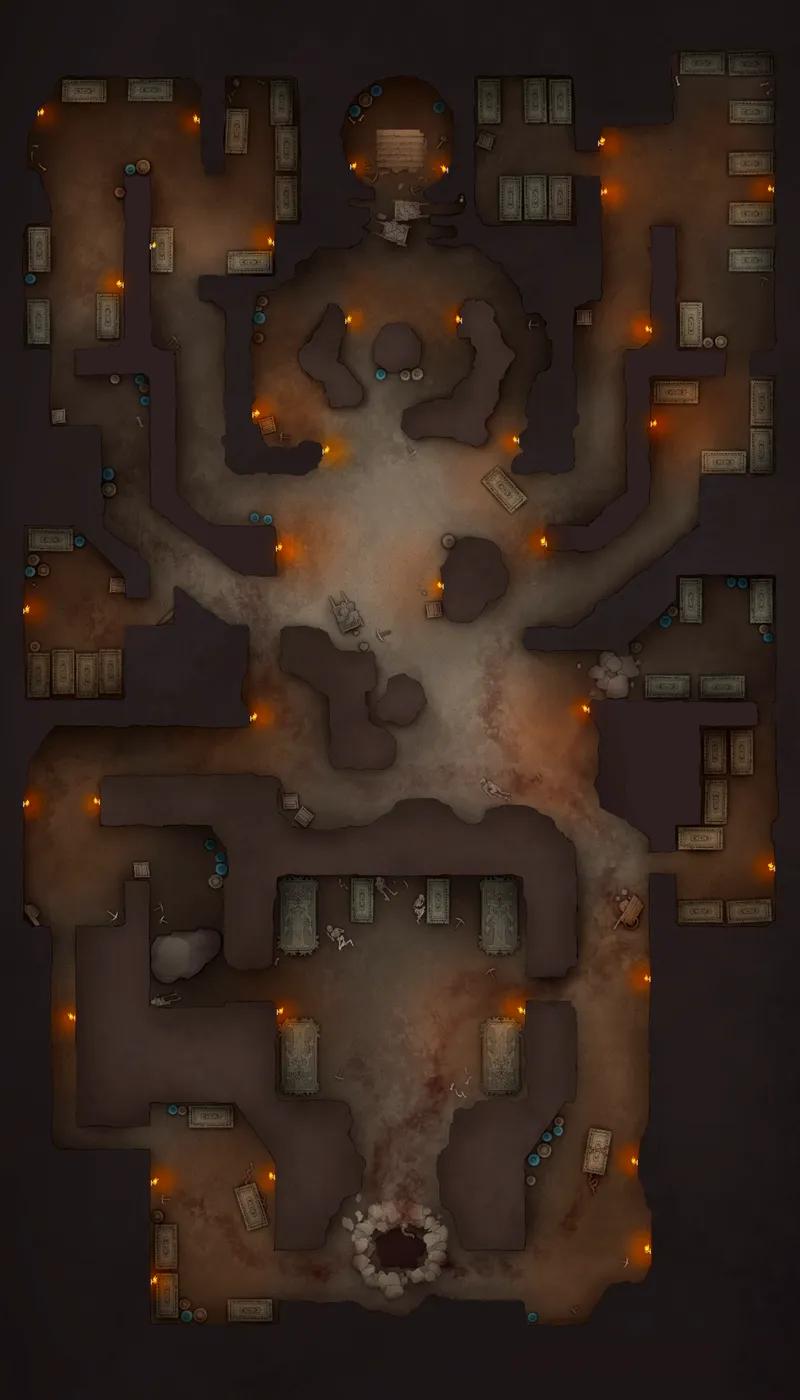
Bone Dryad Ossuary (+18)
Bone Dryad Ossuary (+18)
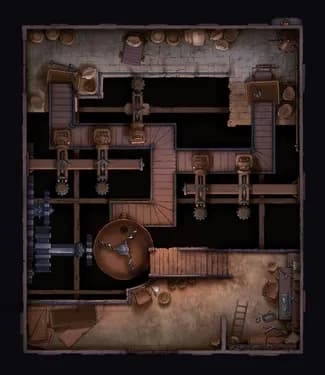
Bone Mill Interior
Bone Mill Interior
Bone Mill Lair (+13)
Bone Mill Lair (+13)
Burial Barrow (+18)
Burial Barrow (+18)
Cave Temple (+17)
Cave Temple (+17)
Celestial Chapel (+1)
Celestial Chapel (+1)
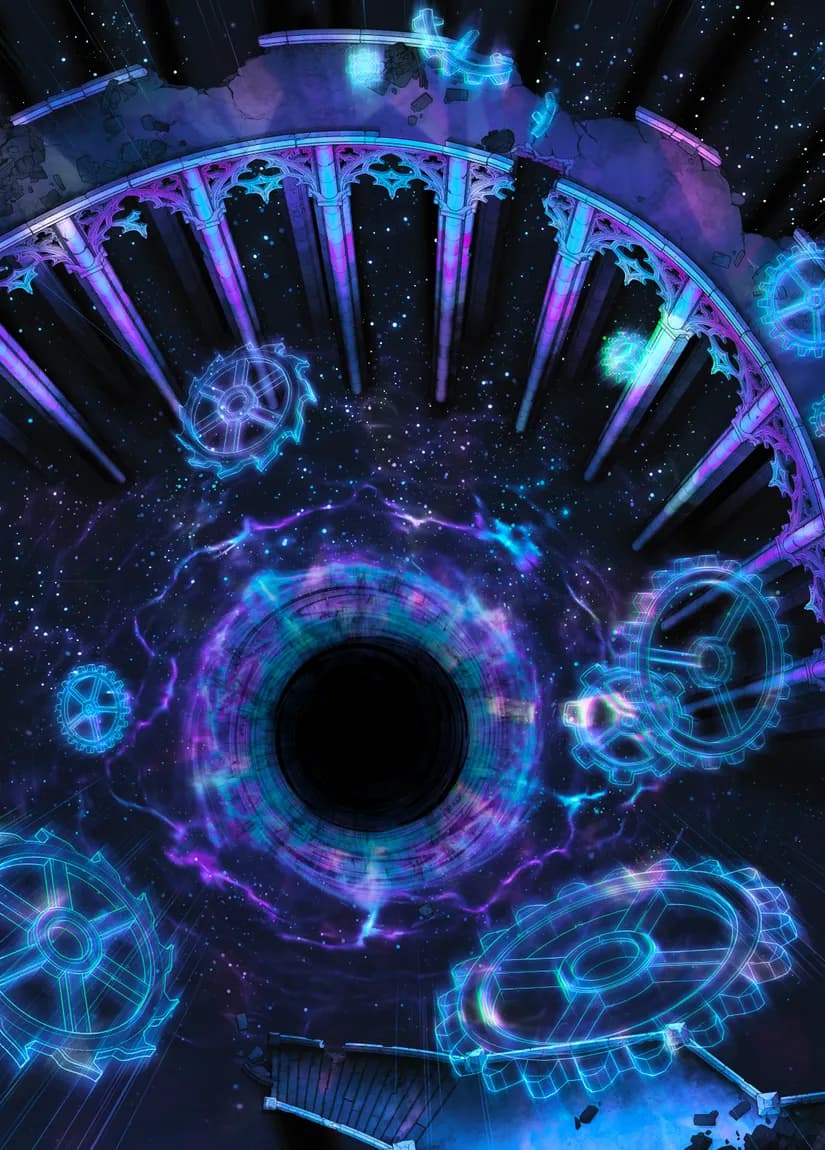
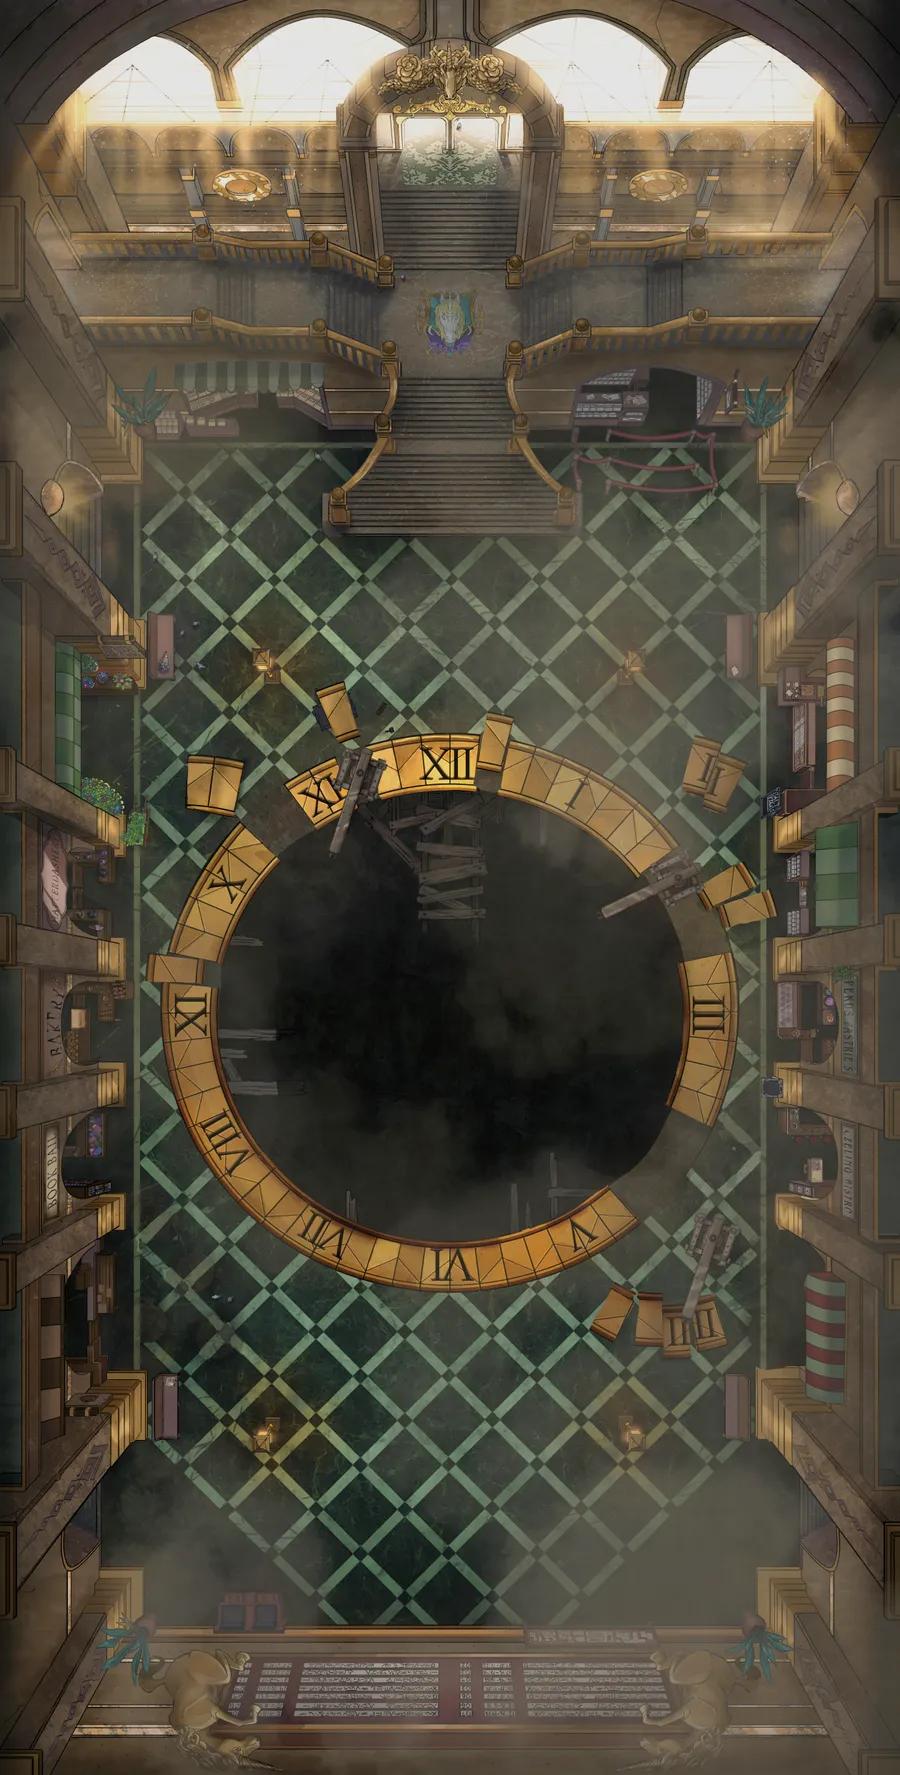
Chrono Chaos Ruins Interior
Chrono Chaos Ruins Interior

City Streets
City Streets
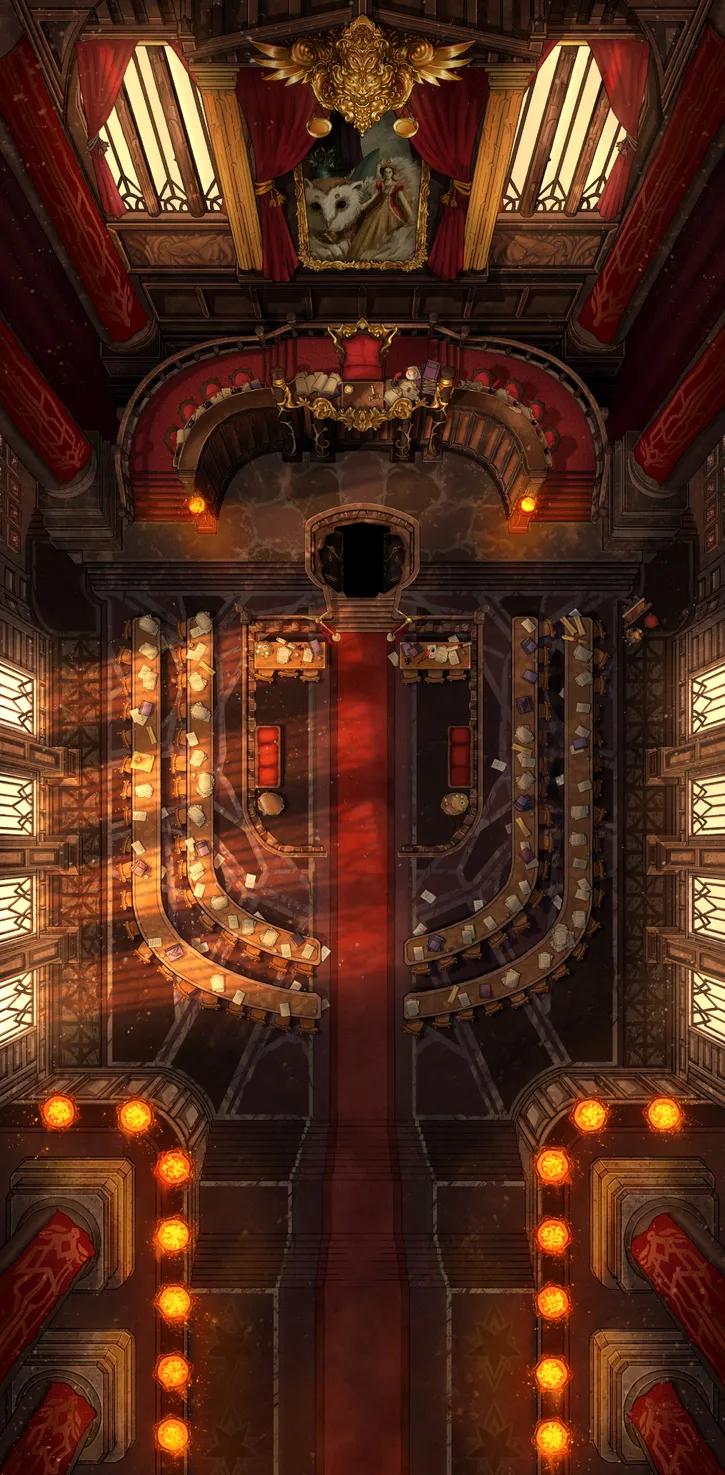
Court of Justice
Court of Justice
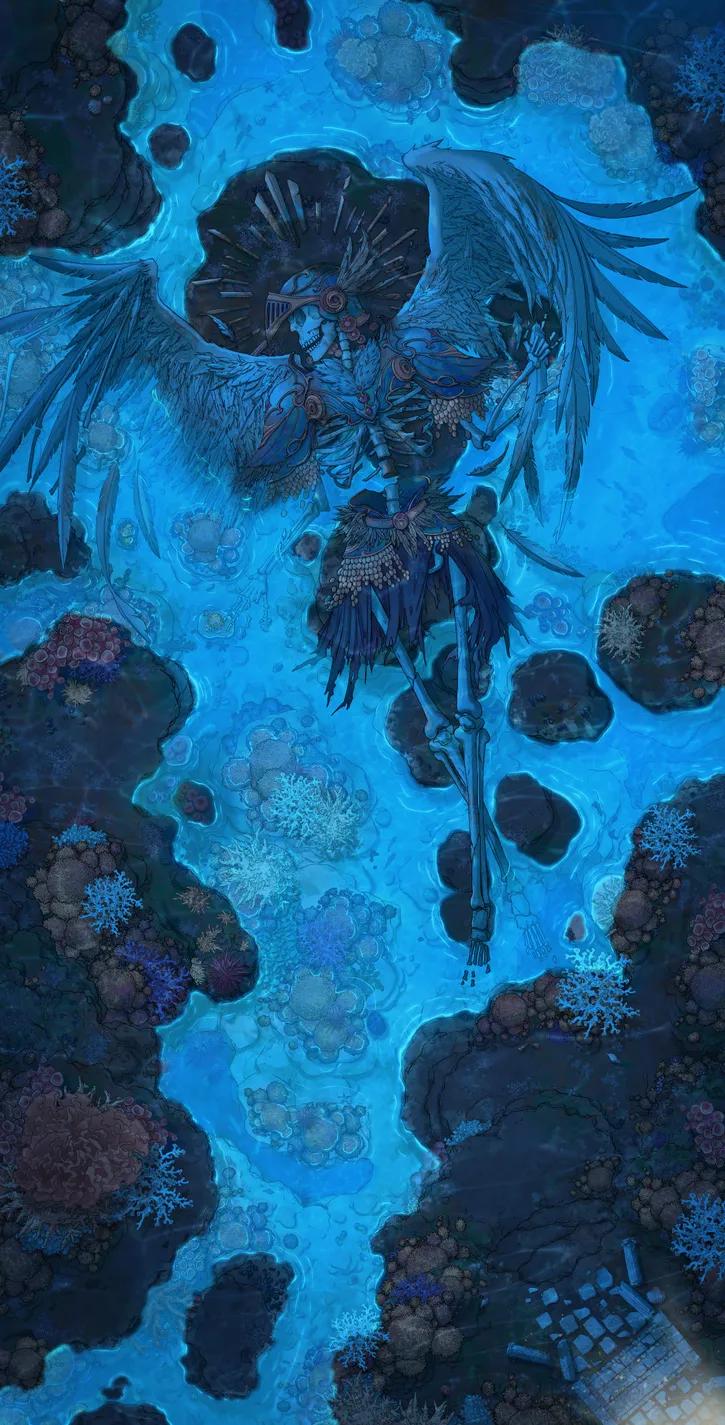
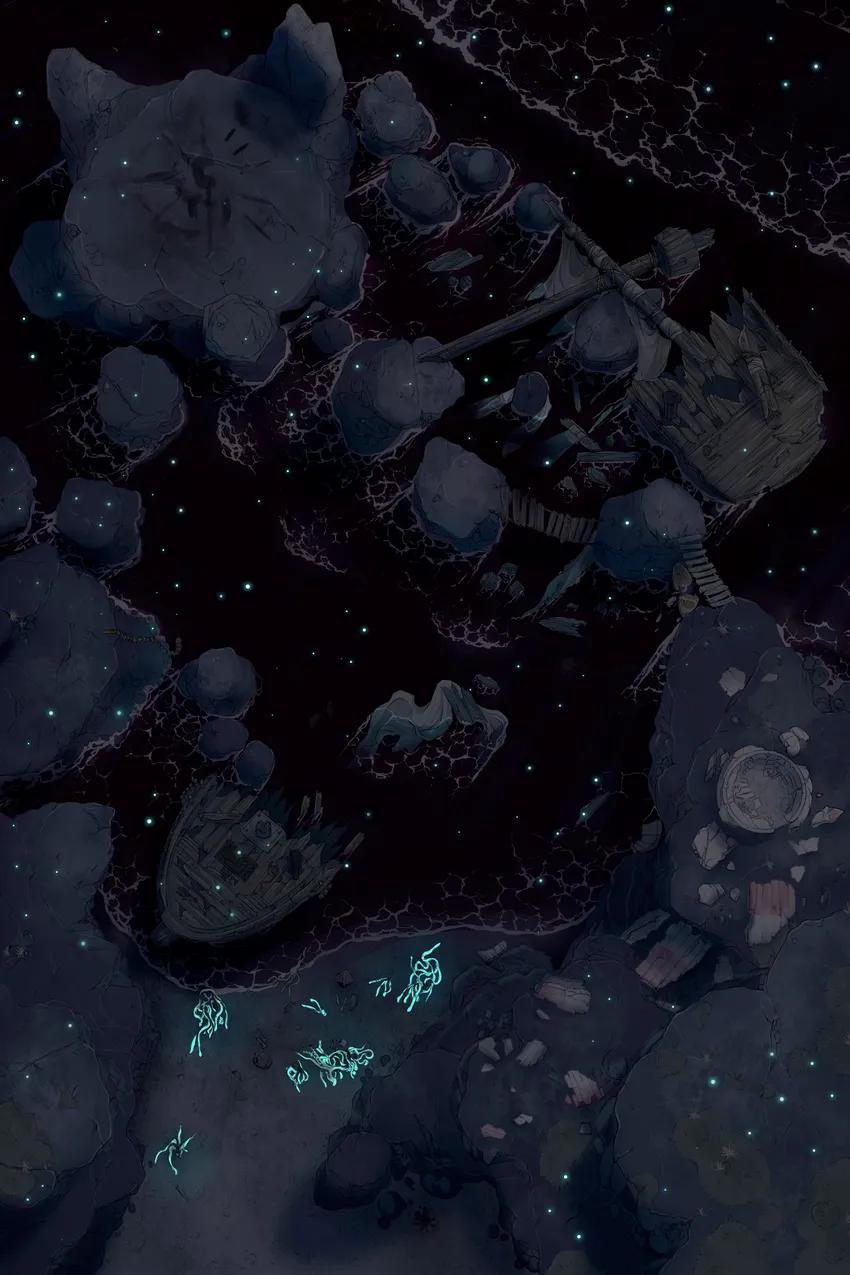
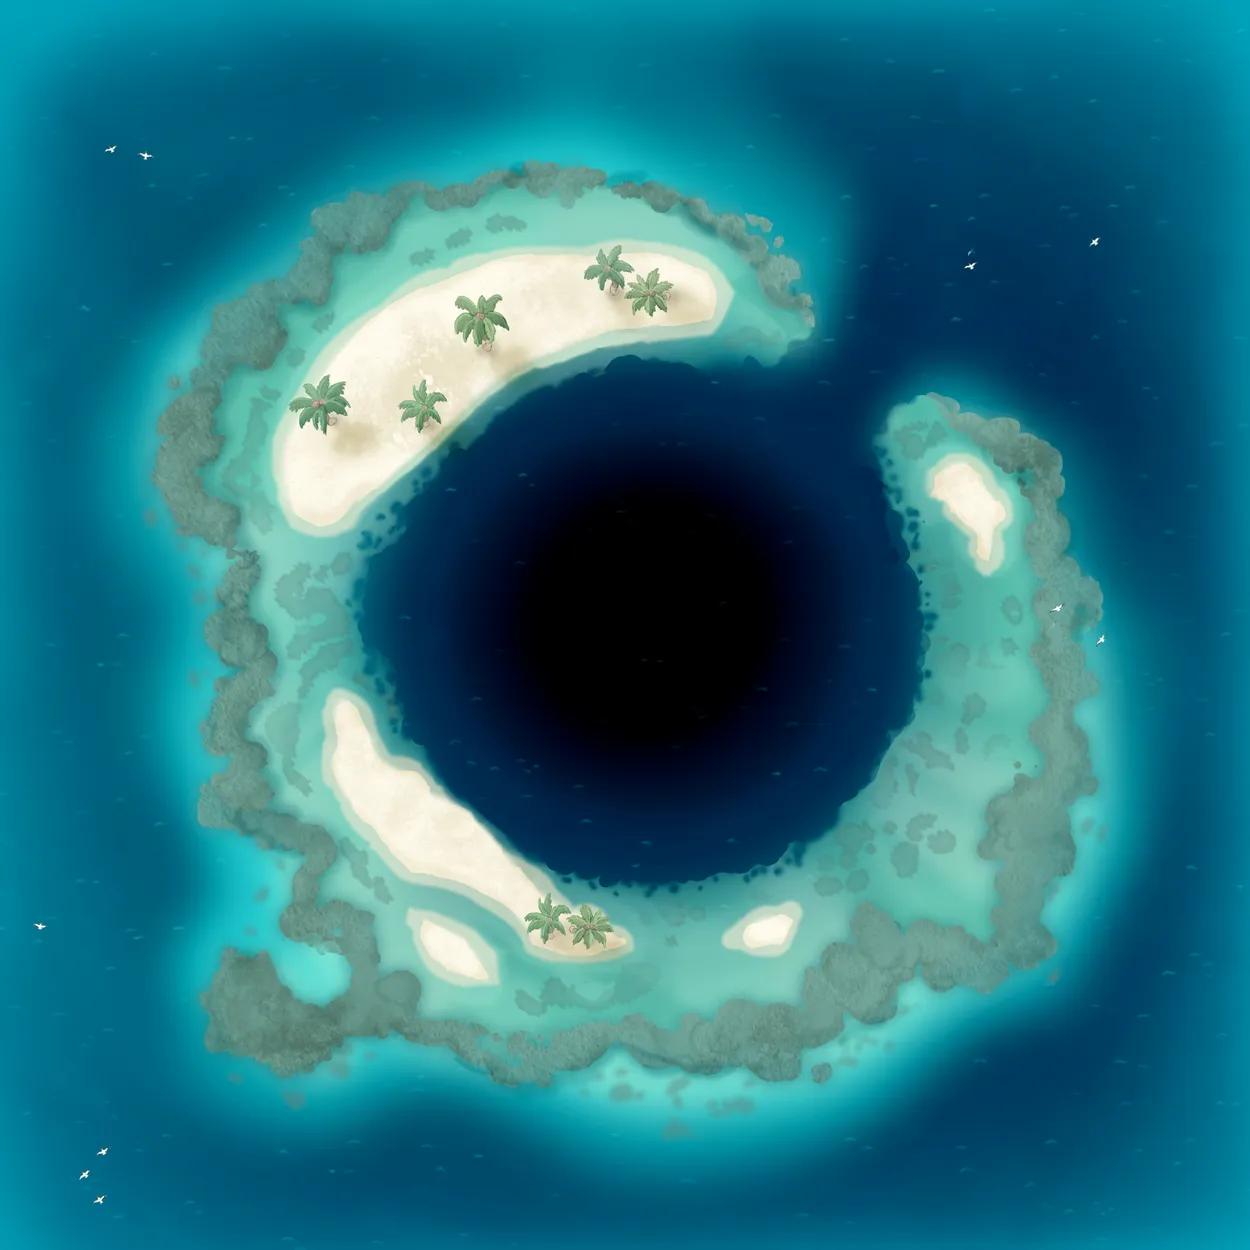
Dead Angel Reef
Dead Angel Reef
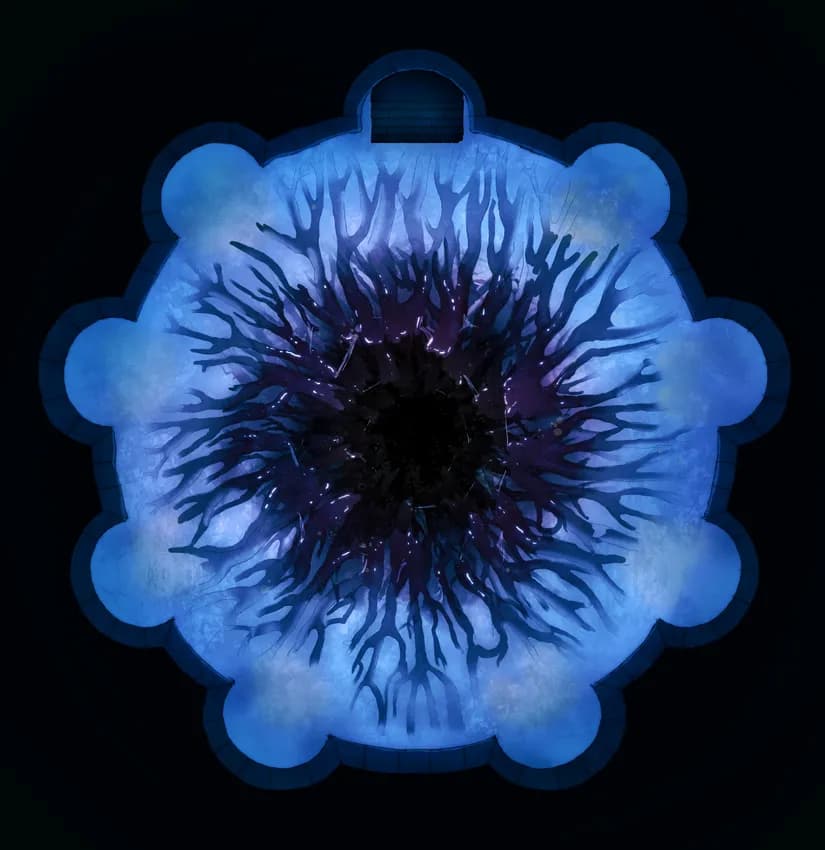
Deep Sea Hatching Chamber (+8)
Deep Sea Hatching Chamber (+8)
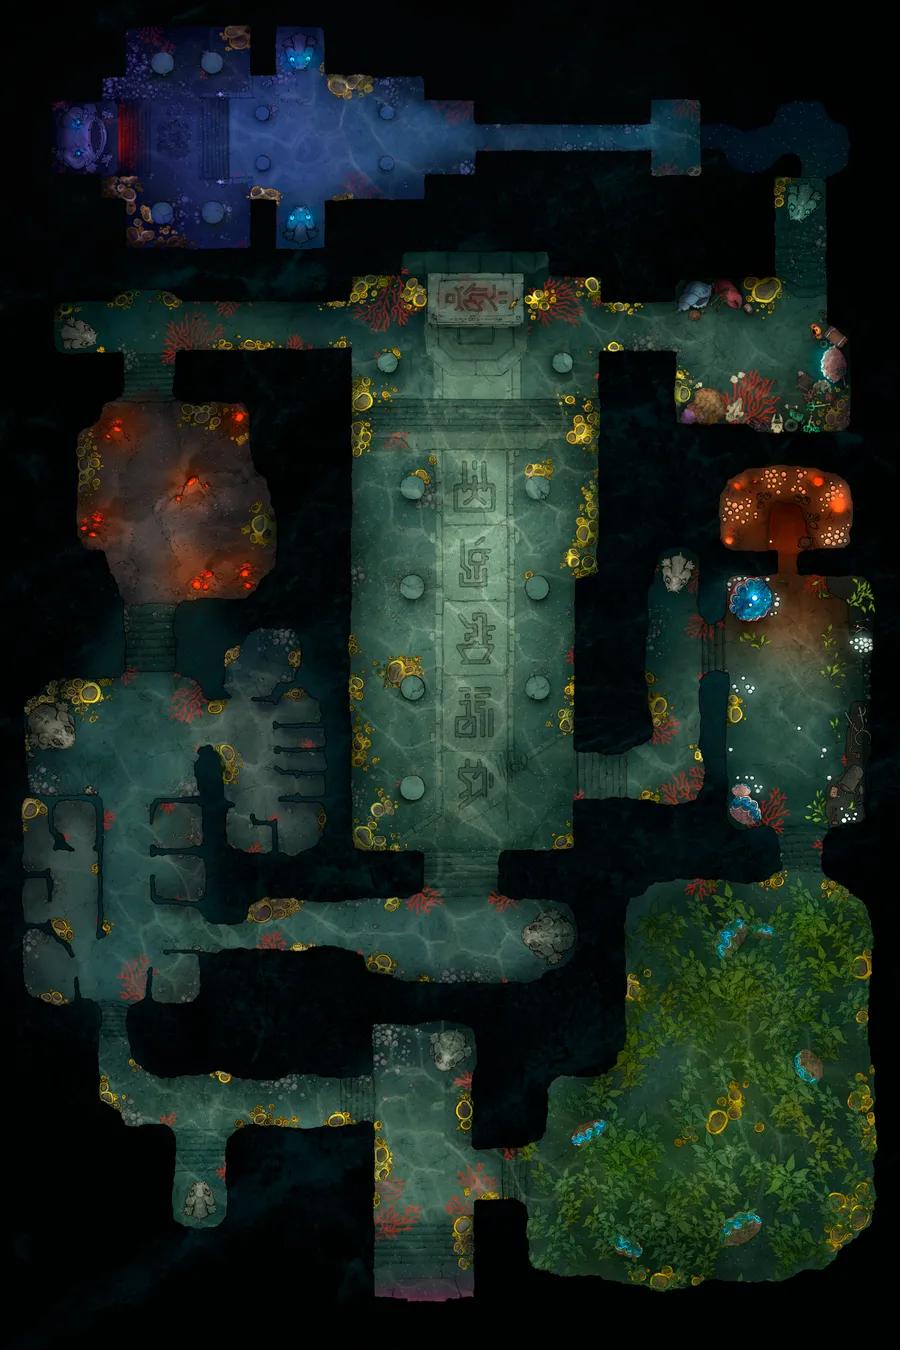
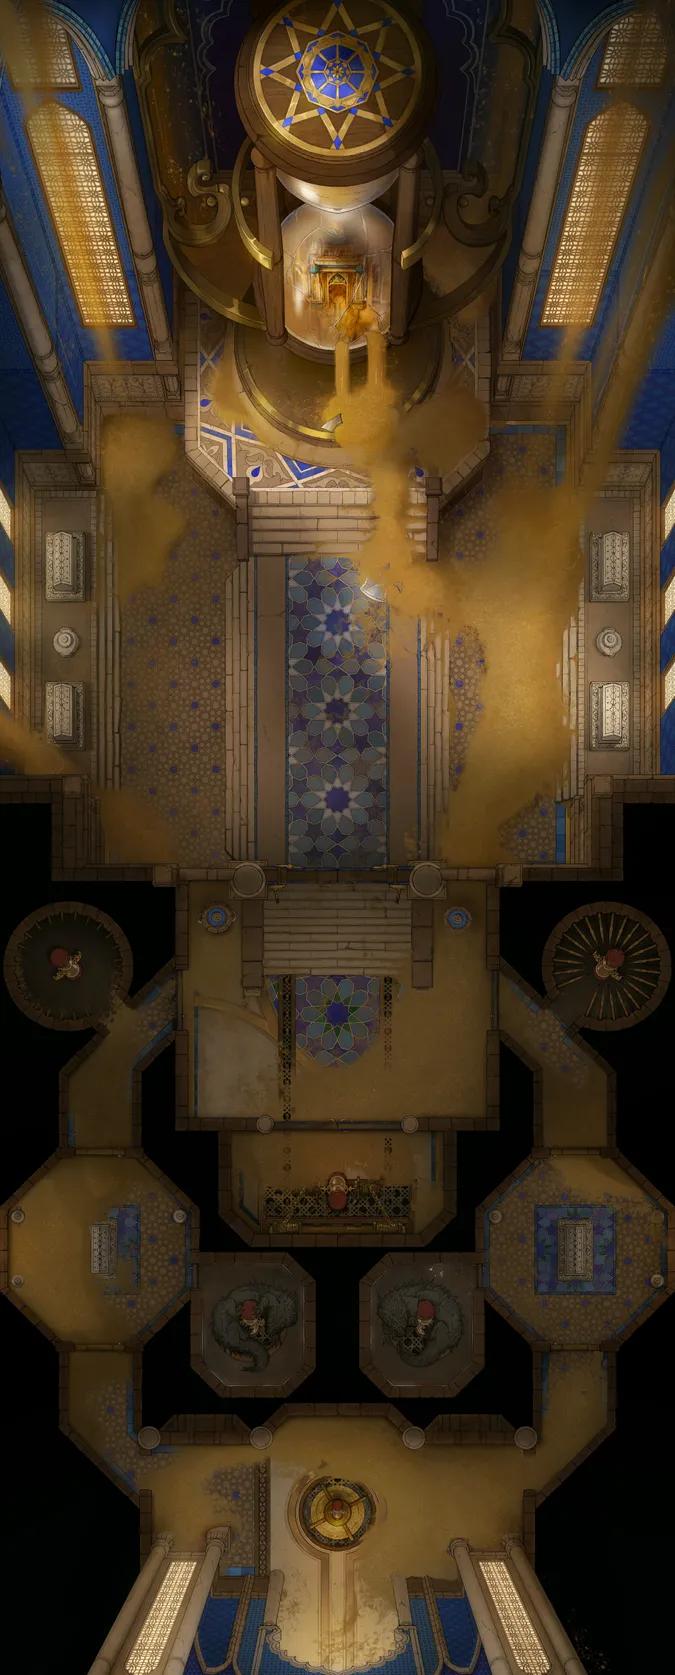
Deep Sea Temple (+1)
Deep Sea Temple (+1)

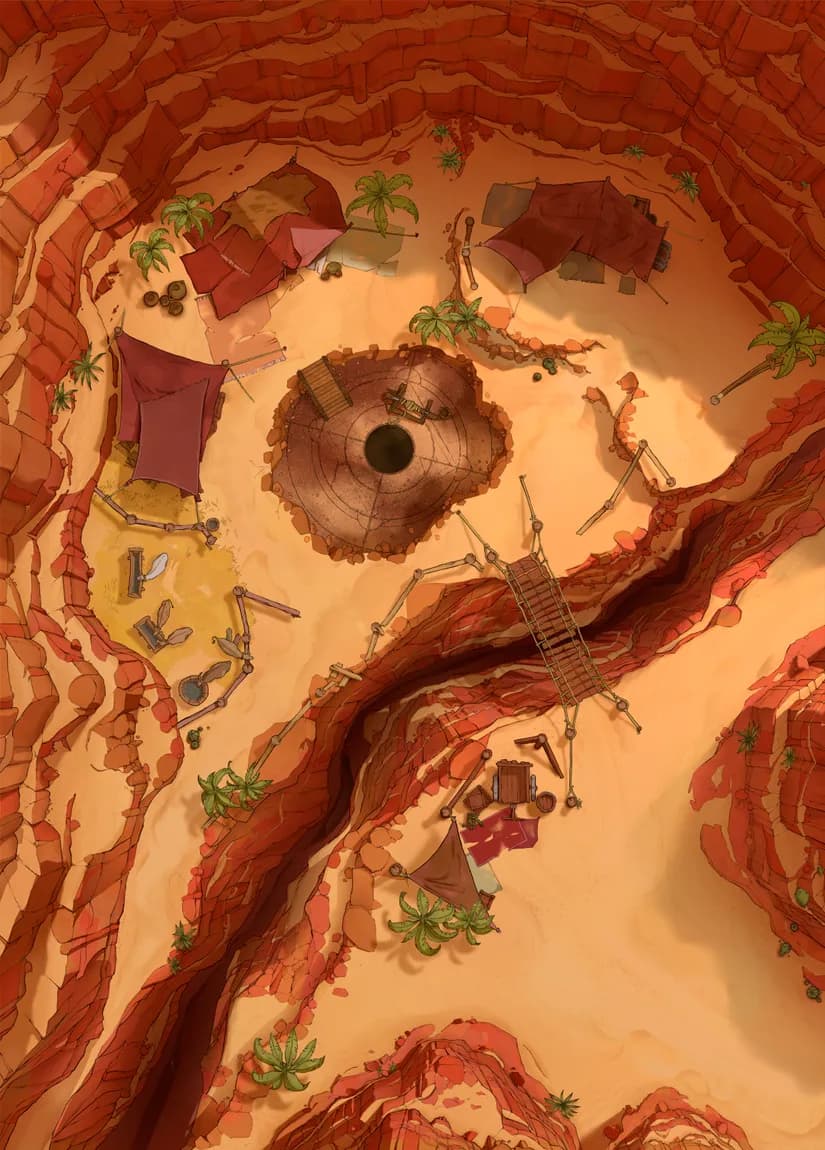
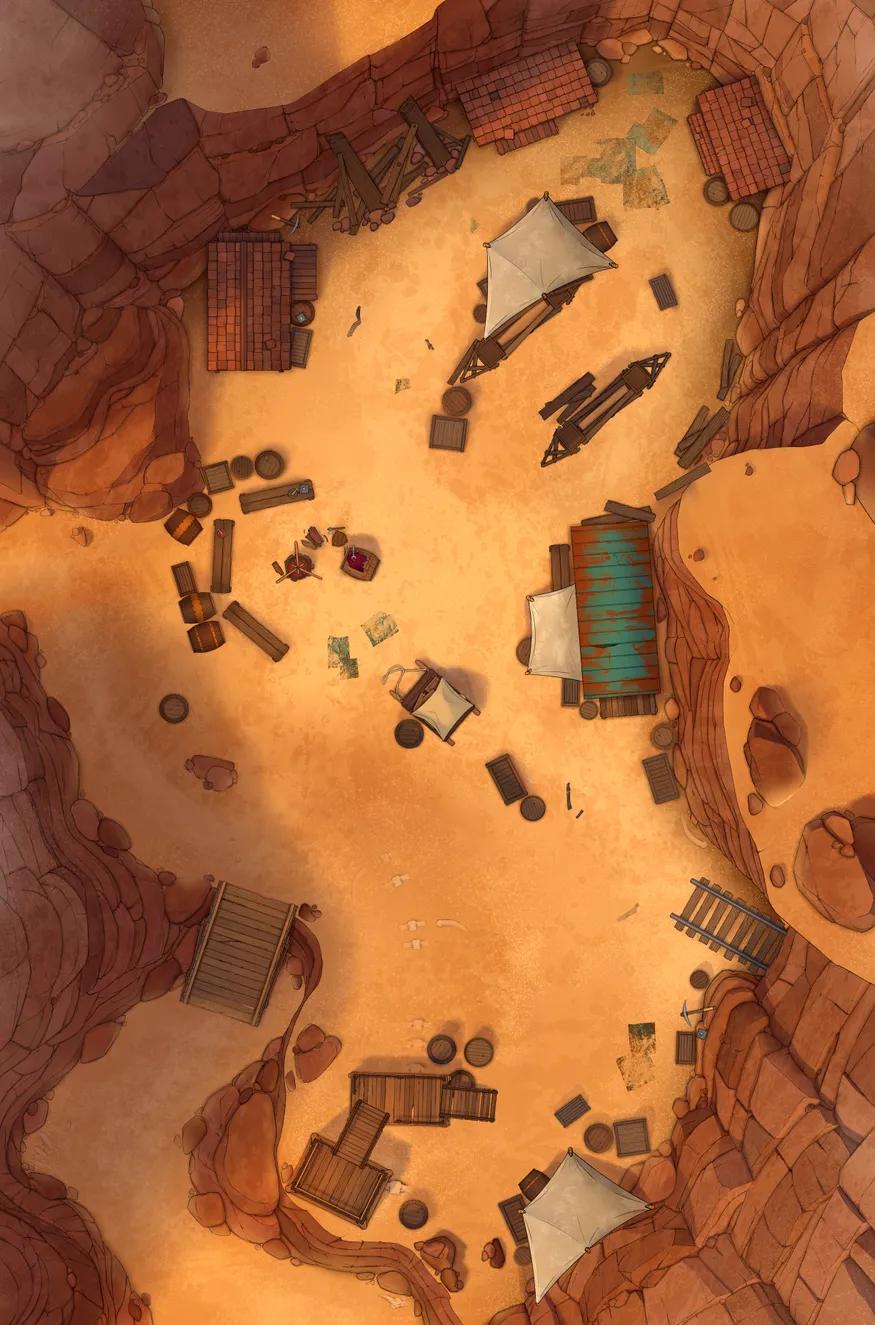
Desert Canyon (+7)
Desert Canyon (+7)
Desert Trading Camp (+1)
Desert Trading Camp (+1)
Drow Manor (+11)
Drow Manor (+11)
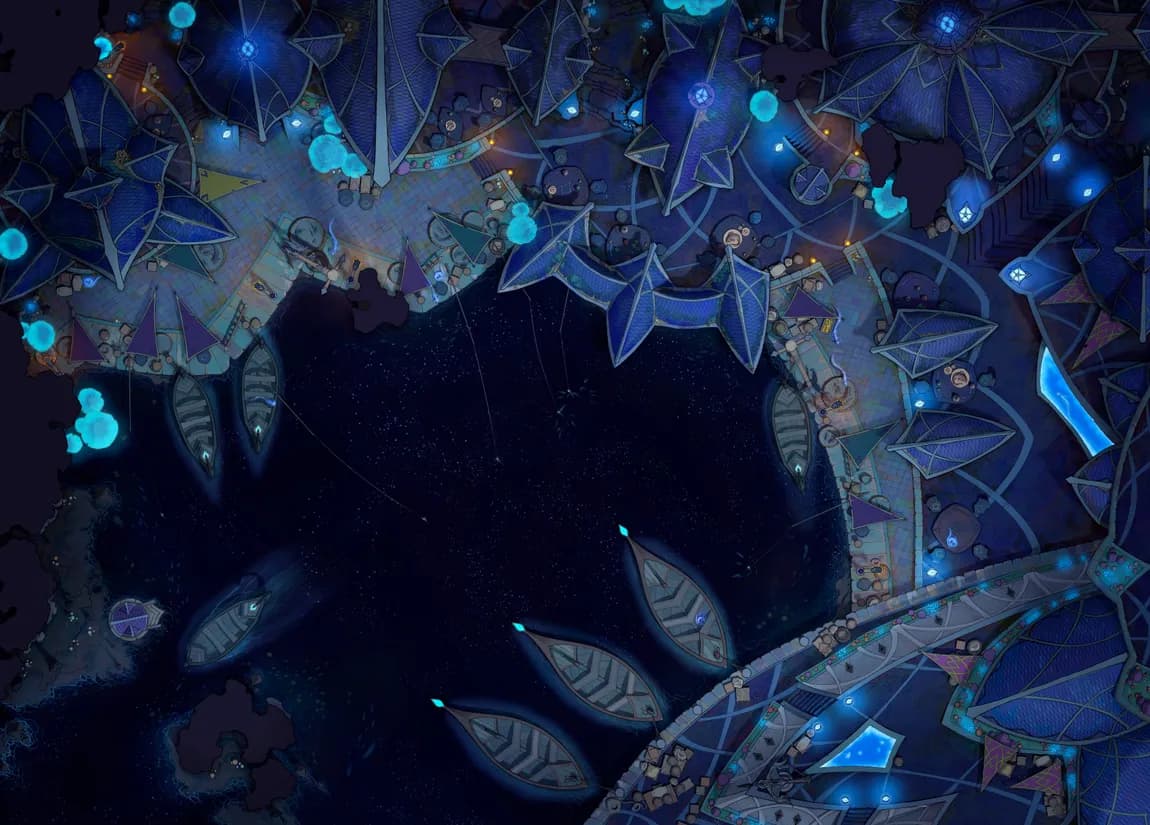
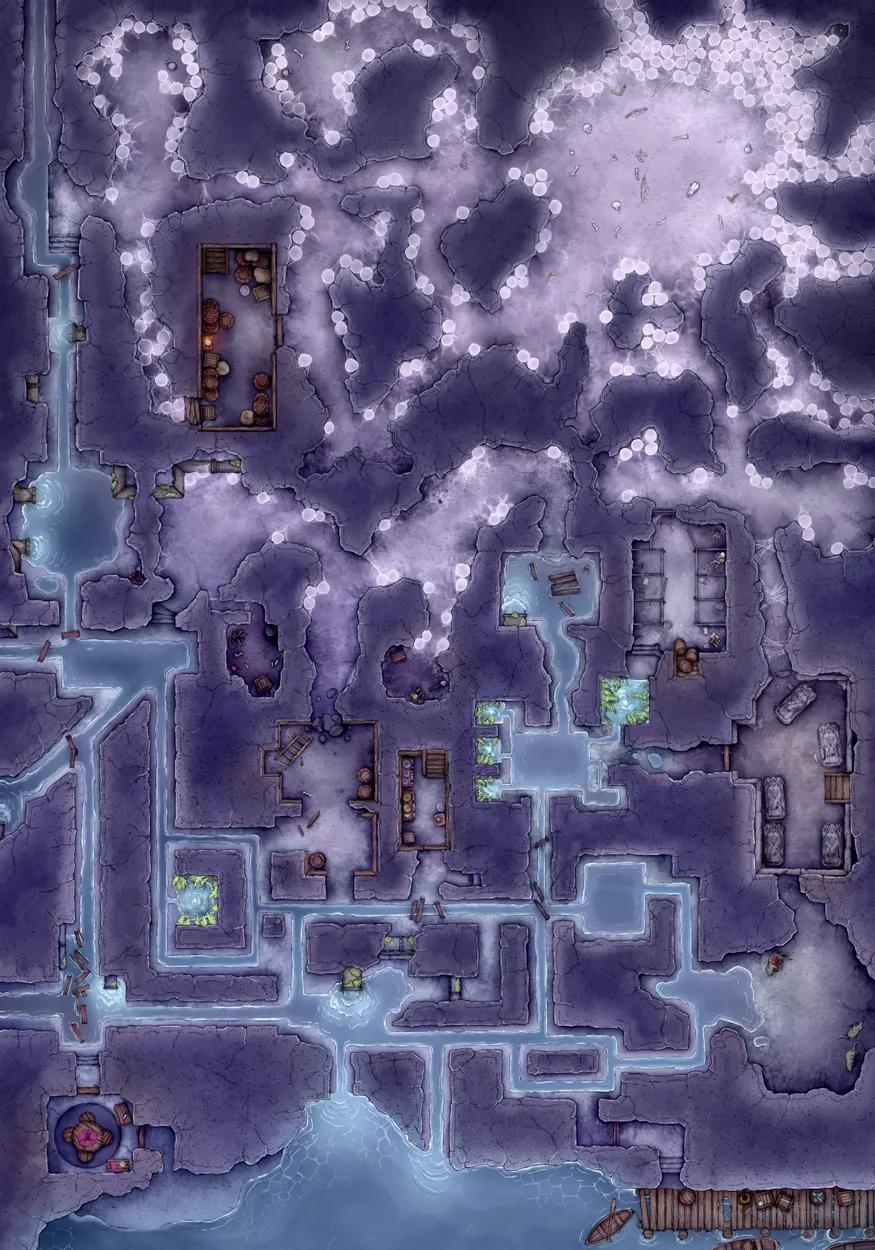
Drow Market Port (+19)
Drow Market Port (+19)
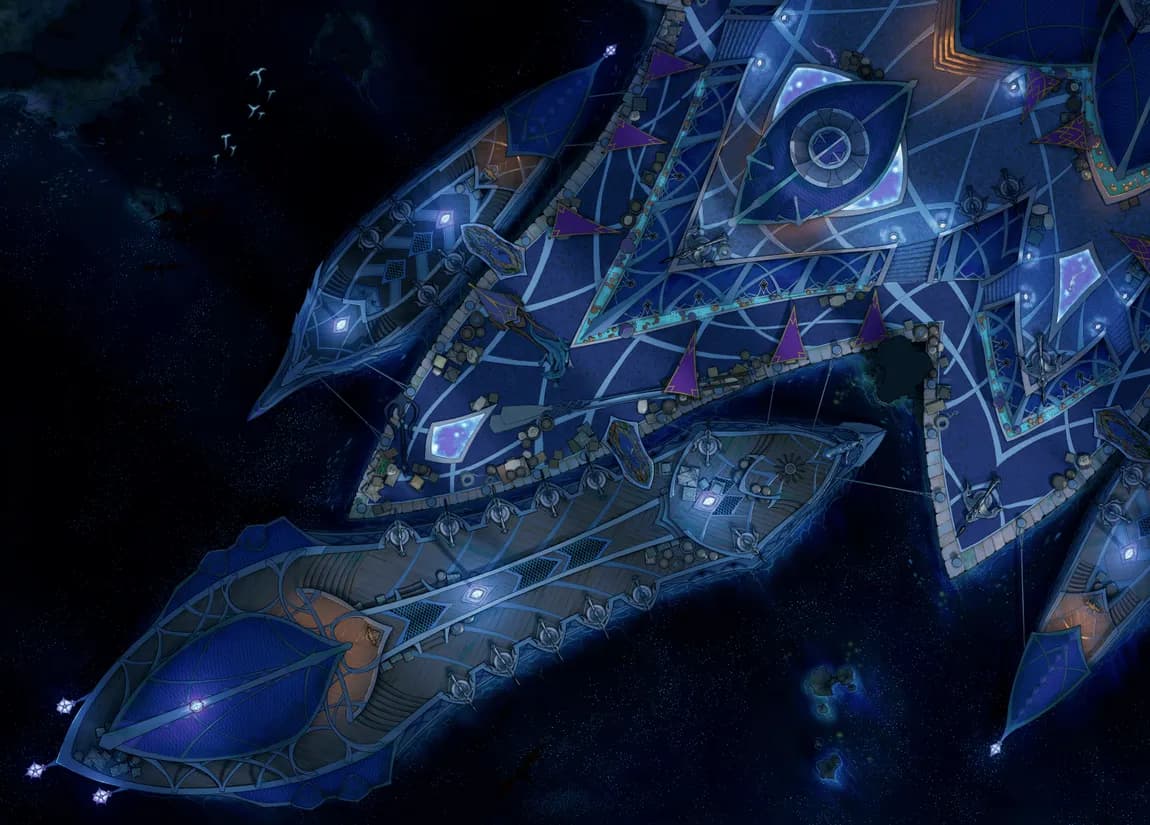
Drow War Port (+18)
Drow War Port (+18)
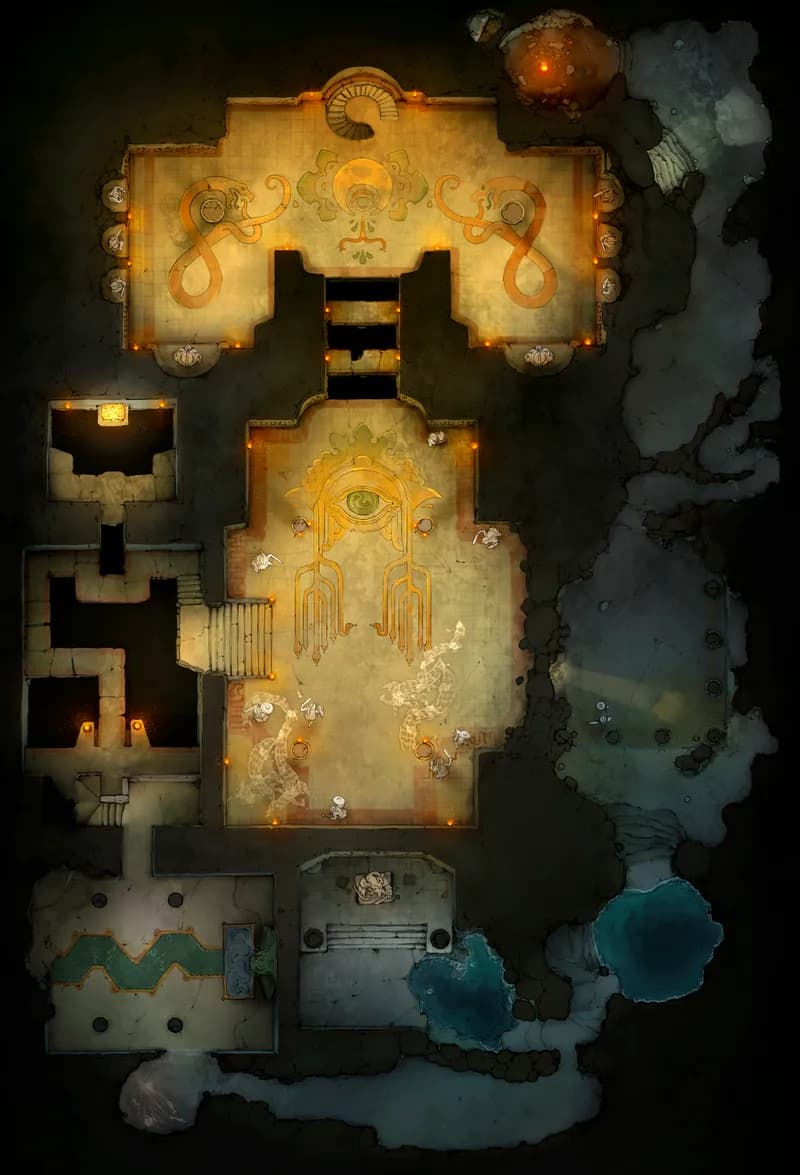
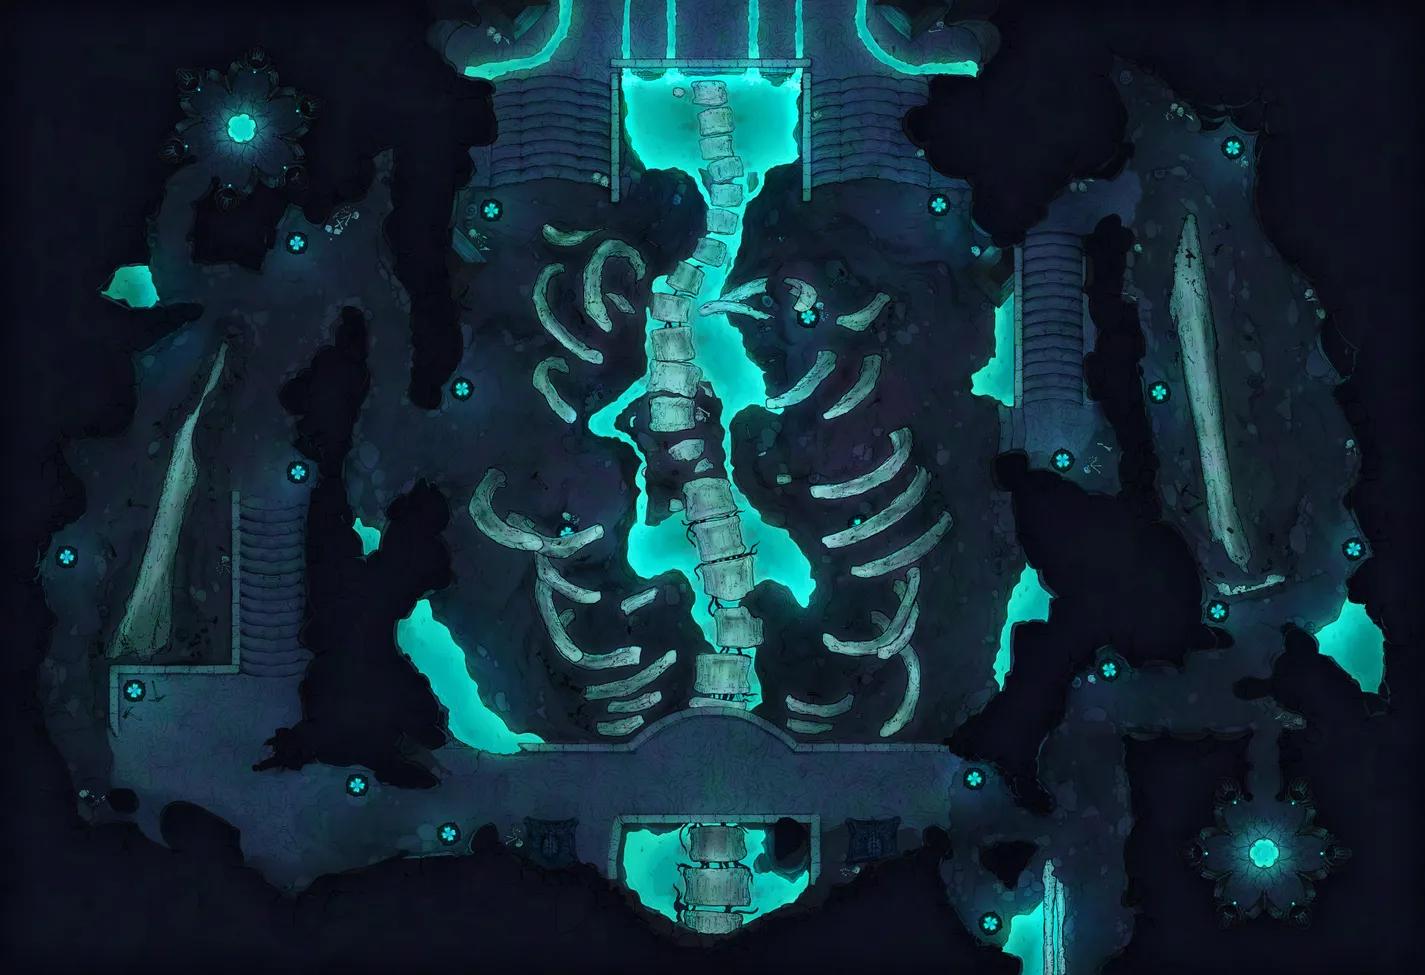
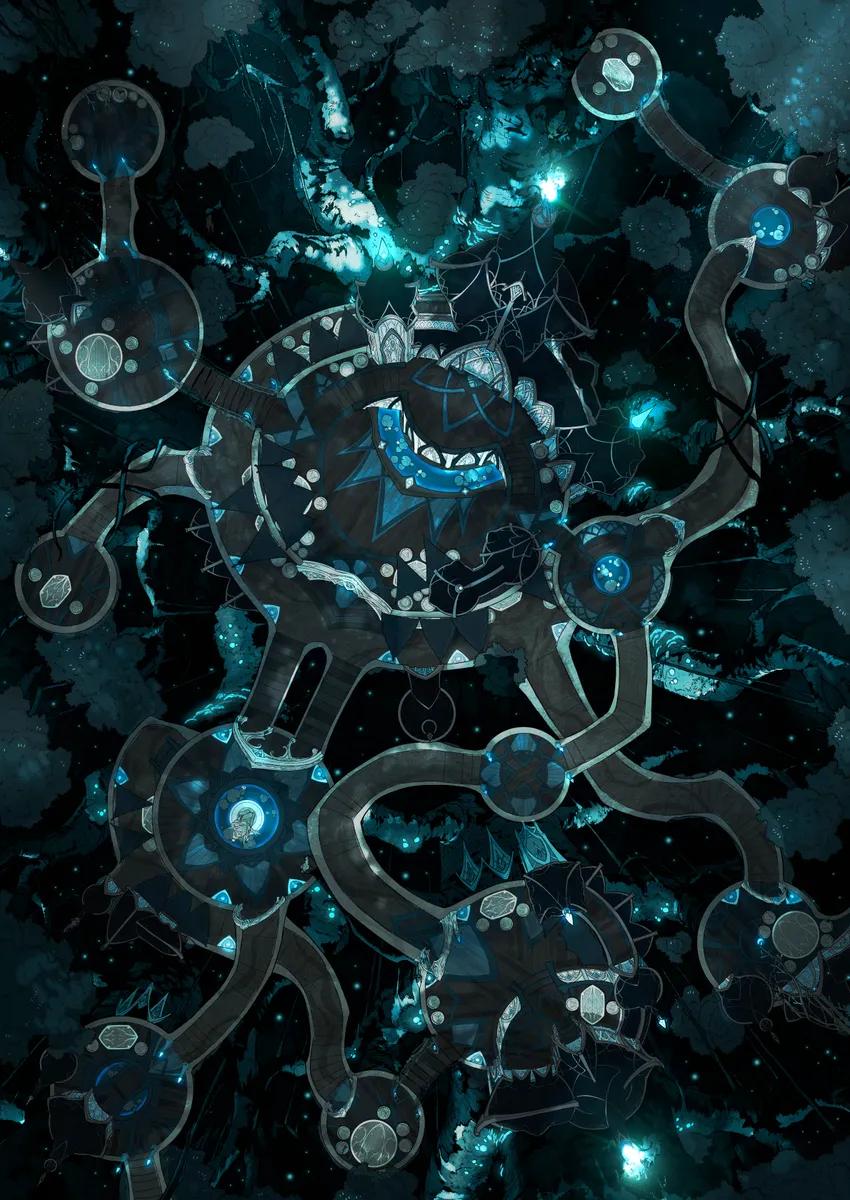
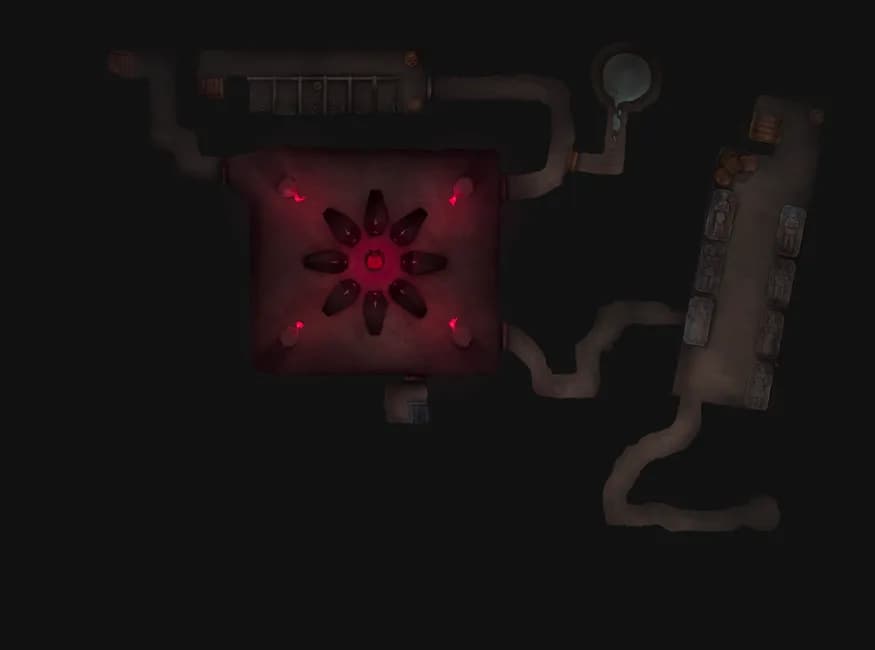
Elder Brain Sacrum Shrine (+11)
Elder Brain Sacrum Shrine (+11)
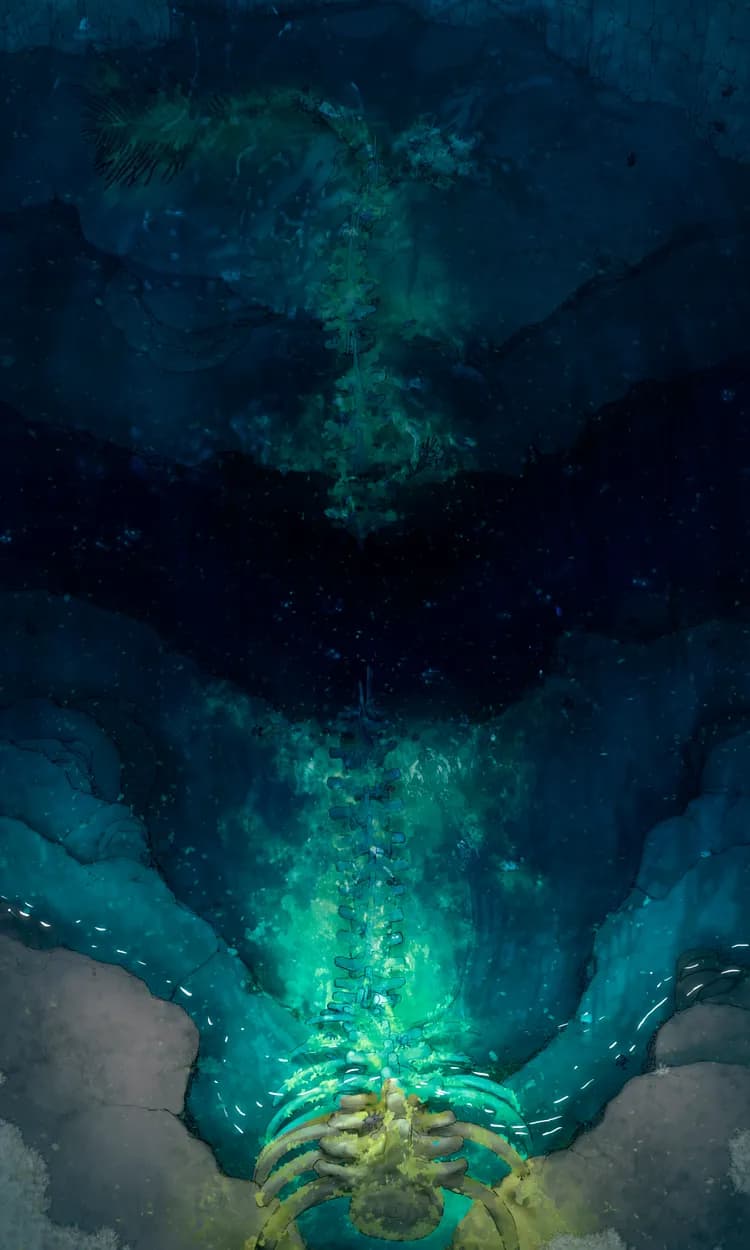
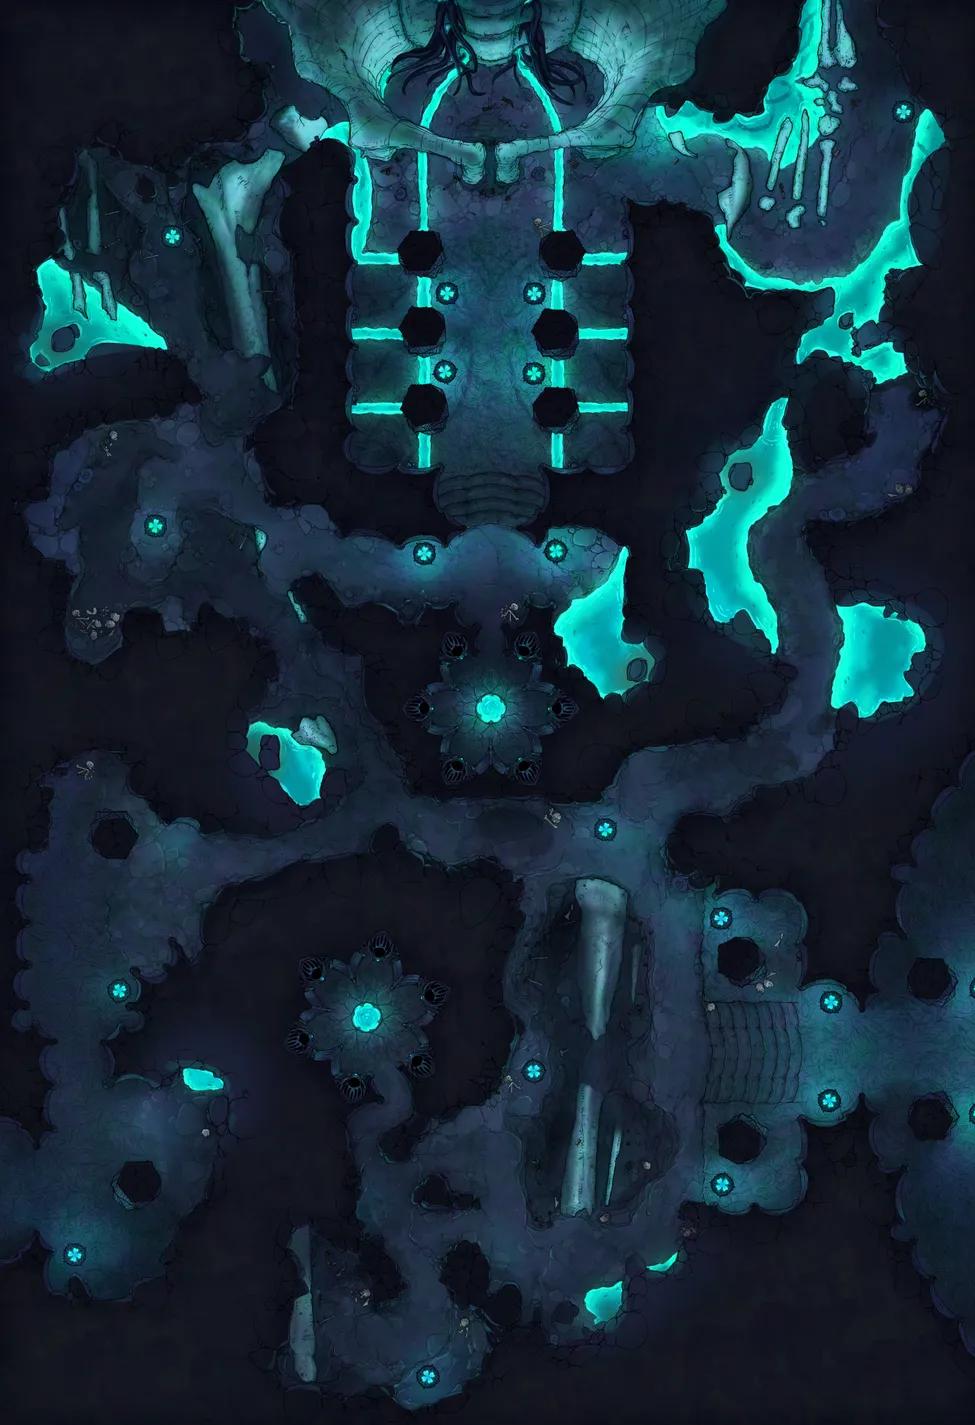
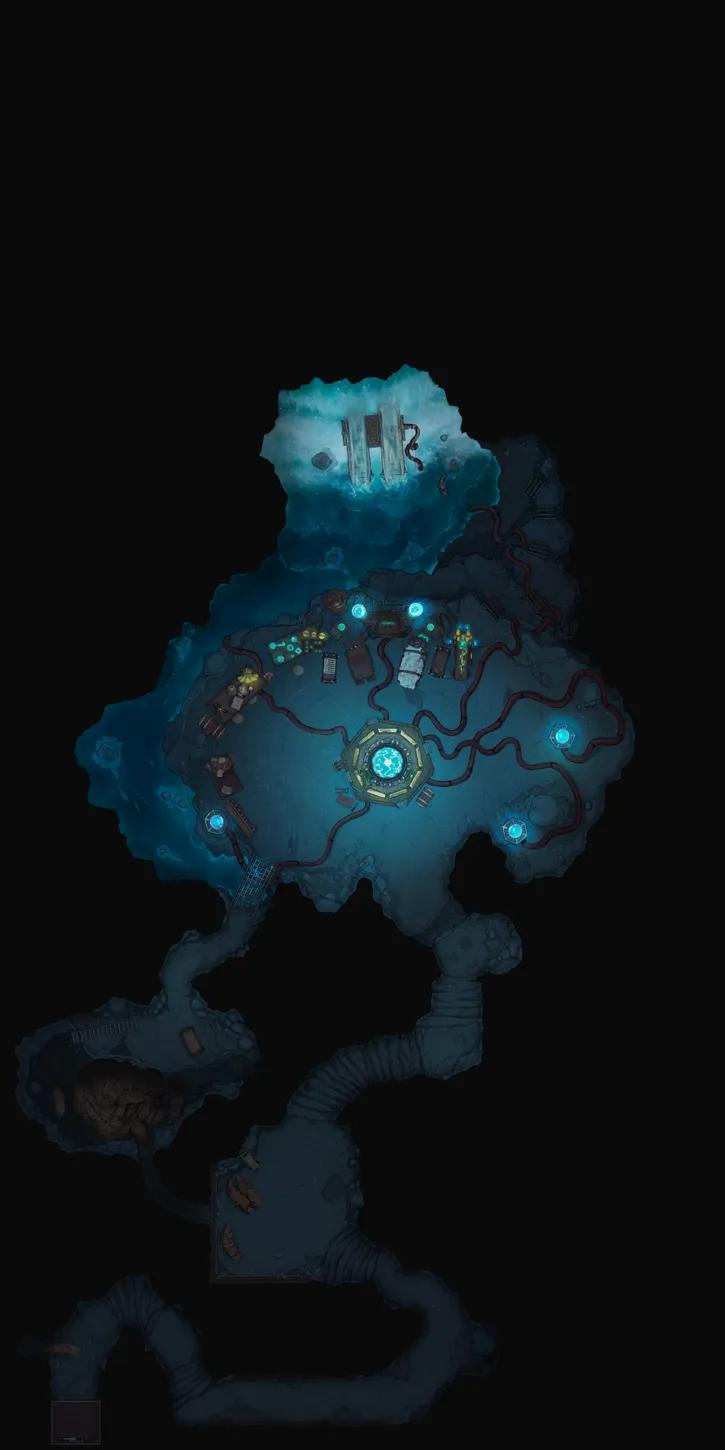
Elder Brain Spine Mine (+11)
Elder Brain Spine Mine (+11)
Experimental Surgery Theatre (+1)
Experimental Surgery Theatre (+1)
Fairy Treetop Village
Fairy Treetop Village
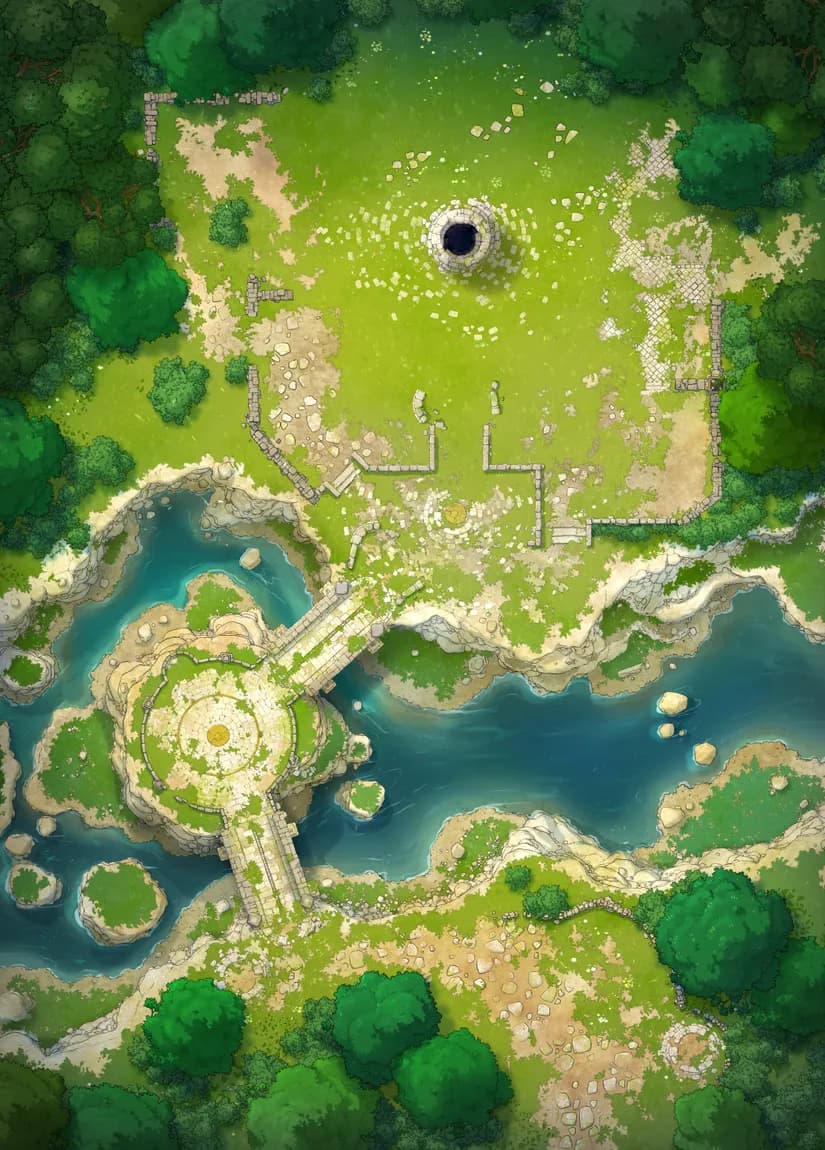
Flooded Fey Ruins
Flooded Fey Ruins
Forgotten Chapel Crypt (+6)
Forgotten Chapel Crypt (+6)
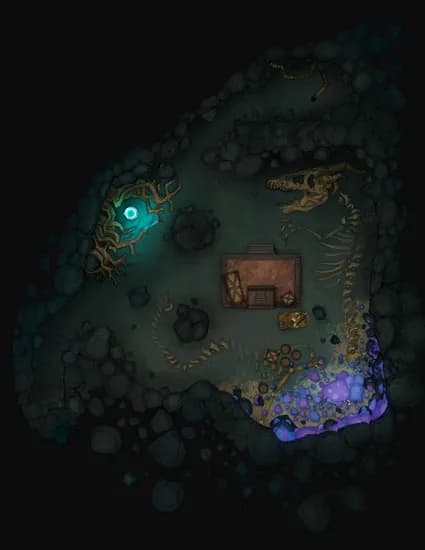
Fossil Caves (+21)
Fossil Caves (+21)
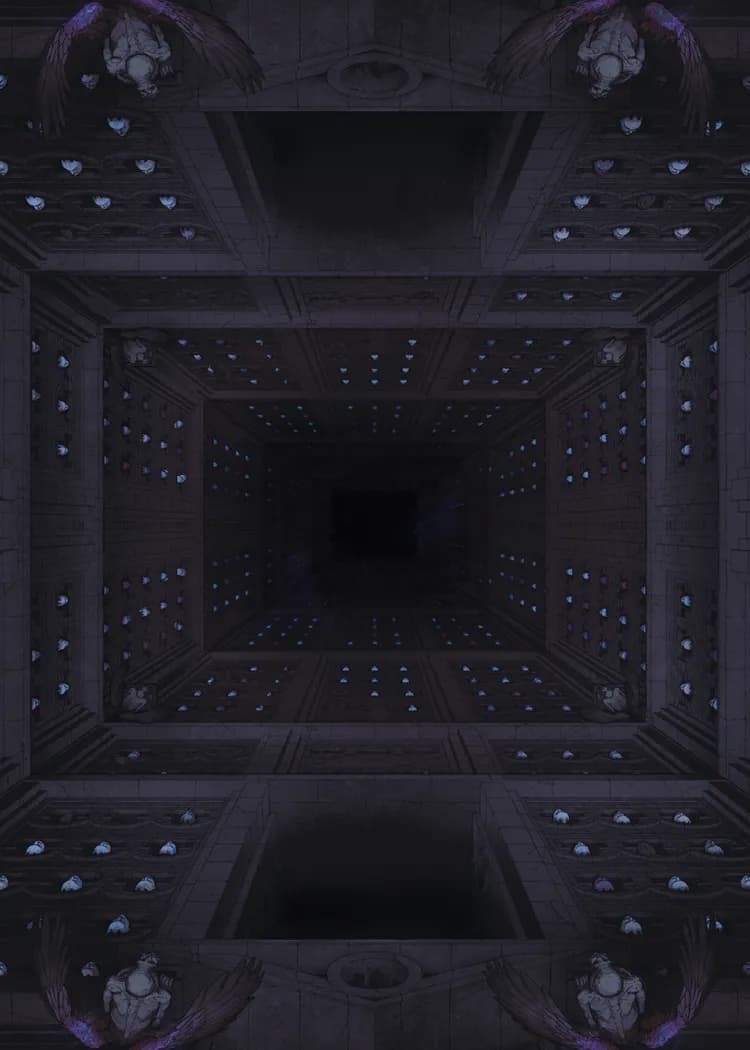
Gate of Angels
Gate of Angels
Gnome City Centre
Gnome City Centre

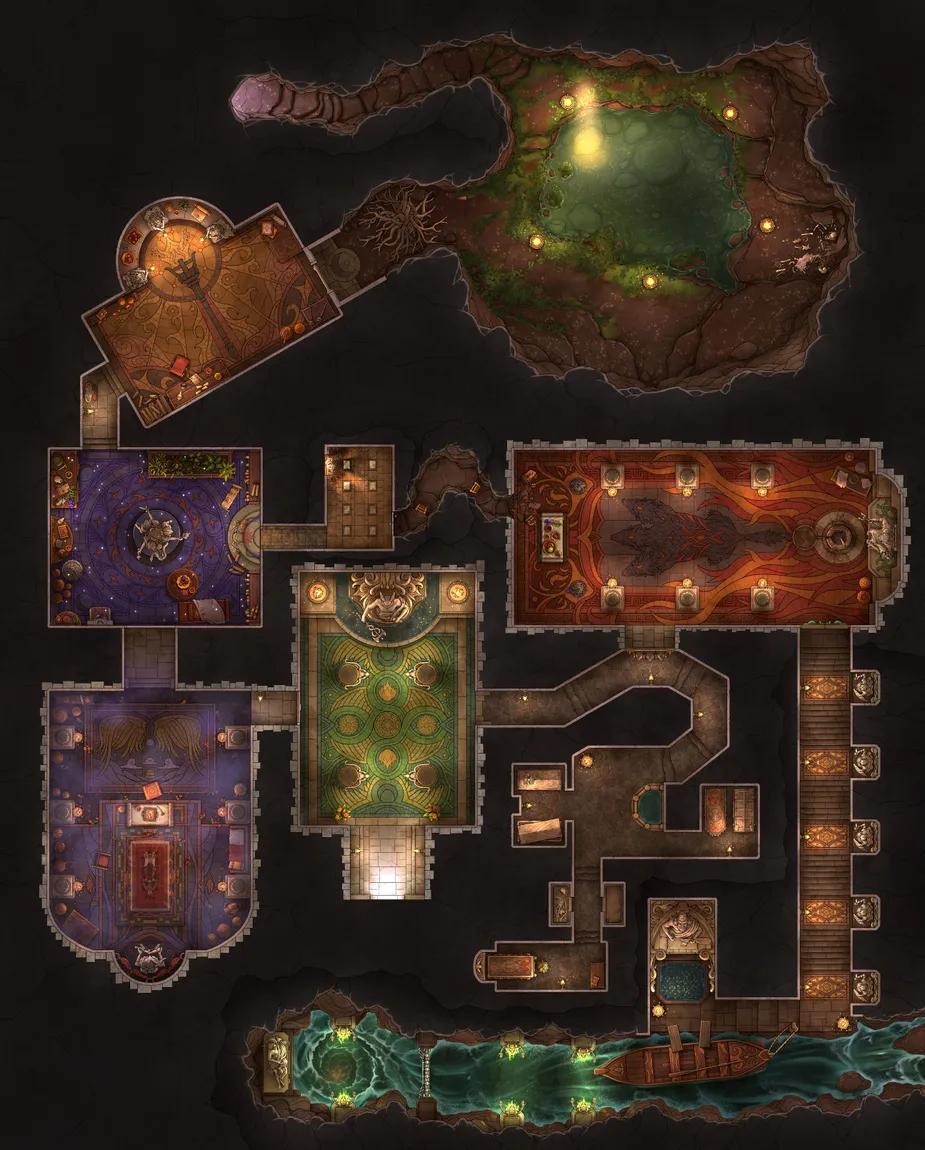
Grand Cathedral Crypt (+19)
Grand Cathedral Crypt (+19)
Grand Hunter's House (+3)
Grand Hunter's House (+3)
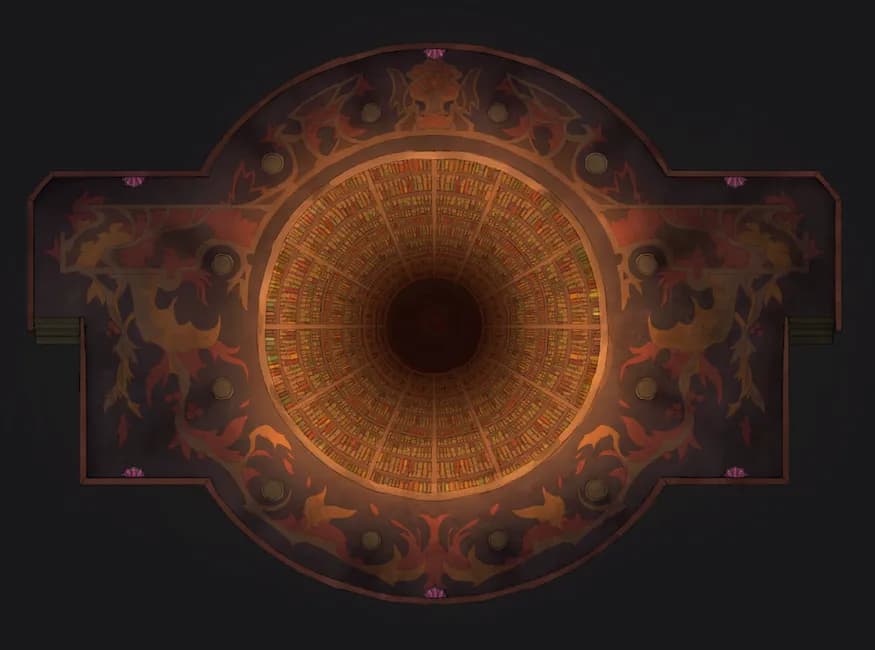
Great Library (+1)
Great Library (+1)
Harpy Cove
Harpy Cove
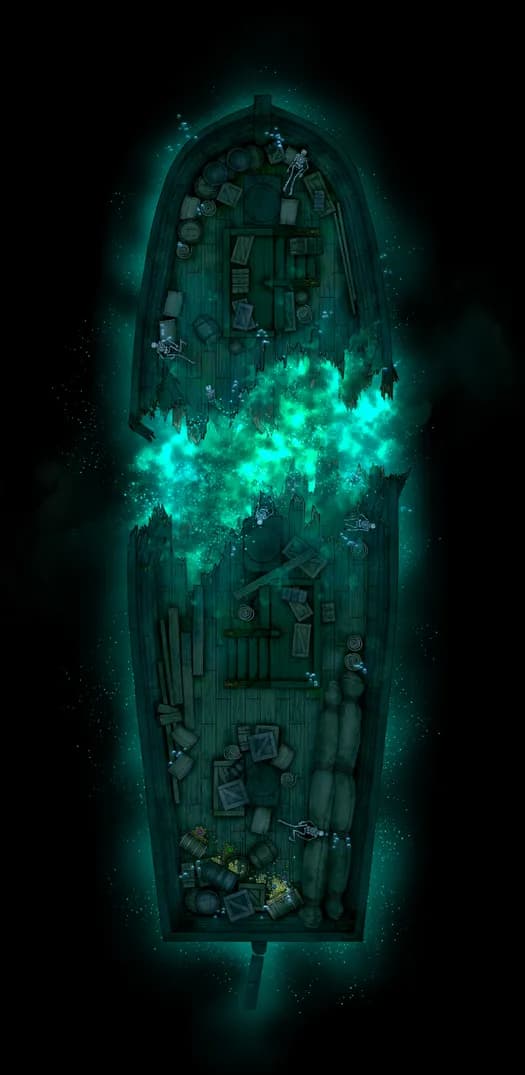
Haunted Ghost Ship Interior (+4)
Haunted Ghost Ship Interior (+4)
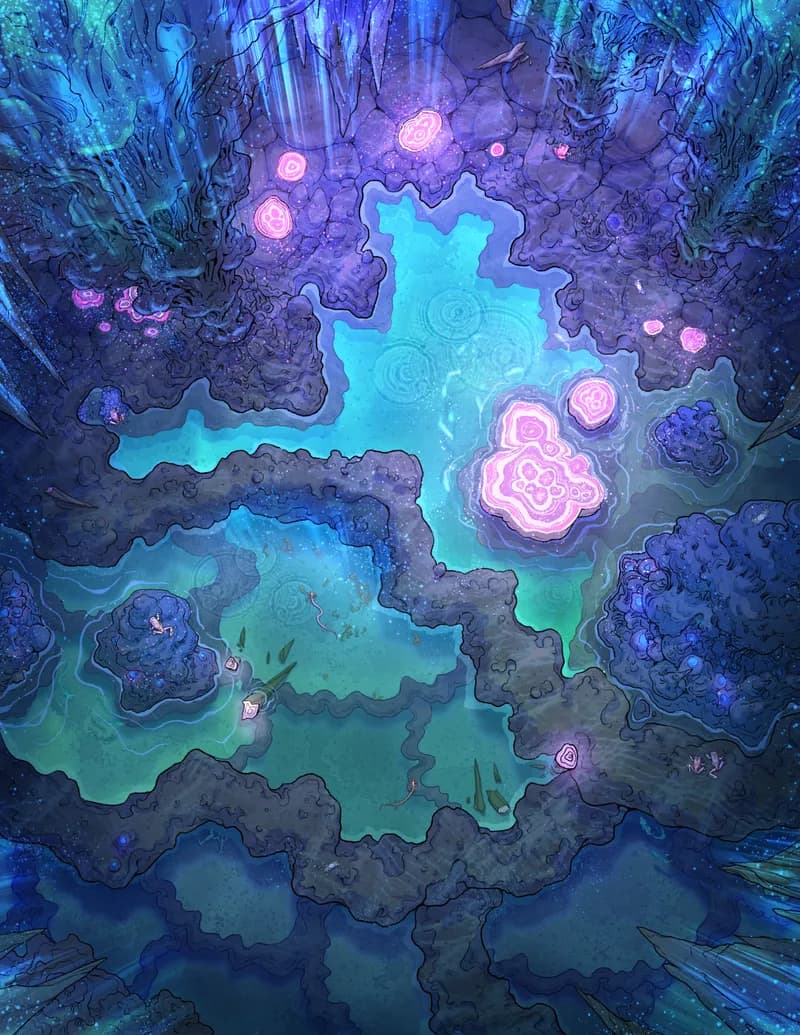
Healing Cave Spring (+21)
Healing Cave Spring (+21)

Hell's Cocktail Lounge
Hell's Cocktail Lounge
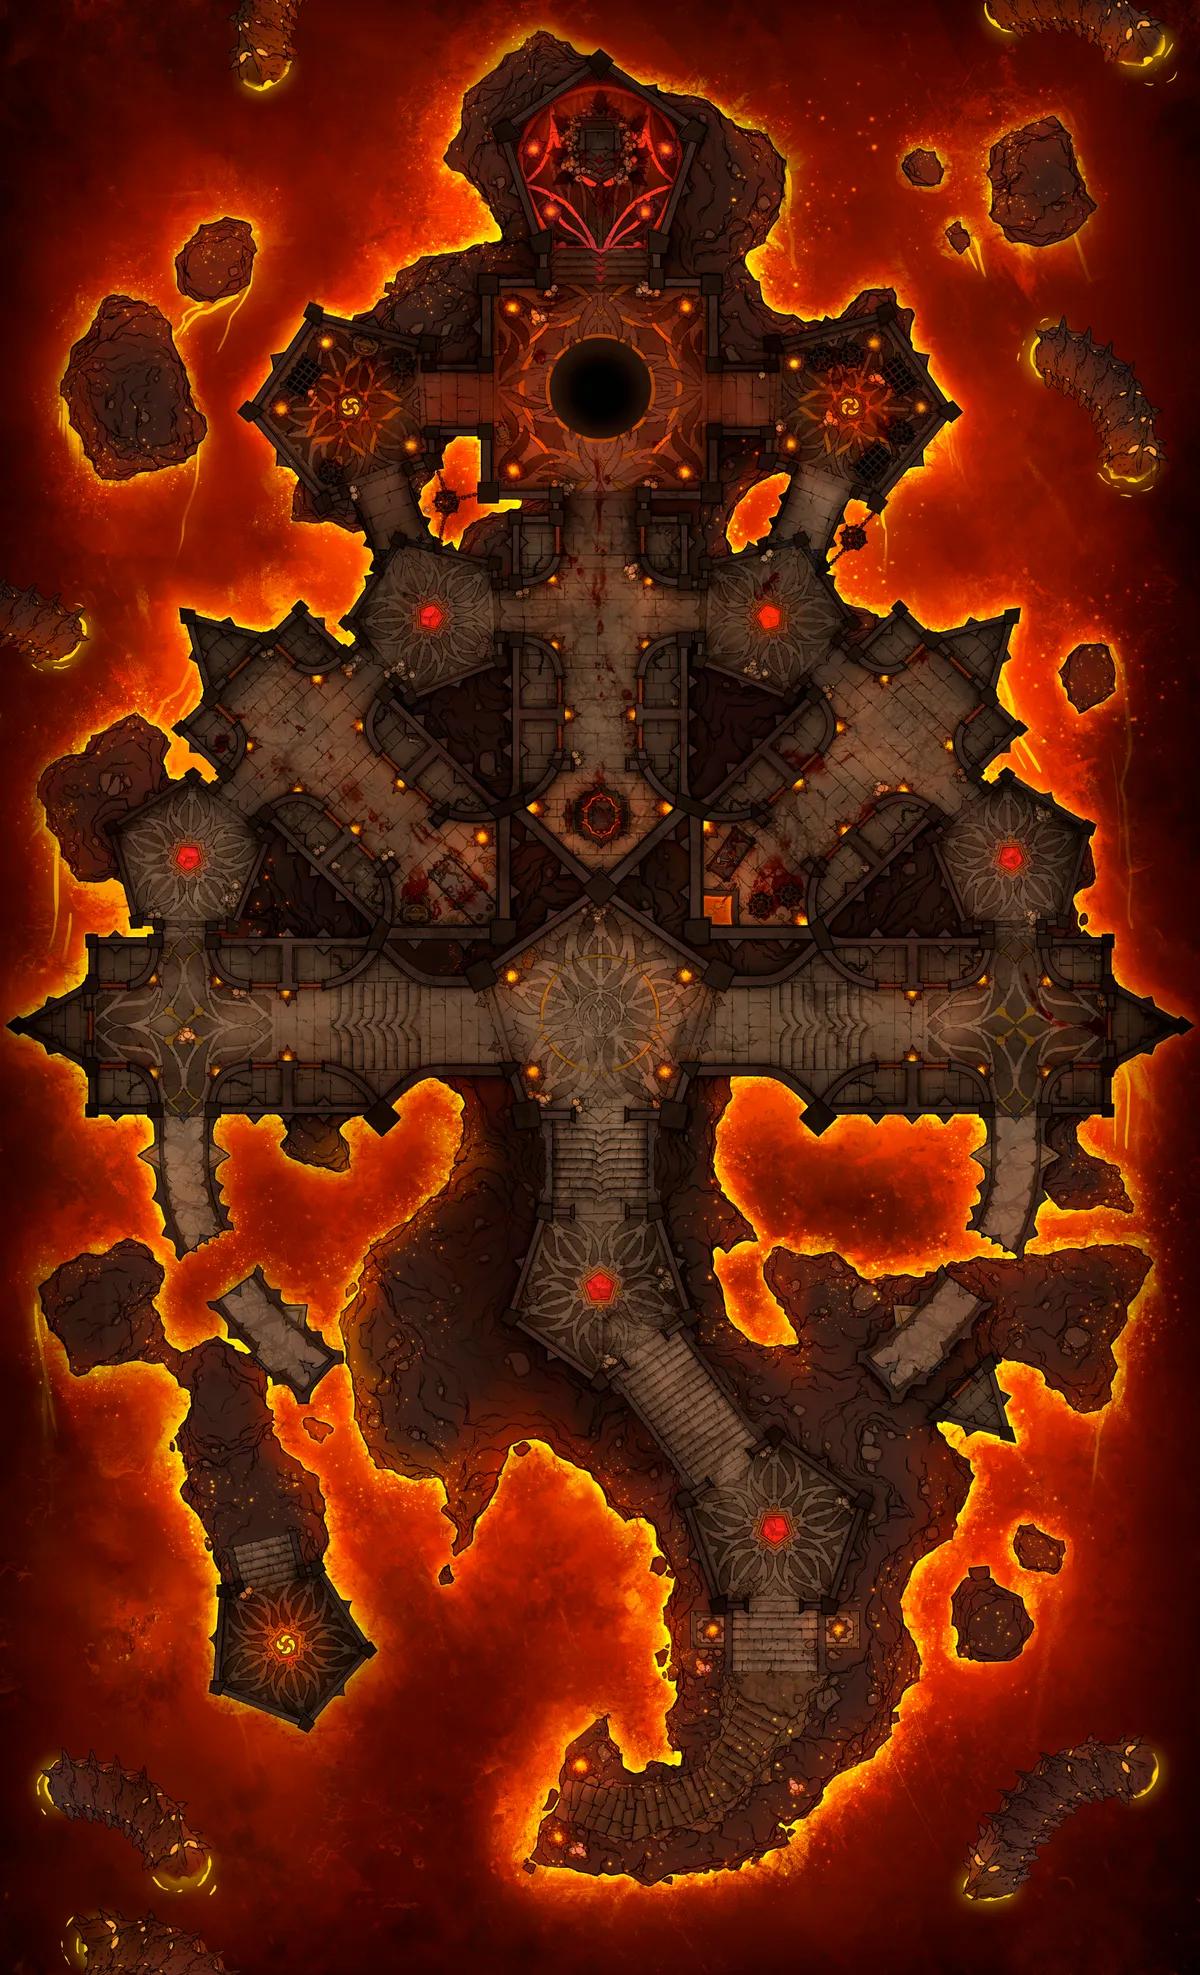
Hellfire Prison (+1)
Hellfire Prison (+1)
Hippogriff Postal Centre Interior (+16)
Hippogriff Postal Centre Interior (+16)
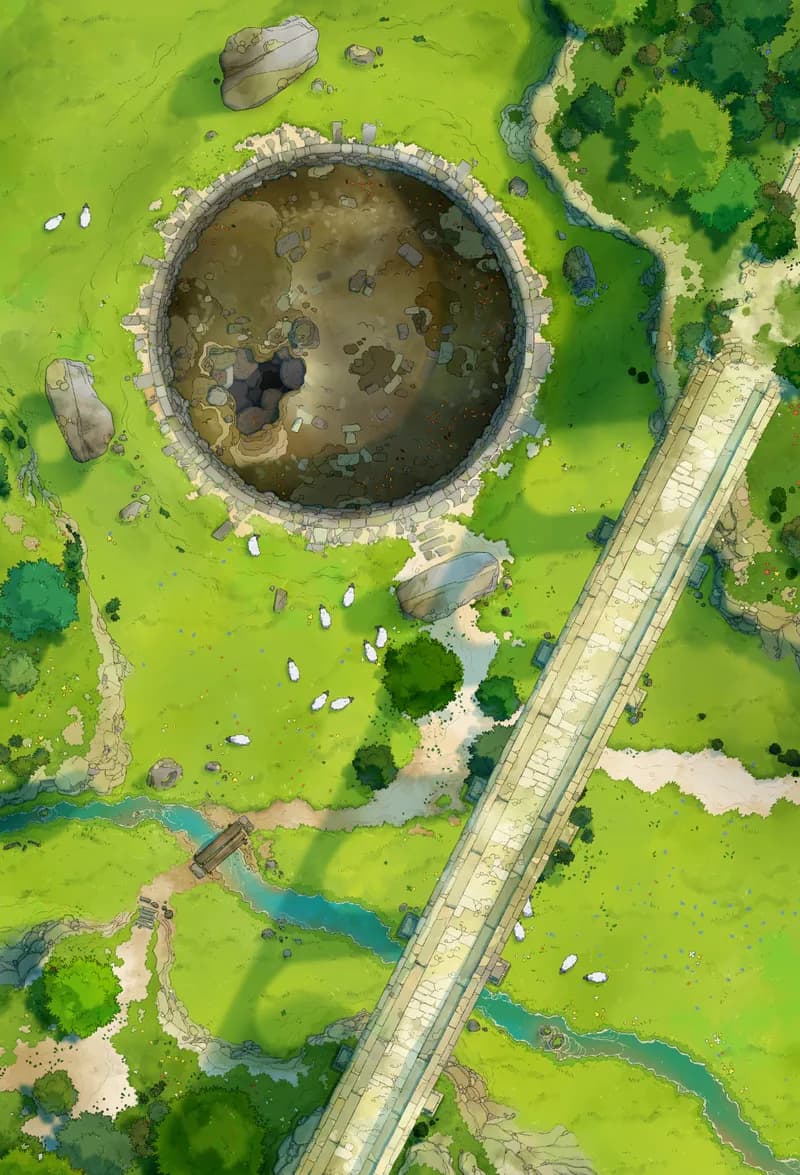
Impact Site (+1)
Impact Site (+1)
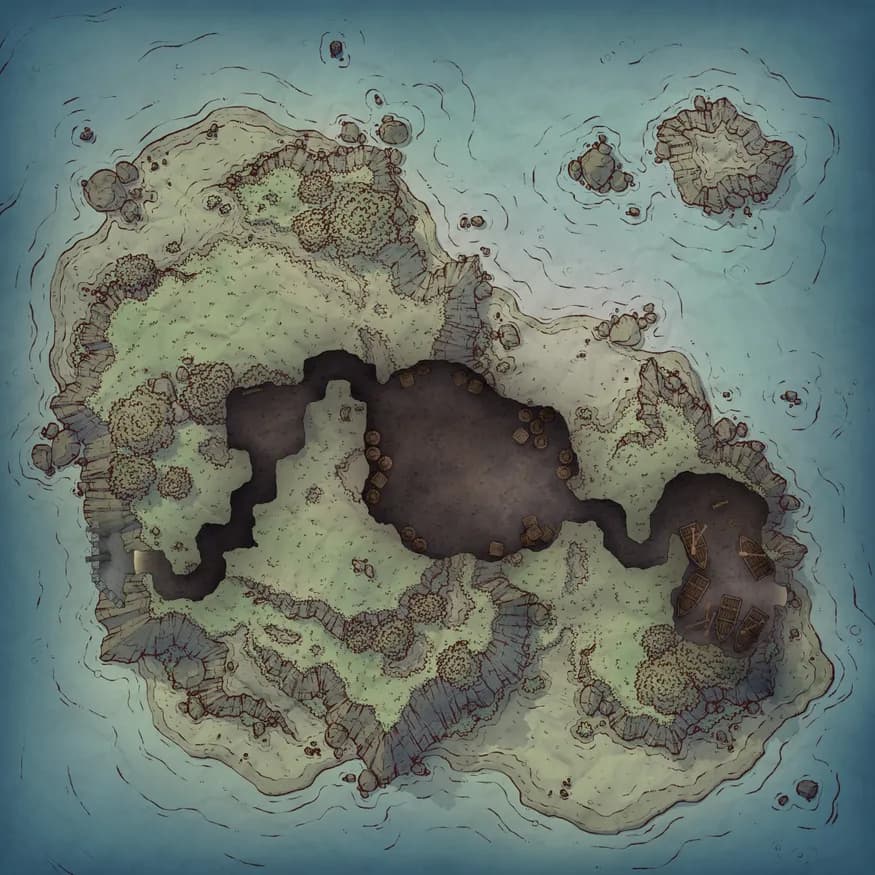
Island Fort (+1)
Island Fort (+1)
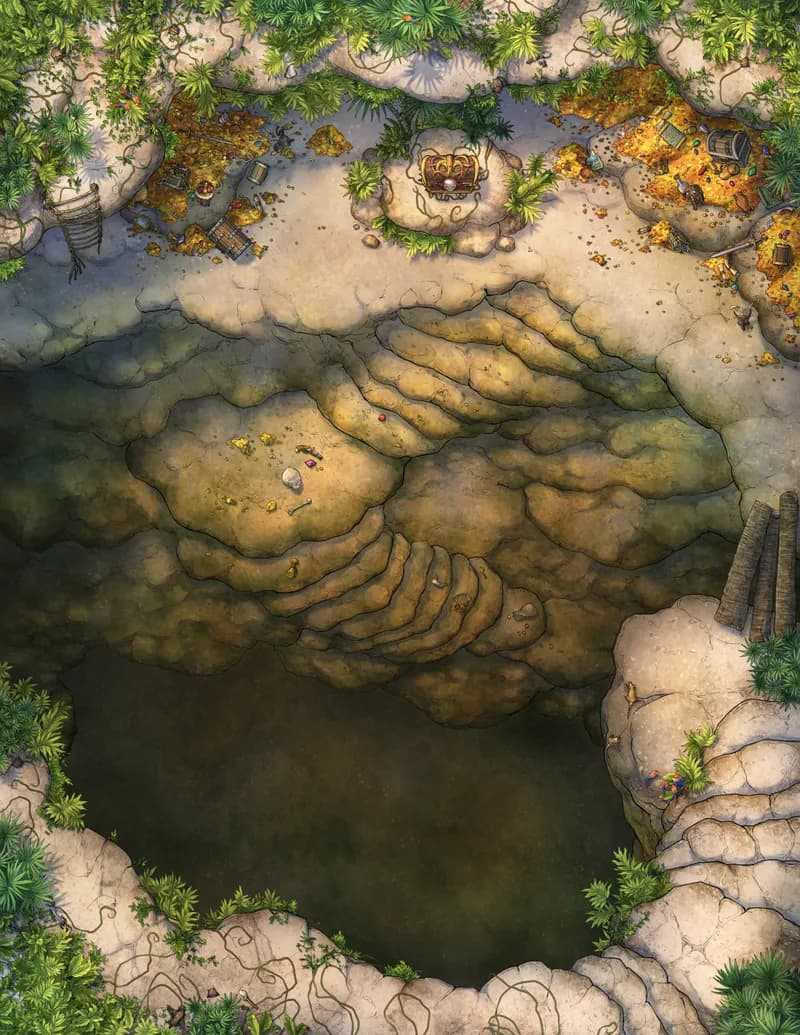
Jungle Treasure Trove (+1)
Jungle Treasure Trove (+1)
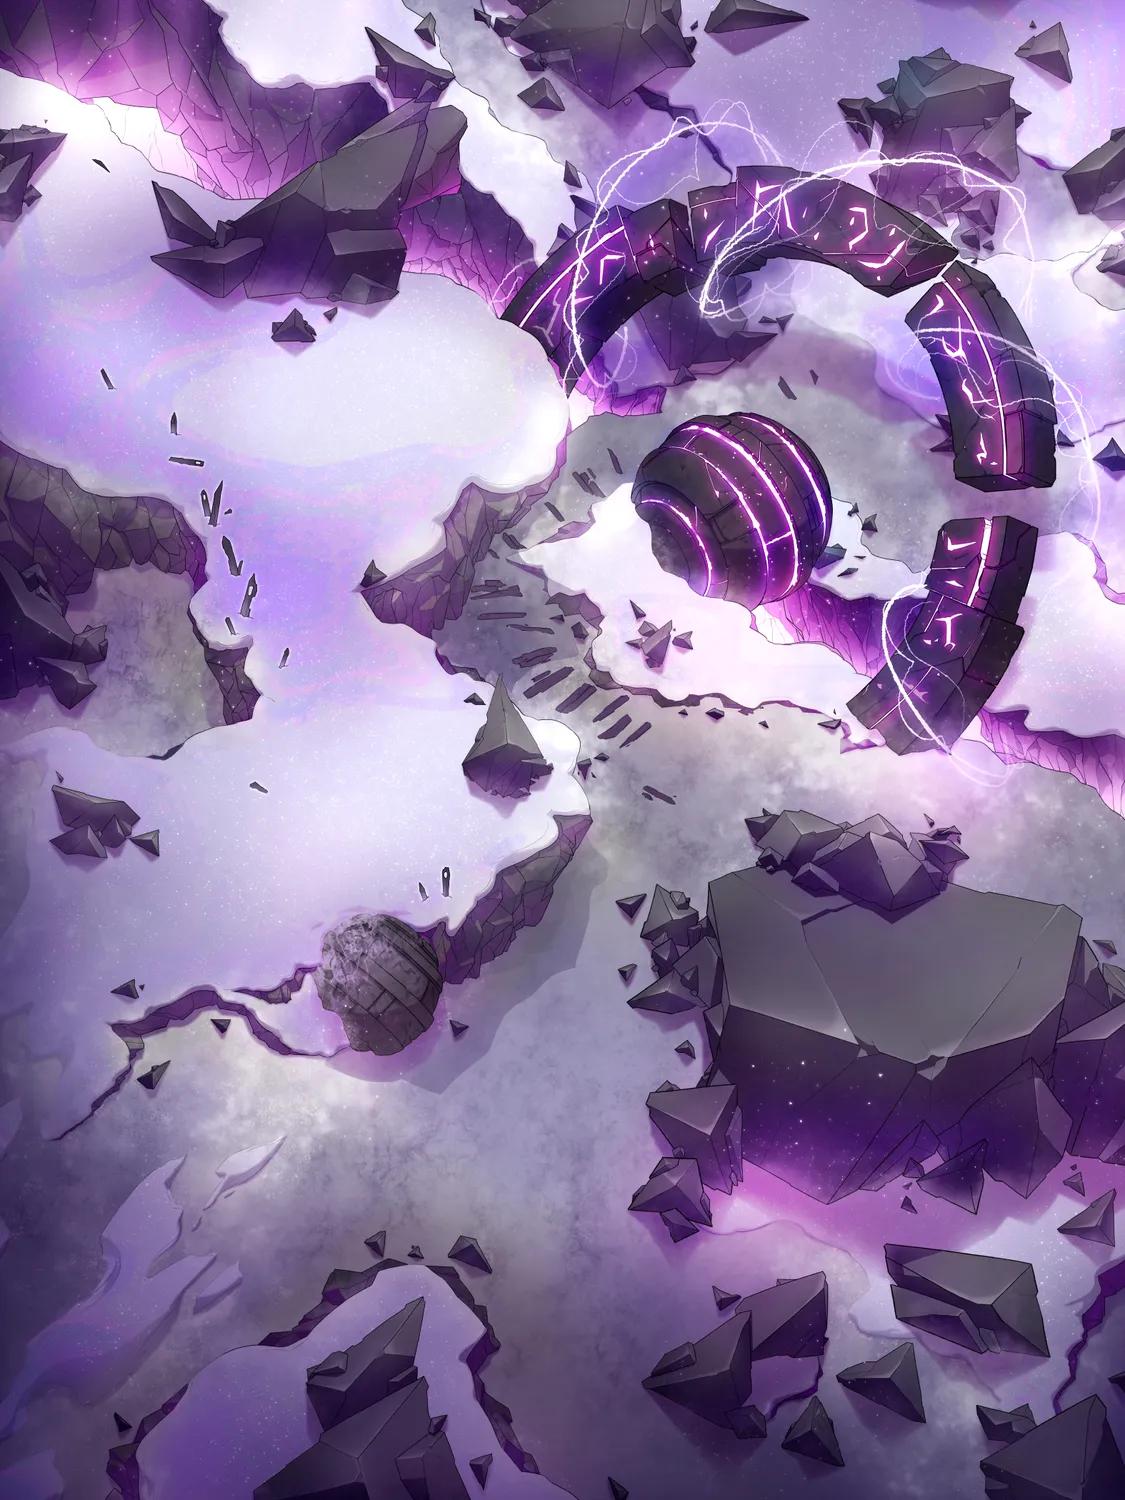
Megalith Gate (+28)
Megalith Gate (+28)
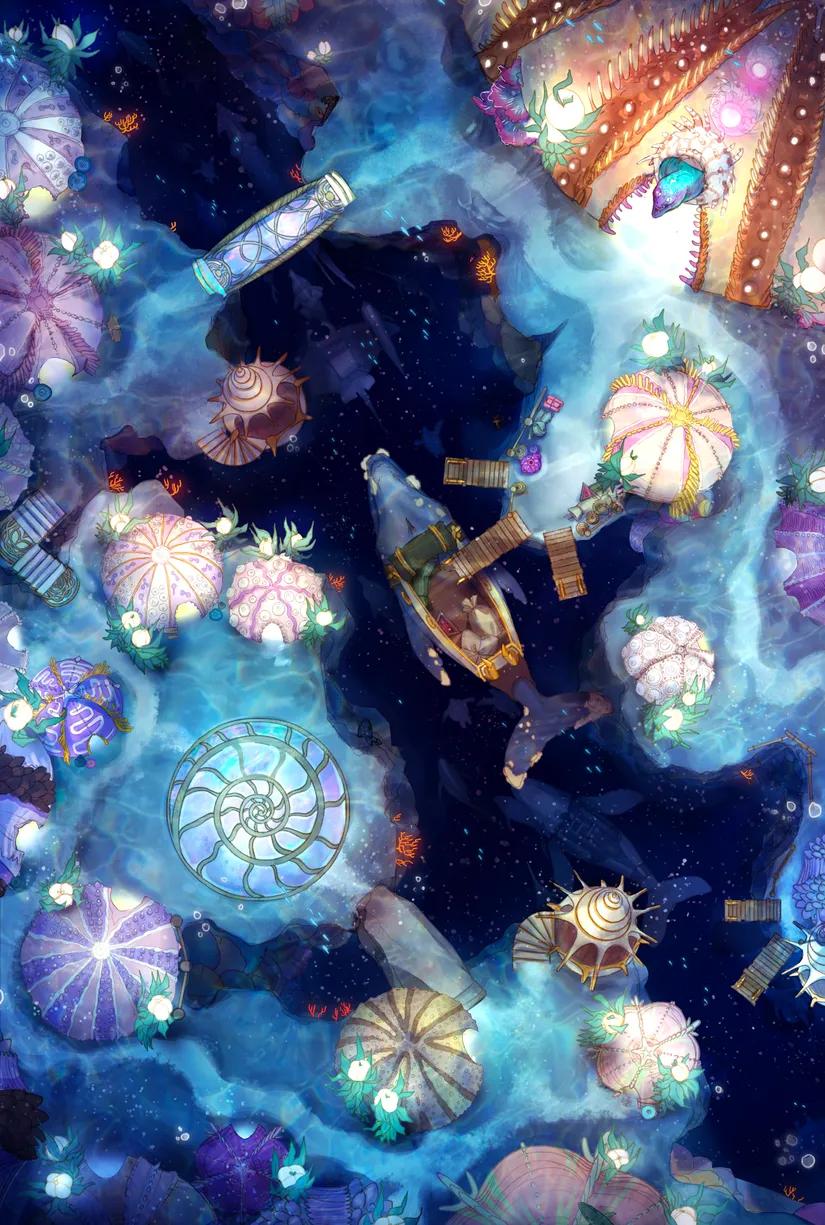
Merfolk Marina (+13)
Merfolk Marina (+13)
Monster Genealogy Lab
Monster Genealogy Lab
Open Ocean (+2)
Open Ocean (+2)
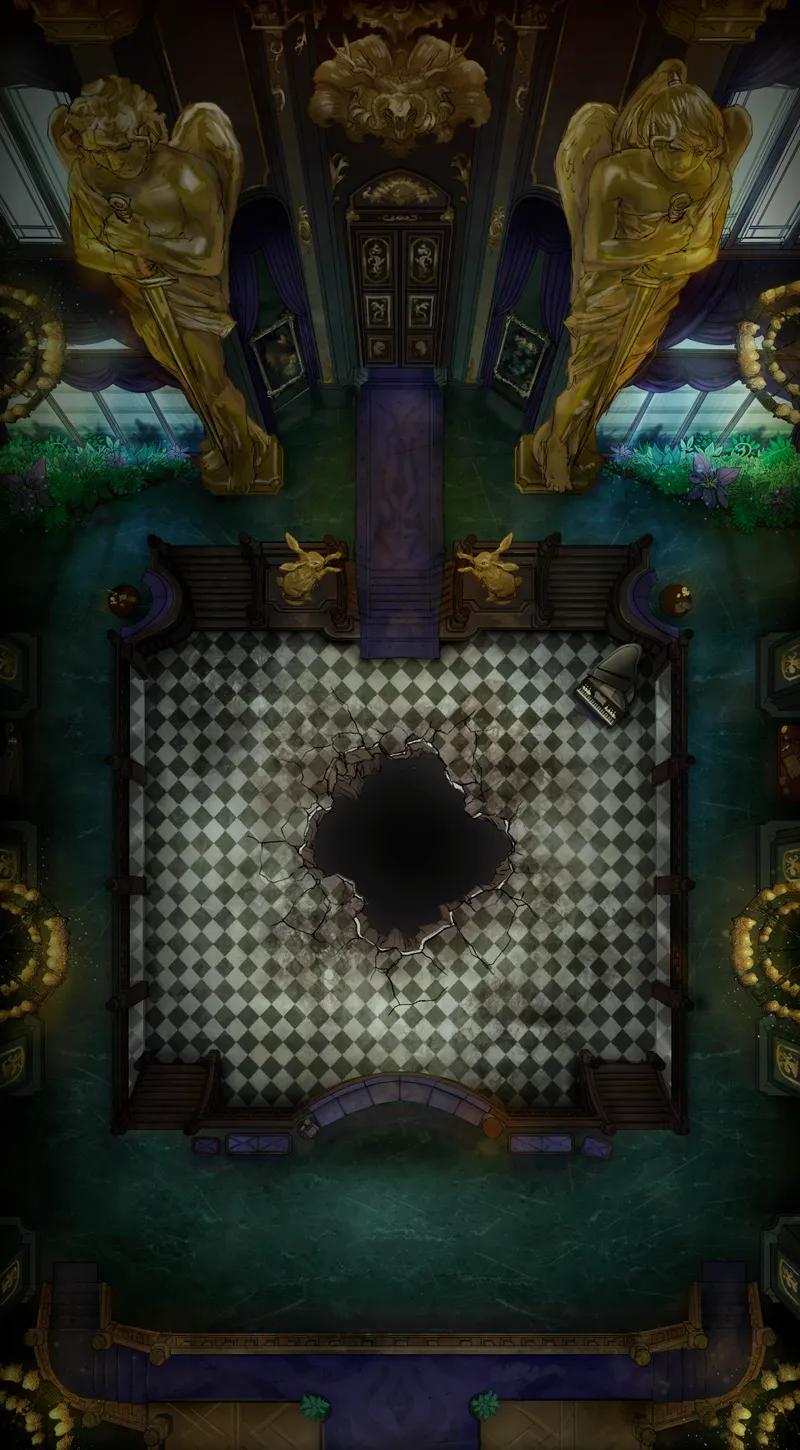
Opulent Ballroom (+2)
Opulent Ballroom (+2)
Orc Desert Camp
Orc Desert Camp
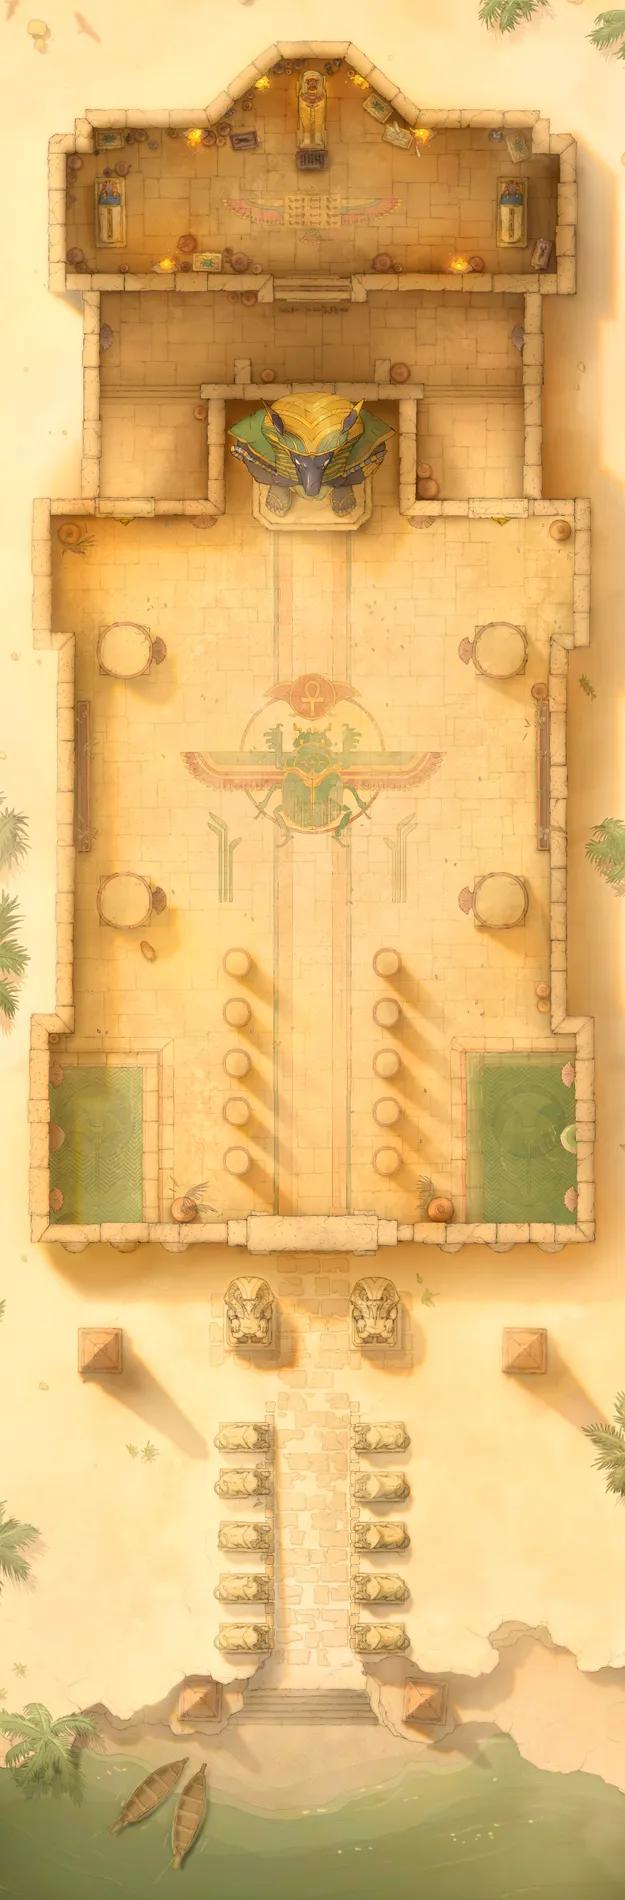
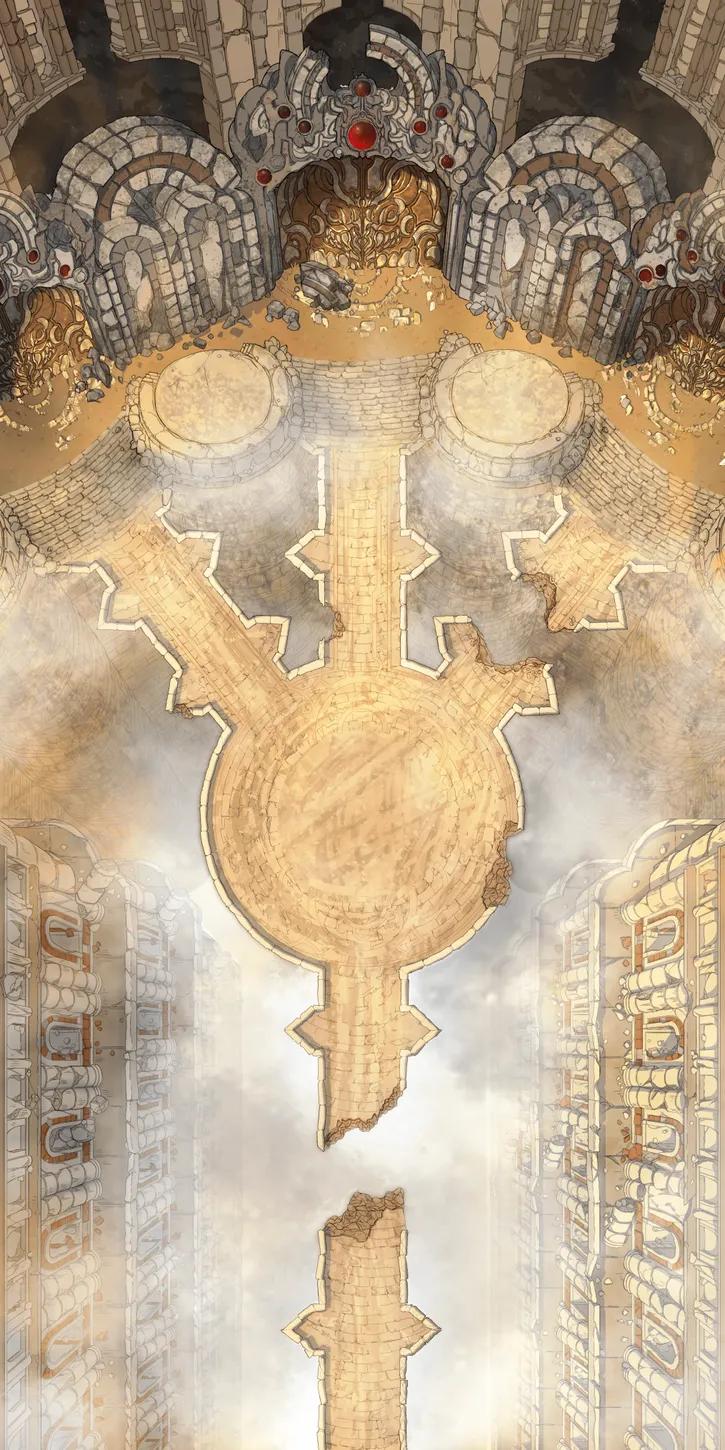
Pharaoh's Tomb (+13)
Pharaoh's Tomb (+13)
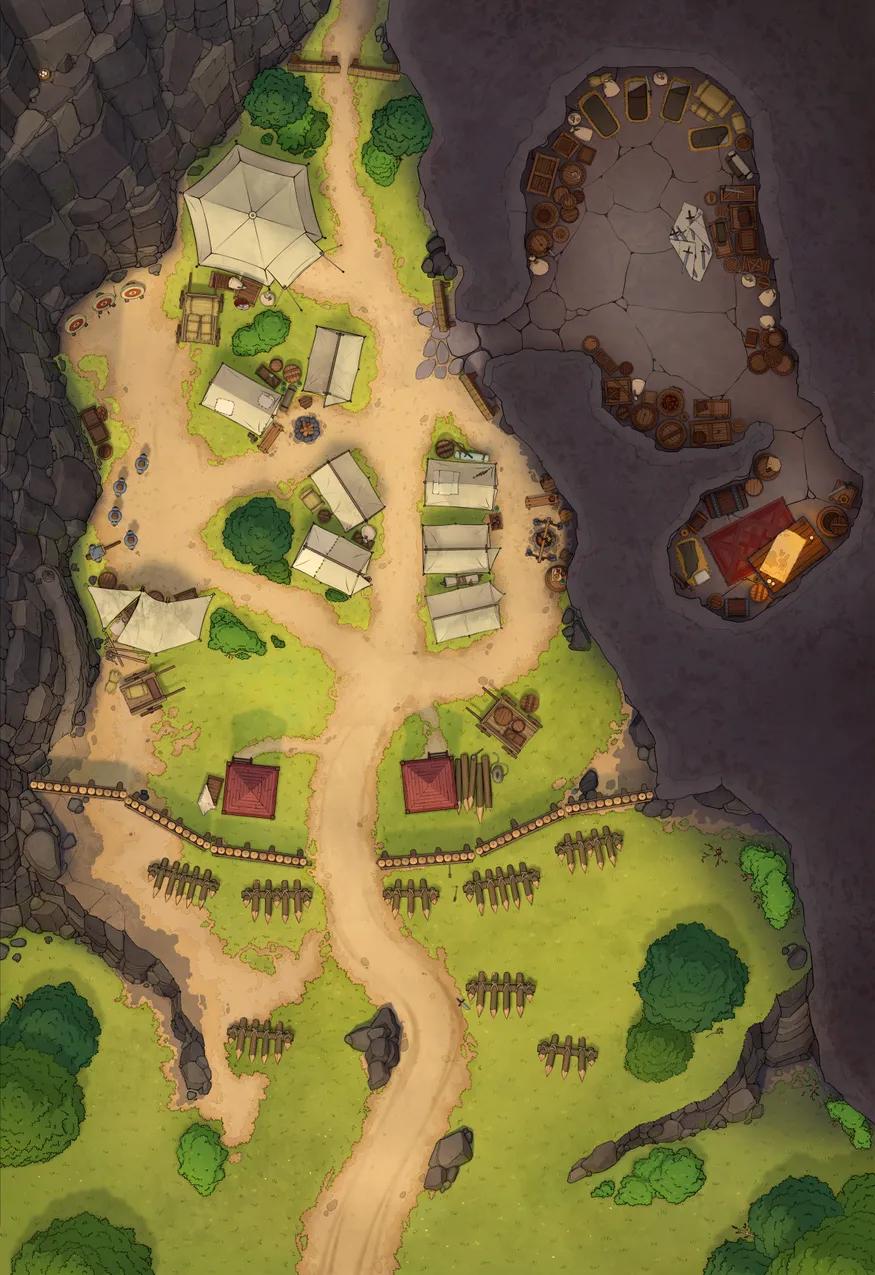
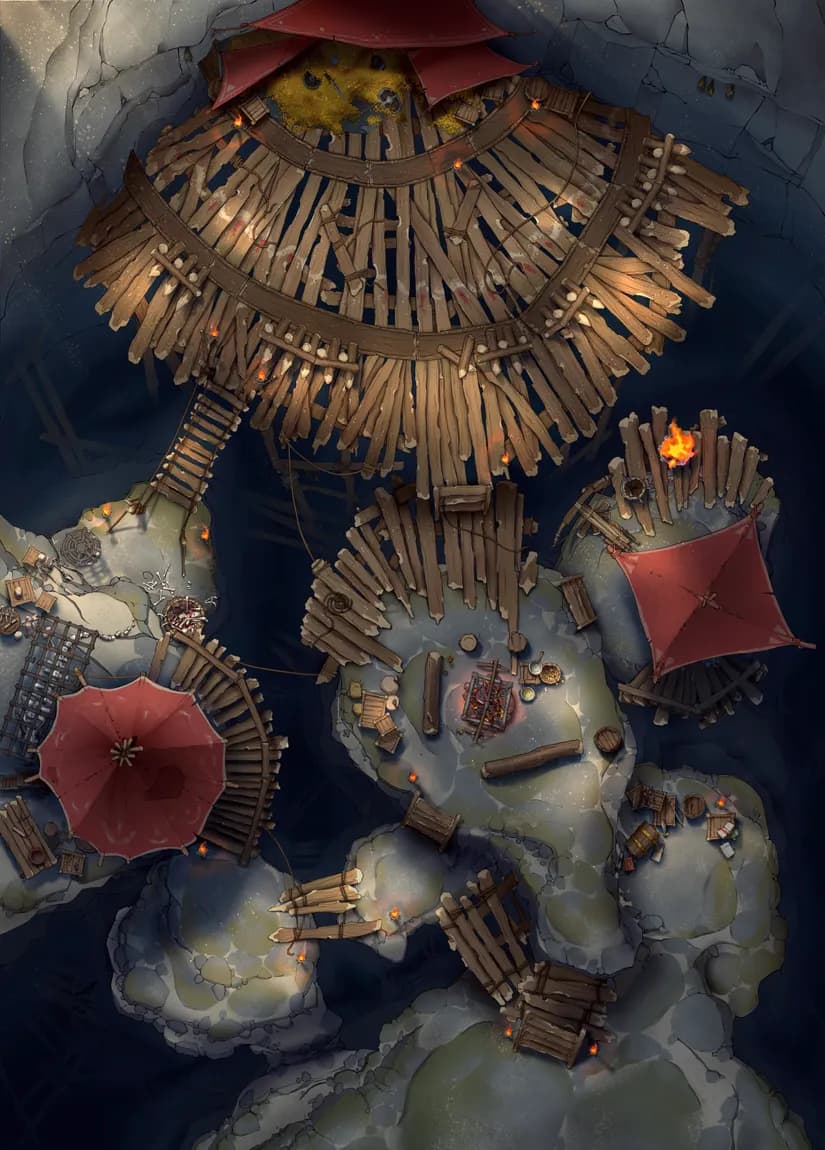
Rebel Camp (+24)
Rebel Camp (+24)
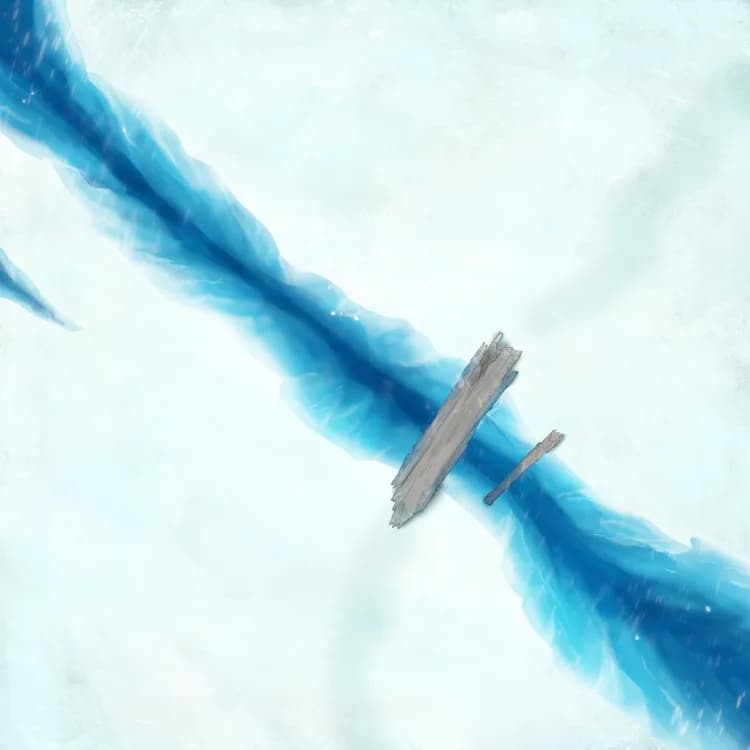
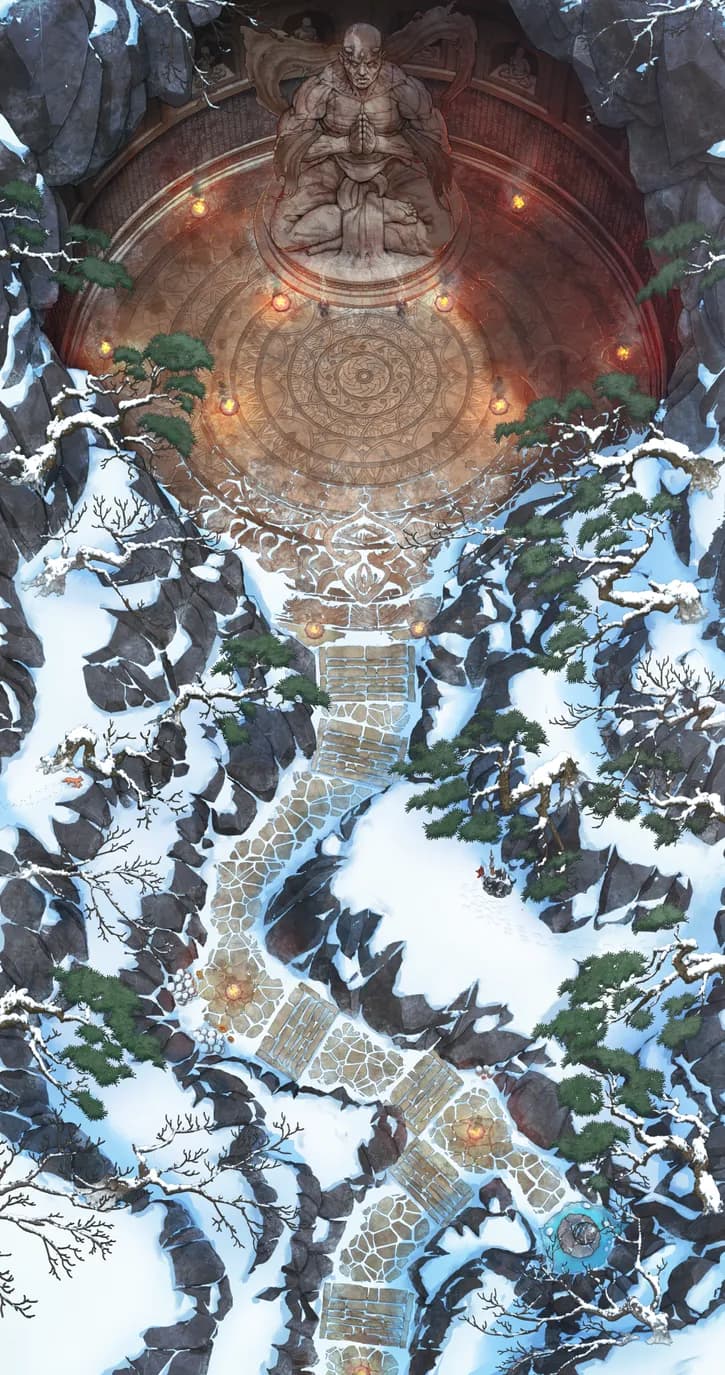
Remote Ice Village (+3)
Remote Ice Village (+3)
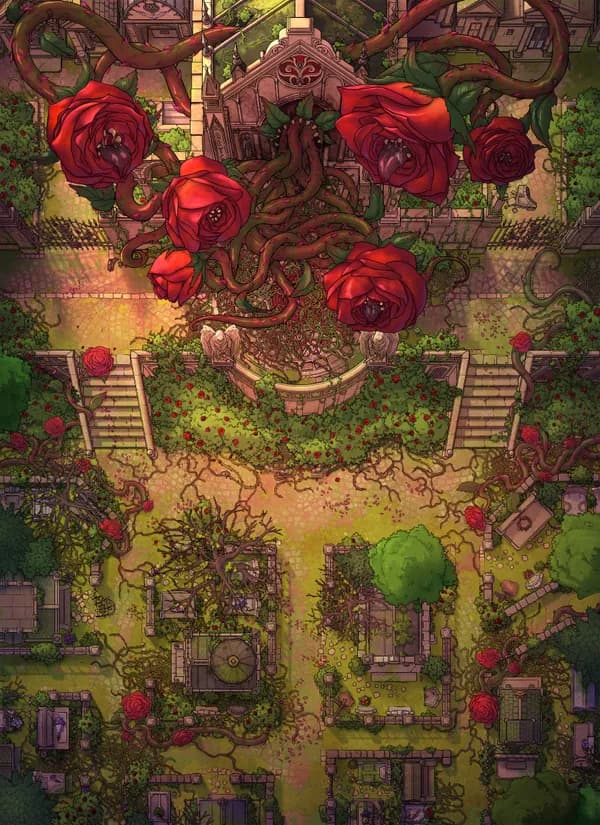
Rosehydra Crypt (+21)
Rosehydra Crypt (+21)
Royal Mine Town (+19)
Royal Mine Town (+19)
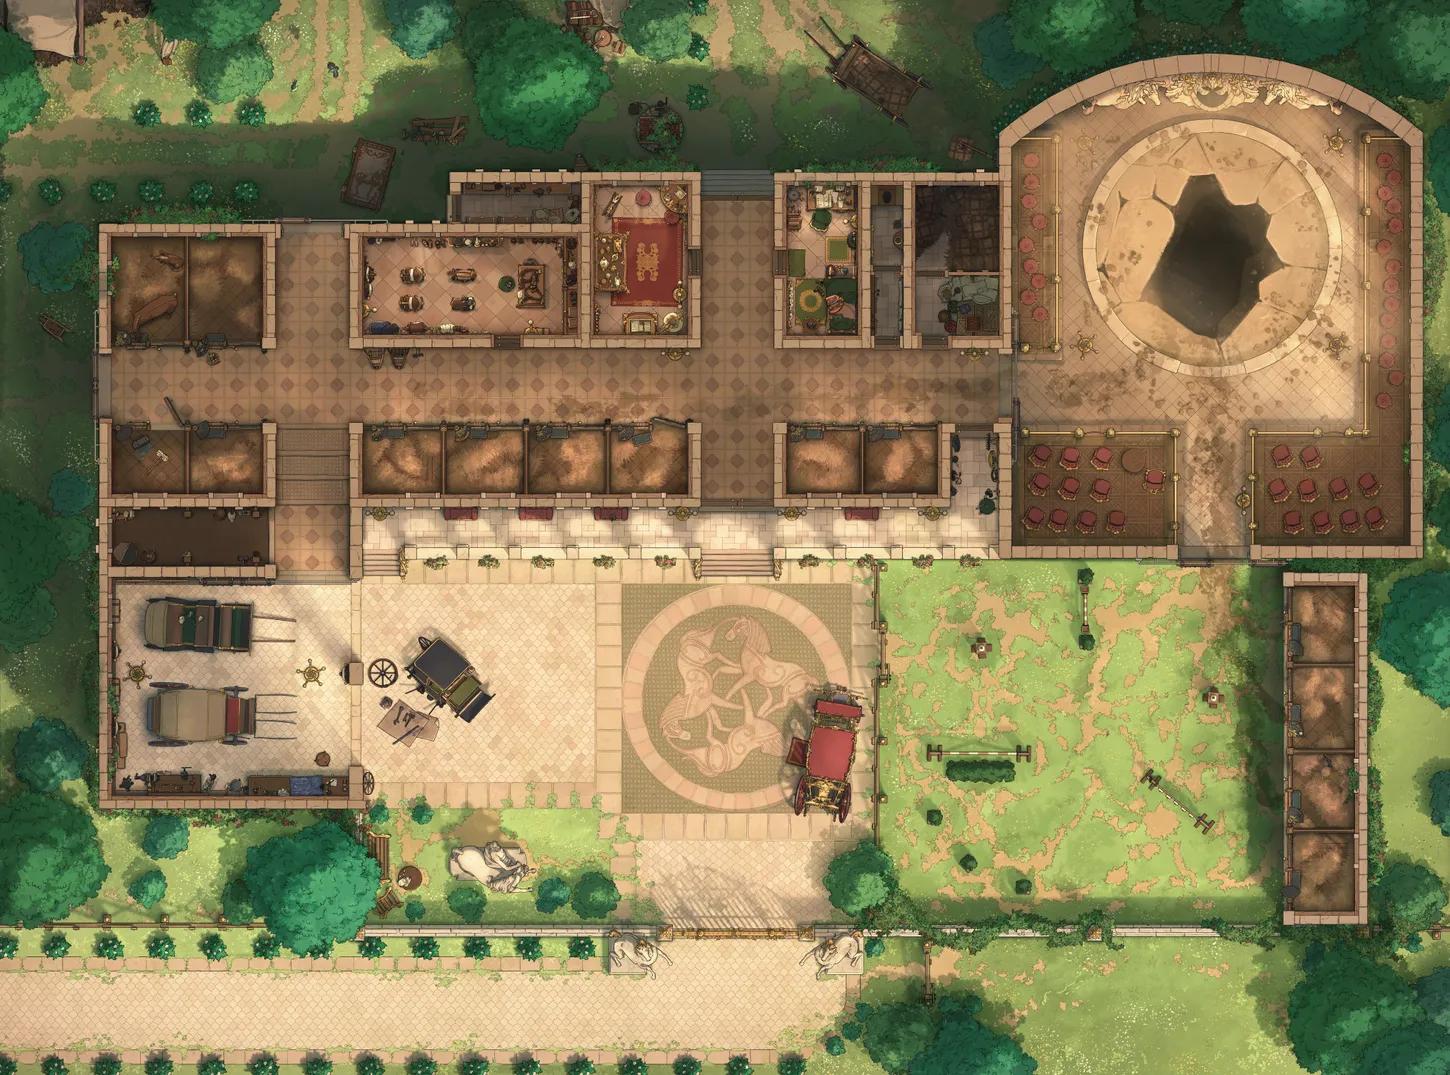
Royal Stables (+1)
Royal Stables (+1)
Ruined Courtyard (+22)
Ruined Courtyard (+22)
Secret Cave Hideout (+19)
Secret Cave Hideout (+19)
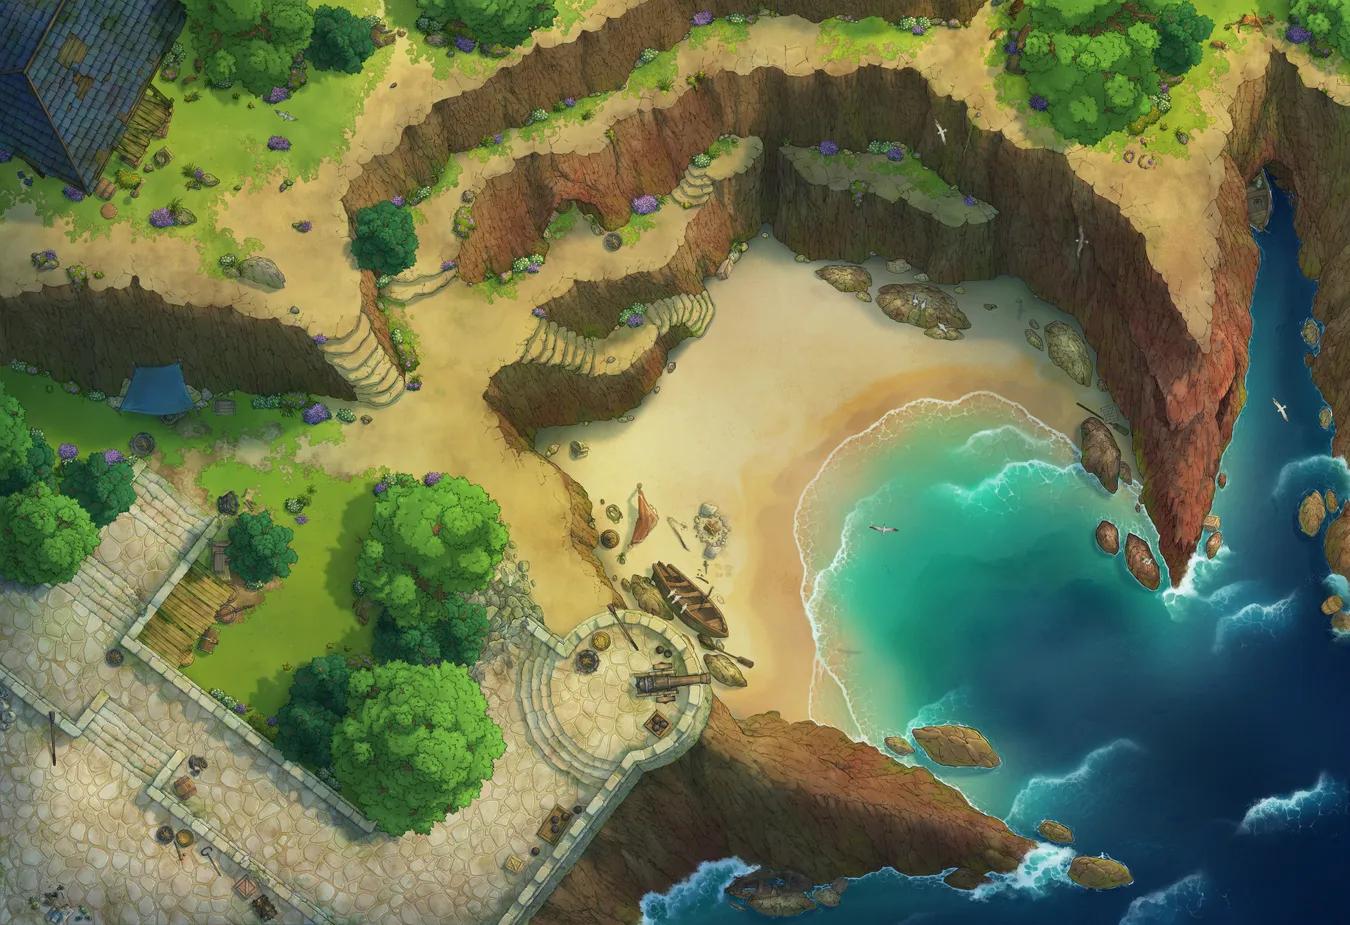
Secret Cove (+21)
Secret Cove (+21)
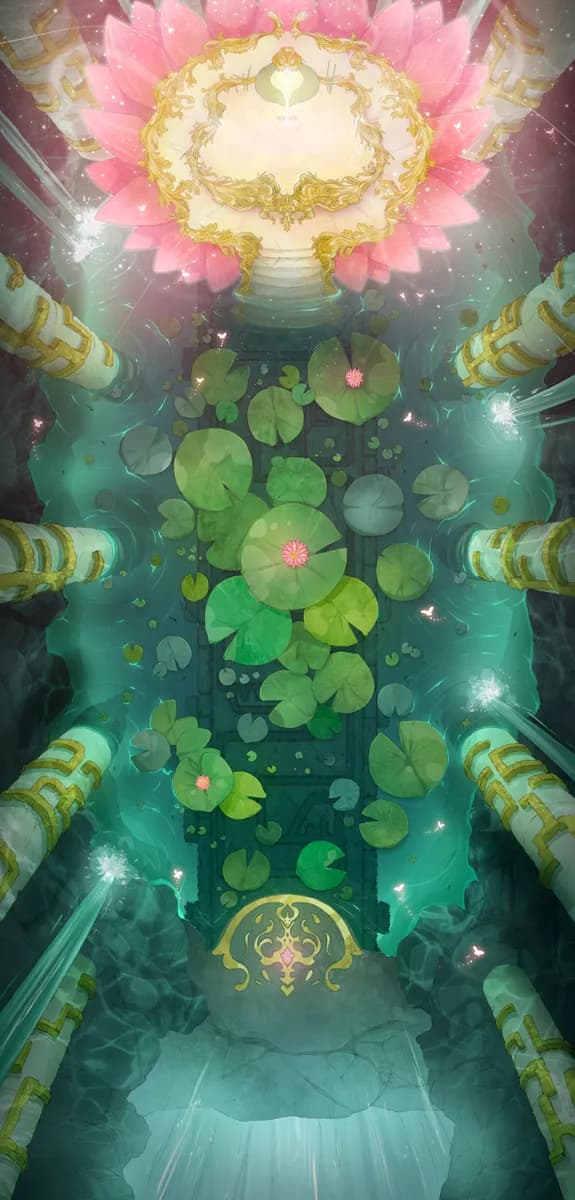
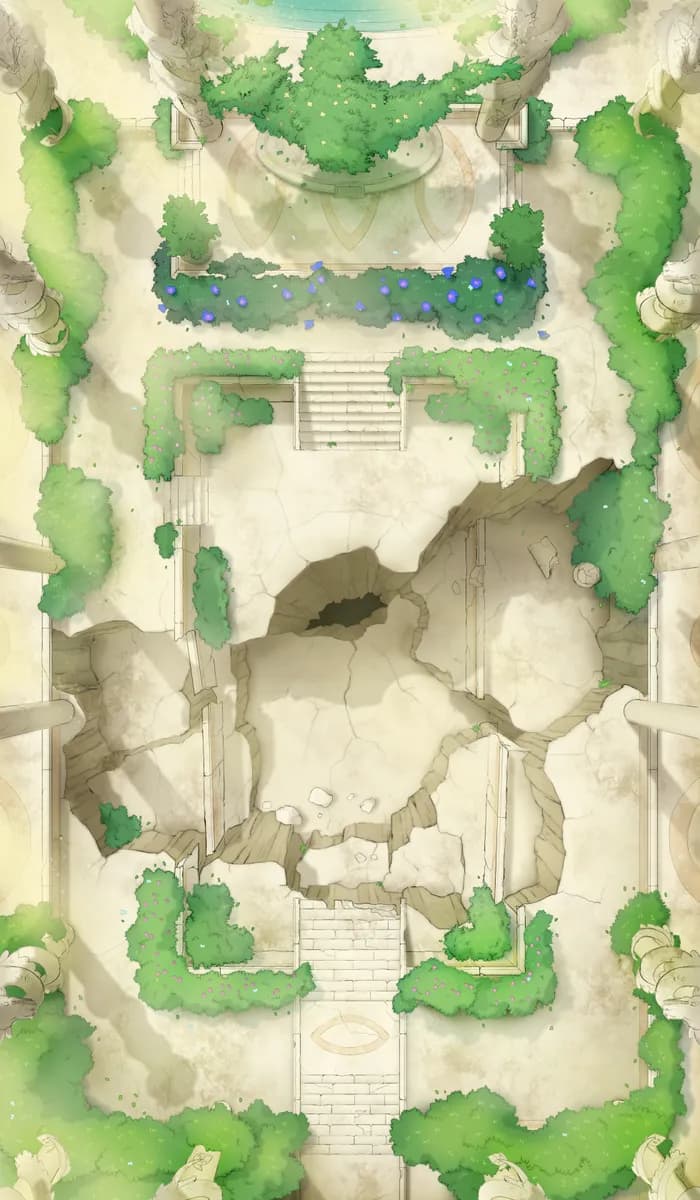
Secret Fey Fountain (+17)
Secret Fey Fountain (+17)
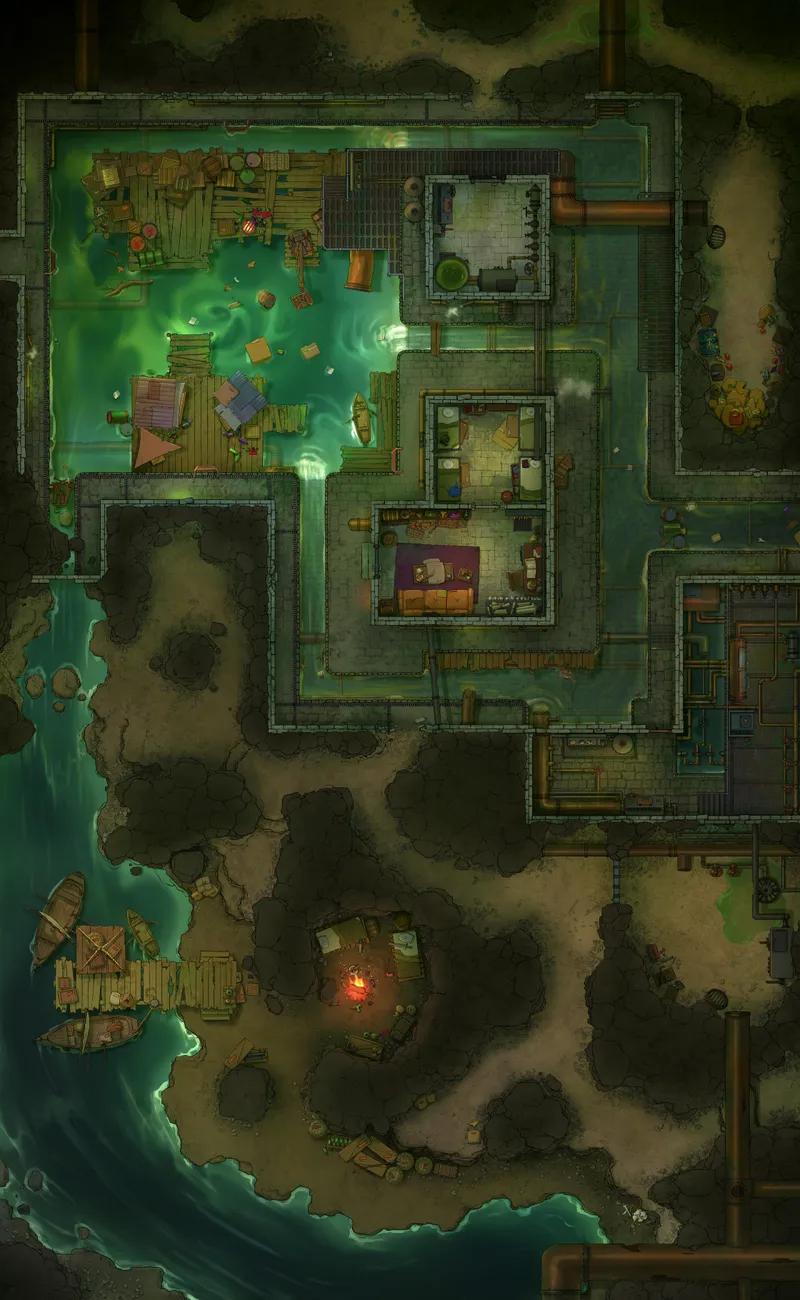
Sewer Tunnels (+21)
Sewer Tunnels (+21)
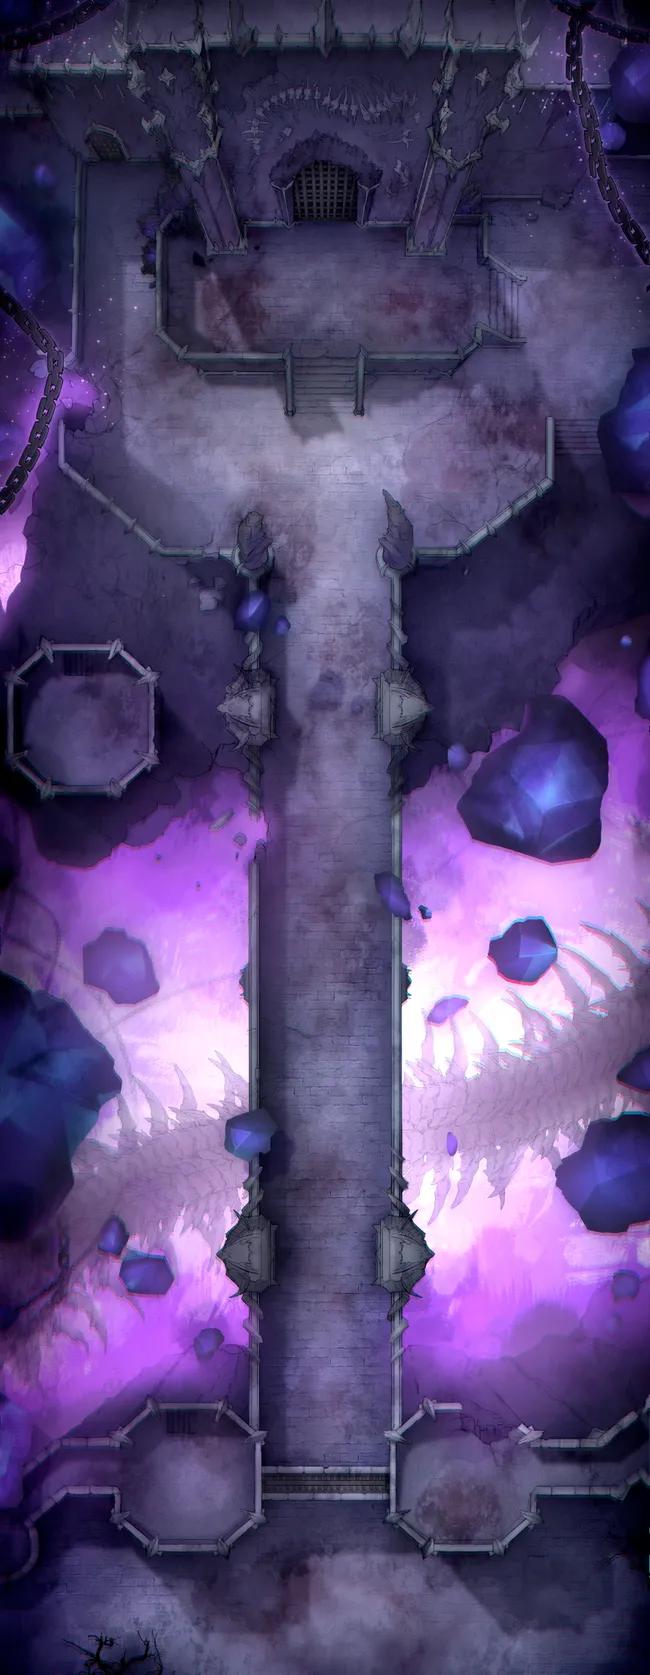
Shadowfell Fortress Bridge (+10)
Shadowfell Fortress Bridge (+10)
Tomb of Sand Interior (+19)
Tomb of Sand Interior (+19)
Train Station Concourse
Train Station Concourse
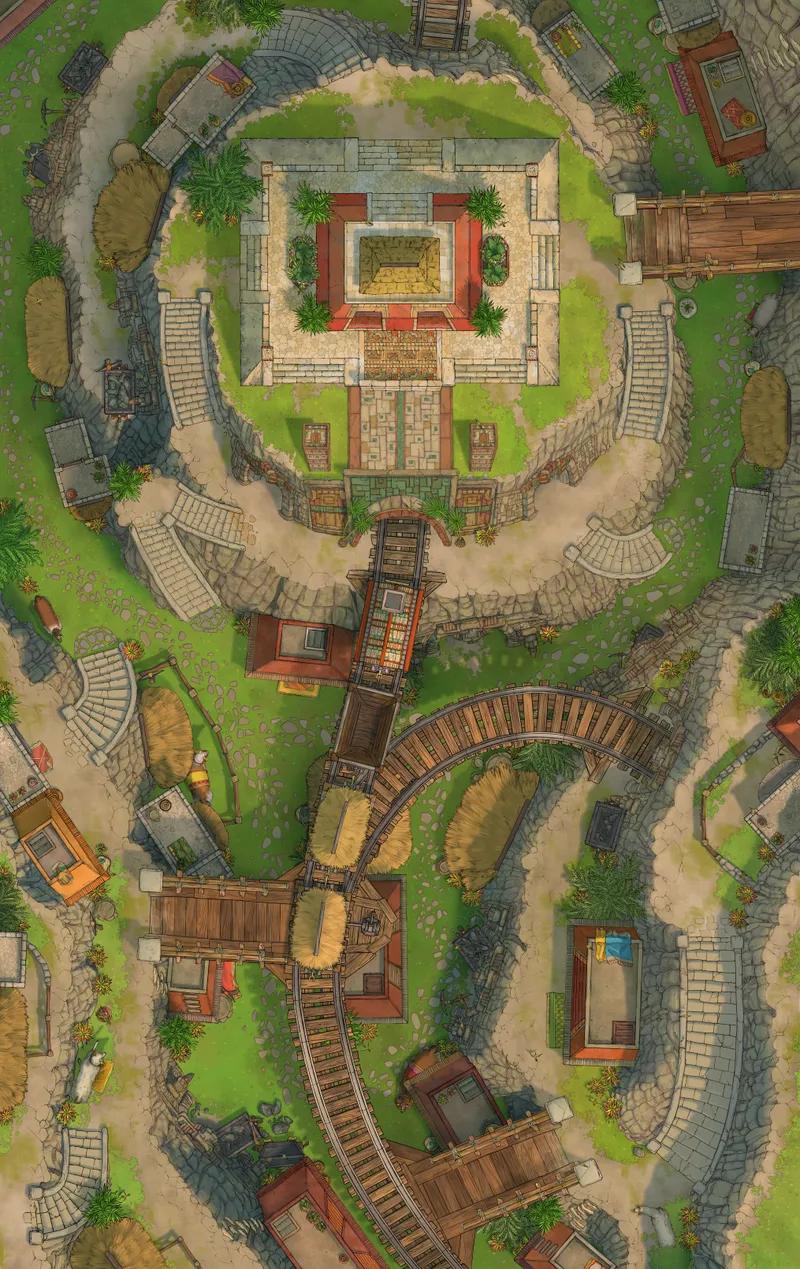
Trainwreck Village (+1)
Trainwreck Village (+1)
Treetop Dungeon (+3)
Treetop Dungeon (+3)
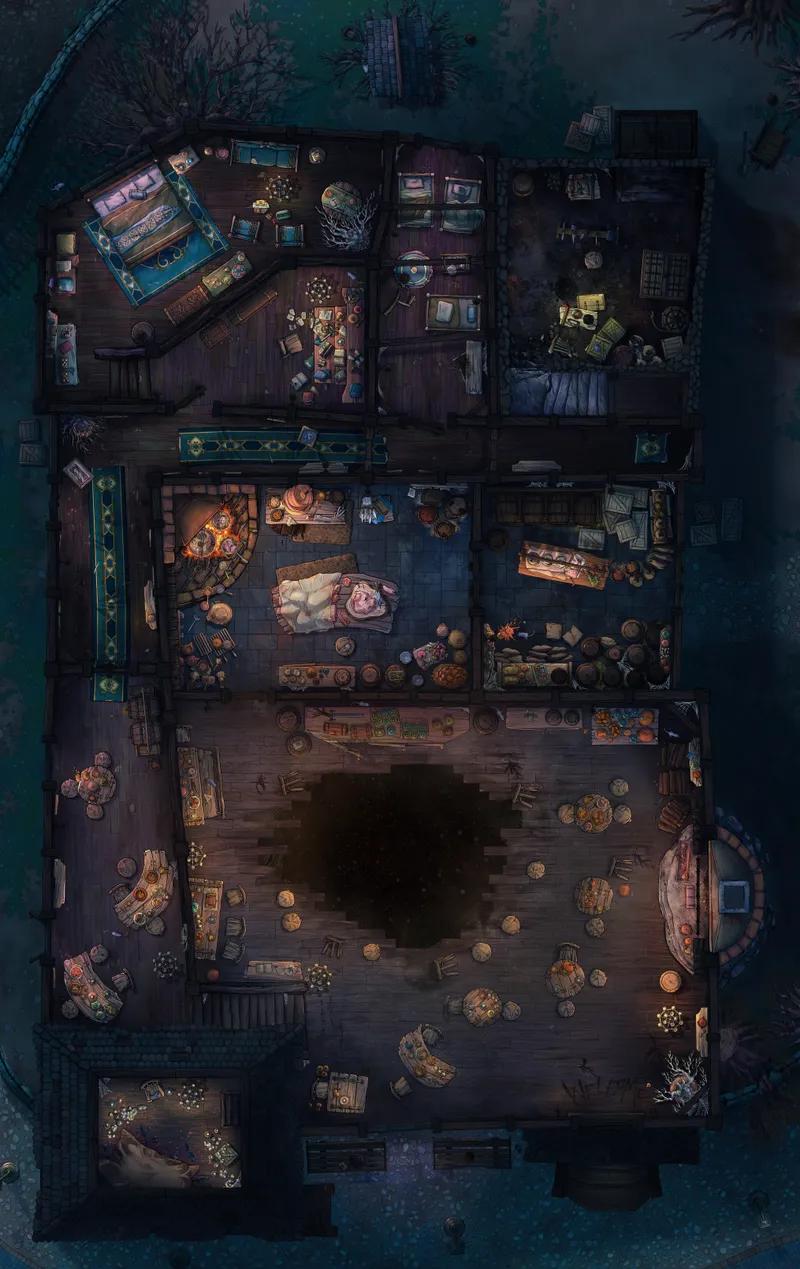
Twisted Tavern (+1)
Twisted Tavern (+1)
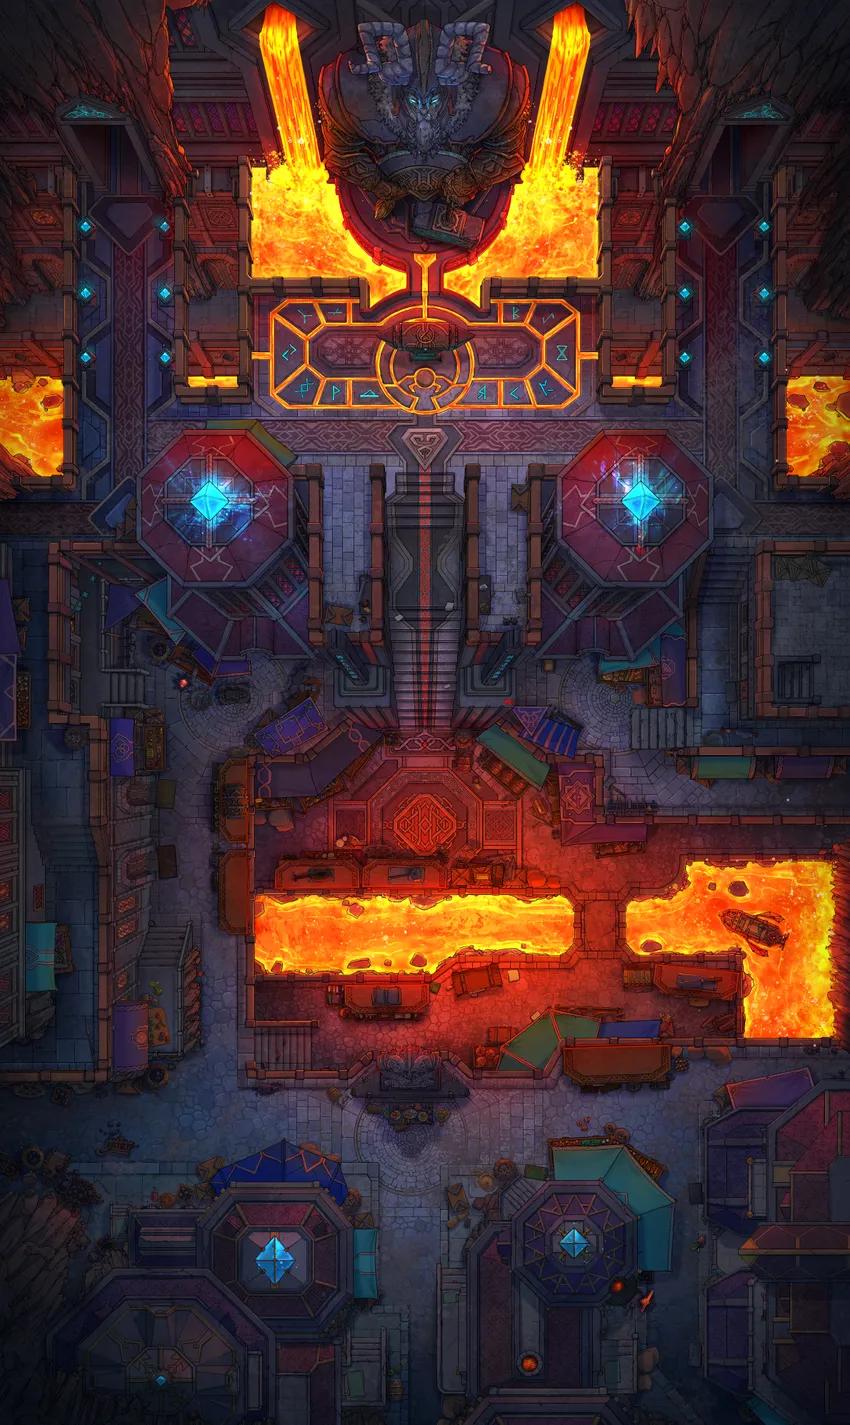
Underground Dwarven City Centre (+18)
Underground Dwarven City Centre (+18)
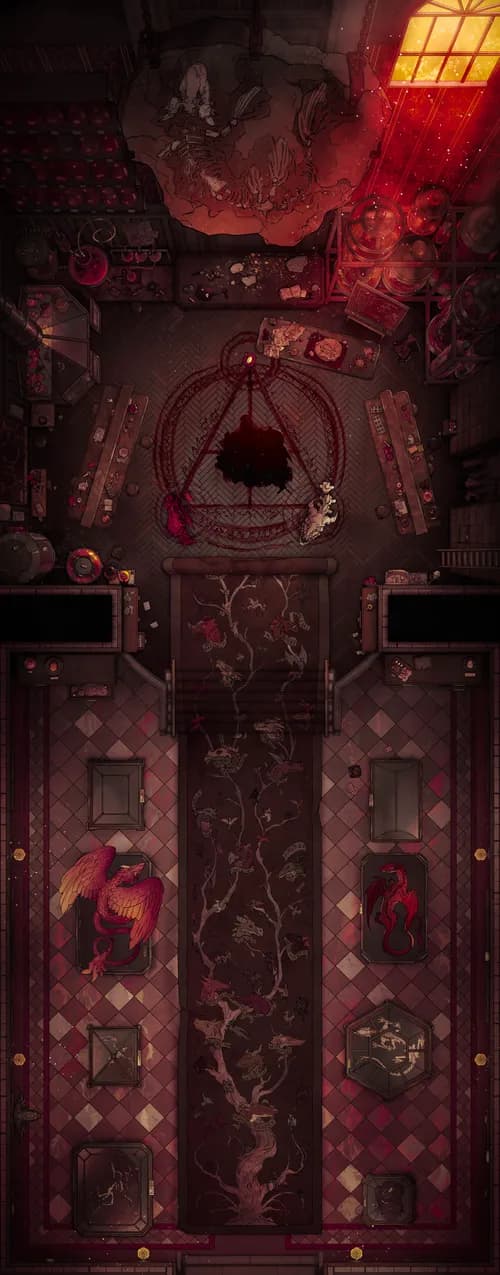
Vampire Mansion (+3)
Vampire Mansion (+3)
Wizard Prison Pt. 2
Wizard Prison Pt. 2
Wonderful Wizard Waterfall Interior
Wonderful Wizard Waterfall Interior